Ergonomic Toothpaste Tube Squeezer


Print Profile(5)
Description
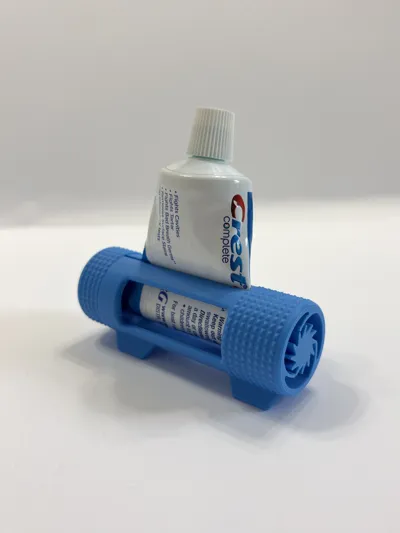
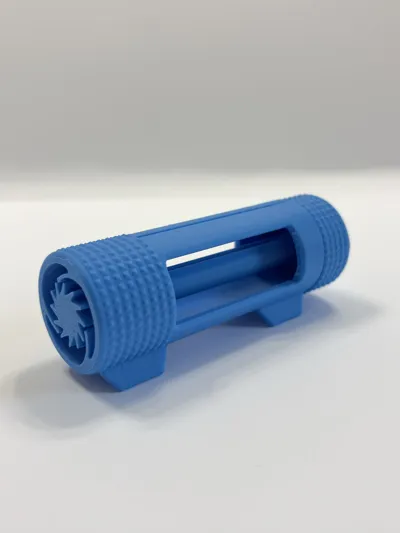
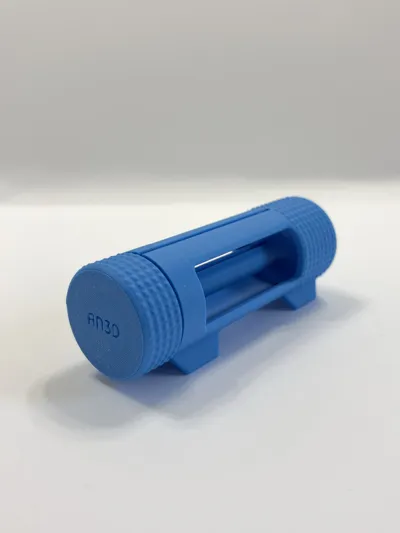
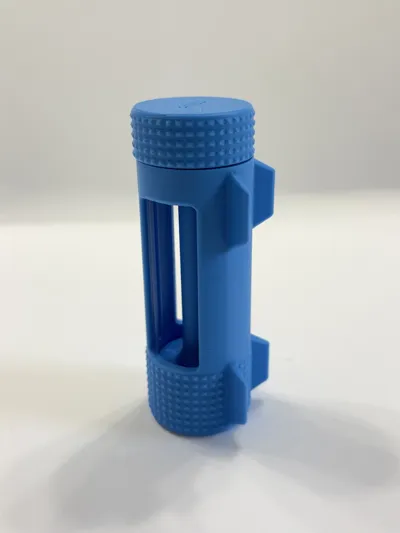
This is an Ergonomic Toothpaste Tube Squeezer made with comfort and utility in mind! Featuring a knurled texture for optimal grip and a Print-in-Place Ratcheting mechanism as a lock, it is the perfect design being both functional and aesthetic. This design also features improved strength especially for the handle piece which in the past was prone to snapping. The ratcheting mechanism has also been improved for a smoother feel and better operation without breaking. I have also improved the tolerances to the design ensuring more printers are capable of the same result especially with the handle mechanism.
For the best printing experience I recommend using my Print Profile for the best settings. Ensure you print on a clean well maintained build plate for proper adhesion. Delicate small parts like the ratchet mechanism can fail during printing without the proper adhesion. Also ensure your printer is well calibrated for the best tolerances.
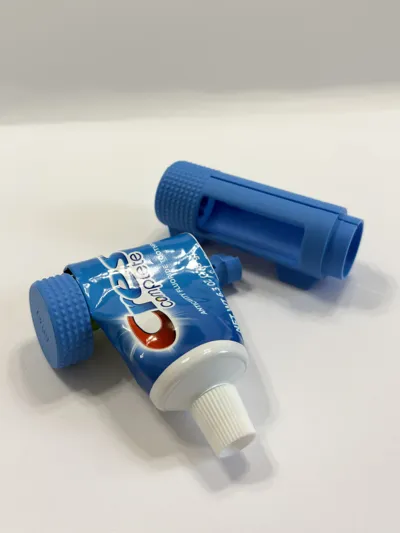
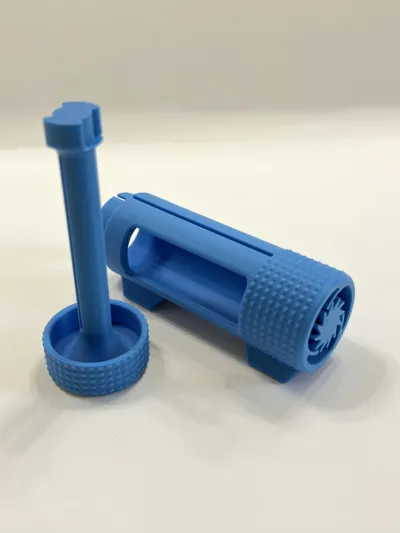
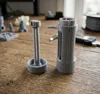
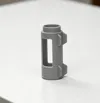
Assembly is fairly easy, the squeezer prints in two main pieces, the handle and the main body. To use the squeezer insert the handle by aligning the locking mechanism on both parts. If you find trouble getting the handle in or out simply sand down the surface of the locking mechanism. This should ensure a proper fit.
To insert the toothpaste tube make sure the handle is aligned properly with my logo facing upright. Ensure the slit in the handle and body align. After that insert the tube through both holes and wind up the ratchet! To remove the tube simply remove the handle.
I hope you Enjoy and Happy Printing!
Boost Me (for free)
Please consider Boosting if you enjoyed!
License
You shall not share, sub-license, sell, rent, host, transfer, or distribute in any way the digital or 3D printed versions of this object, nor any other derivative work of this object in its digital or physical format (including - but not limited to - remixes of this object, and hosting on other digital platforms). The objects may not be used without permission in any way whatsoever in which you charge money, or collect fees.
Comment & Rating (332)