Multitool Cut Depth Guide


Print Profile(1)
Description
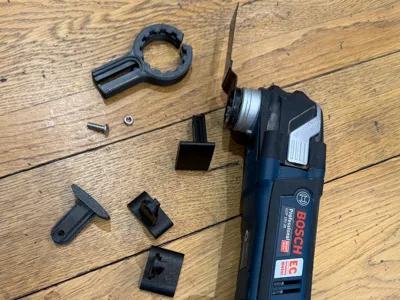
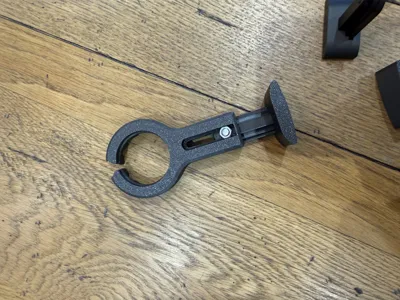
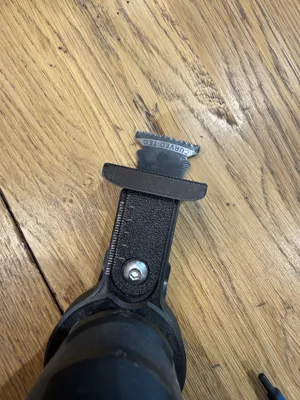
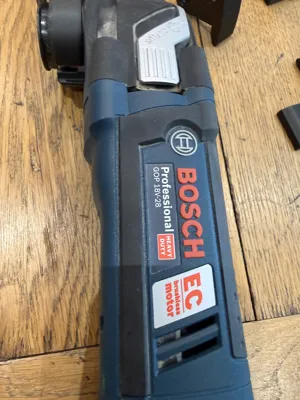
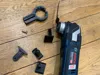
This is a depth gauge and guide for Multitools, probably only manufactured by Bosch. I designed it specifically for the Bosch GOP 18V-28 Professional but I suspect it will fit the following models:
GOP 12V-28 Professional
GOP 18V-28 Professional – TESTED - WORKS
GOP 18V-34 Professional - I think it will fit but probably won't lock. If anyone wants to test this let me know the distance between the groove edge and the bodyof the tool / back side of the lock notch and the height of the notch then I will try to make a version for this tool.
GOP 30-28 Professional
GOP 40-30 Professional
GOP 55-36 Professional
If anyone tries it on a different model to my tested one please let me know if it works and I’ll update the list.
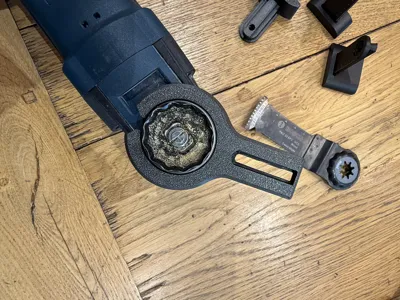
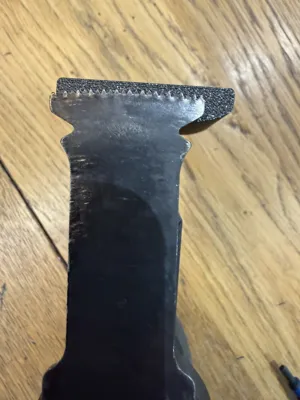
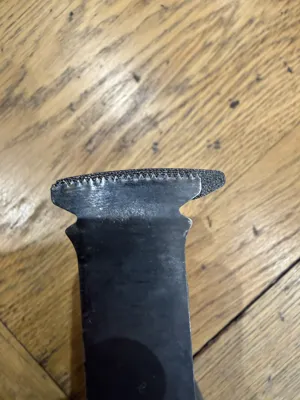
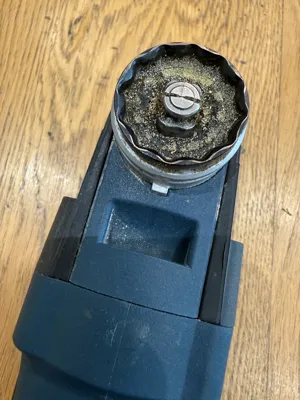
The guide snaps onto the tool very firmly using the groove and notch built into the blade mounting point on the tool head. I don’t *think* Dewalt and other brands have a similar mounting point with a groove.
I’ve tested it reasonably well and haven’t had any problems with it loosening or failing. Just make sure you tighten the screw and nut enough so that it doesn’t just slide together when you are cutting. If you have problems you could use a shakeproof serrated washer between the nut and plastic and screw head and plastic.
Video:
A poor video filmed in slow-mo using the tool.. better than nothing 😊 Maybe. There is a picture of the underside of the board where the blade just cut through.
https://youtube.com/shorts/OAn66QeHgtc
Blades:
The guide is designed to work with:
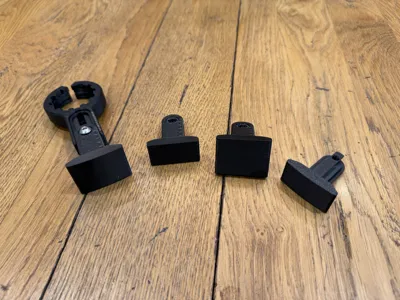
Curved-Tec plunge blades using the curved tool
Flat blades using the flat tool
60mm long blades have the greatest range with the guide
50mm work
30mm are too short for the guide to be of much use
Printing:
Tested with Bambu PLA Metal, will probably be fine with PETG, ABS, ASA. There needs to be some flexibility but not much.
3 wall loops
Sparse infill density – 30%
Sparse infill pattern – Gyroid
Support normal (auto)
Style Default
Threshold angle 35
Tree supports will probably be fine I just tend to stick with normal supports for this type of project.
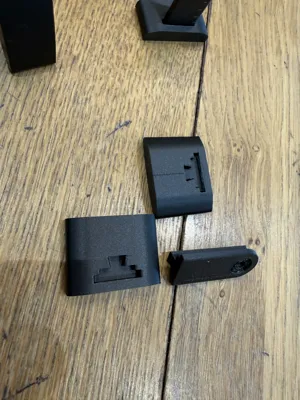
There is a guide on the tongues and the main body which can be printed in a different colour. With a 0.4mm nozzle it prints “ok”. This is the nozzle size I used in the pics. A 0.2 nozzle would do a much prettier job.
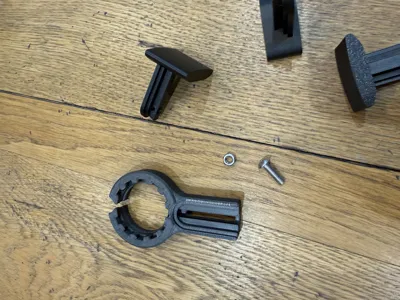
Parts required:
1x Stainless steel button hex socket head screw M5 14-16mm, head size diameter ideally around 10mm
1x M5 nut
Optional – Serrated washers x 2
Assembly:
Very easy!
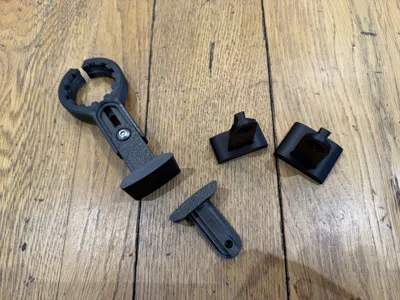
Whilst the guide heads should push fit on to the tongue I would recommend they are superglued to hold in place properly. I would suggest printing a tongue for every tool head you intend to use.
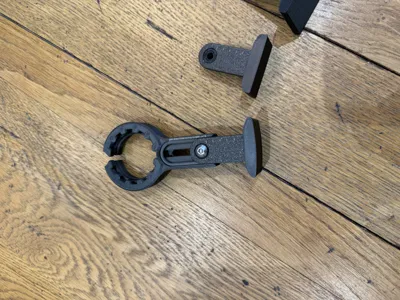
Fit a guide head to a tongue
Slide the tongue with guide head into the dovetail recess on the main body
Push a 15mm M5 button head screw through from the graduated side (it should push through without much resistance) and put a nut underneath. There should be enough resistance with the nut to tighten the screw down enough to lock the guide in position.
Installation:
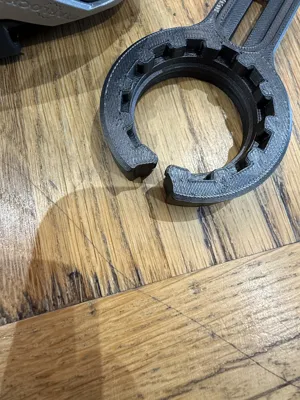
Push the assembly very firmly down onto the head, you may need to open the split ring body slightly and wiggle it on. It will lock to both the groove and the notch, the notch will allow it to lock in all the positions of the blade itself (12). I had some success rotating the guide to other positions without removing it but it can break and the notch will wear the plastic sockets out very quickly. I would recommend remove and reinstall in the new position.
Removal:
Reverse of installation – it is awkward but it does come off without damage. In testing, using Bambu PLA metal I have installed and removed the same piece at least 10 times with no visible wear.
DISCLAIMER AND NOTE!
Don’t forget to check the guide isn’t slipping whilst cutting. Keep checking! If you are completely relying on the guide consider gluing it in place!
License
You shall not share, sub-license, sell, rent, host, transfer, or distribute in any way the digital or 3D printed versions of this object, nor any other derivative work of this object in its digital or physical format (including - but not limited to - remixes of this object, and hosting on other digital platforms). The objects may not be used without permission in any way whatsoever in which you charge money, or collect fees.
Comment & Rating (0)