
Bladeless fan - Desktop Version - Rechargeable, with 9038 fan, 4-wire speed control Bladeless Electric Fan
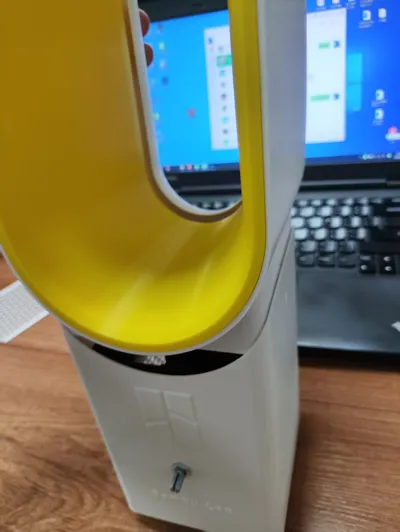
Print Profile(4)
Description
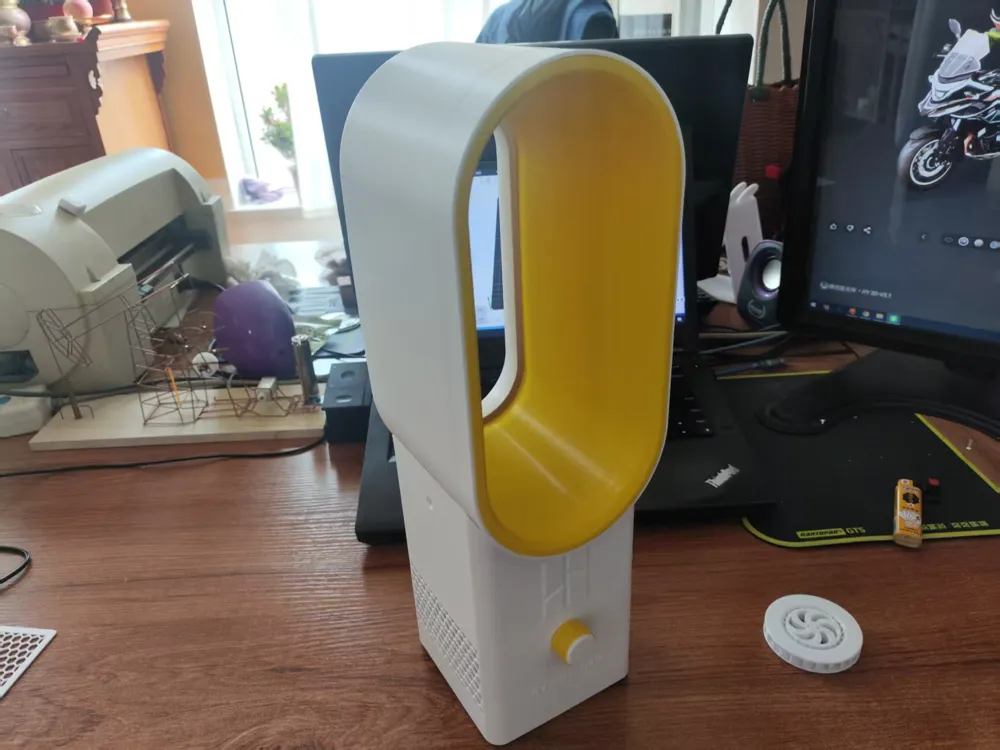
A few days ago, I saw a fan on a colleague's desk that felt quite special, so I searched for bladeless fans and looked into their principles, which sparked the idea of making one myself. Let's get started
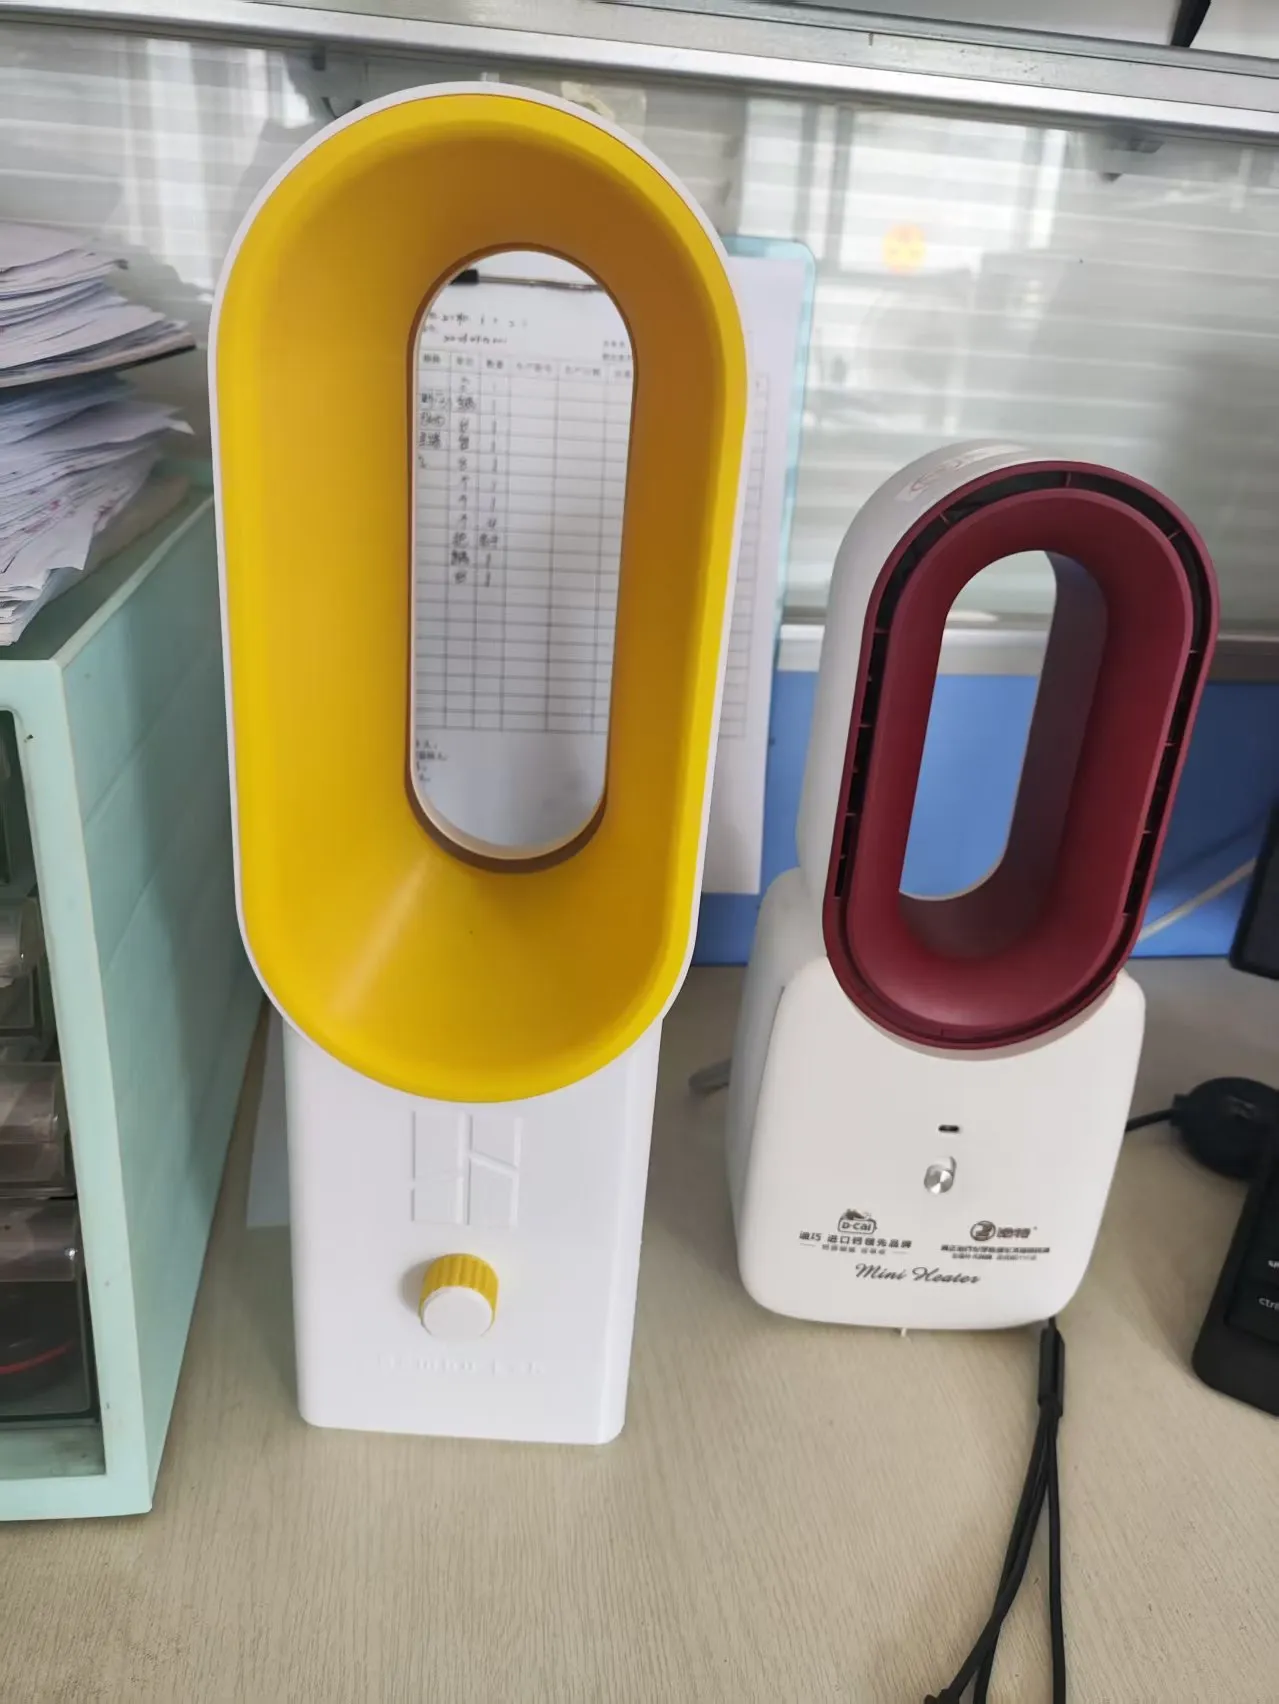
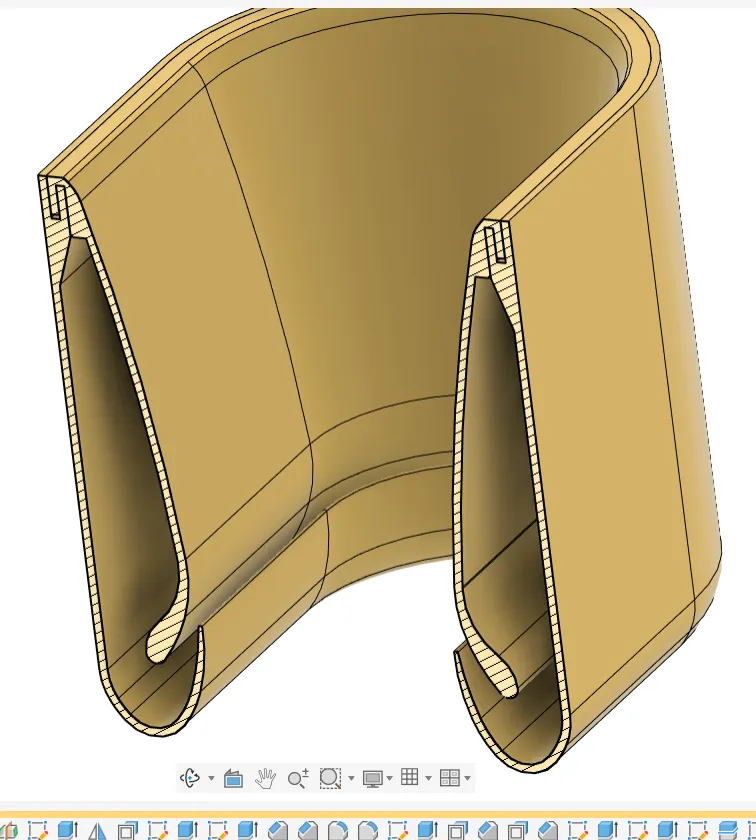
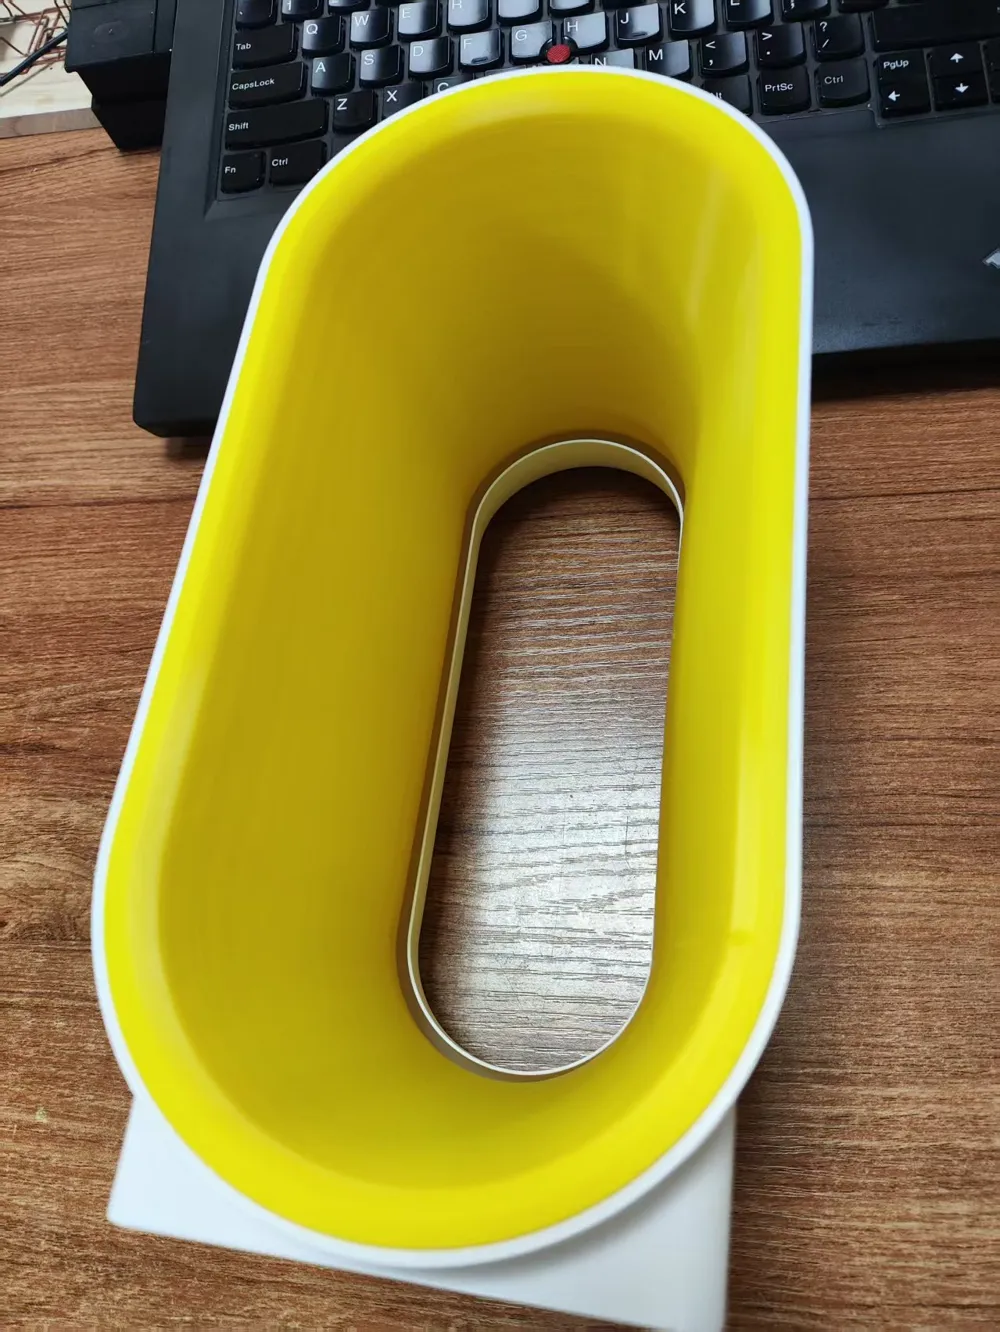
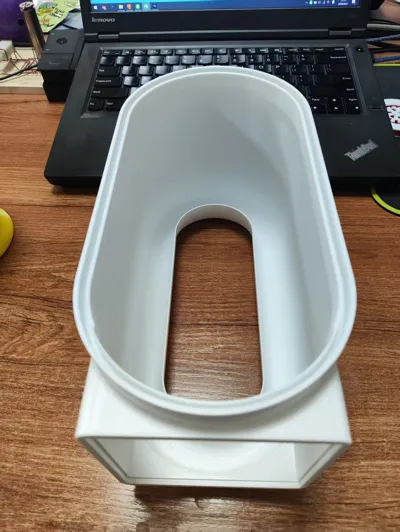
After researching, bladeless fans do not actually lack blades; they merely change the direction of the airflow through the structure of the air duct, using a series of principles to make the emitted air drive more air. It is sometimes called an air volume multiplier, and it feels closer to natural wind. The air volume primarily depends on the wind pressure and volume generated by the motor, using the viscosity of the air to draw more air through the elliptical opening
An axial fan of model 9038 is used internally. It feels like this type of electric fan design principle has certain requirements for wind pressure. Currently, this axial fan version is being released first. A turbine fan version will be released later, as turbine fans can provide better wind pressure
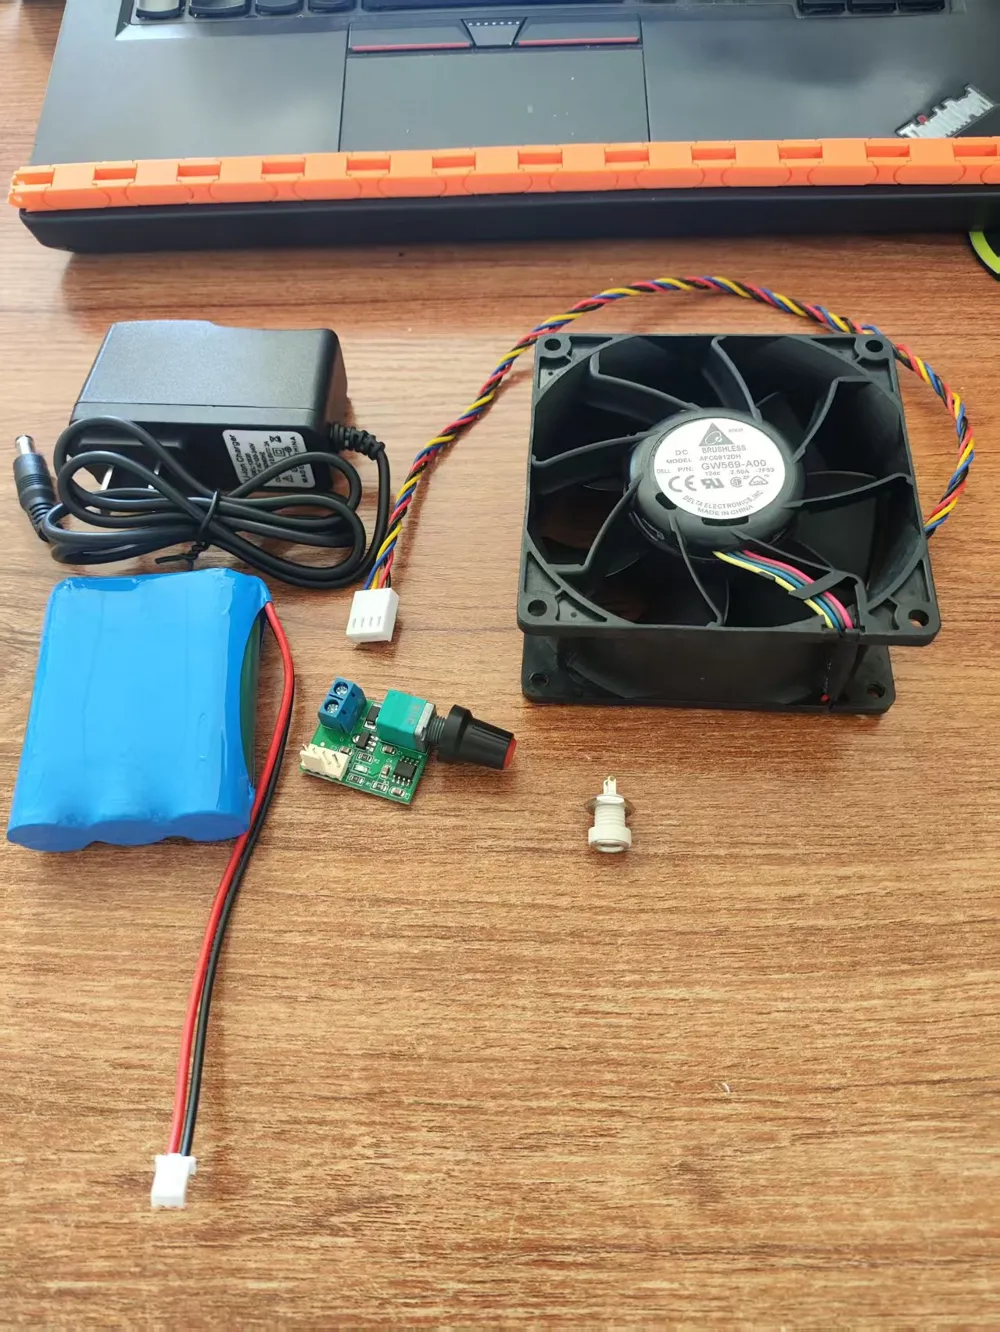
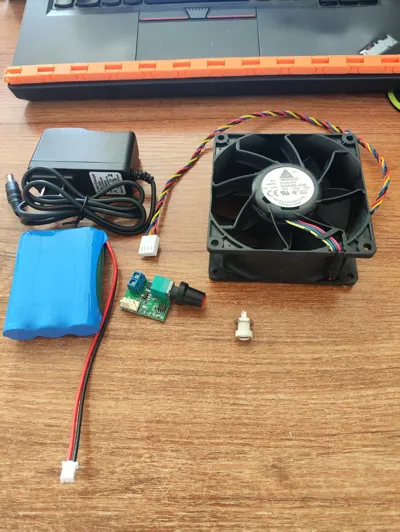
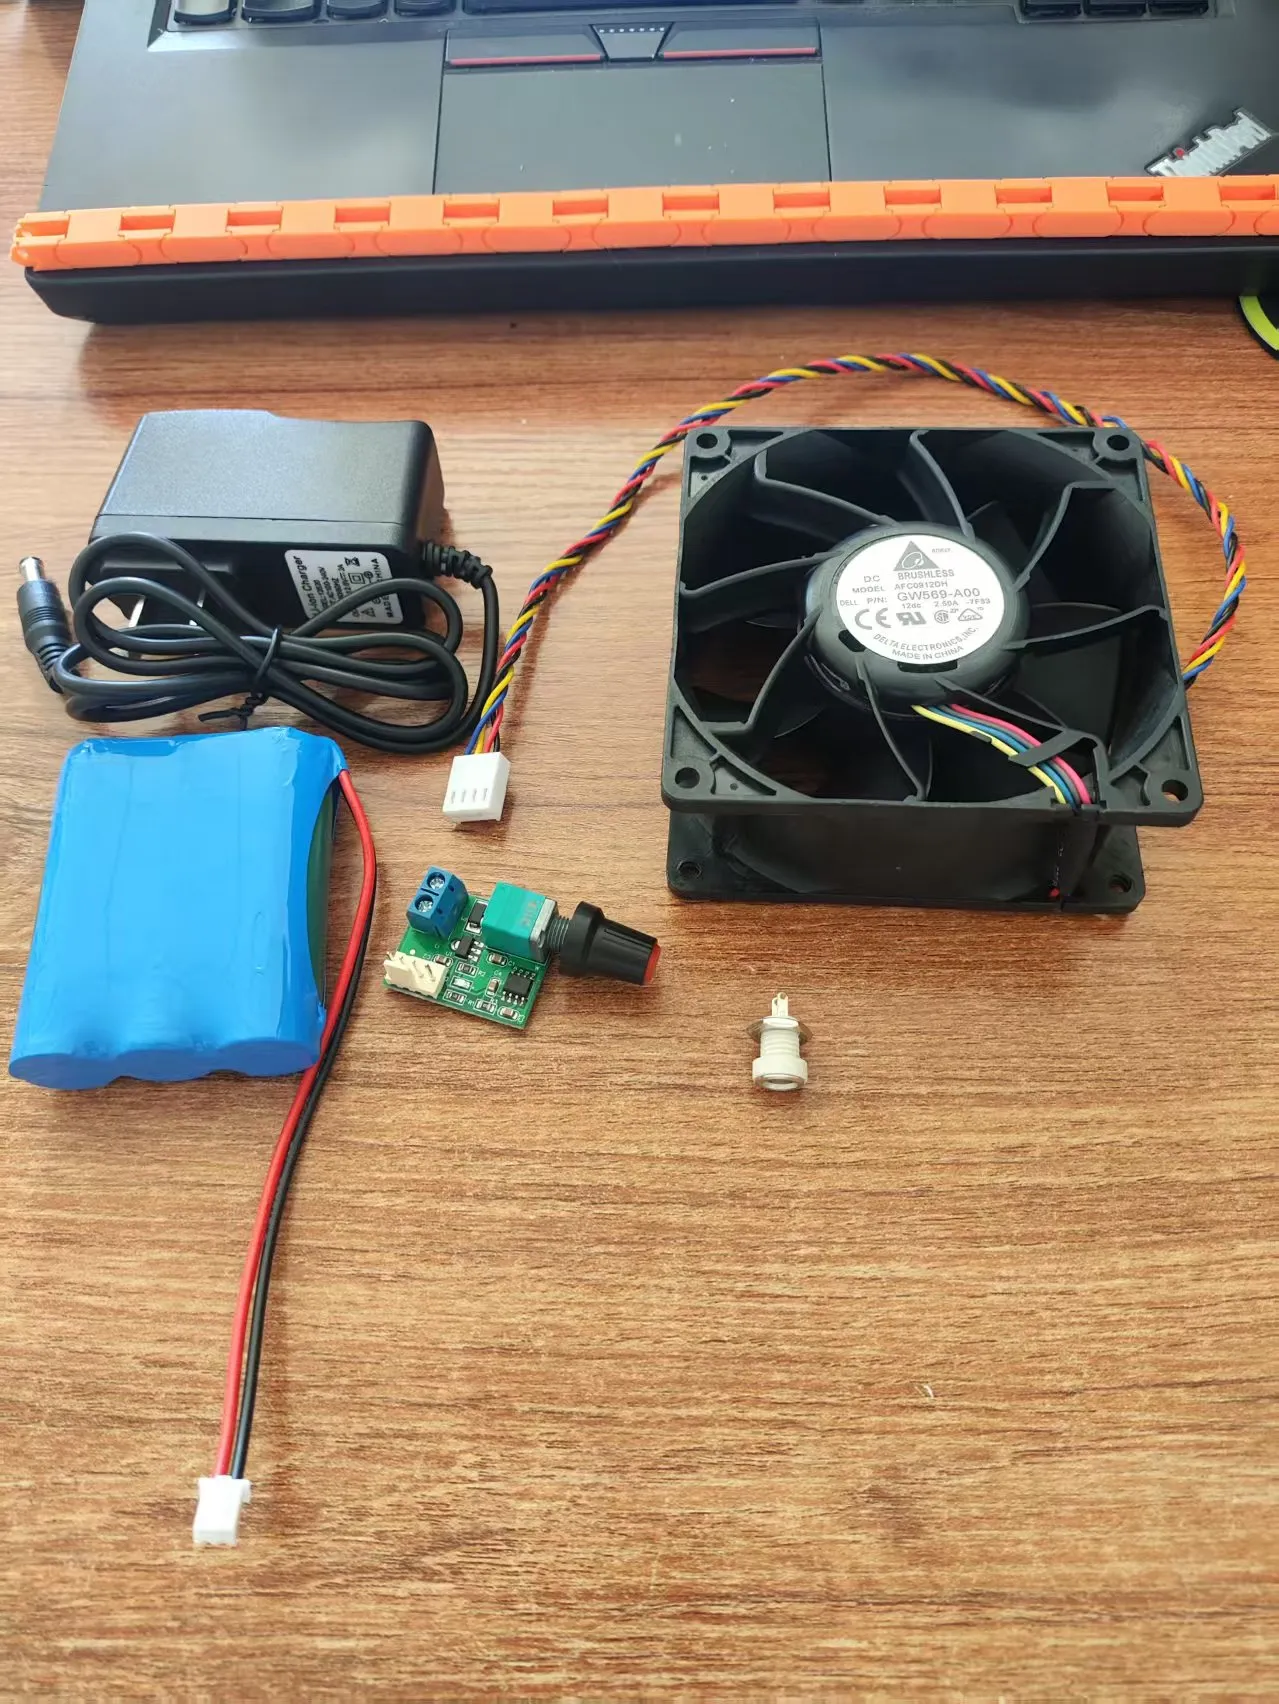
The electronic accessories used are as follows:
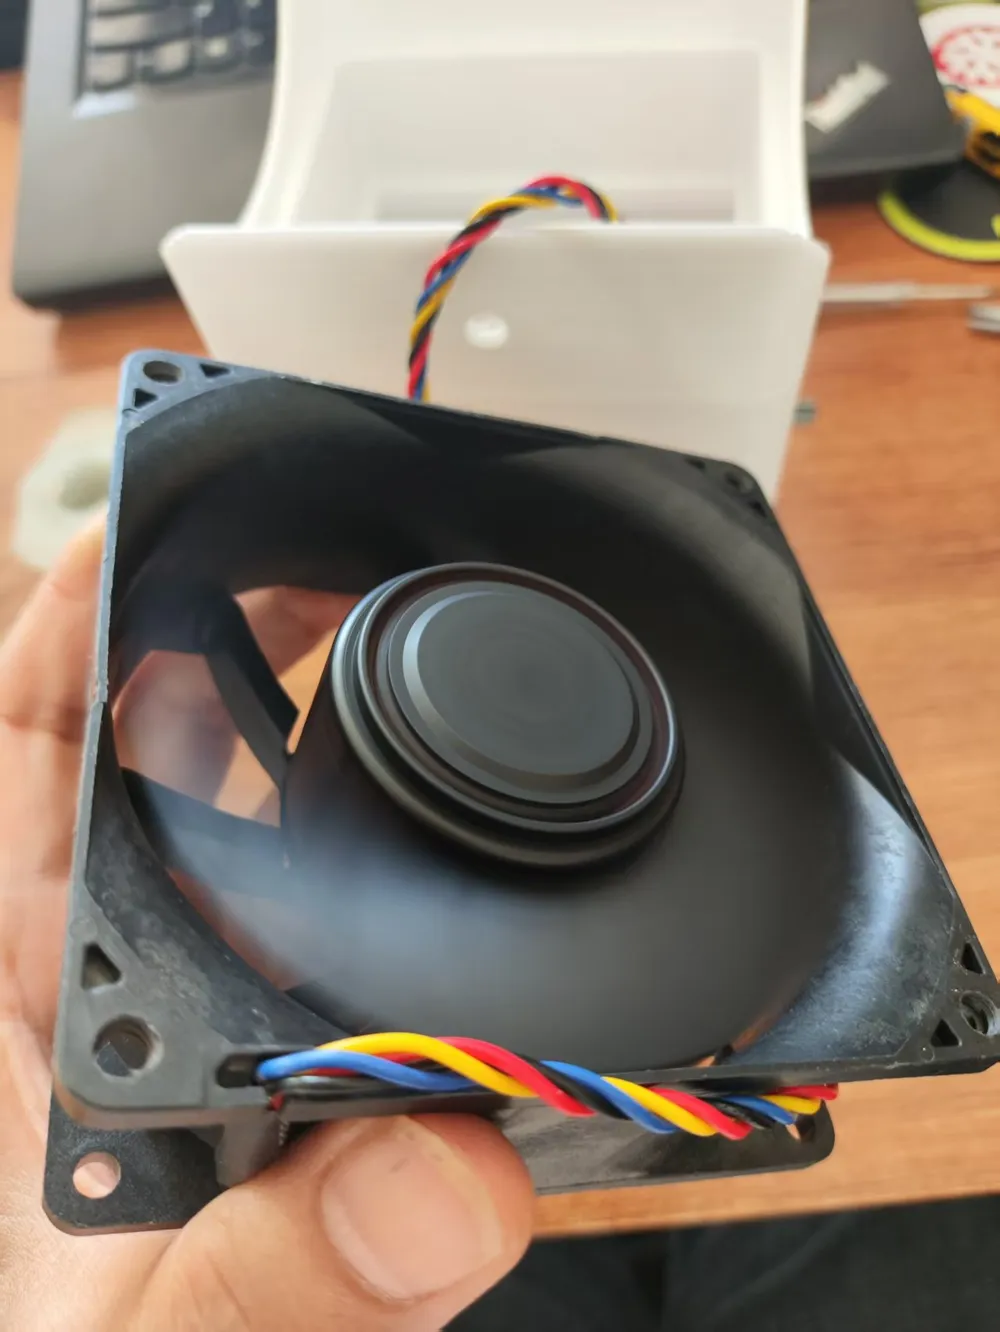
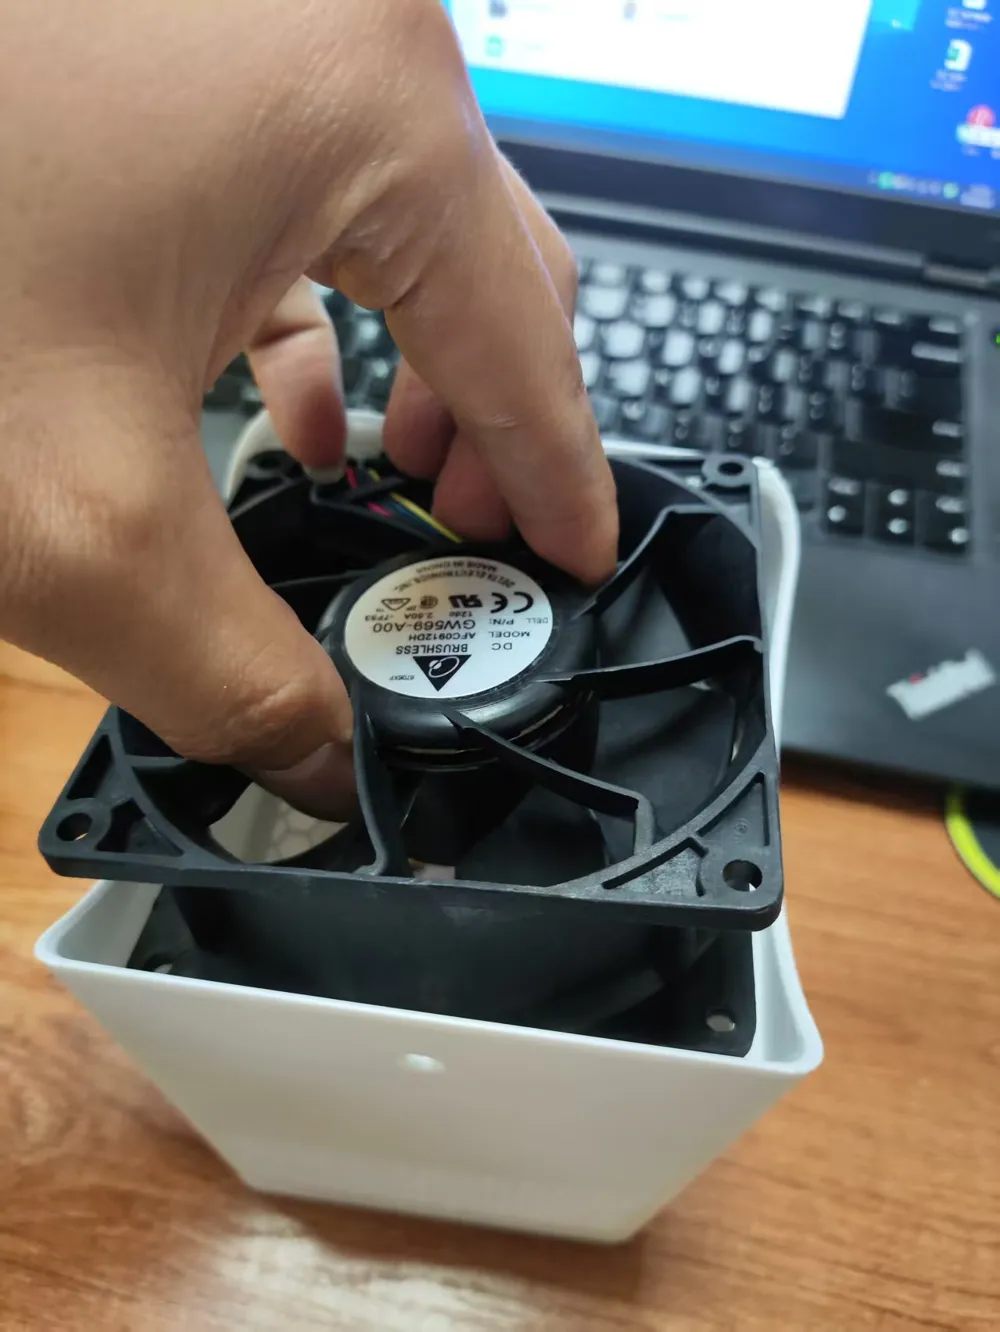
1. Computer fan: Model 9038, 12V 4-wire speed control, (both length and width are 92mm, thickness 38mm)
2. Speed controller: 12V 4-wire speed controller, with switch function (mounting hole M8)
3. DC power connector (mounting hole M8)
4. Rechargeable battery (with charger): 3-series 18650 battery, with shared charging and discharging wire, so it can be used while charging (Be sure to pay attention to positive and negative poles during soldering to avoid contact)
5. Two flat-head self-tapping screws, M3x10
6. Various wires
Tools:
Soldering iron, scissors, small pliers, 502 super glue
Note: Try to buy the silent version of the fan. The higher the fan speed, the greater the noise, which is still different from traditional fans
When fixing the fan, try to use thin adhesive strips to secure it to prevent resonance noise
Electronic Parts List
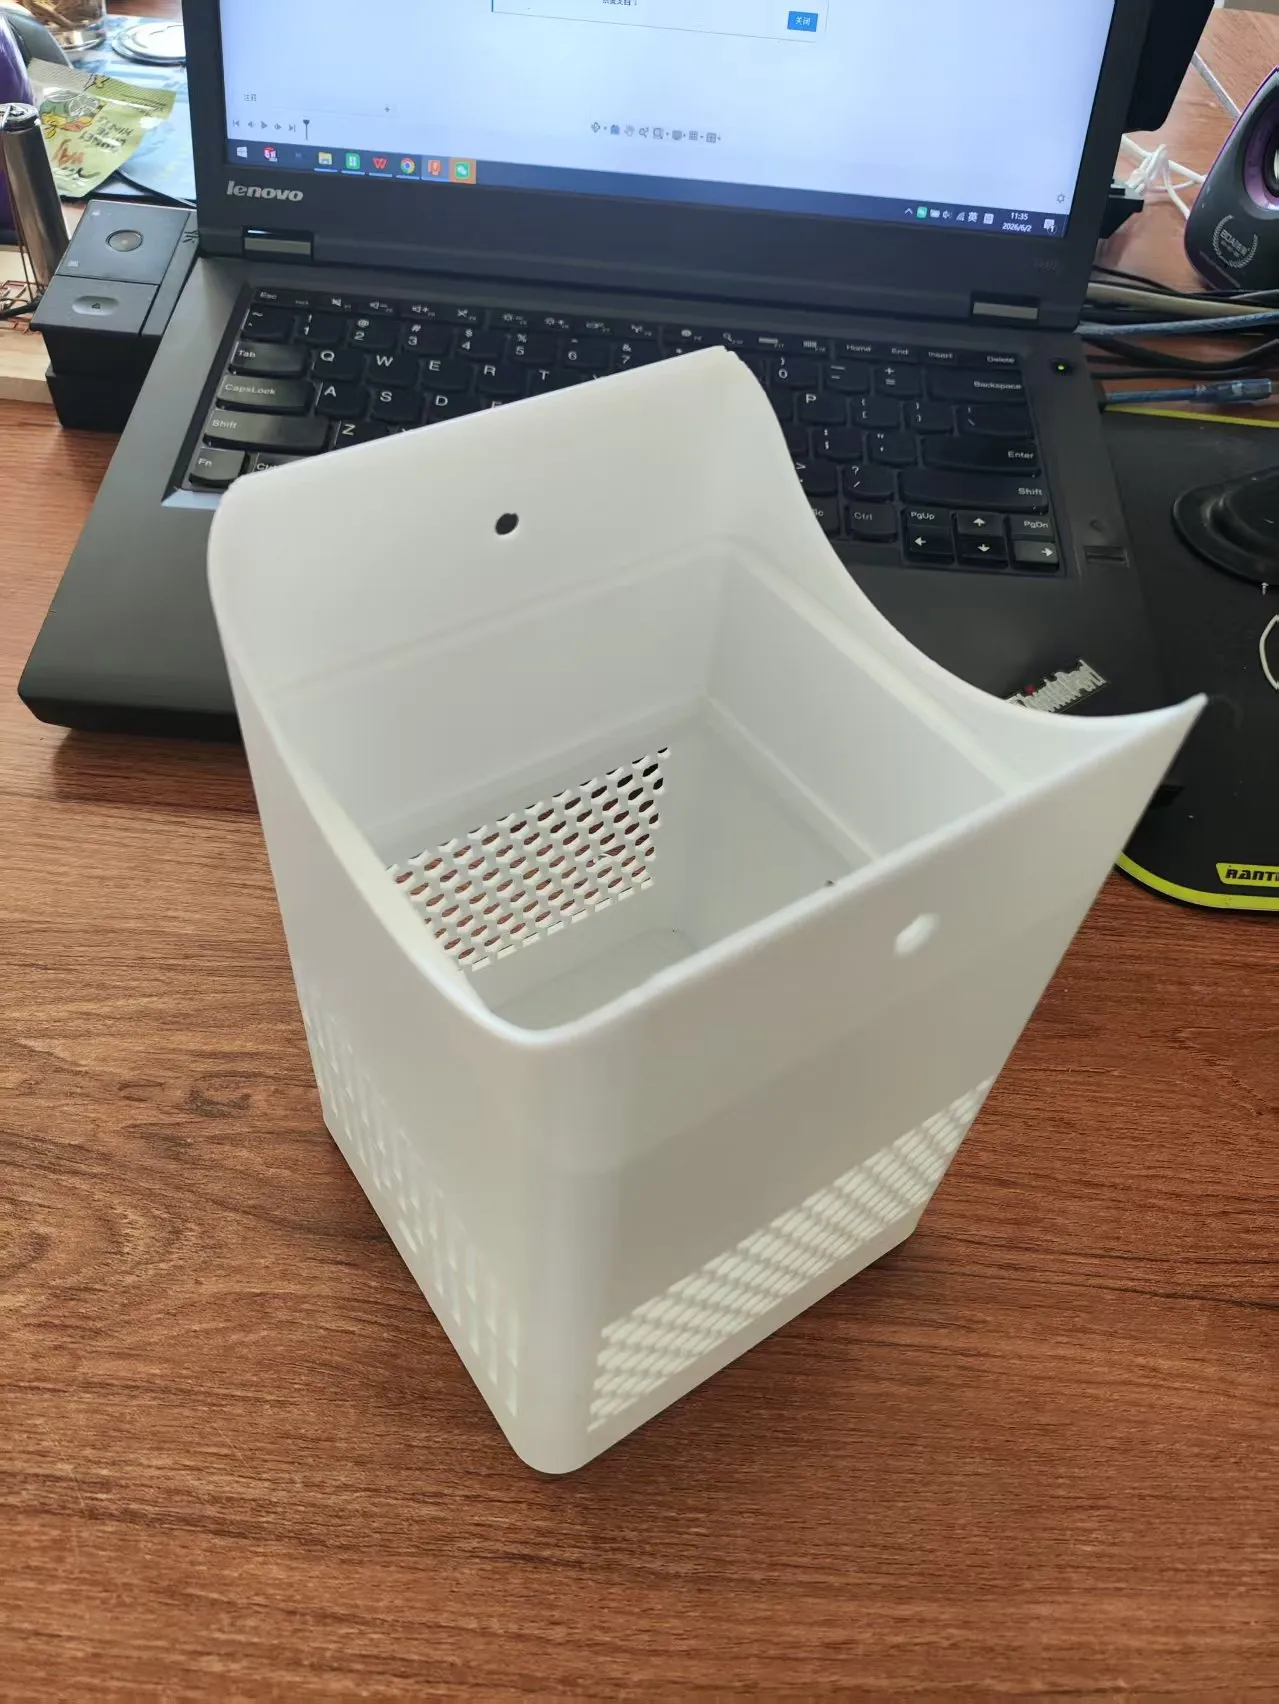
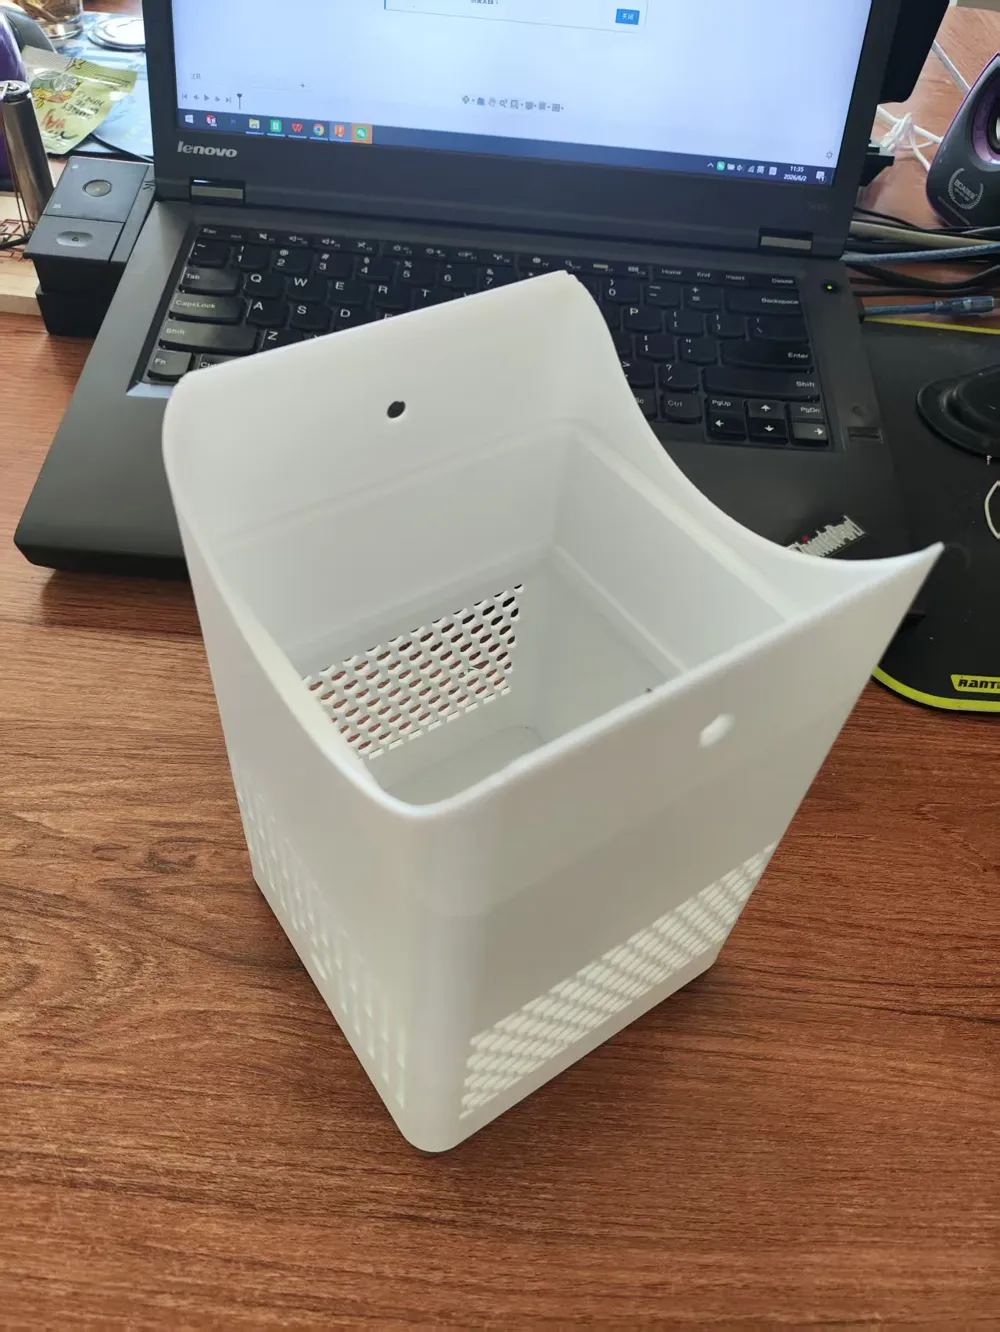
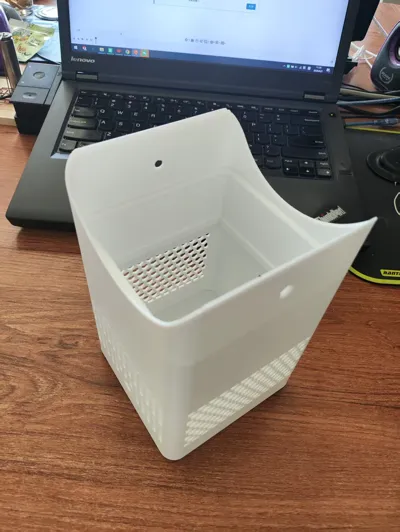
Base: All electronic components are here
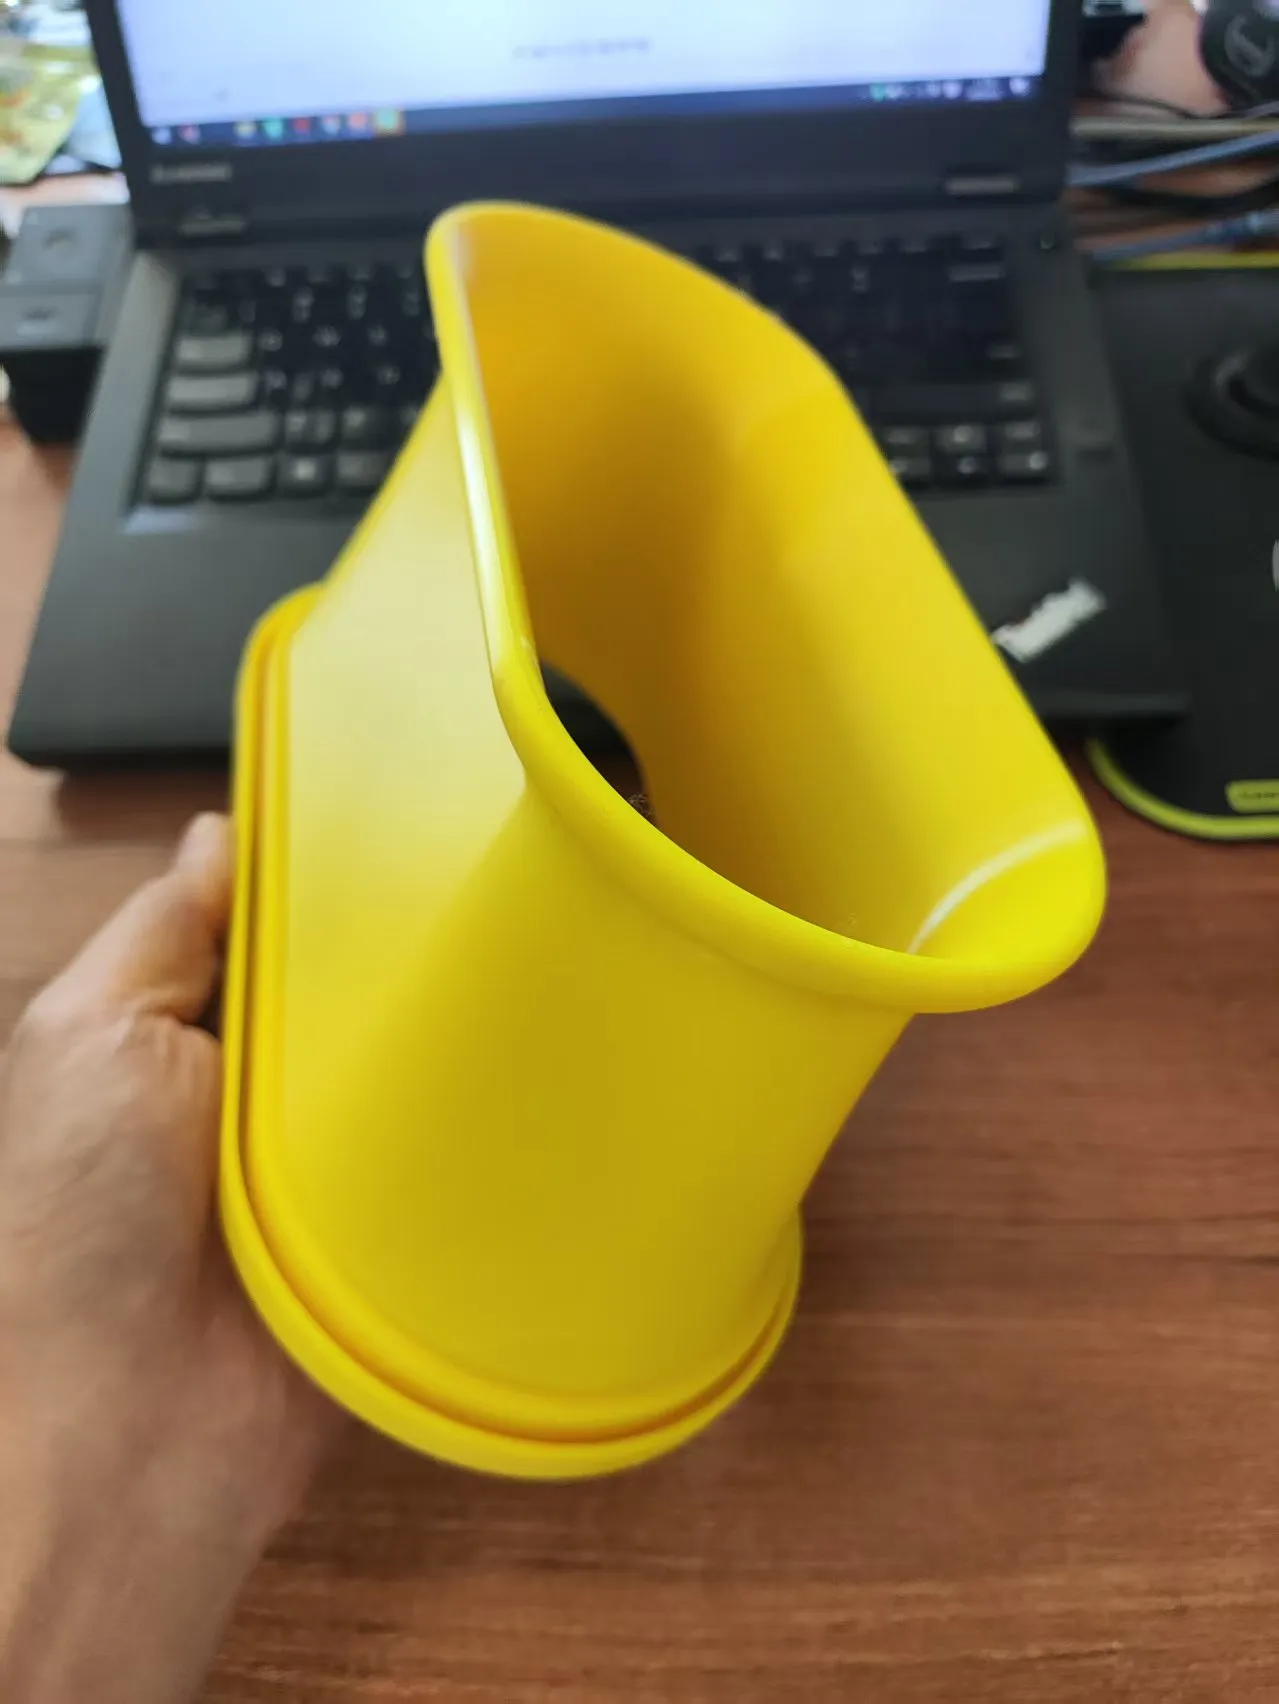
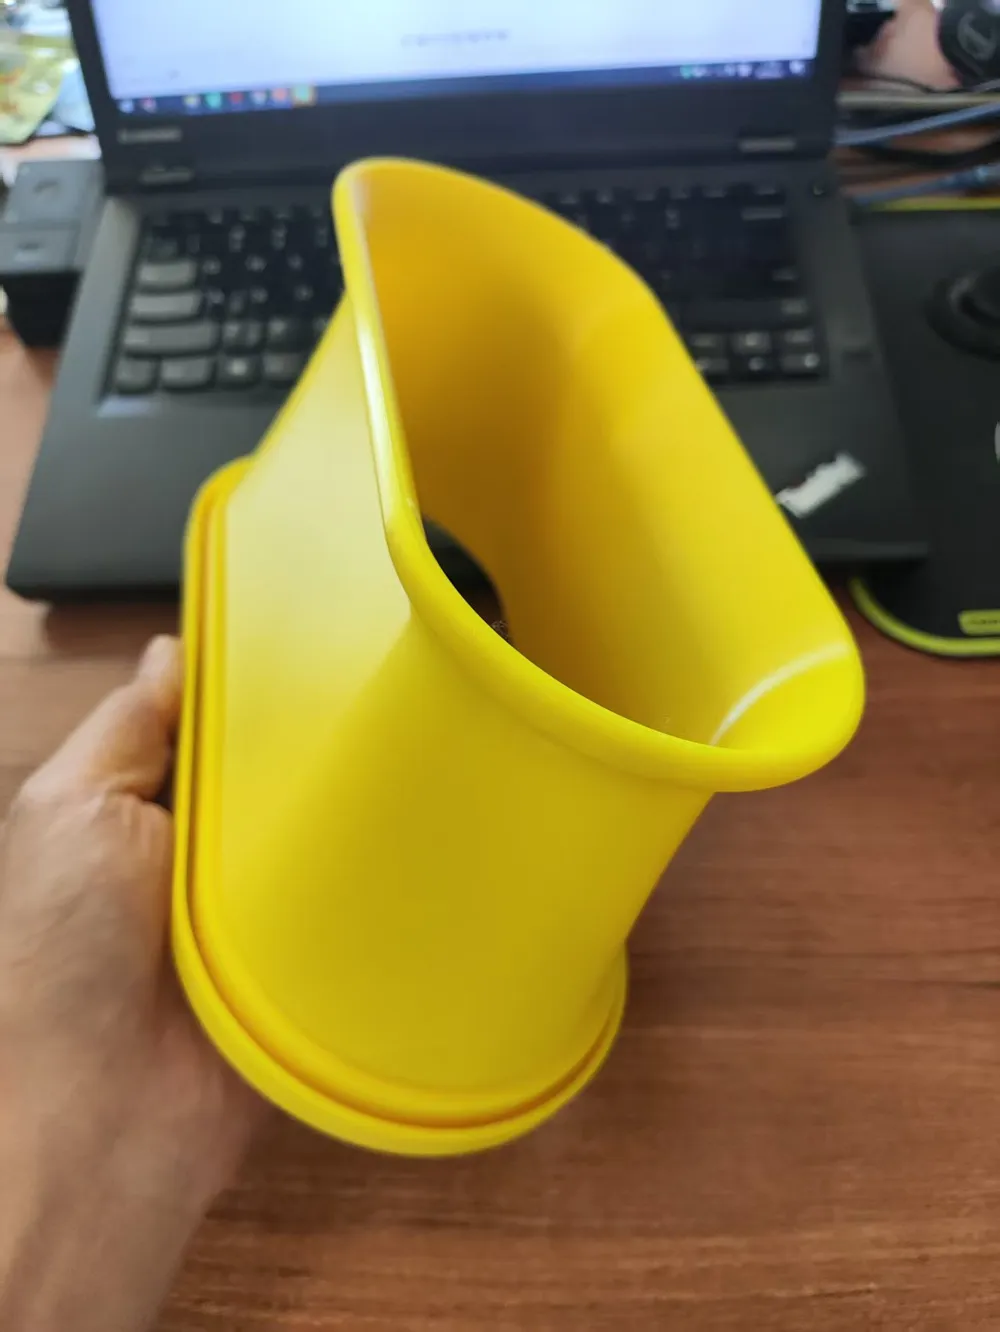
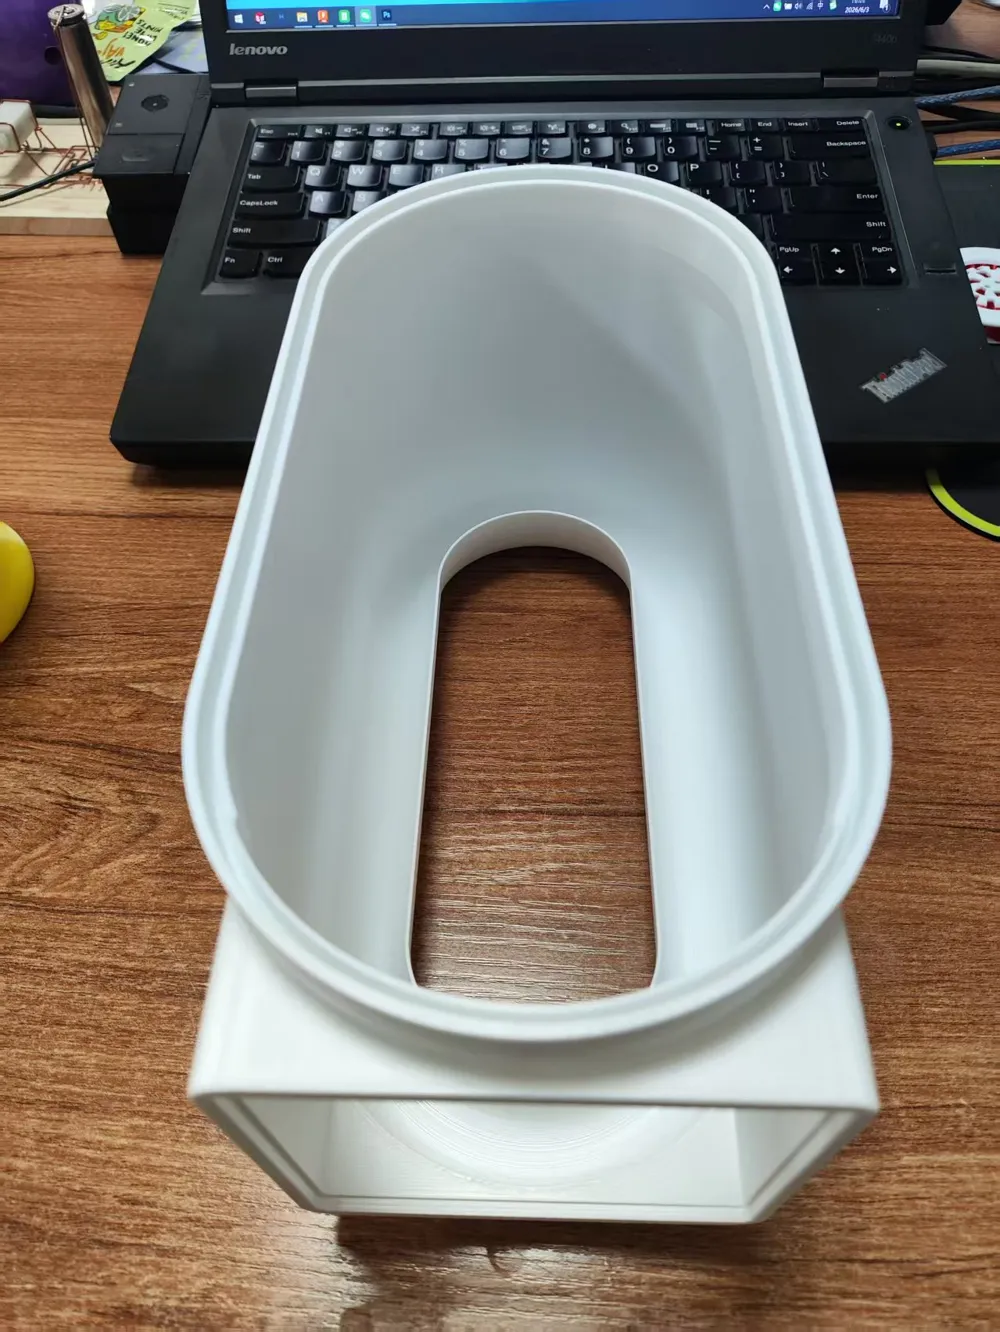
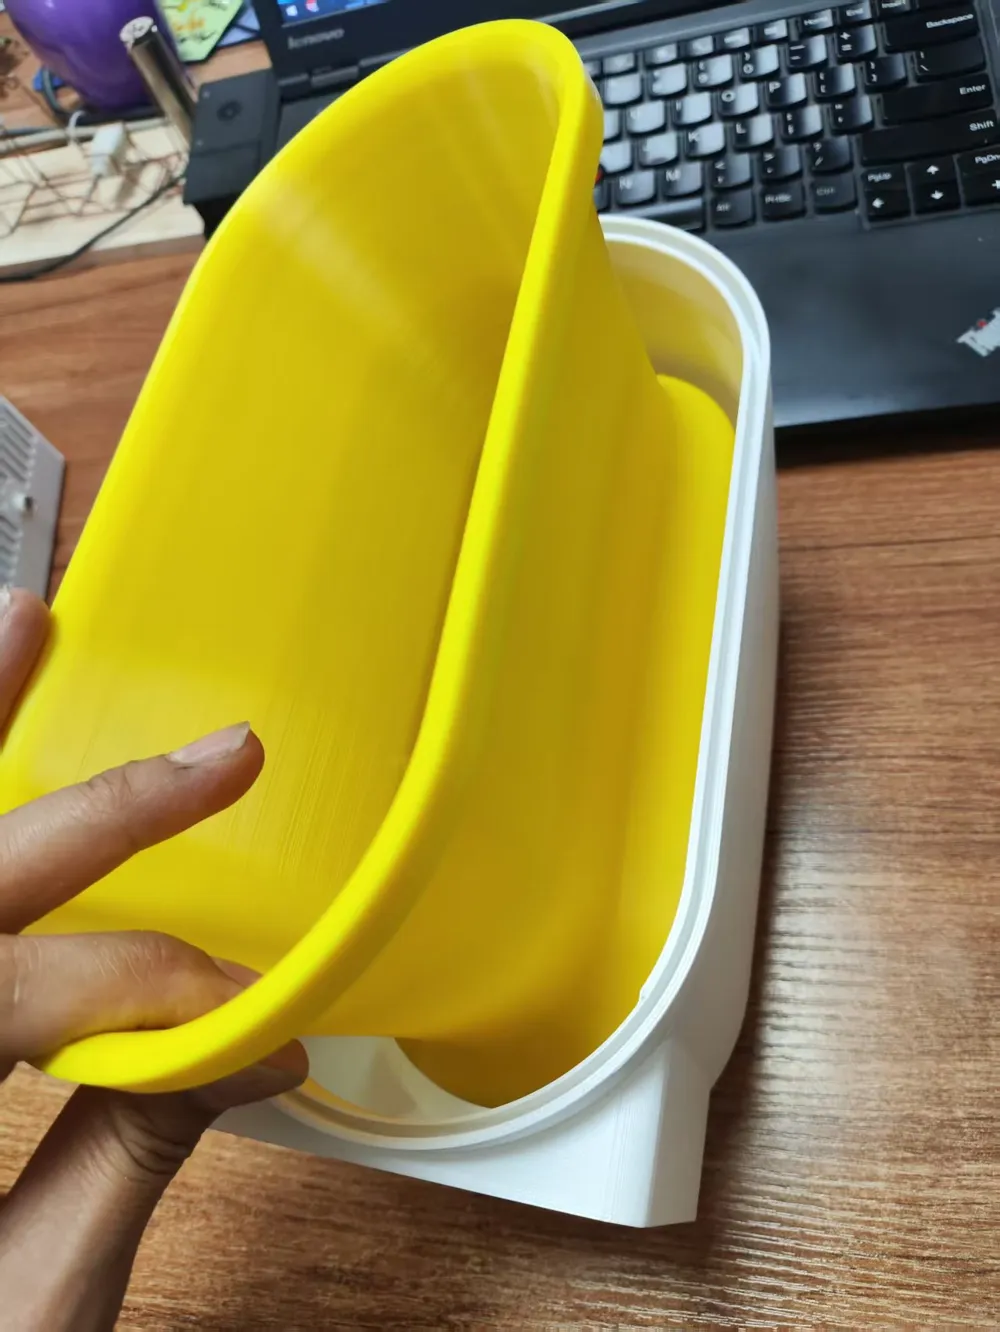
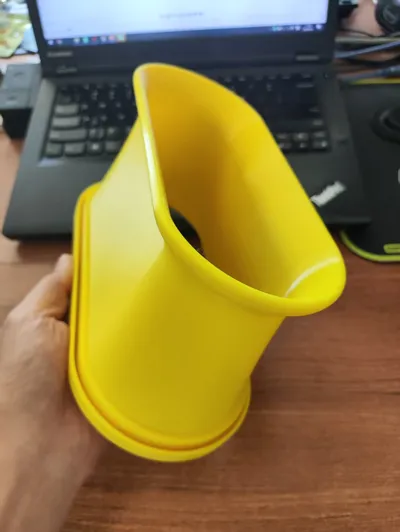
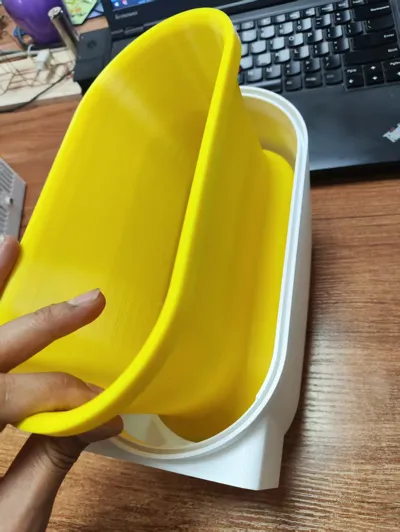
Fan inner shell
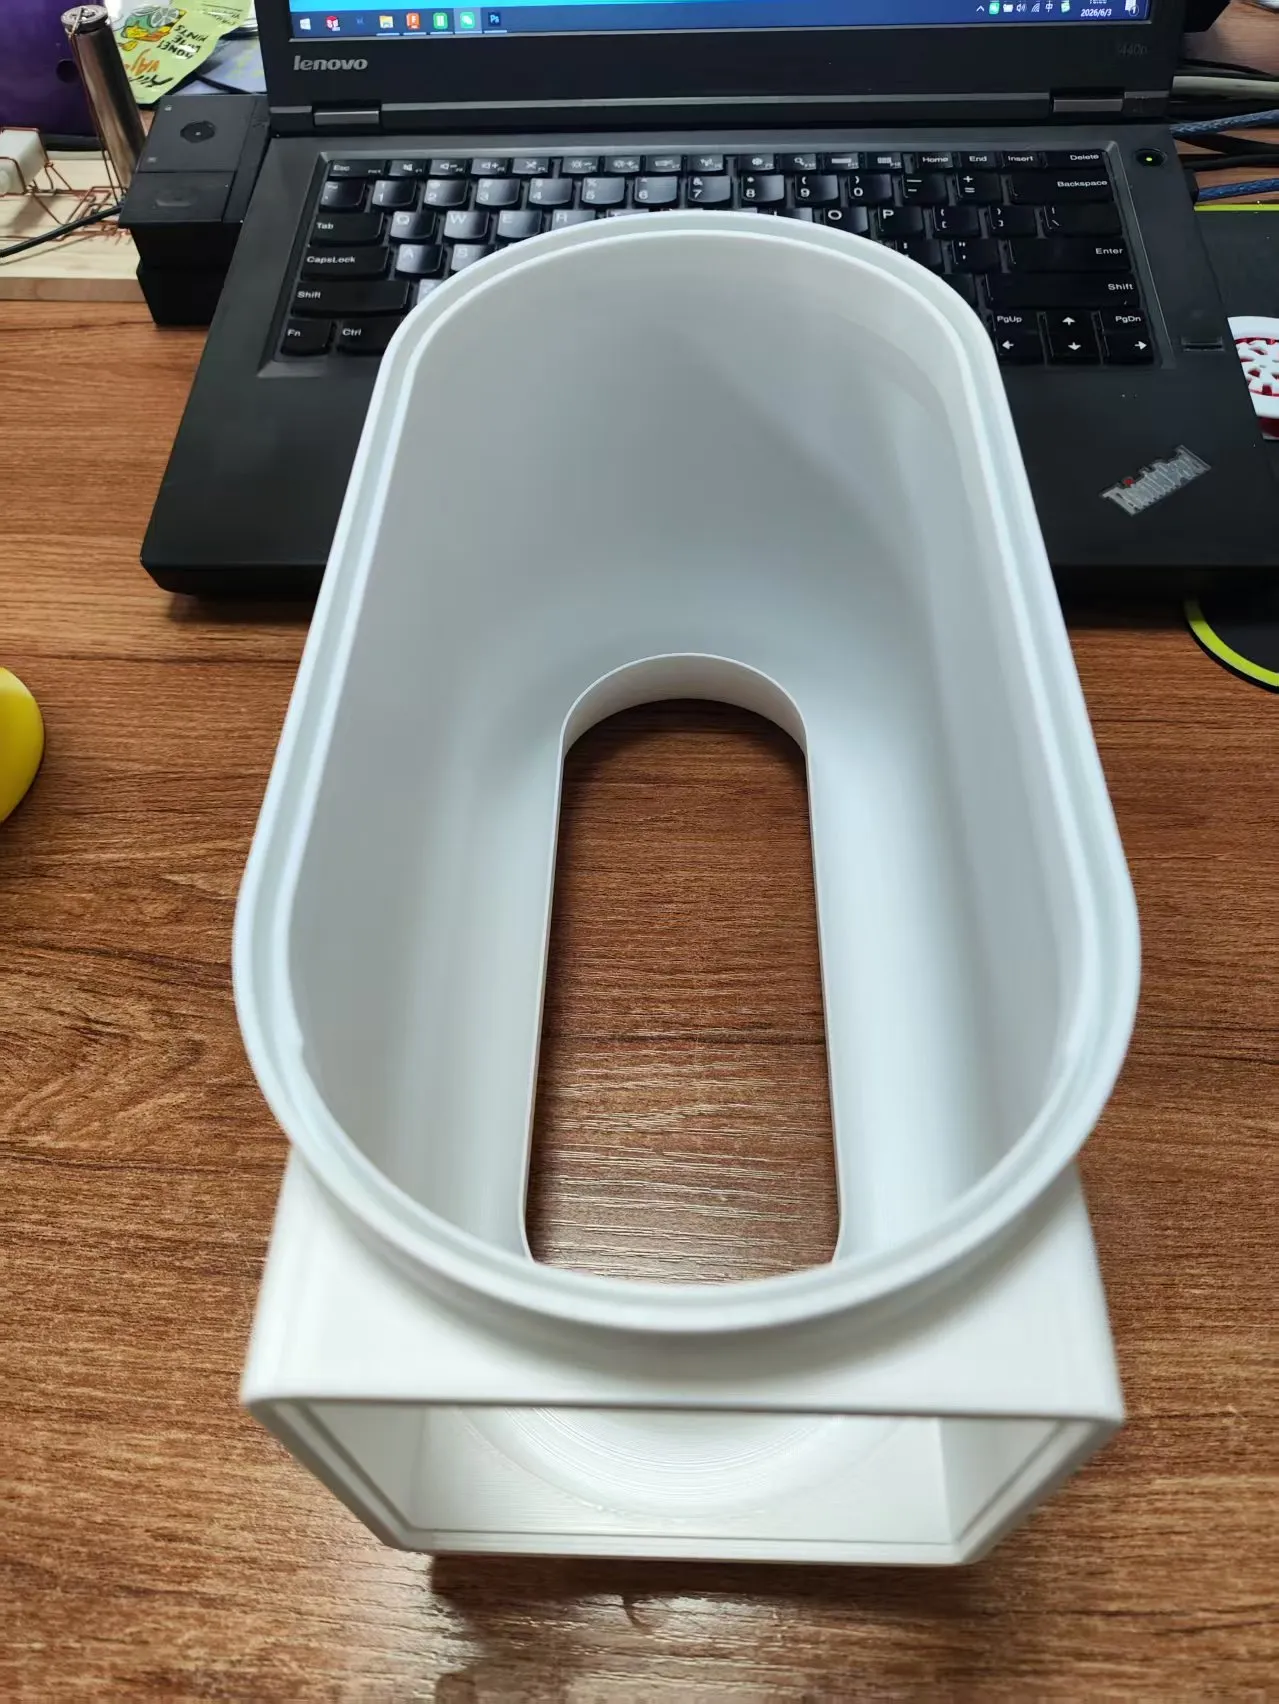
Fan outer shell
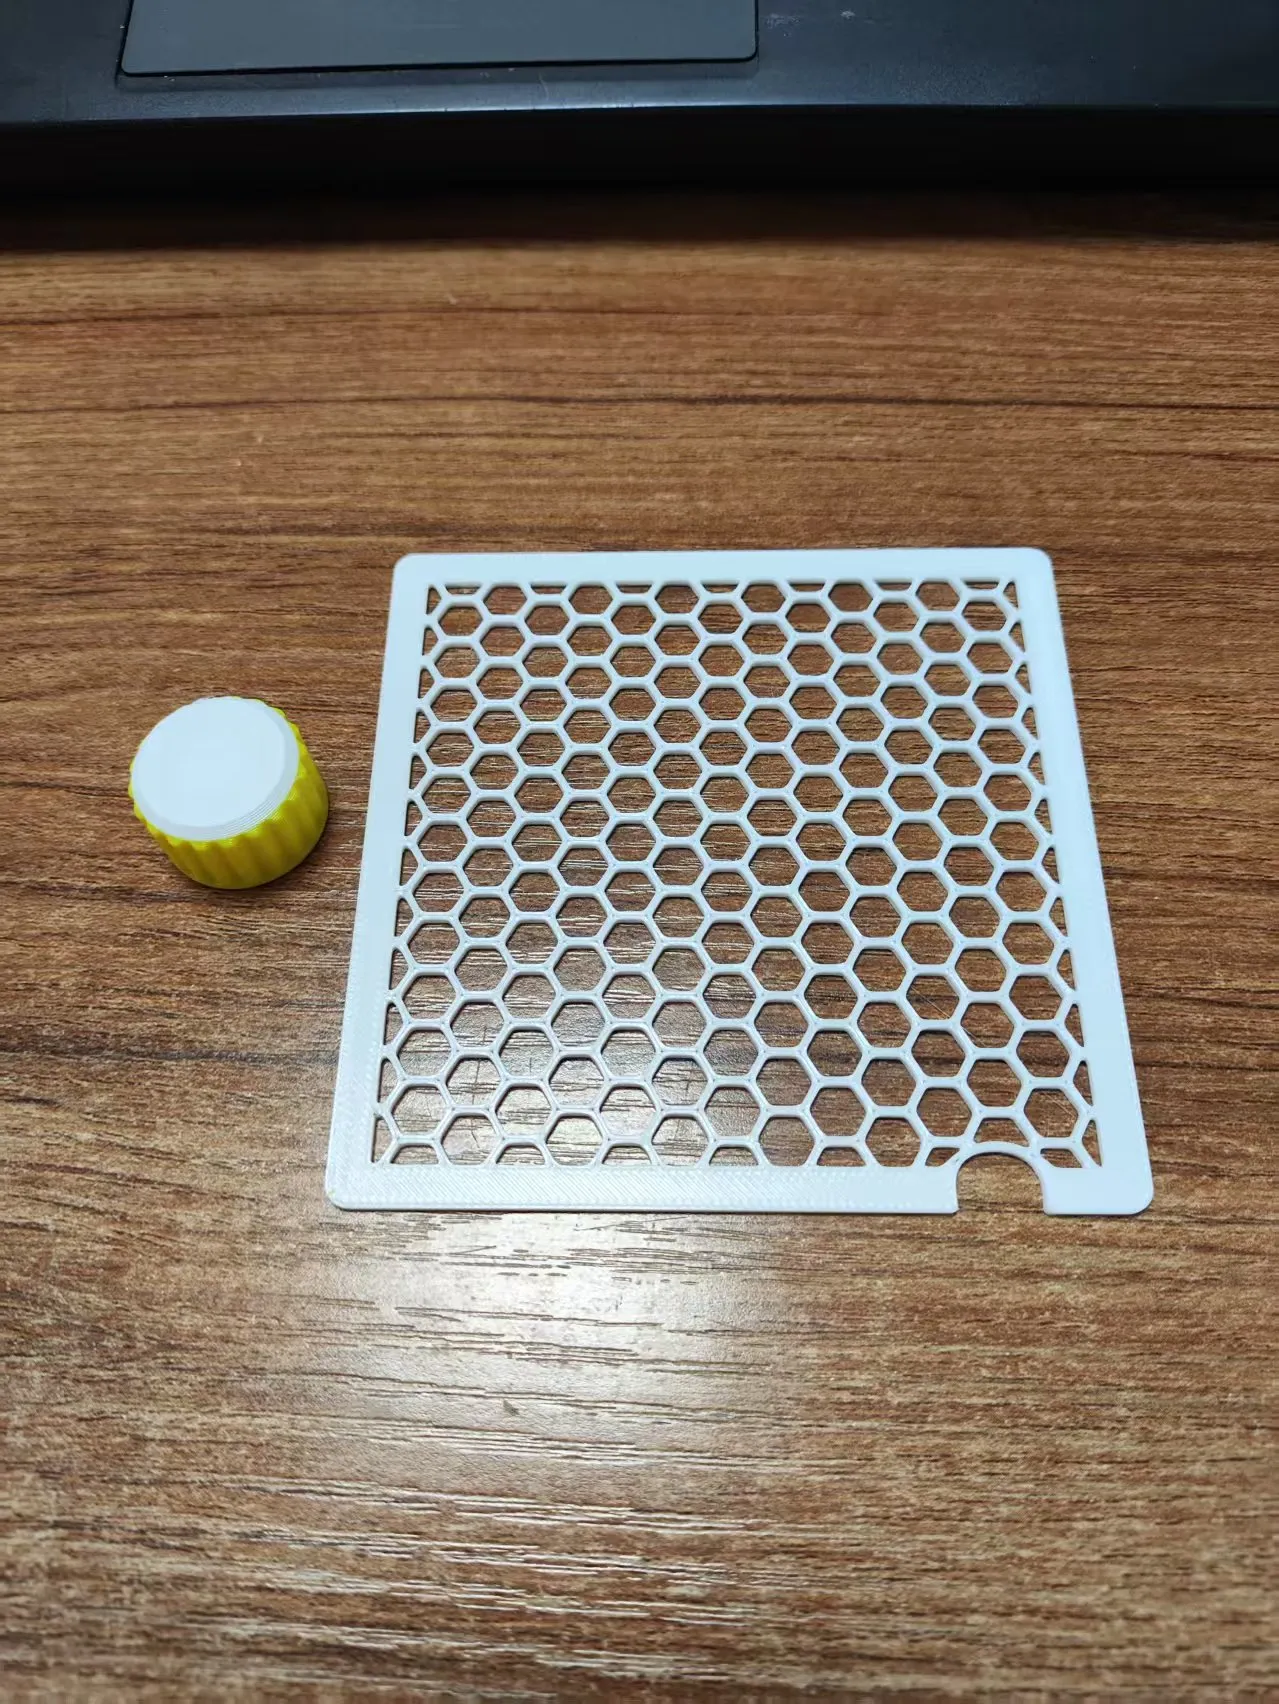
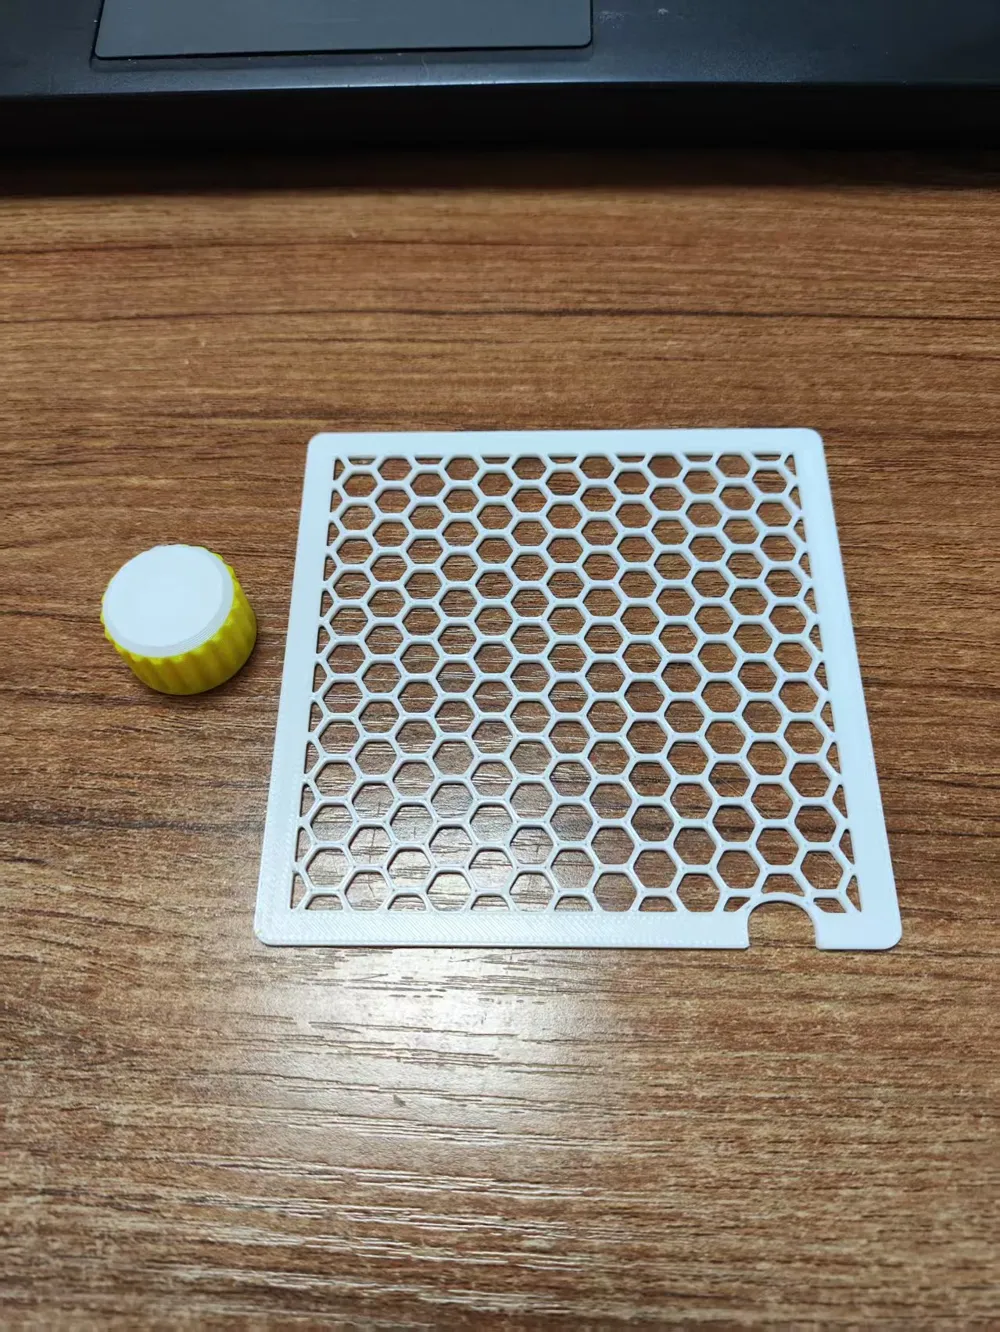
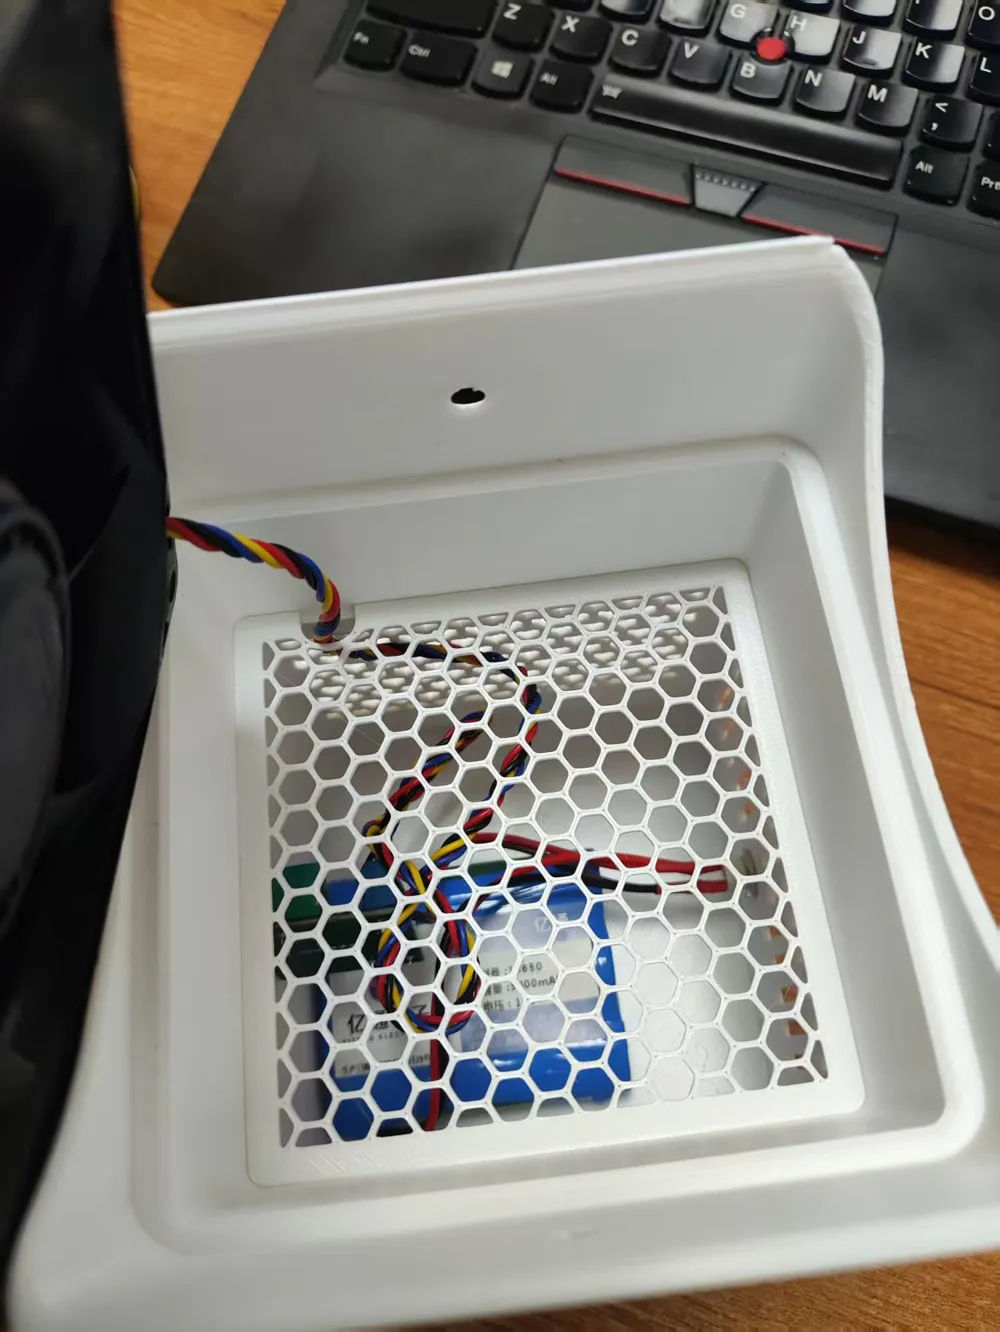
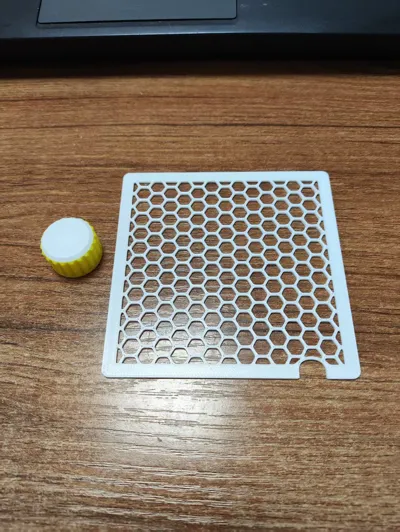
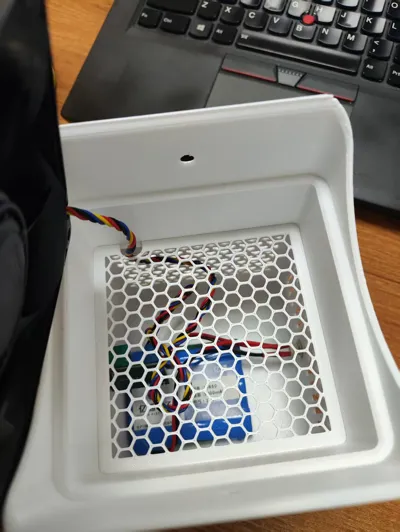
Isolation mesh between fan and electronic components to prevent wires from getting caught in the fan, and the speed control knob
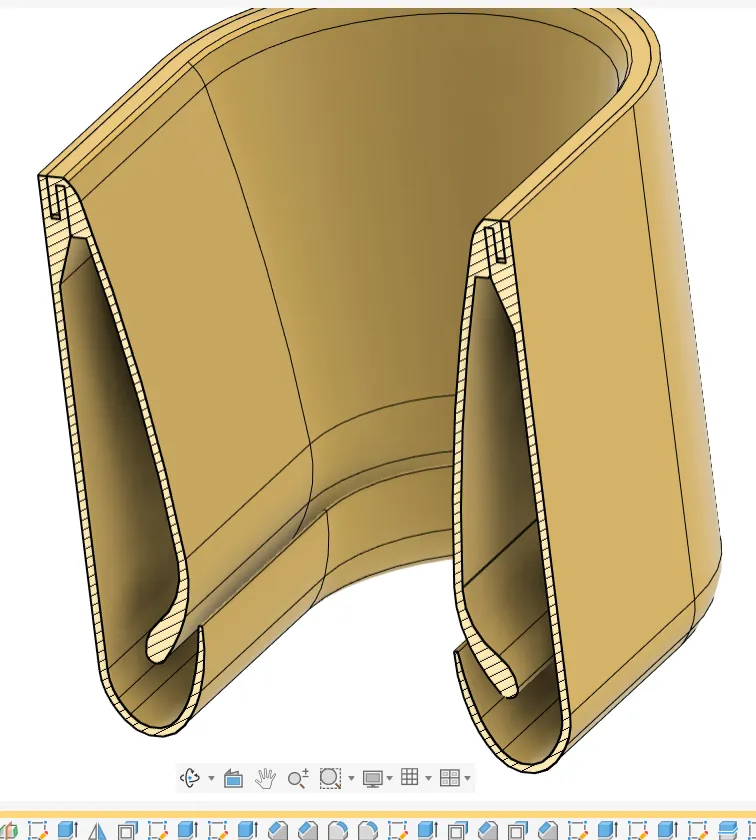
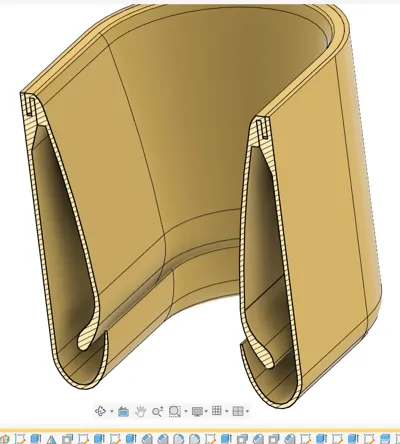
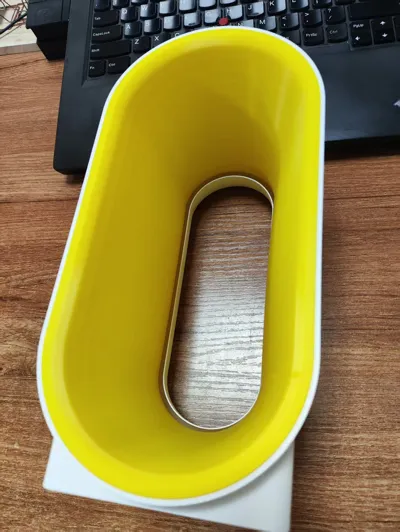
Wing-like airflow guide design can provide more airflow
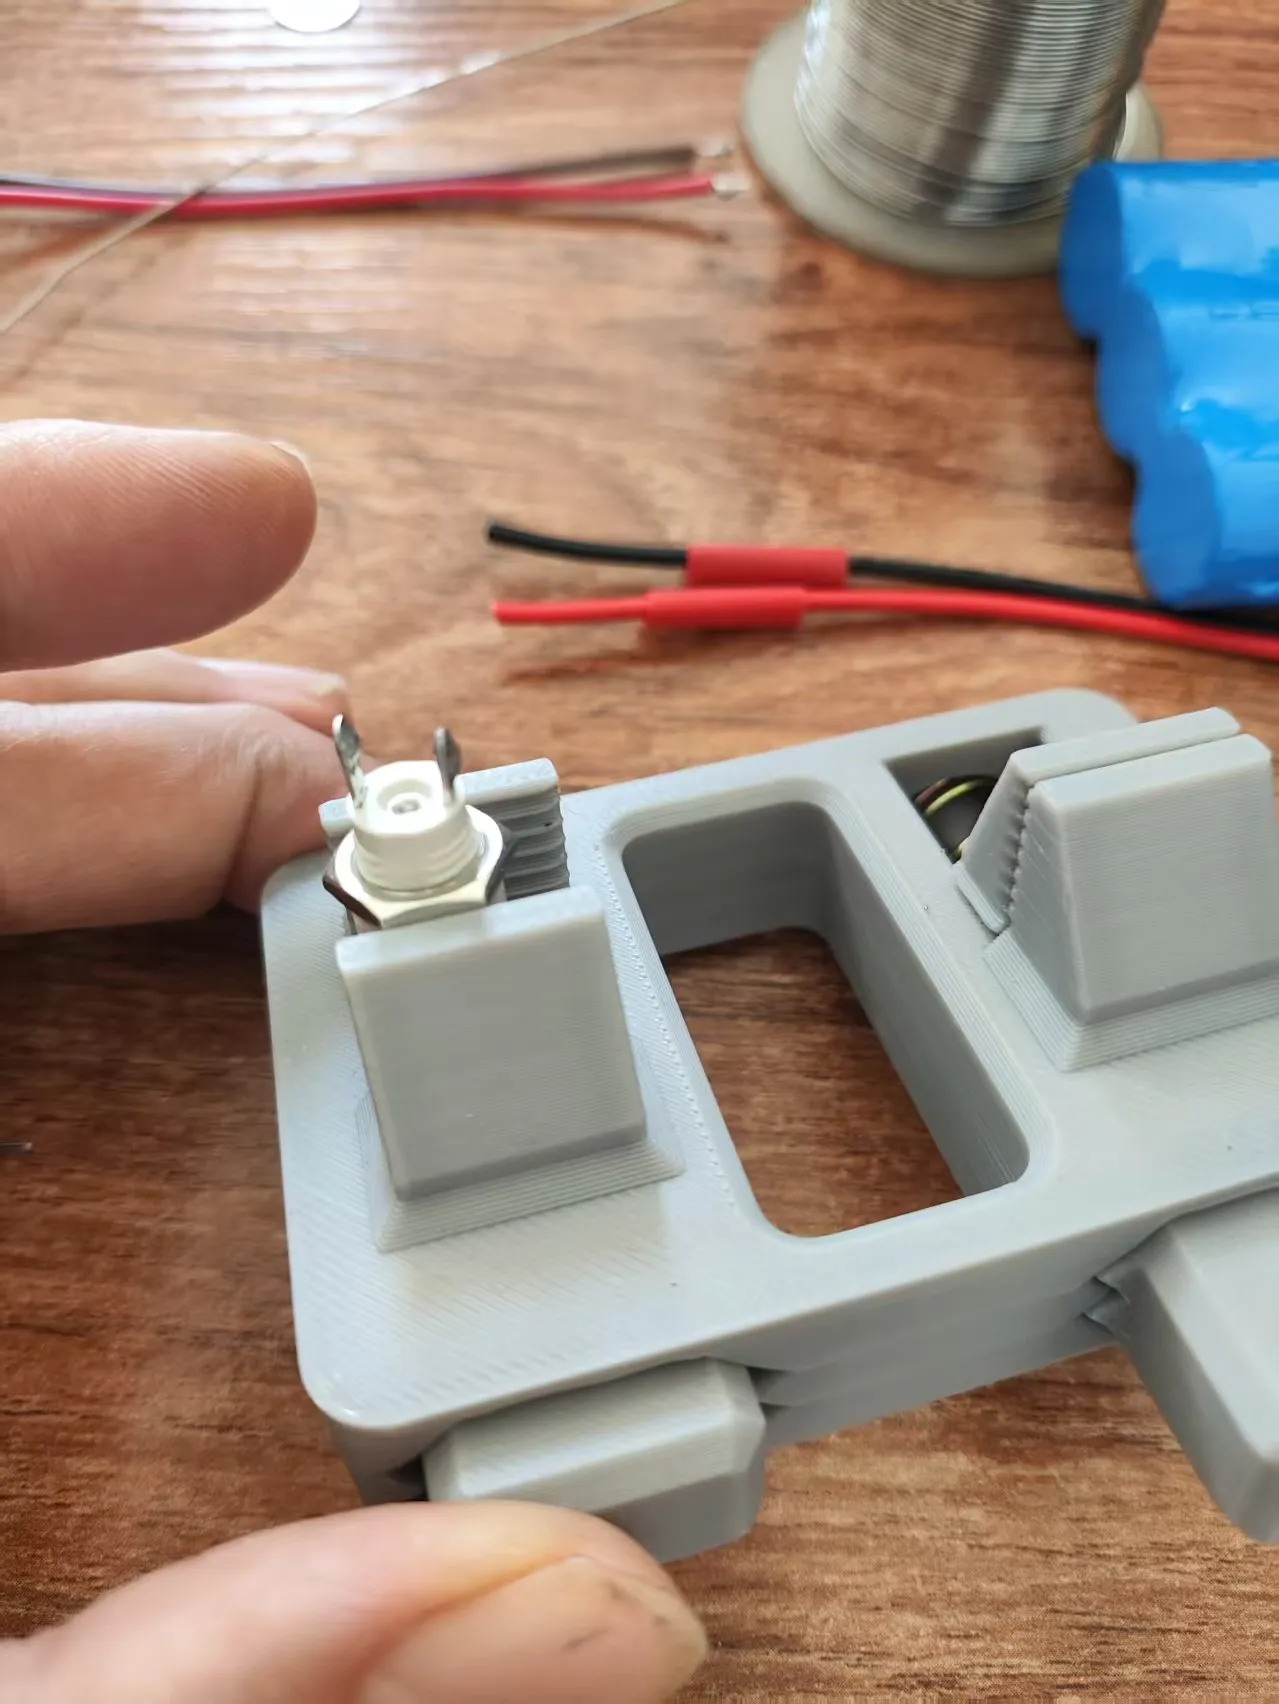
Tinning the DC connector makes soldering easier
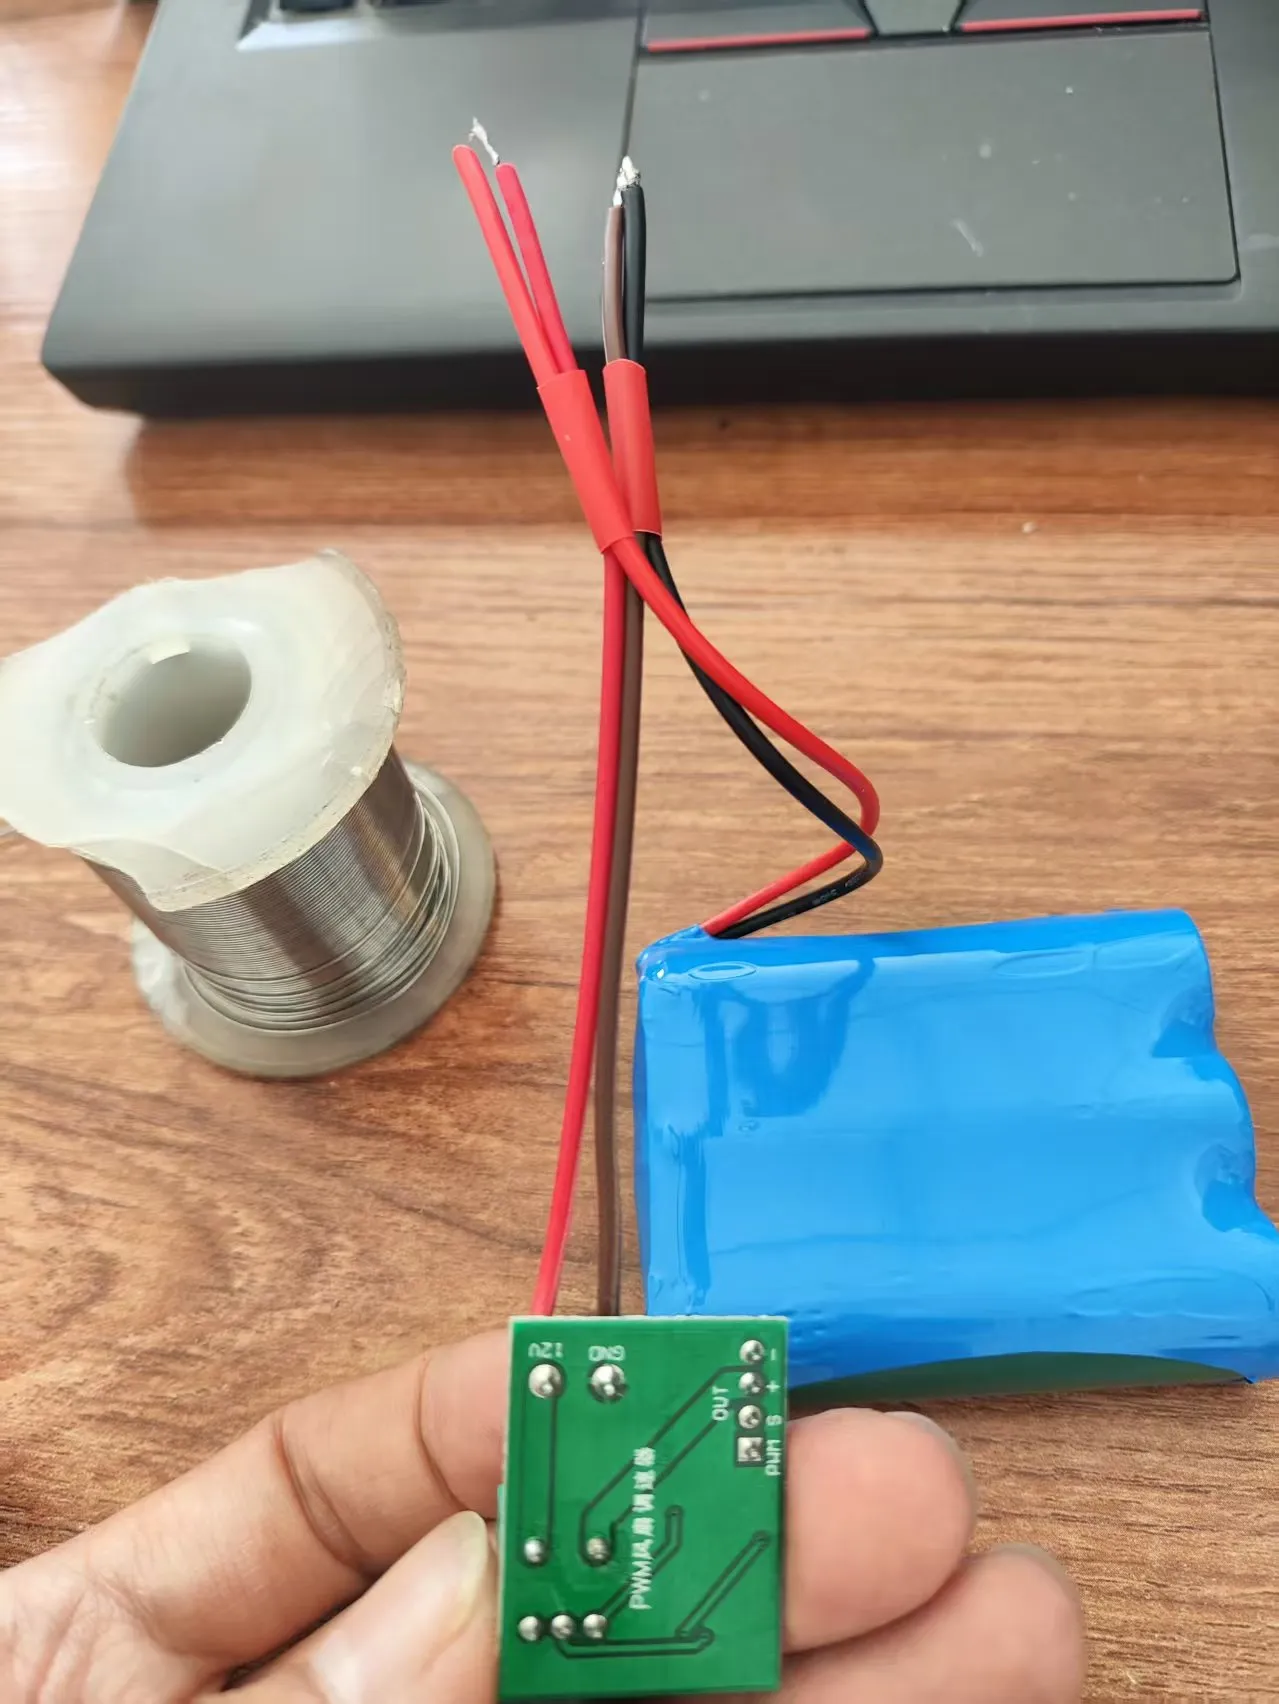
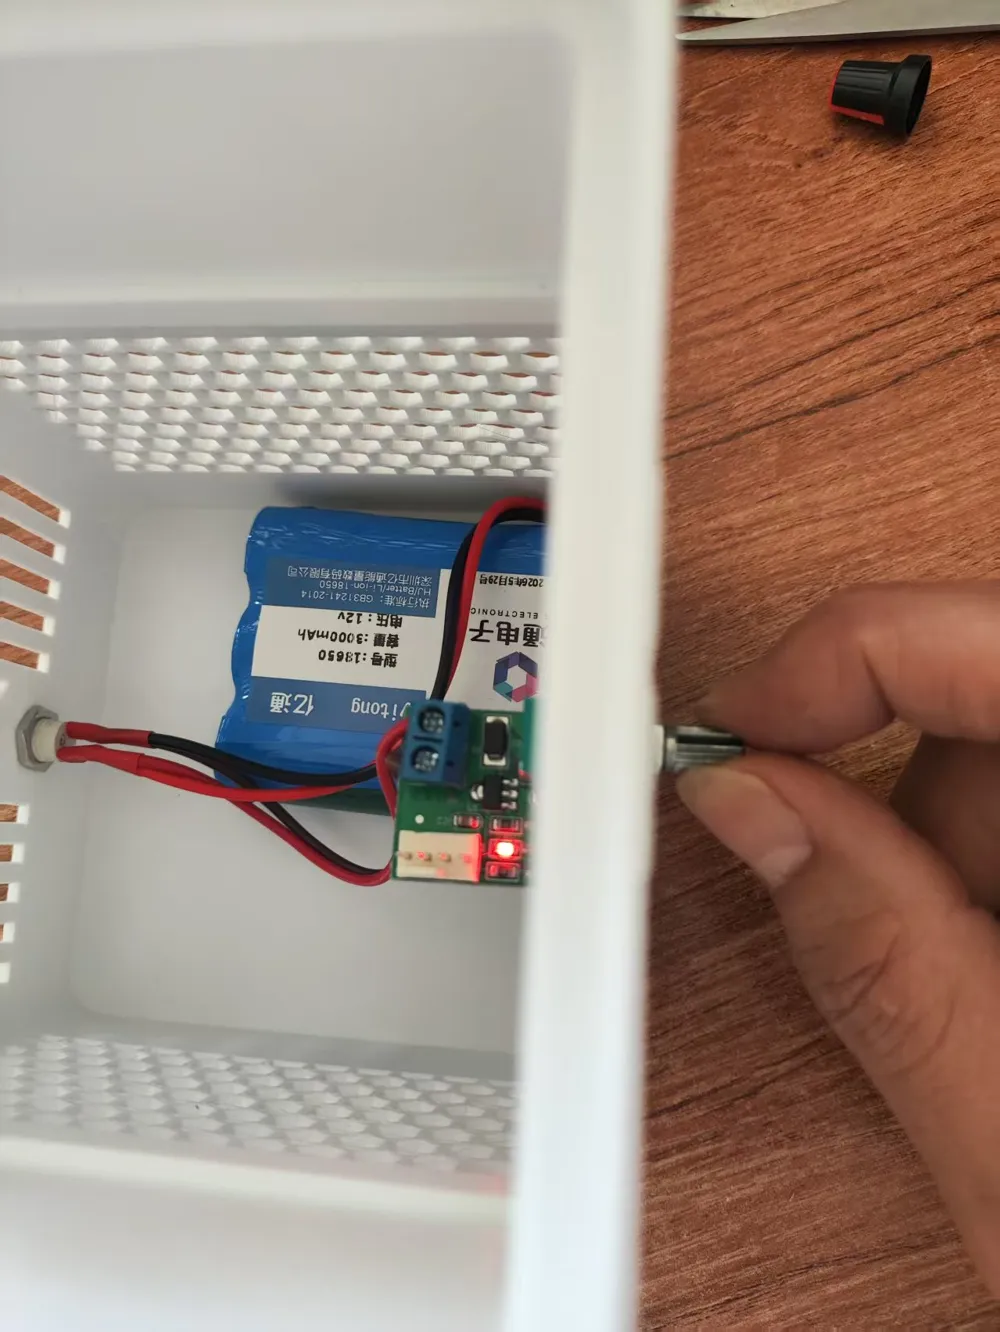
Connect the speed controller and battery in parallel, making sure the positive and negative poles are connected correctly. Attention: Do not strip the positive pole of the battery first to prevent short circuits
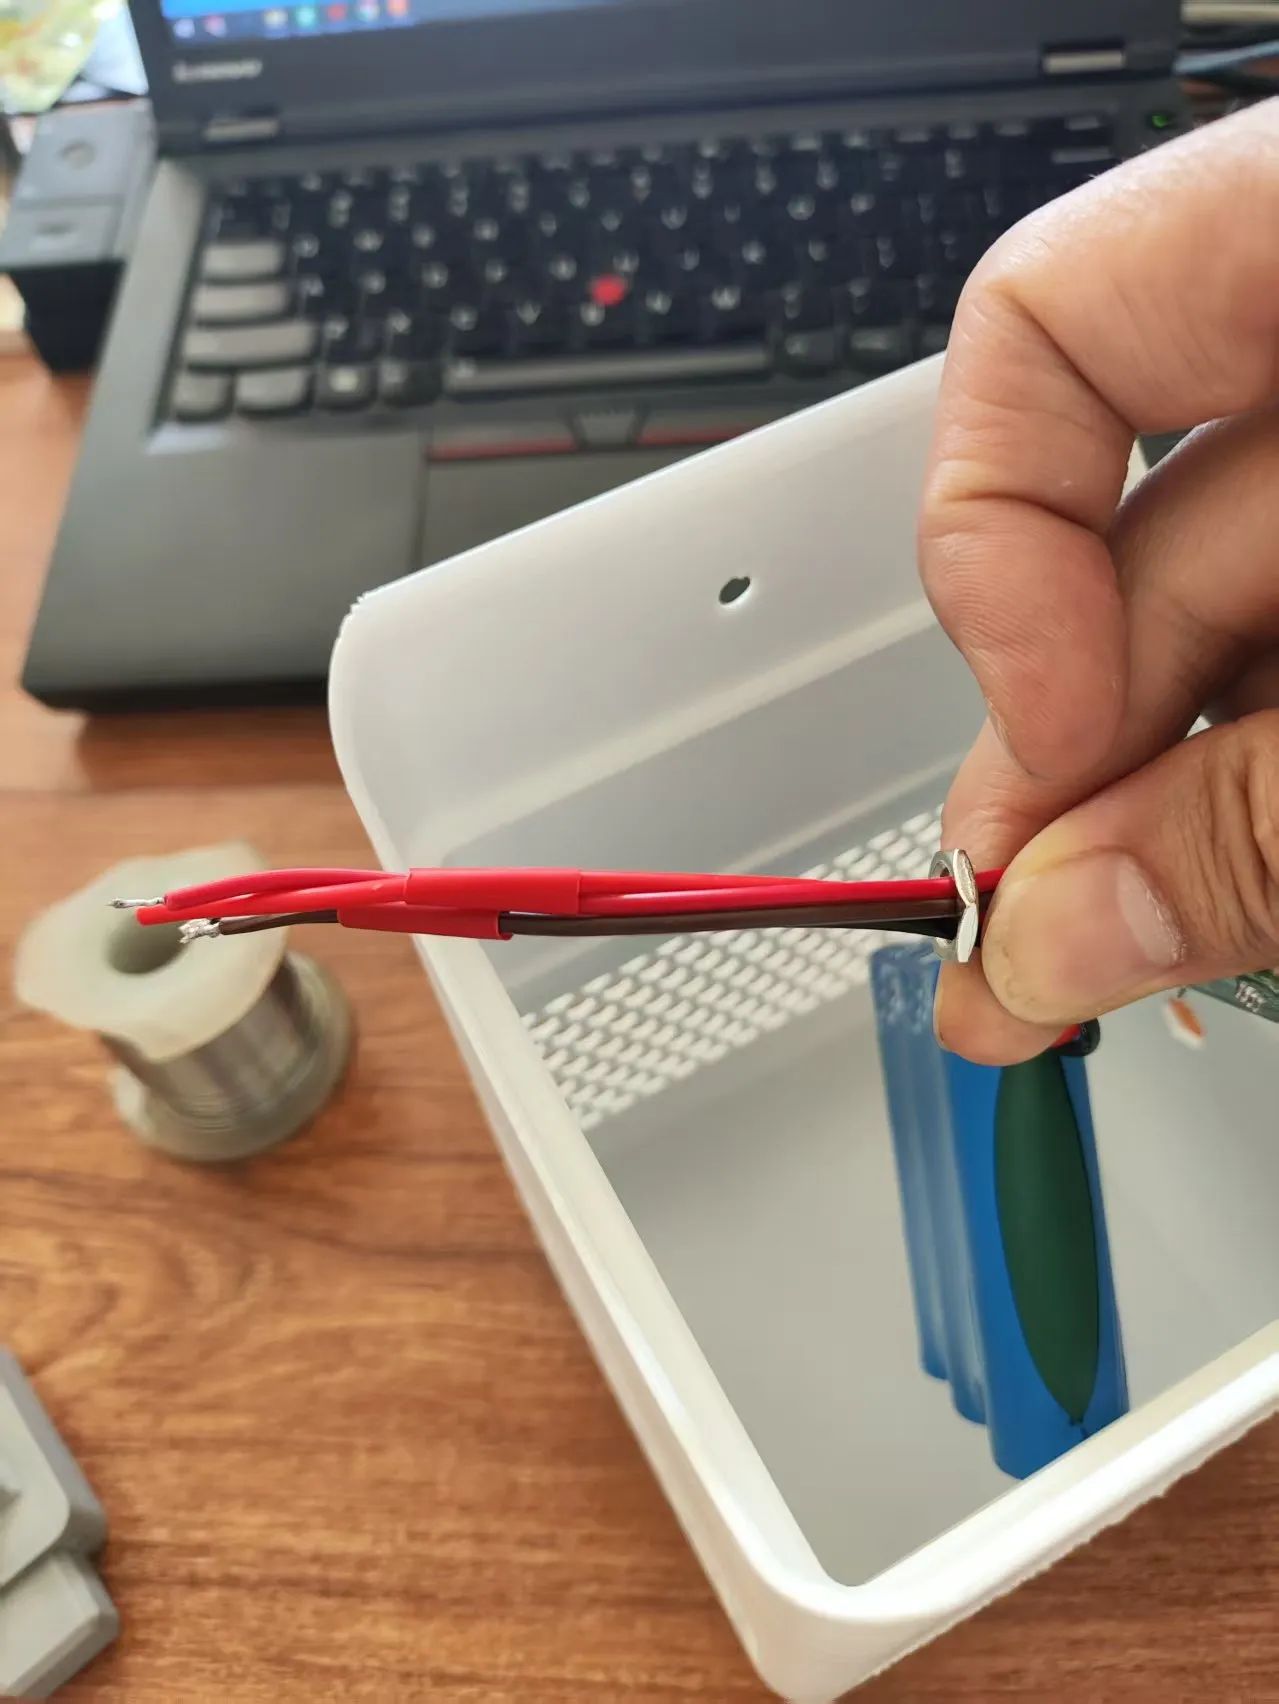
Thread the screw of the DC power connector onto the wire first, Don't forget this crucial step. Attention: Do not strip the positive pole of the battery first to prevent short circuits
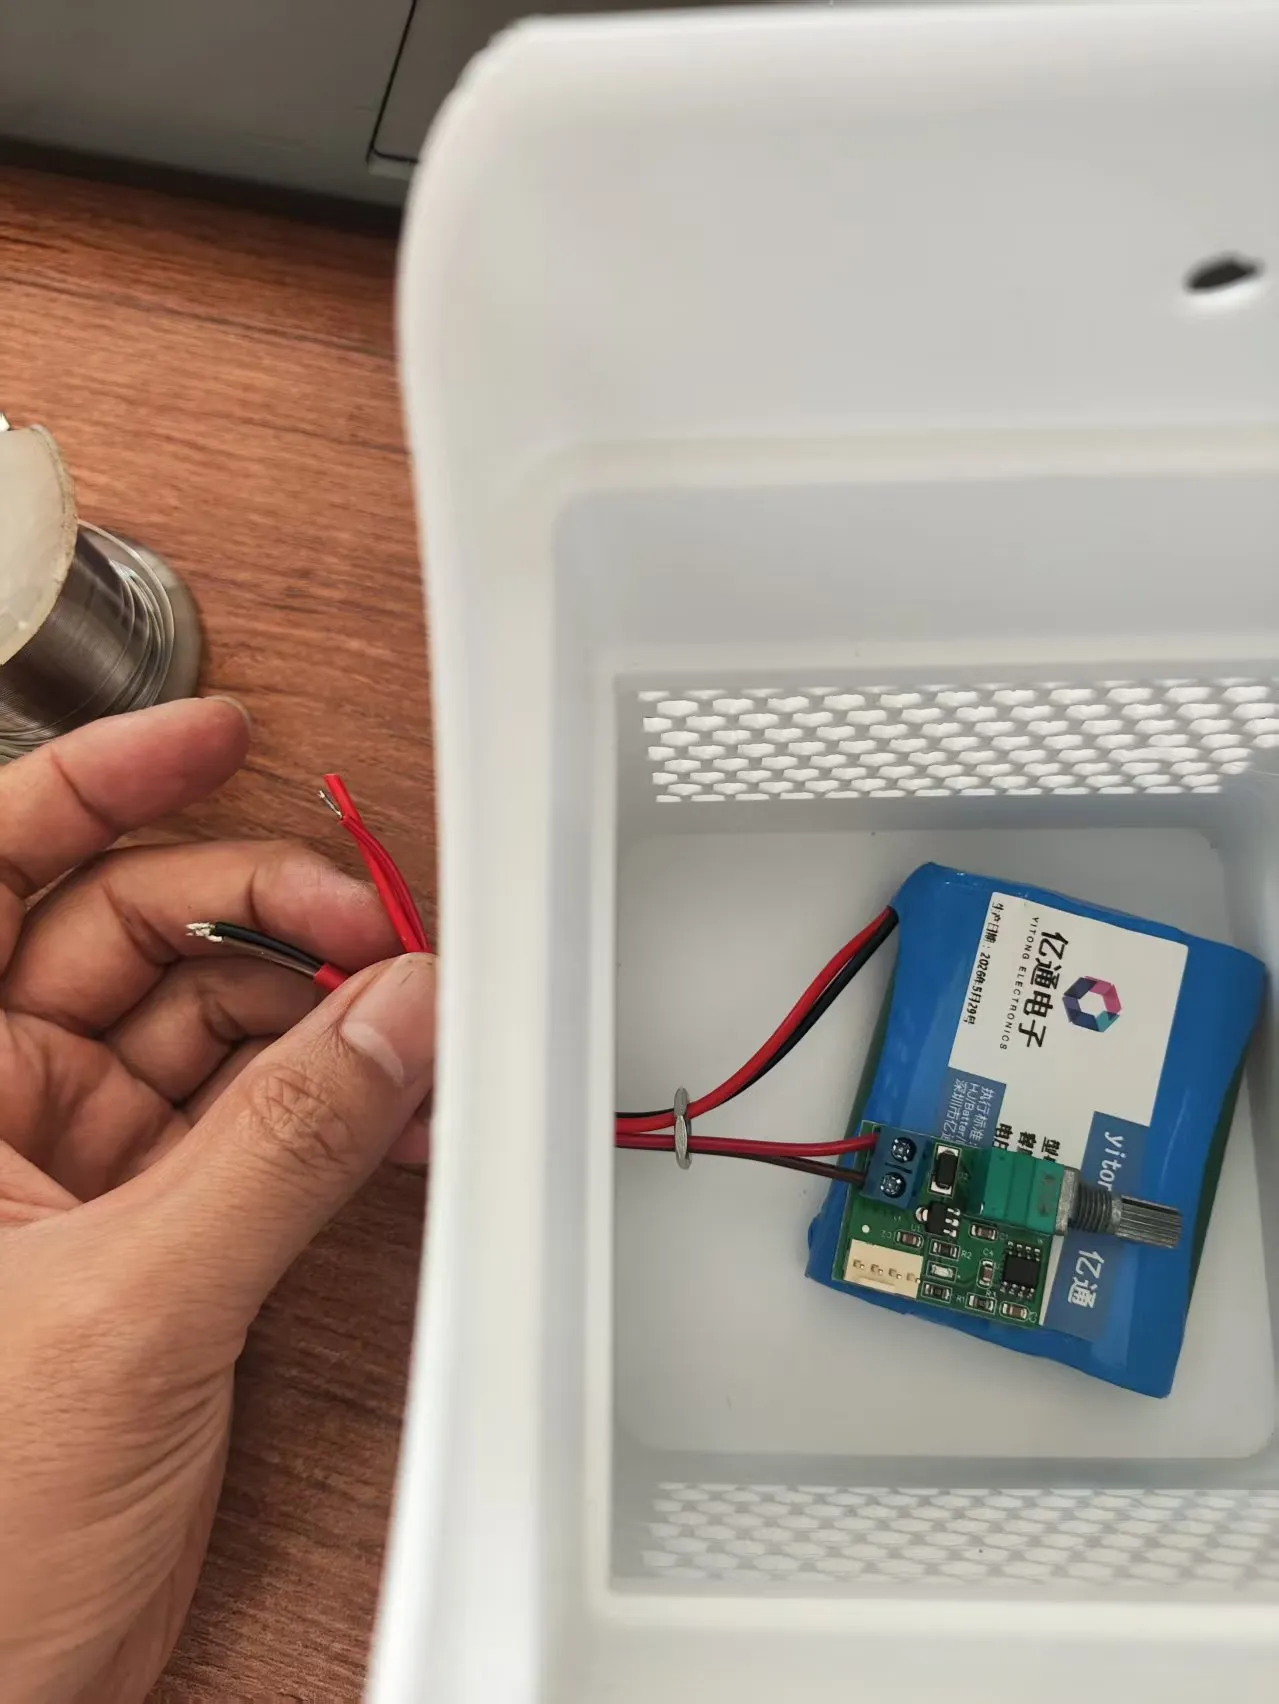
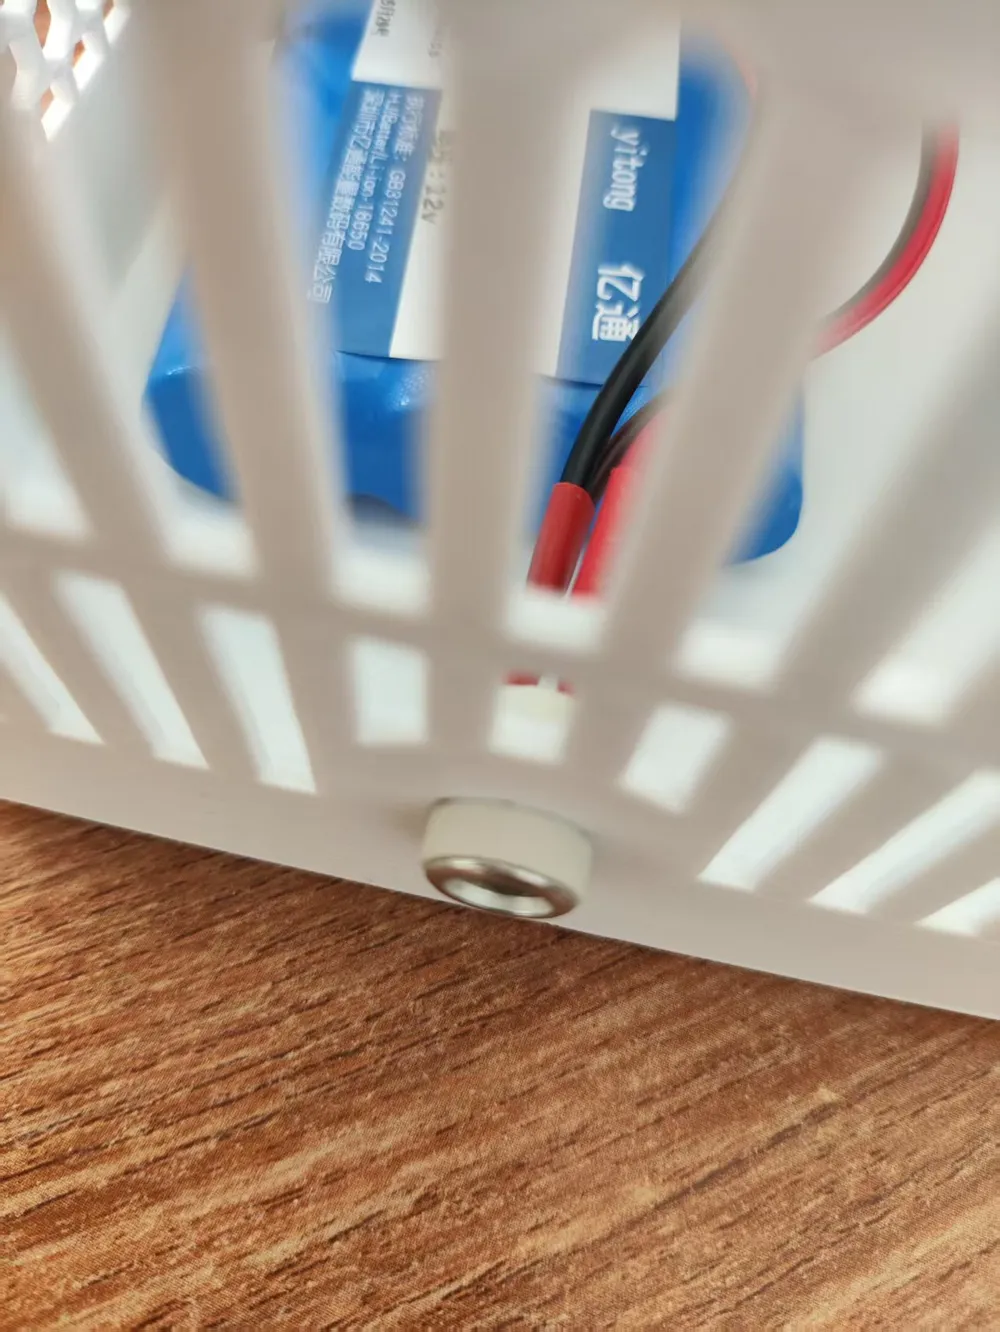
Thread the wire through the DC's fixing hole, leaving the screw inside. Attention: Do not strip the positive pole of the battery first to prevent short circuits
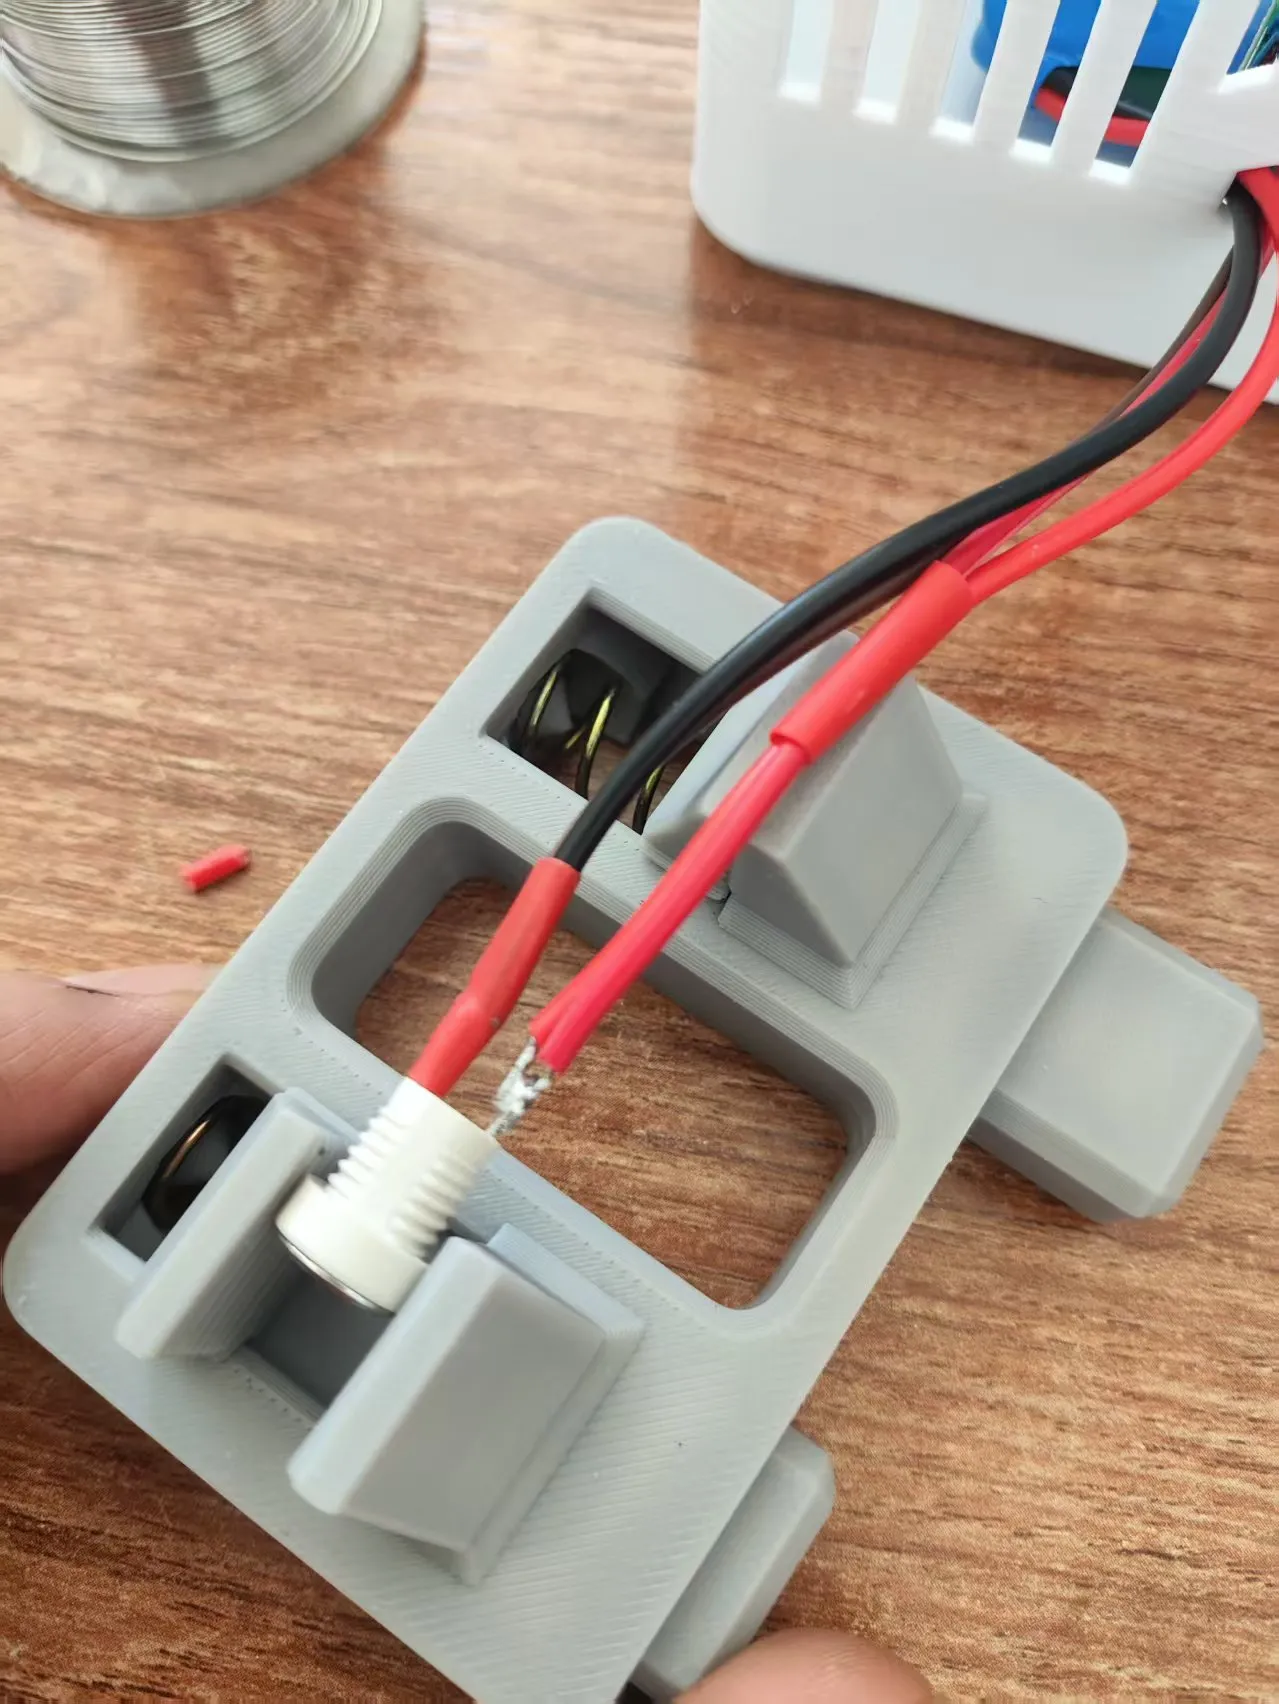
Solder the positive and negative poles to the DC socket, paying attention to the direction of the positive and negative poles, and cover with heat shrink tubing for insulation
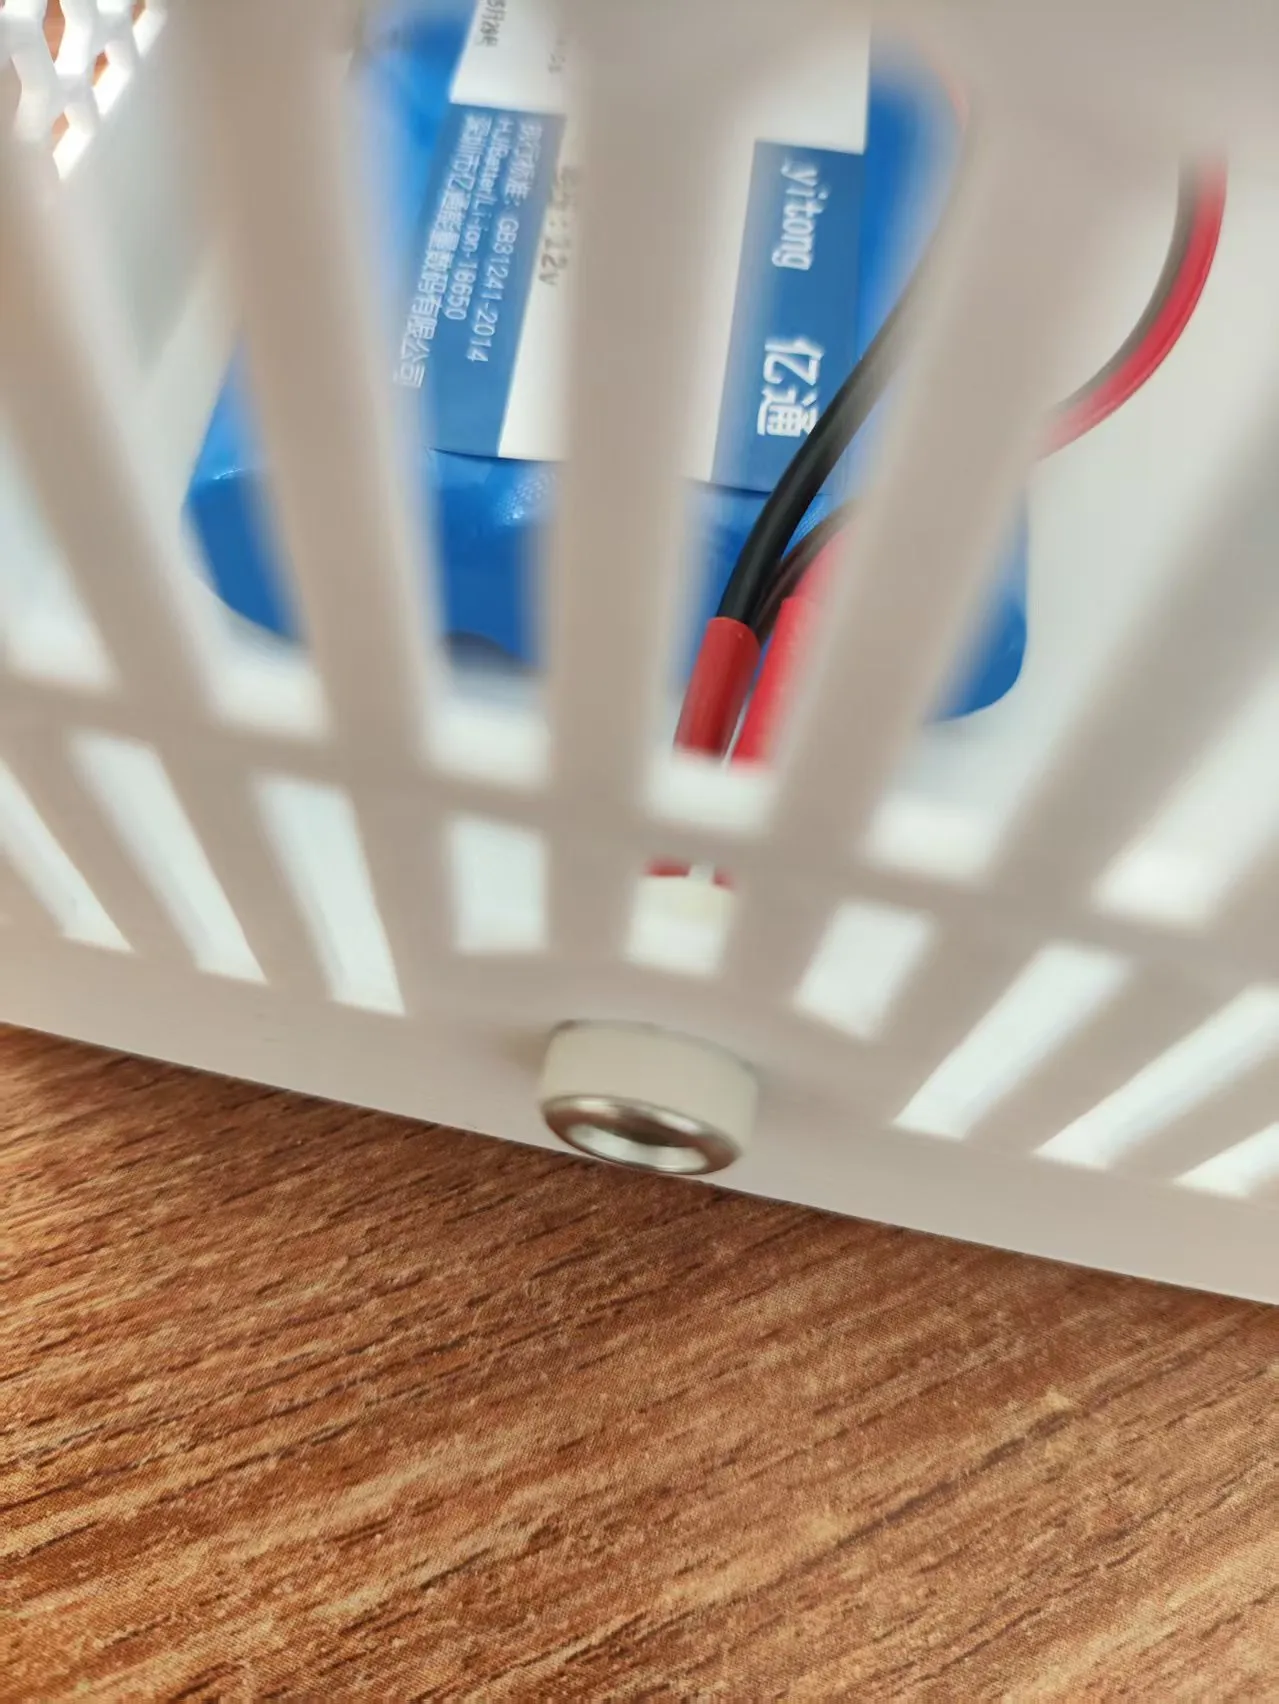
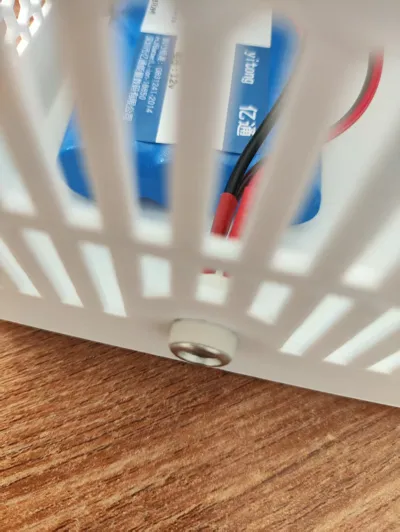
The DC socket is fixed to the housing with the internal screw
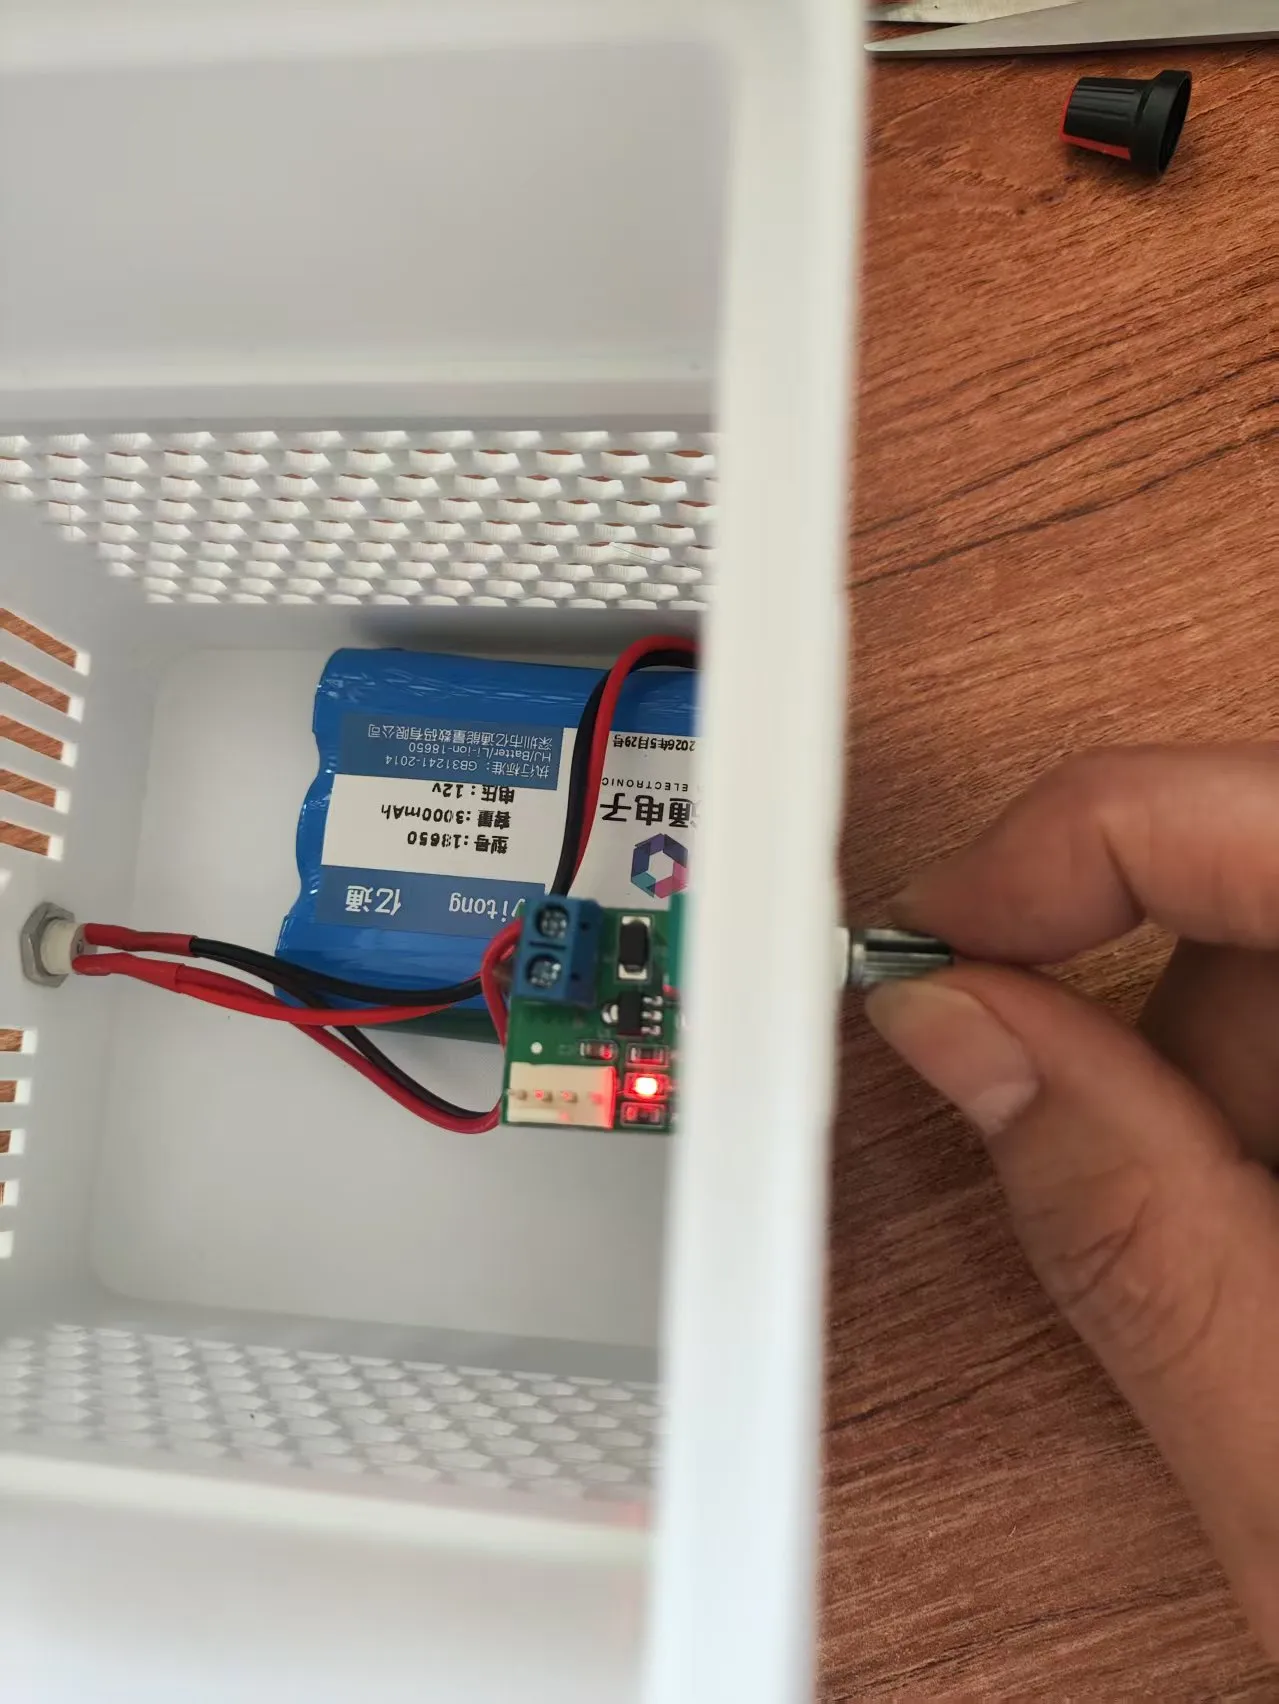
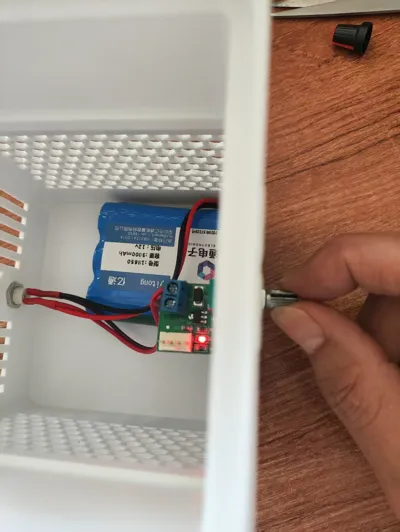
Also fix the speed controller to the housing
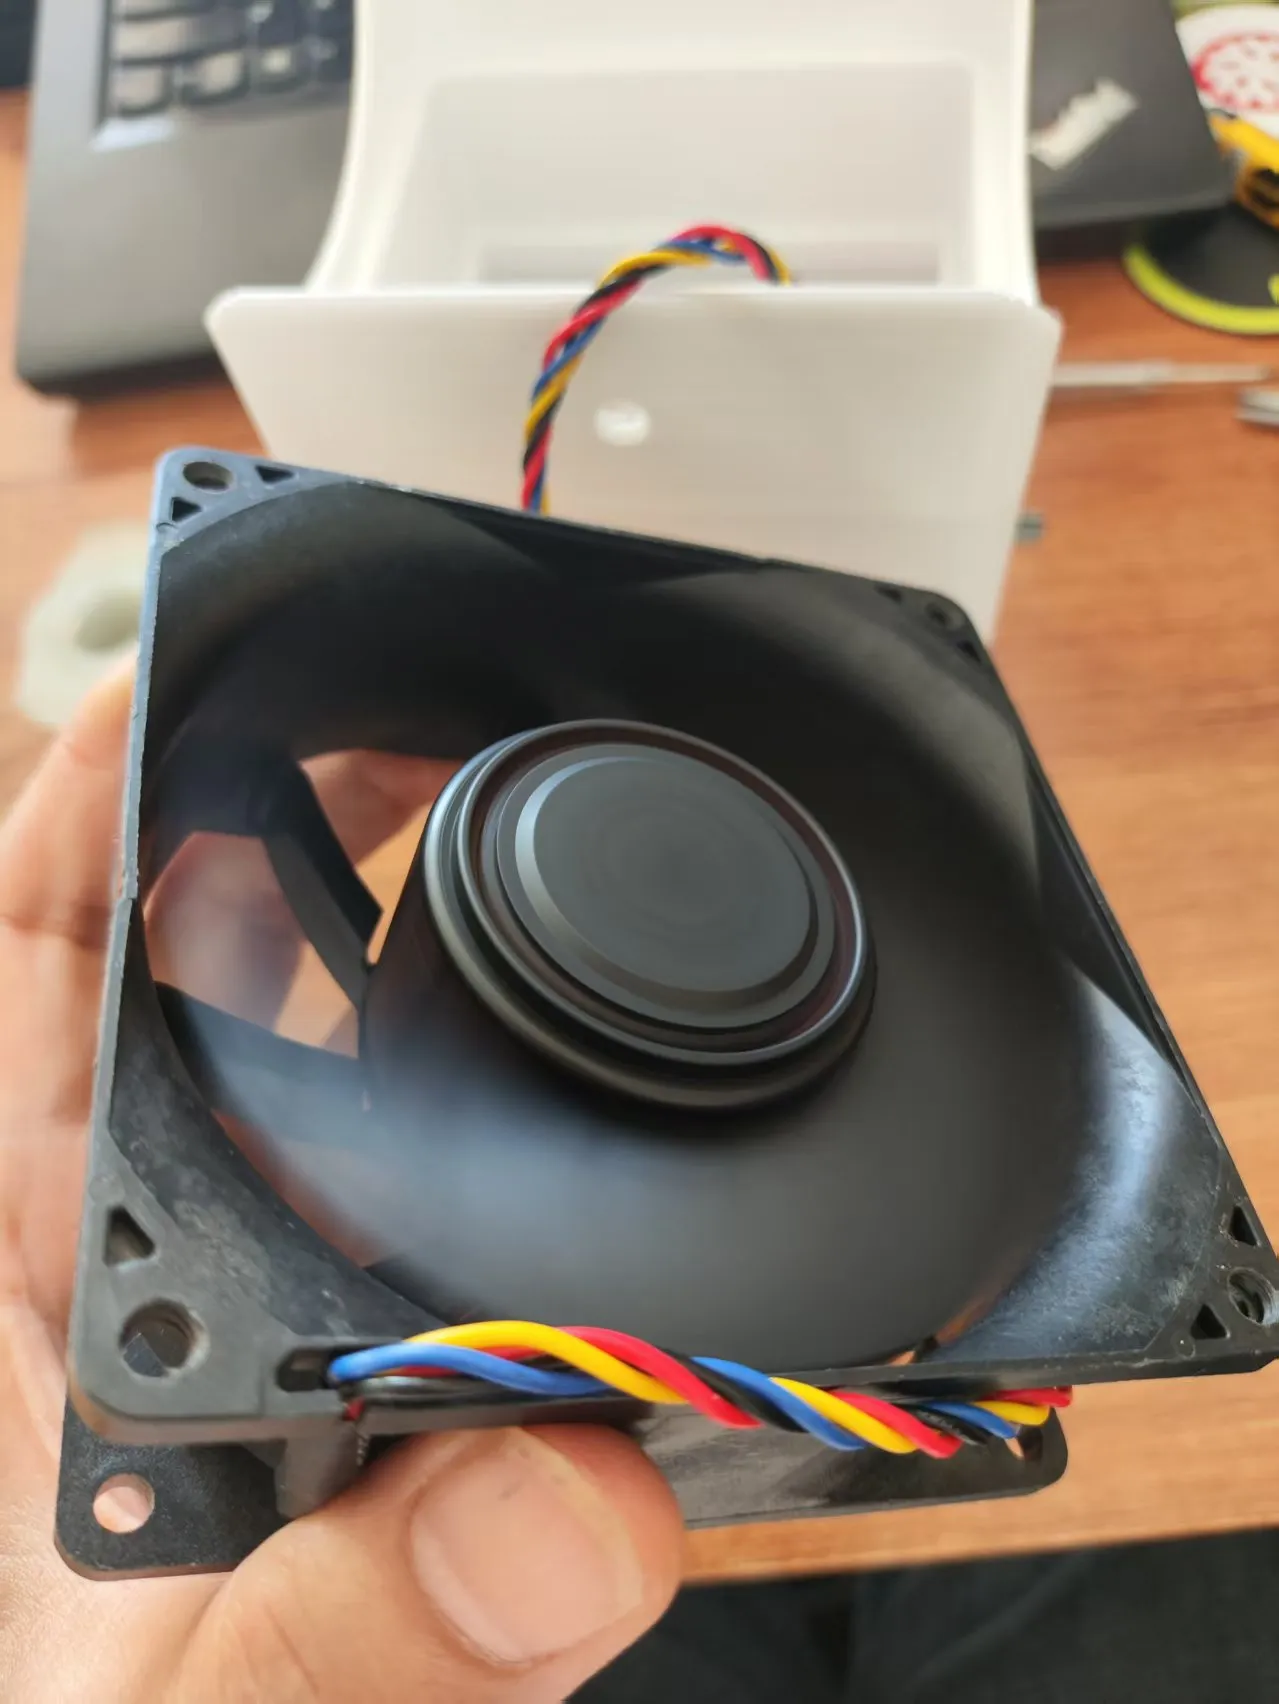
Turn on the switch to test if the fan rotates. Be careful not to hit your hand with the blades
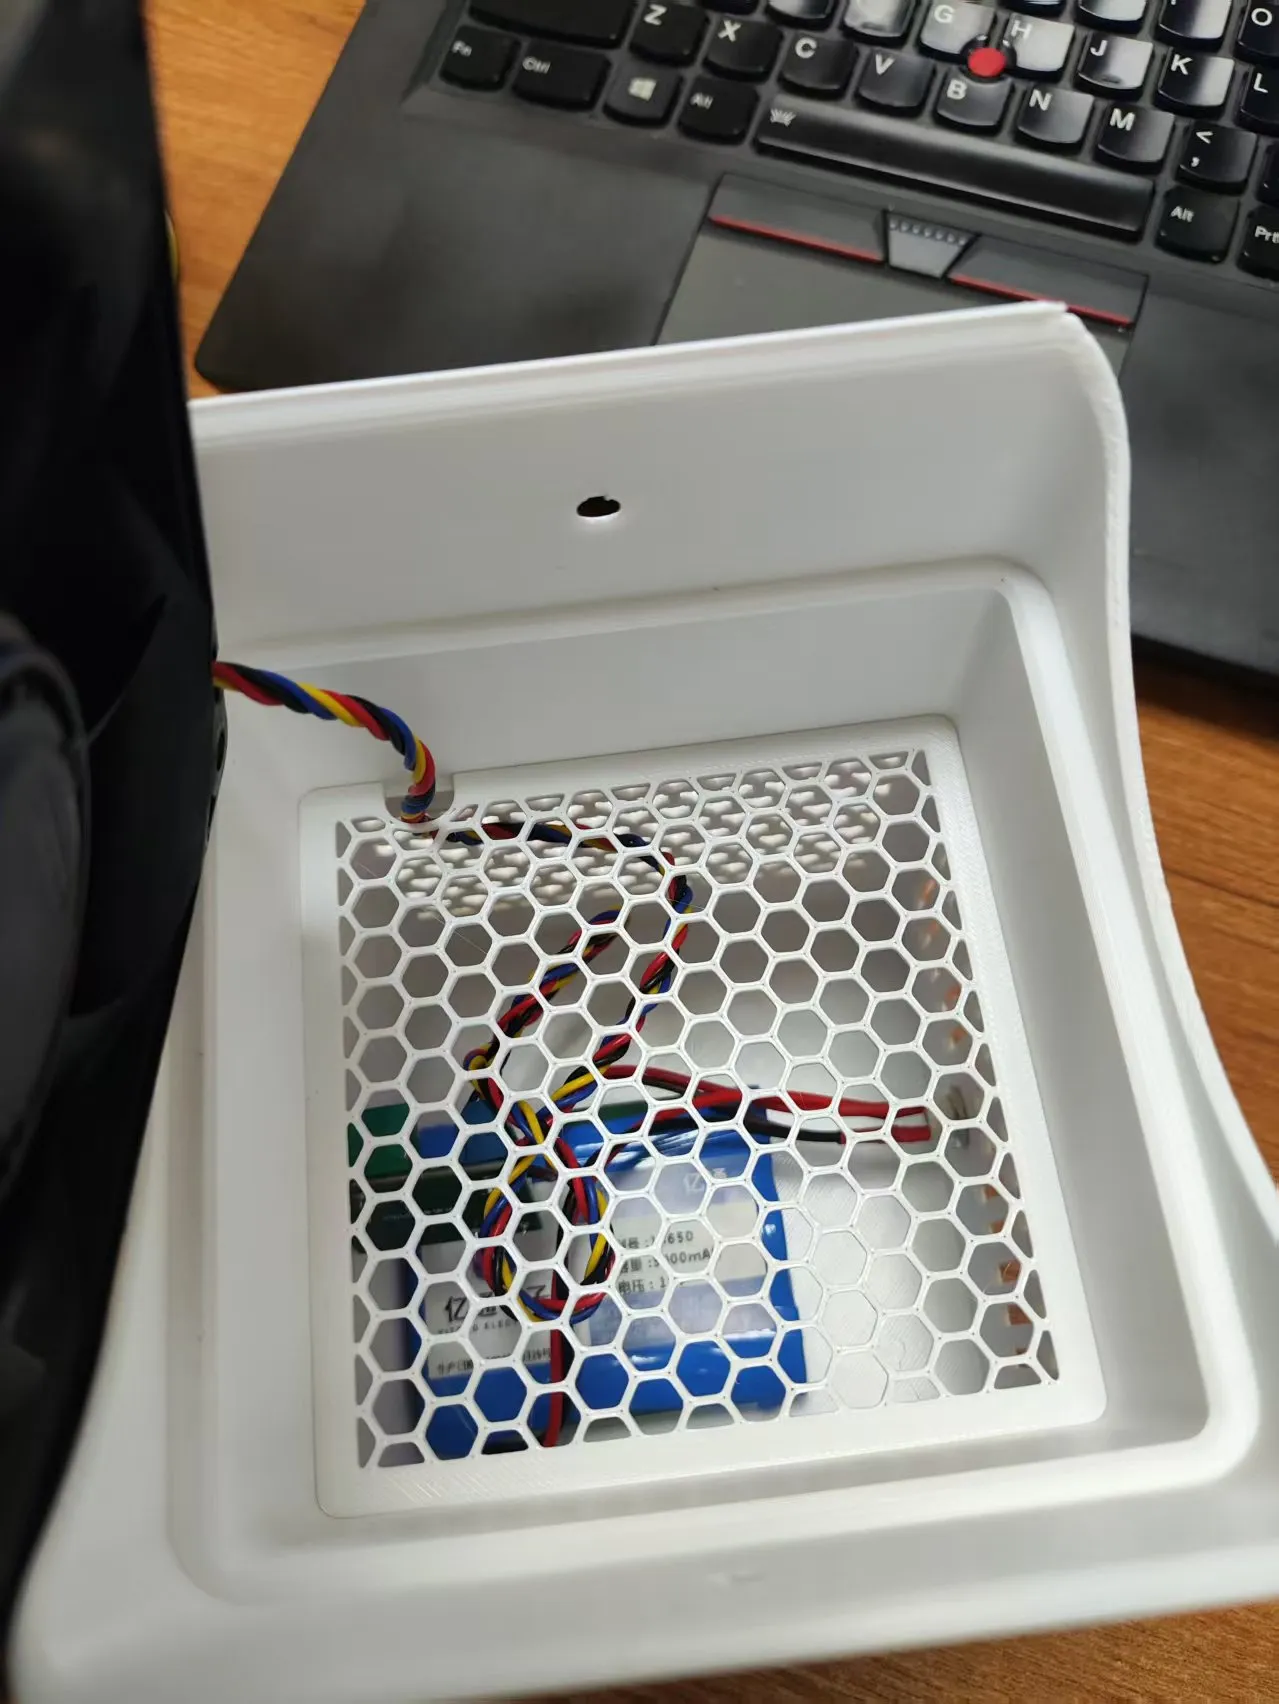
Install the isolation mesh according to the position of the fan wires and the notch
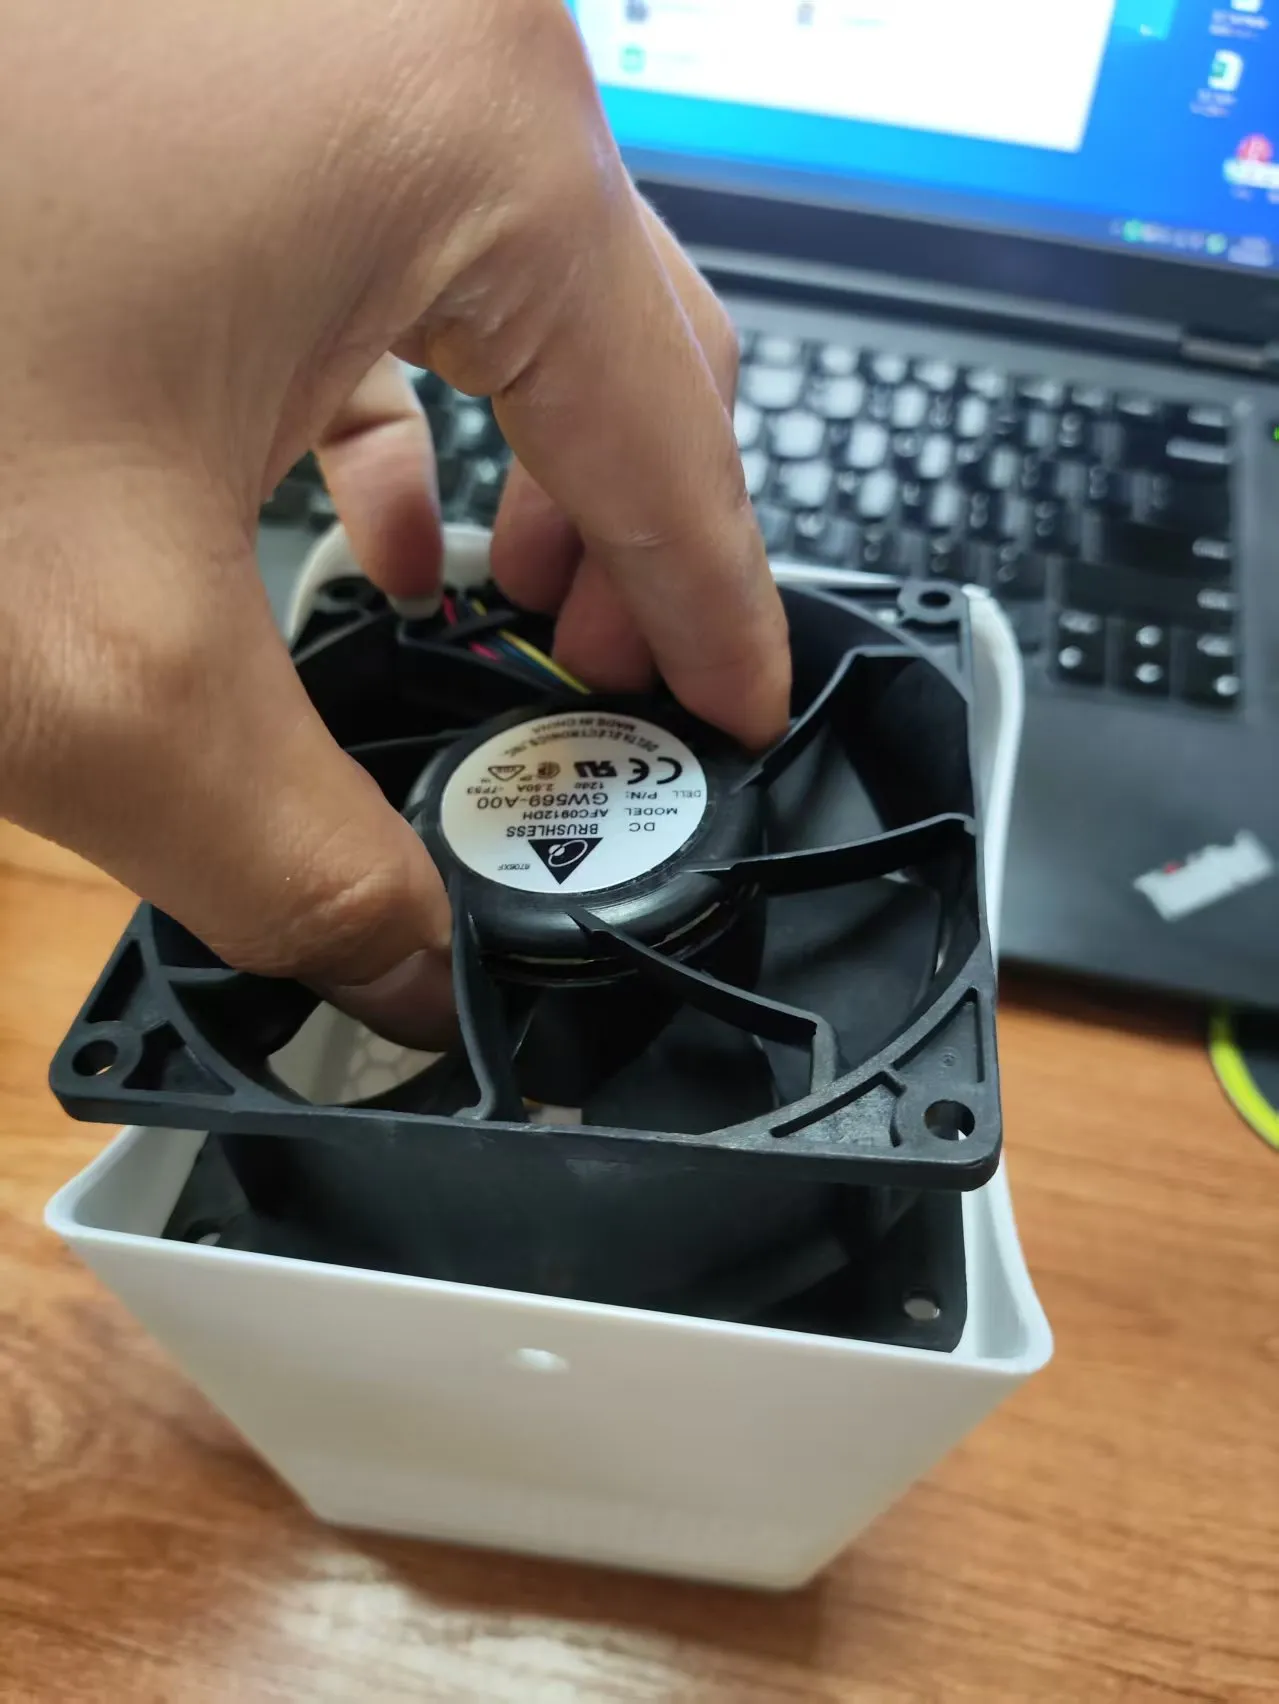
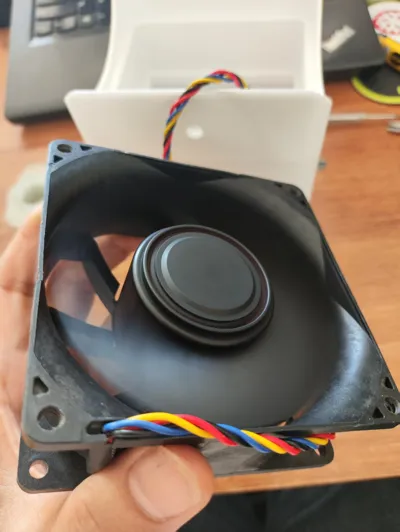
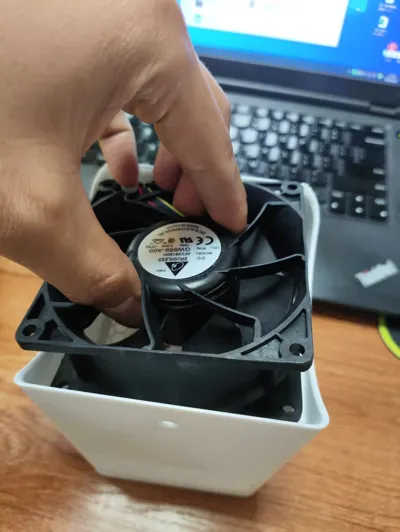
Install the fan, and you can also test it now
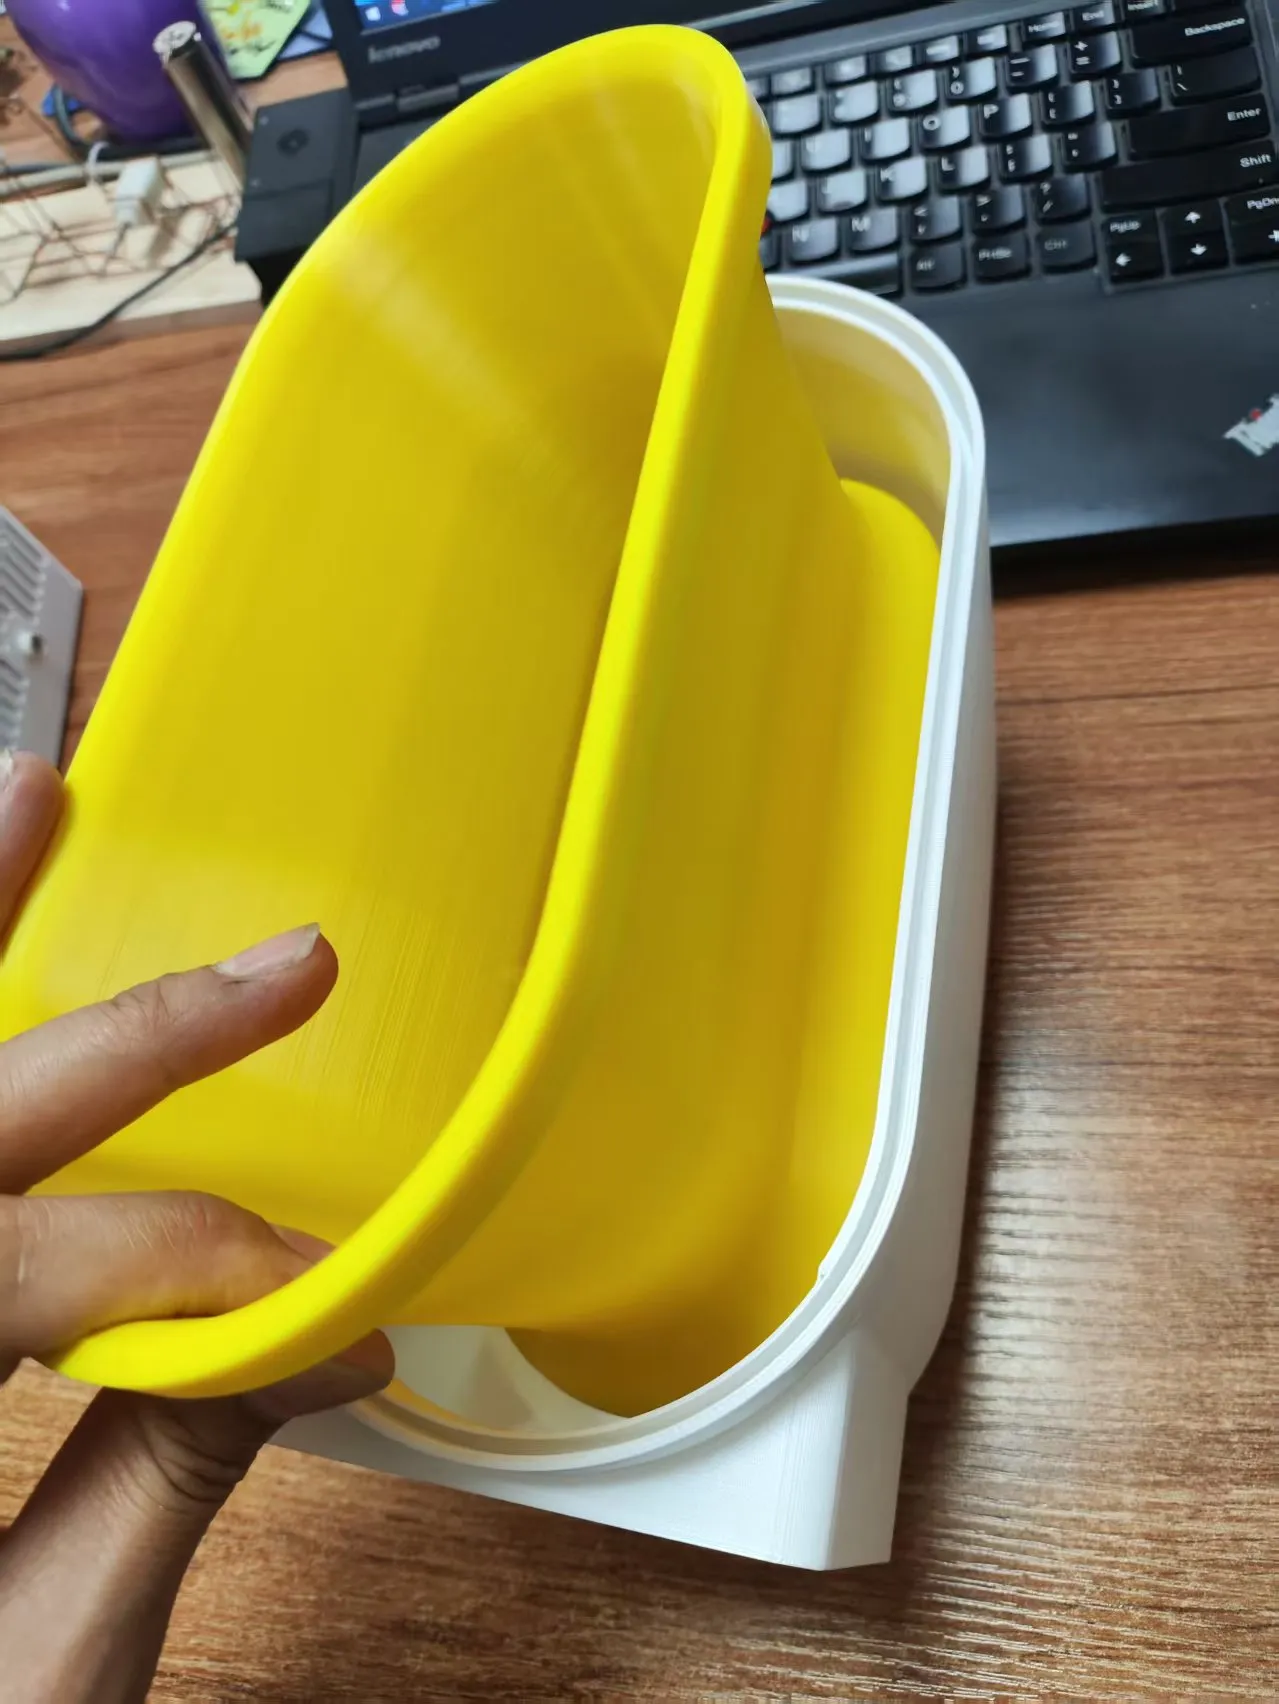
Place the inner part into the outer casing, press firmly, and glue with 502 super glue if necessary
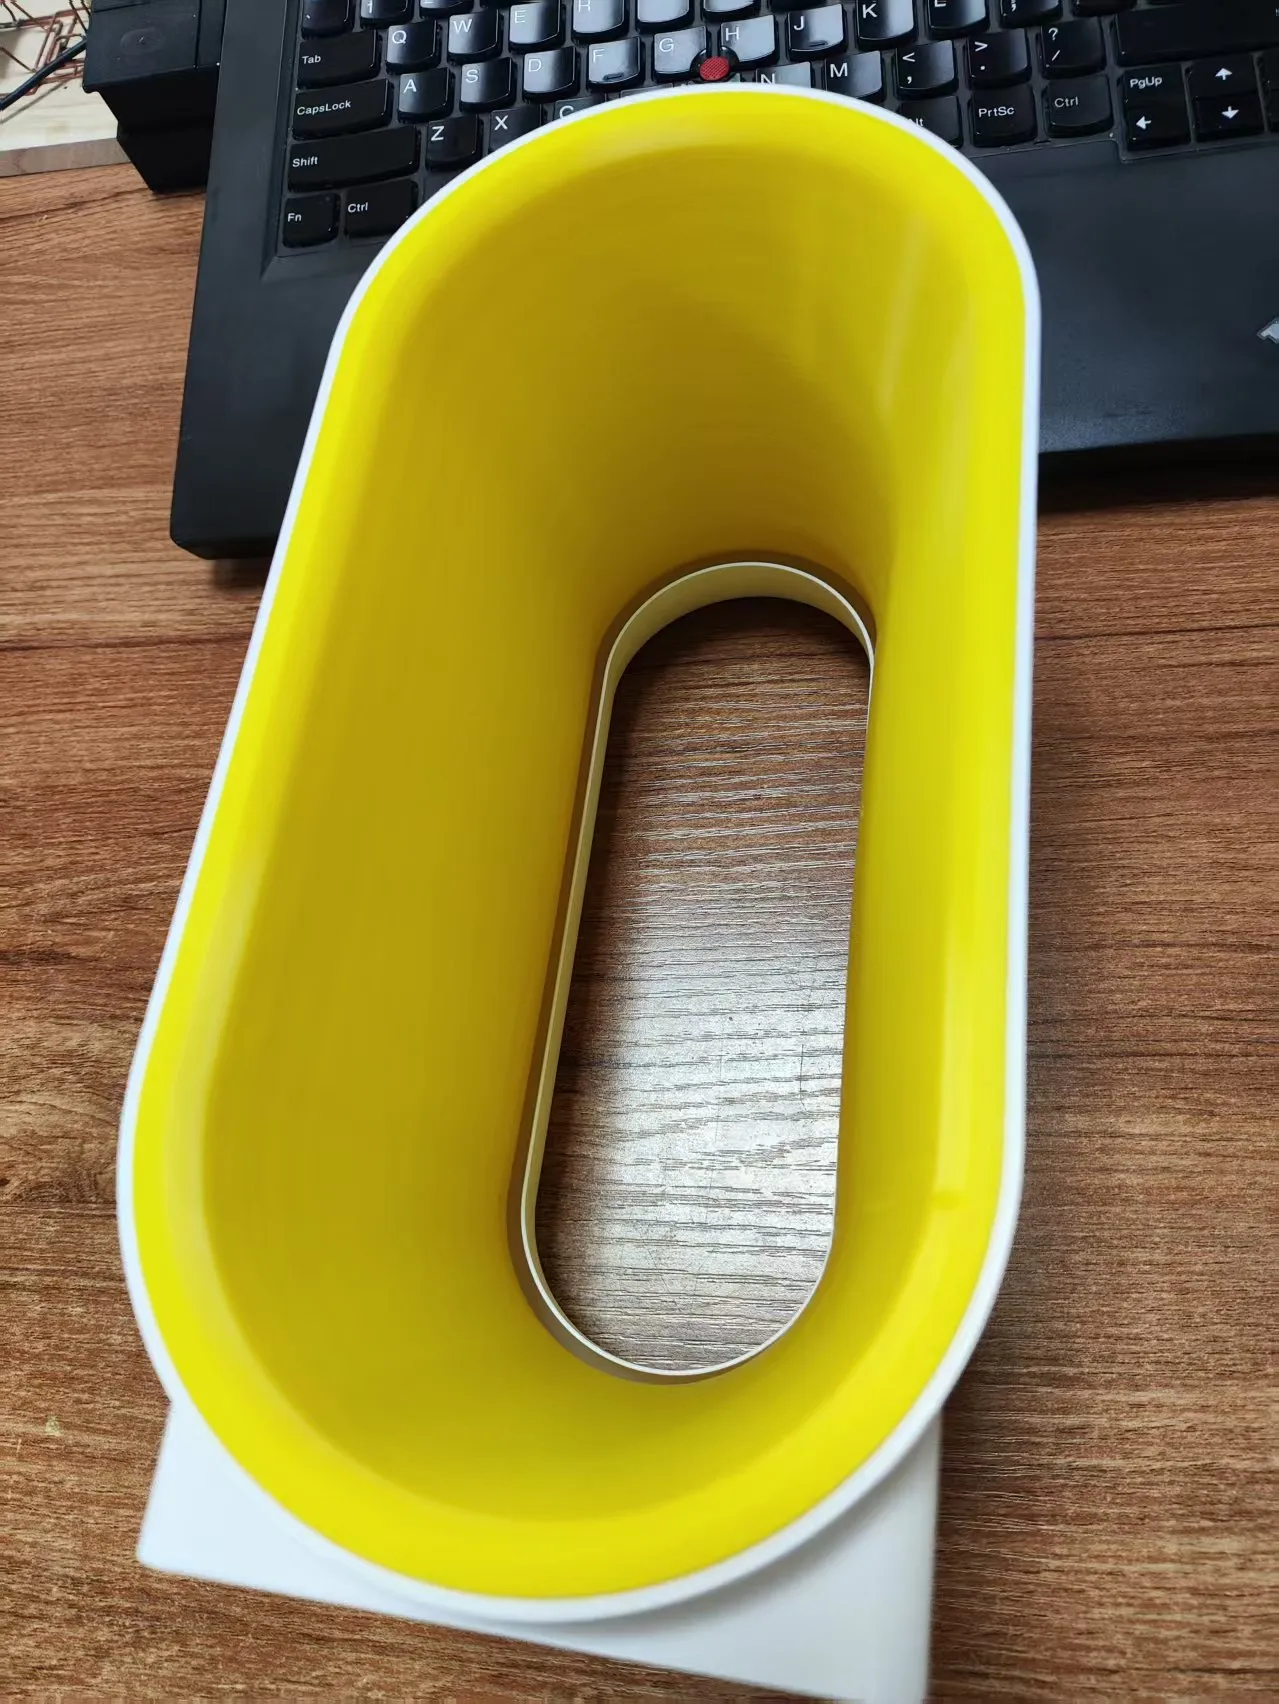
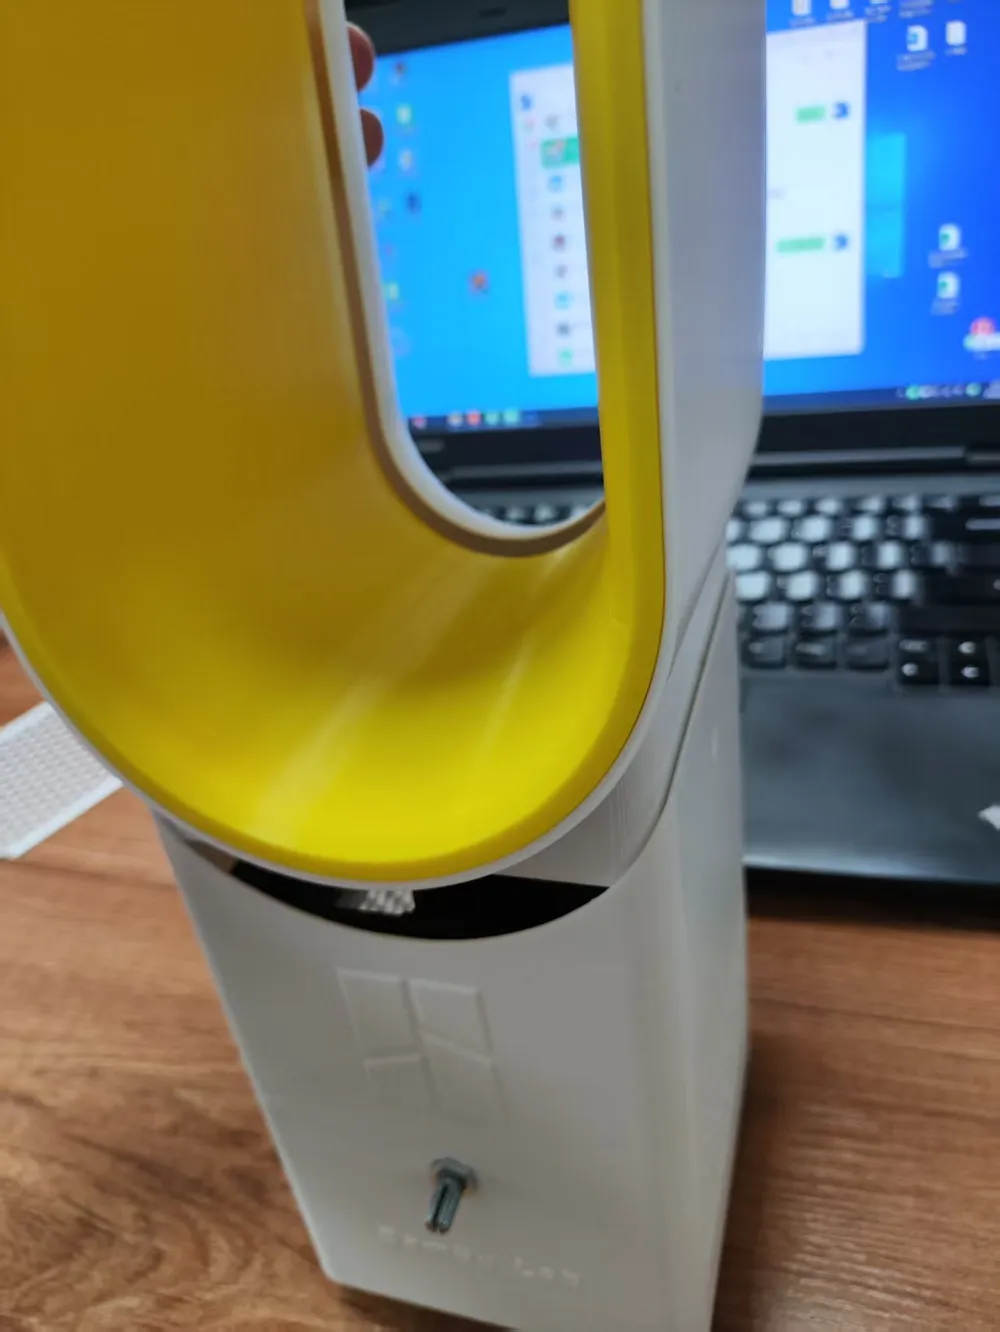
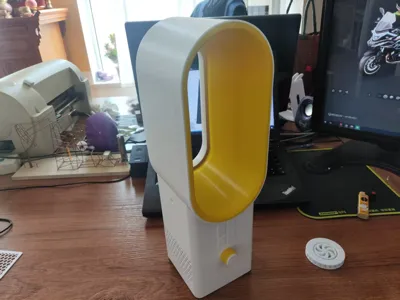
Effect after installation
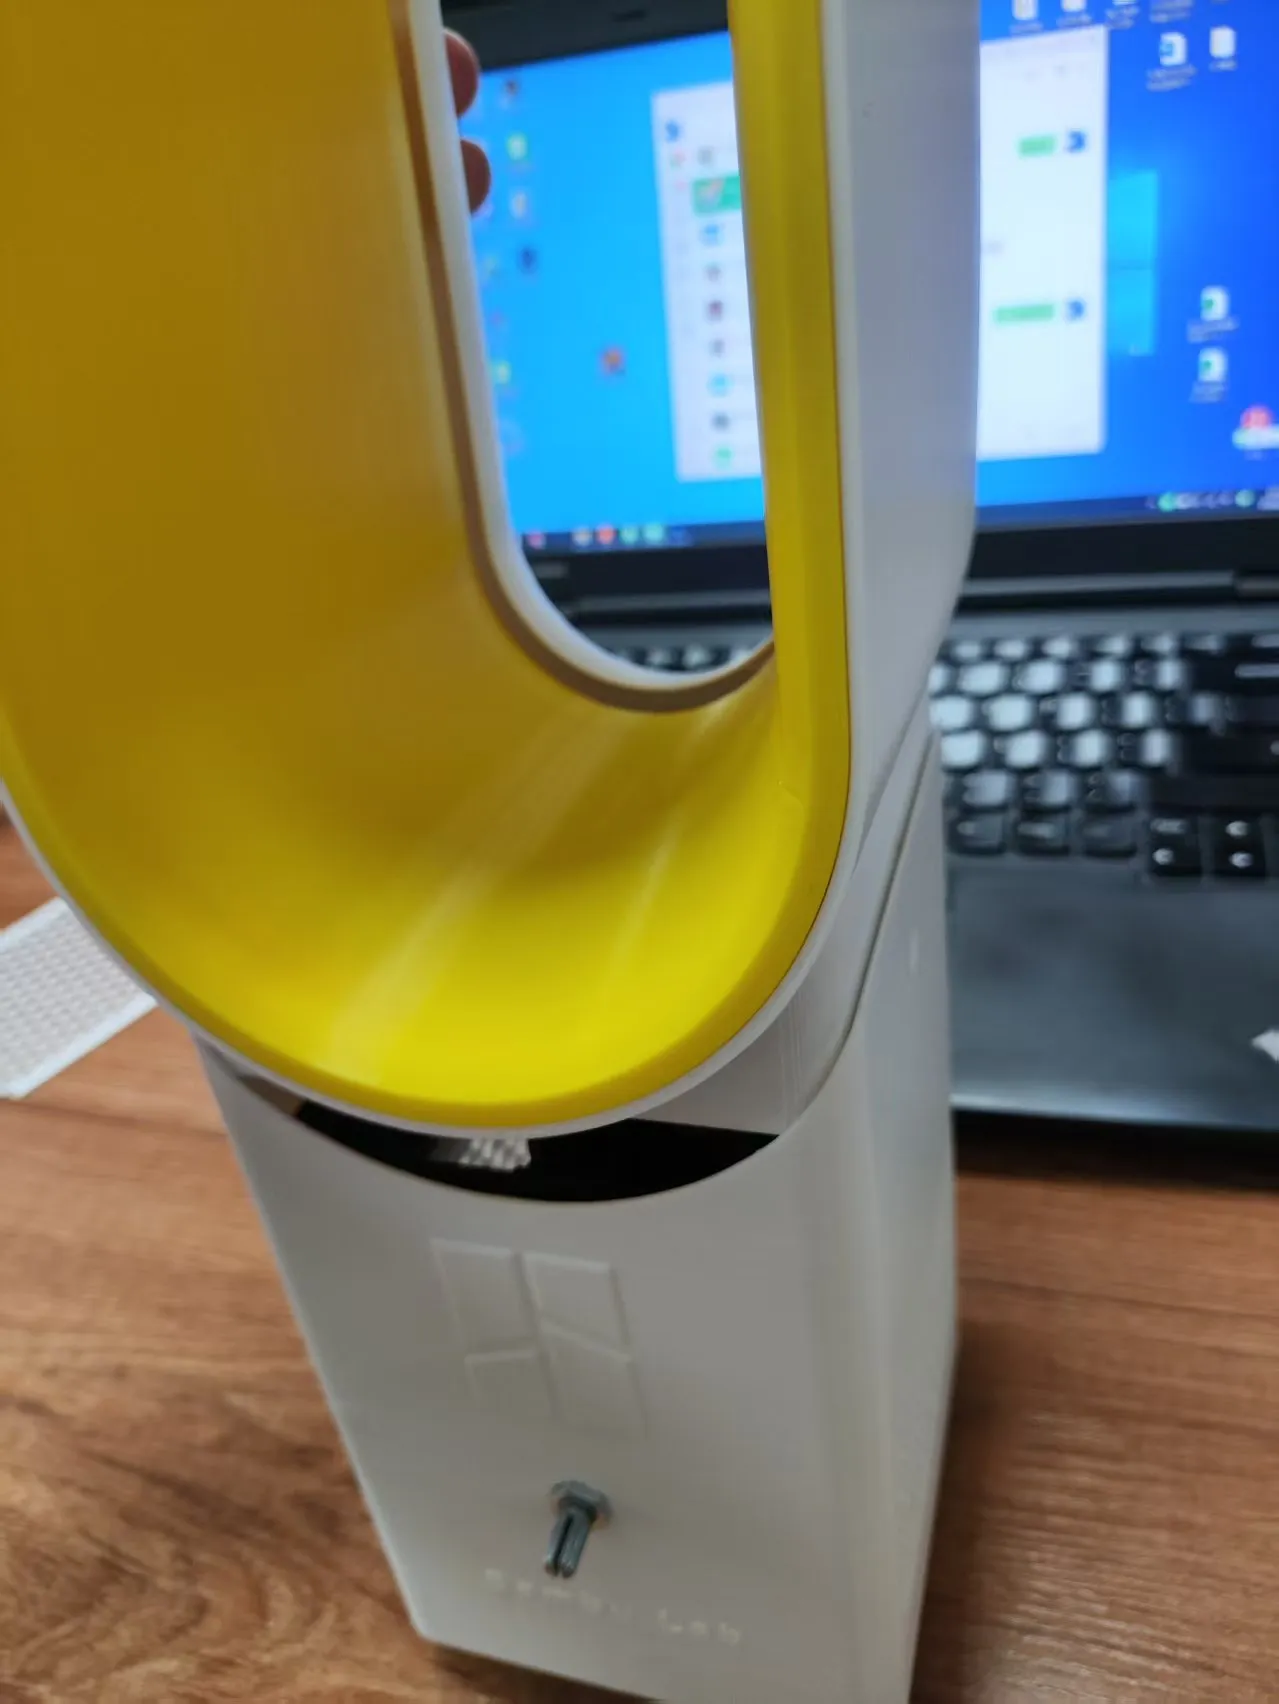
Insert the fan head into the base
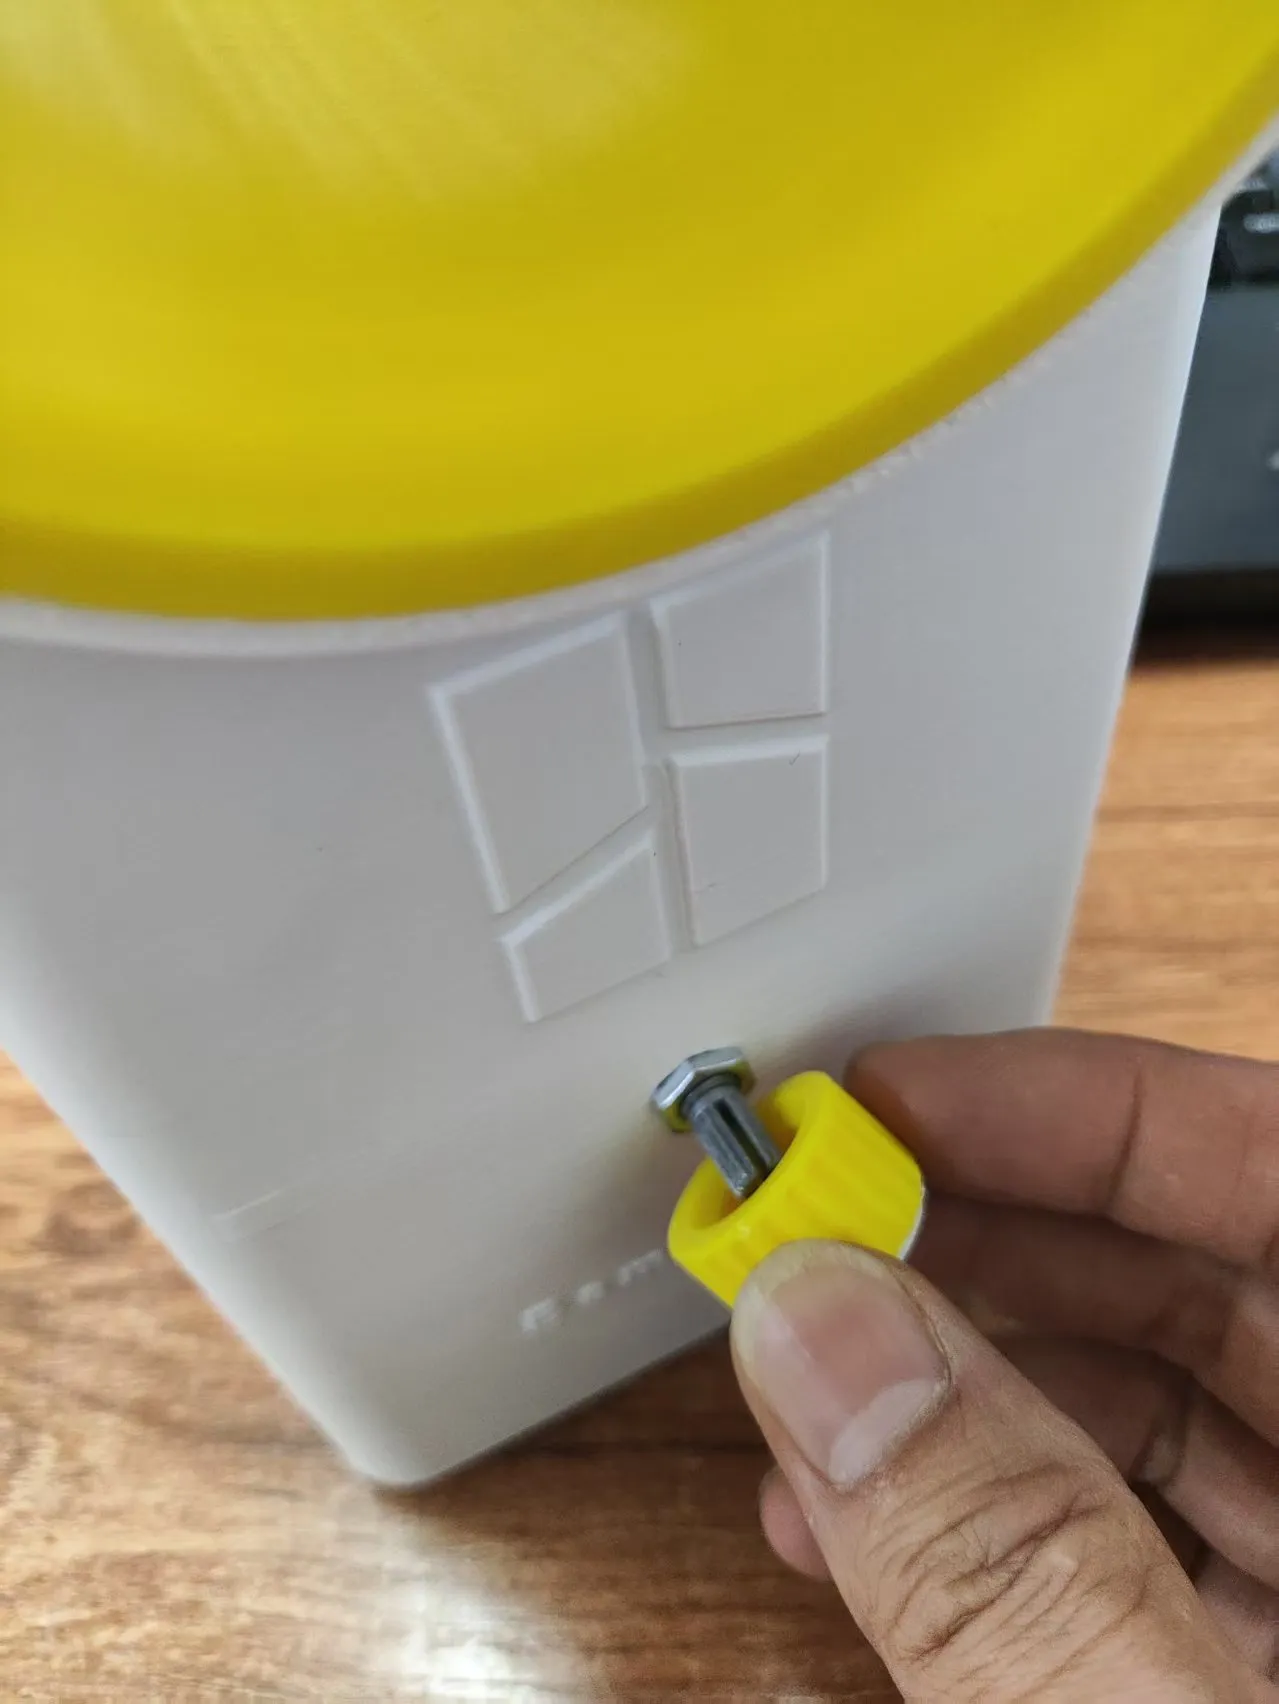
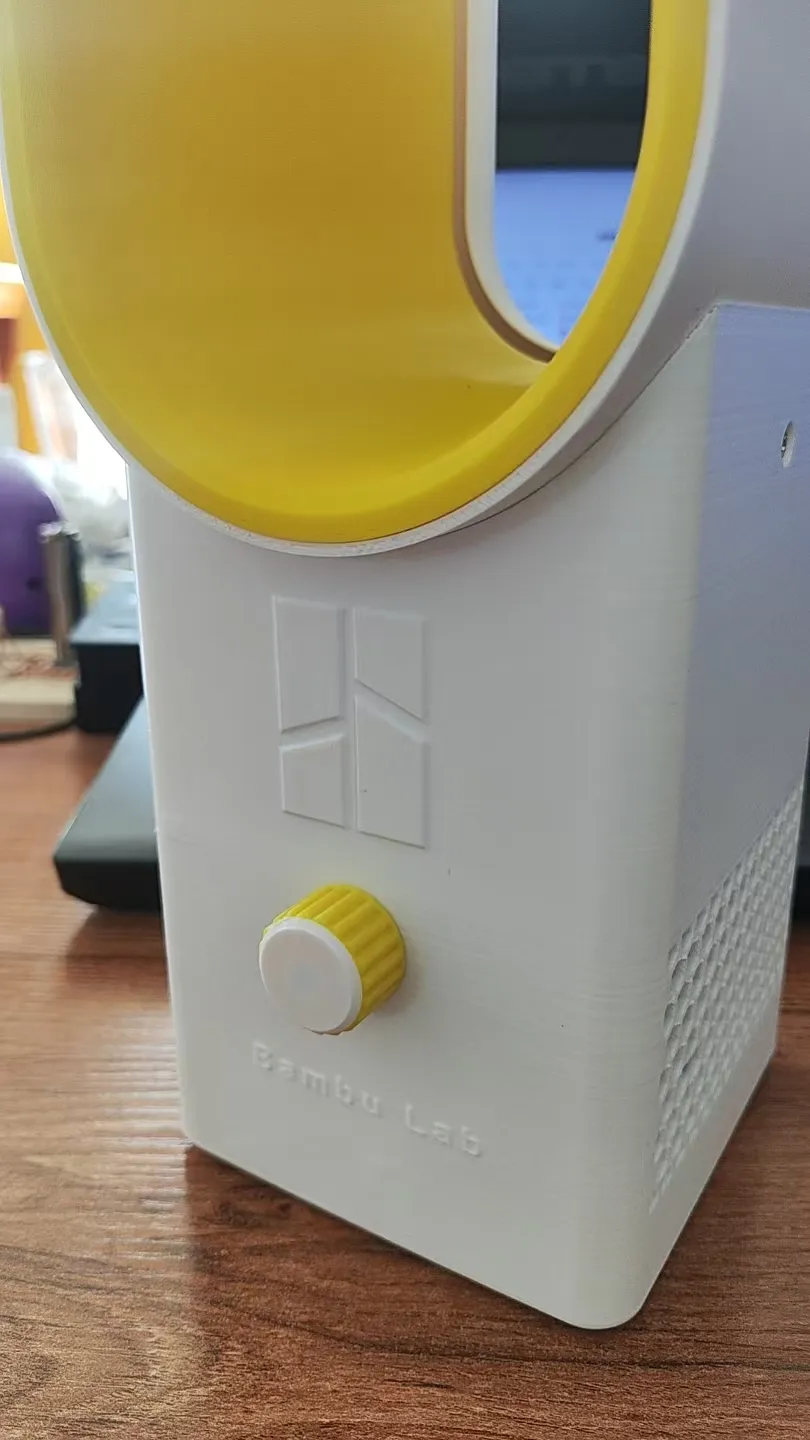
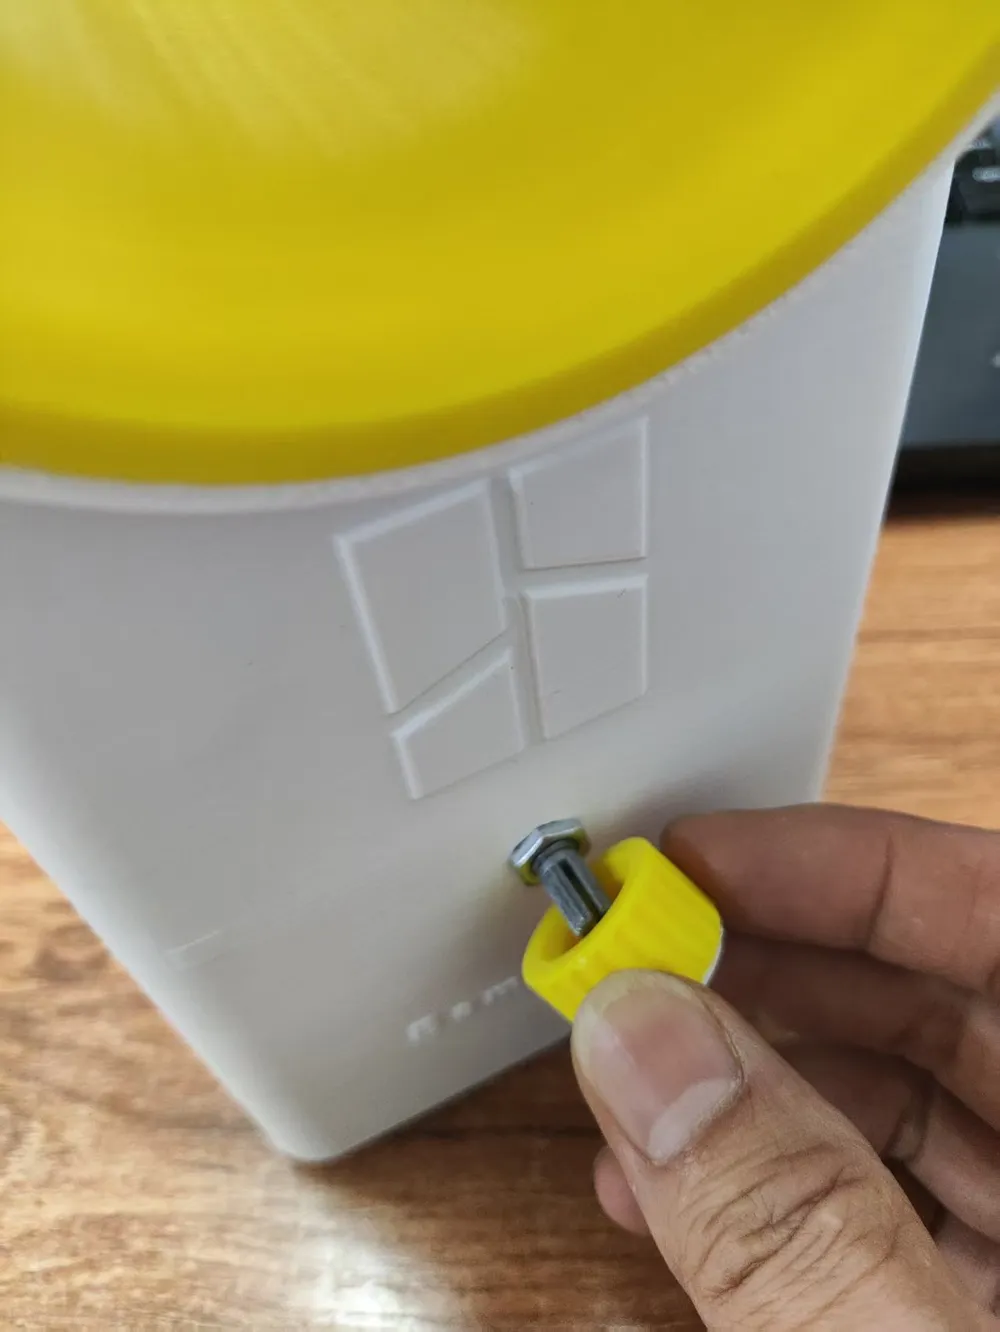
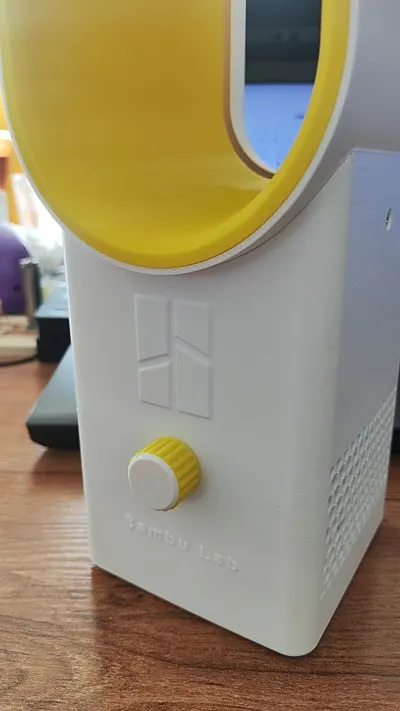
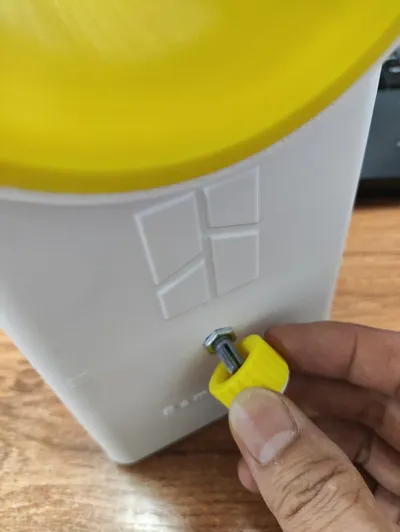
Install the knob. The knob that comes with the speed controller is a bit ugly, so I designed and printed one myself. The color here is separated by layer
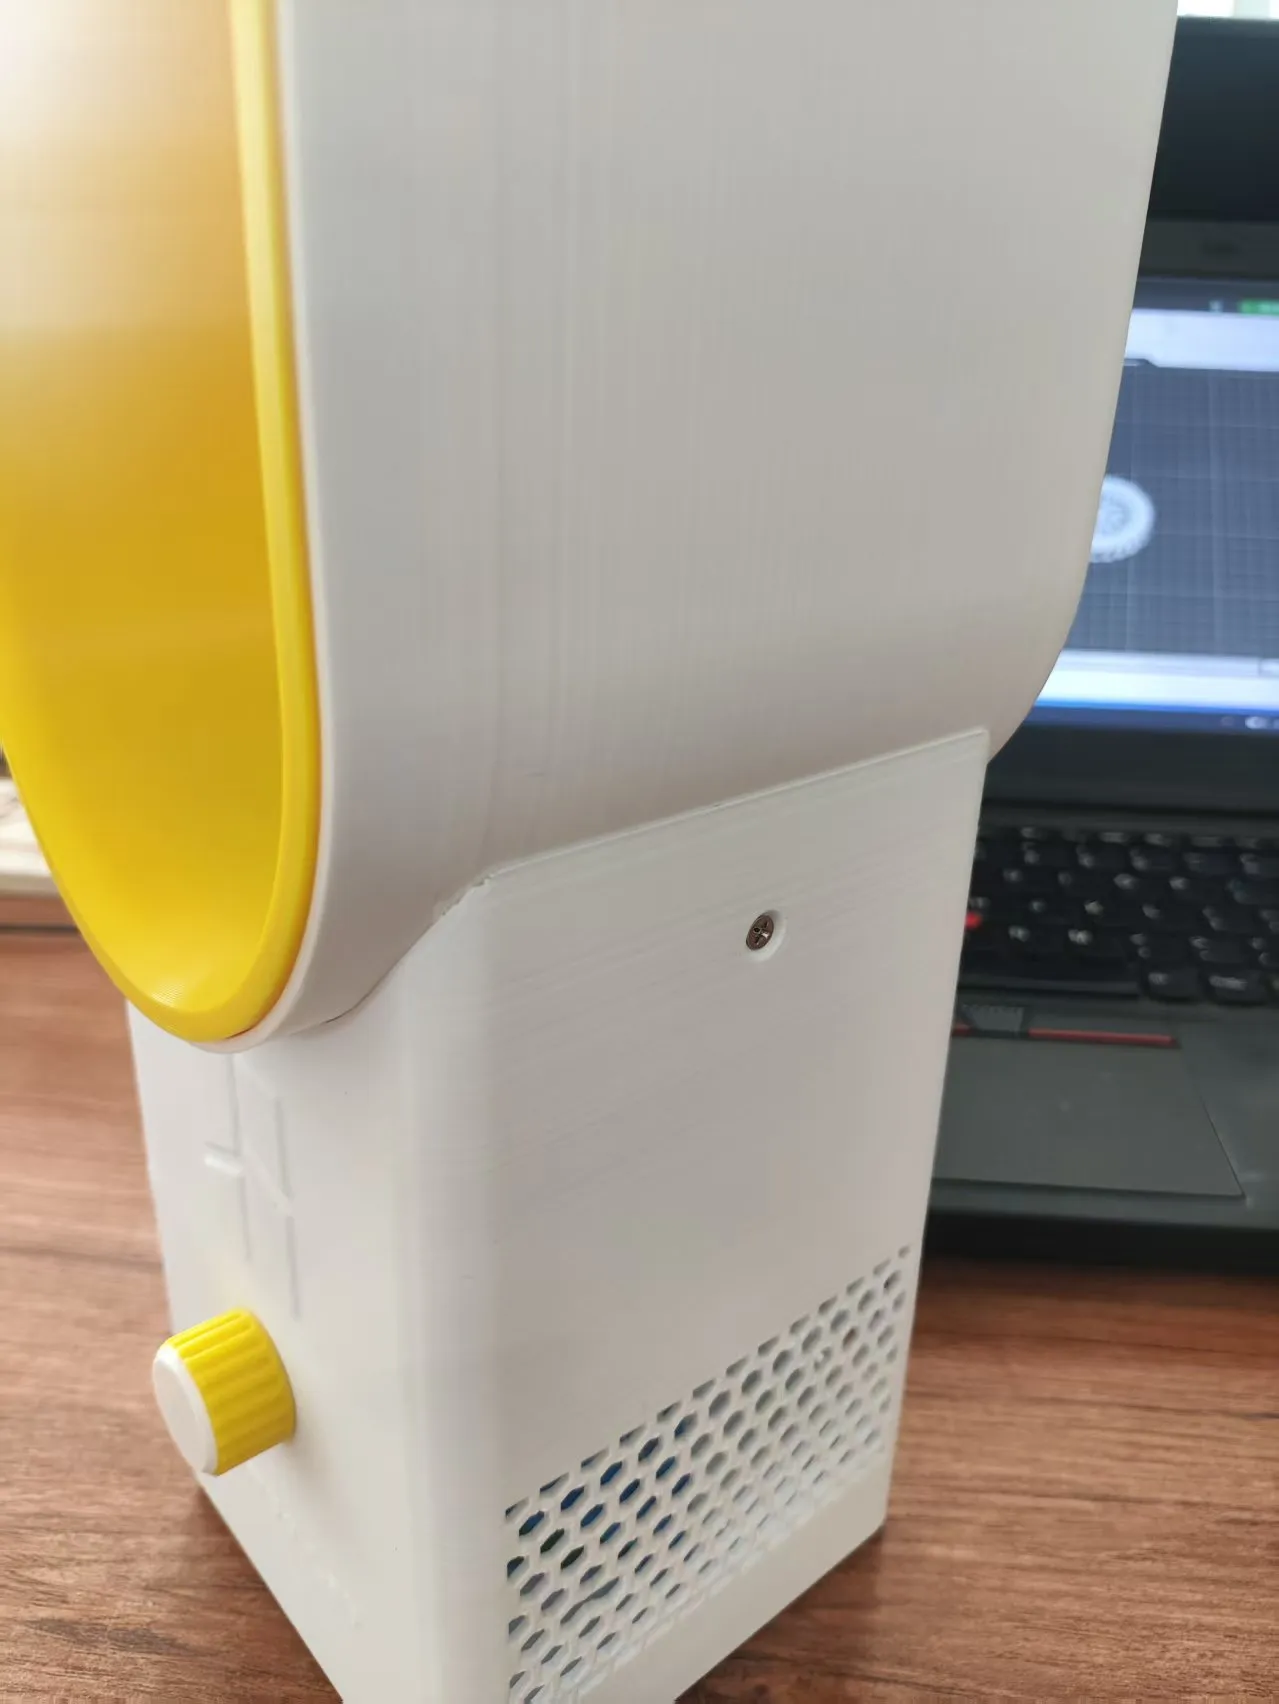
Secure with flat-head self-tapping screws
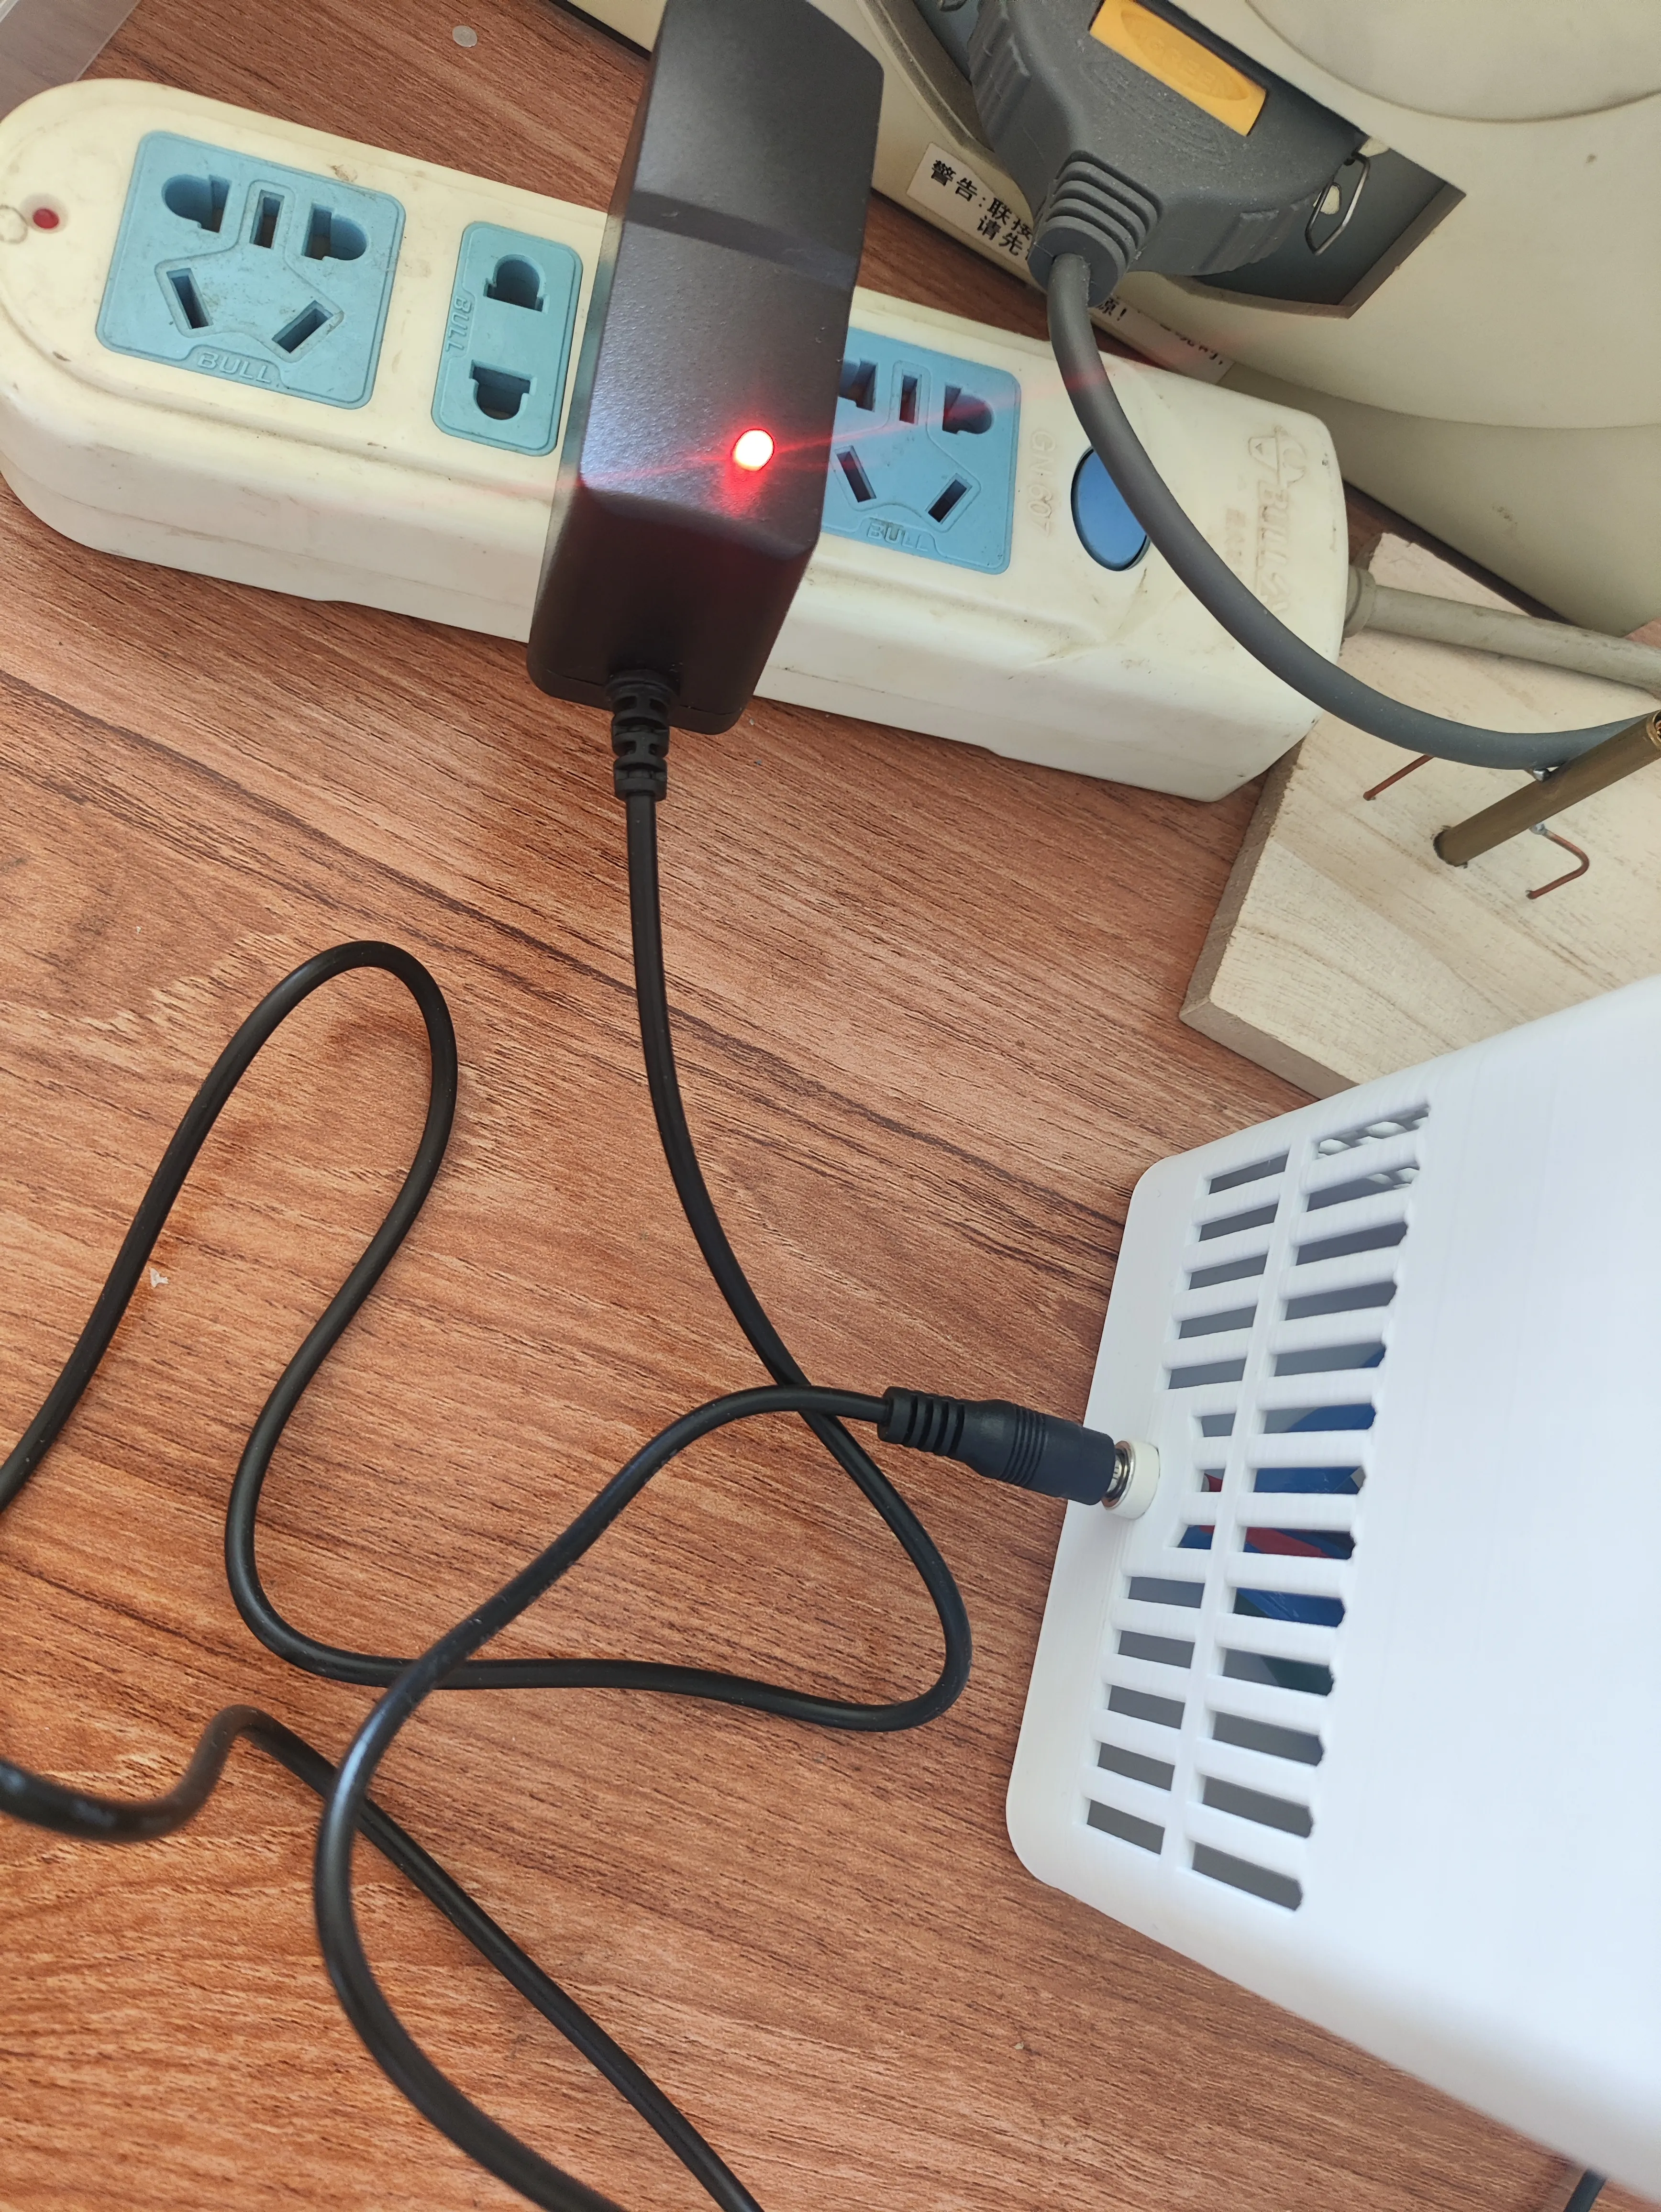
Connect to power for charging, and it can also be used simultaneously
License

You shall not share, sub-license, sell, rent, host, transfer, or distribute in any way the digital or 3D printed versions of this object, nor any other derivative work of this object in its digital or physical format (including, but not limited to, publishing derivative works outside the Makerworld platform or hosting on other digital platforms). The objects may not be used without permission in any way whatsoever in which you charge money or collect fees. Subject to the above restrictions, derivative works may be published only within the Makerworld platform, and all such derivative works must be licensed under the same SDFL‑C license, without modification or additional terms. You may download the digital versions of this object, 3D print it, and display images, videos, or usage demonstrations of 3D printed versions of the object on personal social media platforms or Makerworld official channels, provided that no digital versions of the object are shared or distributed.


Comment & Rating (0)