truck k200 tipper


Print Profile(6)

Description
Membership
want to show support or sell my models? click the link
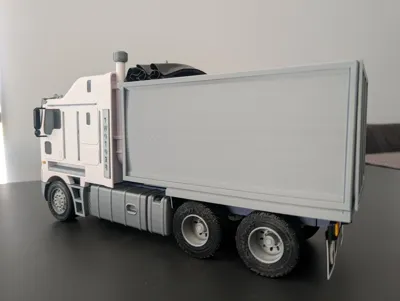
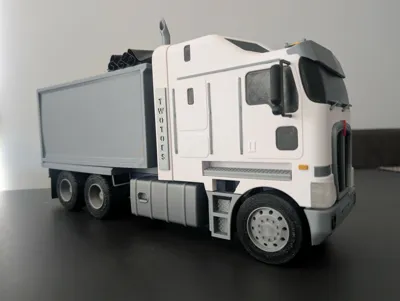
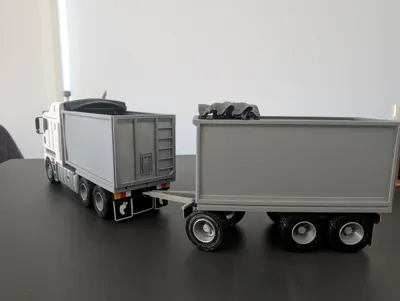
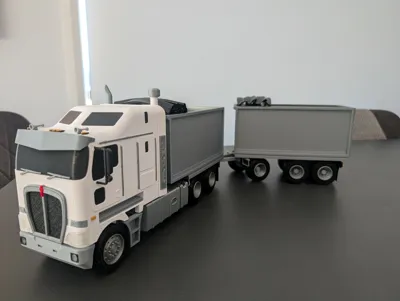
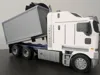
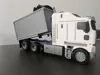
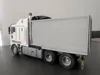
100% printable k200 tipper truck with dog trailer 1:24/1:25
Boost Me (for free)
if you like this or any of my other models please consider giving it a boost this helps me a lot and its free to do.
although this truck can be assembled without gluing if you wish to glue as you go i strongly suggest you TEST FIT BEFORE GLUING, please use photos and instructions together to build the truck.
start by assembling the frame by using the 1 cross brace and exhaust stack mount

mount the tanks and front steps in the dovetail slots

to mount the axle insert one end into hole the press onto chassis the insert other end and press into opposite side

once all axles are in place press in the spring delete tabs ABOVE axle take note of F & R to indicate front and rear on inner side, then mount tpu95a tires onto wheels by starting on one side and working them in as you go around (this is easier if tires are warm) then press on the four rear and two front tires

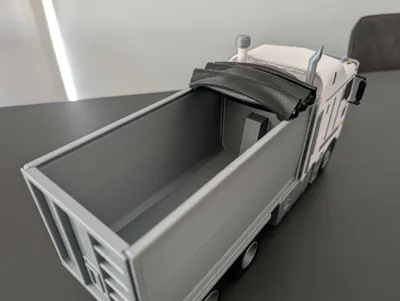
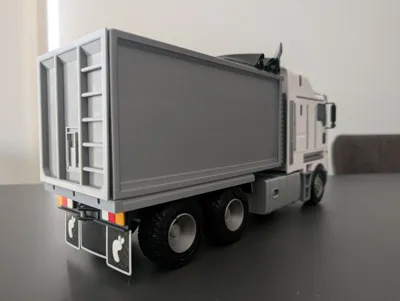
take the lower dump bed and frame end section and press in tipper hinge pins

press on front mud flaps to lower dump bed ( can be done later also)

slide frame end onto truck frame

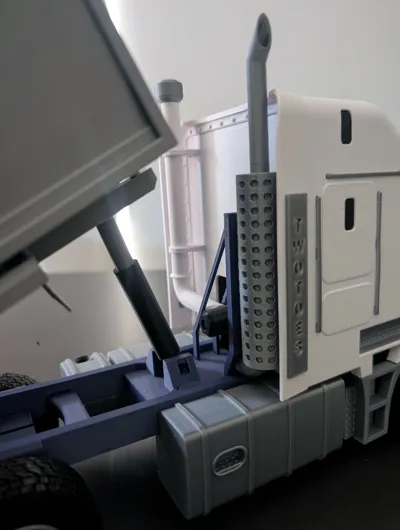
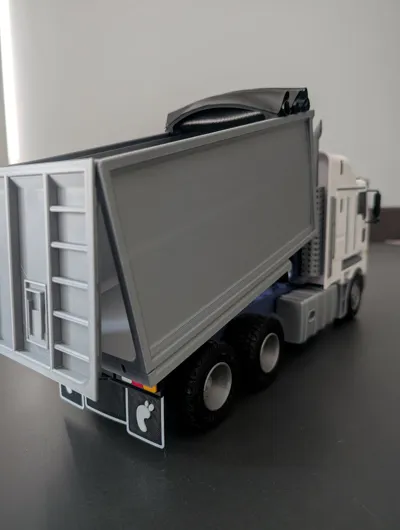
to install lift cylinder first insert rod through O ring and into cylinder case then glue O ring into place at top of case the take the two mounting brackets and insert pint through with the cylinder in the middle and press onto frame as shown below.

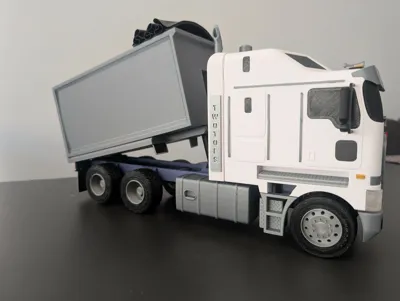
take the tipper bed and press onto lower dump frame and using the second cylinder pin line up and press through top of cylinder rod


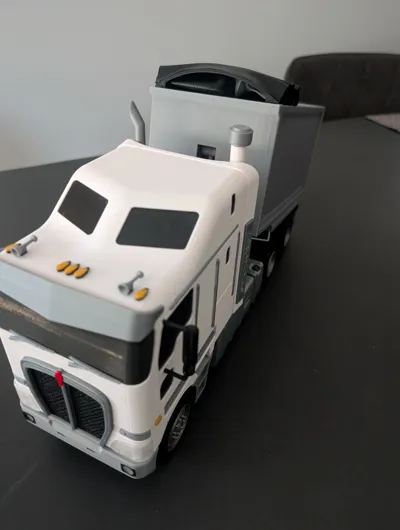
before mounting, assemble truck cab body by first pressing in top and side windows ensuring the beveled edge faces inwards. before pressing in the front window mount front visor, then inset the front bumper and take the front grill and press into grill surround and mount truck badge then press into front cavity of truck body which also retains front bumper. then insert and mount remaining roof lights/horns side indicators, hand rails, side mirrors and slide in side steps to either side. once all hardware is installed press on rear cab flaring, side plates

to mount cab, firstly inset the to mounting pieces into recess in rear of cab body. then insert the front end of frame rails into slots in under side of cab and work the cab backwards until the rear mounts line up with their corresponding dovetail in frame. then pass airbox section of air intake through exhaust mount and press into rear of cab while lining up hole to press in remainder of air intake stake and press in then using both slots on left of rear of cab mount air stack pipe with intake hat on top.


after pressing exhaust onto its mount pass pipe section through mount and into bottom of exhaust

install rear bed tailgate pins into corresponding holes on bed.

finally take the rear light bar and press in tail lights and insert tow pin. then slide into mount under rear of truck


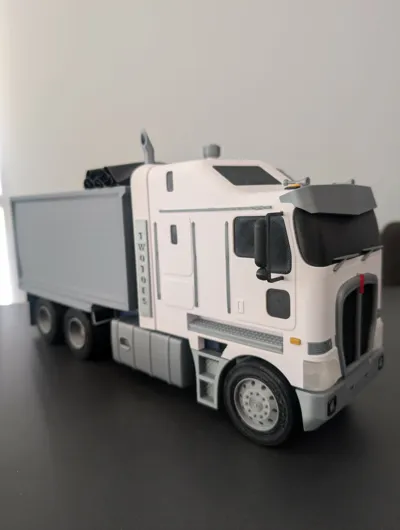
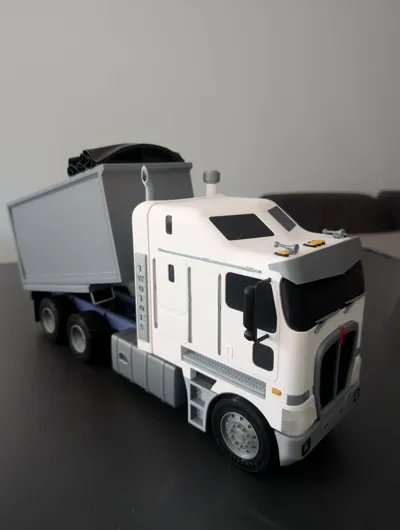
explaining things clearly isn't my strong suit but you should end up with a truck model looking like mine below.


License
You shall not share, sub-license, sell, rent, host, transfer, or distribute in any way the digital or 3D printed versions of this object, nor any other derivative work of this object in its digital or physical format (including - but not limited to - remixes of this object, and hosting on other digital platforms). The objects may not be used without permission in any way whatsoever in which you charge money, or collect fees.
Comment & Rating (3)