
Print Profile(1)

Description
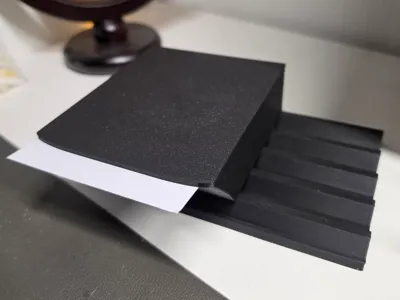
This functional note dispenser impresses with its clever mechanism!
The dispenser has a lid that can be opened and closed via a printed hinge. Inside, the dispensing arm is mounted, which is also flexibly supported by a filament hinge.
The secret lies at the outer end of this arm:
Here, a simple rubber band is wrapped around, which serves as a highly effective anti-slip surface (grip).
Operation is extremely simple:
When the lid is opened and closed again, the anti-slip rubber band surface of the arm grips the top note and automatically pushes it out with the movement!
The entire design works completely without screws –
both the lid and the arm are simply fixed with a piece of 3D printing filament as an axle pin.
- 100% Screwless (Completely screwless): You don't need to buy any hardware! Both the lid and the internal arm are held entirely by remnants of standard filament (1.75 mm) as axles.
- Ingenious Upcycling Mechanism: Instead of expensive springs or silicone pads, the design uses the friction of a simple, commercially available rubber band as a highly effective anti-slip mechanism.
- Moku System Compatibility: This gadget was specifically modeled for the modular Moku System! It integrates seamlessly into your existing setup and expands your desk hub with an extremely useful function.
Step 1:
Take the small lever arm and wrap a standard rubber band tightly around the T-shaped end. The rubber will later serve as a friction surface to reliably grip the paper.

Step 2:
Place the other end of the lever arm into the holder on the inside of the lid. Push a short piece of filament (1.75 mm) through the hole as an axle to allow the arm to pivot freely in the lid.

Step 3:
Place the lid on the main body of the dispenser so that the rear hinge holes align. Push a piece of filament (1.75 mm) through here as well to fix the main hinge completely screwless.

Step 4:
Glue or fix a single note flat on the inner bottom of the housing. This ensures that the notes placed on top (paper on paper) can slide forward optimally and without resistance.

This remix is based on

License
You may create derivative works based on this object, provided that all such derivative works are published exclusively on the MakerWorld platform and include proper attribution to the original creator. You may not share, upload, host, distribute, or publish this object—or any derivative work of this object—on any other digital platform, marketplace, or distribution channel. Commercial use of this object and any derivative works is strictly prohibited. This includes, but is not limited to, selling, renting, sublicensing, or using the object in any context in which you receive monetary compensation or other financial benefits.
Comment & Rating (0)