
DIY - DJI NEO 2 LED Light - RGB Controller
Print Profile(1)
Bill of Materials
- pla x 1: 1
Description
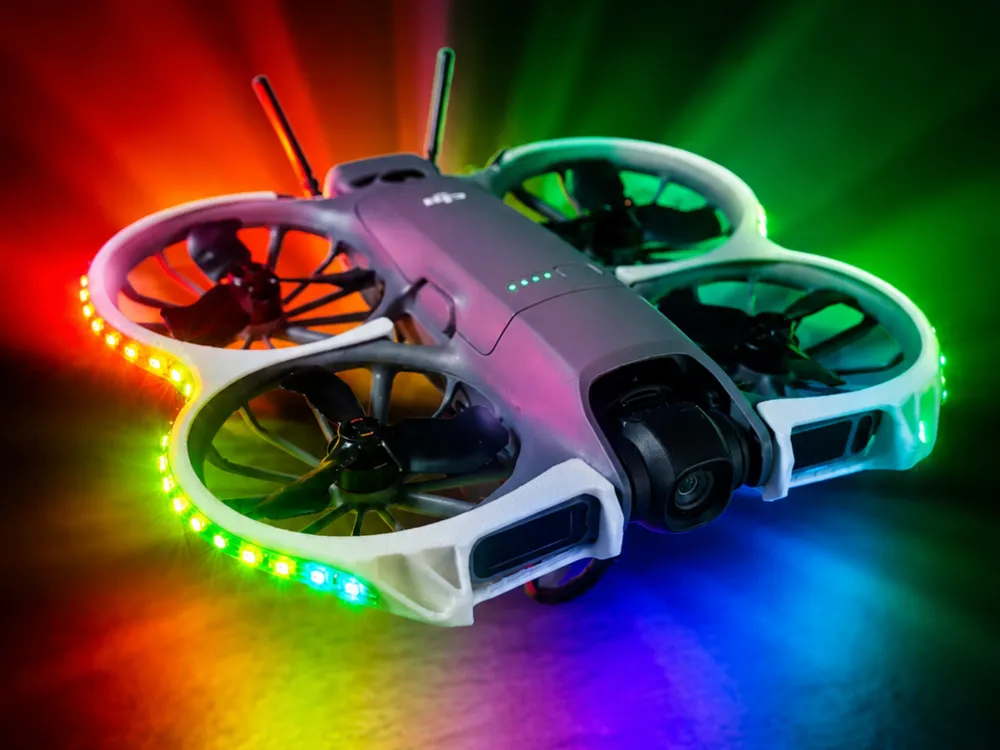
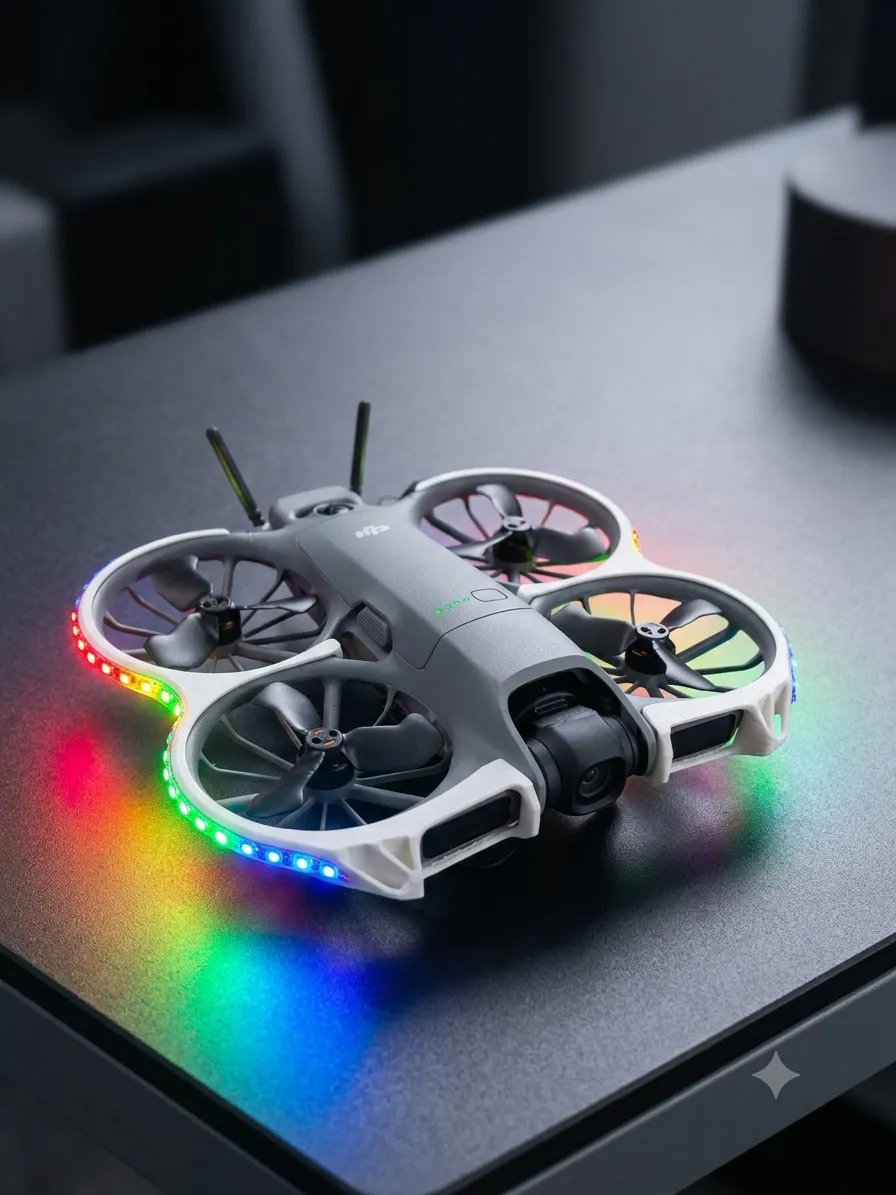
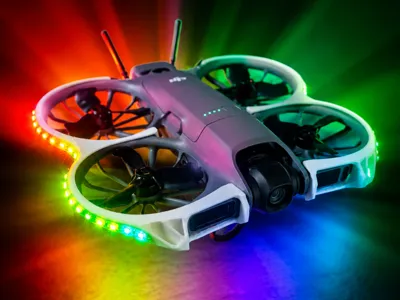
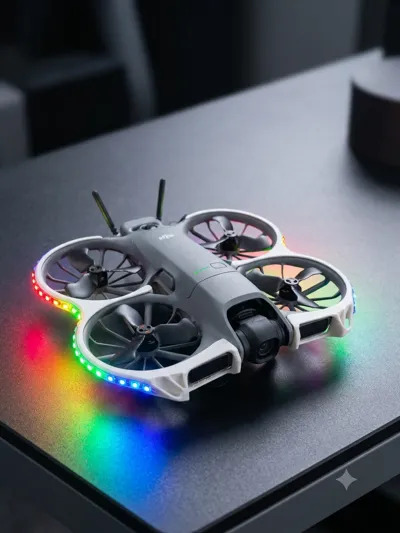
🚀 DIY: RGB Underglow Lighting for the DJI Neo 2
Give your drone an unmissable look! With this custom upgrade, you'll give your drone vibrant RGB all-around lighting, perfect for night flights or spectacular visual appeal. The best part: The system runs completely independently on its own button cell battery – leaving the drone's electronics and warranty untouched!
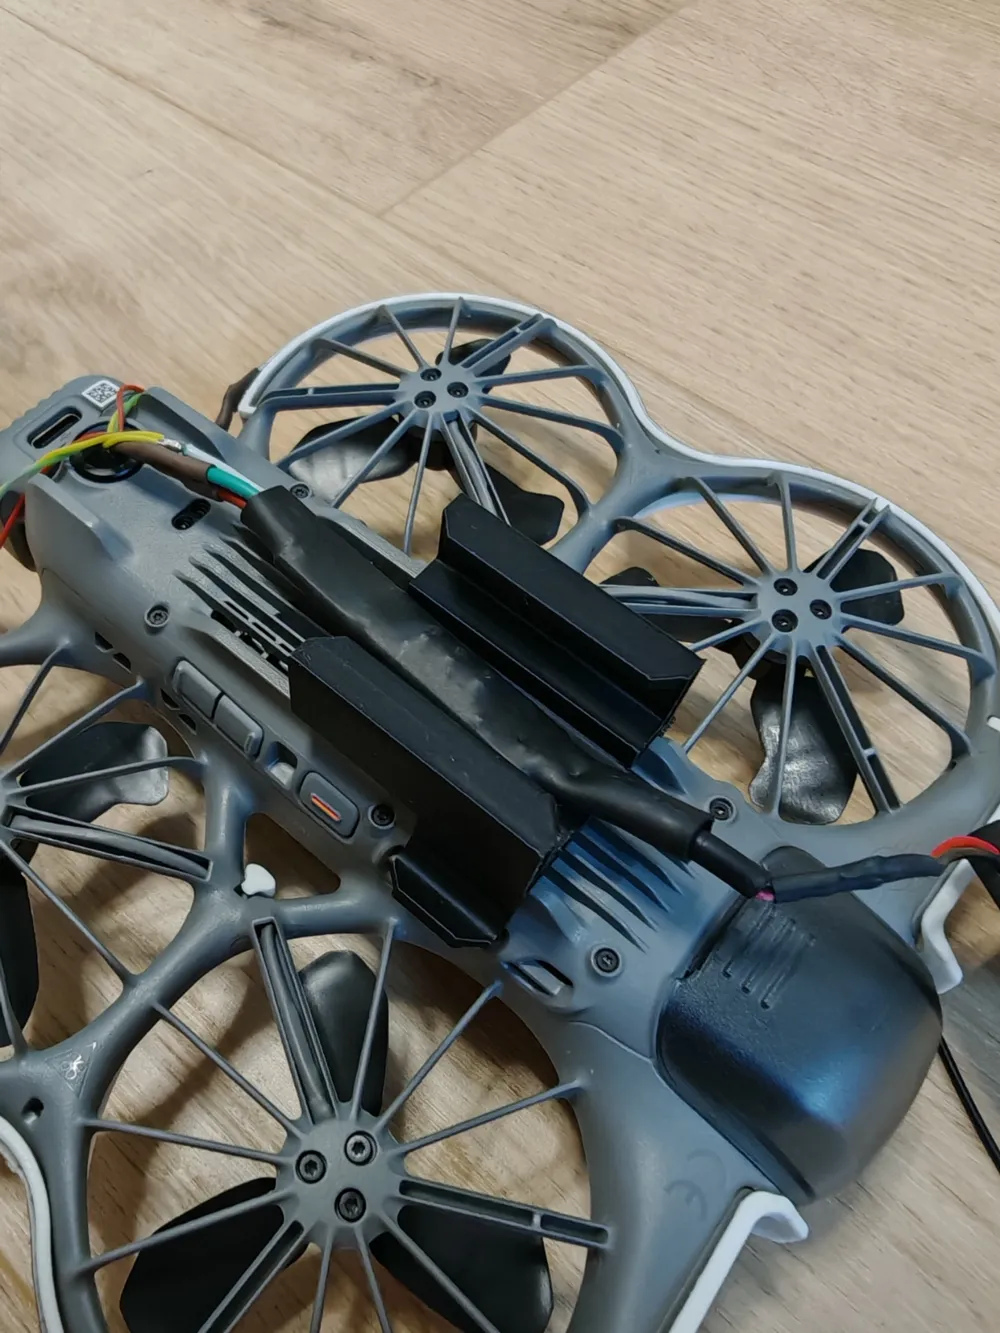
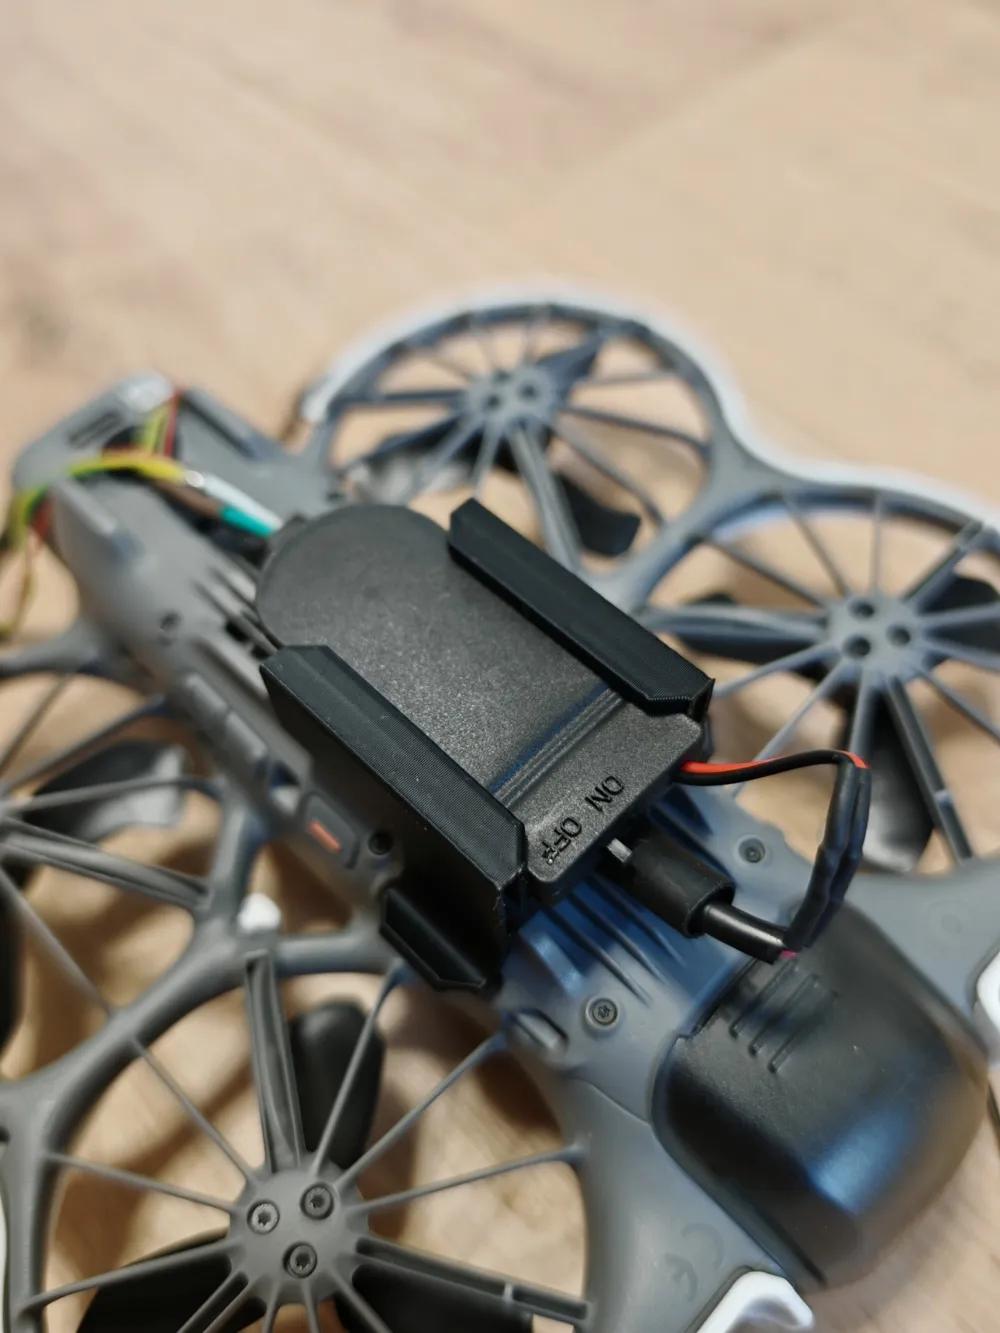
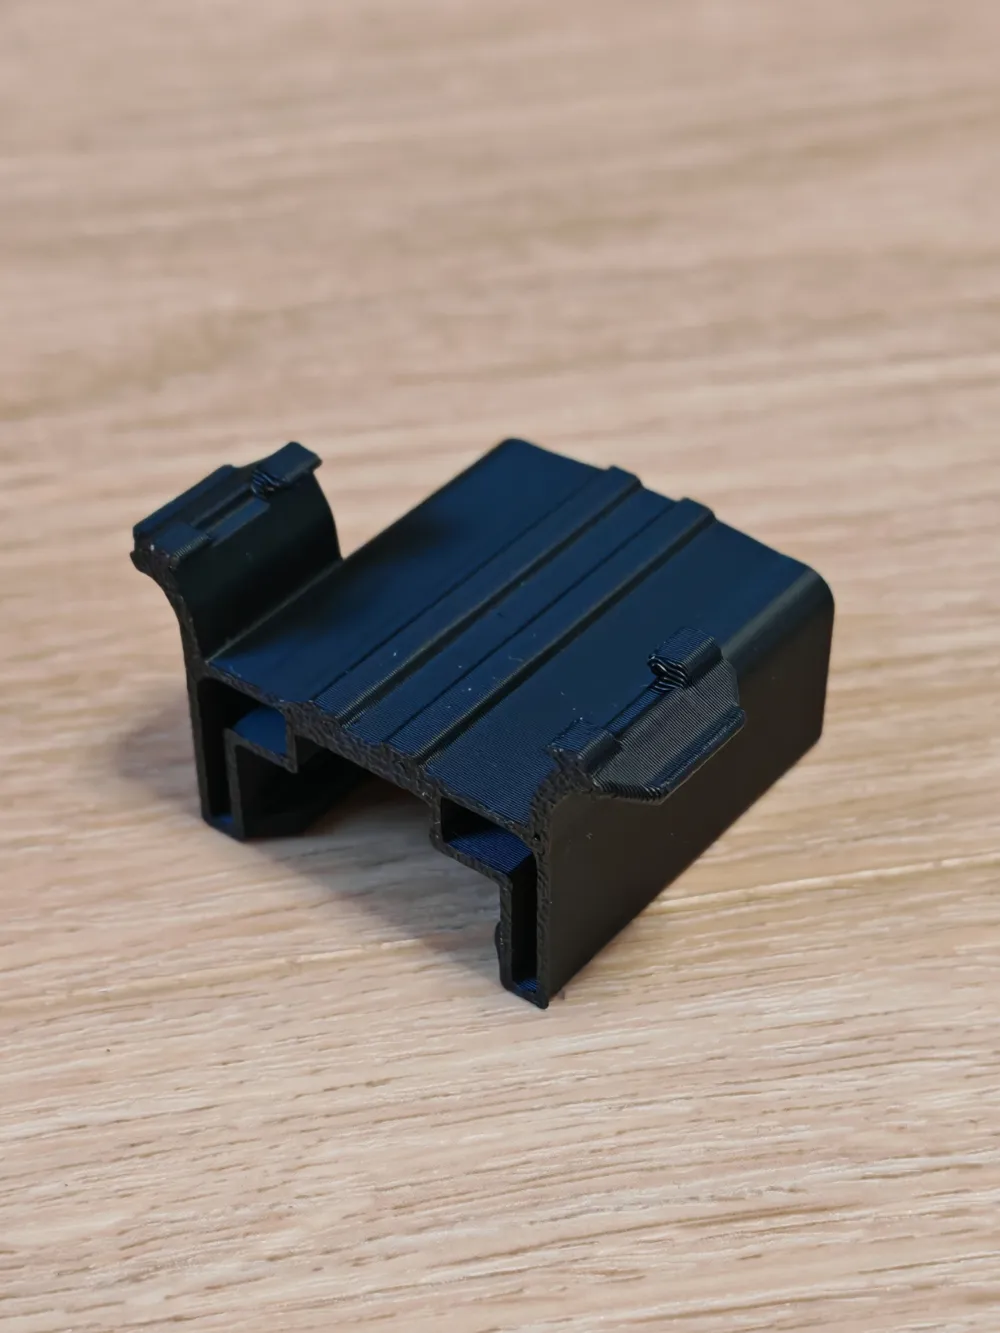
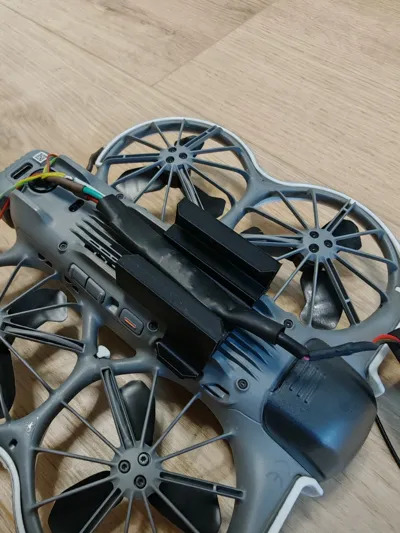
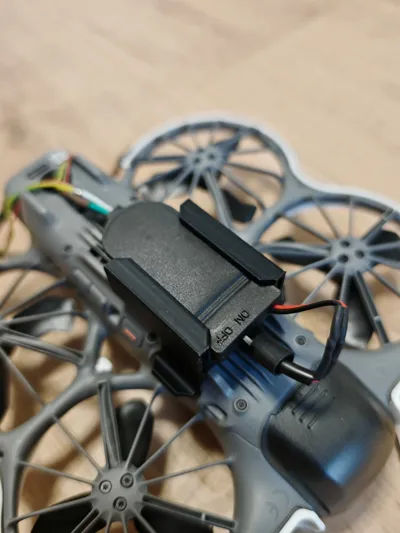
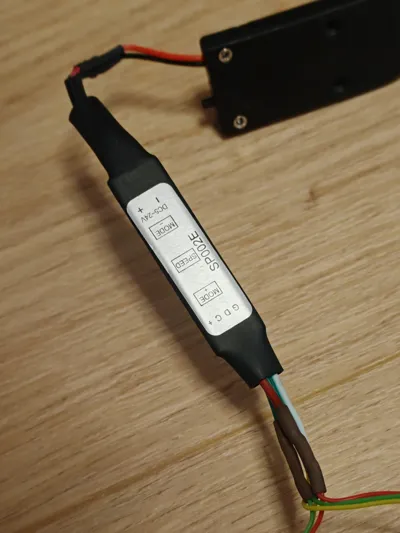
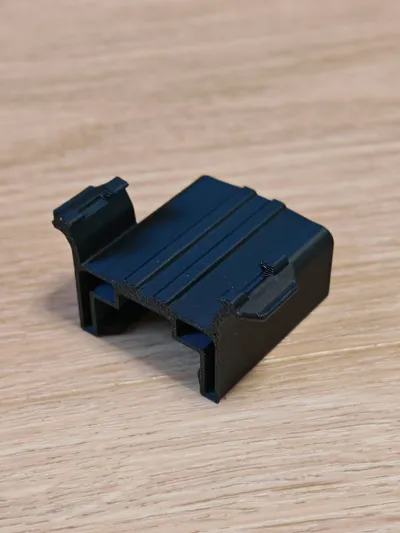
The highlight is the custom-made, ultra-light clip holder for the underside. It securely holds both the battery box and the compact LED controller without covering the sensors.
📦 Required Components (Parts List)
For this project, you will need the following components. I have linked the matching components for you here:
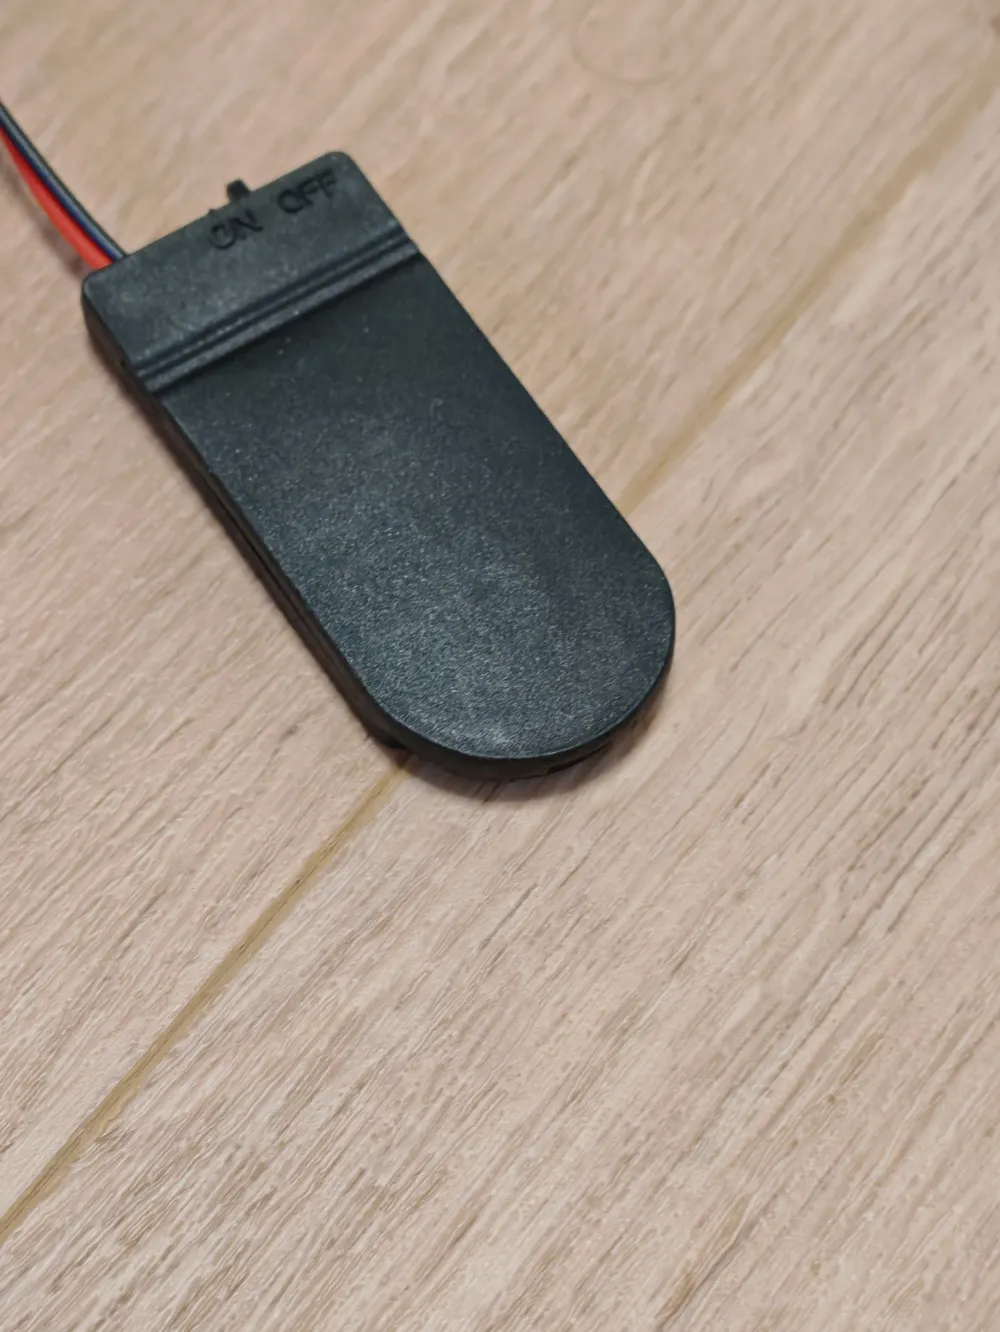
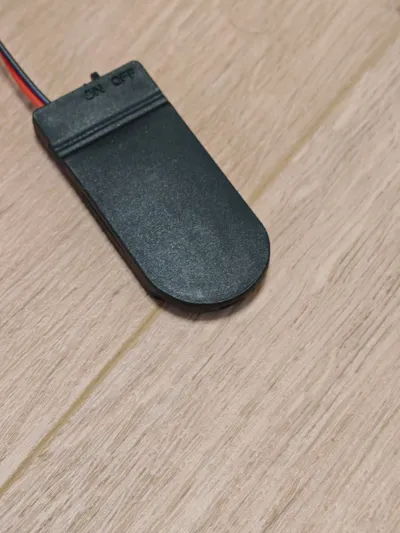
- 🛒 CR2032 Coin Cell Battery Holder with Switch: Order here on Amazon
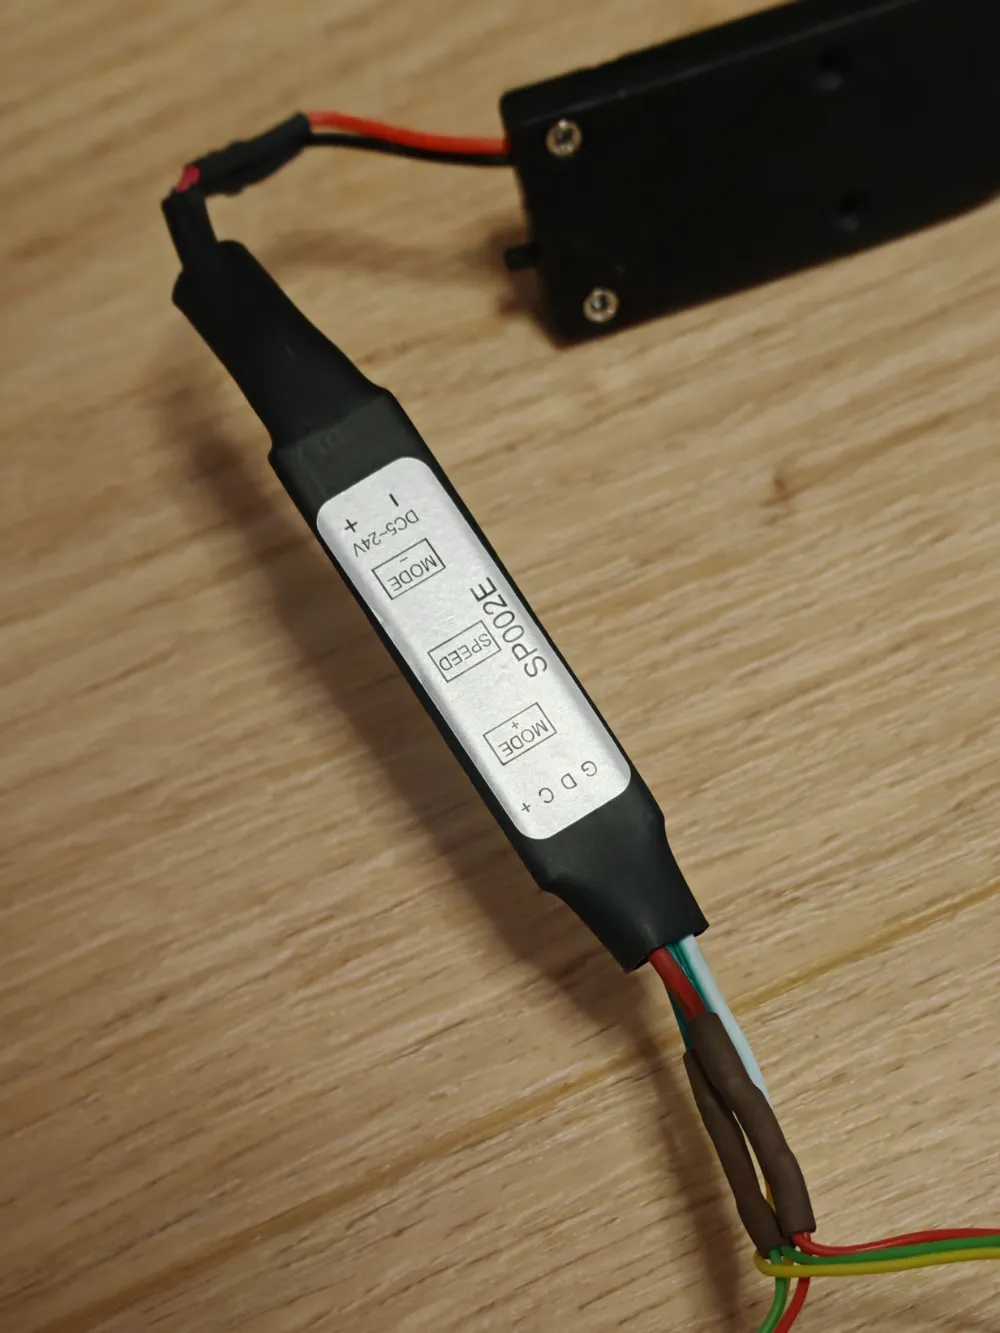
- 🛒 Mini RGB LED Controller (incl. remote control/cable): Order here on Amazon
- 🛒 Ultra-thin RGB LED Strip (5V/compatible): Order here on Amazon
- 🛒 CR2032 Coin Cell Batteries (3V): Order here on Amazon
🛠️ Assembly Instructions
Step 1: Prepare the 3D Printed Parts
- Print the attached holder file (Halter_Unterseite.stl)
- Recommendation: Use a light and robust filament
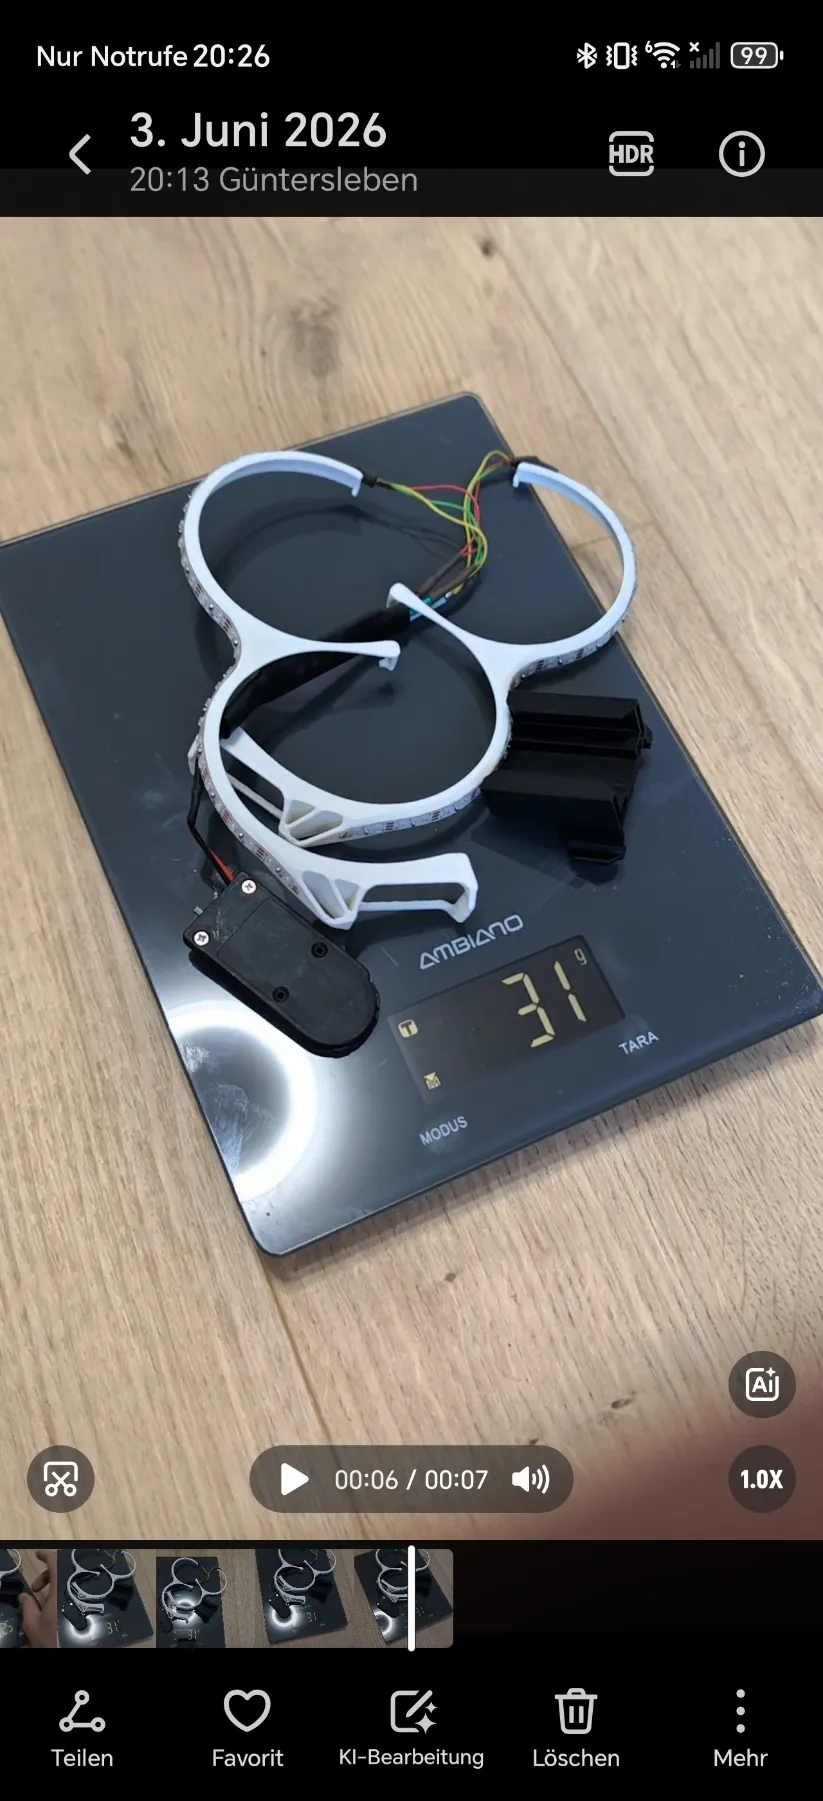
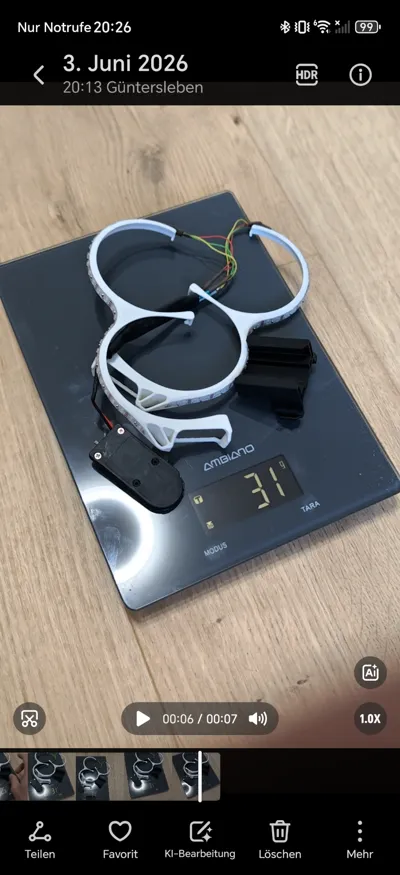
- Optional LED Frame: You can either glue the LED strip directly to the drone's propeller guard, or print the suitable, precisely fitting LED frame. You can find this among my other models in my profile!
Step 2: Solder & Wire Electronics
- Cut the LED strip to the required length for your drone (note the marked cut lines on the strip!)
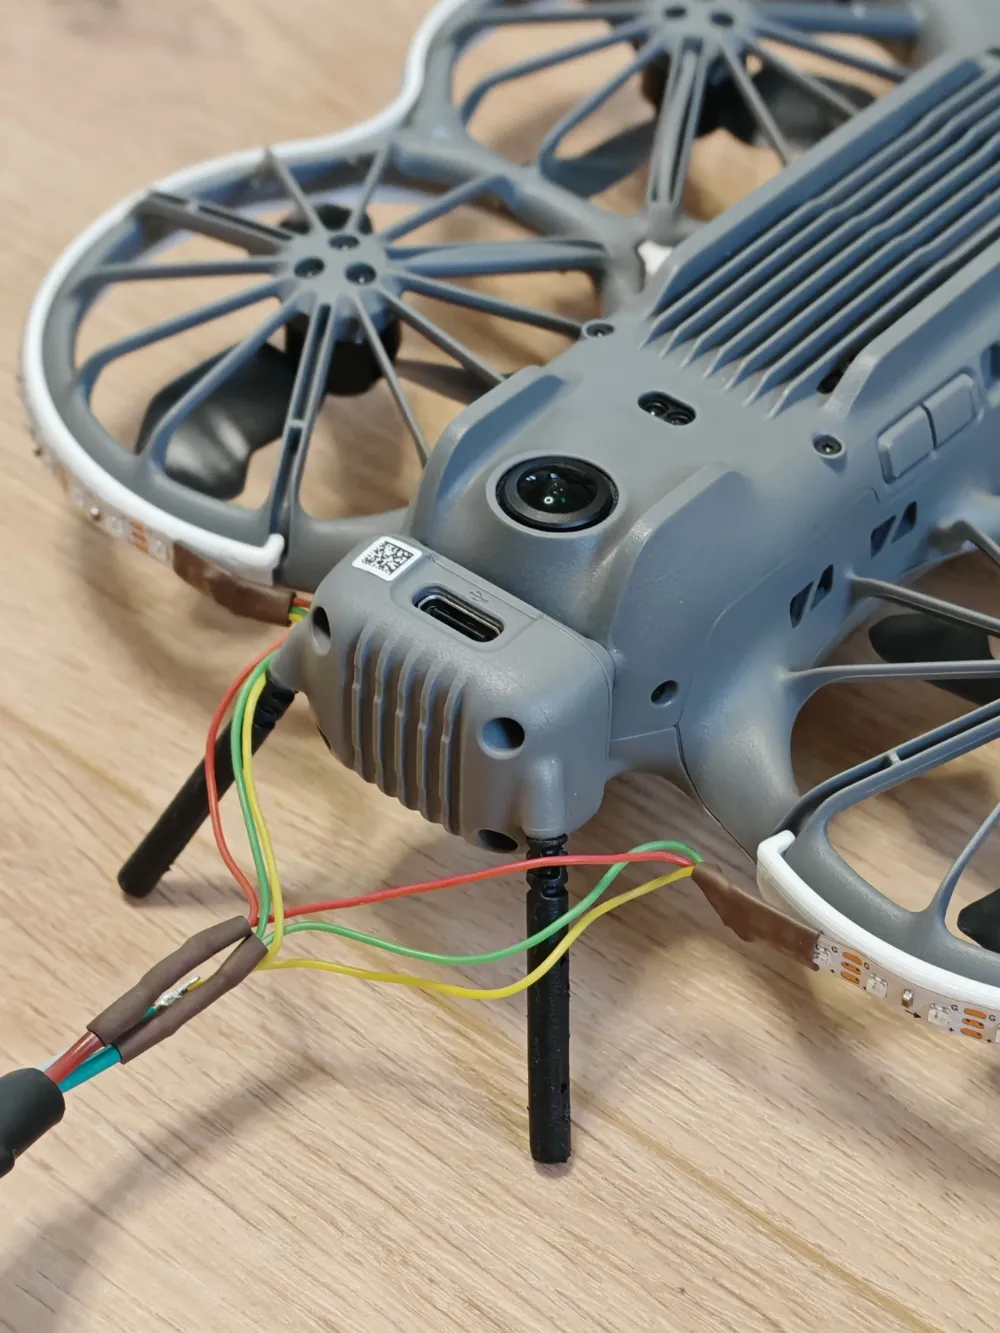
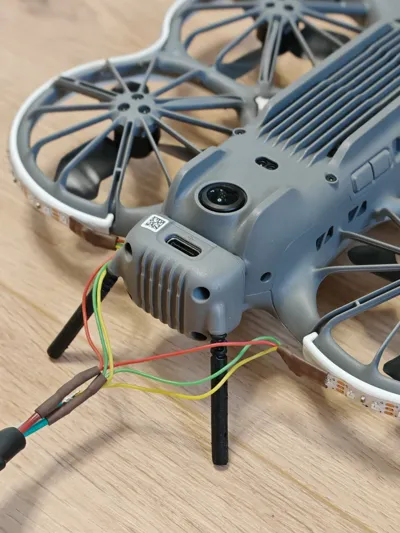
- Solder the cables of the Coin Cell Battery Holder to the power inputs of the RGB Controller (Positive/Red to Positive, Negative/Black to Negative)
- Connect the output side of the controller to the corresponding connections of the LED strip (R, G, B, V+)
- Insulate the solder joints neatly with some heat shrink tubing to prevent short circuits
Step 3: Mounting in the Holder
- Insert the flat heat-shrunk LED controller into the lower, narrow tunnel of the printed holder
- Slide the CR2032 coin cell battery holder (with the switch side pointing backward) into the upper, wide receptacle until it sits firmly. The cables should be neatly routed out the back
Step 4: Final Installation on the Drone
- Simply clip the fully assembled holder from below onto the cooling fins / bottom casing of your drone. It securely snaps into place thanks to the clip tabs
- Glue the LED strip (or the printed LED frame) around the propeller guard
- Insert the coin cell battery, set the switch to ON, and choose your favorite colors and effects via the remote control!
Do you like the design? Then feel free to leave a like and a boost. Also check out my other models for more practical drone accessories!
License

You shall not share, sub-license, sell, rent, host, transfer, or distribute in any way the digital or 3D printed versions of this object, nor any other derivative work of this object in its digital or physical format (including - but not limited to - remixes of this object, and hosting on other digital platforms). The objects may not be used without permission in any way whatsoever in which you charge money, or collect fees.


Comment & Rating (0)