
Jay Chou Album Pendant/Ornament — Still Fantasy
Print Profile(1)
Description
Boost Me (for free)
Creating this is not easy, please support me! Many thanks, and I wish you all the best! ( •̀ ω •́ )y
Model Introduction:

"Still Fantasy", be brave and be yourself! Whether you are young or old, whether you are at the peak or trough of life, may you have the courage to be brave and be yourself!
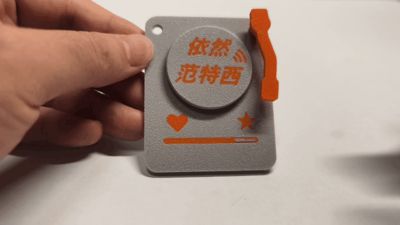
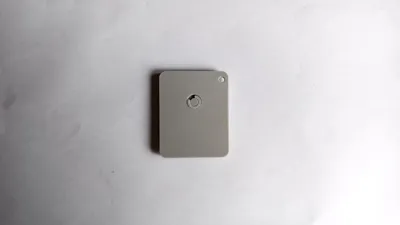
This small pendant can be hung on backpacks, keys as a personal decoration, or placed on a desk as a mini ornament, making it a unique choice for Jay Chou fans to collect idol merchandise. You are welcome to download and print it!
If you have custom requests for other album pendants, please leave a comment in the comments section, and I will try my best to fulfill them.
Your likes, saves, and boosts are crucial for me to continue updating the model. Thank you for your support!
Tips:
1.The print profile has been set, and mobile users can print directly.
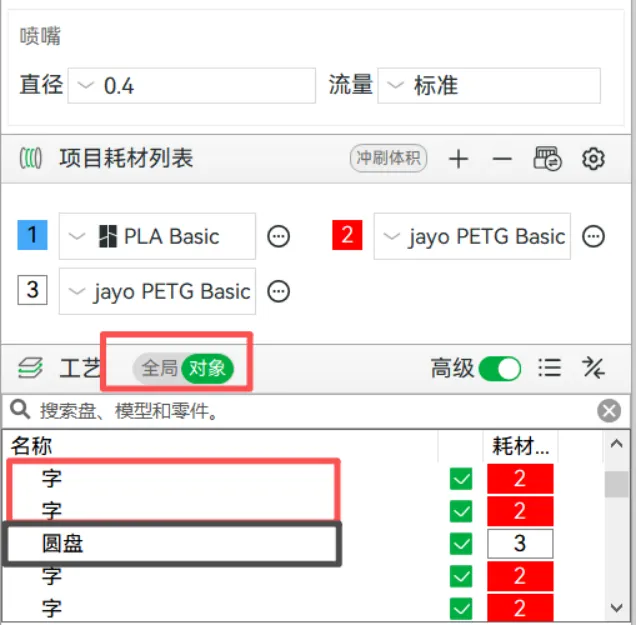
2.Requires an AMS multi-color system.
3.Two D4x2mm magnets are needed; the magnets in the Bambu Lab starter kit will work.
4.The colors of the 'text' and other parts in the model are set separately, and you can change the color scheme according to your needs.
Installation Steps:
I. Chinese Notes
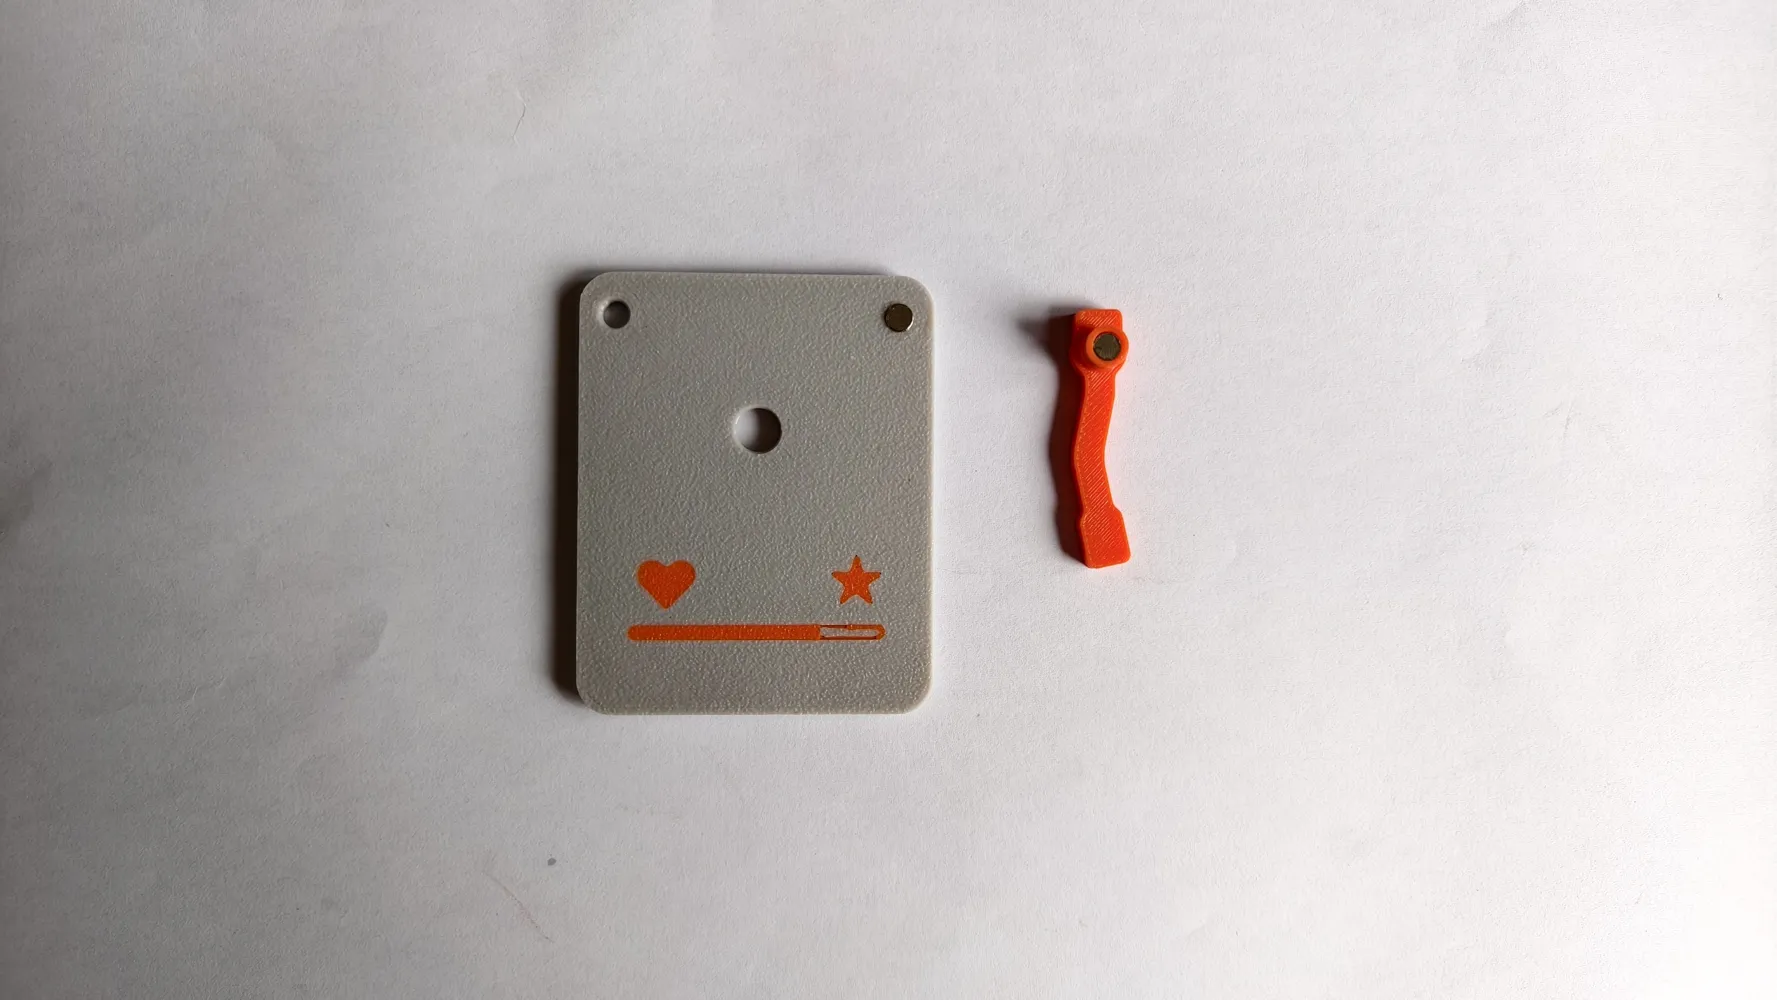
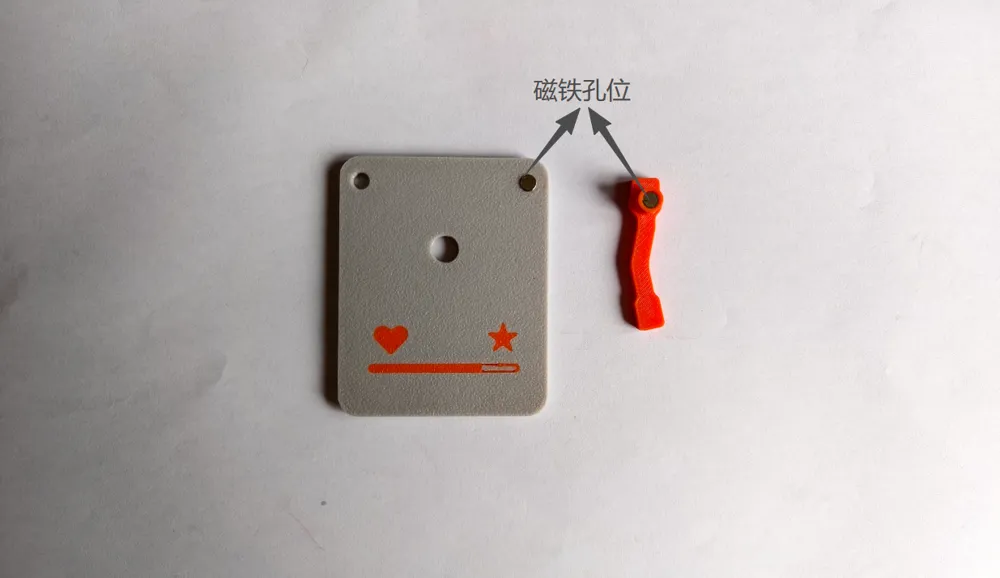
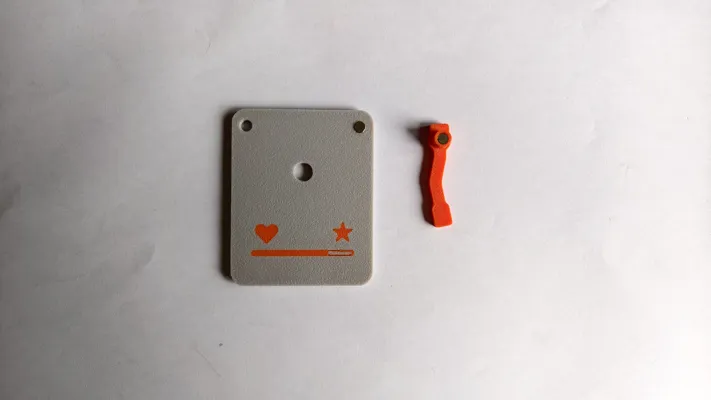
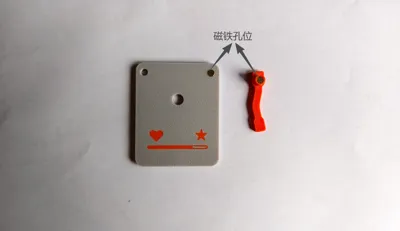
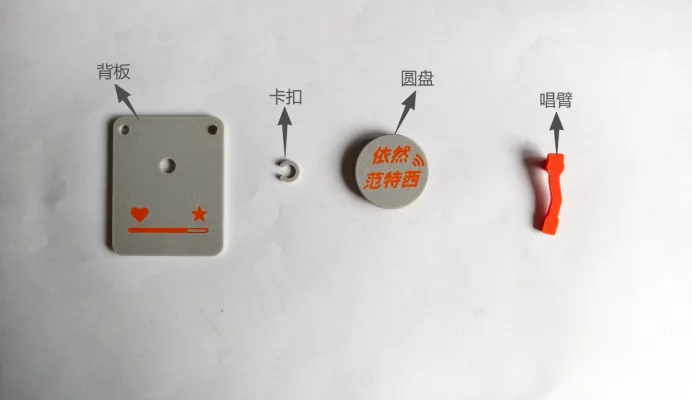
This model consists of 4 parts: 'Back Plate', 'Disc', 'Tonearm', and 'Snap Fastener', as shown in the figure below.
Specific Steps:
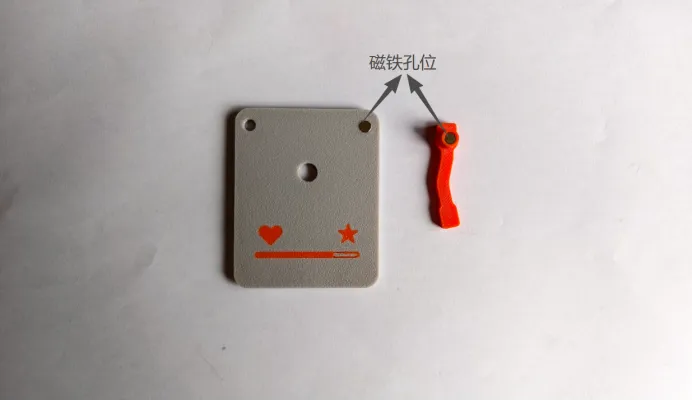
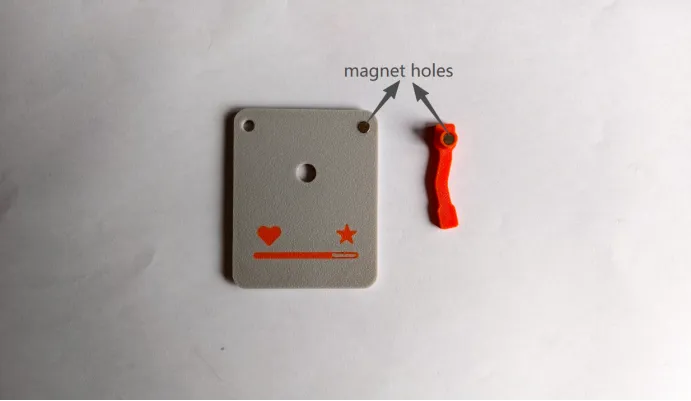
1.Embed two D4x2mm magnets into the magnet holes of the 'Back Plate' and 'Tonearm' respectively. Pay attention not to reverse the magnetic poles. Using glue can make the magnets more secure. As shown in the figure.
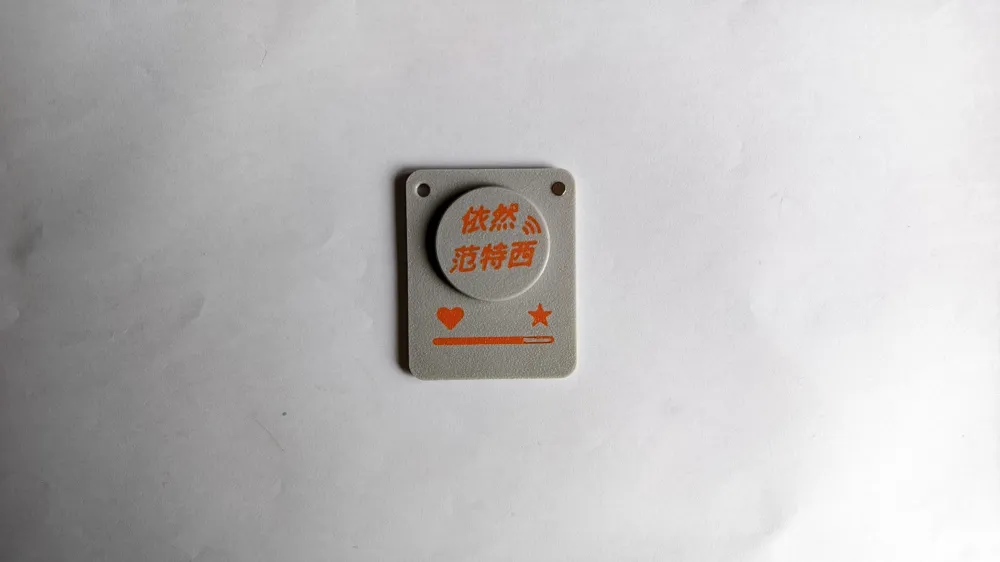
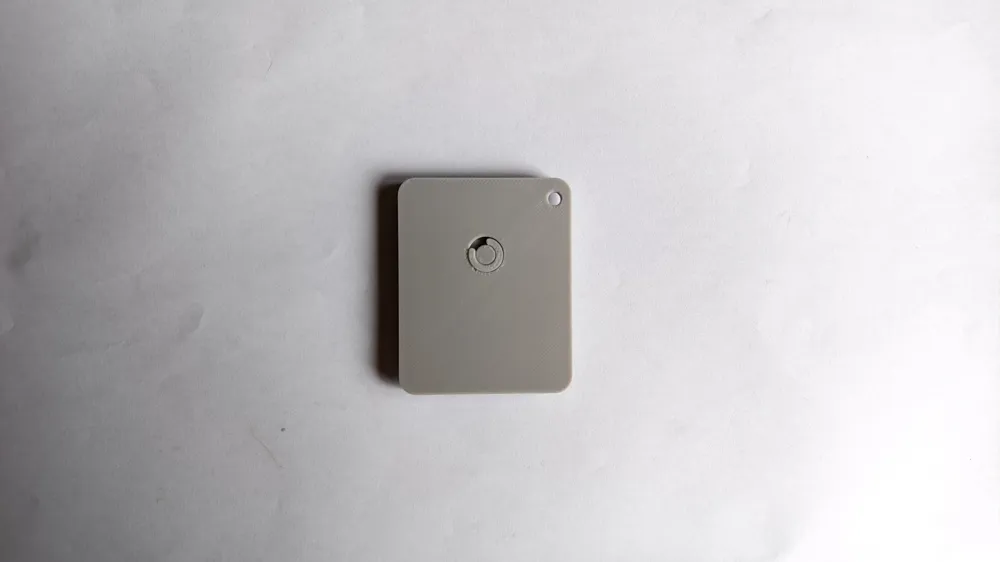
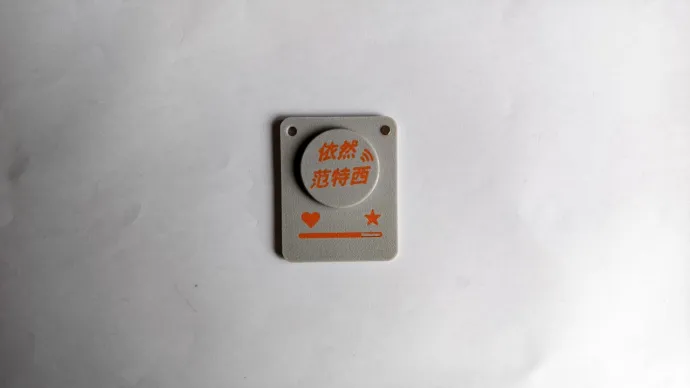
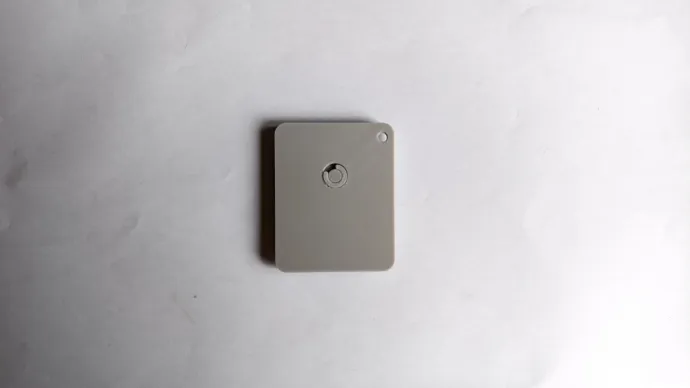
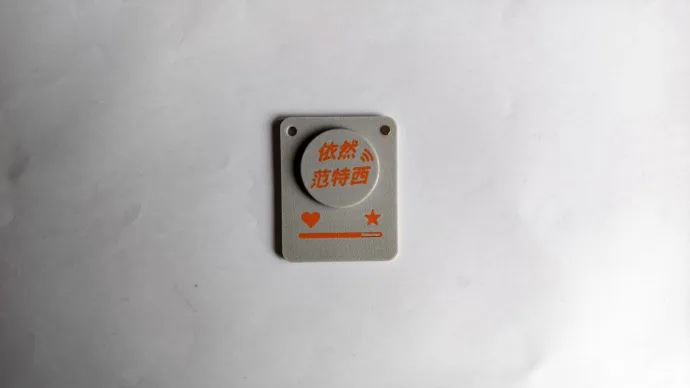
2.Insert the shaft of the 'Disc' into the central hole of the 'Back Plate', and secure it with the 'Snap Fastener' on the back of the 'Back Plate'. Ensure that the 'Disc' can rotate, and glue can make the snap fastener more secure. As shown in the figure.
3.Attach the 'Tonearm' to the 'Back Plate' magnetically. Done!
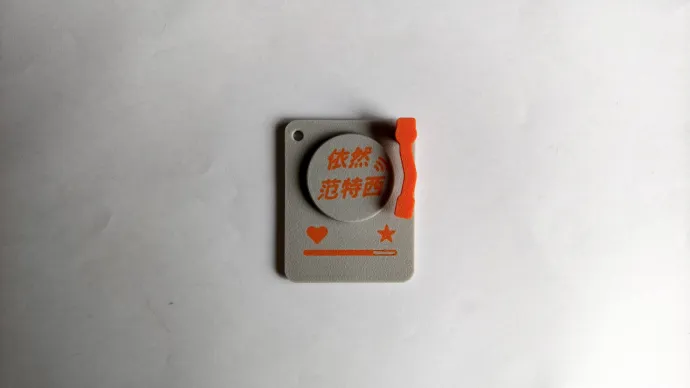
Hang it on your bag now!
II. English Notes:
This model consists of 4 parts: Back Plate, Disc, Tonearm and Snap Fastener, as shown in the figure below.
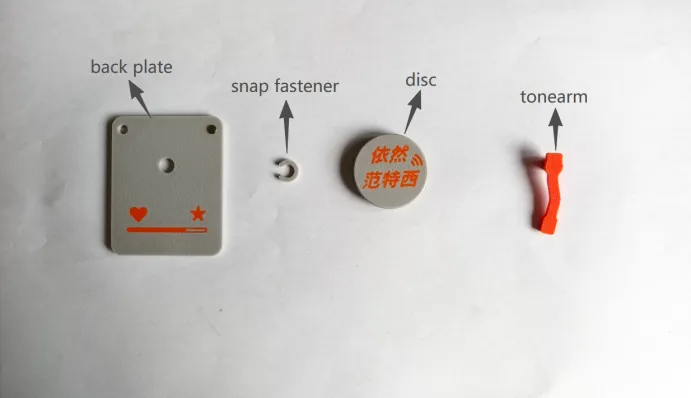
Assembly Steps:
Embed two D4×2 mm magnets into the magnet holes of the Back Plate and Tonearm respectively. Make sure the magnetic poles are correctly oriented. Use glue for a firmer fit, as illustrated.
2.Insert the shaft of the Disc into the central hole of the Back Plate, then secure it with the Snap Fastener on the rear side of the Back Plate. Ensure the Disc can rotate freely, and use glue to fasten the snap fastener, as illustrated.
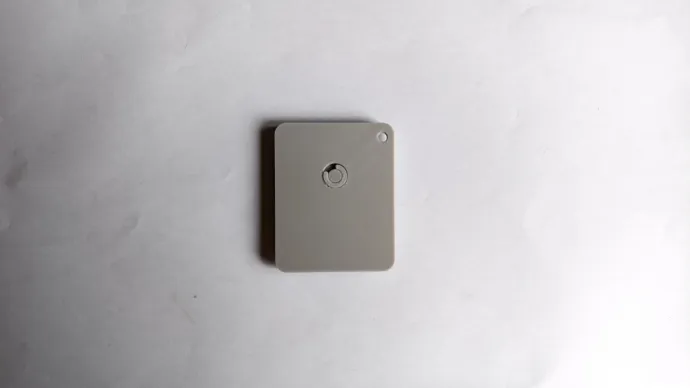
3.Attach the Tonearm to the Back Plate via magnetic attraction. Done!
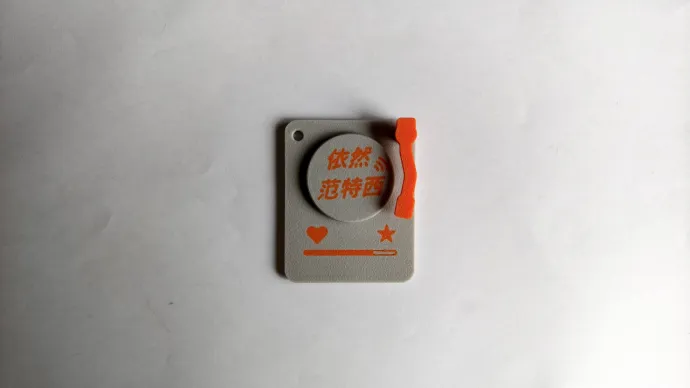
Now hang it on your bag!
Welcome to:
PS: Feel free to visit my homepage often; you might find something you need (●'◡'●)
The homepage link is: https://makerworld.com.cn/@Pbreak
License

You shall not share, sub-license, sell, rent, host, transfer, or distribute in any way the digital or 3D printed versions of this object, nor any other derivative work of this object in its digital or physical format (including - but not limited to - remixes of this object, and hosting on other digital platforms). The objects may not be used without permission in any way whatsoever in which you charge money, or collect fees.


Comment & Rating (0)