
Desk catapult
Print Profile(1)
Bill of Materials



Description
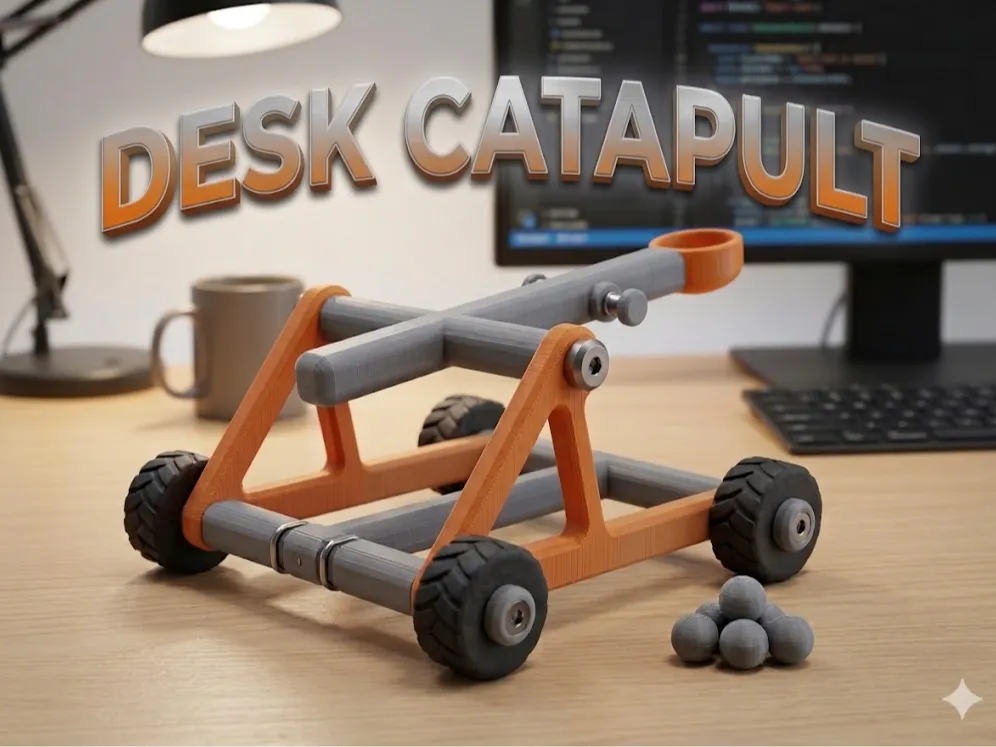
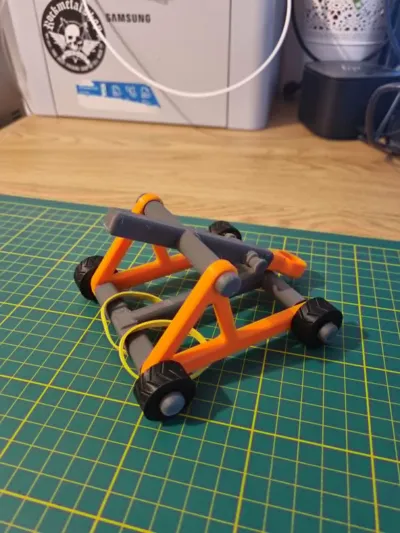
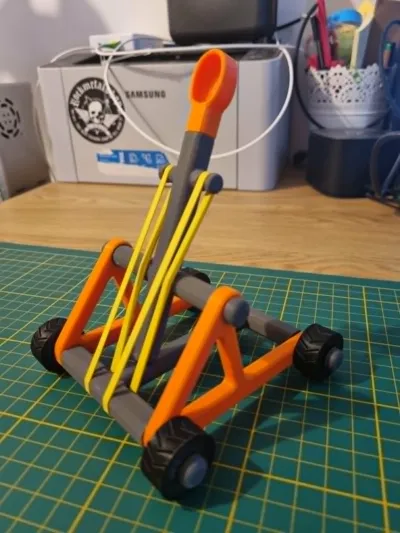
Defend your workspace and conquer office boredom with the Desk Catapult! Designed with a sleek, modern aesthetic, this functional miniature siege engine is the perfect desk toy for your coffee breaks. Whether you're launching the cannonballs or crumpled sticky notes into the recycling bin, this catapult brings a bit of medieval fun to your modern workday.
Key Features:
- Fully Functional: Features a sturdy throwing arm and a custom bucket designed for optimal launching.
- Bearing-Assisted Launch: Optimized for standard bearings to ensure an ultra-smooth, satisfying firing mechanism.
- Rolling Wheels: Easily maneuver and reposition your artillery across your desk.
- Multi-Color Friendly: The design allows for easy color separation (like the orange side frames in the preview) to match your personal setup.
Hardware Required (Non-Printed Parts): To make the catapult fully functional, you will need:
- 2x MR128 Bearings: Essential for the main axle to ensure a smooth, frictionless, and powerful launch.
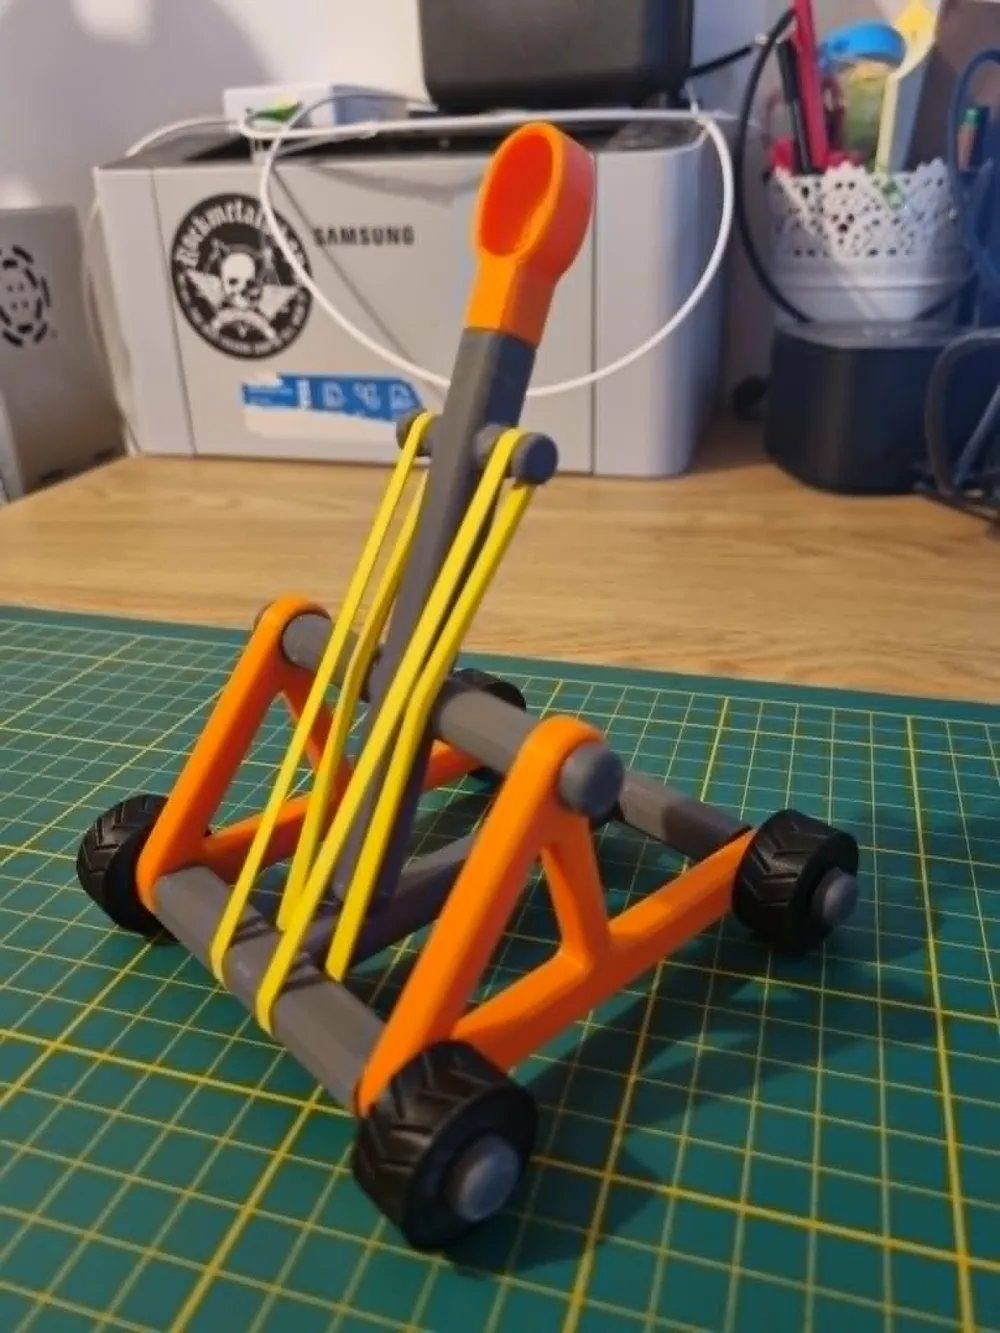
- 2x Standard Rubber Bands: These act as the main spring mechanism, generating the energy required to launch your projectiles.
Print Settings & Recommendations:
- Material: PLA works great for the frame, but PETG is highly recommended for the throwing arm and axles to provide better durability and flex under tension.
- Layer Height: 0.2mm for a great balance of speed and detail.
- Infill: 15-20%.
- Supports: Minimal supports required
- Wall Loops: 3 perimeters to ensure the structural parts remain sturdy during use.
Assembly:
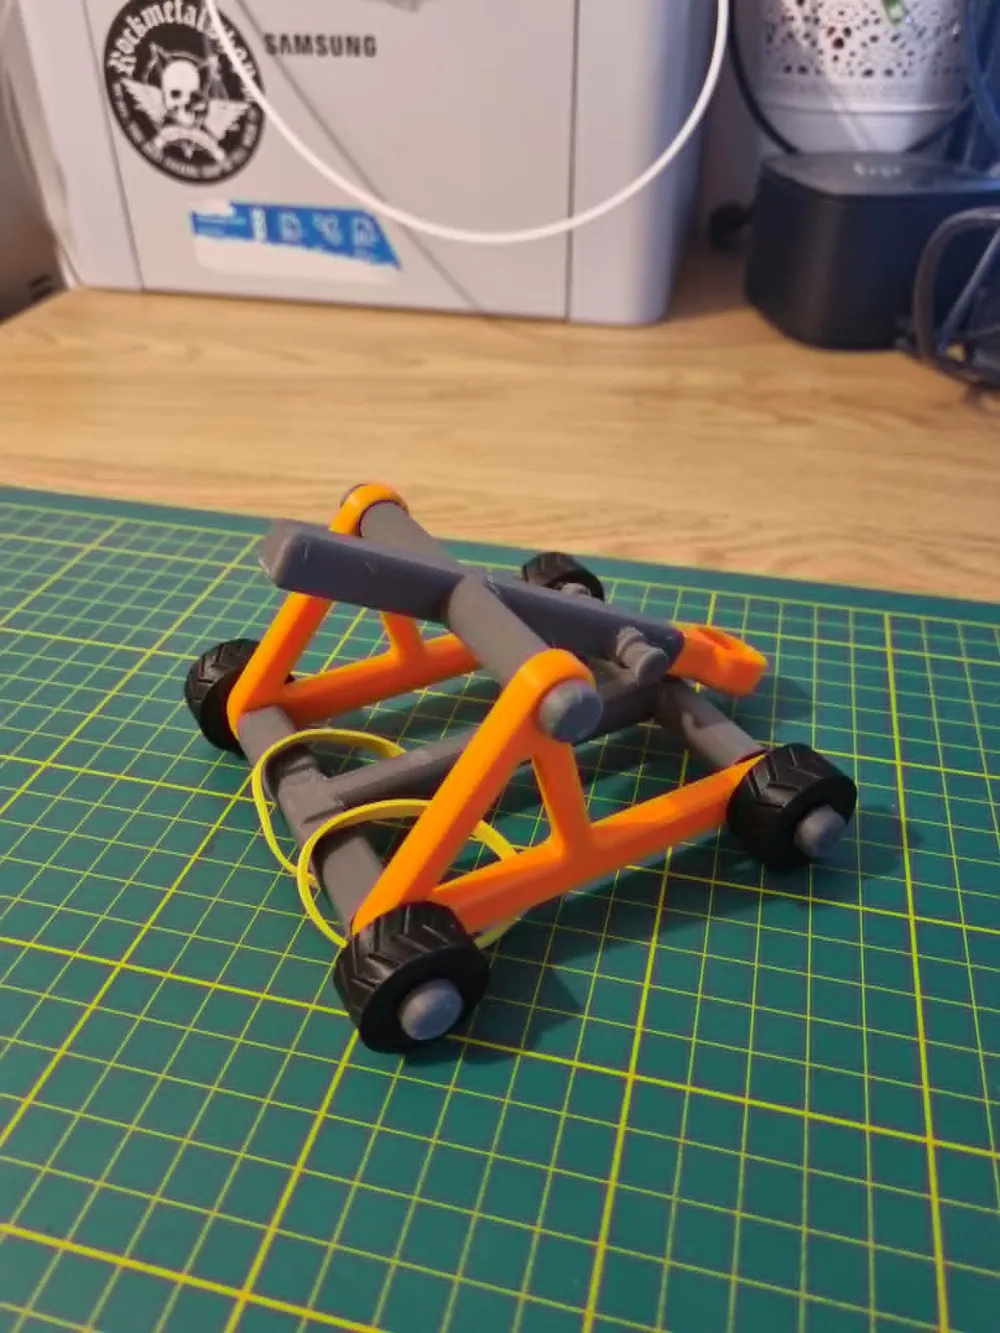
- Press-fit the two MR128 bearings into their designated slots on the side frames.
- Insert the main axle through the throwing arm and secure it into the bearings.
- Assemble the rest of the crossbars and wheels. The parts are designed with tight tolerances, but a small drop of super glue can be used on the frame connections for a completely permanent bond.
- Loop the two rubber bands around the hooks on the frame and the throwing arm to tension the catapult.
Happy printing, shoot safely, and aim responsibly!
Boost Me (for free)
💡 If you like this project, support it with a Boost – it helps more makers discover it and motivates me to keep creating more models in this style! 🚙💨
License

You shall not share, sub-license, sell, rent, host, transfer, or distribute in any way the digital or 3D printed versions of this object, nor any other derivative work of this object in its digital or physical format (including - but not limited to - remixes of this object, and hosting on other digital platforms). The objects may not be used without permission in any way whatsoever in which you charge money, or collect fees.


Comment & Rating (0)