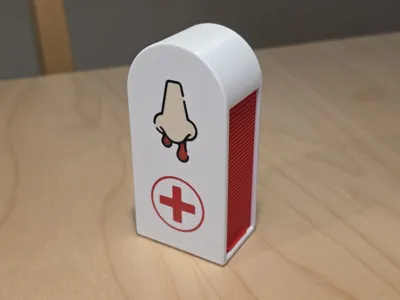
Nose Bleed Plug Sliding Top Box


Print Profile(1)
Bill of Materials


Description
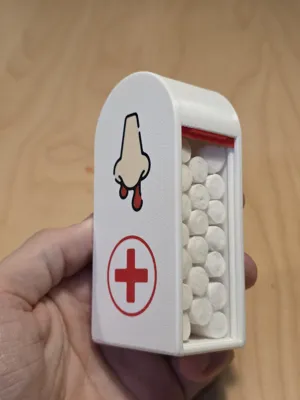
When my wife asked me to make a container for these “Happy Hippo" cotton plugs, this was my first design as I really wanted to draw up a slide box. She didn't like it and I ended up making the can version instead, but since I had drawn this I wanted to print it anyway 🤣 Turns out it works pretty well, so I'm sharing it!
I used TPU 95A for the door and honestly TPU 68D (TPU for AMS) might have been a better choice. I suggest you dry-fit test yours before gluing to make sure you're happy with your choices.
You'll need some glue for this one. I used a Gel CA and activator spray, and would encourage you do the same.
Assembly
Start by applying a smear of glue (blue) along the bottom and side of the larger body, where the cartridge will fit. Press the cartridge in firmly and ensure it is fully seated and flush with the open end of the box. I didn't use activator yet, to prevent accidental over-spray for the next step.


Insert your door and run it all the way open so it's out of the way for now. Note there's a tab that should be both up and towards the flat edge of the box - this is to help manipulate the door and prevent it from sliding in to the rest of the box when fully open.
Apply some glue along the inside of the round edge, very near the top. Be careful to not get any in the door track. Additionally apply just a little glue inside the recess near the top wall. Finally a good smear across the side of the cartridge and some in the back end of the track. There are blades protruding from the lid which will interface with these areas. Note the curved blade does not go in to the door track - it is meant to push against the track wall. The two shorter blades do go in to their respective slots.
With your main body part glued, apply activator spray (green) to the lid, trying to only get it in the spots required: the outside of the curved blade, the surface that meets with the cartridge, and the two short blades.

- Squish the parts together and use the few seconds you have before the activator kicks in to ensure the outside edges are well aligned. Hold it for 5-10 seconds while the activator does it's magic, and you're done!
Allow the fumes from the glue to dissipate for a while (overnight is a good idea!) before stocking your new carrying case with plugs. You might be able to fit some wet wipes in the round cavity at the front of the box, if you have some that fit.
License
You may create derivative works based on this object, provided that all such derivative works are published exclusively on the MakerWorld platform and include proper attribution to the original creator. You may not share, upload, host, distribute, or publish this object—or any derivative work of this object—on any other digital platform, marketplace, or distribution channel. Commercial use of this object and any derivative works is strictly prohibited. This includes, but is not limited to, selling, renting, sublicensing, or using the object in any context in which you receive monetary compensation or other financial benefits.
Comment & Rating (0)