
Phone holder for bike-motorcycle-scooter 1.0
Print Profile(2)


Description
Boost Me (for free)
Support my models with a Boost, to encourage me to create more and better ones! Thank you if you want to help me
Check out my other models on my profile too to discover new ideas and 3D projects! HERE
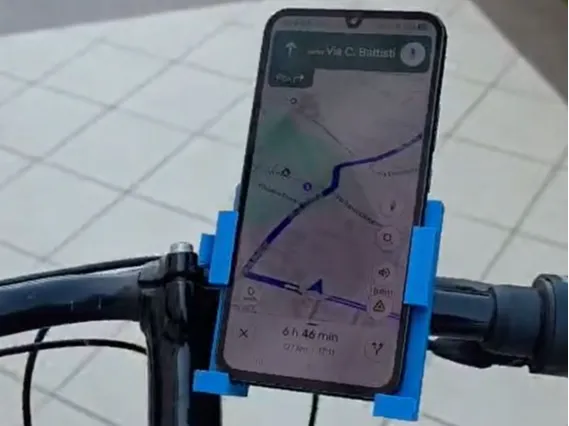
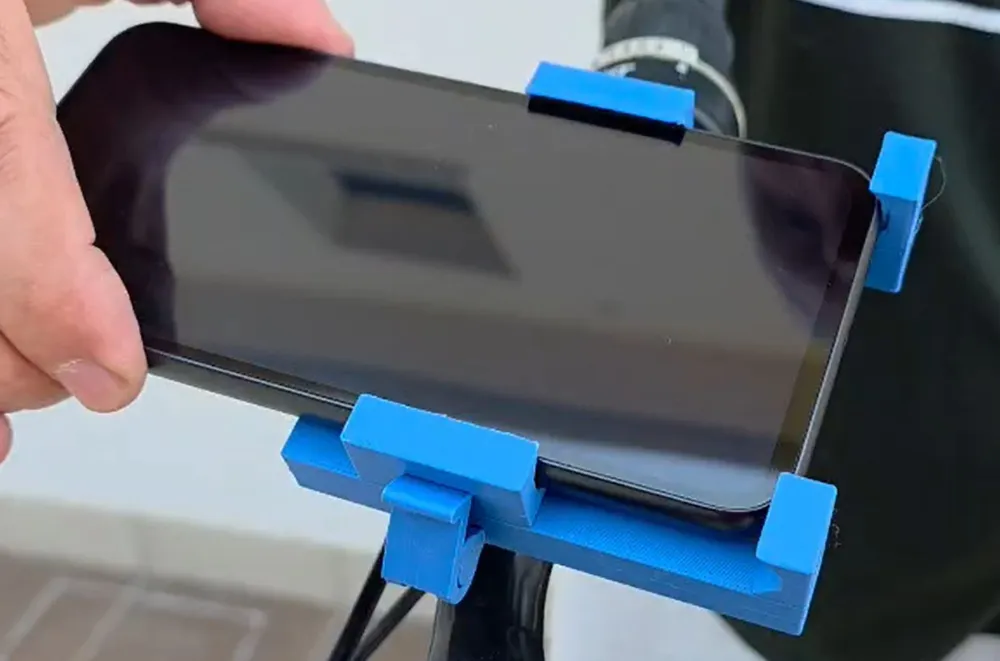
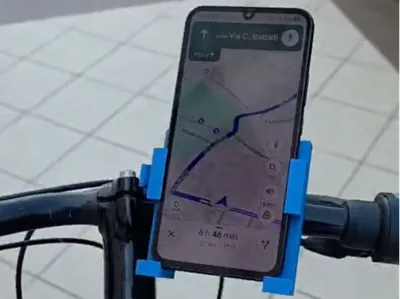
Phone holder for bicycle and motorcycle
Versions
Note: a newer model is available here: https://makerworld.com/en/models/3014555-phone-holder-for-bike-motorcycle-scooter-2-0#profileId-3386146
Project story
I know there are already many phone holders on the market, but I decided to design my own after making a custom bracket for my motorcycle. To be honest, if I had thought about it sooner, I probably would have saved quite a bit of money.
This project kept me busy for several weeks, because I had to learn and experiment with new construction solutions, especially for creating rotating joints, integrated threads, and an effective locking system, while trying to minimize the number of parts to assemble.
Compared to the commercial mount I had bought for the motorcycle, which consisted of many plastic and metal parts and required an Allen key to tighten, this model is made of only 3 main parts, is completely 3D printable in plastic, and requires no tools for assembly or adjustment.
Before reaching the final version, I modified the original design multiple times and made about 15-20 test prints, progressively improving the attachment system, adjustment, and phone stability.
Model description
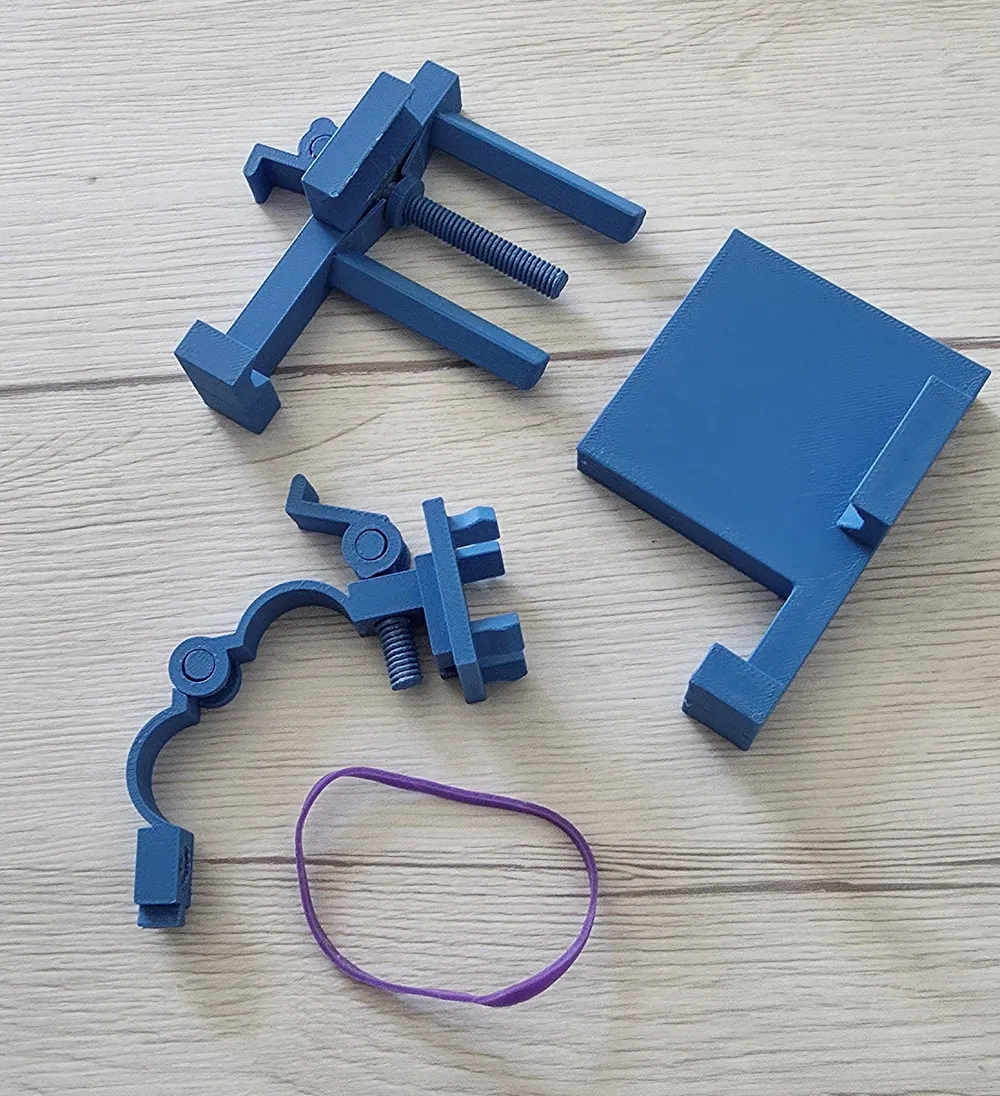
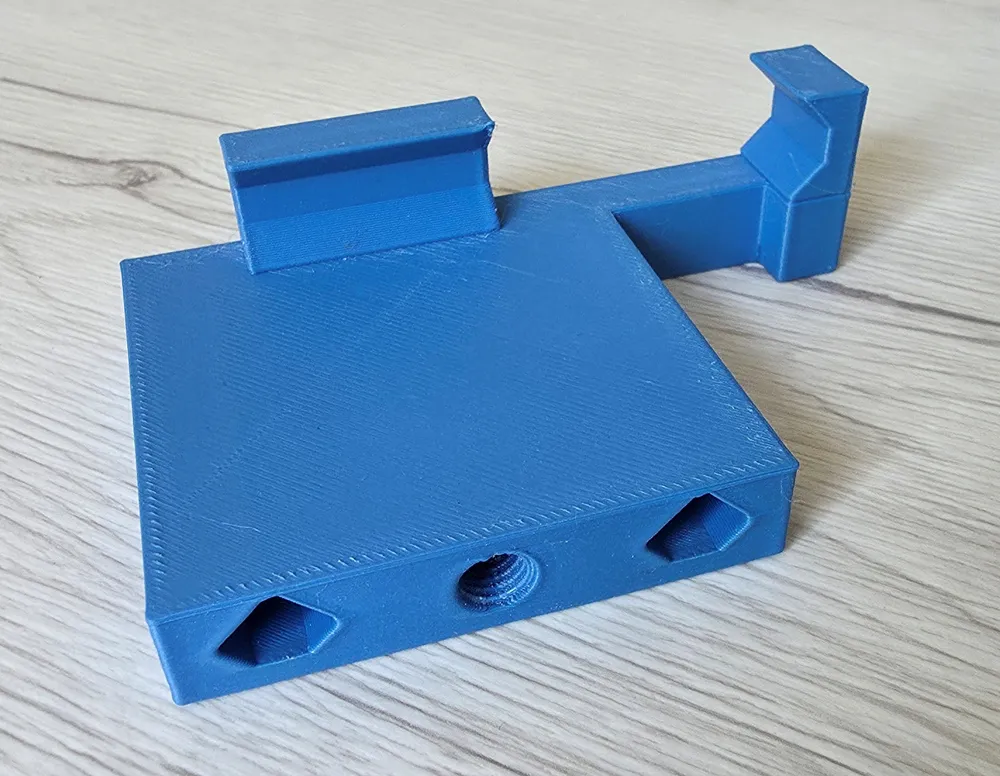
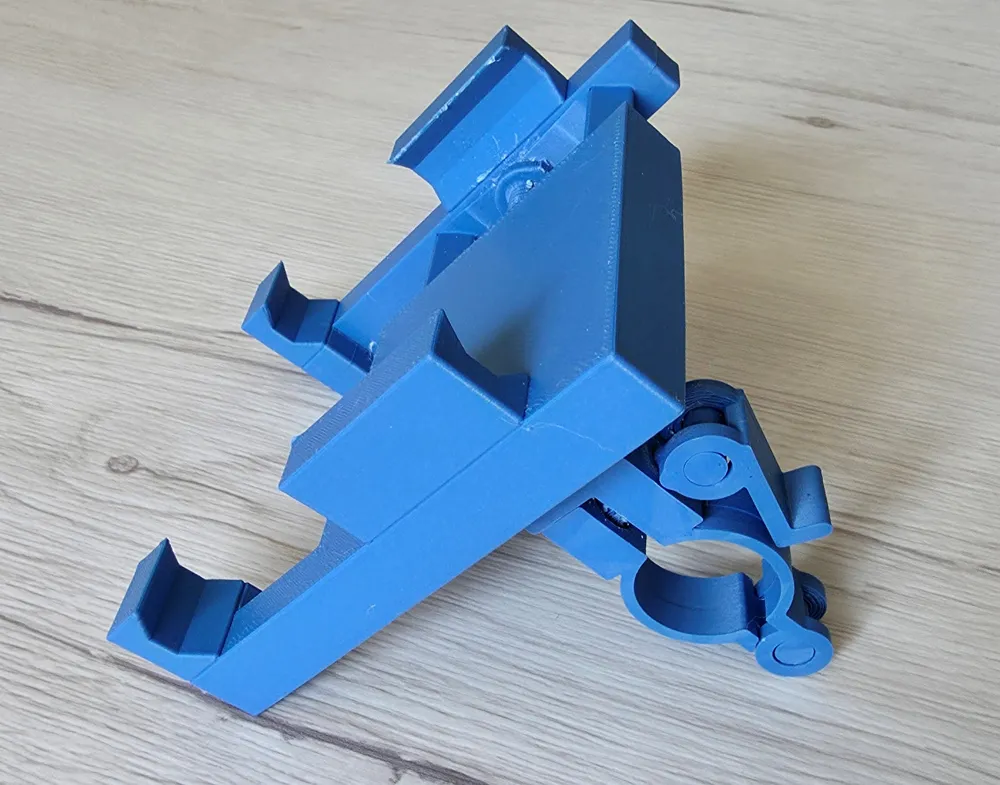
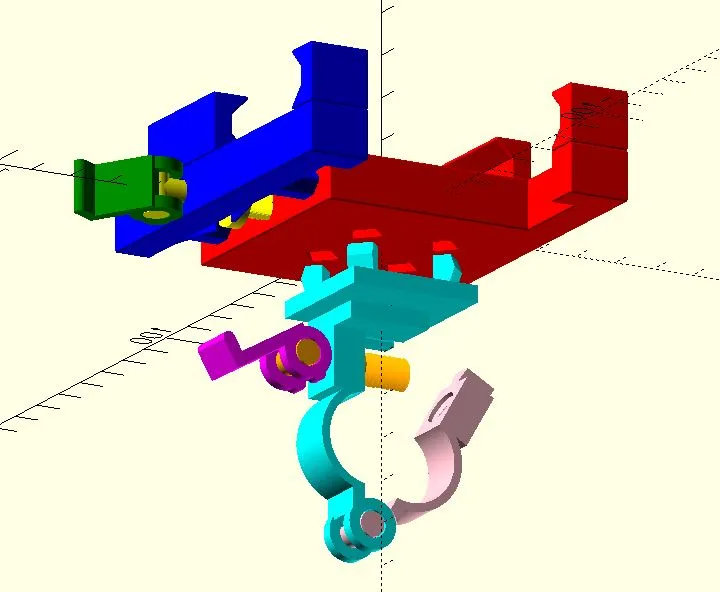
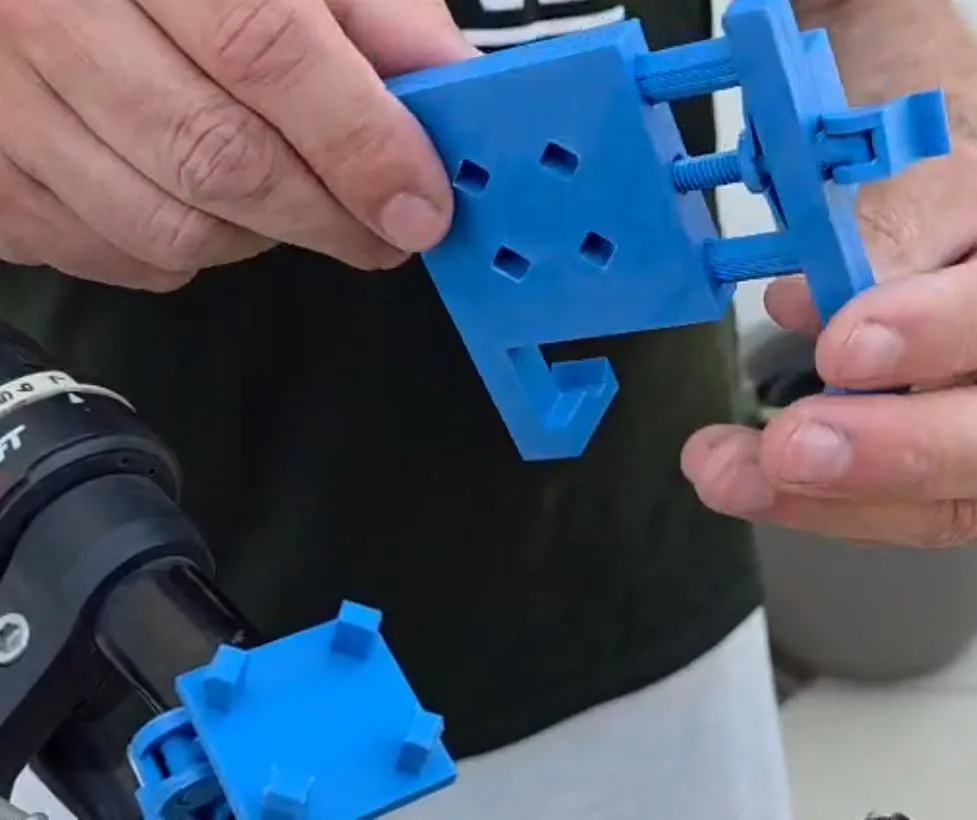
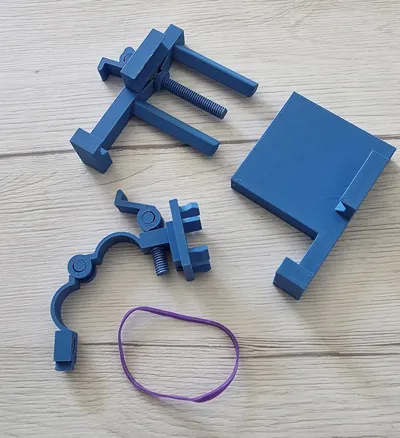
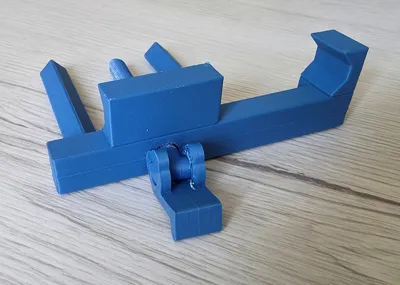
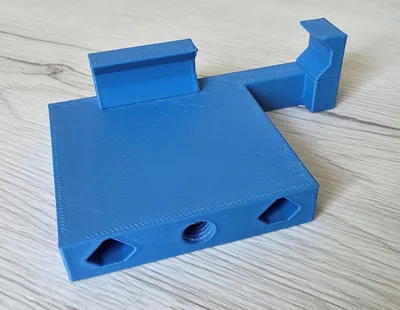
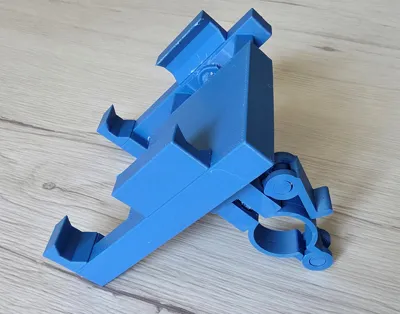
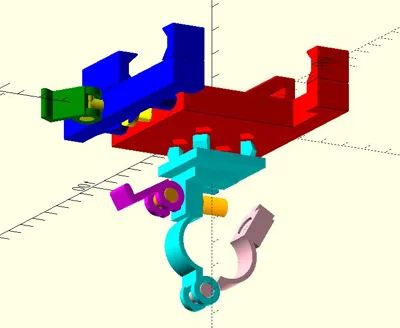
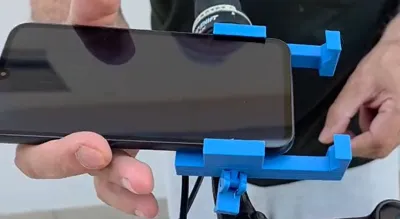
The phone holder consists of 3 main parts:
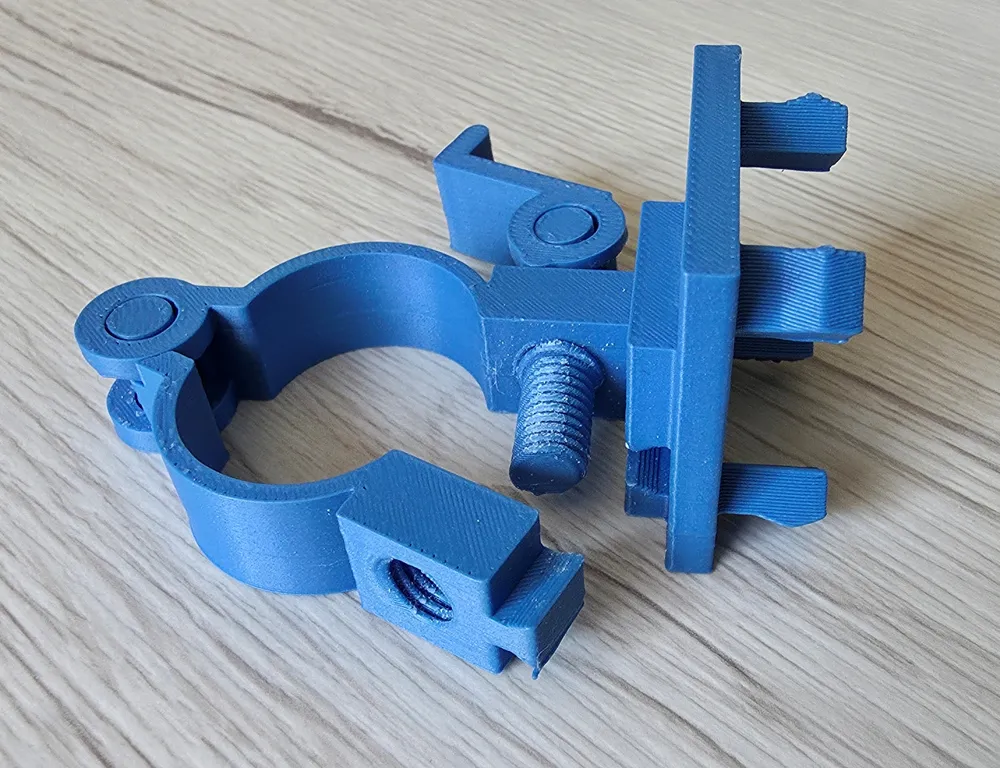
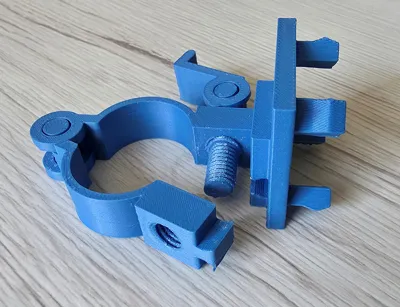
- handlebar clamp;
- fixed part of the holder;
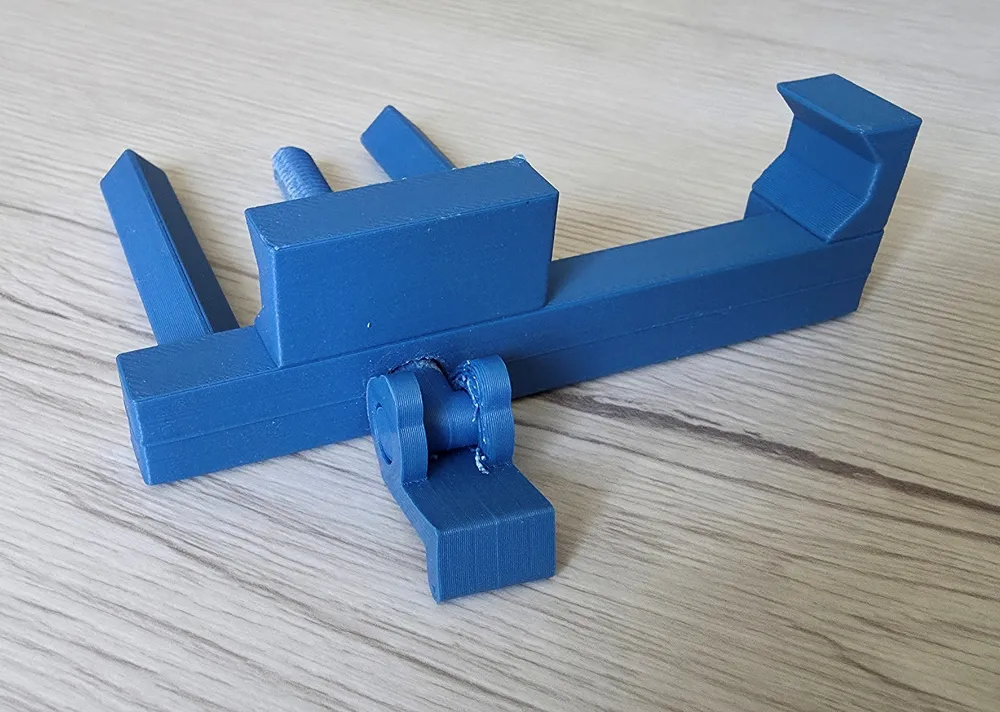
- adjustable movable part.
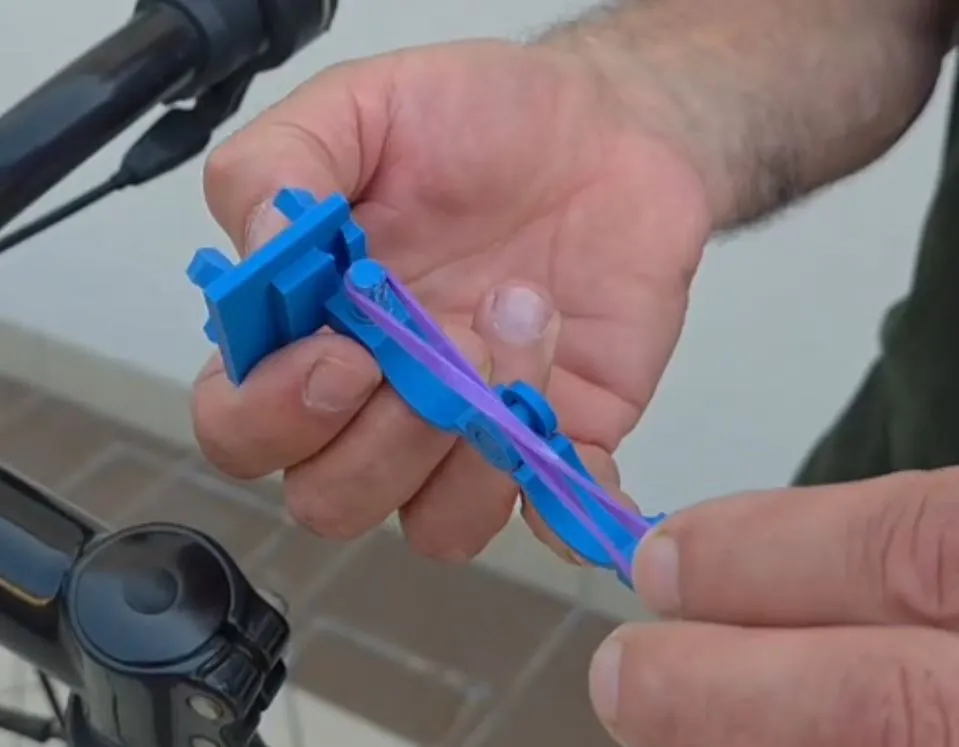
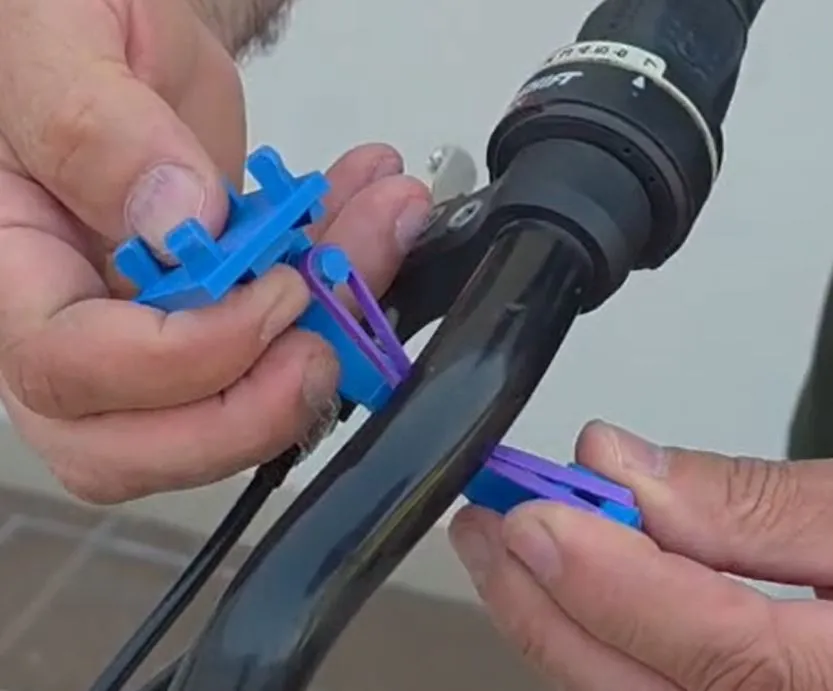
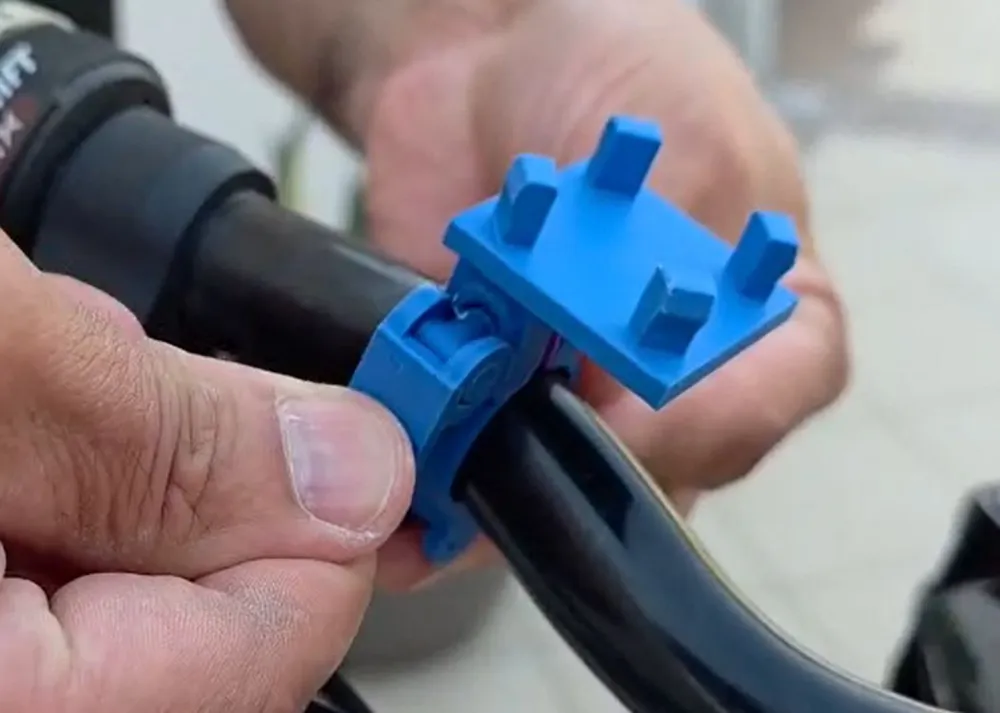
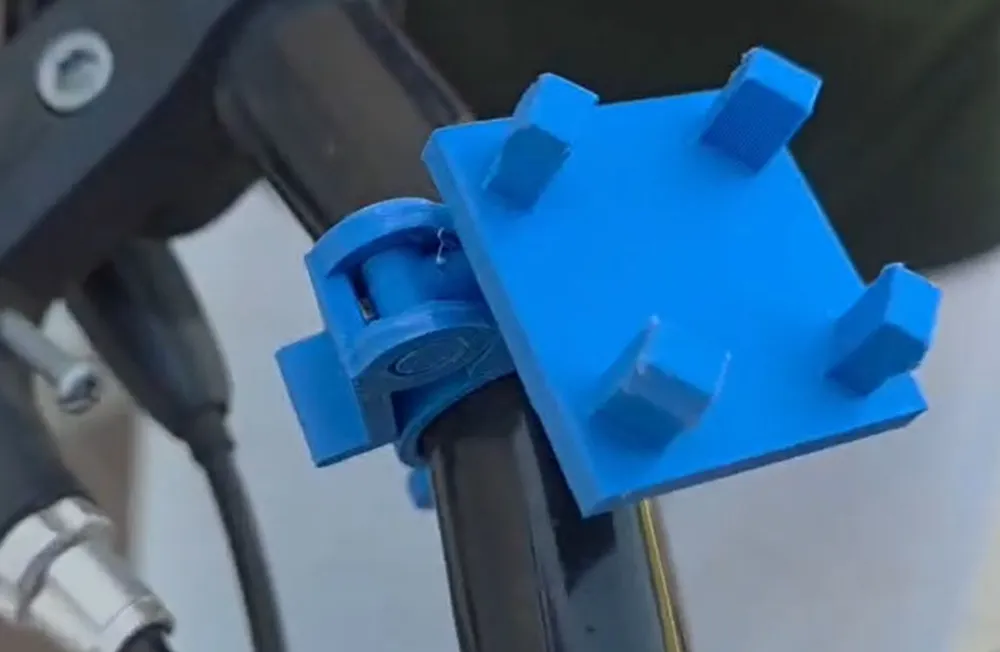
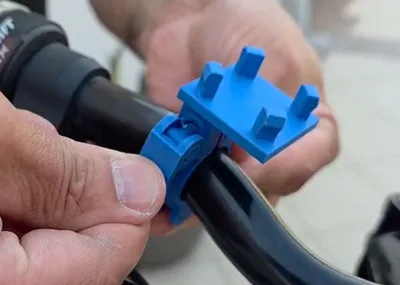
The articulated clamp attaches to the bicycle or motorcycle handlebar. The opening is adjustable and fits bars with a diameter between approximately 18 and 22 mm.
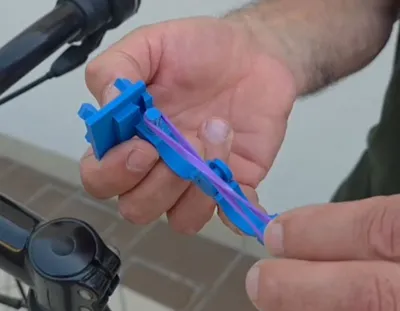
To improve grip on the smooth surface of the handlebar, the use of a common rubber band is recommended, as shown in the assembly instructions. Initial tightening is done via the integrated screw in the clamp; once the correct grip is achieved, final locking is performed with the snap lever.
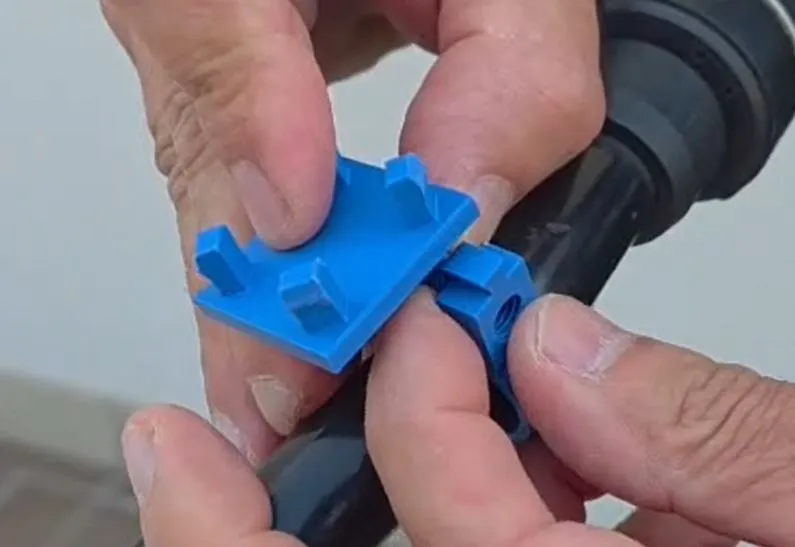
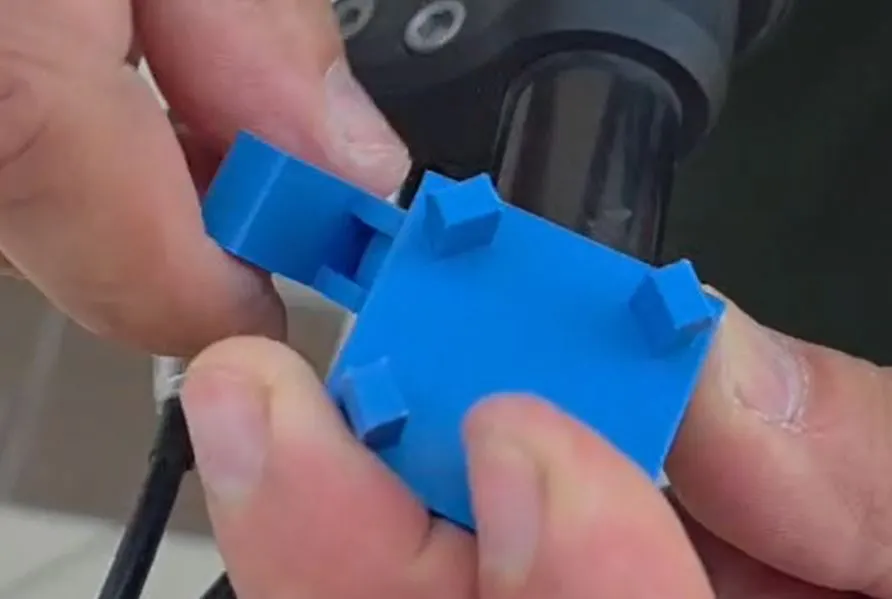
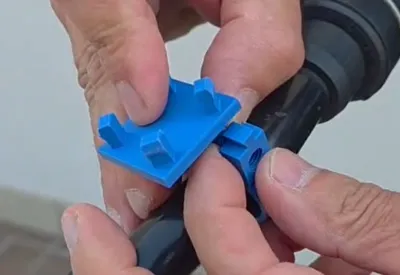
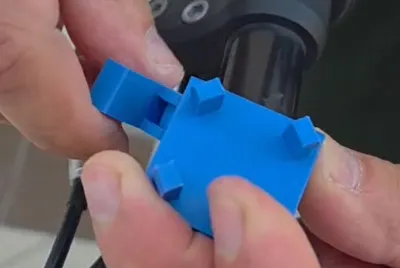
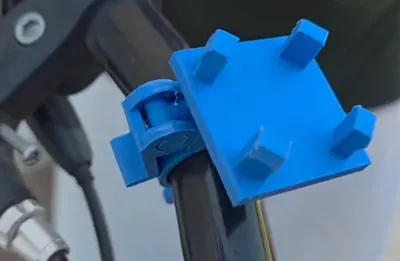
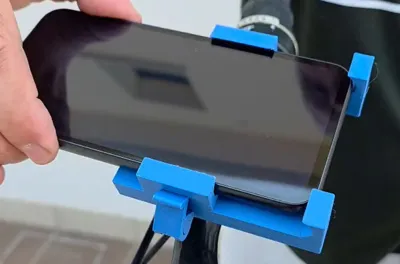
The fixed part of the holder attaches to the clamp via four hooks, allowing you to choose the phone's orientation, either vertical or horizontal.
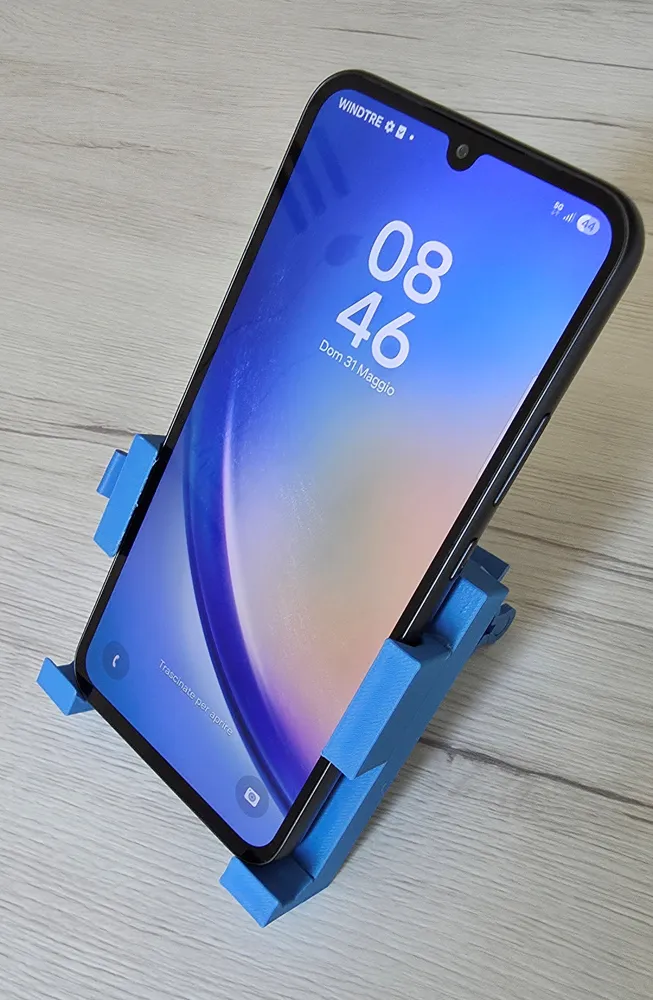
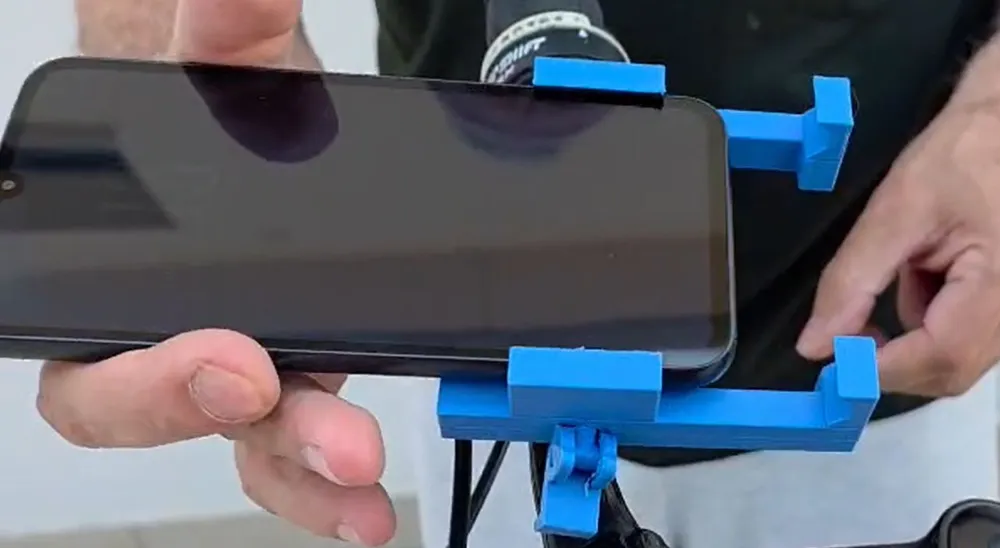
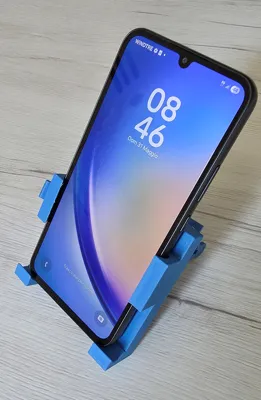
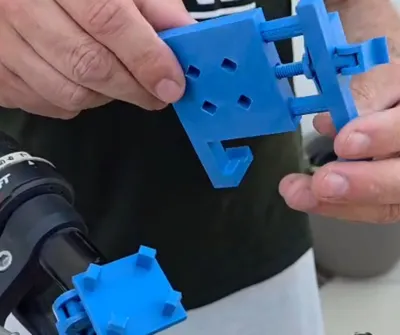
The movable part, on the other hand, allows you to adjust the width according to the smartphone's dimensions. It features an adjustment screw and a quick lock and release lever, making it practical to insert and remove the phone.
Main features
- Phone holder for bicycles, scooters, and light motorcycles
- Modular design composed of only 3 main parts
- No tools required for assembly
- Adjustable clamp for handlebars from approximately 18 to 22 mm
- Vertical or horizontal phone orientation
- Adjustable width based on smartphone size
- Quick lock and release lever
- Integrated threads and screw in the model
- Separately printable components
- Ideal for GPS navigation or daily use
Materials and tools required
To complete the assembly, simply add a common rubber band with an approximate diameter of 30-40 mm.
No tools are required.
Printing tips
For testing and light use, the holder can be printed in PLA, but for real outdoor use, I recommend stronger materials such as PETG, ABS, or ASA, especially if the holder is exposed to sun, heat, or vibrations.
Recommended settings:
- Layer height: 0.20 mm
- Infill: 50%
- Walls: at least 3
Assembly instructions
1. Installing the clamp on the handlebar
Open the clamp joint and attach the rubber band between the screw thread and the opposite end of the clamp, making it turn halfway so it stays in place.
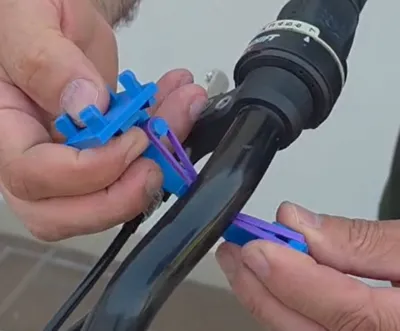
Insert the open clamp under the handlebar and, while closing it, remove the rubber band from the opposite end and attach it to the screw thread, near the other end.
Bring the two ends of the clamp together and begin tightening the screw by turning the locking lever. Do not fully tighten immediately: when the clamp begins to grip the handlebar, use the snap lever for final locking.
2. Attaching the fixed part
Position the fixed part of the holder with the four hooks, choosing the desired phone orientation: vertical or horizontal.
Press firmly until the attachment is complete.
3. Inserting the movable part
Insert the movable part onto the fixed part, aligning the side guides correctly.
Begin tightening the adjustment screw using the quick lock and release lever. Insert the phone and continue adjusting until there is enough space to easily remove it.
Finally, check that the phone is securely locked by operating the lever.
Safety notes
Before using the holder on the road, always ensure that all parts are securely attached, that the clamp is stable on the handlebar, and that the phone is held correctly. As it is a 3D printed object, the final strength depends on the material used, the printing settings, and the quality of the print itself. For greater safety, especially on motorcycles, scooters, or bumpy roads, I recommend also using a lanyard or an additional safety system to prevent accidental drops of the smartphone.
Boost Me (for free)
Support my models with a Boost, to encourage me to create more and better ones! Thank you if you want to help me
Check out my other models on my profile too to discover new ideas and 3D projects! HERE
License

You may create derivative works based on this object, provided that all such derivative works are published exclusively on the MakerWorld platform and include proper attribution to the original creator. You may not share, upload, host, distribute, or publish this object—or any derivative work of this object—on any other digital platform, marketplace, or distribution channel. Commercial use of this object and any derivative works is strictly prohibited. This includes, but is not limited to, selling, renting, sublicensing, or using the object in any context in which you receive monetary compensation or other financial benefits.


Comment & Rating (0)