
Flashforge Adventurer 5M Full Enclosure Mod MIX
Print Profile(0)
Description
Flashforge Adventurer 5M Full Enclosure Mod MIX
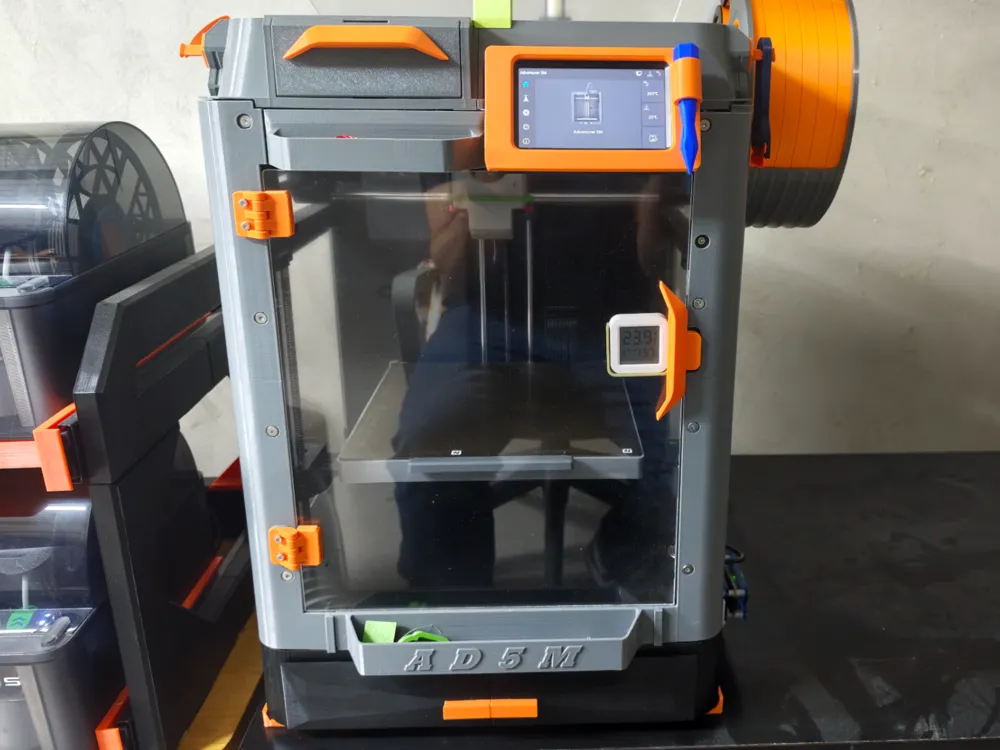
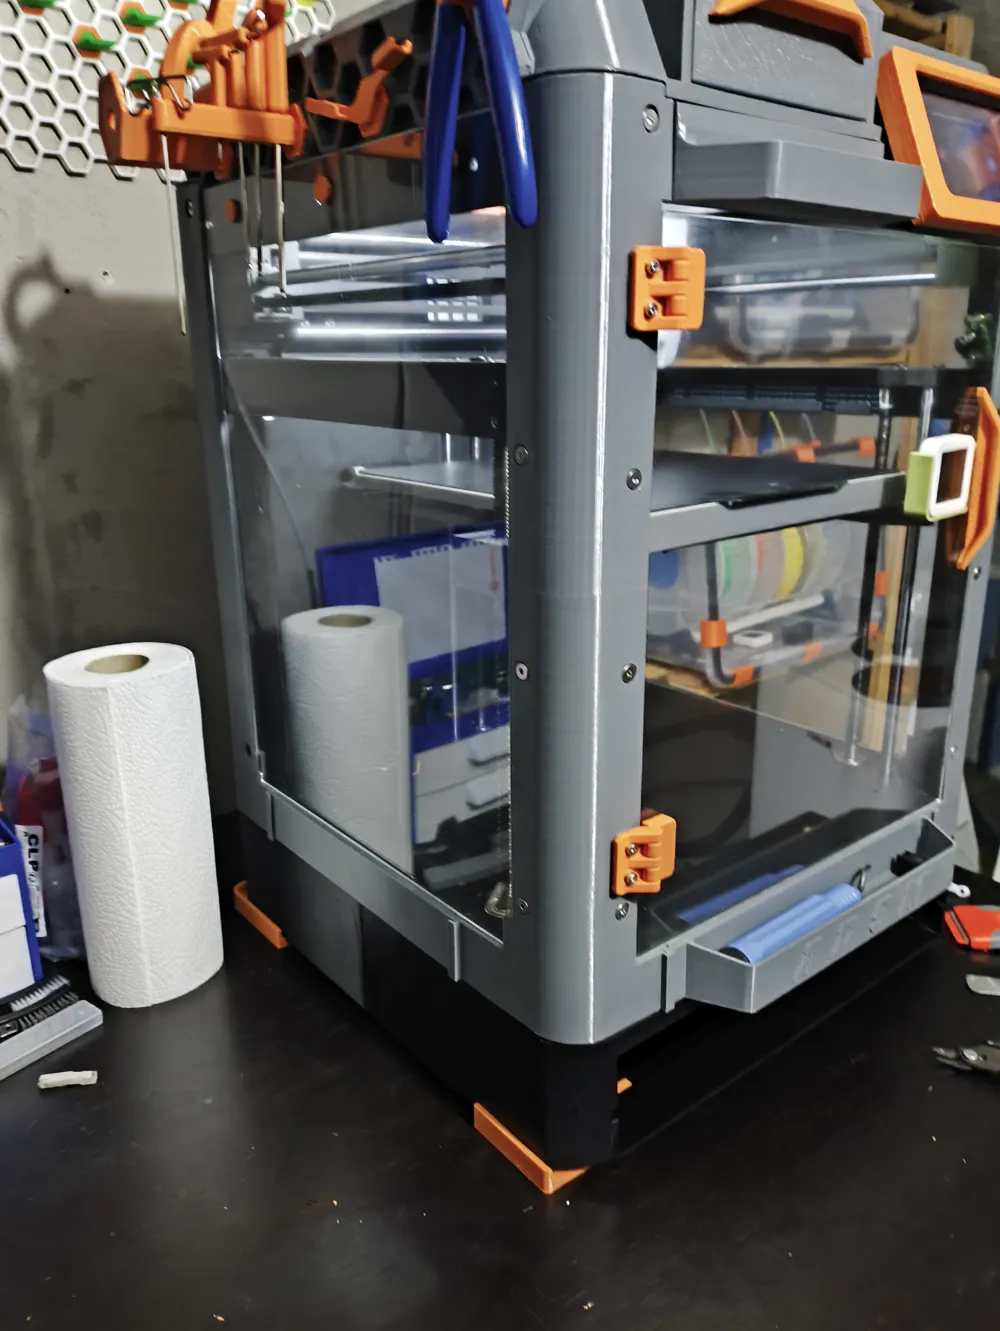
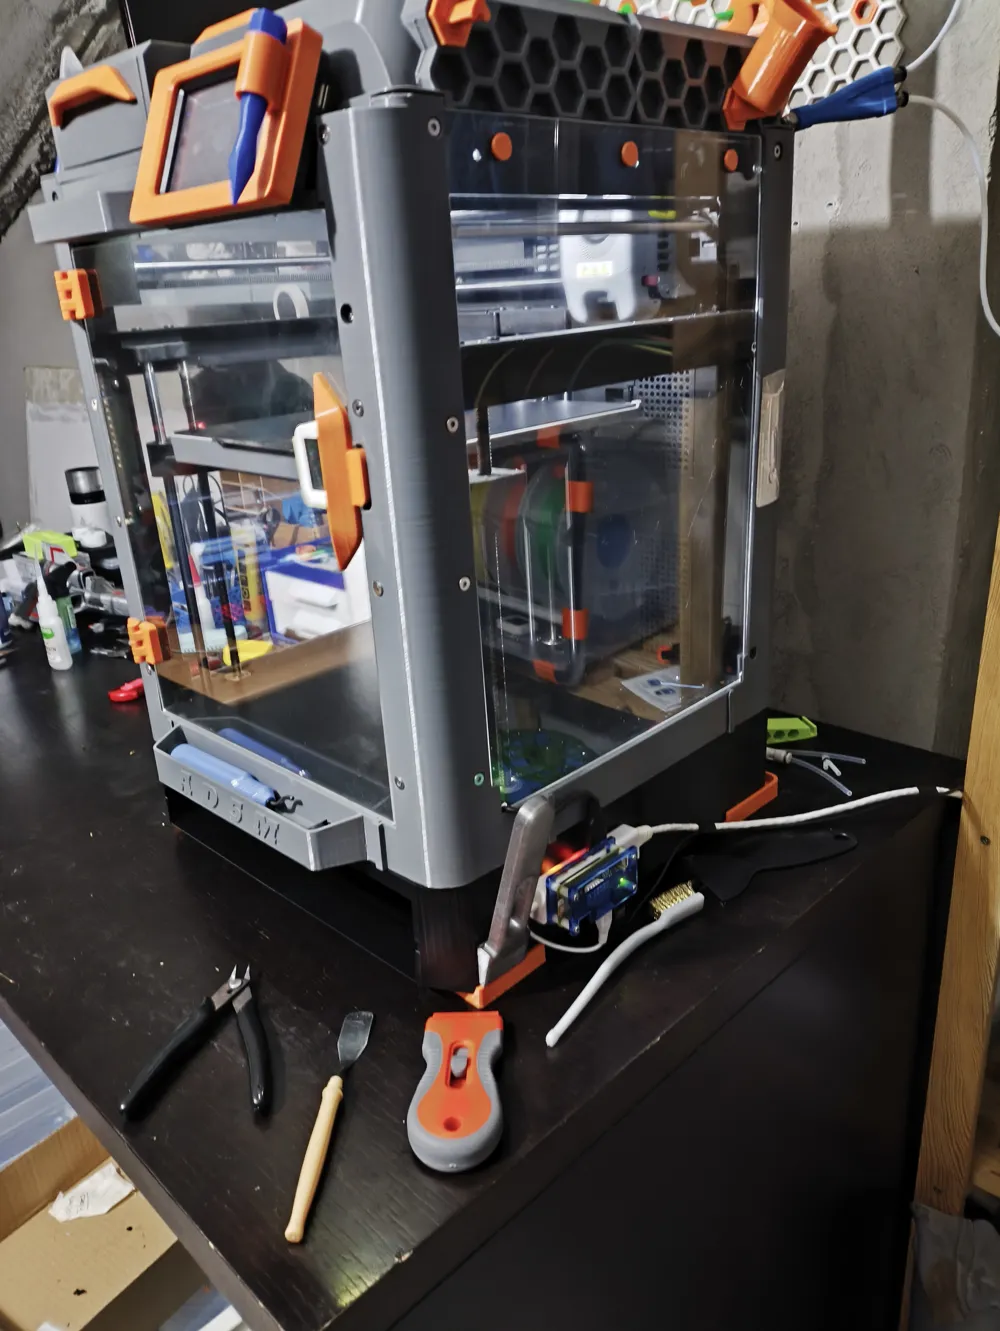
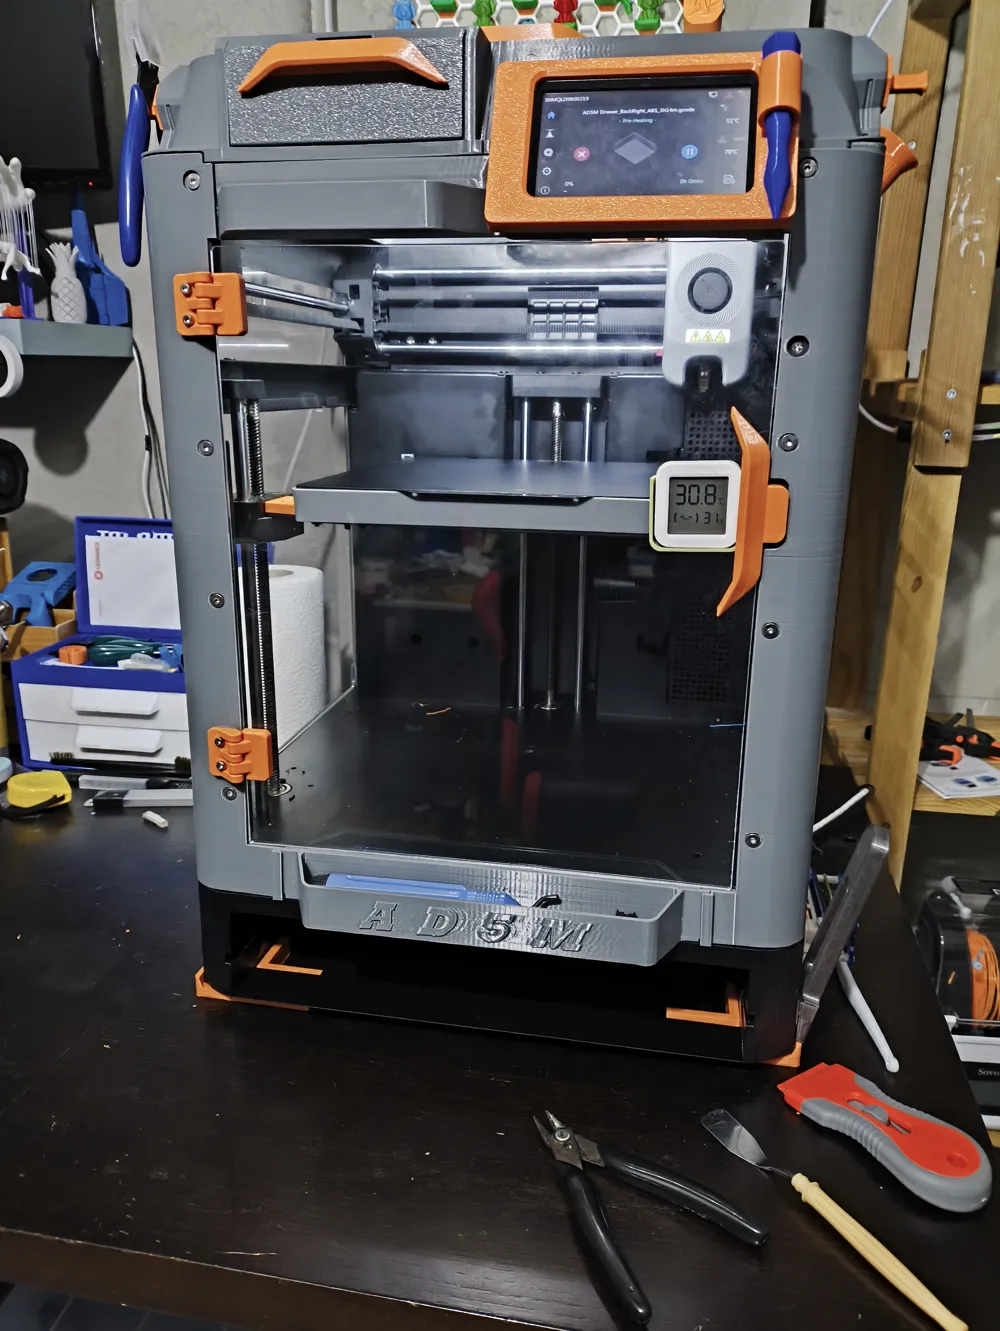
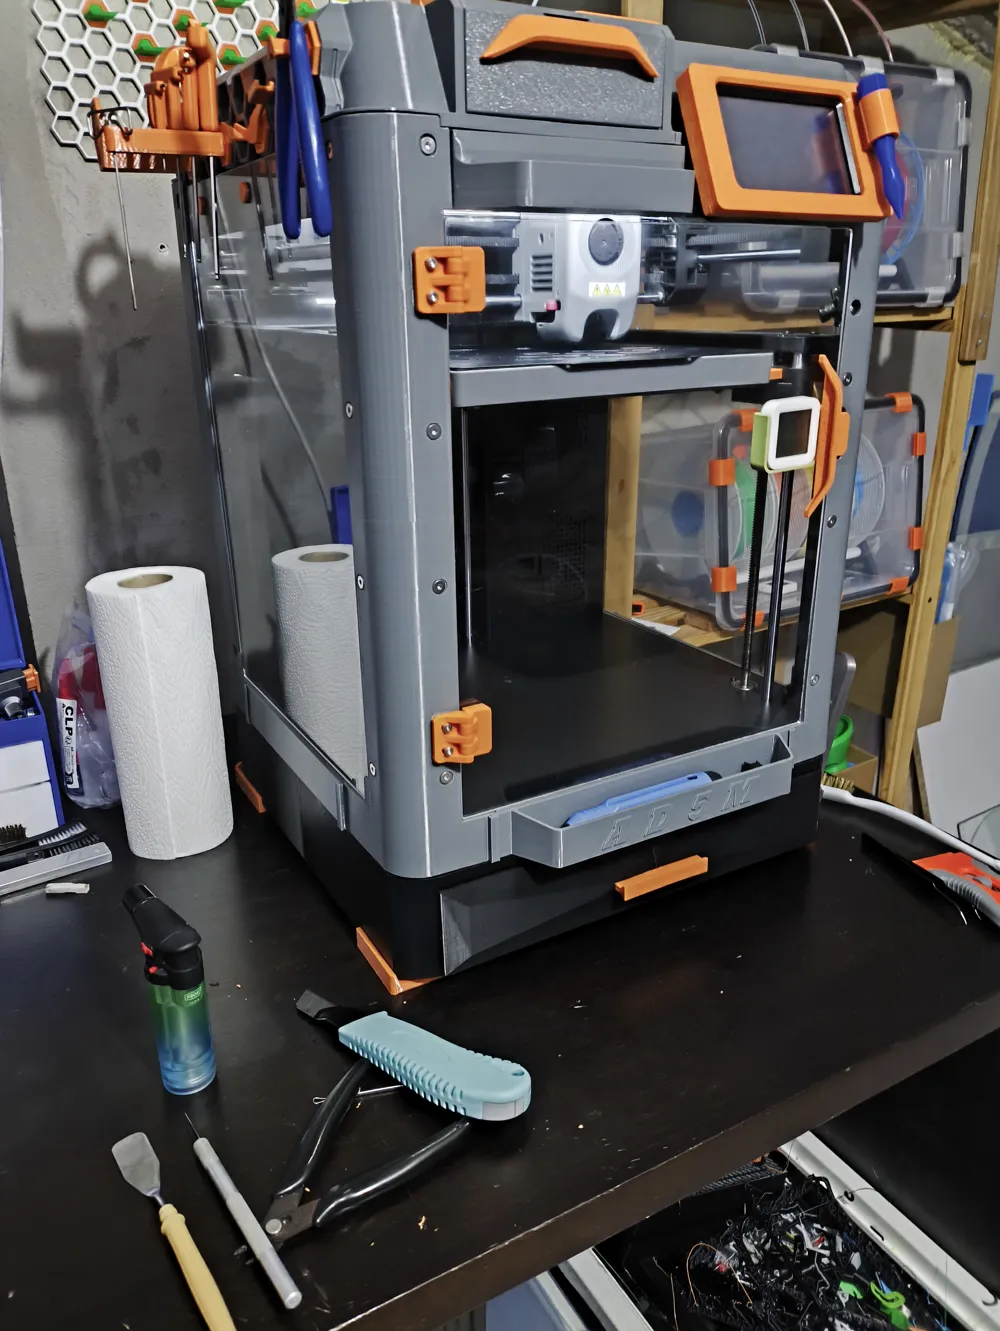
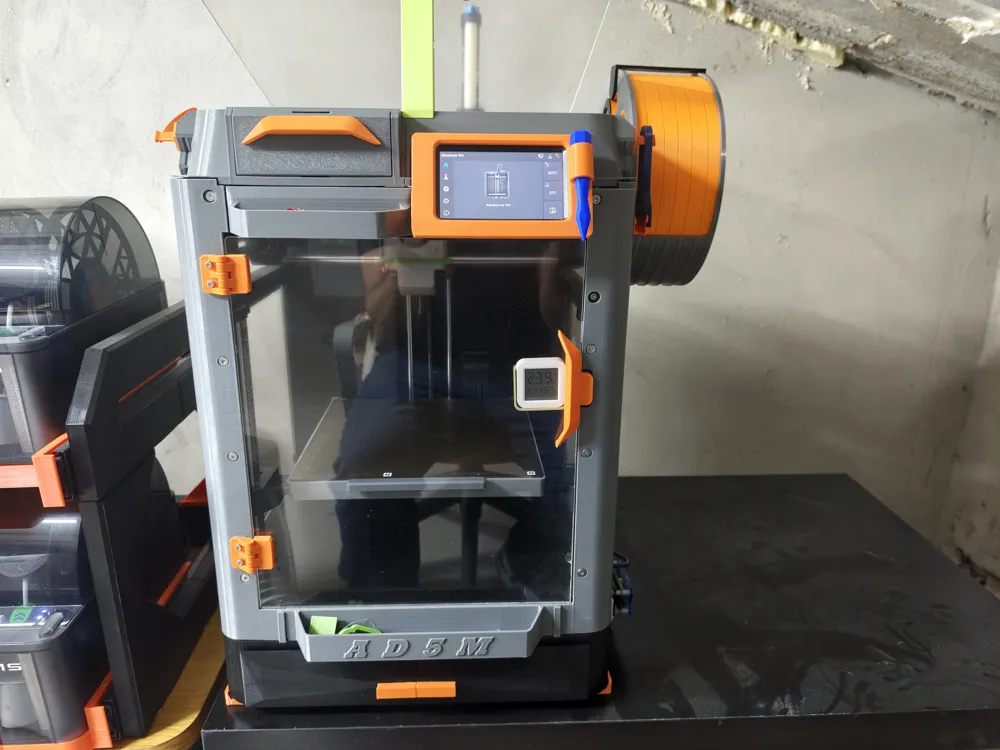
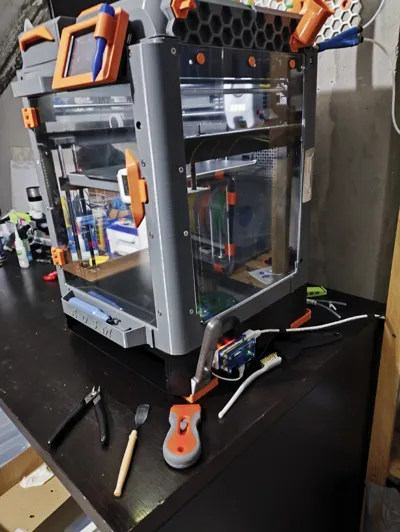
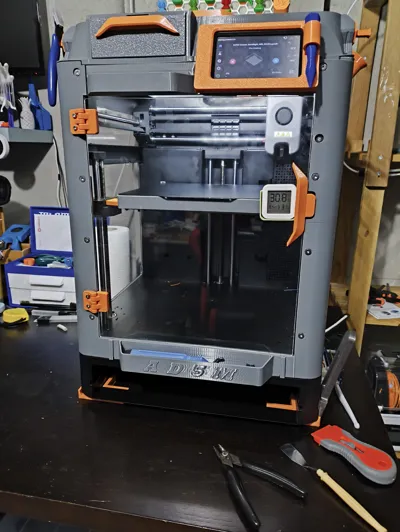
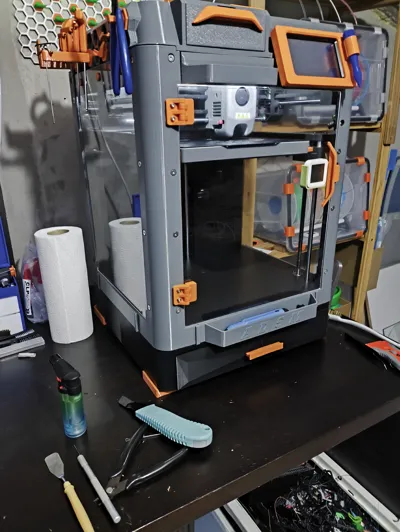
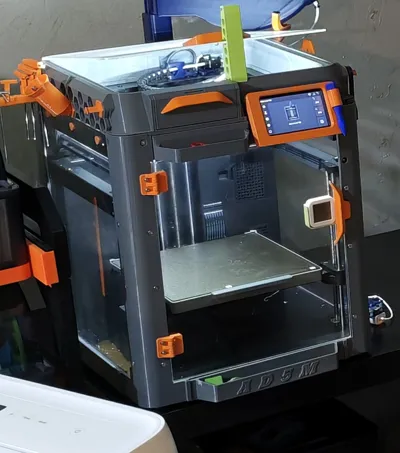
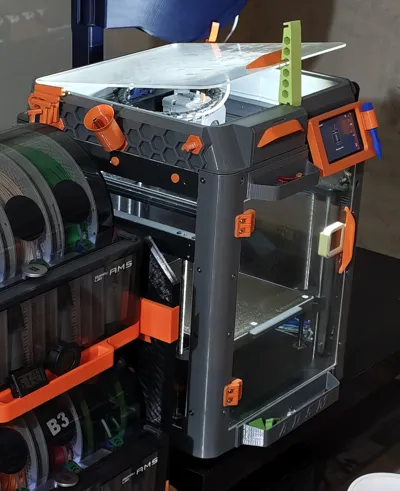
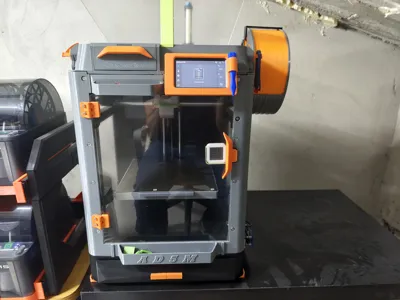
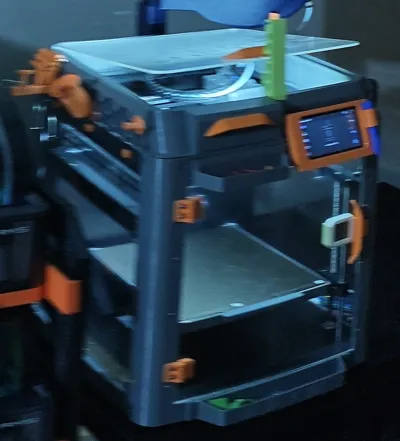
This project transforms the Flashforge Adventurer 5M into an enclosed machine, more organized and with a more “premium” look, maintaining easy access to the printer and improving protection against drafts, dust, and temperature variations
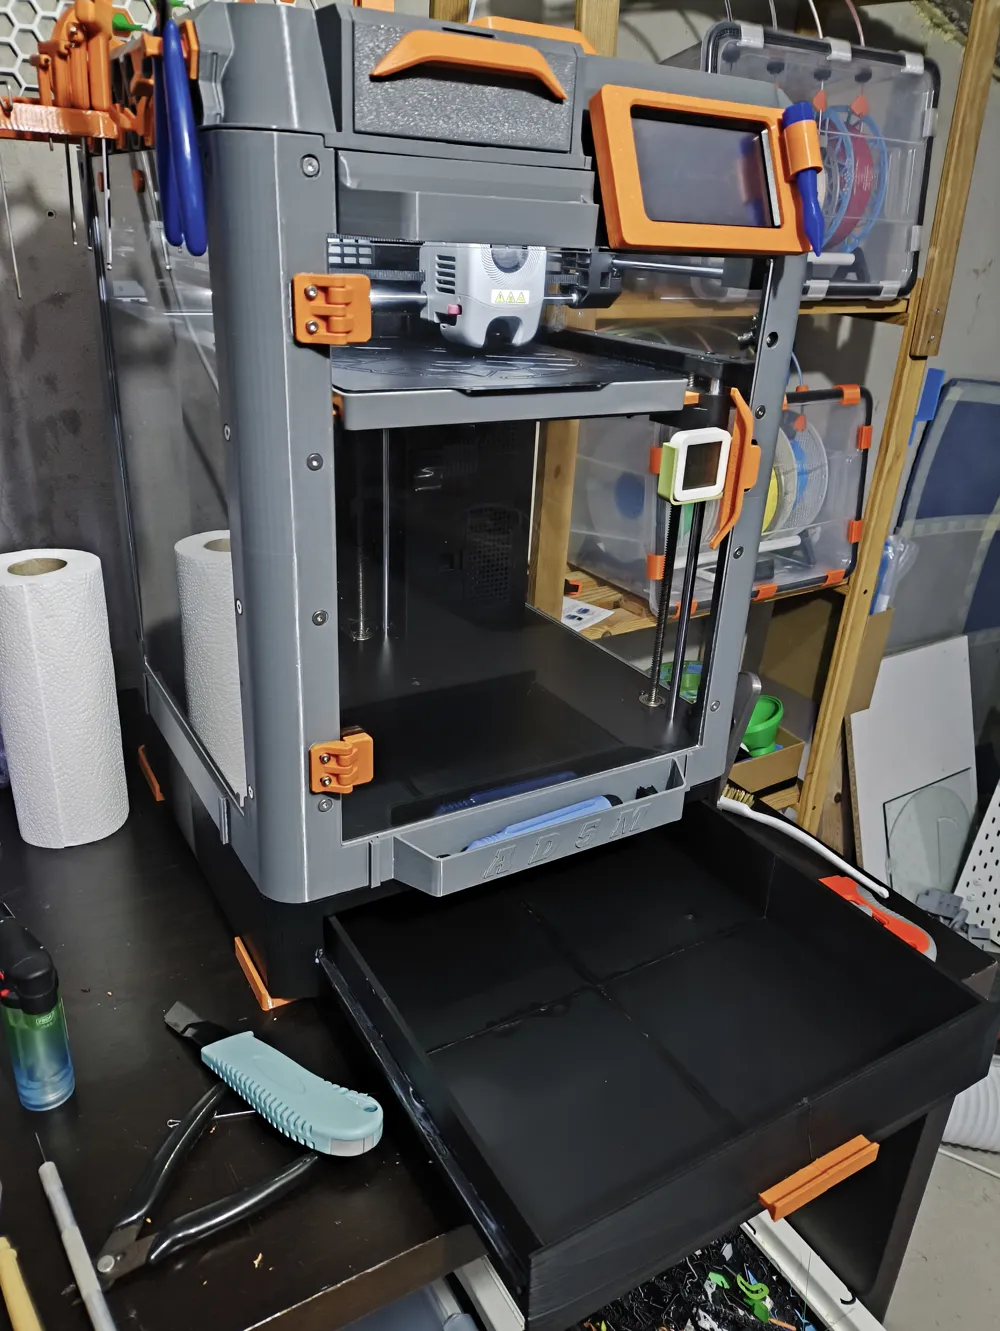
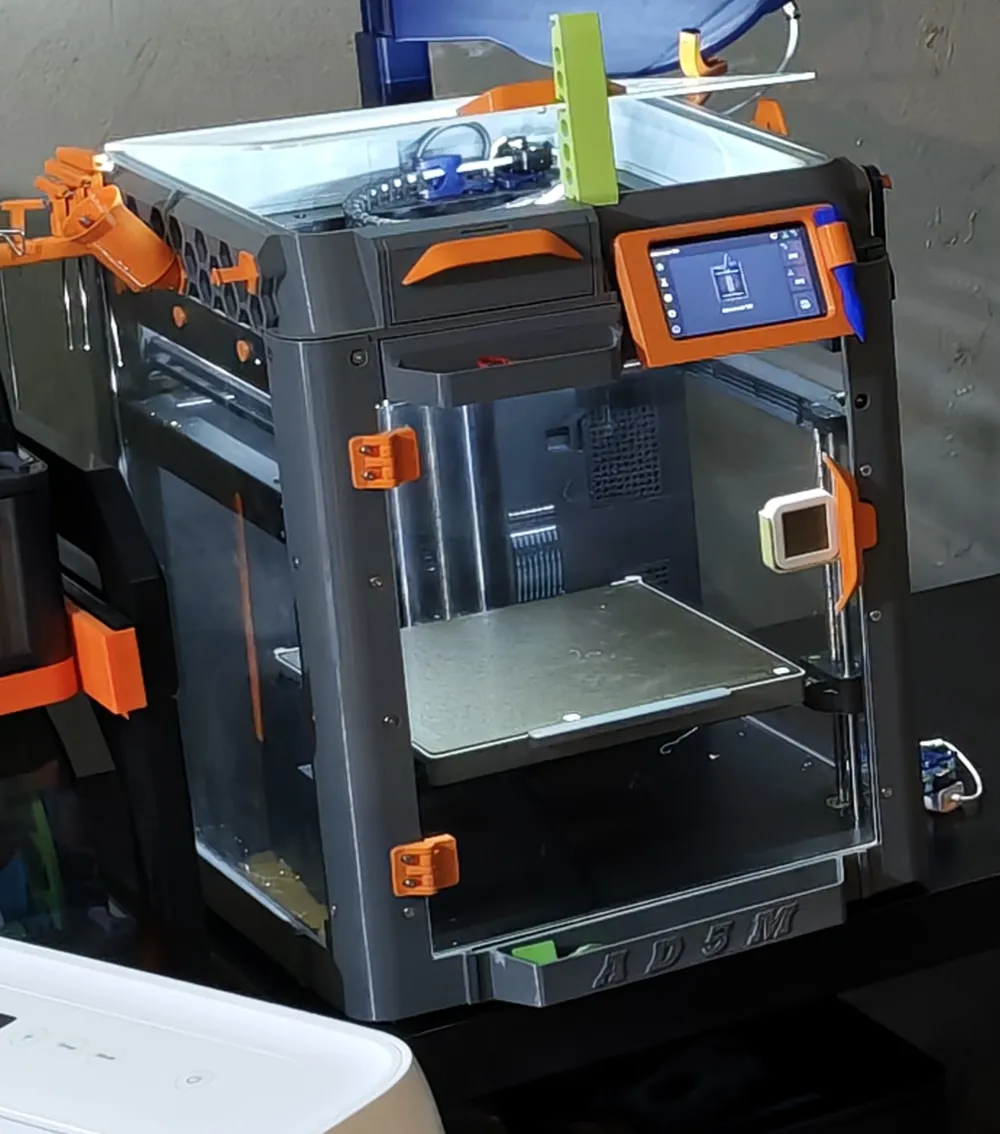
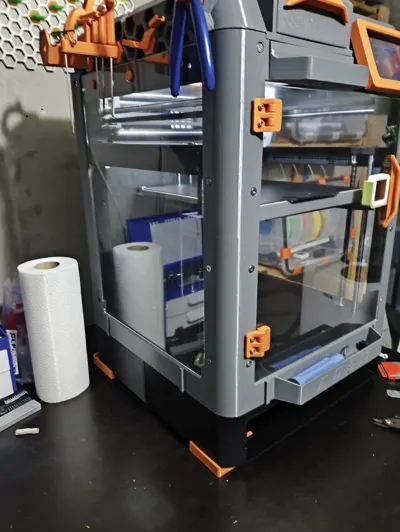
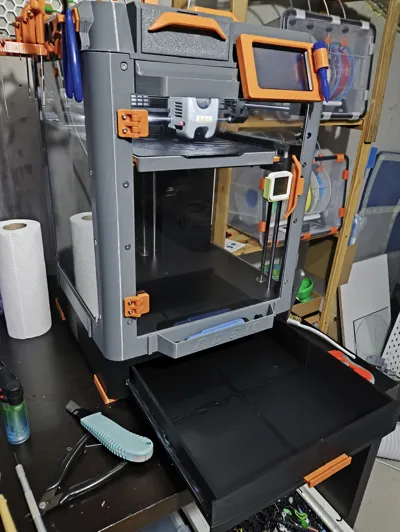
The design was conceived to use 3D Printed parts together with transparent panels, creating an enclosed but functional structure. It includes front doors, side panels, supports, hinges, handles, a bottom drawer, a tool holder, and various aesthetic details in a secondary color
Ideal for those who want to improve the Adventurer 5M without losing access to the printer's interior
Key features
- Full enclosure for the Flashforge Adventurer 5M
- Modular structure printed in multiple parts
- Transparent front doors with printed hinges
- Transparent side panels
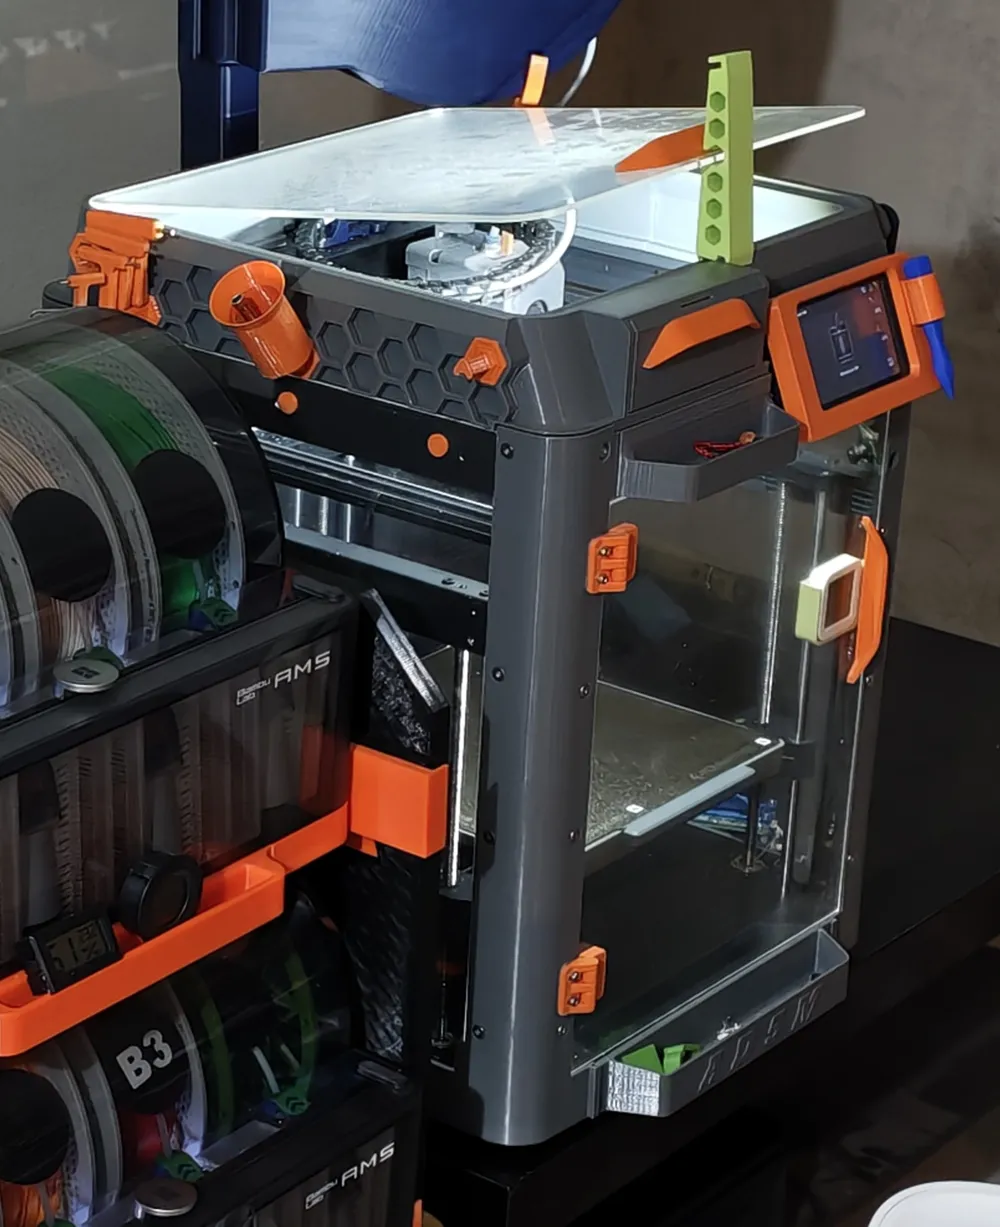
- Transparent top cover
- Improved protection against drafts
- Helps maintain a more stable temperature inside the chamber
- Bottom drawer for tools or accessories
- Side tool holders
- Thermometer/hygrometer holder/slot
- Frame for the original screen
- Design with decorative parts in a secondary color
- Compatible with setup with external AMS/spool on the side
- Industrial/modular enclosure inspired look
Recommended materials
For best results, I recommend printing the main parts in:
- PETG
- ASA
- ABS
- PLA+ only if very high chamber temperatures are not used
Decorative parts, handles, hinges, and supports can be printed in PLA/PETG without issue
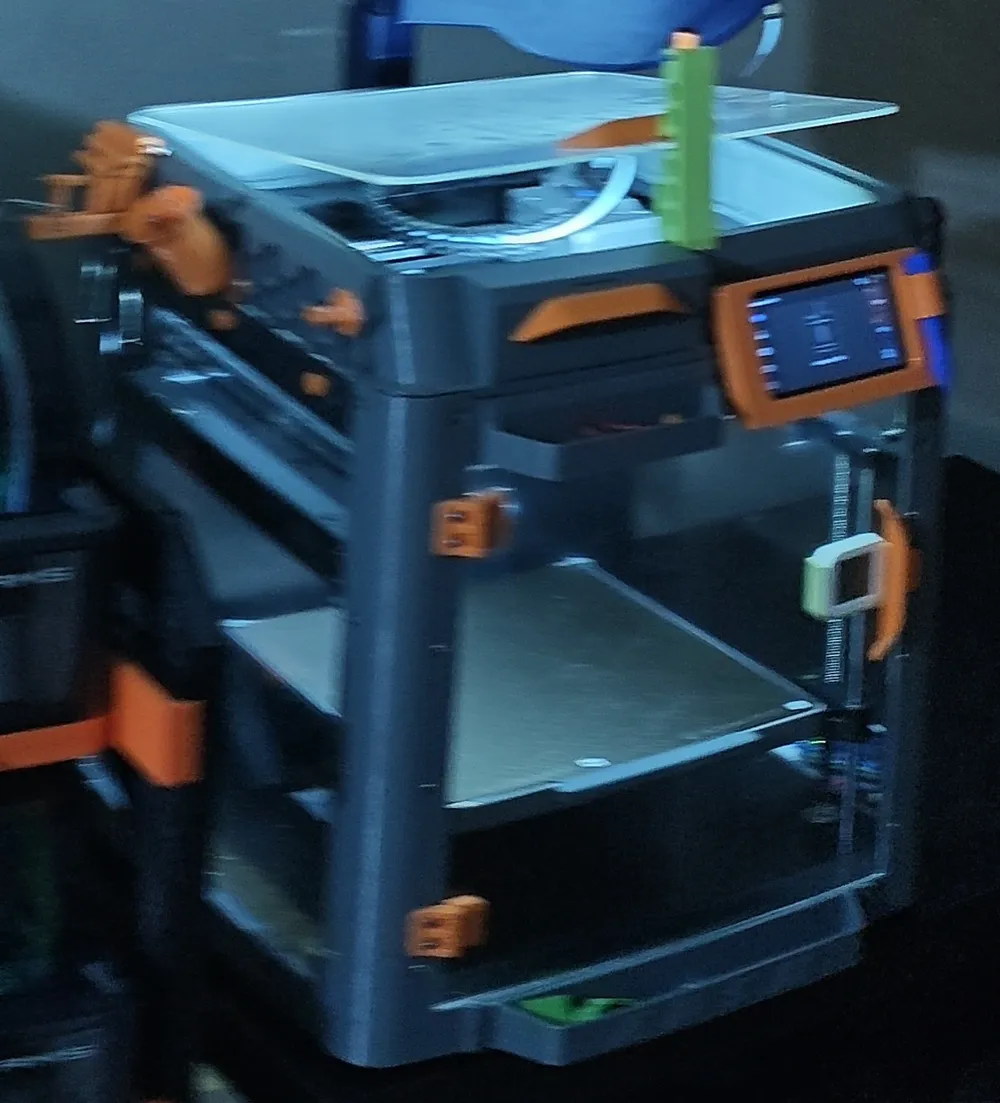
In the project photos, the following colors were used:
- Gray for the main structure
- Black for the base and some bottom parts
- Orange for details, hinges, handles, and decorative parts
- Some additional details in blue/green
Transparent panels
This enclosure was designed to use transparent panels made of acrylic, polycarbonate, or similar material
I recommend using:
- Transparent acrylic 2 mm to 3 mm thick
or - Transparent polycarbonate 2 mm to 3 mm thick
Polycarbonate is more resistant, but acrylic is easier to find and cut
Included parts
The project includes several separate parts to facilitate printing:
- Front columns
- Rear columns
- Top frames
- Bottom frames
- Door hinges
- Latches/handles
- Screen frame
- Front bottom drawer
- Tool holders
- Decorative parts
- Side supports
- Parts for panel fixation
- Top components for cover/acrylic panel
The parts were divided to fit on the Adventurer 5M print bed
Assembly
Assembly is simple, but I recommend assembling in stages:
- Print all main structural parts
- First assemble the side/front columns
- Install the top and bottom parts
- Cut and test the transparent panels
- Assemble the front doors with hinges
- Install the latches and handles
- Place the transparent top cover
- Adjust clearances and align the doors
- Add drawer, supports, and accessories
Do not tighten all screws right at the beginning. It is better to leave some play, align everything, and only then tighten permanently
Required hardware
It may vary depending on the assembly, but generally you will need:
- M3 screws
- M3 nuts
- Some inserted nuts or standard nuts
- Small magnets, if you want to improve door closure
- Acrylic/polycarbonate panels
- Double-sided tape or screws, depending on the chosen fastening method
- Small thermometer/hygrometer, optional
- LEDs, optional
Recommended print settings
For structural parts:
- Layer height: 0.20 mm
- Walls: 3 to 4
- Infill: 15% to 25%
- Top/Bottom: 4 or more layers
- Supports: according to part orientation
- Material: PETG/ASA/ABS recommended
For decorative parts:
- Layer height: 0.16 mm or 0.20 mm
- Walls: 2 to 3
- Infill: 10% to 15%
Larger parts should be printed with good bed adhesion to avoid warping
Important notes
This mod is not an official Flashforge part
Always check that the movement of the print head, bed, and cables is not blocked after assembly
If you print materials that release more heat or gases, ensure adequate ventilation
For PLA, leave the door open or control the internal temperature to prevent filament softening during long prints
Final result
The result is a fully modified Adventurer 5M, with a much more robust and organized appearance. The printer is protected, visually cleaner, and with much more space for accessories, tools, and future improvements
This project is ideal for those who like to modify their printer, improve their setup, and give the AD5M a unique look
License



Comment & Rating (16)