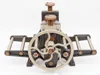
Dusty Press Relief+Etching+Linocut Printing Press


Print Profile(3)
Bill of Materials


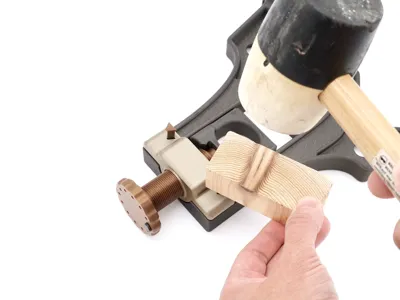
- SuperGlue/Medium CA x 1:
Description
Here is the long awaited release of the Dusty Press! V1.4 (Launch Version) Please share feedback and pictures 🙂
Update 6/12/26: New profile with 220mm/8.7 inch wide version. Wide enough for A4 and US Letter paper size!
The Story
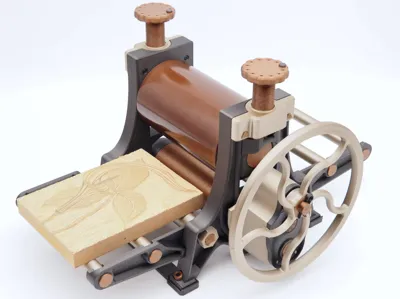
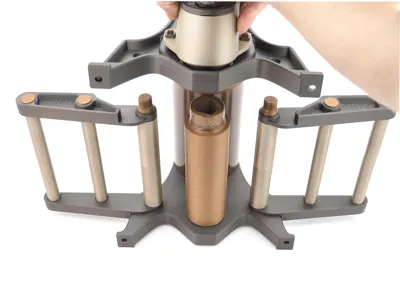
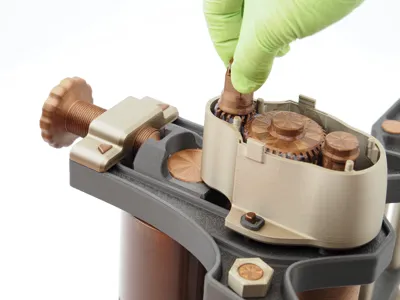
A roller printmaking press for everyone. A printing press that can be put together with little to no additional hardware, and just a few basic tools and supplies. The functionality of a press costing hundreds of dollars is available to anyone with ~$30 worth of filament and a handful of small screws (or a bit of glue), and some supplies you might already have.
Inspired by the Phantom Plastic Press by SomePrintDude on Printables, and the antique cast iron Weber No. 12 Printing Press.
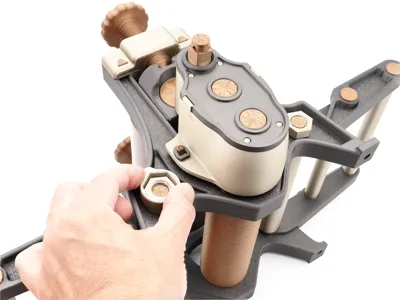
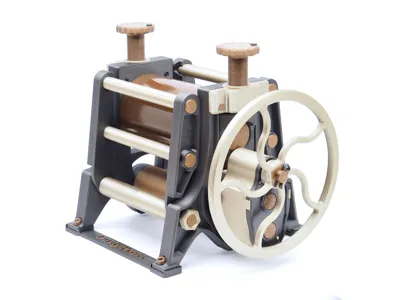
The Dusty Press was conceived and designed from the ground up to be the best 3D printable roller printing press out there. I wanted to ensure success in printing, assembly and usability as an actual printing press! It is also designed for disassembly to allow for individual part replacements. I don't like the idea of wasting plastic or designs that are destined to fail and head to the trash bin. With proper lubrication and use, this press should work for many years.
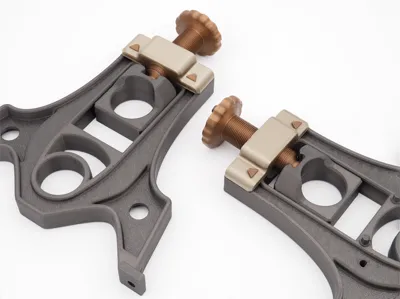
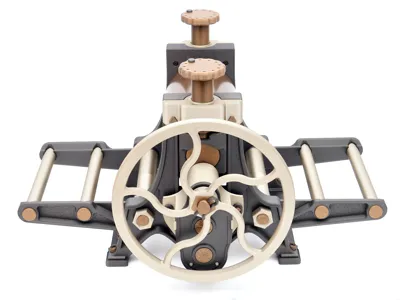
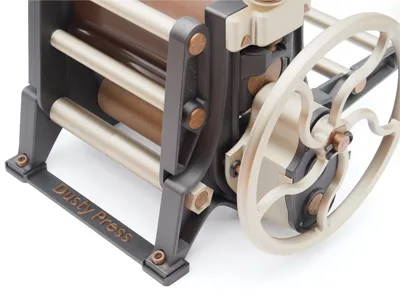
I also wanted this 3D printed machine to be just like a vintage cast iron one, merging an old manufacturing process with a new one. The two methods actually marry well together, as the shapes and forms of cast iron actually lend to higher wall counts in places that need strength. The drafting of walls, surface texture, curves and filleted edges add to the beauty. My hope is that this model is viewed as a piece of art to enjoy and display as much as it is a tool to create that of your own 🙂.
The Print
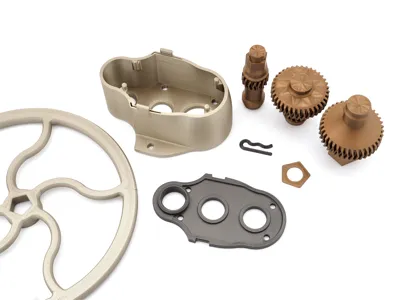
This print is laid across 9 separate plates*, uses ~1.7Kg* of PLA, and takes about two full days of printing time. The good news is every setting is dialed in, parts are color selected/painted for an awesome look with three different filaments. Add some more colors in if you dare!
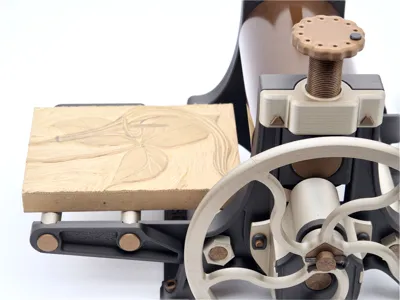
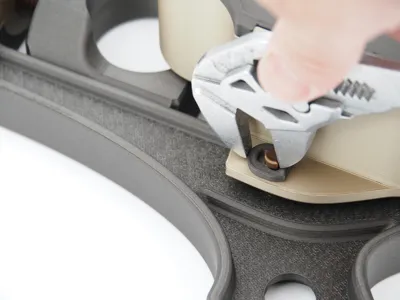
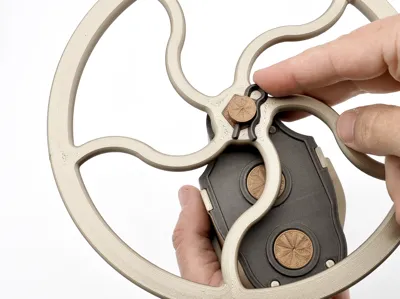
*A significant part of this model's looks is owed to a Supertack/Cryogrip Glacier build plate. This allows for a smooth surface on the plate side of the part, and allows you to see the cool lines (surface pattern) that the nozzle takes on the first layer. Using concentric and octogram spirals lends to some pretty cool looks for the wheel, screw tops, roller keys, and extension arm caps. Just so you know, you won't quite get the same look if you only use a textured PEI plate for these. I do prefer, and use, a textured PEI plate for the Frame parts, however. The plate types are selected in Bambu Studio for your reference.
The geometry has been thought through to help ensure a proper assembly even if you're a bit out of calibration. For best results, though, please dry and calibrate your filaments first (dynamic and flow rate).
Materials
Pictured Press
Type:
PLA - This is the best choice here as long as this isn't used in hot temps/direct sunlight. In this case perhaps ASA or something more exotic should be used.
Colors:
BL Iron Gray Metallic (BL Matte Black also nice here, or get colorful with a Galaxy PLA) - 621g
BL Iridium Gold Metallic (BL Basic Silver works great here too) - 350g
ELEGOO Bronze Metal PLA (BL Copper Brown Metallic or BL Bronze are good options) - 739g
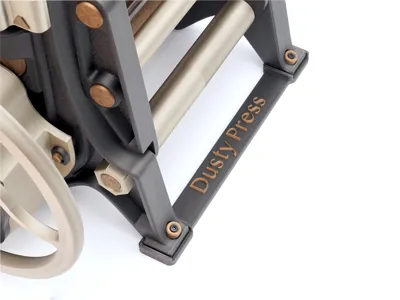
Total filament ~1.7Kg (this does not include lathe adapters and name plate, which you would only use in conjunction with a wooden base. The wooden base would alleviate the need for the base connectors which use about 44g.)
Print Settings
IMPORTANT - Nothing in this print should require AUX fan use above 10%. In fact it could be detrimental. Higher AUX fan speeds can cause many of the larger/longer parts to peel up at the edges mid print, especially on a supertack/cryogrip plate. I learned this the hard way printing a frame for the first time.
Unfortunately when the file is loaded in studio and you select a printer other than the P1,S (my printer) the saved project filament presets get wiped out to default Basic PLA presets. If this is the case you will need to modify the preset to set the maximum AUX Fan setting to 10%.
You may also need to turn off prime towers, they aren't really necessary from what I have found. |
Several parts have multiple layer height adjustments and intended interface shells to increase strength, if these aren't allowed to cool slowly, warpage can occur.
The rest of the settings have also been carefully selected. I would recommend sticking with them unless you are experienced in 3D printing and want to ‘experiment’ 😉
Print time: ~45hrs* or less depending on whether you plan to mount your press to a wooden base, or use the base connectors. One method or the other is necessary to ensure structural strength of the press!
*Print time and usage is based on the normal 160mm/6.3 inch press profile. The 220mm/8.7 inch press takes approximately 52.5hrs of total print time and 2Kg of filament.
Eco-note
For anyone worrying or wondering about how much plastic was wasted dialing this model in, I have good news. The unusable, broken, outdated or print failure waste in prototyping the Dusty Press was less than the printed mass of a complete Dusty Press. You read that correctly. The development path was lean and precise. I utilized a combination of previous design and printing experiences, as well as those of others in this great community.

More of the Assembly Guide to come. Last updated 6/25.
Documentation (1)
License
You shall not share, sub-license, sell, rent, host, transfer, or distribute in any way the digital or 3D printed versions of this object, nor any other derivative work of this object in its digital or physical format (including - but not limited to - remixes of this object, and hosting on other digital platforms). The objects may not be used without permission in any way whatsoever in which you charge money, or collect fees.
Comment & Rating (56)