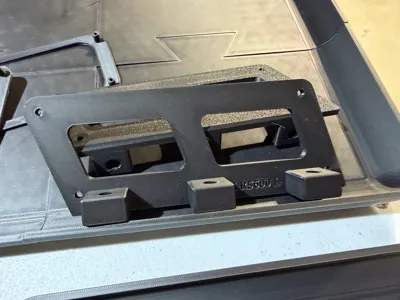
Harbor Freight Apache 4800 xLights Controller Box


Print Profile(3)

Description
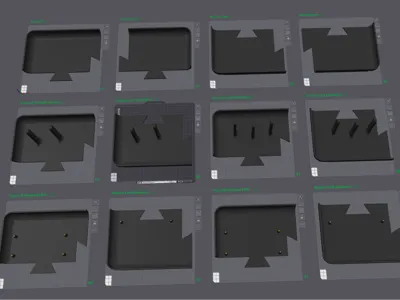
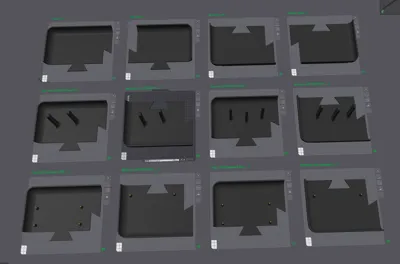
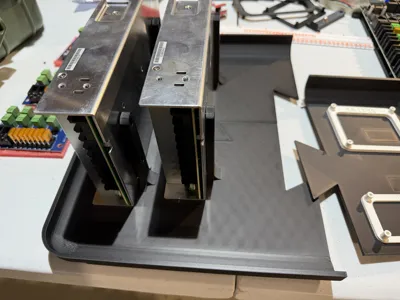
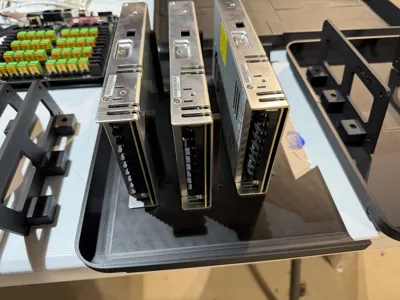
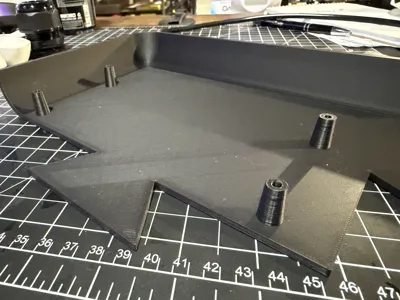
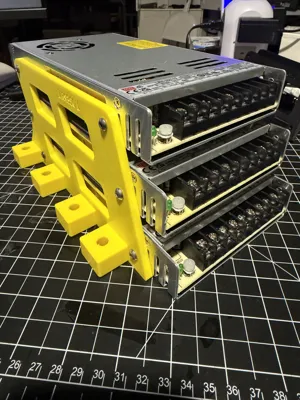
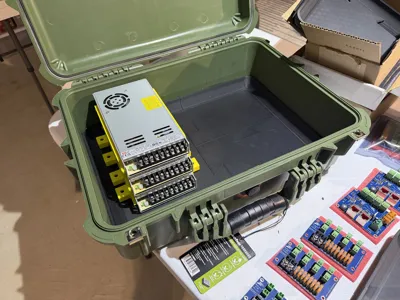
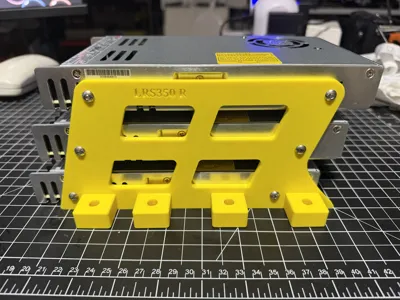
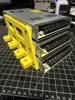
This started with Apache 2800 Controller box last year but I soon realized I needed larger area so I started working on the Apache 4800 controller box. This box has little ribs in each corner so it took a few prints to get it just right so it would sit flush. I then realized it would be easier for myself and others to just assemble to the controller mounts and glue them directly to the base, considering there are so many out there. I got a ton of request last year to add a mount of so many different boards that this was simpler. The one thing we all have in common is most of us use Mean Well power supplies so I started with side mounts for the LRS-350 and LRS-600 however I came to the conclusion stacking them would be better so I redesigned a double stacked mount both for versions. The power supply slides on the reenforced nipples and you would use screws to hold them in place. I added a modifier to each side mount or flush mount connection.
First step - Pick type of power supply you want. Side or flush then print the top left and bottom left for that power supply mount. The side mount fit both the LRS-350 and LRS-600 due to the screw holes I made are elongated. The Triple side mount is ONLY FOR 3 LRS-350.
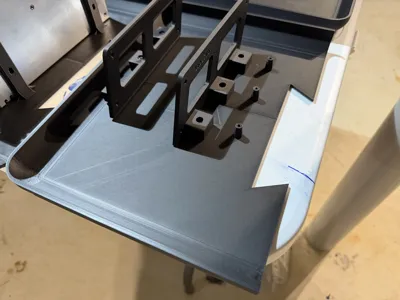
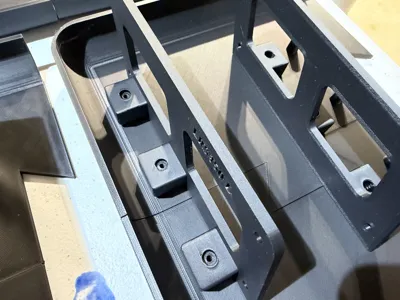
Second - Print the right top and bottom base
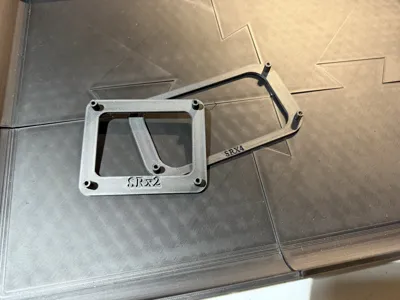
Third - Print the power supply bracket if you are doing single or stacked. If you are doing side mount then you can skip this step
Forth - Finish your controller mount and print those.
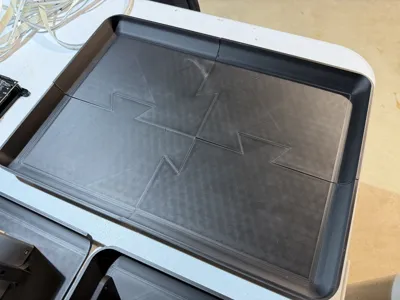
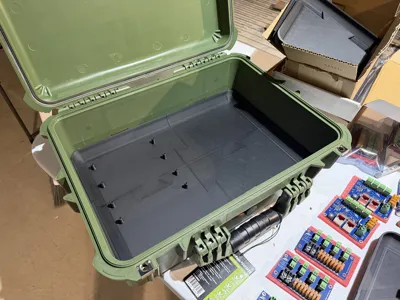
Fifth - assemble the base plates, only do 2 right sides then slide into the apache case. Before you slide your power supply sides in make sure you have all your wires already preplanned because once you slide all 4 sides in and snap them together it is extremely hard to get them all back out.
I'll be adding a few more controller mounts in the upcoming weeks.
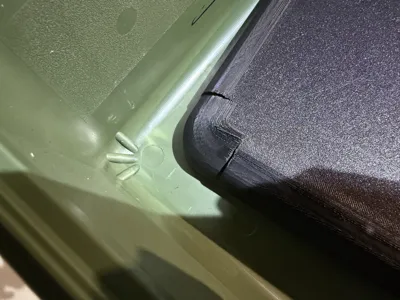
Glue for the controller mounts that I have tested are Plastic Loctite Professional Super Glue (Blue bottle) and Kraftprotz 3s printing glue. Both have proven impossible to remove the controller mounts so be sure before you press them down.
Screw for power supply stacked to the base plate are M4 8 TO M4 12, I perfect M4 12. Screws for the stacked side mount of the power supply are M4 8 to M4 12.
***JUST ADDED - Triple LRS-350 stack plate and bracket profile
License
You may create derivative works based on this object, provided that all such derivative works are published exclusively on the MakerWorld platform and include proper attribution to the original creator. You may not share, upload, host, distribute, or publish this object—or any derivative work of this object—on any other digital platform, marketplace, or distribution channel. Commercial use of this object and any derivative works is strictly prohibited. This includes, but is not limited to, selling, renting, sublicensing, or using the object in any context in which you receive monetary compensation or other financial benefits.
Comment & Rating (0)