ESP32 Plane Radar — Live ADS-B on a Round Display


Print Profile(3)
Bill of Materials
- GC9A01 1.28" Round 240x240 TFT display x 1: https://pl.aliexpress.com/item/1005004482028005.html
- ESP32 C3 super mini x 1: https://www.aliexpress.us/item/3256807018729495.html
Description
Boost Me (for free)
Boost for more models like this & updates to my existing models!
ESP32 C3 Plane Radar

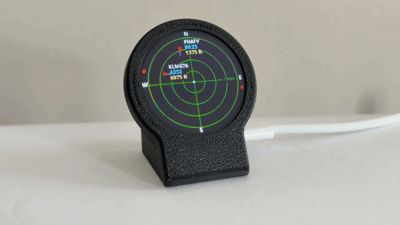
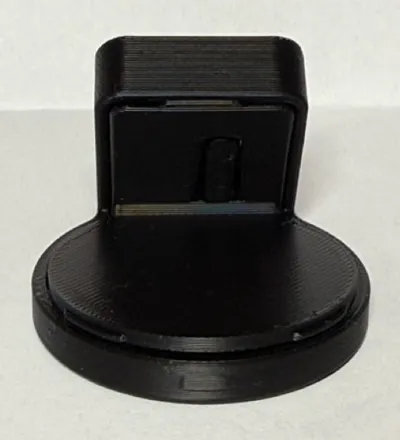
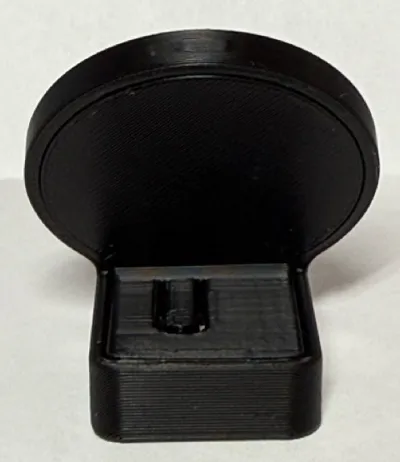
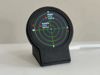
A round 1.28 inch GC9A01 screen hooked to an ESP32-C3 that shows live aircraft near your house. Sonar style grid, callsigns, altitude, that kind of thing. It connects to your home WiFi and loads live flight data from adsb.fi.
Set your lat/lng and choose km or miles on the setup page. The button on the back of the device cycles through the range options (5 / 10 / 15 / 25 km). Distant aircraft are shown as red dots on the rim.
Parts
| Part | What to look for |
|---|---|
| ESP32-C3 Super Mini | USB-C, BOOT button, 4 MB flash |
| 1.28 inch round GC9A01 display | 240x240, SPI |
| USB-C cable | Must be a data cable. Charge-only cables will waste your time. |
No Arduino IDE unless you want to change the code. You flash once from a PC in Chrome or Edge, then configure WiFi from your phone.
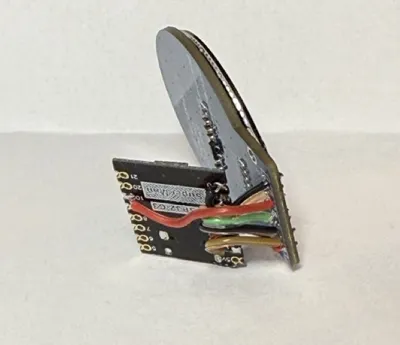
Wiring
Use 28–30 AWG wire (silicone wire is ideal for flexibility).
| Display | ESP32-C3 | Wire length |
|---|---|---|
| VCC | 3V3 | ~11 mm |
| GND | GND | ~11 mm |
| RST | GPIO 0 | ~11 mm |
| CS | GPIO 1 | ~11 mm |
| DC | GPIO 10 | ~25 mm |
| SDA (MOSI) | GPIO 3 | ~11 mm |
| SCL (SCLK) | GPIO 4 | ~11 mm |
Use 3V3 on VCC, not 5V!
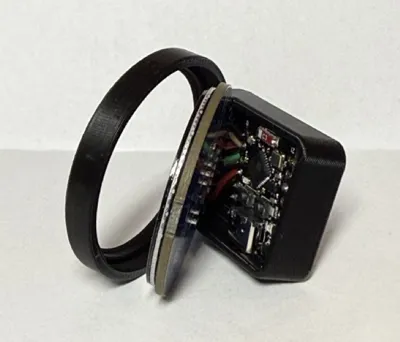
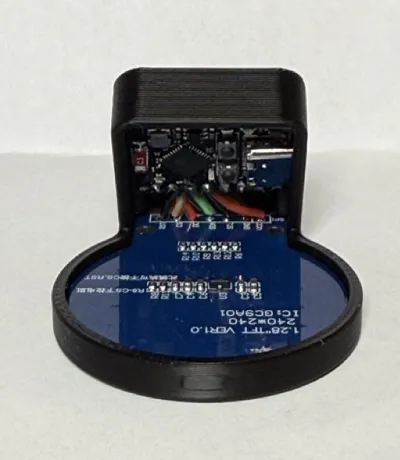
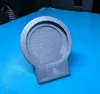
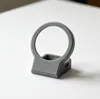
Assembly
Put the round screen and the ESP32 into the main base.

- Press the screen down until it clicks into place.
Press the ESP32 down until it is seated.

Fit the cover.

- Press the cover down on the screen side first until it clicks.
Then press the cover down on the ESP32 side until it clicks.

Flash the firmware
- Download the release .bin from GitHub Releases.
- Put the board in download mode: unplug USB, hold BOOT, plug USB in, wait 2 seconds, release BOOT. If that fails, hold BOOT, tap RESET, release BOOT.
- Open https://web.esphome.io/ in Chrome or Edge.
- Choose Install (you do not need to set up a new ESPHome device).
- Select your serial port and the downloaded .bin.
- When it finishes, unplug, wait a few seconds, plug back in without holding BOOT.
WiFi setup
Connect to PlaneRadar-Setup, then open http://plane-radar.local or http://192.168.4.1. Enter home WiFi, password, and your latitude and longitude. Save and wait for reboot.
The ESP32-C3 only works on 2.4 GHz WiFi. It does not work on a 5 GHz only network.
License
You shall not share, sub-license, sell, rent, host, transfer, or distribute in any way the digital or 3D printed versions of this object, nor any other derivative work of this object in its digital or physical format (including - but not limited to - remixes of this object, and hosting on other digital platforms). The objects may not be used without permission in any way whatsoever in which you charge money, or collect fees.
Comment & Rating (501)