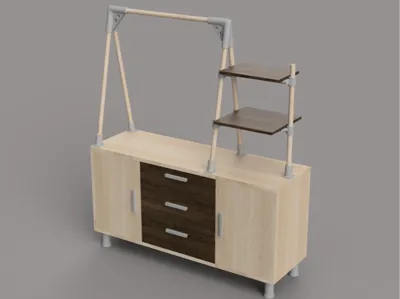
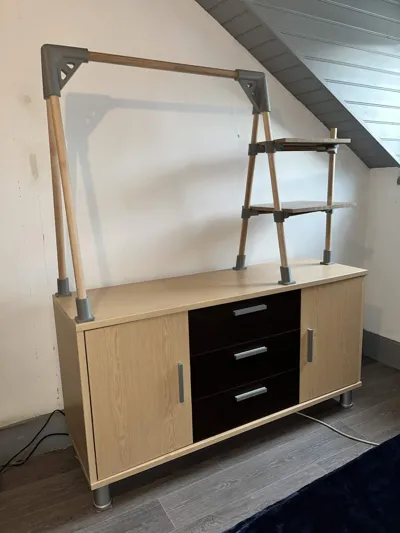
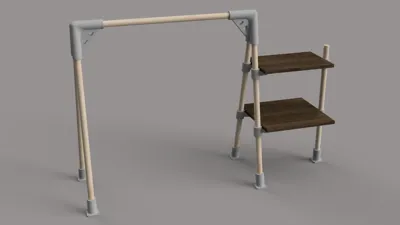
Clothing rack


Print Profile(0)
Description
Step 1 - Adjust the 3D file (optional)
The diameter of the logs used in this project are 30mm for the larger ones and 20mm for the smaller ones.
Note: if you want the spacing of your coat rack to be shorter, you don't need to modify the 3D model. You just need to cut a log shorter than the one used in the 3D model.
Step 2 - Print all parts
Note: You need to position the ridge connectors at a certain angle on your slicer (49.916°) (see photos)

Step 3 - Drill the fixing holes for the 5 legs
Pre-drill the fixing holes for the 5 legs, then screw the legs to the furniture (you will need to unscrew the legs for the next step).

Step 4 - Assemble the rack
The idea for this step is to dry-assemble the structure first, then attach the legs into the pre-drilled holes (always with the structure assembled). Because if you assemble everything on the legs directly attached to the furniture, you will put too much stress on the 3D printed parts, risking breaking them.

Note: There are parts that screw onto the logs or shelves (see photos)

Comment & Rating (0)