
Print Profile(1)
Description
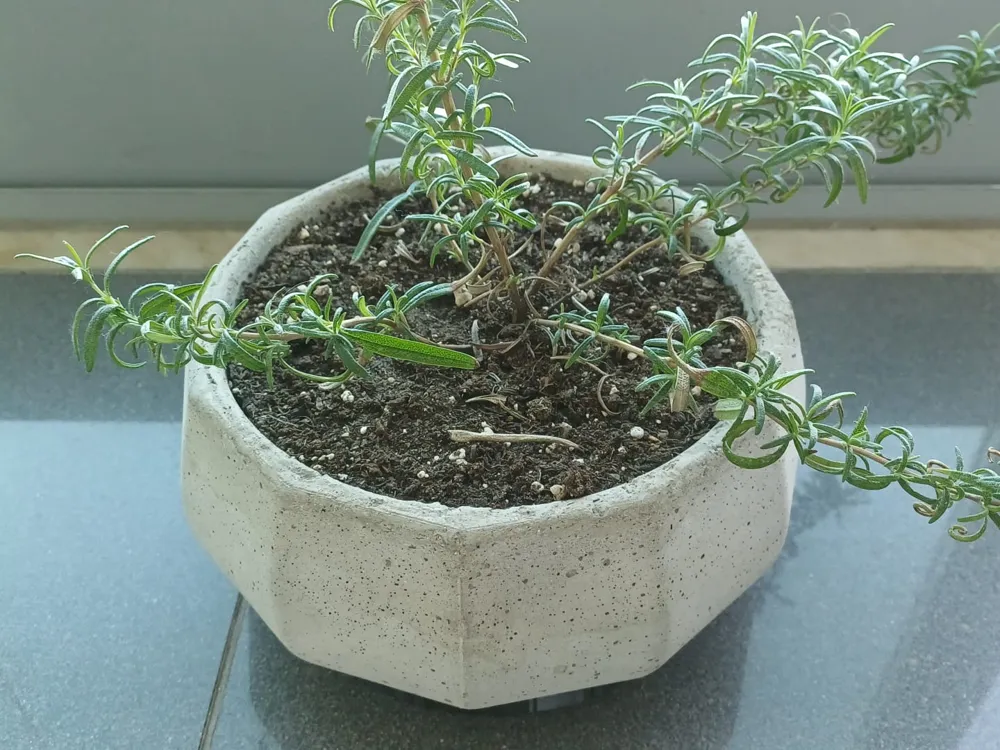
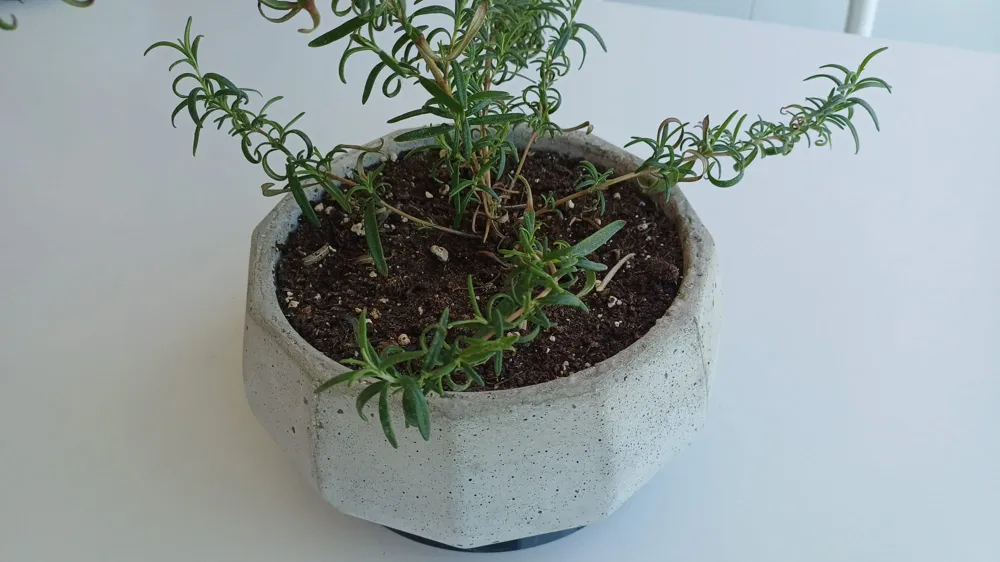
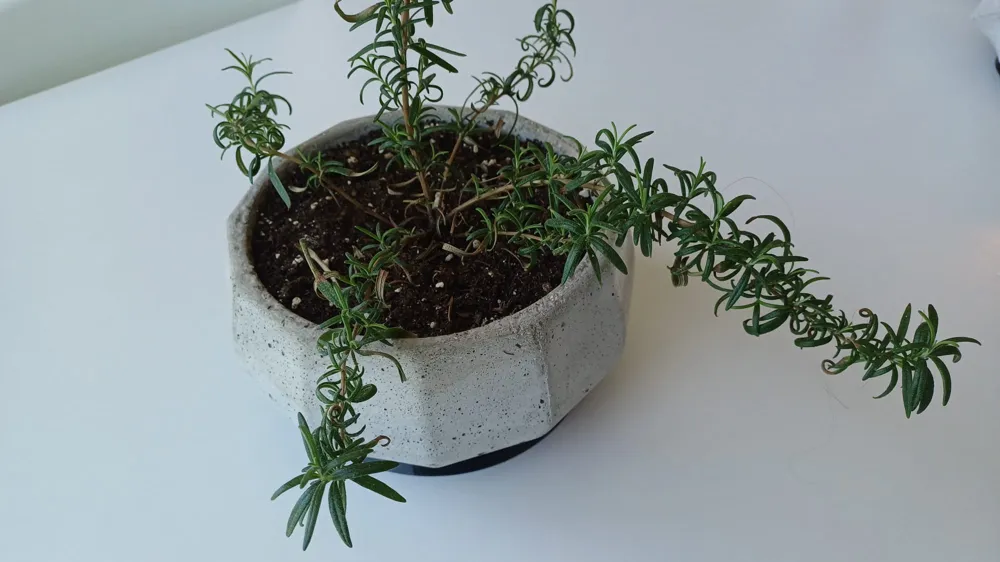
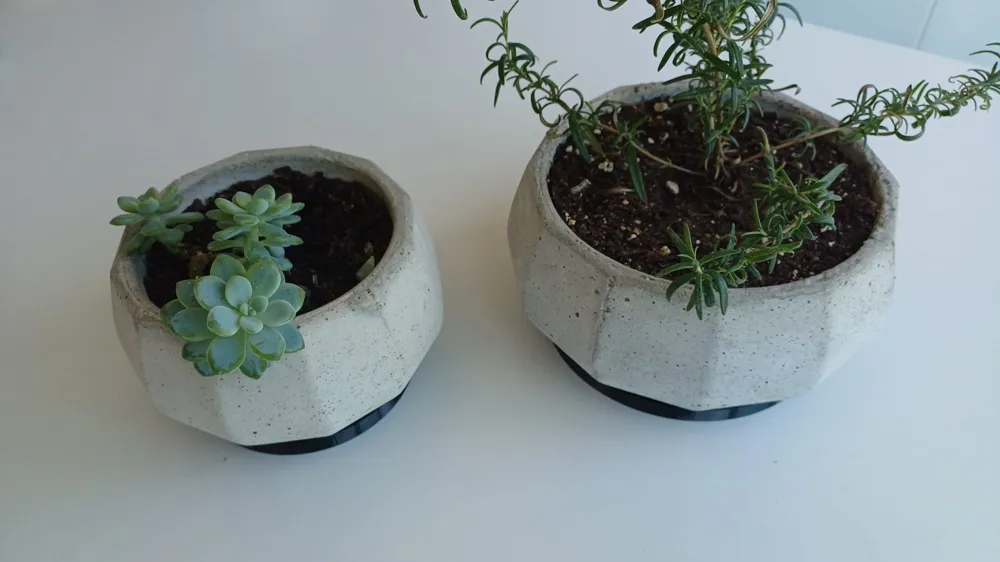
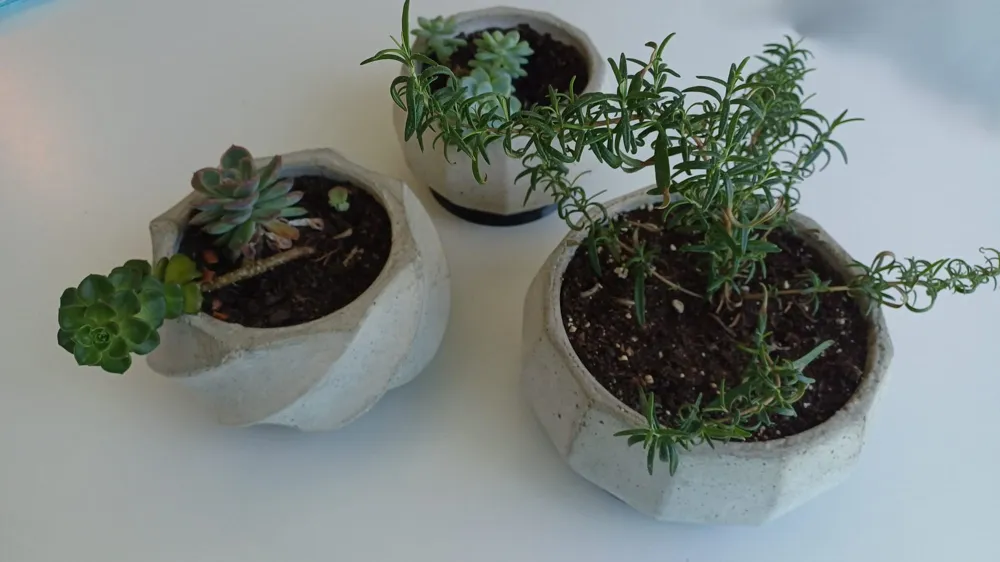
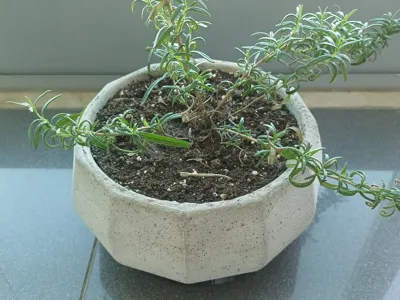
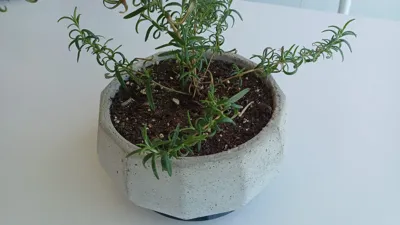
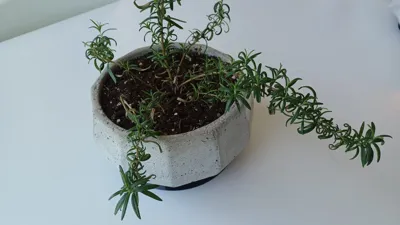
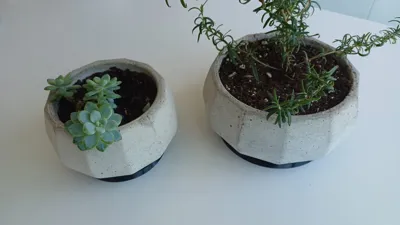
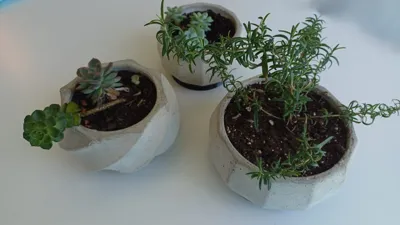
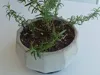
Create your own cement vases using this mould. You can find a smaller version of this vase here and a spiral version here.
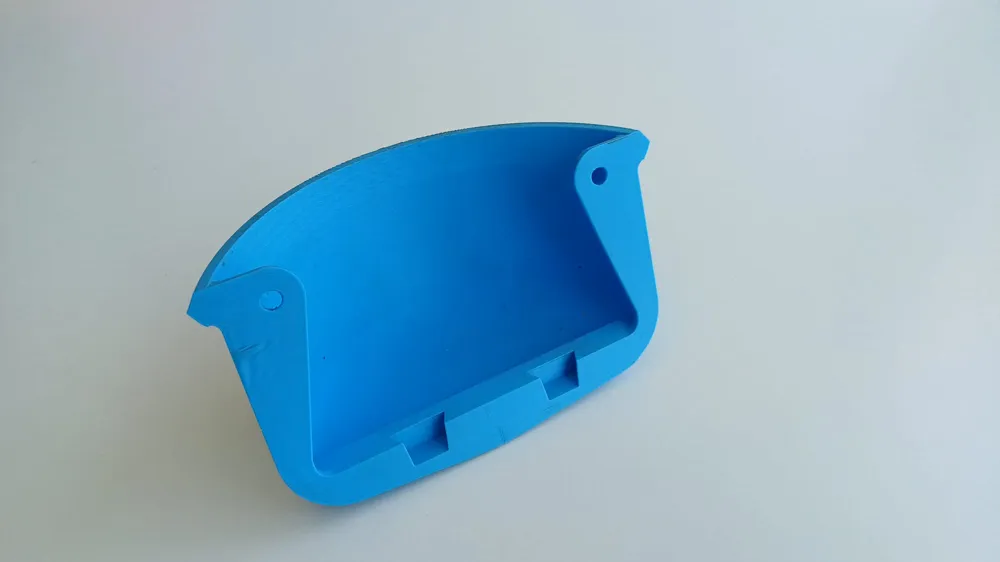
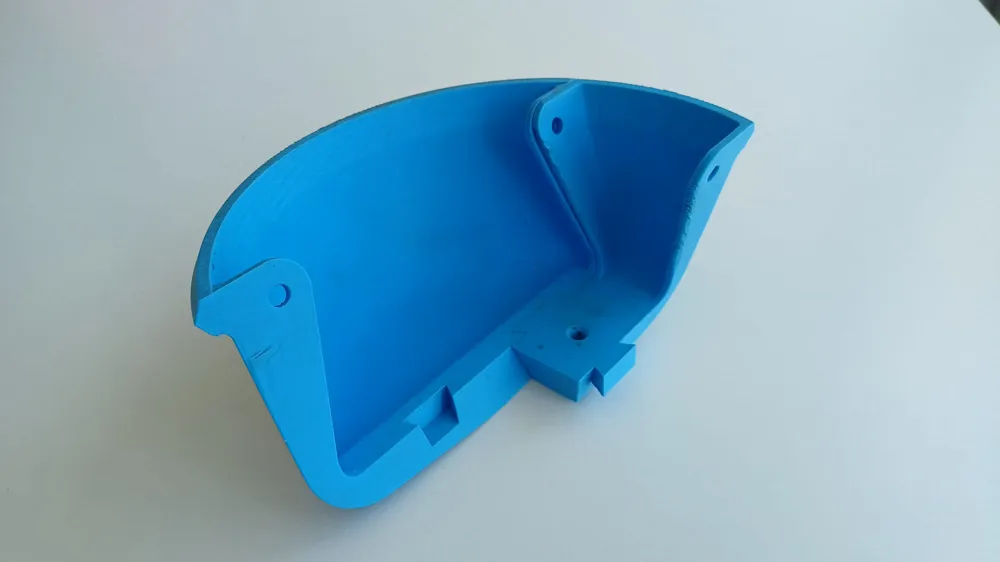
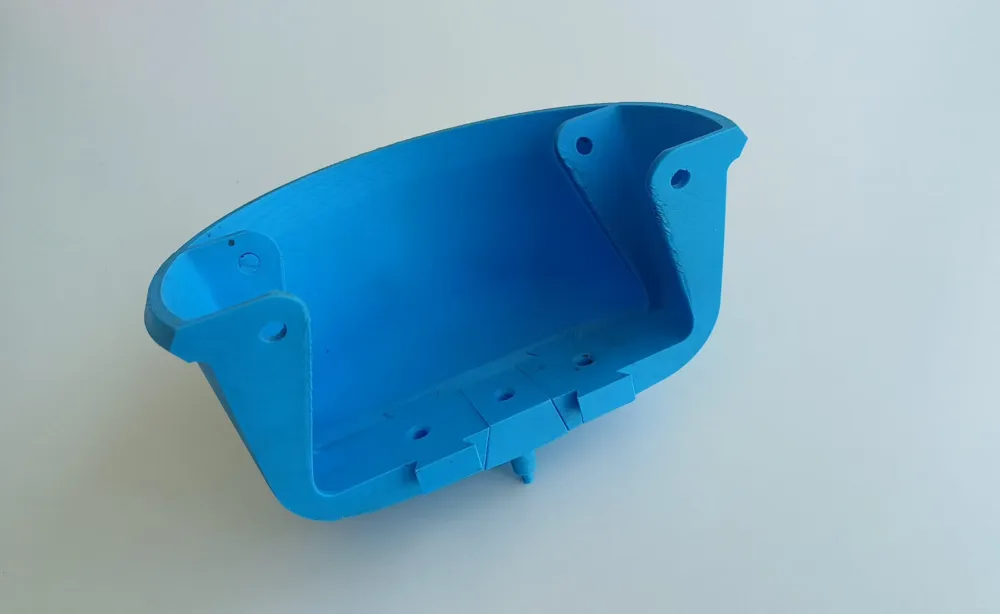
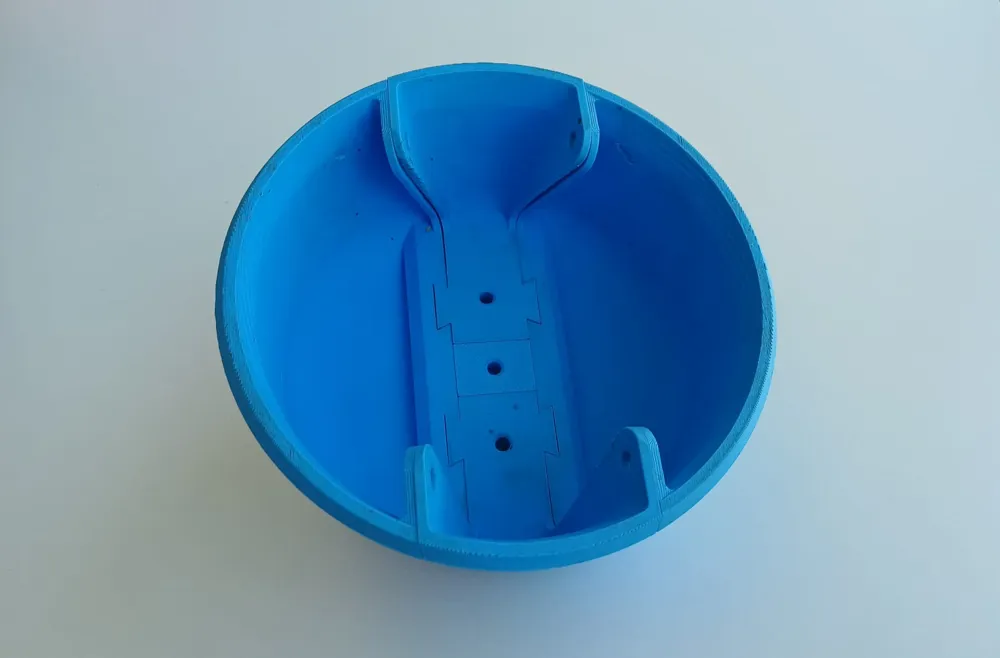
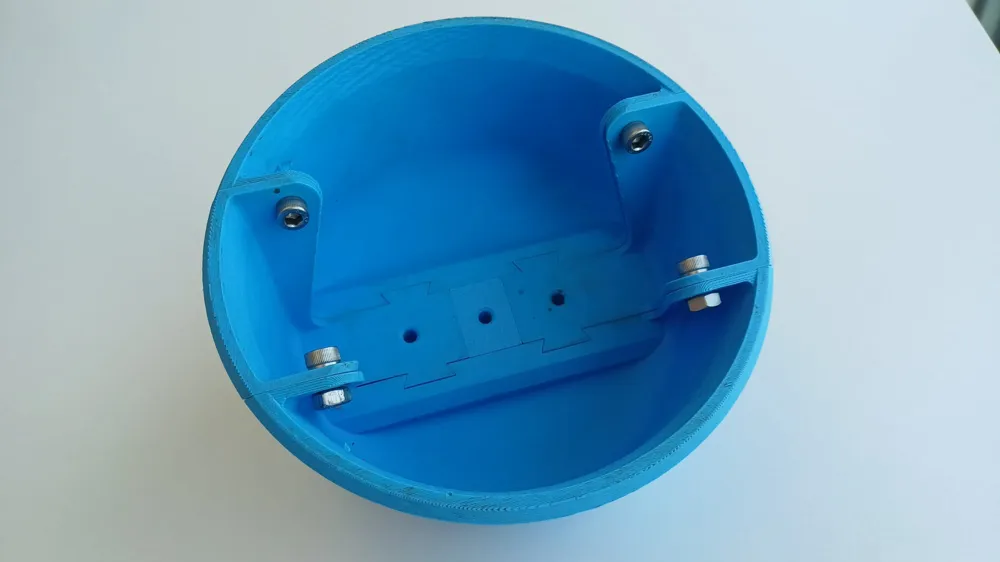
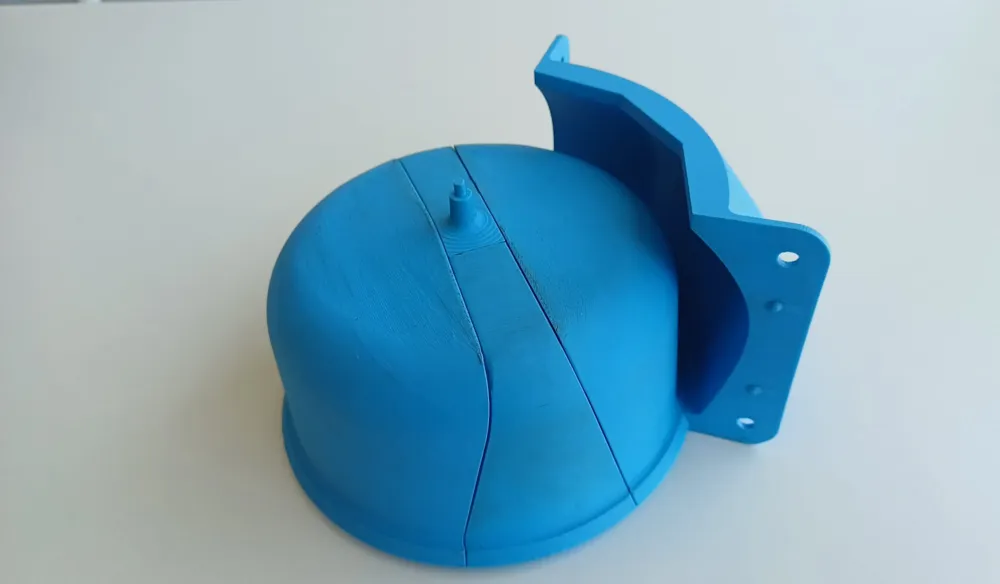
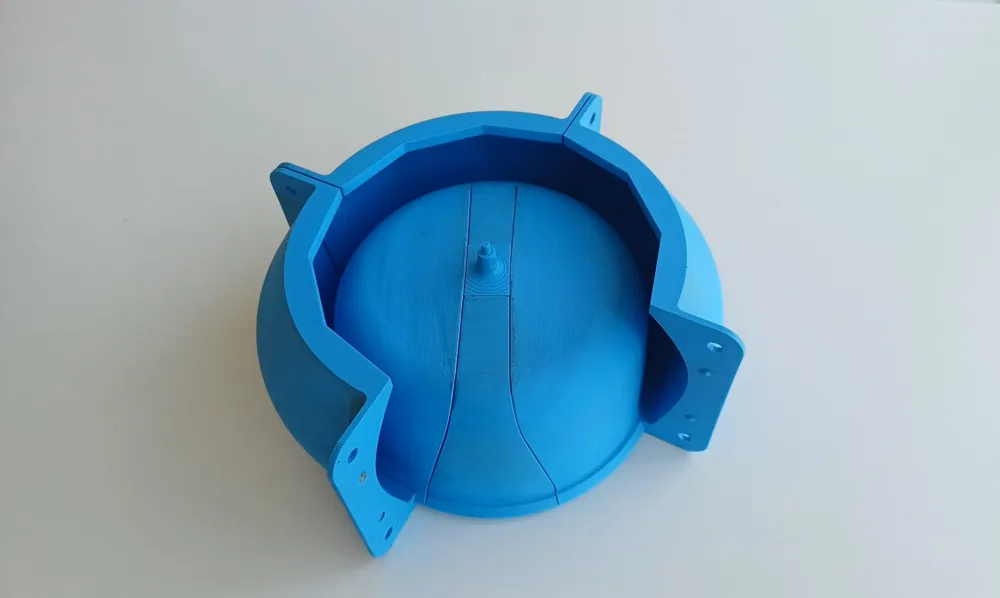
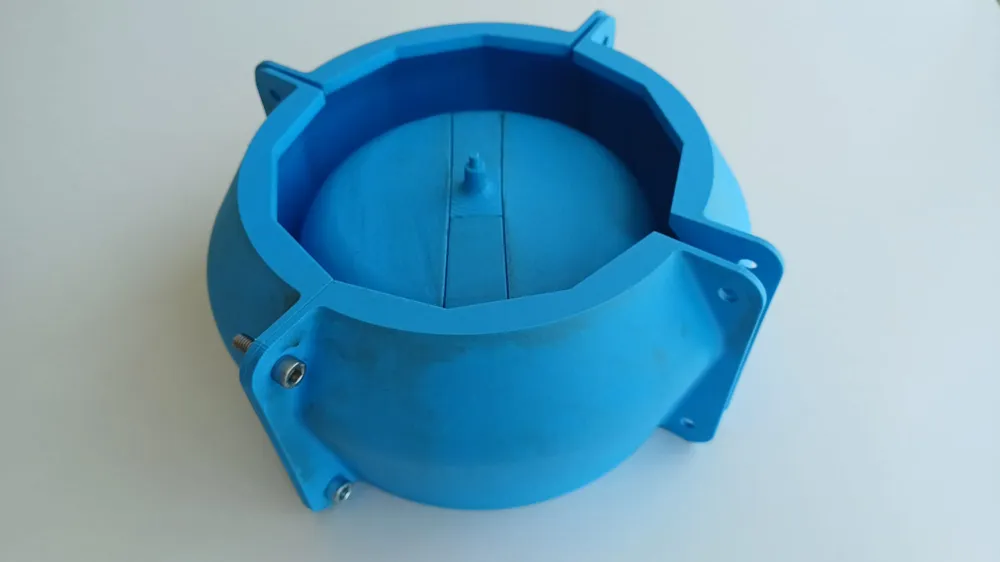
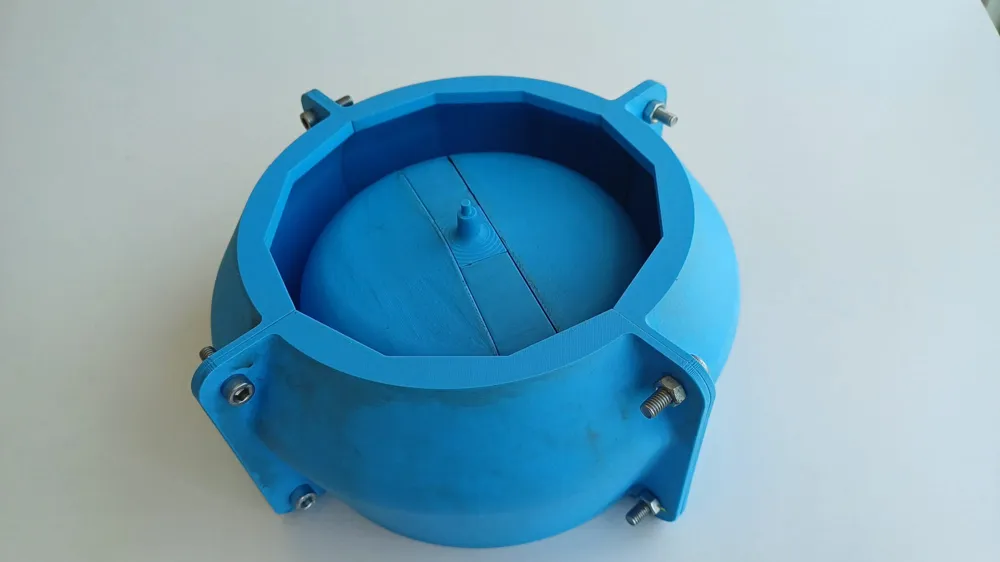
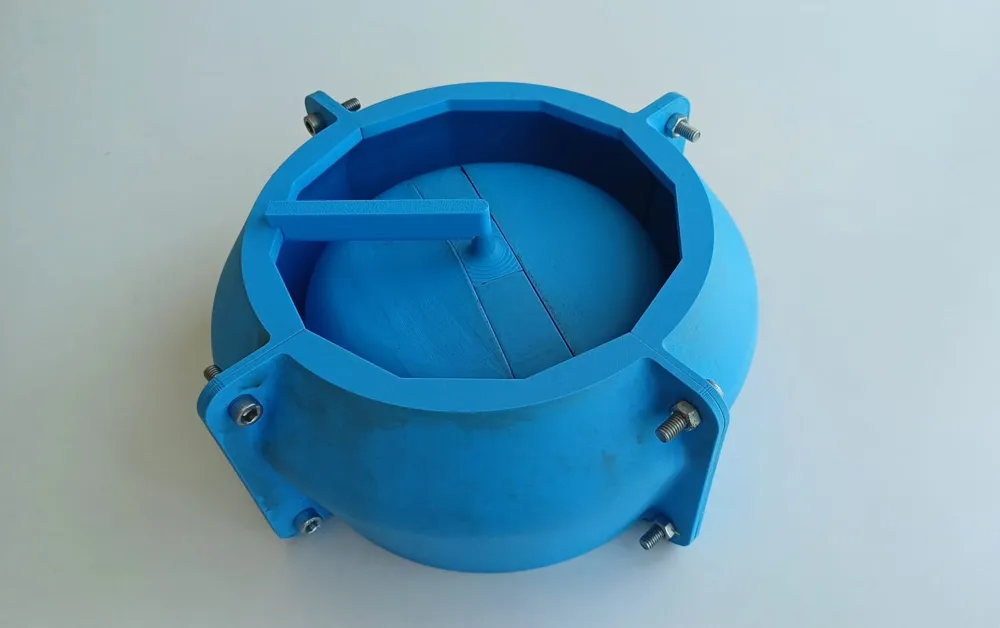
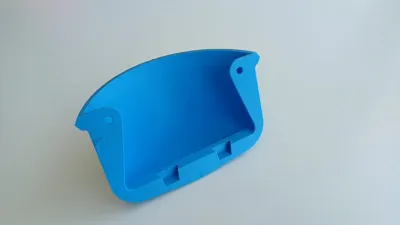
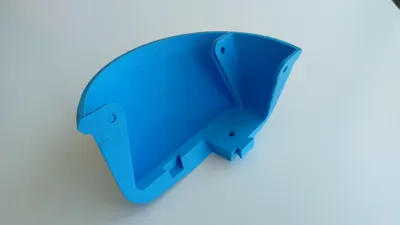
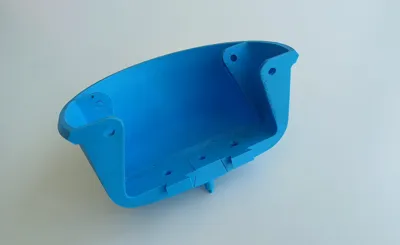
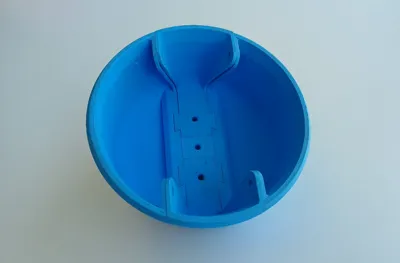
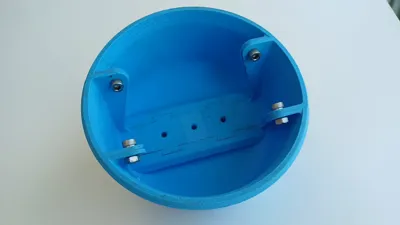
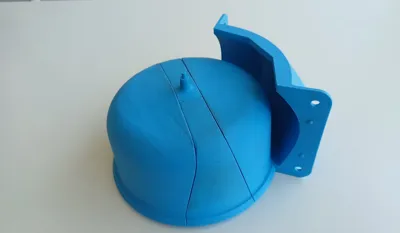
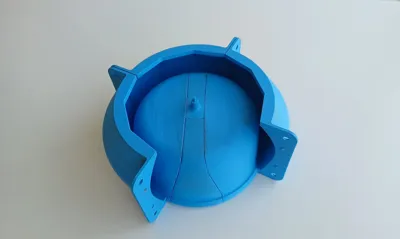
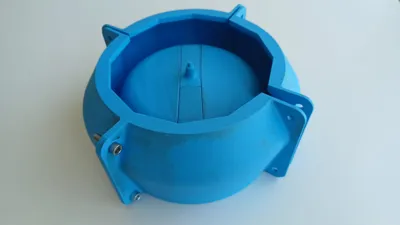
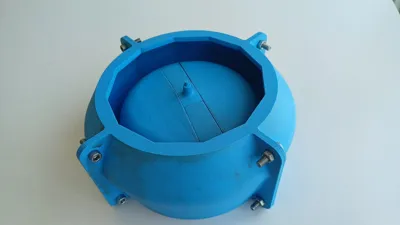
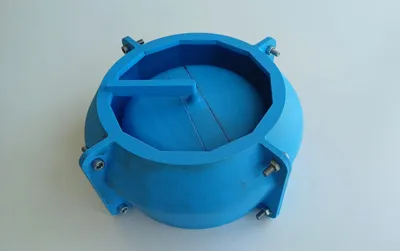
The mould is composed of internal and external parts each with several pieces that can be mounted to pour the cement and then dismounted once it is enough dry and solid.
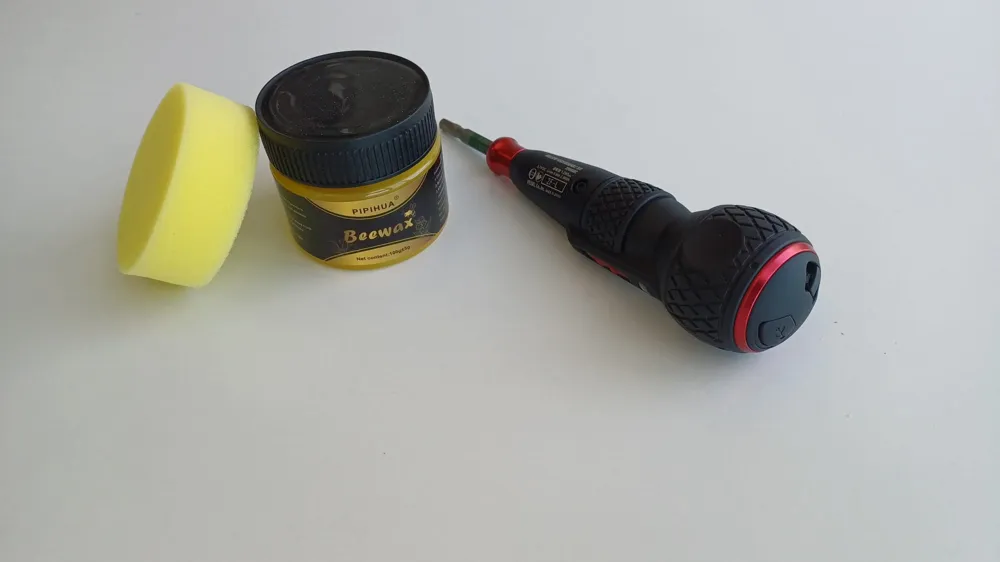
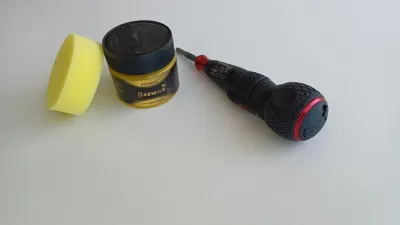
You can see how to assemble the pieces in the photos, but before make sure the pieces are cleaned, sanded if required so the the pieced have a good fit and then apply some sort of surface protection. I use beeswax, this ensures the piece does not absorbs the cement, helps the cement separate from the mould and helps with the cleaning of the mould for further reuse. Apply an initial coat in all the surfaces in contact with the cement and in all surfaces that contact other pieces.
After you extract the mould you can clean it using water and a sponge and if required reapply the beeswax.
I use stainless steel M6 bolts and nuts to hold the pieces together while pouring and curing the cement. Stainless is easy to clean to reuse. Usually 4 M6 bolts with 15-20 mm and 8 M6 bolts with 25-30 mm plus 12 M6 nuts are required. Usually I use a drill to clean the holes before I first assemble the mould.
Make sure you adjust the fit so that are able to disassemble the mould easily.
Before you fill in the mould take some time to prepare the space, use plastic bags to protect the surround space, cement tends to spill all over :) specially when you shake the mould.
As for the cement, you'll need Portland cement and raw sand (avoid rounded sand). I use a cup with 200 ml to measure, for this vase I usually use 7 cups of sand and 2 and a half of cement. Volume ratios of 2.5 - 3 parts of sand to 1 part of cement works fine for me.
Mix the sand and cement and remove with grumps while still dry.
Then add as few water as you can and mix. Add gradually small portions of water to get the cement to a workable consistency.
Mix for a couple of minutes and then pour into the mold, not all at once. Shake the mold with the cement, the more you shake it the less bubbles you get in the walls. Take you time filling and shaking.
I sometimes leave the top piece out of the mould and only install it before top filling the mould. In that case make sure the fit is clean. Once the mould is full level the top with a spatula.
To unmould start by removing the bolts from the outer part, then the pieces should came out easily with a small shake-up.
Remove the bolts from the internal part and press slightly one of the slices to the inside. It should create a gap to the cement and allow you to pull it out. Repeat for the other side. Then you can try to remove the center piece (shake it and rotate it until it separates from cement). Some whigling should be able to separate the other inner pieces.
I usually unmould after 48 hours, the cement will not be fully cured (that may take more than a week) and I can use a utility knife to scape the joins and clean those.
Keep your cement moist while it cures. After a week or two (if you have the patience) it should be good to apply some varnish or waterproofing product.
License



Comment & Rating (0)