Fast Strong Easy Respooler (Only one print Plate)


Print Profile(8)

Description
Boost Me (for free)
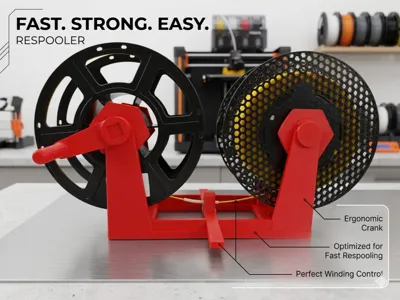
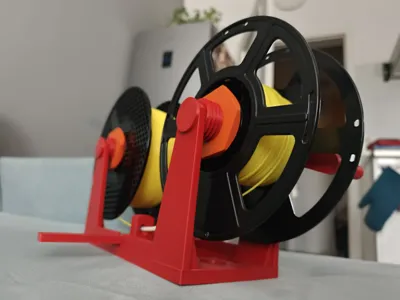
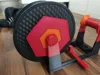
Fast Strong Easy Respooler
An efficient, compact, and reliable filament respooler designed to make transferring filament between spools as seamless as possible. Whether you need to move filament to a master spool for your AMS/MMU, save a damaged spool, or split a large roll, this print gets the job done quickly.
🚀 Key Features
- Fast Print & Easy Assembly: The entire model prints in under 10 hours!
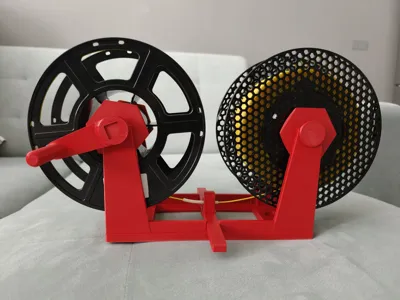
- Two Versions Included: Comes with a manual hand crank for precision and control, and a drill attachment version for high-speed, effortless respooling.
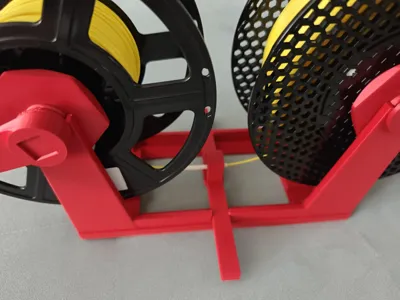
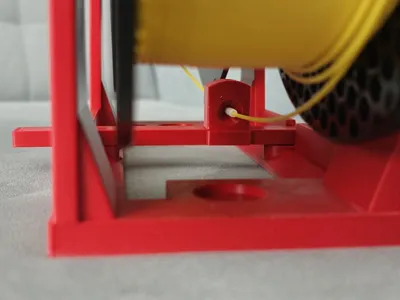
- Sliding Filament Guide: Features a smooth, sliding guide mechanism to ensure neat and even filament distribution across the spool.
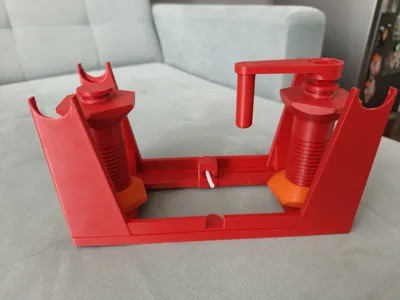
- Collapsible Space-Saving Design: Equipped with integrated interlocking joints/holders, allowing you to easily fold or take it apart for compact storage when not in use.
⚙️ 3D Printing Settings & Recommendations
| Parameter | Recommendation |
|---|---|
| Material | PETG or ASA (Recommended for extra strength and durability). PLA works also, but PETG will be better |
| Layer Height | 0.24 mm (Optimized for speed and strength). |
| Supports | Only needed for the pins. The rest of the model prints cleanly without supports. |
🛠️ Assembly & Usage Tips
- PTFE Tube Required: You will need a 5cm piece of PTFE tubing to insert into the sliding filament guide for smooth, friction-free feeding.
- Smooth Rotation: Apply a small amount of grease or lubricant to the pins to ensure ultra-smooth rotation and reduce friction.
Inserting the Center Guide: When assembling the middle sliding guide, gently flex/bend the main frame. This provides enough clearance to snap the guide into place easily without breaking the parts.
Boost Me (for free)
License
You shall not share, sub-license, sell, rent, host, transfer, or distribute in any way the digital or 3D printed versions of this object, nor any other derivative work of this object in its digital or physical format (including - but not limited to - remixes of this object, and hosting on other digital platforms). The objects may not be used without permission in any way whatsoever in which you charge money, or collect fees.
Comment & Rating (552)