Wall Mounted Infinity Challenge Coin Display


Print Profile(5)

Description
Boost Me (for free)
If you enjoyed this model, please drop it a like and leave a comment. If you loved it, you could also give it a boost. Either way, these things let us know that this sort of model is where we need to dedicate our time and attention. Don't forget to toss us a Follow. Thanks so much for your support! Looking for a commercial license or a way to support our work? https://buymeacoffee.com/marsarunity Wanna see what else we can do? Check out our website! https://marsarunity.com/
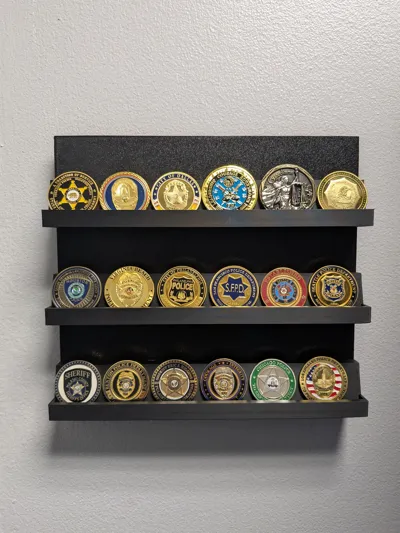
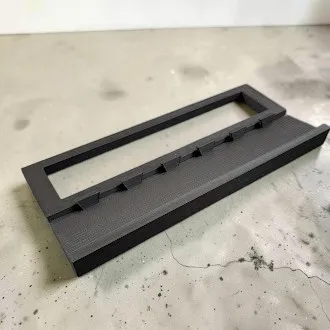
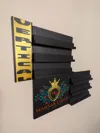
Thanks to popular demand, here is a wall mounted version of my Challenge Coin Stand!
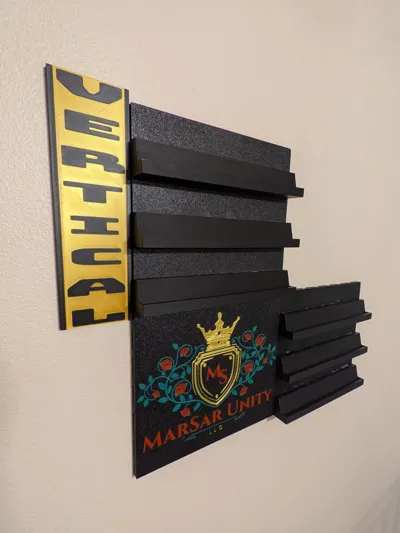
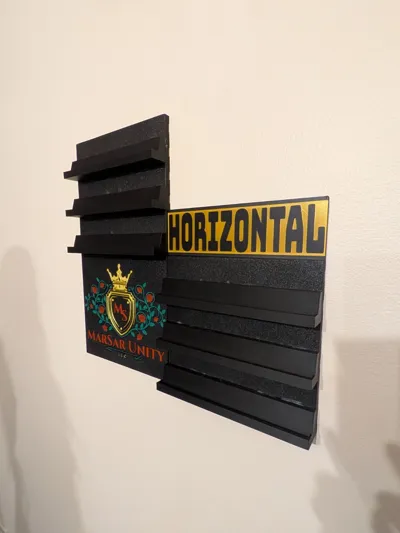
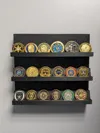
This wall display is infinitely expandable both vertically and horizontally, one (225mm tall, 250mm wide, and 40mm deep) panel at a time. The only limitation is the size of your wall! Each panel has (3) rows which can hold up to 65mm coins comfortably (bigger, if you put them on the “top”). Each panel will hold up to (15) 50mm coins with “elbow room” to spare!
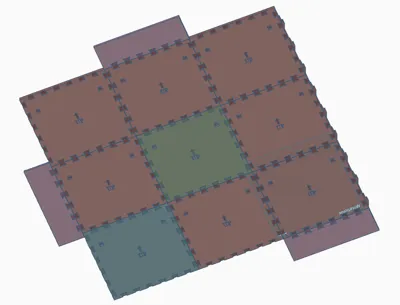
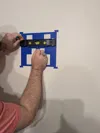
I highly recommend that you have a clean build plate with good adhesion. You will be printing some long, flat parts and don't want warping! All of the supports should be incredibly easy to remove. It's printed in pieces, easily assembled with included fishtail connectors and pegs. Superglue or better is a must! Assembly should be pretty straightforward (fishtails in fishtail spots, pegs in peg spots). Print the backer. Print the slots and pegs. Glue the pegs into the backer. LET THE GLUE SET! Apply a dab of glue into each peg hole on the back of the stripes and run a line of glue down the middle of each stripe, horizontally. Line the stripes up with the pegs and push down hard, making sure each peg is sunk into the stripes and the stripes don't have any gaps between them and the backers parts. Easy as that! I cannot stress this enough: LET THE GLUE SET!!!
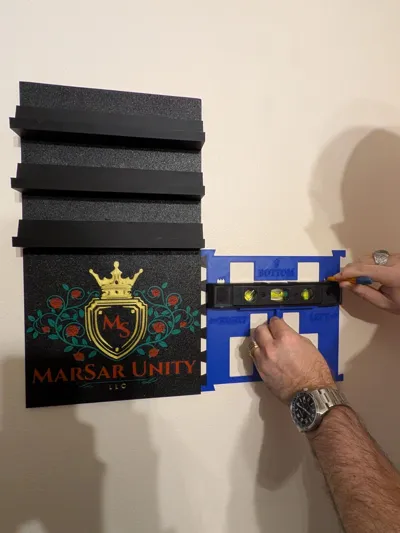
This thing can get pretty heavy, pretty quickly, so make sure you use sheetrock anchors or screw into studs when hanging! I've provided 2 nail holes per plate and a nail hole guide for secure and easy hanging. There are two versions. One will assist you in aligning the nail holes for additional plates on the left or right of the previous plate. One will assist you in aligning the nail holes for additional plates on the top or bottom of the previous plate.
Given it's modular nature, I intend to design additional plates and pieces that will attach directly to the coin plates. Be on the lookout for new profiles getting added to this model and if you have any suggestions for what you'd like to see, feel free to drop me a comment or message!
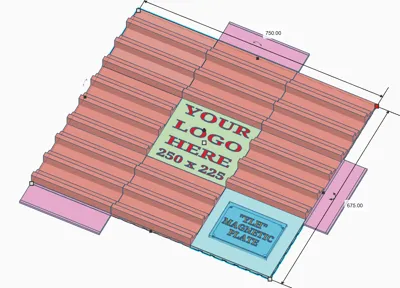
In order to add your own custom logo to the plate, please follow the steps below: You must already have your own logo file!
- Open the “Your Logo Here" Blank profile in Bambu Studio
- Drag and drop your custom logo file into Bambu Studio (or use your own preferred import method).
- Right click on your newly imported custom logo and select “Center”. The blank plate should already be centered.
- Rotate and scale your custom logo to fit within the confines of the blank plate. Center it again, if needed. Make sure that the custom logo you imported is oriented correctly. Set the Z axis to 0.4mm thick. Do not use “uniform scale” when adjusting the Z axis!
- After you've scaled and centered to your liking, right click on the build plate and click “Select All”.
- Right click on any of the newly selected objects and click “Merge”.
- Navigate to the “Objects” section under the “Process” tab on the left. Right click on your custom logo in the list and select “Change Type”. If your custom logo file is anything other than an stl (such as 3mf), it may have multiple parts. Ensure you're selecting ALL of it's parts when performing the “Change Type” function!
- From the newly opened window, click the dropdown and select “Modifier”. Click “Ok”.
- Slice the plate and ensure it looks good. If you're happy with everything, hit print!
If you need me to create a the custom logo, custom logo plate, or a name plaque for the front of the stand, I will do so and share it directly with you. Just let me know!
Looking for a version that you can display on your desk or shelf? Check these out!
"Your Logo Here" Challenge Coin Stand
“Your Coin Here” Challenge Coin Stand
Let me know if there are any issues or if you have any questions. And, as always, I hope you enjoy!
License
You shall not share, sub-license, sell, rent, host, transfer, or distribute in any way the digital or 3D printed versions of this object, nor any other derivative work of this object in its digital or physical format (including - but not limited to - remixes of this object, and hosting on other digital platforms). The objects may not be used without permission in any way whatsoever in which you charge money, or collect fees.
Comment & Rating (2)