


Print Profile(1)

Description
Description
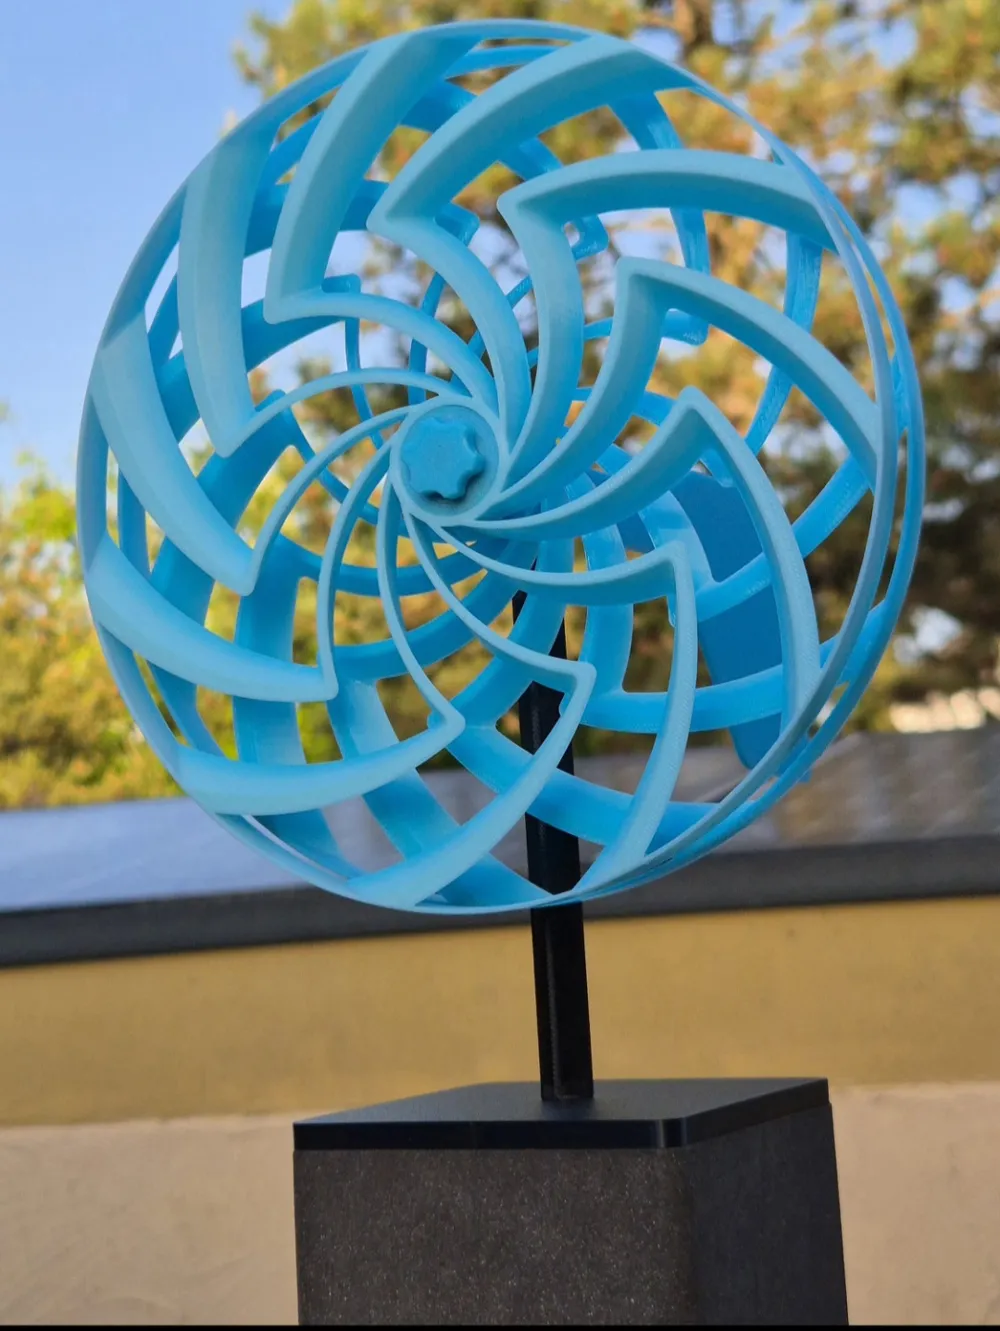
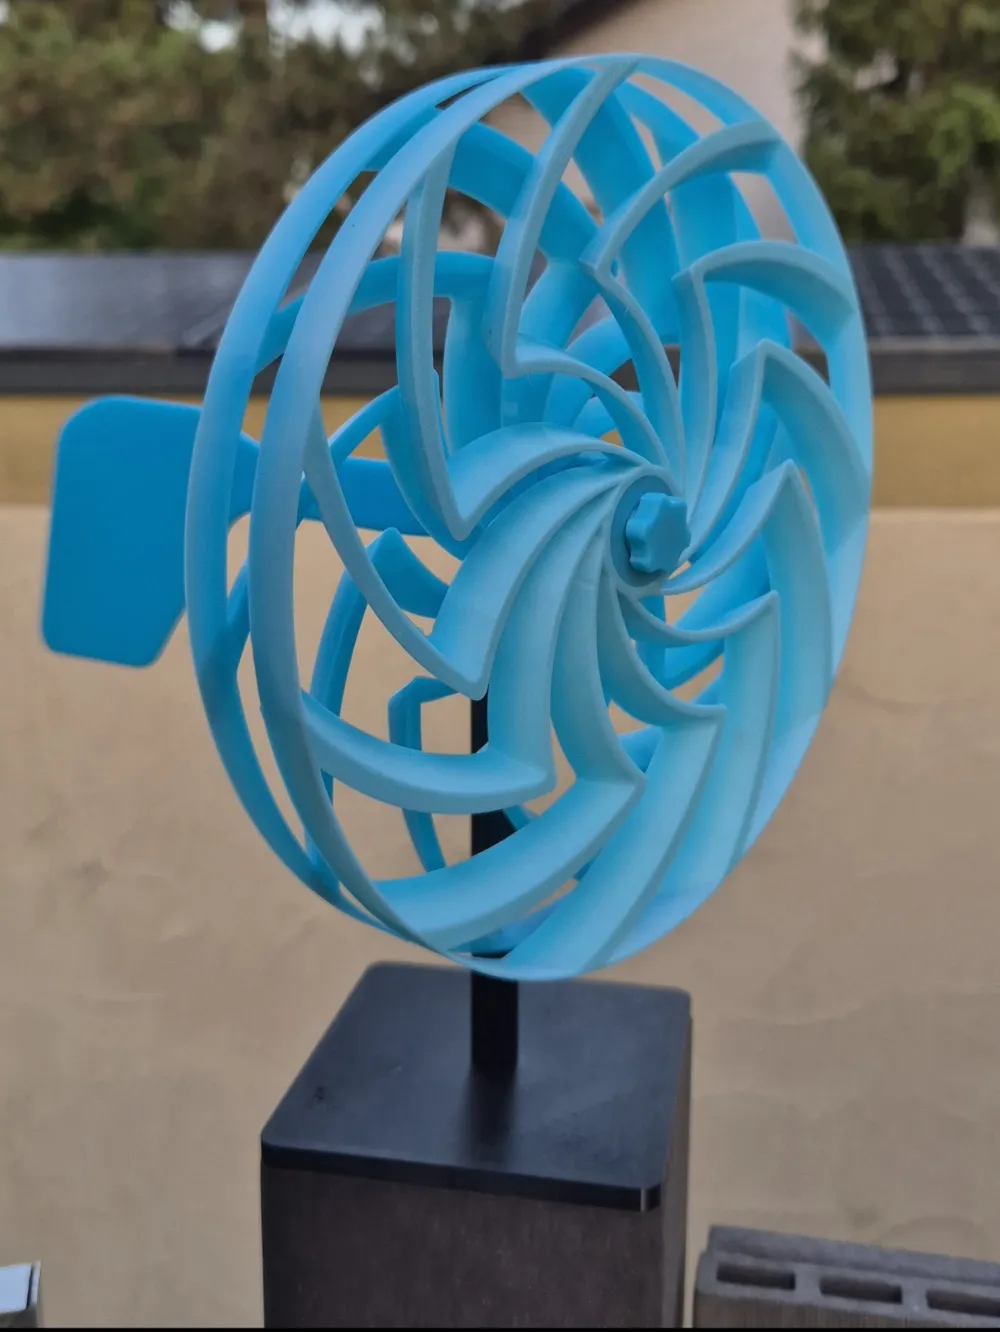
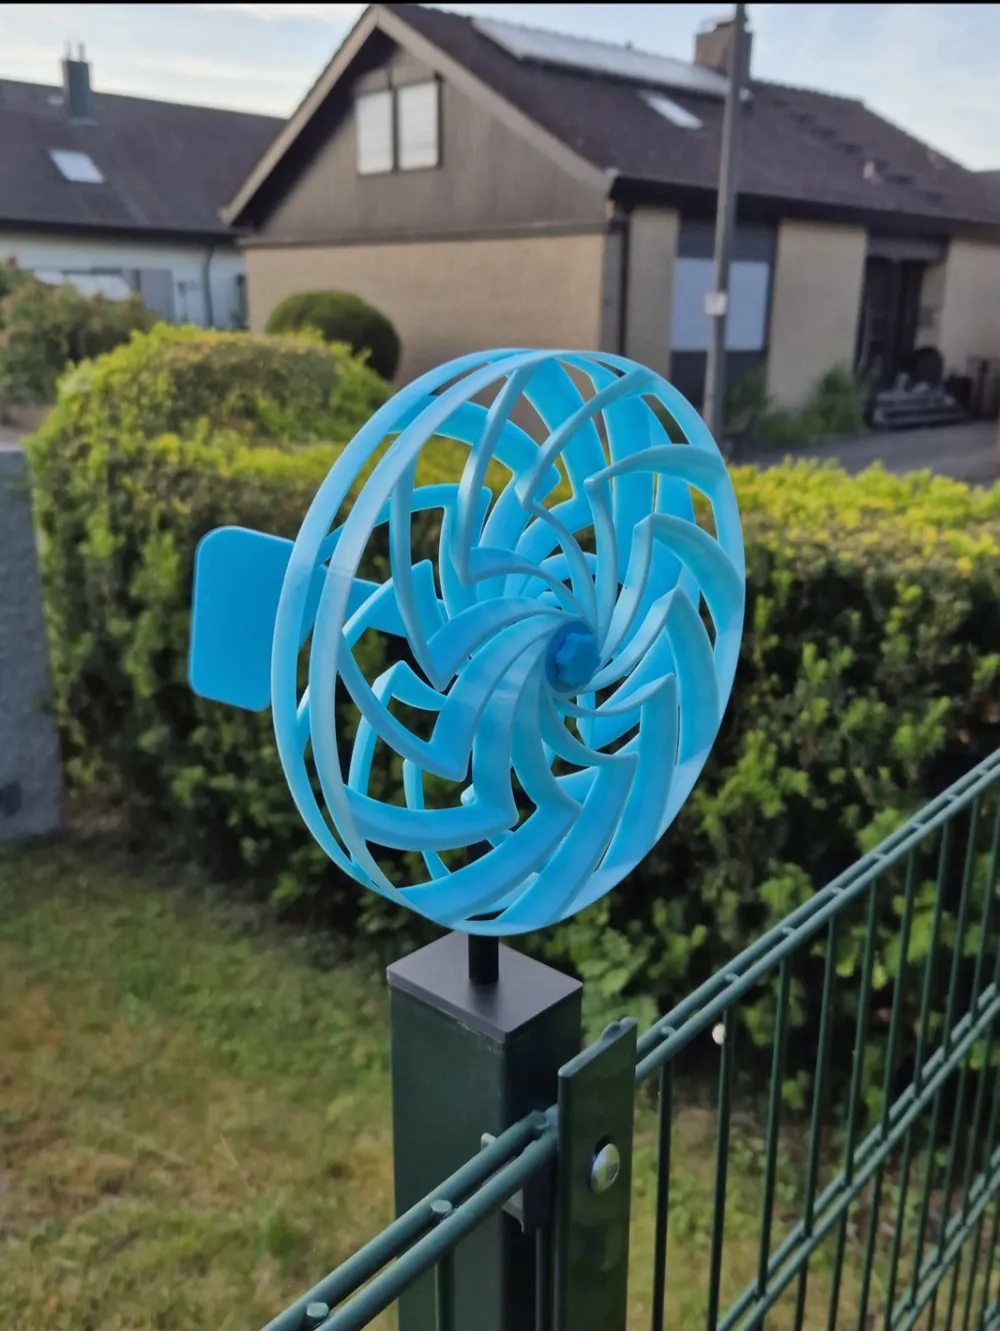
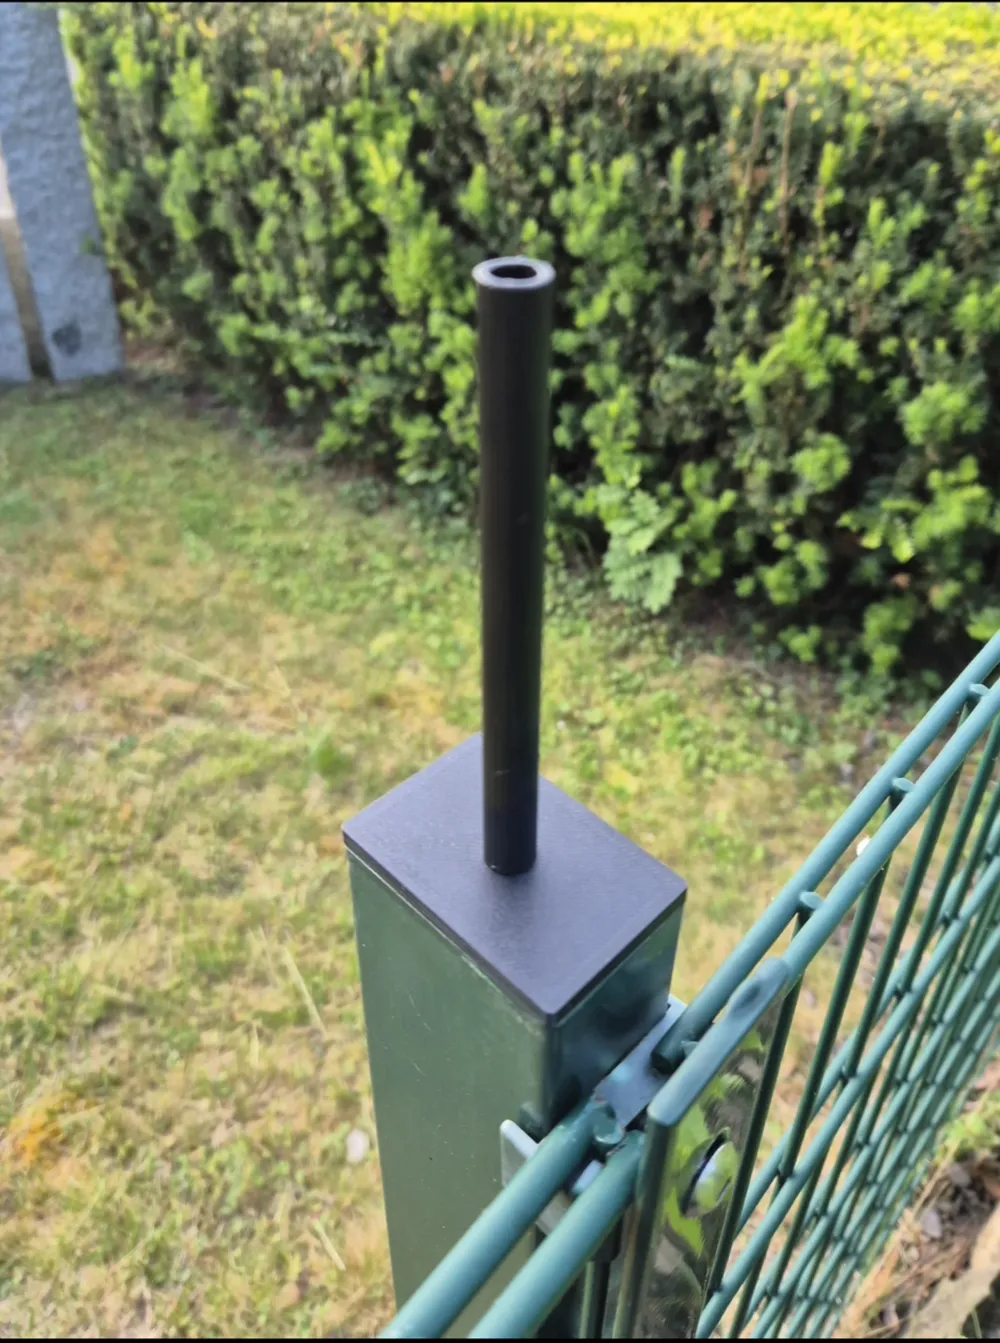
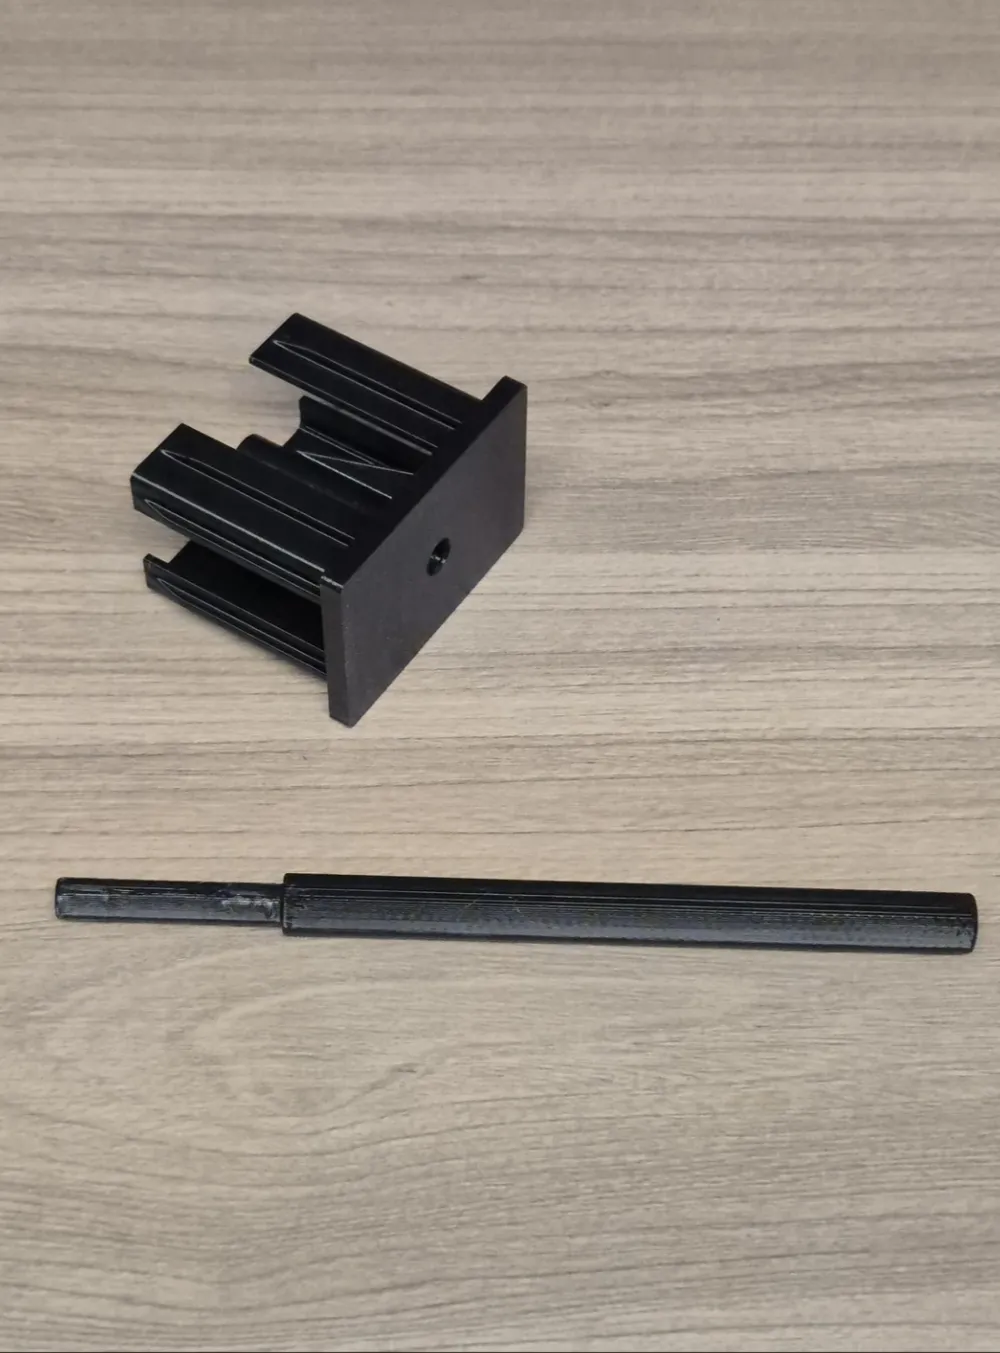
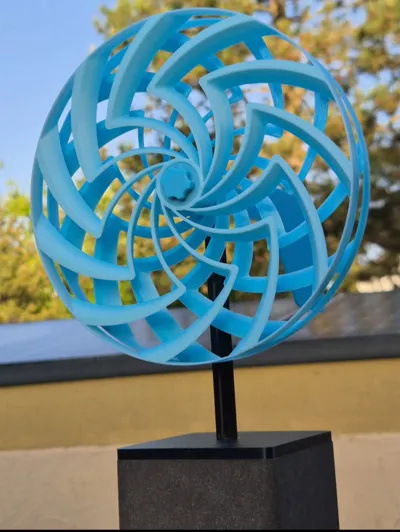
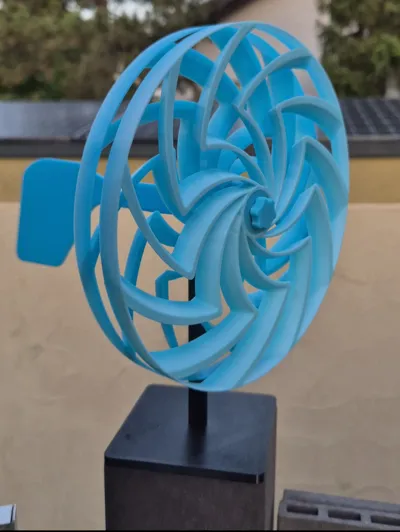
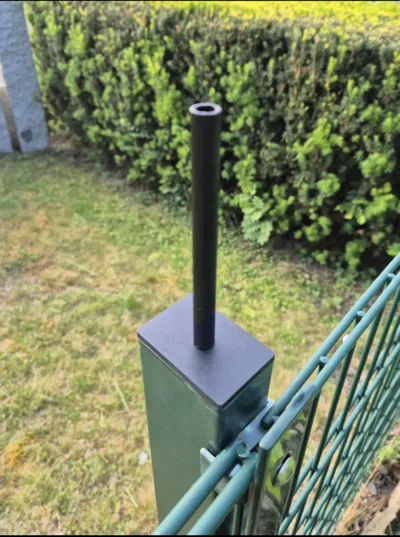
These fence post caps with an integrated mount for the Bambam Design windmills allow for easy installation on a variety of different fence posts
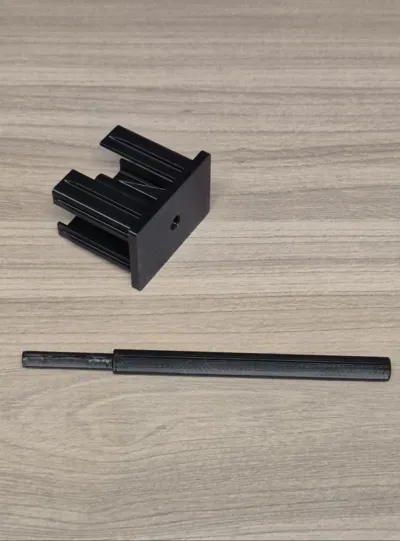
To cover as many post sizes as possible, various common variants are available. The model was deliberately designed to be modular, allowing the appropriate fence cap to be combined with an individually scalable plug. This allows the mount to be adapted to the respective internal dimensions of the fence post
Please note that the focus is on achieving the highest possible compatibility with various post types. As a result, the appearance may vary depending on the post shape and dimensions and may not always fit perfectly flush
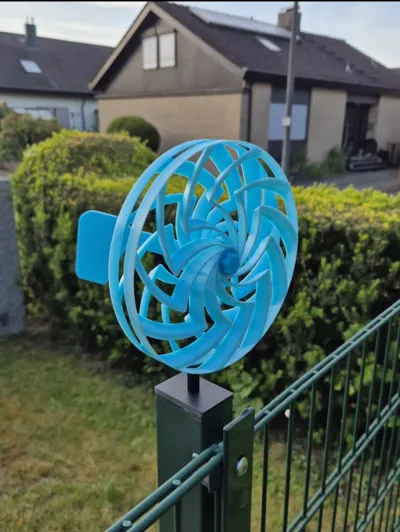
The images show an 85x85 cap on a “Traumgarten” fence post and a 60x40 cap on a fence post for mesh panel fences
Highlights:
• Mount for Bambam Design windmills
• Selection of various common fence cap sizes
• Scalable plug for adapting to different internal dimensions
• Suitable for many different fence posts
Variants:
• Various fence cap sizes
• Matching plugs for individual scaling
Instructions:
- Measure the existing fence post (outer and inner dimensions)
- Select the appropriate fence cap based on the outer dimensions
- Scale the corresponding plug along the X and Y axes according to the measured inner dimensions
- In the slicer, select all model parts
- Use “Align/Distribute” to center the models
- Select all parts again and merge the models
- Slice and print the model
Notes:
For outdoor use, PETG is recommended as a minimum material to ensure sufficient weather resistance
Since the connector requires slight support structures, it may be necessary to lightly sand the affected areas after removing the supports. It is also advisable to deburr the hole in the fence cap to facilitate the insertion of the connector
Please note that fence posts may have manufacturing tolerances due to the manufacturer and can warp slightly over time due to weather influences. Therefore, a perfect fit cannot be guaranteed for every post
Should the printed fence cap be a bit too loose or too tight, the fit can be optimized with a few simple steps. Smaller deviations can be compensated for, for example, by light filing or by adding some adhesive tape
If you like the model, I would appreciate a review – especially with photos of your assembled windmills! 👉 Which fence post and windmill did you use the fence cap for
Boost Me (for free)
License

You may create derivative works based on this object, provided that all such derivative works are published exclusively on the MakerWorld platform and include proper attribution to the original creator. You may not share, upload, host, distribute, or publish this object—or any derivative work of this object—on any other digital platform, marketplace, or distribution channel. Commercial use of this object and any derivative works is strictly prohibited. This includes, but is not limited to, selling, renting, sublicensing, or using the object in any context in which you receive monetary compensation or other financial benefits.


Comment & Rating (7)