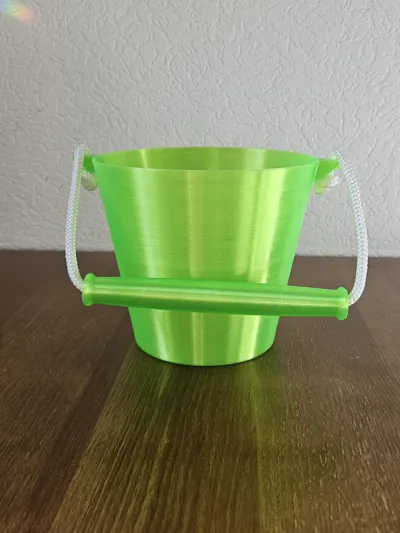
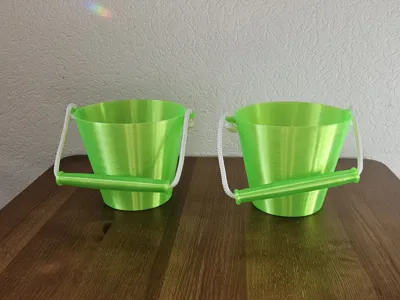
Flexible TPU Sand Bucket


Print Profile(1)

Description
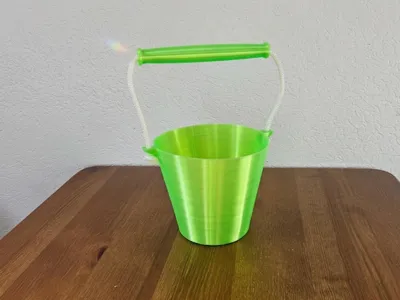
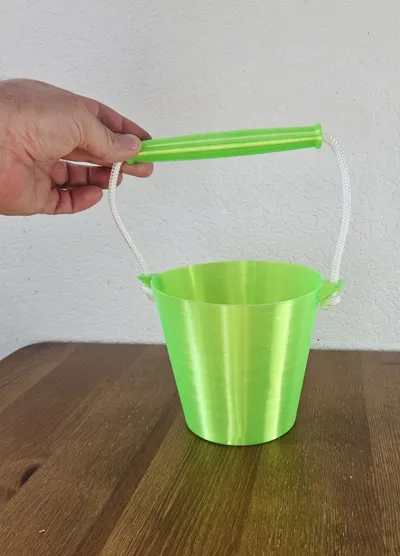
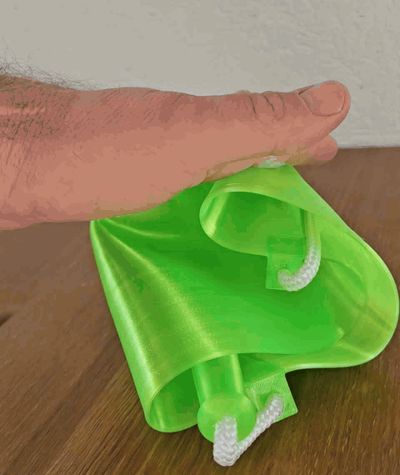
Flexible TPU Bucket
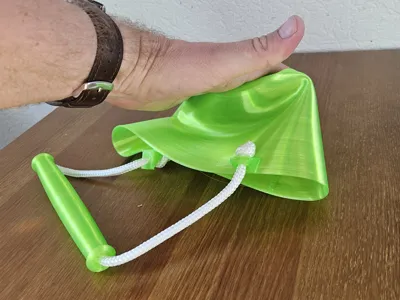
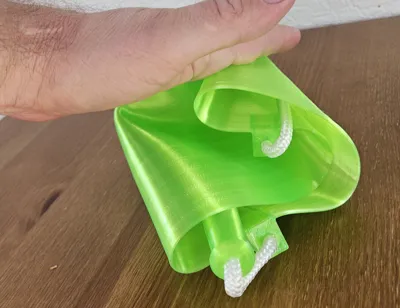
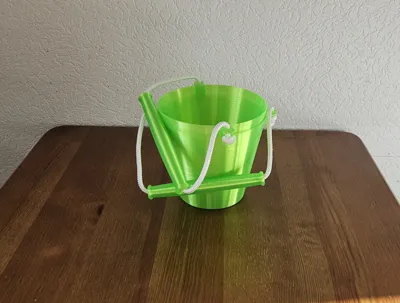
Collapsible bucket instead of a bulky one! ☀️🏖️
The flexible TPU sand bucket can be compressed to save space and fits easily into the car, backpack, or beach bag. Perfect for the beach, playground, camping, and holidays.
After being relieved of pressure, the bucket returns to its original shape and is immediately ready for use.
Important note for optimal print quality
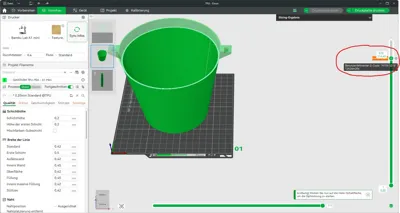
The side tabs have an overhang that can be somewhat messy with TPU, depending on the filament and printer.
For a particularly clean print result, I reduced the nozzle temperature from 215 °C just before printing the tabs. This made the overhangs significantly cleaner.
Since MakerWorld does not accept models with altered G-code, this temperature change is not included in the files. Those who want to get the most out of the print can manually adjust the temperature at the marked location in the screenshot in Bambu Studio.
Note: The optimal temperature may vary slightly depending on the TPU brand, printer, and print settings.
Note on waterproofness
Depending on the TPU filament and print settings, the bucket may already be waterproof without further adjustments.
If the bucket is not completely sealed, a slightly higher nozzle temperature can improve layer adhesion and thus increase waterproofness. However, the optimal temperature strongly depends on the filament used, the printer, and the chosen print settings, and should be determined by your own tests if necessary.
Since TPU filaments from different manufacturers sometimes vary significantly, no general temperature recommendation can be given.
Assembly
Required material
- 1 piece of cord with 6 mm diameter
Assembly steps
- Print the bucket body.
- Print the handle.
- Cut a piece of 6 mm diameter cord to the desired length.
- Thread the cord through the handle.
- Then thread both ends through the side tabs of the bucket.
- Securely knot the ends of the cord.
Tip: The openings are designed for a 6 mm cord. Threading it through might be a bit tight. Pliers can be helpful.
If you like the model, I would appreciate a like and a photo of your print. 😊
License
You may create derivative works based on this object, provided that all such derivative works are published exclusively on the MakerWorld platform and include proper attribution to the original creator. You may not share, upload, host, distribute, or publish this object—or any derivative work of this object—on any other digital platform, marketplace, or distribution channel. Commercial use of this object and any derivative works is strictly prohibited. This includes, but is not limited to, selling, renting, sublicensing, or using the object in any context in which you receive monetary compensation or other financial benefits.
Comment & Rating (0)