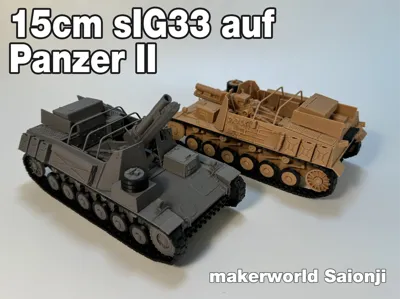
1:35 StuG II Assault Gun, movable gun barrel, Panzer II / 150mm sIG 33 (Sf.) Howitzer


Print Profile(2)
Description
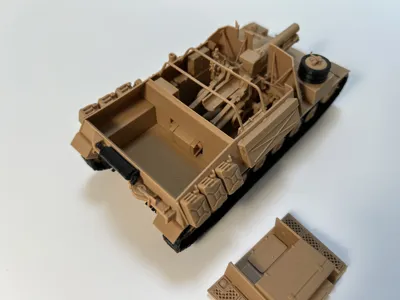
This is my first time making a model with interior details. At this scale, I tried my best to retain the details of the original vehicle. I used a 0.4 nozzle. I haven't tried a 0.2 nozzle, but theoretically, the details would be even better.
Parts indicated by red arrows require glue for assembly, while blue areas do not.
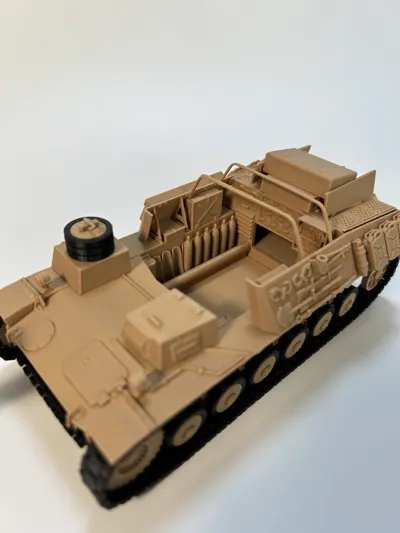
I printed the tracks, road wheel rubber rims, and exhaust pipes using black PETG because PETG was the only black filament I had on hand. You can change it yourself; the rest of the parts are PLA.
Antenna holes are reserved, so you can insert a 1.75mm filament strand as an antenna.
Below are the assembly instructions.


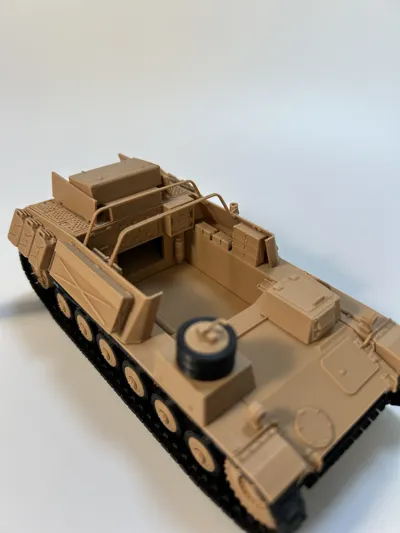
Engine Cover Here, I chamfered the part that connects to the vehicle body, so it sits firmly in place even without glue. The interior can serve as a storage space, though it's not very useful (of course, you can glue it if you want)

Trunnion part does not require glue (blue arrow)


I made a small protrusion on the part connecting the gun shield and the gun mount; just align and glue it.
When gluing the gun sight, be careful not to apply too much glue to the trunnion, or the gun barrel will not be able to elevate or depress.

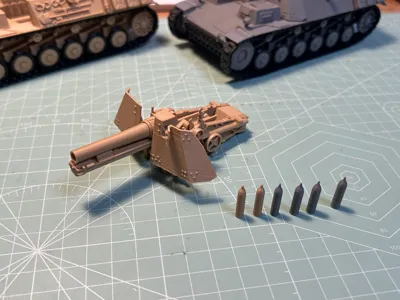
The main gun assembly does not require glue to connect to the vehicle body, as there are locating slots; however, you can glue it for more stability.

The locating slots are shown in the red circle.

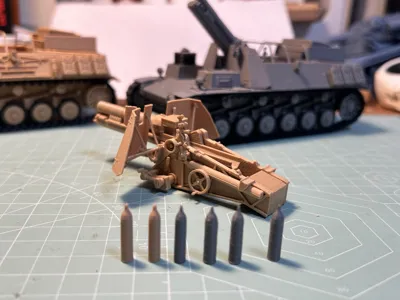
These three racks have model indicators at their respective positions; just align and glue them.
Please note that once the frontmost rack is glued, the main gun cannot be removed, and the gun sight will be stuck. Please consider this trade-off.

Boost Me (for free)
Thanks for your support
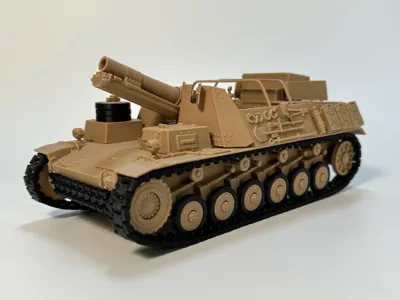
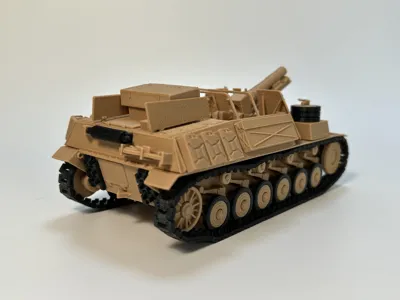
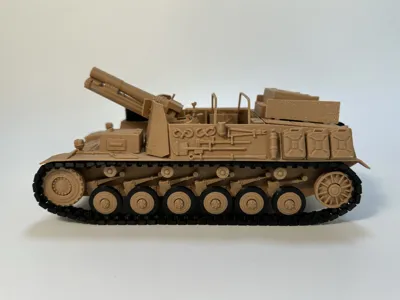
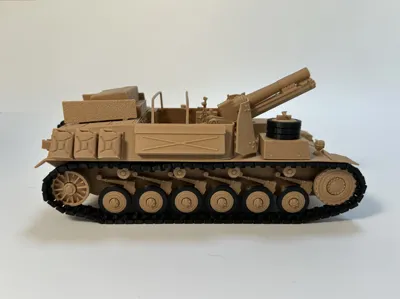
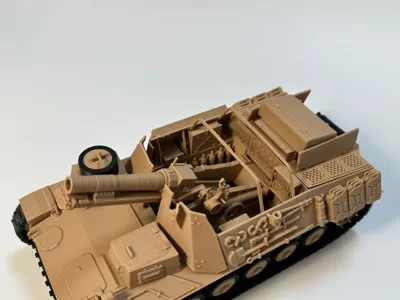
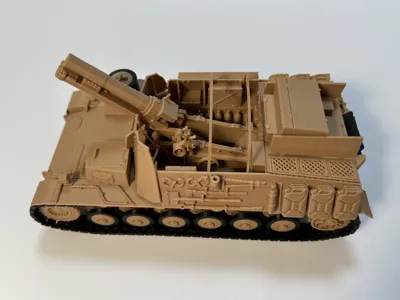
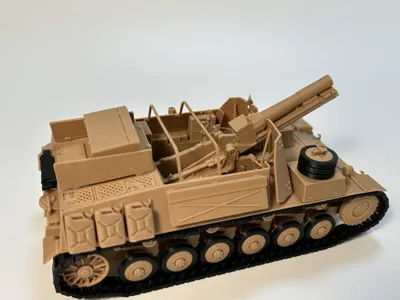
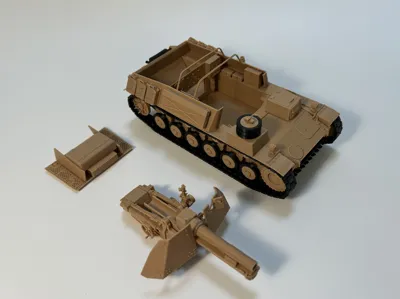
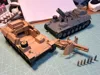
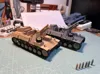
Finished product as shown


License
You shall not share, sub-license, sell, rent, host, transfer, or distribute in any way the digital or 3D printed versions of this object, nor any other derivative work of this object in its digital or physical format (including - but not limited to - remixes of this object, and hosting on other digital platforms). The objects may not be used without permission in any way whatsoever in which you charge money, or collect fees.
Comment & Rating (9)