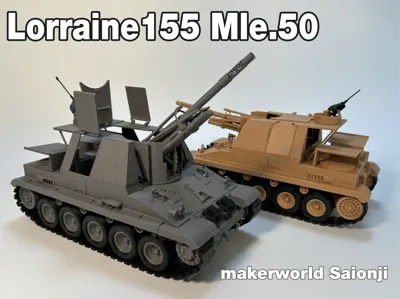
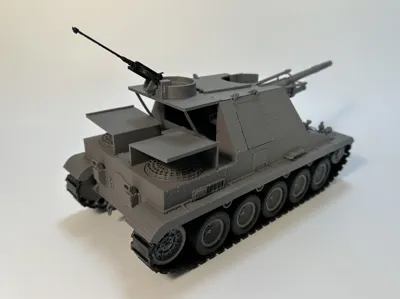
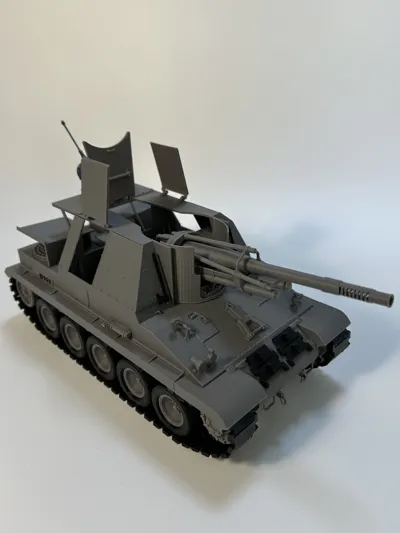
1:35 Lorraine 155 Mle.50 Self-Propelled Howitzer with movable gun barrel and machine gun, including internal structure


Print Profile(1)
Description
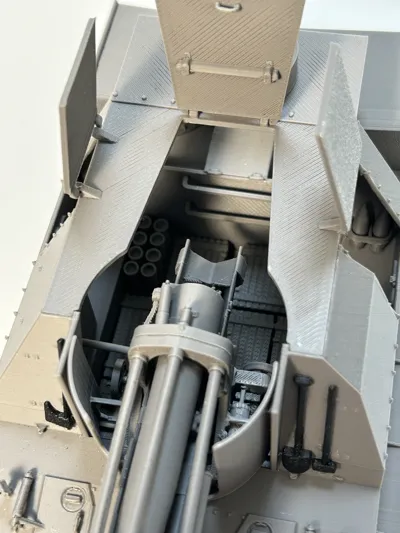
This is a model with an internal structure. At this scale, I tried to retain as much detail of the original vehicle as possible. I used a 0.4mm nozzle; I haven't tried 0.2mm, but theoretically, the details would be better.
Parts indicated by red arrows require super glue for assembly, while blue parts do not.
I used black PETG for the tracks, wheels, anti-aircraft machine gun, and vehicle tools because black filament I have on hand is only PETG. You can change it yourself. The rest of the parts are PLA.
Some parts are very small, so tweezers may be needed for assembly. It is recommended to follow the assembly instructions, otherwise, parts might conflict and prevent proper fitting.
Below are the assembly instructions:
The bullet racks and propellant racks have corresponding installation positions with limit slot indicators, which are the same on both sides.

Each ammunition box on the floor has corresponding mounting protrusions and grooves underneath. They can actually be fixed by friction alone, but for stability, you can also use super glue.
Note: The two ammunition boxes near the engine (for warheads) are different in size from the front ammunition boxes (for propellant).

Warheads and propellants can be inserted directly into their respective ammunition racks without super glue, just like in reality, but for stability, super glue can also be used.
Please note: Due to the small size of the parts and the tight tolerances of the corresponding positions, they might not fit due to printing imperfections. If it doesn't go in, don't force it; properly address the imperfections.
The order of the headlights is shown in the figure:

The gun mount cross member should be installed first, then the enclosed ammunition rack.
The protrusions on the gun mount cross member should be close to the engine. Do not install it backward!
The blue box indicates a 1.75mm filament strand, with a length of 37mm in the model. You can cut it roughly with extra length first, and then trim it precisely after installing the top cover.

Both the engine heat shield and the anti-aircraft machine gun platform have corresponding limit slots. Just align and super glue them.

The suspension parts are installed as shown in the figure, identically on both sides.

The parts that limit the main gun's elevation and depression angles do not require super glue.


The trunnion part of the main gun does not require super glue, it is fixed with a 1.75mm filament strand.


No super glue is needed between the main gun and the gun mount. When installing, it is recommended to elevate the main gun, otherwise, the elevation/depression limit parts will get stuck on the gun mount cross member.

The anti-aircraft machine gun and all cover plates do not require super glue.

There is a limit slot for the filament support rod under the top cover (as shown in the figure).

It is recommended to install the front track mudguards after the tracks have been installed.


Boost Me (for free)
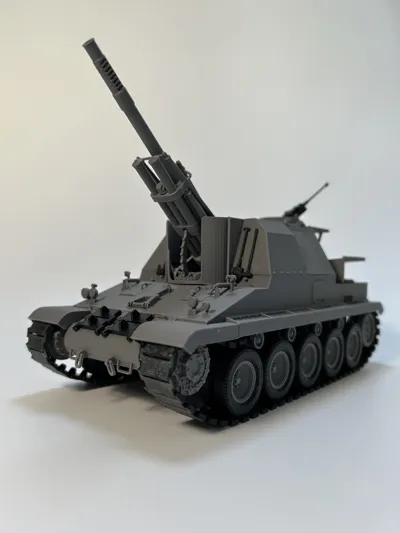
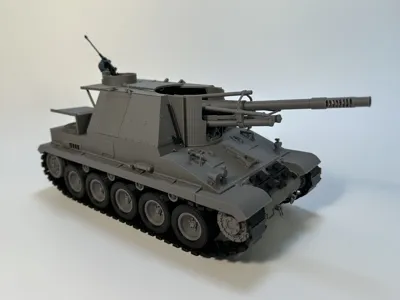
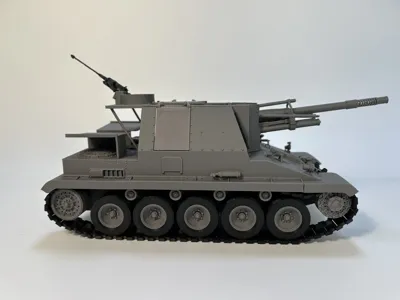
Finished as shown in the figure:


License
You shall not share, sub-license, sell, rent, host, transfer, or distribute in any way the digital or 3D printed versions of this object, nor any other derivative work of this object in its digital or physical format (including - but not limited to - remixes of this object, and hosting on other digital platforms). The objects may not be used without permission in any way whatsoever in which you charge money, or collect fees.
Comment & Rating (8)