Mew Pokéball Holder


Print Profile(3)


Bill of Materials


Description
Boost Me (for free)
Never expected, always appreciated. Thanks for stopping by!
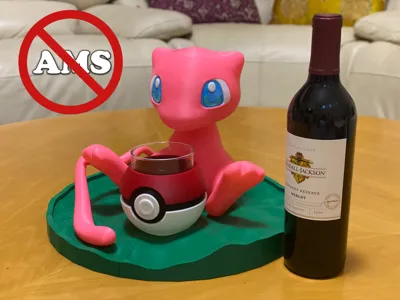
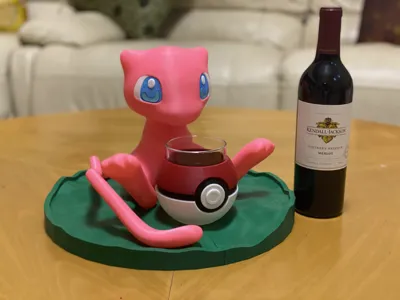
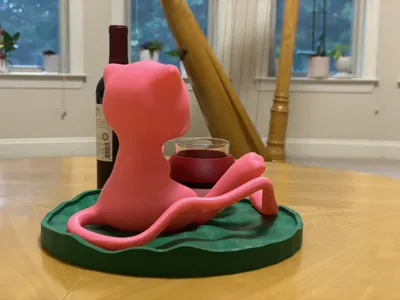
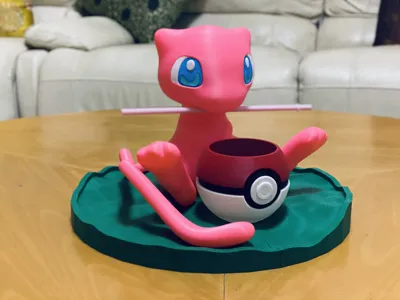
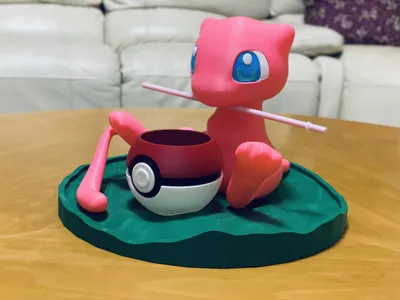
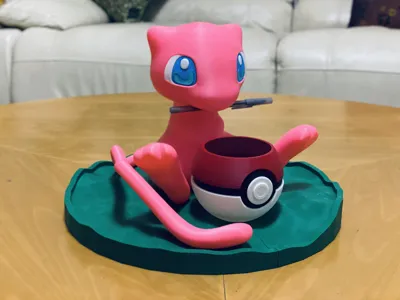
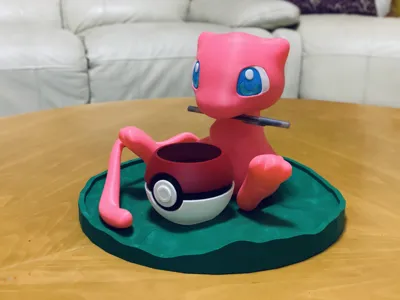
Sitting Mew Display with Pokéball Cup Holder
A cute and functional display featuring Mew perched on a grassy base, with a Pokéball cup holder. Mew's mouth includes a cut slot designed to hold a straw, pen, or else. Mew’s mouth slot is optional. There is a clean no‑cut version, 7 mm slot, and 8 mm slot.
Assembly: (Will require glue for pokéball)
Base Assembly:
Step 1: Place inserts into the base.

Step 2: Connect both base halves. (Make sure the terrain matches up)

Step 3: Join the full base until it locks firmly.

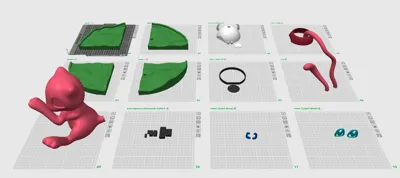
Mew Assembly:
Step 1: Attach the two tail halves to form the full tail.


Step 2: Connect the tail to Mew’s back.

Step 3: Press the eyes into place. Insert the sclera first as it makes it easier. Sanding may be required

Pokéball Assembly: (Glue Required)
(This is my first major model. I’ll make future assemblies easier.)
Step 1: Align the black middle ring on top of the white base, keeping the front flat, then glue it.
Step 2: Align the red top on the black middle, again keeping the front flat, and glue.
Step 3: Glue the white button onto the black circle.
Step 4: Glue the black circle to the front of the Pokéball.

Final Assembly:
Step 1: Place the inserts into the base.

Step 2: Set Mew and the Pokéball onto the base and you’re done!

Model Details:
- Height: 24 cm
- Width: 36 cm
Printing notes:
- Ensure a clean build plate before each print
- Every part is printed in 0.2 mm layer height and 5% gyroid infill
Enjoy! All feedback is welcome.
License
You shall not share, sub-license, sell, rent, host, transfer, or distribute in any way the digital or 3D printed versions of this object, nor any other derivative work of this object in its digital or physical format (including - but not limited to - remixes of this object, and hosting on other digital platforms). The objects may not be used without permission in any way whatsoever in which you charge money, or collect fees.
Comment & Rating (1)