45° Bauer Powered Chamfering Tool OxToolCo Style


Print Profile(1)

Description
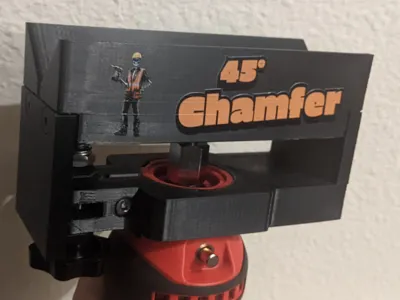
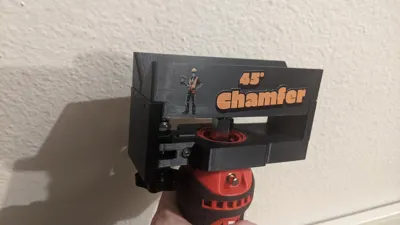
I saw that OxToolCo had made a power chamfering tool in a video so I decided to design a 3D printed version.
You will need:
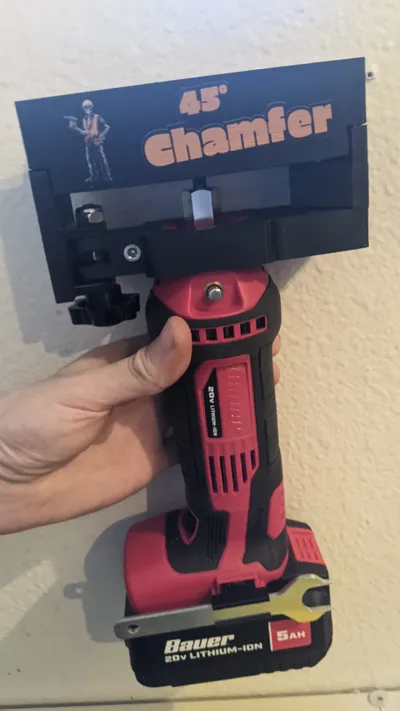
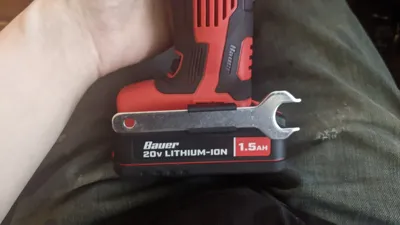
BAUER 20V Cordless Drywall Cut-Out Tool
Model: 21512C-B SKU: 58161
¼" End Mill
4x M5x12mm to 18mm long Flat Head Screws
1x M5 Socket Head Cap Screw that is at least 25mm long
1x M8x40mm Hand Knob
1x M8 Hex Nut
1x M8 Nylon Lock Nut
(Optional) 1x Screw for wrench holder (comes with the tool)
(Optional) 2x 6x2mm magnets to store tool setter
I printed mine in ASA, just from running the tool alone the collet can get pretty warm so I wouldn't use PLA.
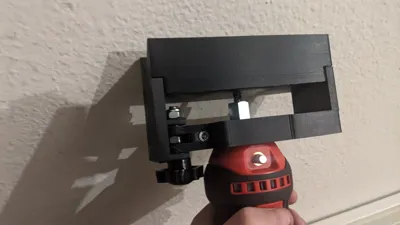
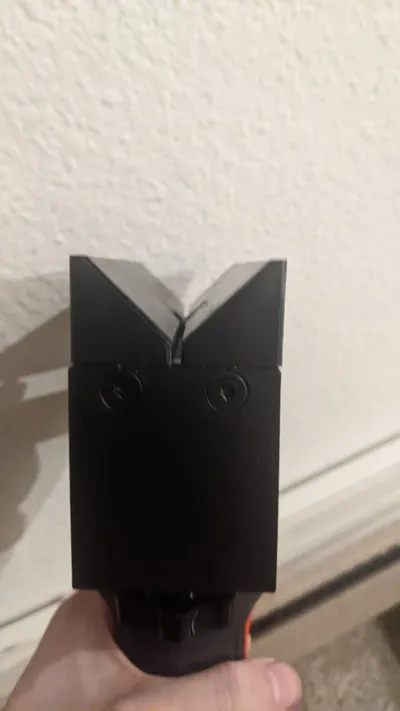
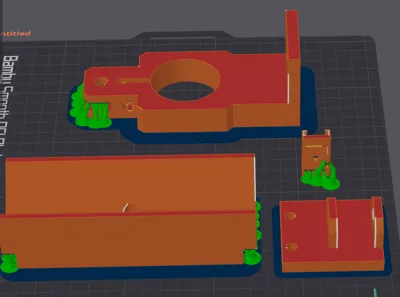
Check the photo to see the print orientation and where supports are needed to print.
I added an optional holder for the collet wrench so you can keep it with the tool (it uses the screw that comes with the belt clip)
As an option you can print out the tool setter and embed a magnet in it and the main body so you can keep it with the tool.
The V Block has a mark showing where the corner edge is located in the relief cutout.
Here's how I install it and set the depth:
Make sure the knob is tightened all the way down to set it in the lowest position,
Put a 3 Flute ¼" carbide end mill in the collet loosely,
Use the tool upside down with the tool_setter block to set the depth
Tighten the collet so your lowest position is set.
Comment & Rating (0)