
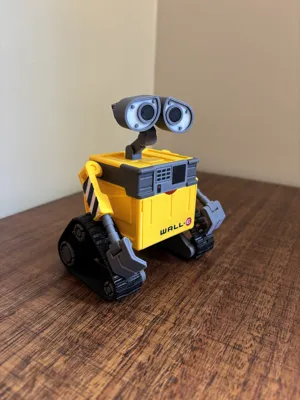
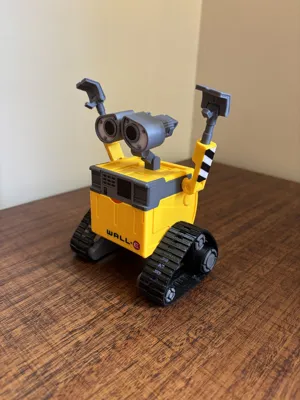
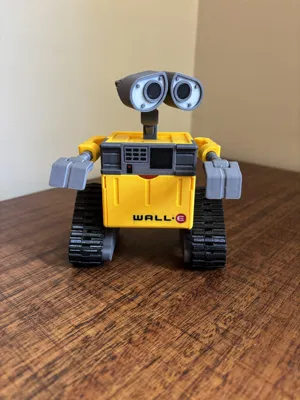
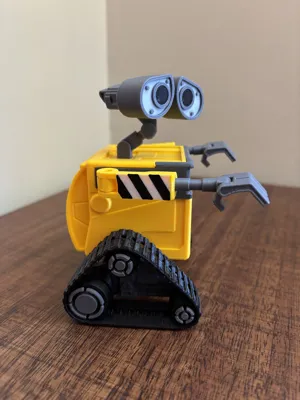
WALL-E Robot - Articulated
Print Profile(1)
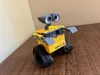
Description
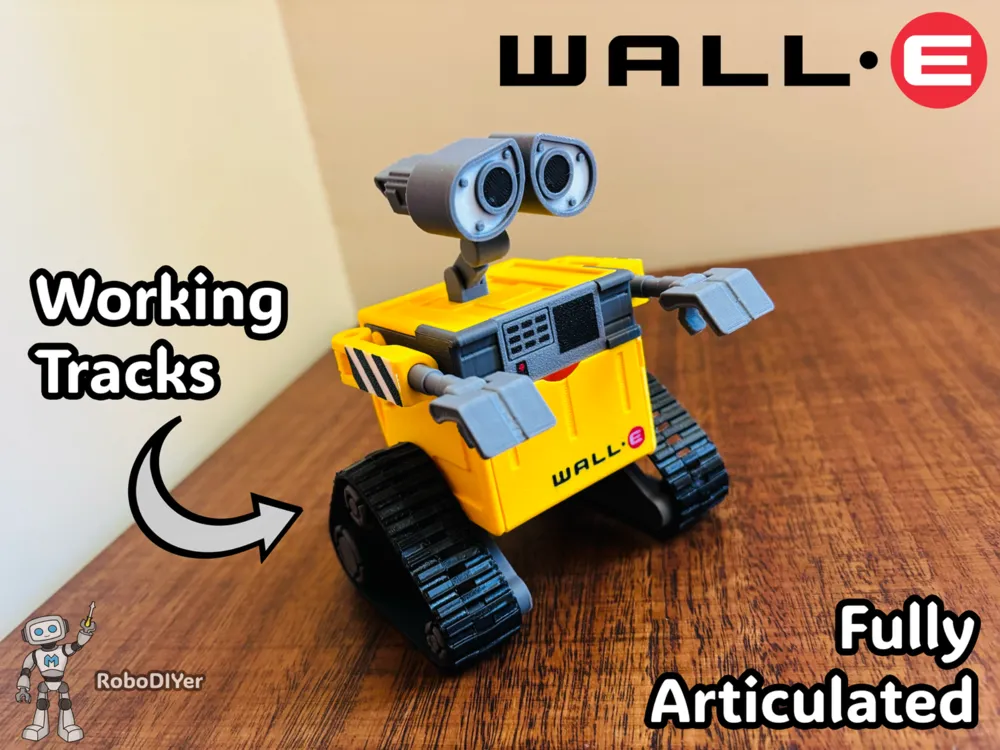
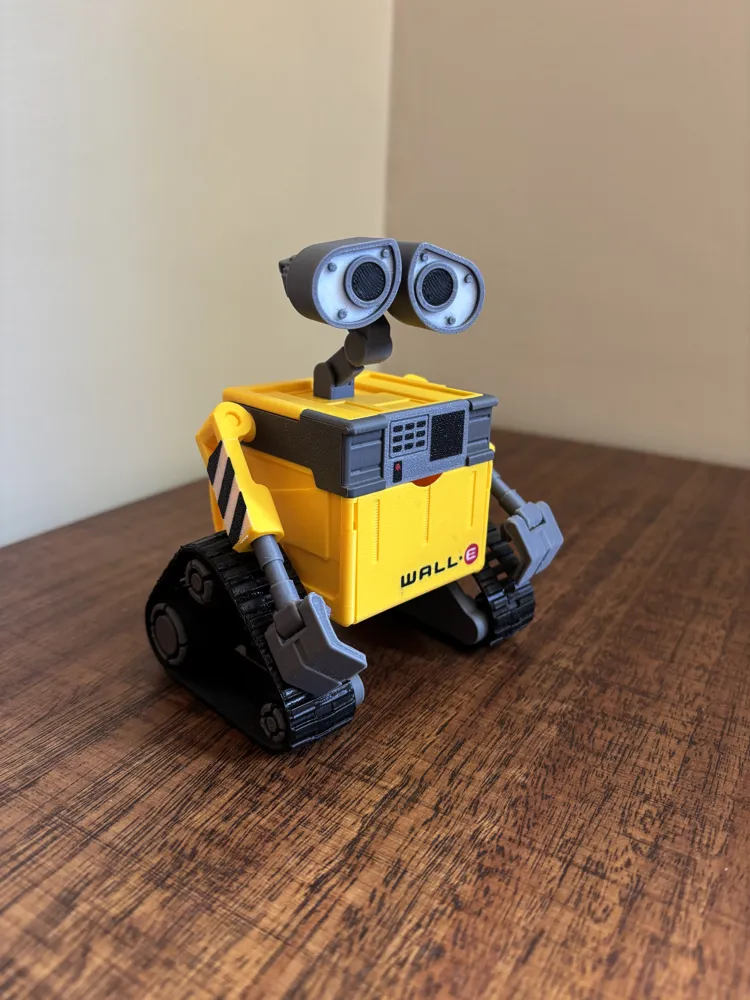
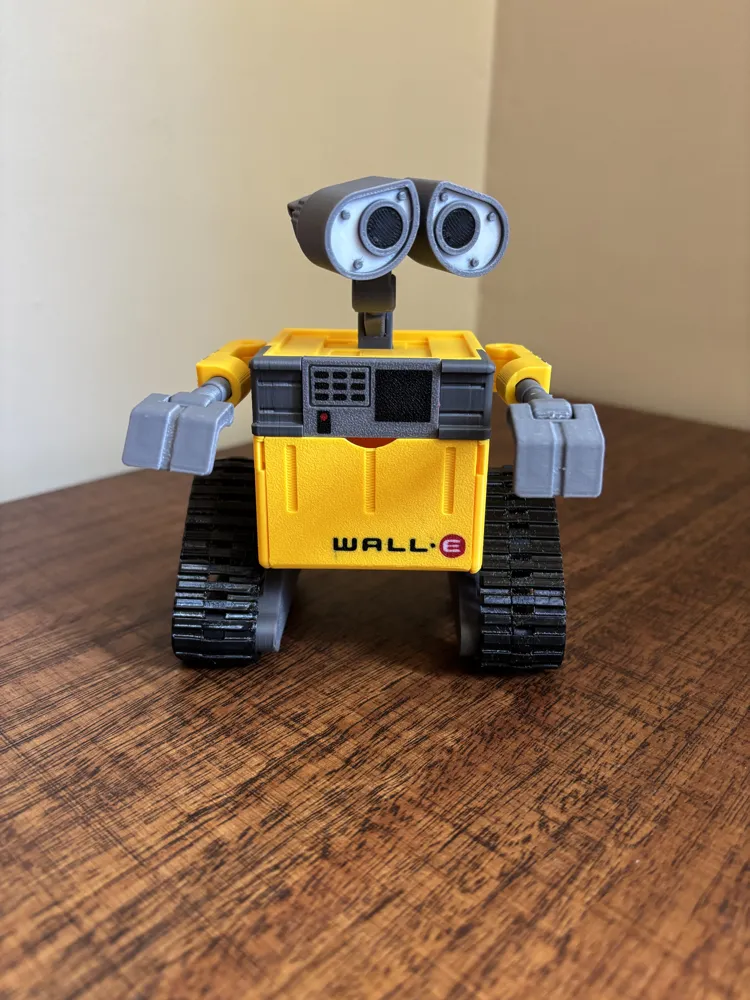
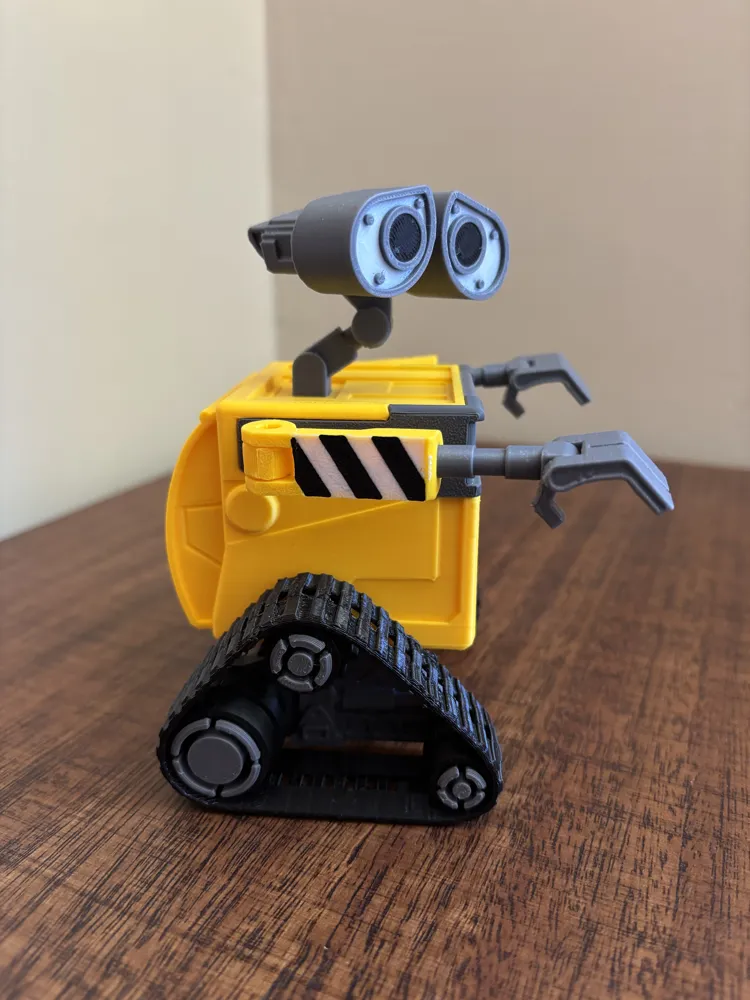
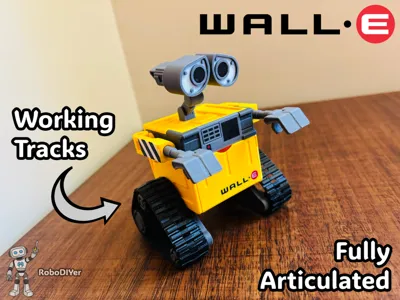
Fully articulated WALL-E robot featuring a functional tracked drive system, interactive moving parts, and an easy-to-assemble multipart design for creative play!
Cool Features:
- Functional tracked drive system for smooth movement and interactive play.
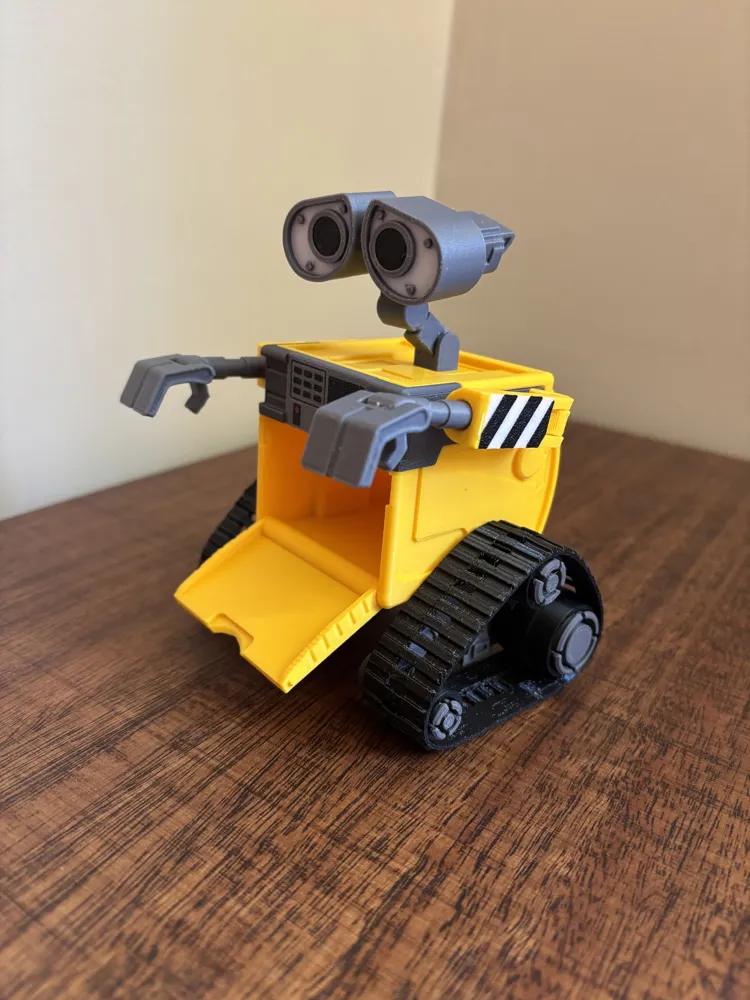
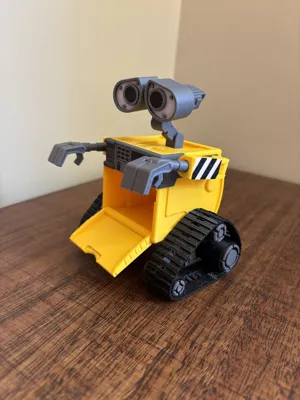
- Opening front compartment with spacious internal storage for small objects.
- Multipart design with easy and intuitive assembly, no screws or additional hardware required.
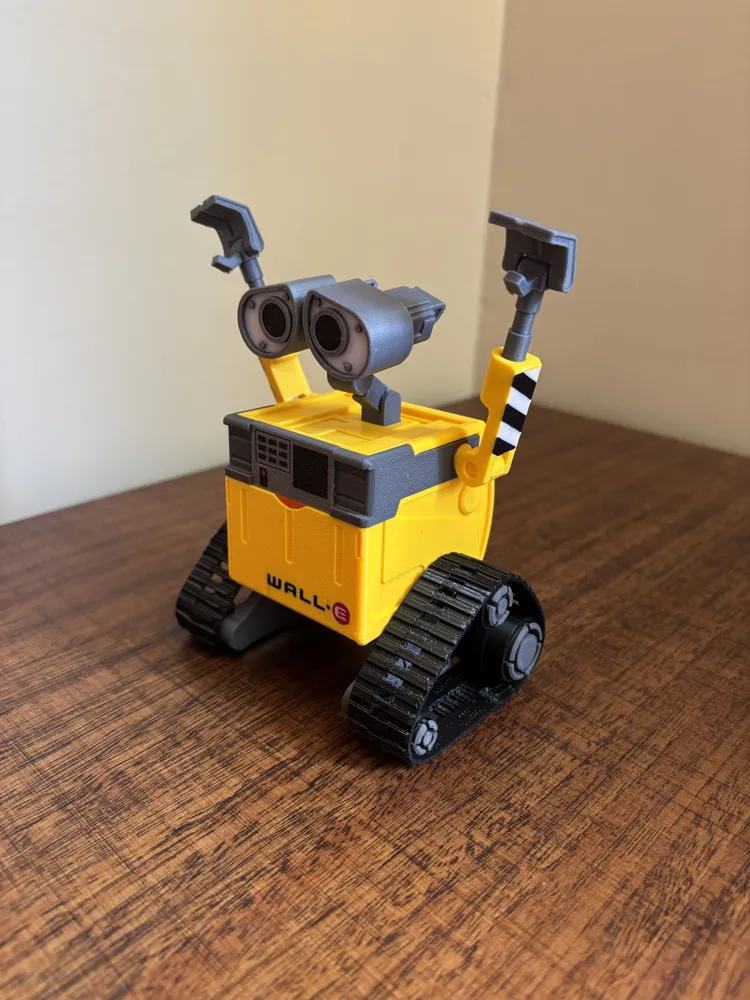
- Fully poseable design with multiple articulation points across the entire body.
Boost Me (for free)
If you like this model, a Boost is always appreciated. Thanks a lot for your support!
⚠️ Important:
- If you are not using my print profile and are slicing the parts yourself, please note that the body part must be printed together with the front cover as a print-in-place assembly. The arm parts must also be printed together with the shoulder joint parts as print-in-place assemblies. The same applies to the forearm and gripper parts. All remaining parts should be printed separately.
- The tracks must be printed in TPU filament. TPU 95A works well, but other flexible TPU filaments should also work properly.
Assembly Instructions:
Carefully bend the front cover forward and backward to loosen it from the body part.
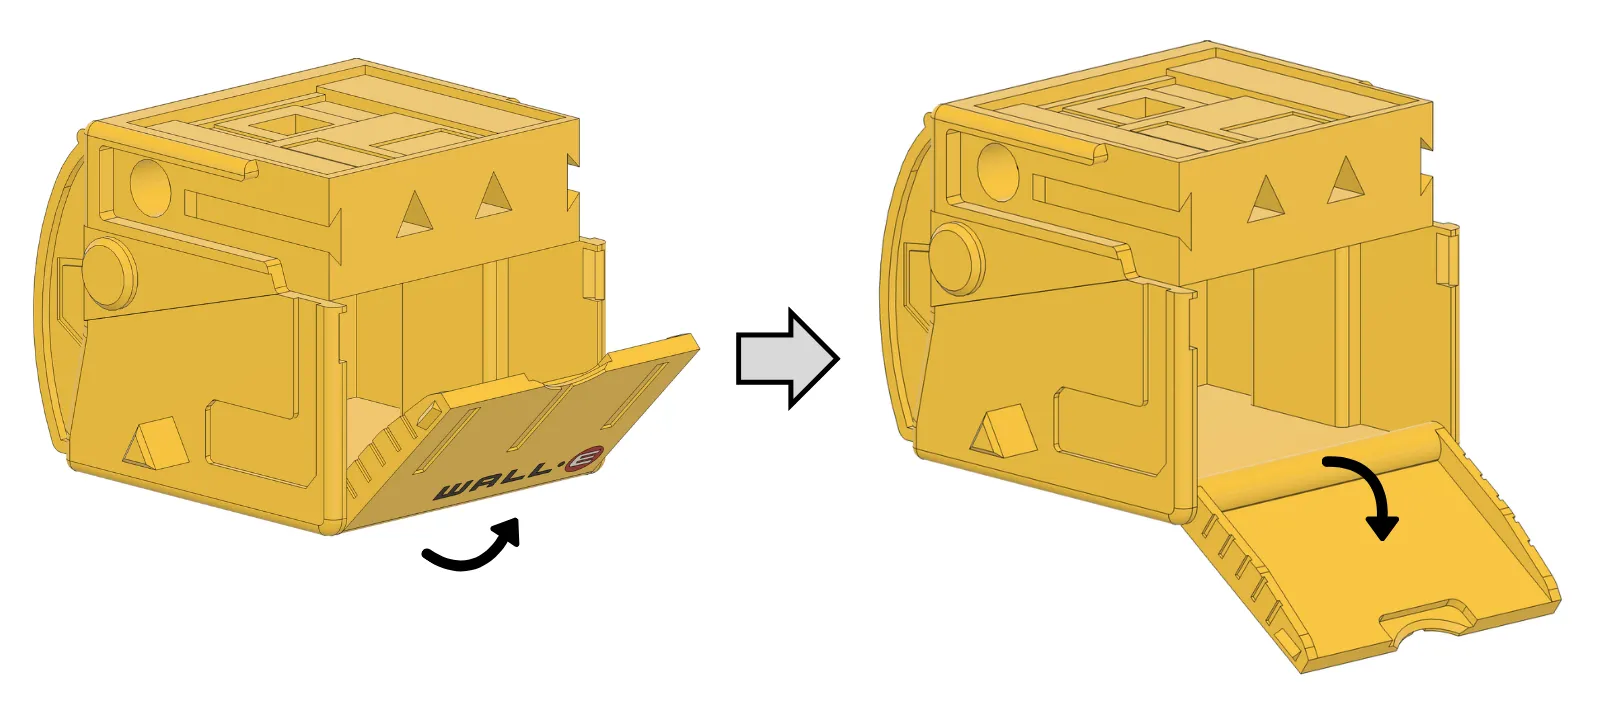
Close the front cover by applying slight pressure.
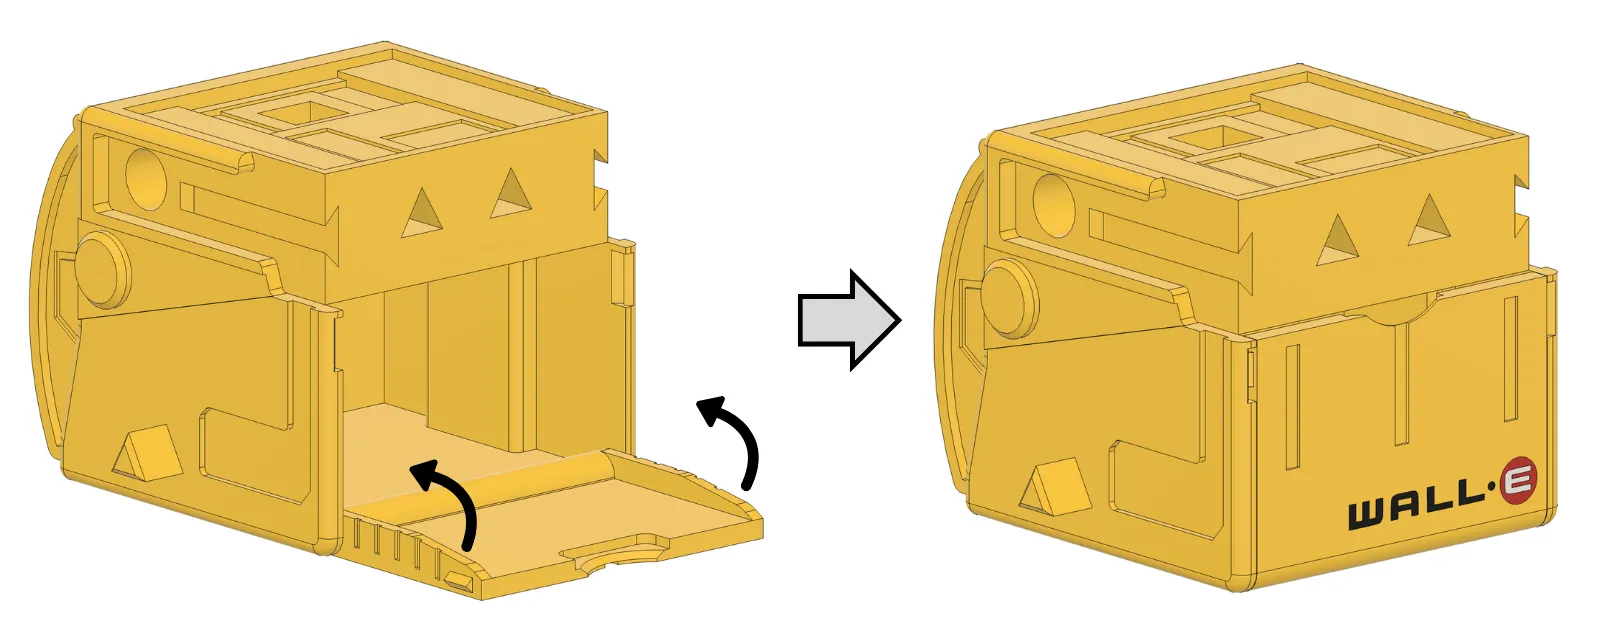
Insert the internal tabs of the top covers into the slots on the top side of the body while applying slight pressure.
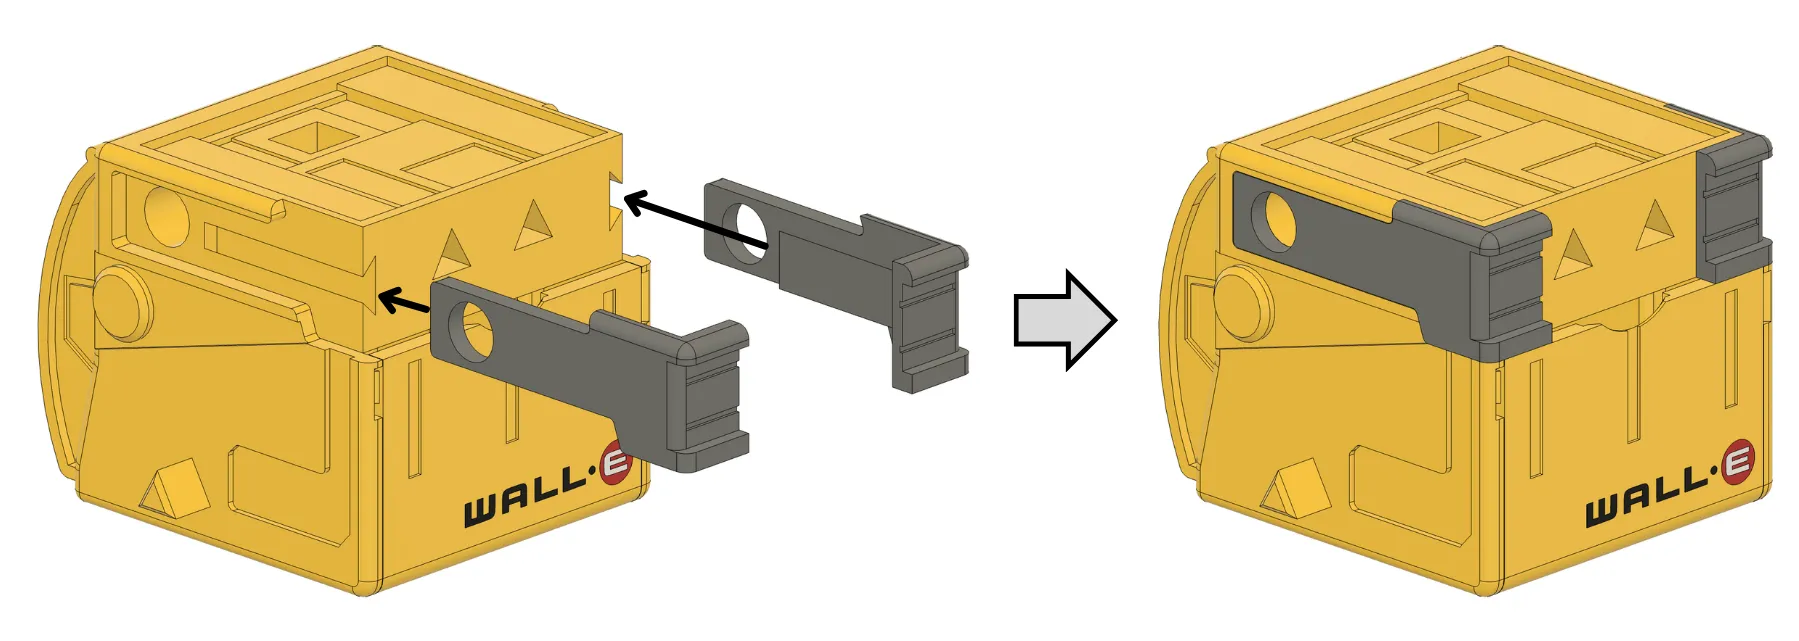
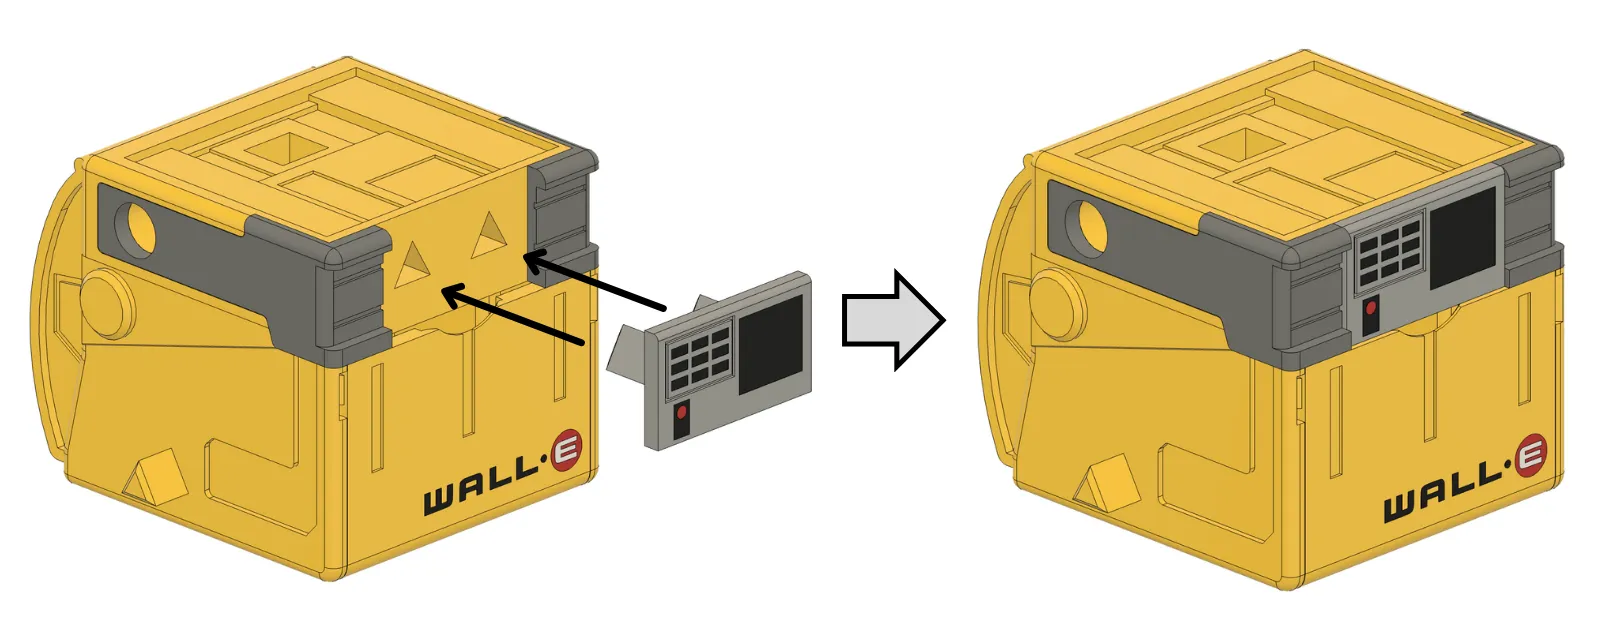
Insert the rear tabs of the panel into the front holes of the body part while applying slight pressure.
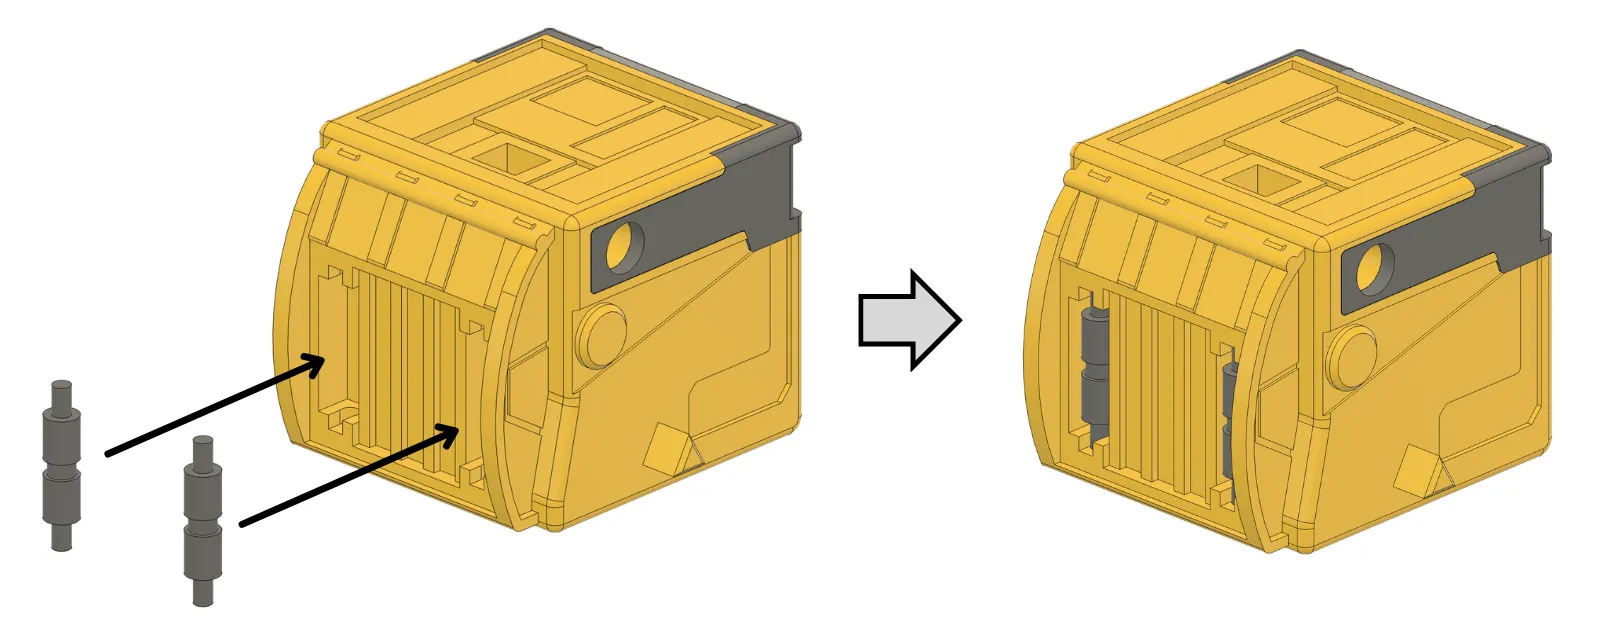
Insert the rear pistons into the slots on the back side of the body while applying slight pressure.
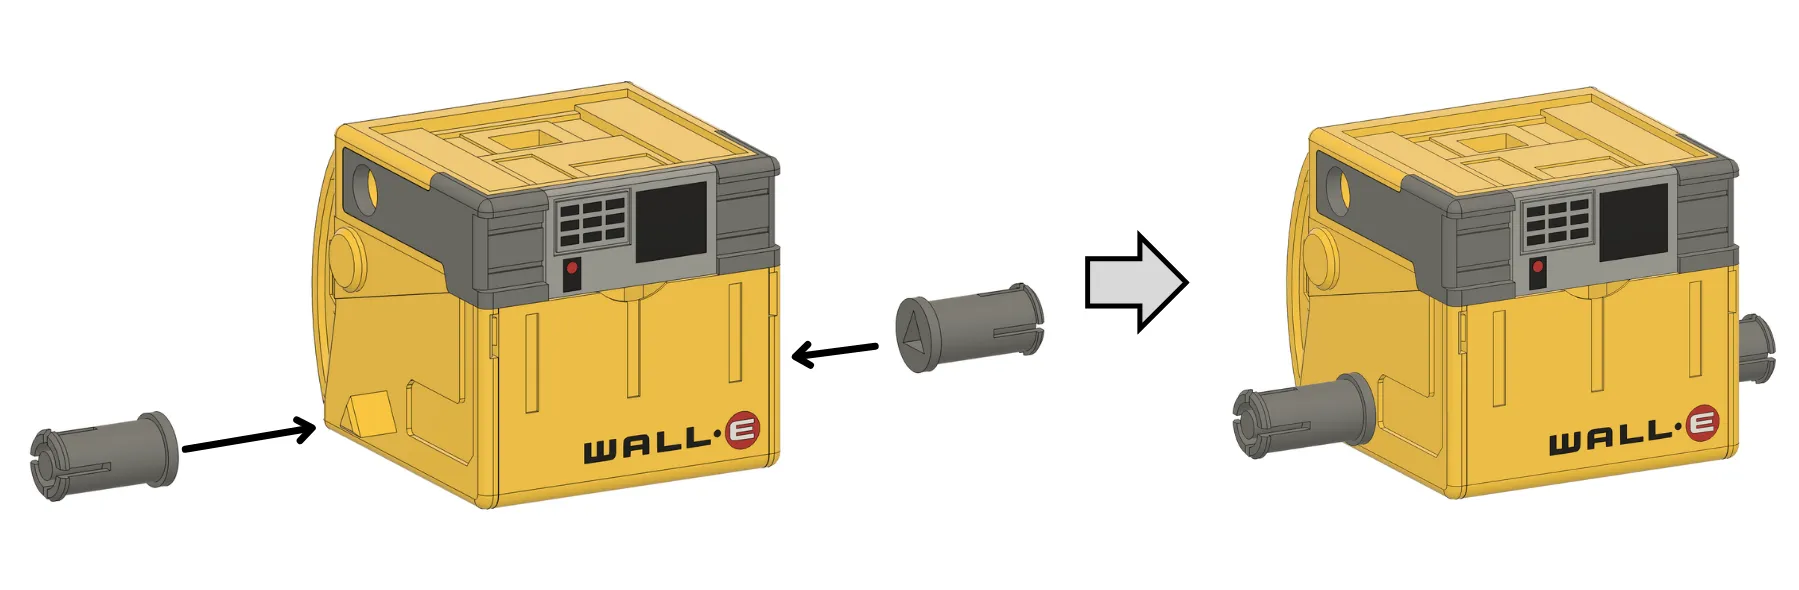
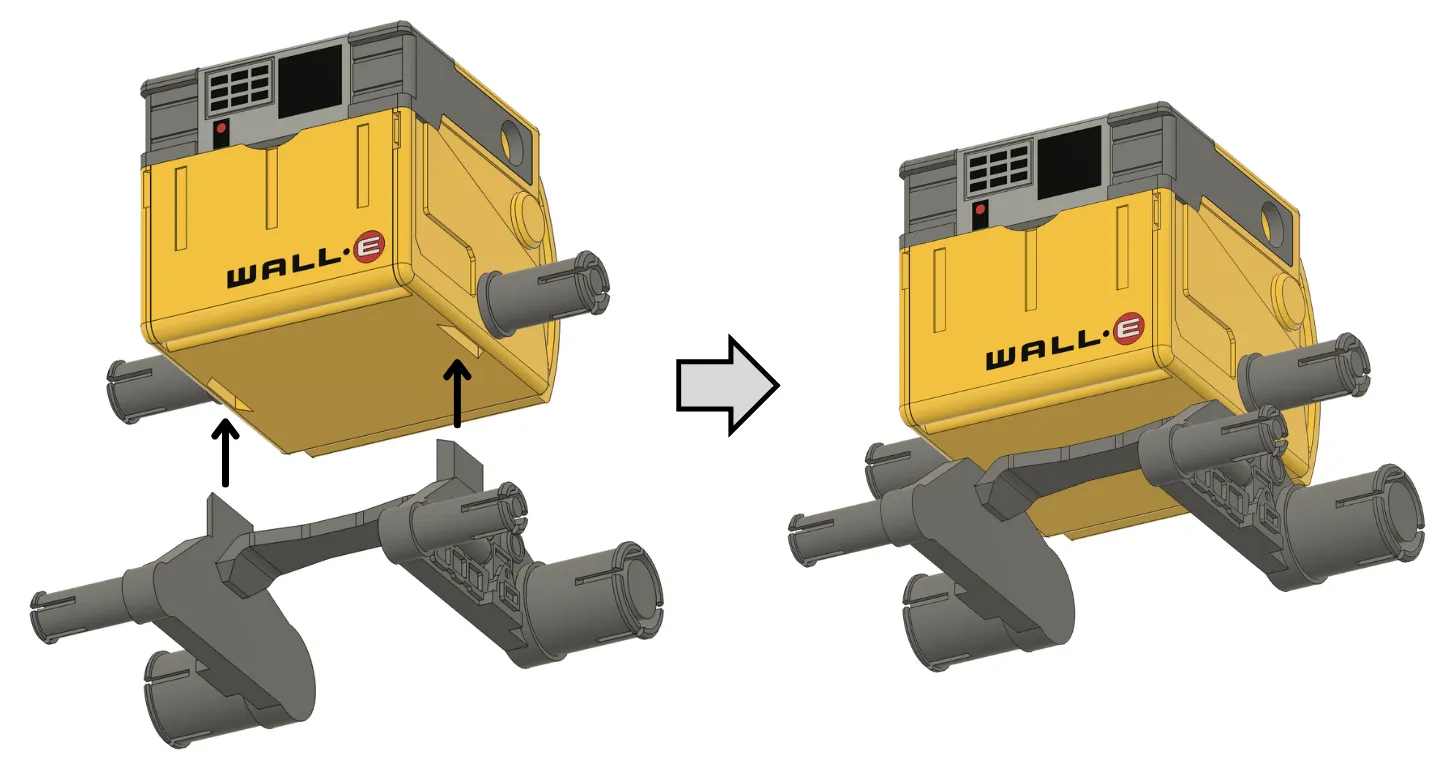
Insert the bottom holes of the drive mounts onto the side tabs of the body.
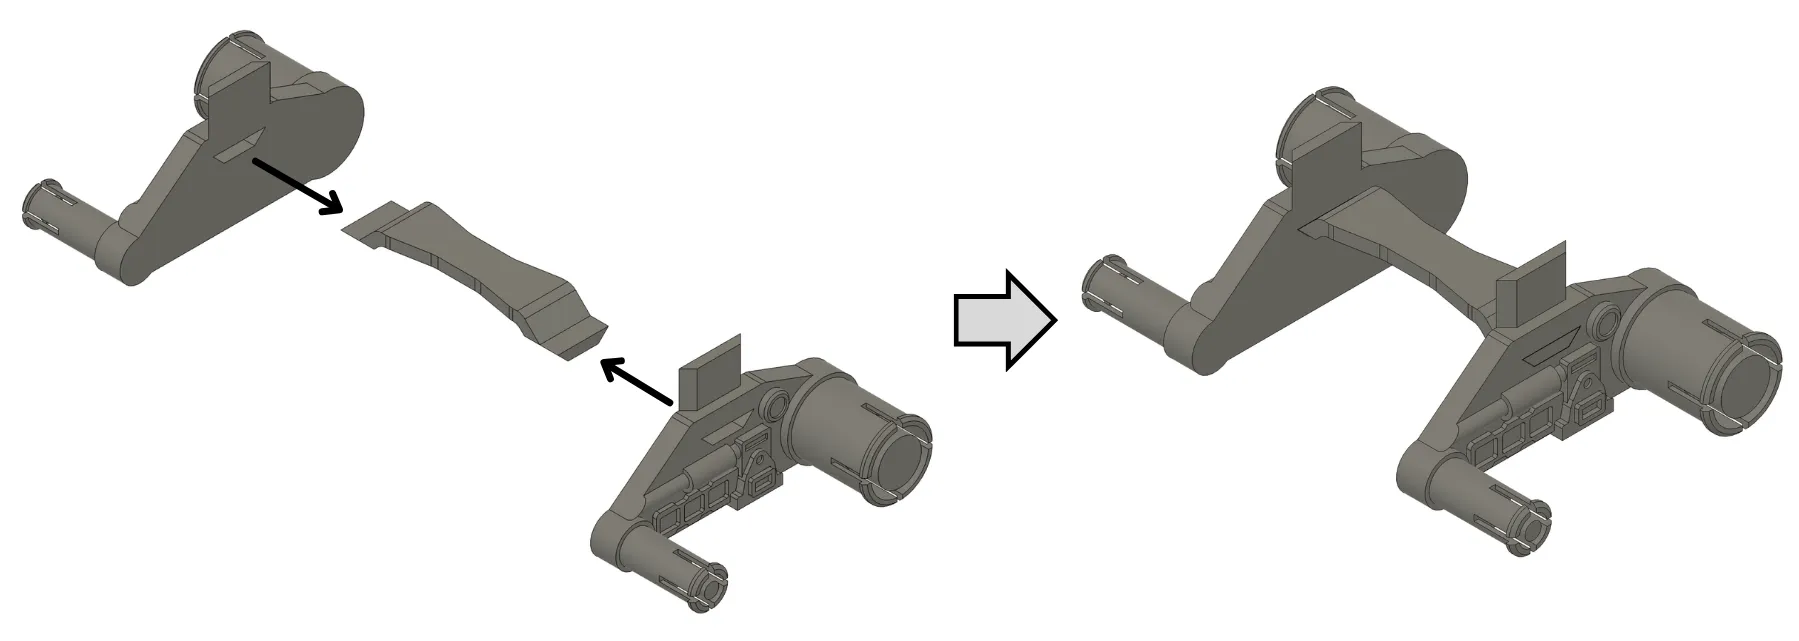
Insert the tabs of the bottom track support into the holes of the track frames while applying slight pressure.
Insert the top tabs of the track frames into the bottom holes of the body while applying slight pressure.
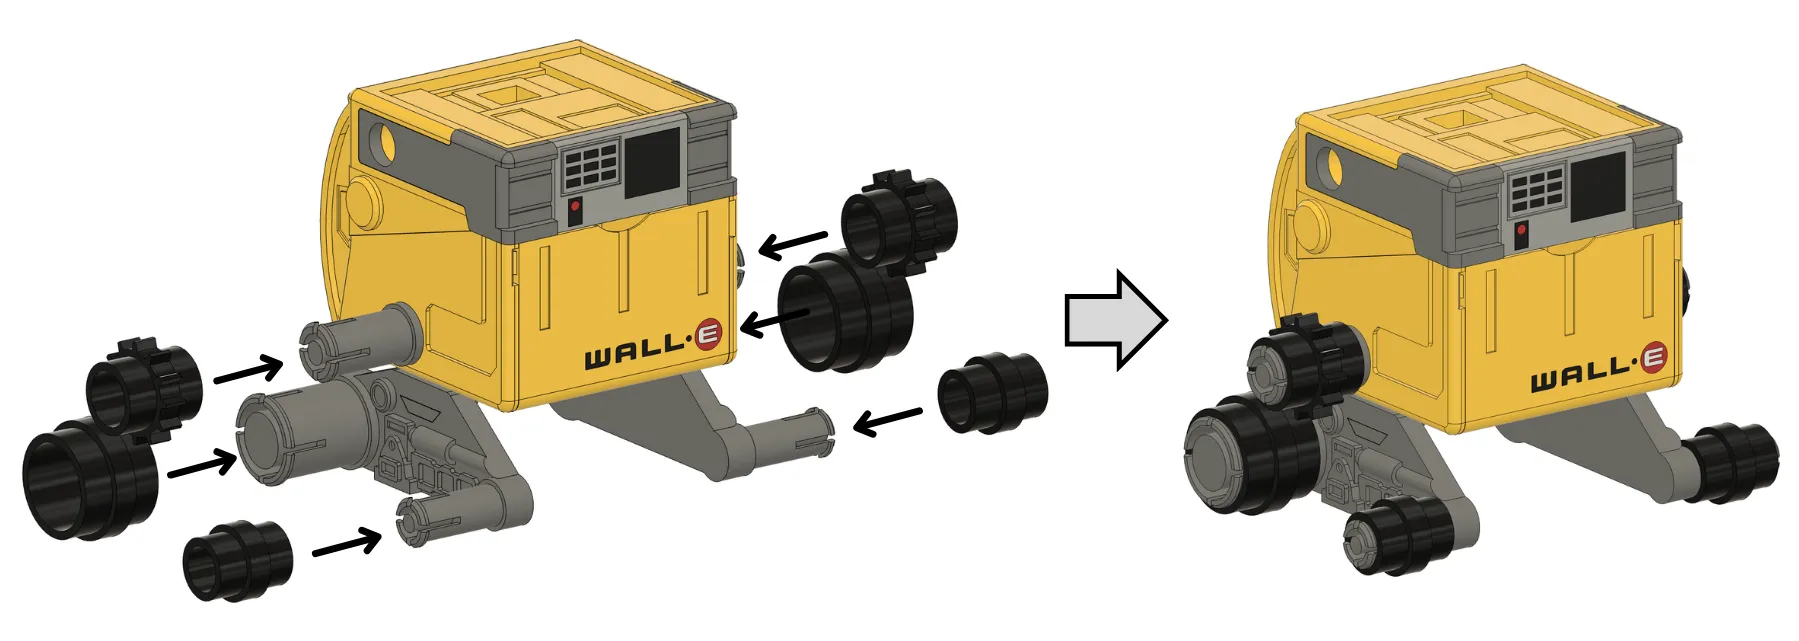
Insert the two lower wheels into the corresponding tabs on the bottom side of each track frame, and insert the geared wheel into the upper tab of each drive mount while applying slight pressure.
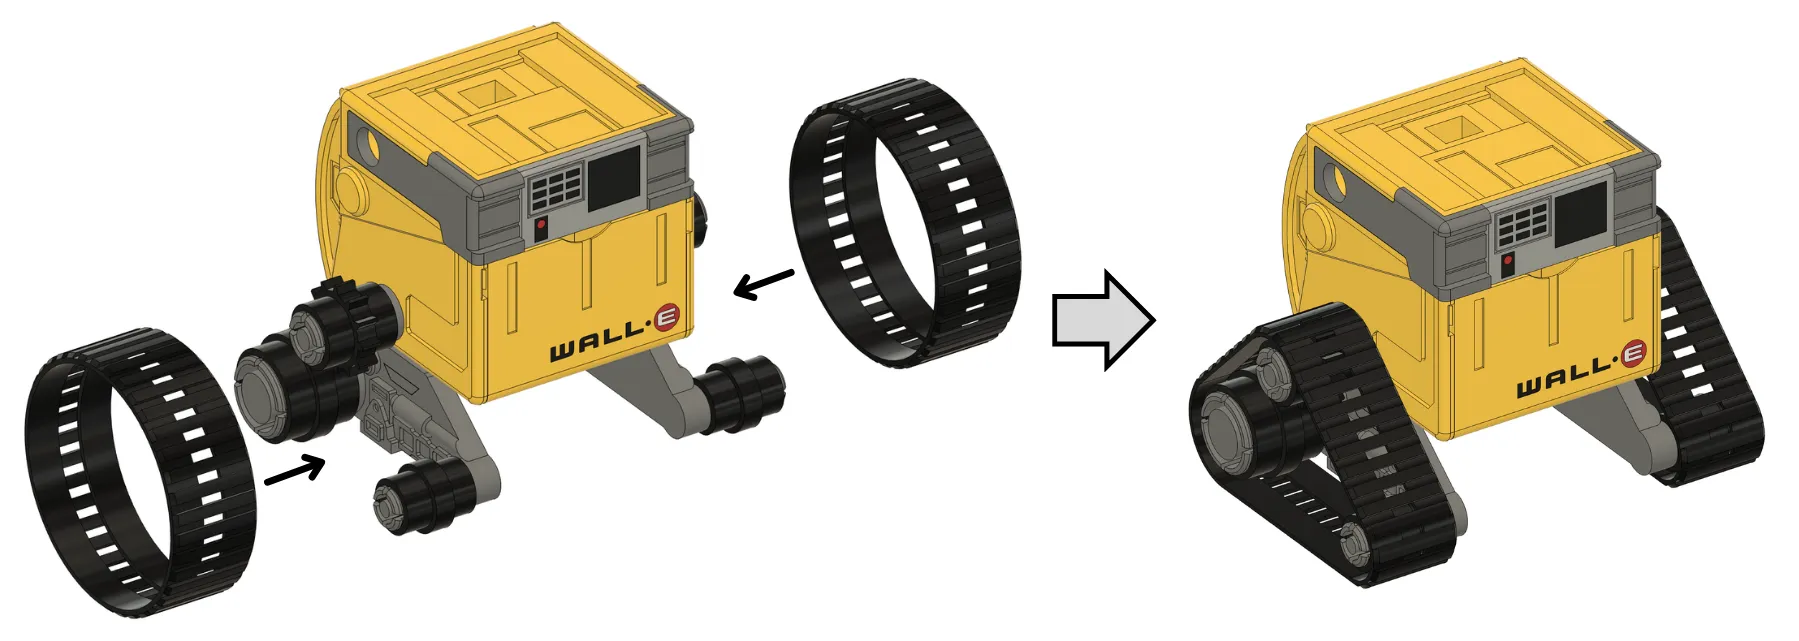
Place the tracks around the wheels on each side, aligning the teeth of the upper geared wheel with the internal grooves of each track first.
⚠️ Important: Make sure the internal grooves of the track align perfectly with the teeth of the geared wheel.
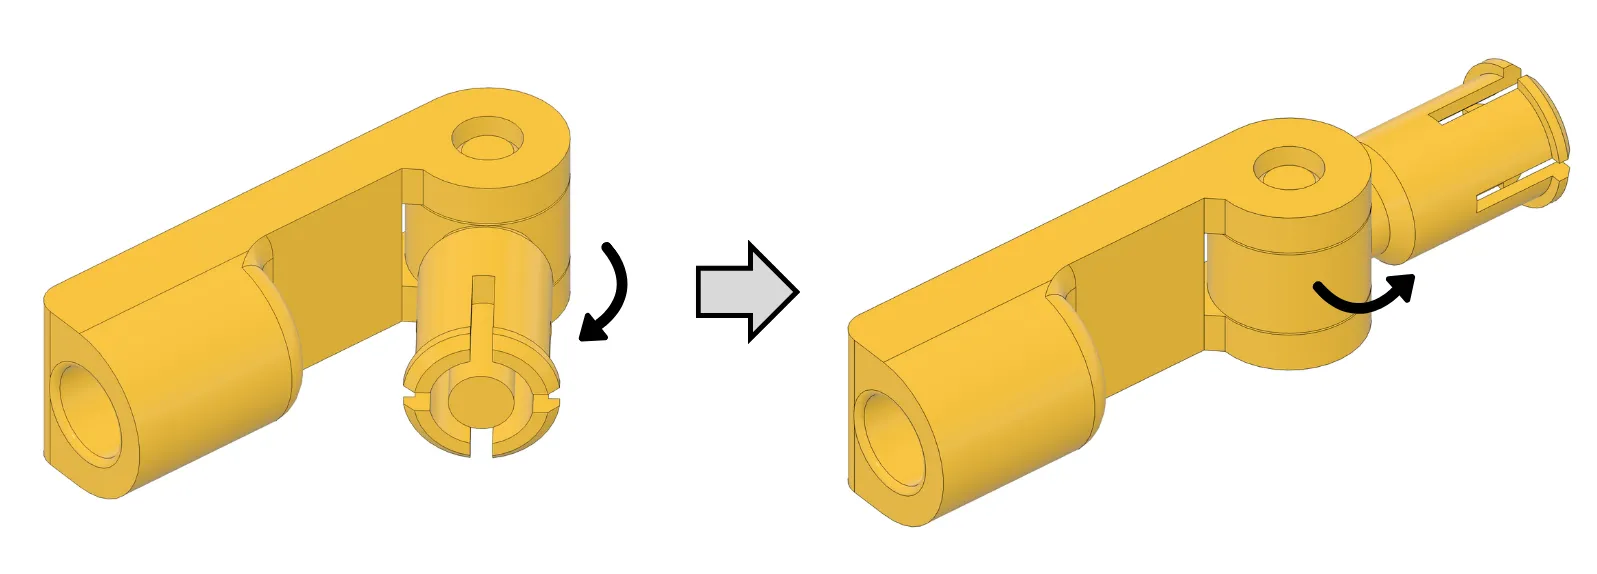
Firmly hold the arm and carefully bend the joint piece inward and outward to loosen it from the arm part.
⚠️ Important: Do not apply excessive force, as the part may break.
Bend the gripper piece forward and backward to loosen it from the forearm part.
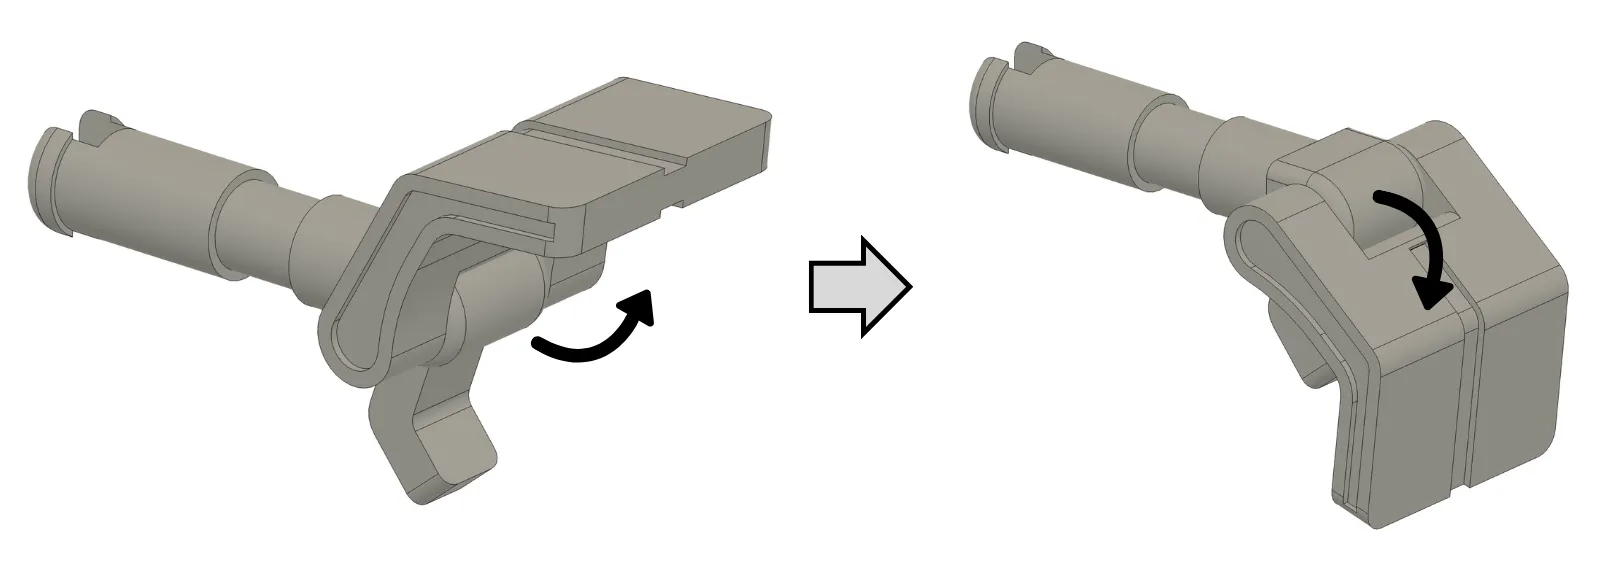
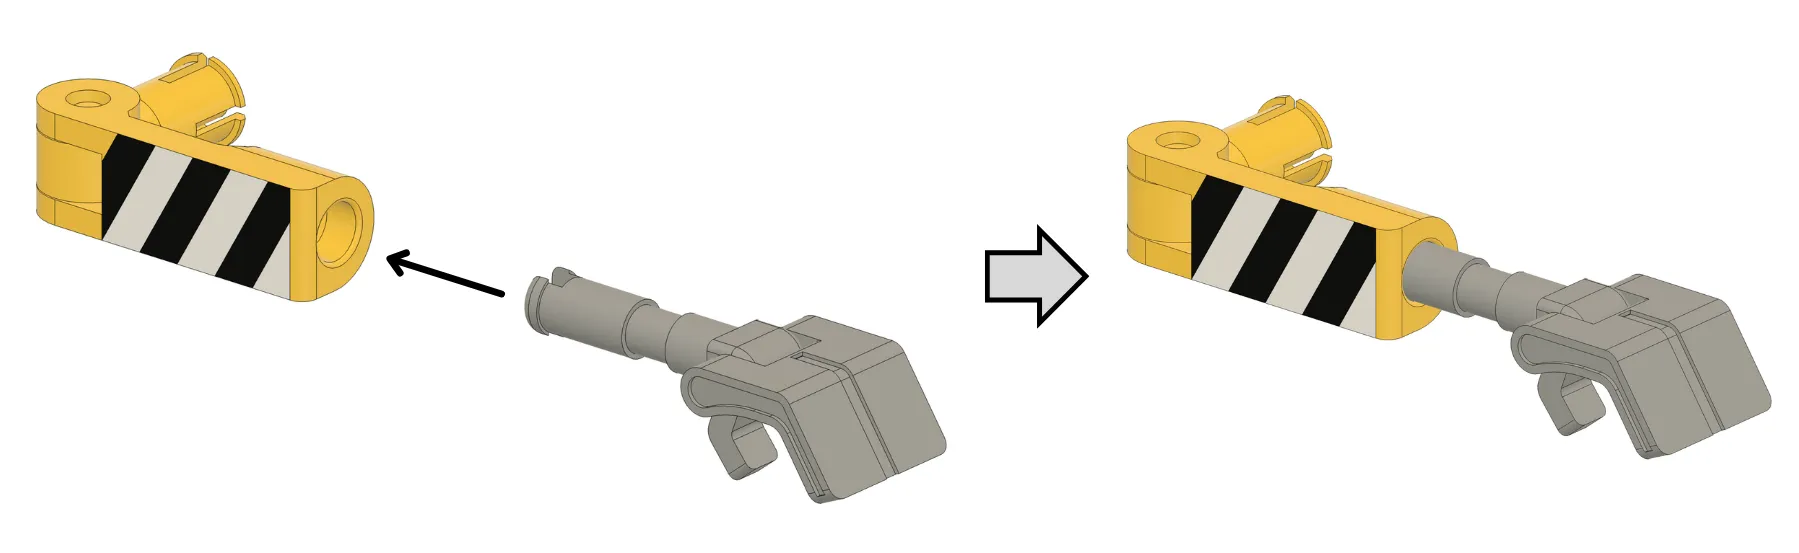
Insert the tab of the forearm part into the bottom hole of the arm part while applying slight pressure.
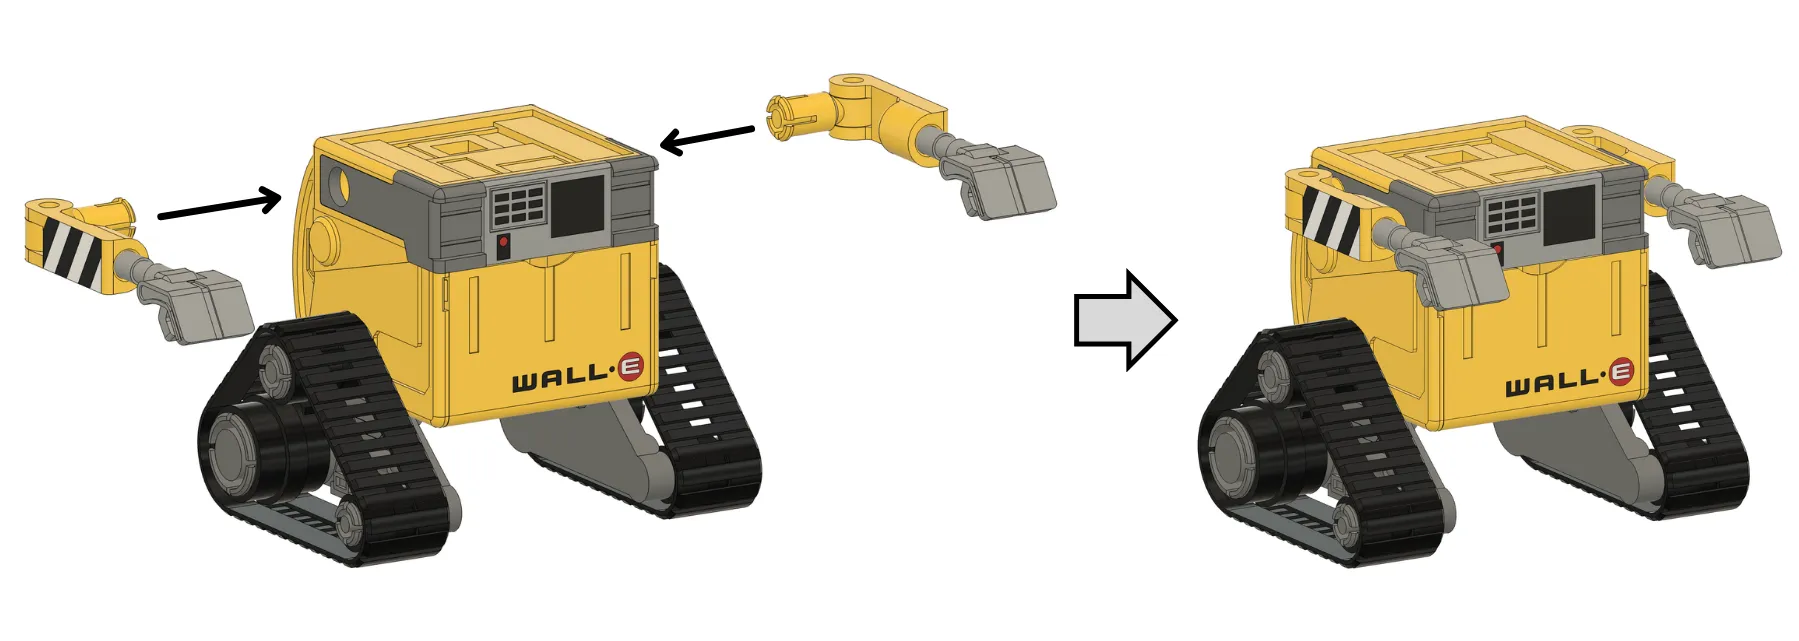
Insert the top tabs of the arms into the upper side holes of the body while applying slight pressure.
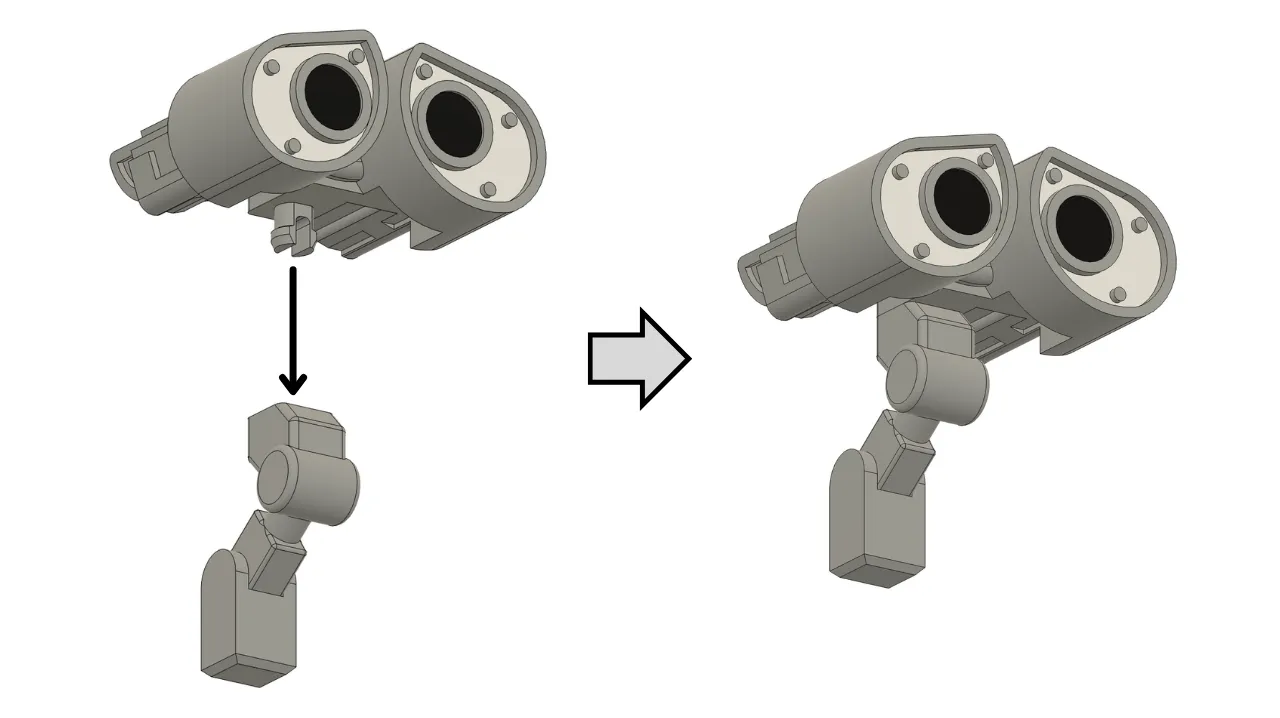
Insert the bottom tab of the head into the top hole of the neck while applying slight pressure.
Insert the bottom tab of the neck into the top hole of the body while applying slight pressure.
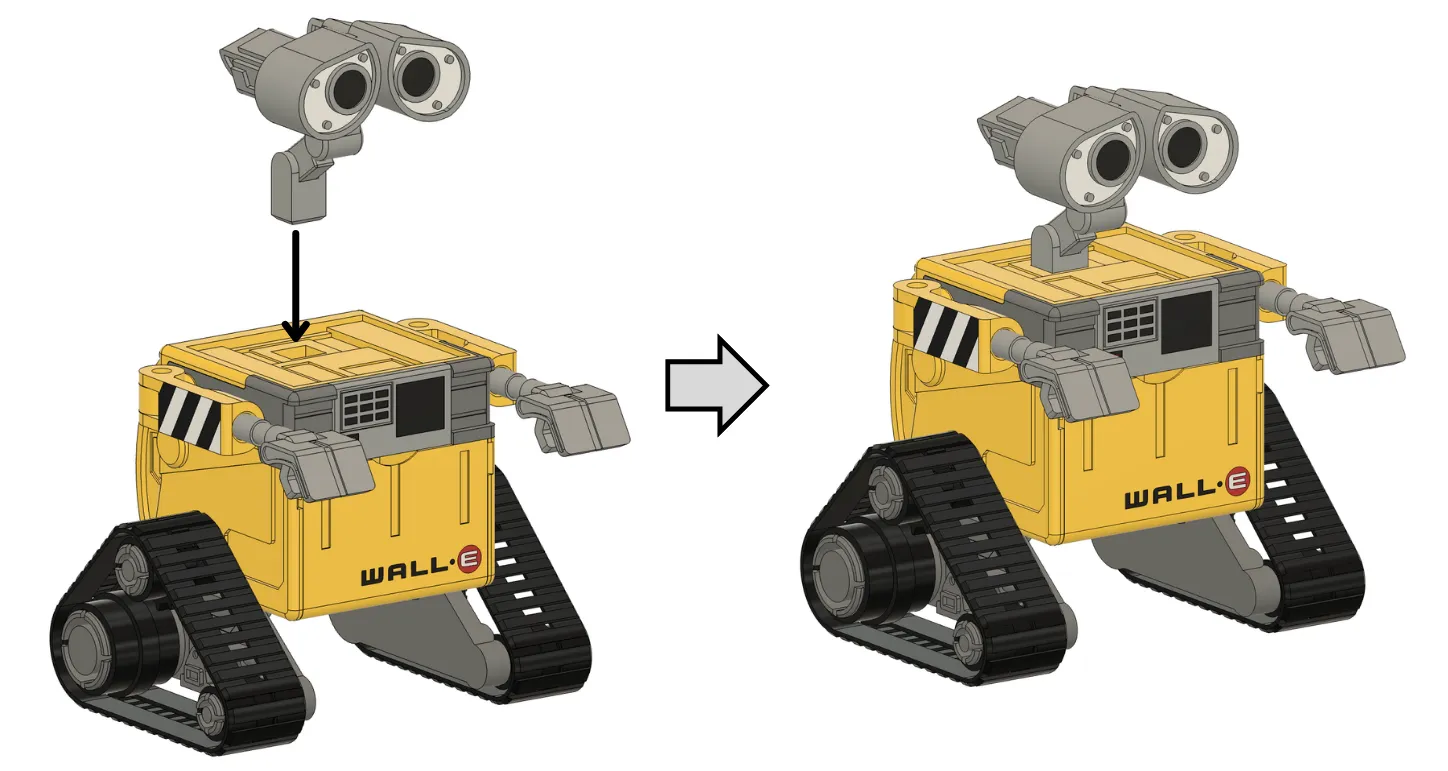

Check that the tracked mechanism rolls smoothly, and make sure the arm joints, head, and front cover move correctly… now it’s time to have fun!!
License

You shall not share, sub-license, sell, rent, host, transfer, or distribute in any way the digital or 3D printed versions of this object, nor any other derivative work of this object in its digital or physical format (including - but not limited to - remixes of this object, and hosting on other digital platforms). The objects may not be used without permission in any way whatsoever in which you charge money, or collect fees.


Comment & Rating (102)