
Snapmaker U1 Temperature-Controlled Heater
Print Profile(1)
Bill of Materials
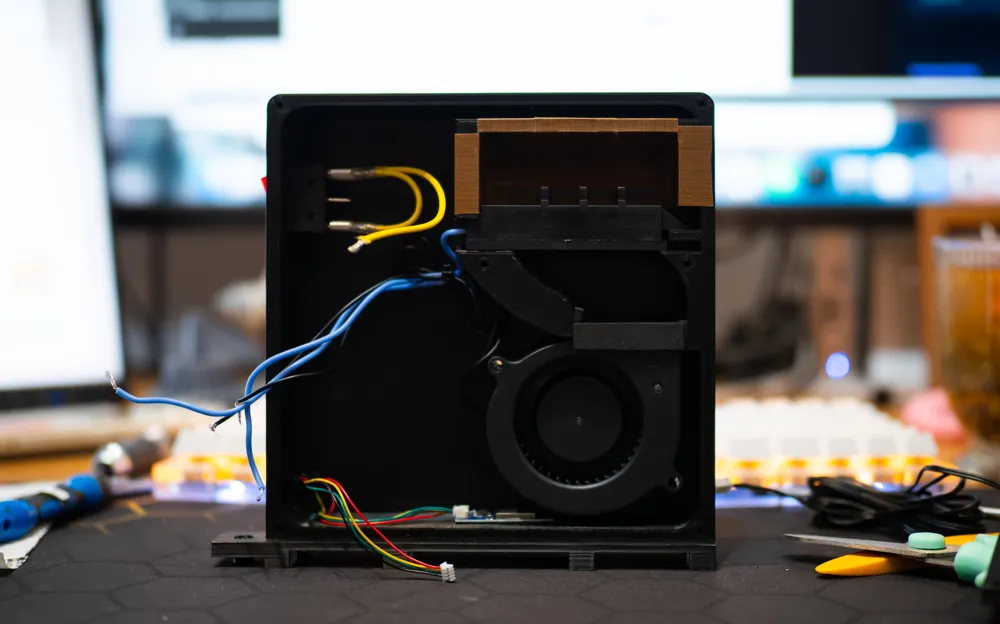
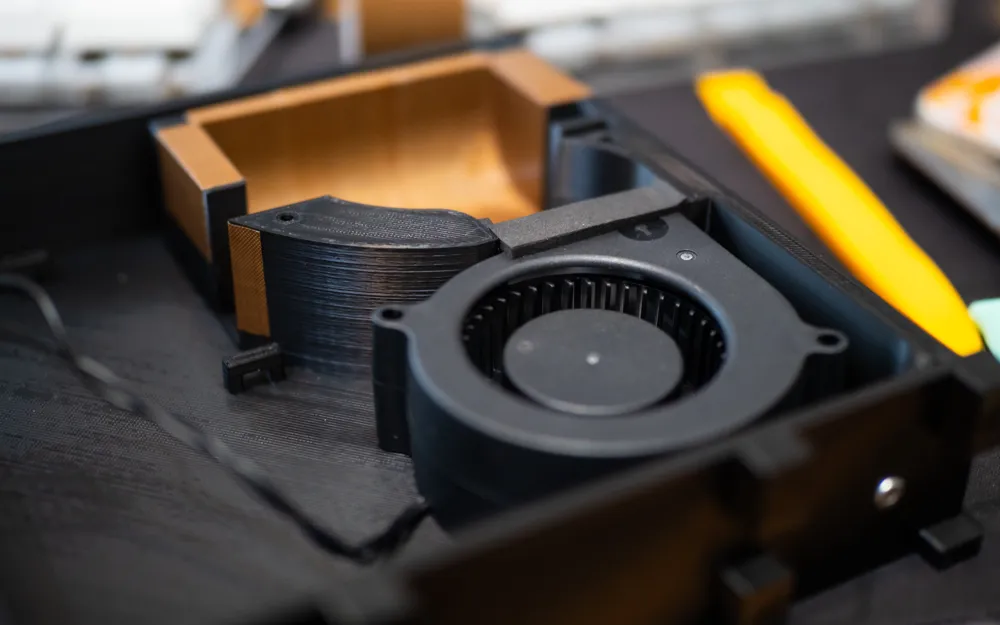
- 7530 EC Blower Fan x 1: 220V/110V EC/AC blower fan
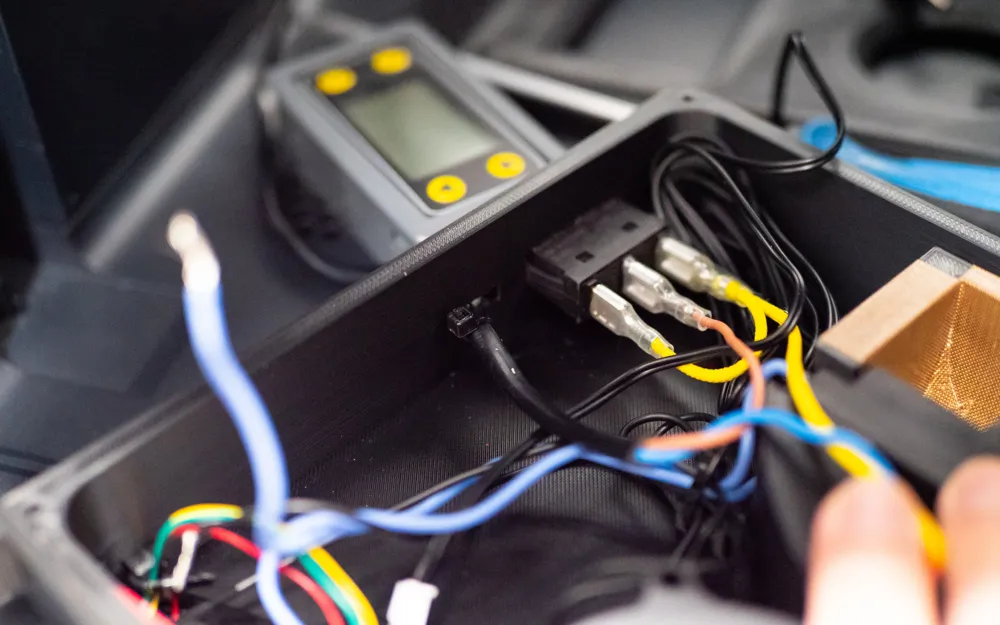
- Temperature Controller x 1: XY-SA10-W Temperature Controller with WiFi Module, avaliable on Amazon
- M3 * 40 Screw x 2: For EC Fan Mounting, button head
- M3 * 12 Screw x 2: Countersunk
- M3 * 10 Screw x 4: Countersunk
- Rocker Switch x 1: Mounting: 28.5*10.5mm, 20Amps, 2 Position
- 100W/150W PTC Heater x 1: 110V/220V, 92×31×25 mm dimension, avaliable on Amazon
Description
🔥 Snapmaker U1 Temperature-Controlled Heater
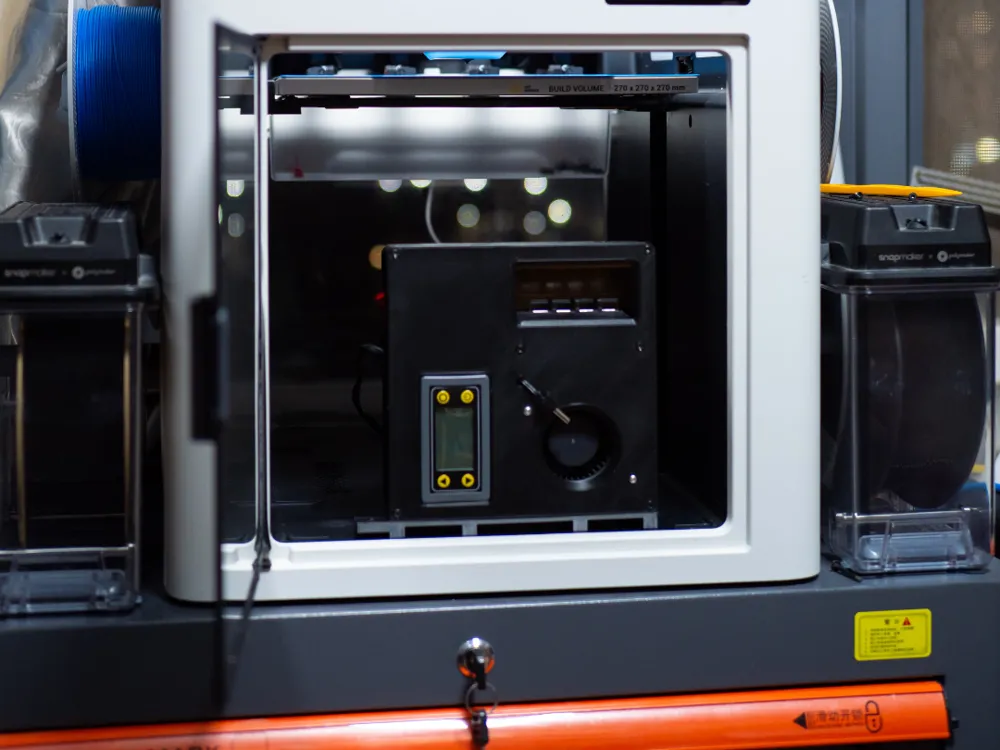
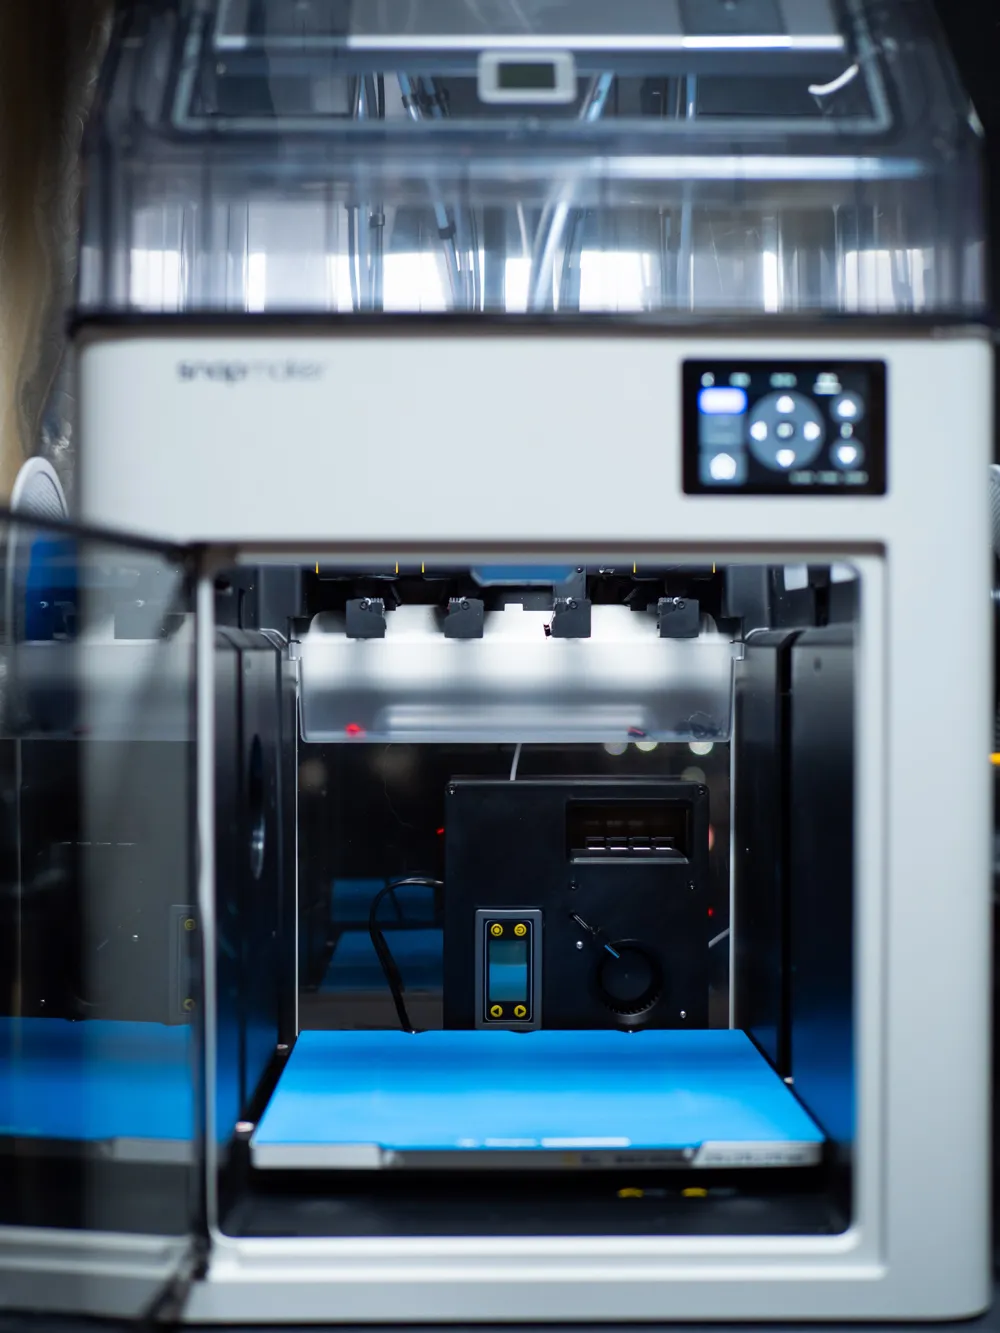
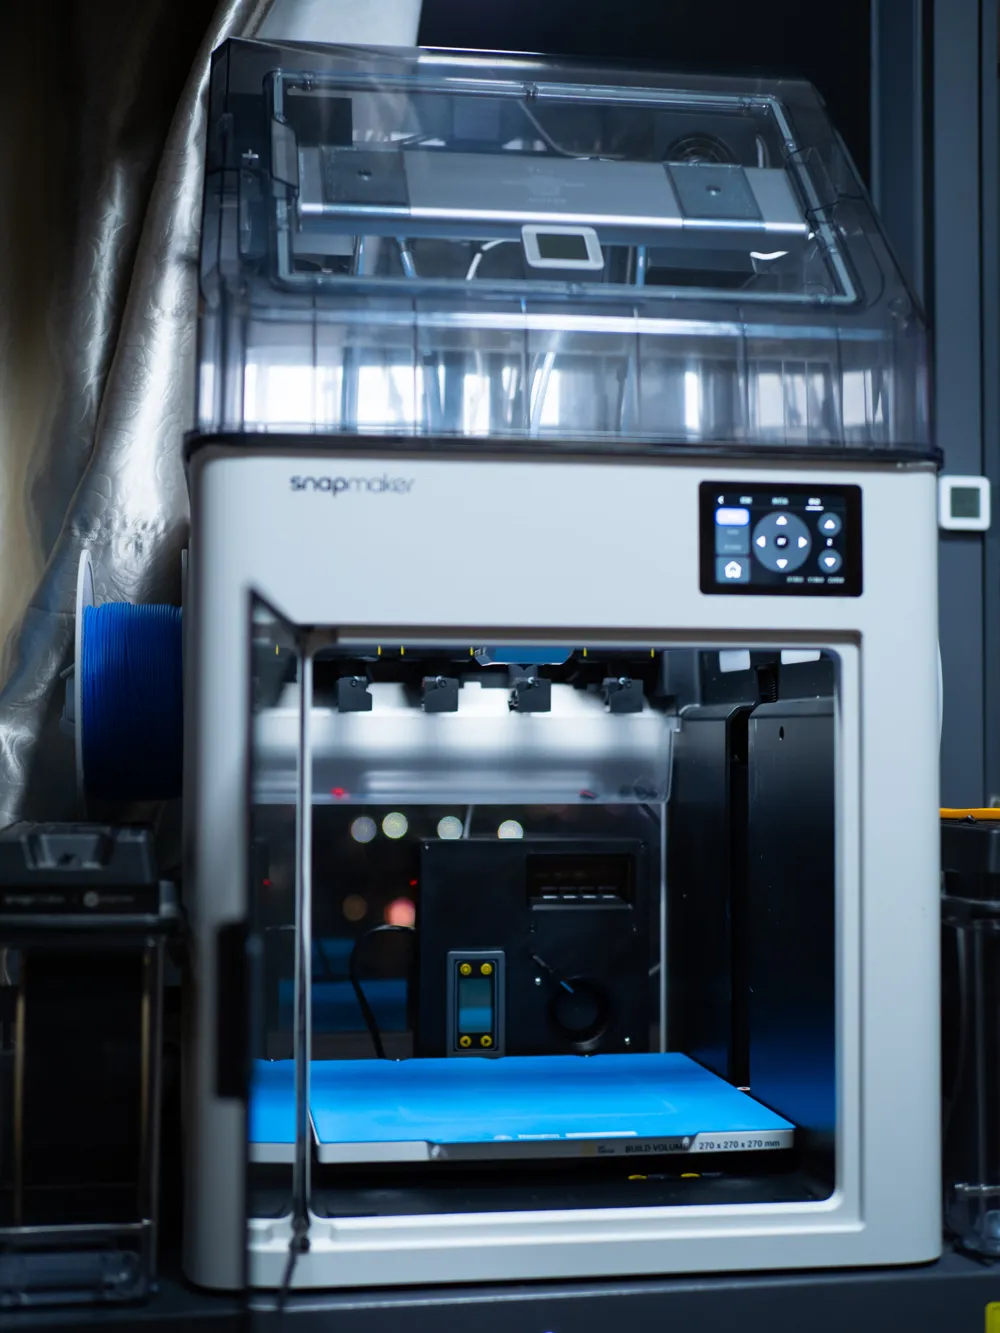
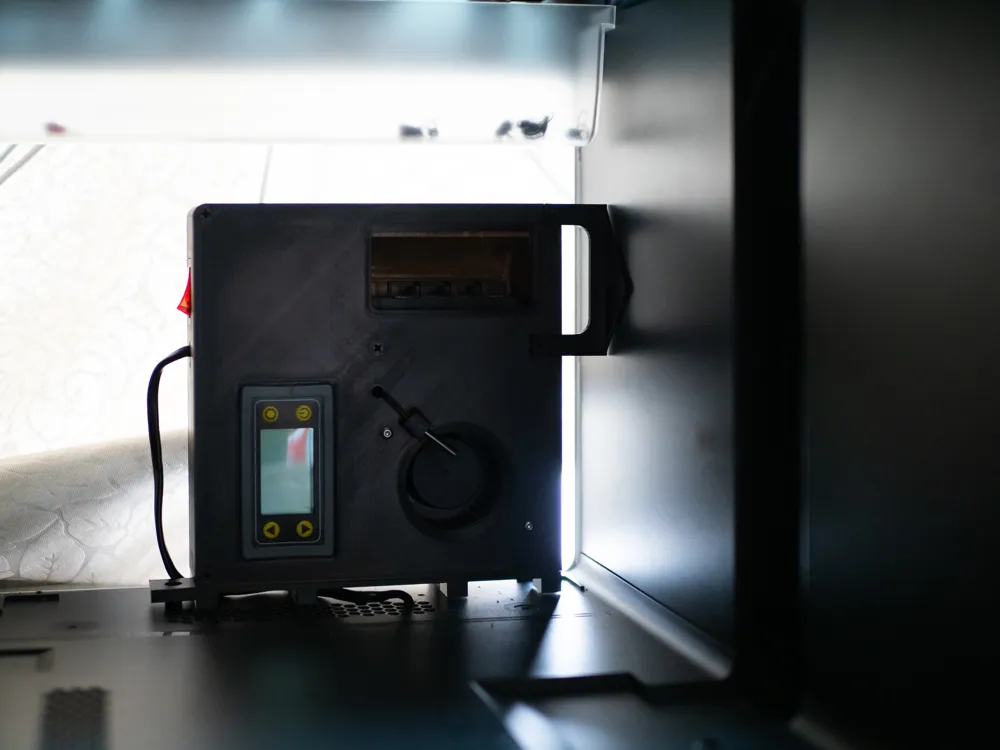
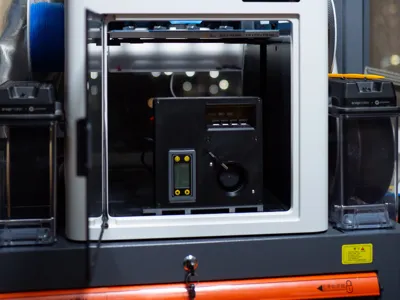
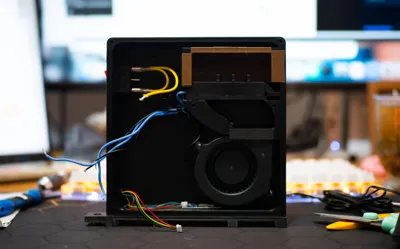
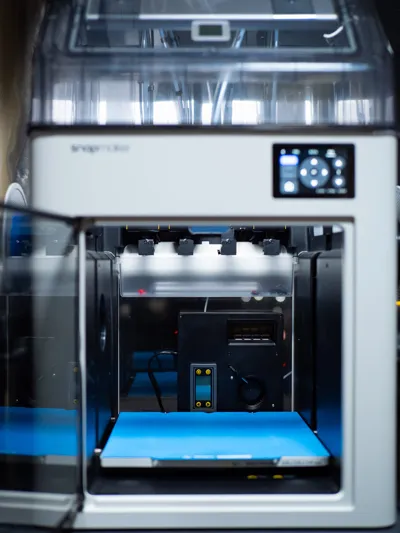
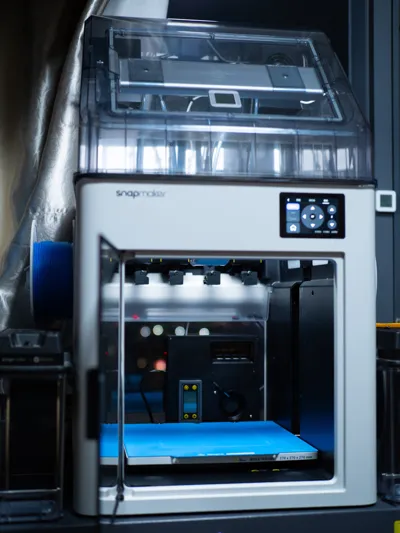
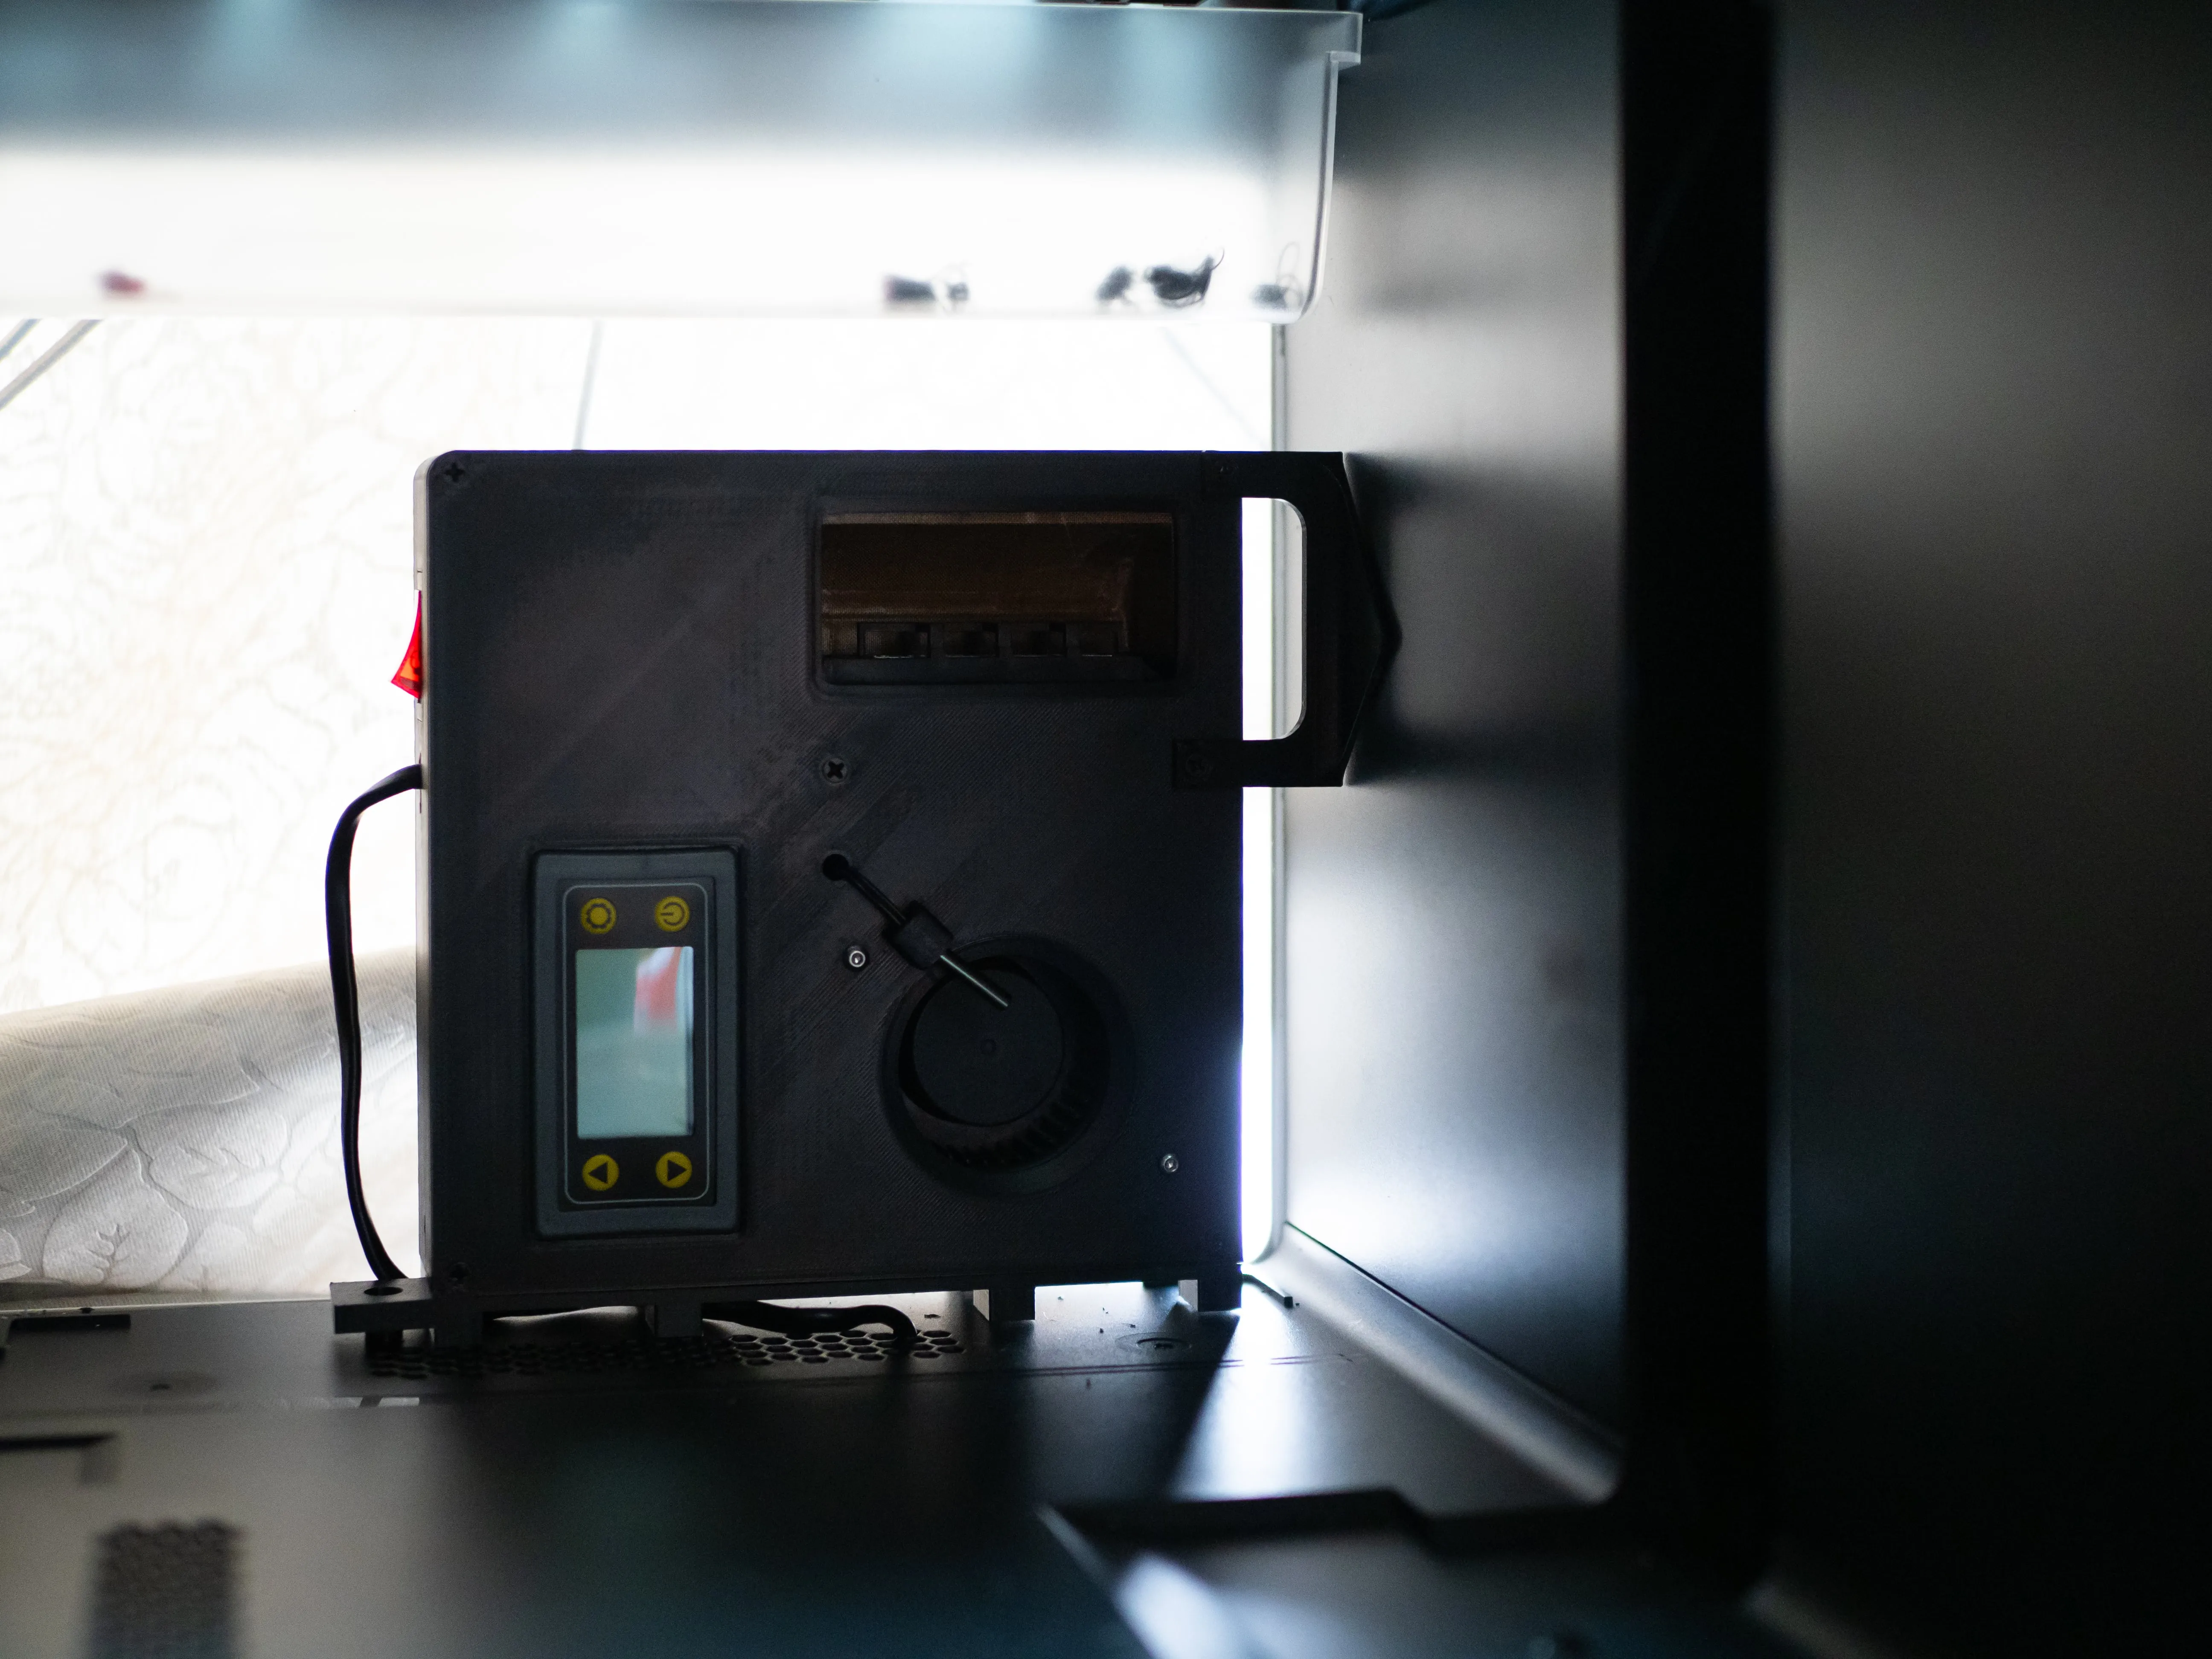
A temperature-controlled heater designed specifically for the Snapmaker U1, utilizing a PTC heating element combined with an EC blower fan to improve chamber temperature stability and airflow circulation.
By maintaining a warmer and more consistent enclosure environment, this setup helps reduce warping, improve layer adhesion, and enhance print reliability when working with temperature-sensitive materials.
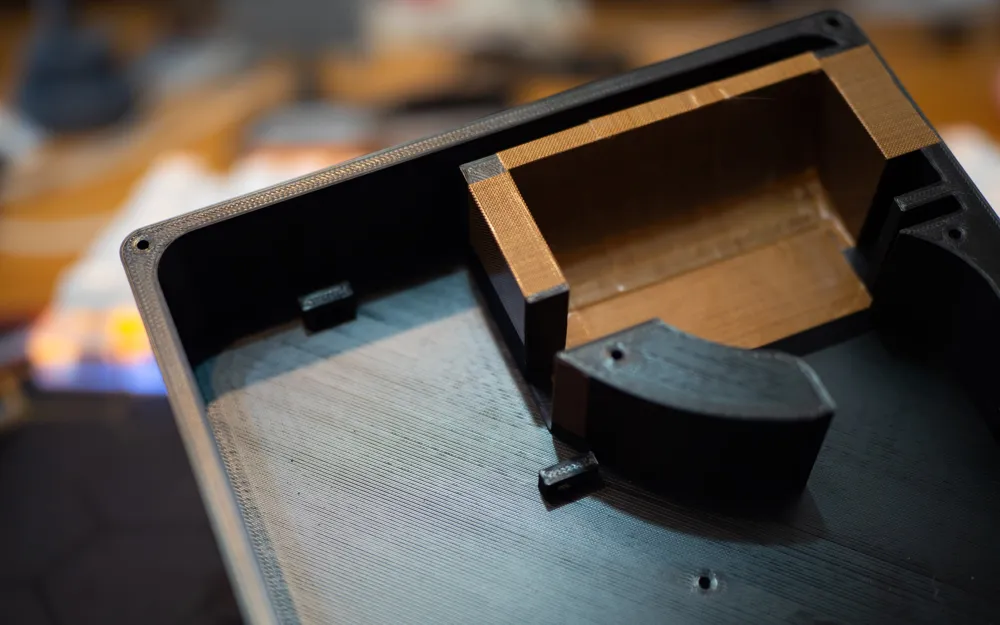
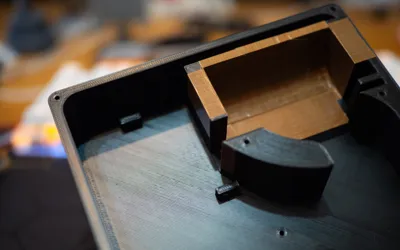
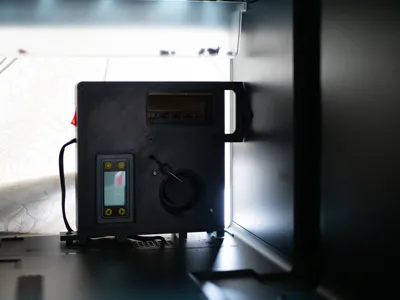
The design features a modular structure for easy assembly, maintenance, and future upgrades, making it a practical chamber-heating solution for U1 users. It also mounts to the factory mounting points (bottom + side panel).
✨ Features
- Improves enclosure temperature stability
- Uses a PTC heater for reliable and self-regulating heat generation
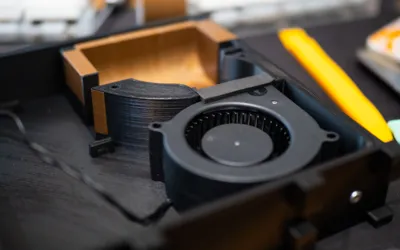
- EC blower fan provides consistent airflow circulation
- Modular design for easy assembly and maintenance
- Supports external temperature controller modules
- Ideal for materials such as ABS, ASA, PA, PC, and other engineering filaments
📦 Additional Components Required
This project includes printed parts only. The following components must be purchased separately:
| Component | Specification |
|---|---|
| PTC Heater | 150W PTC Heater (220V, 92 × 31 × 25 mm), AMZ Keyword: “PTC 200w 92x31x25mm” |
| Blower Fan | 7530 AC (EC) Blower Fan |
| Temperature Controller | AC Temperature Controller Module (XY-SA10-W, AC Powered, 10A Relay). AMZ Keyword: “XY-SA10-W” |
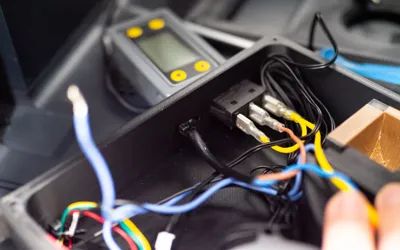
| Power Cable | Suitable for your local voltage standard (shown in the images: 0.75 mm² pure copper 2-core power cord with plug and stripped wire ends) |
| Wiring Terminals | High-temperature rated terminals recommended (6.3 mm female spade terminals × 3) |
| Fasteners & Accessories | As required for assembly (zip ties × several, 3 mm thick foam sealing strip × several) |
| Power Switch | Rocker Switch (2-position, 20A, panel cutout size: 28.5 × 10.5 mm) |
| Screws | M3×10 Countersunk Screws × 4M3×40 Button Head Screws × 2M3×12 Countersunk Screws × 2 |
🛠️ Assembly Overview
- Print all required parts.
- Install the 150W PTC heater into the heater housing.
- Install the 7530 AC (EC) blower fan.
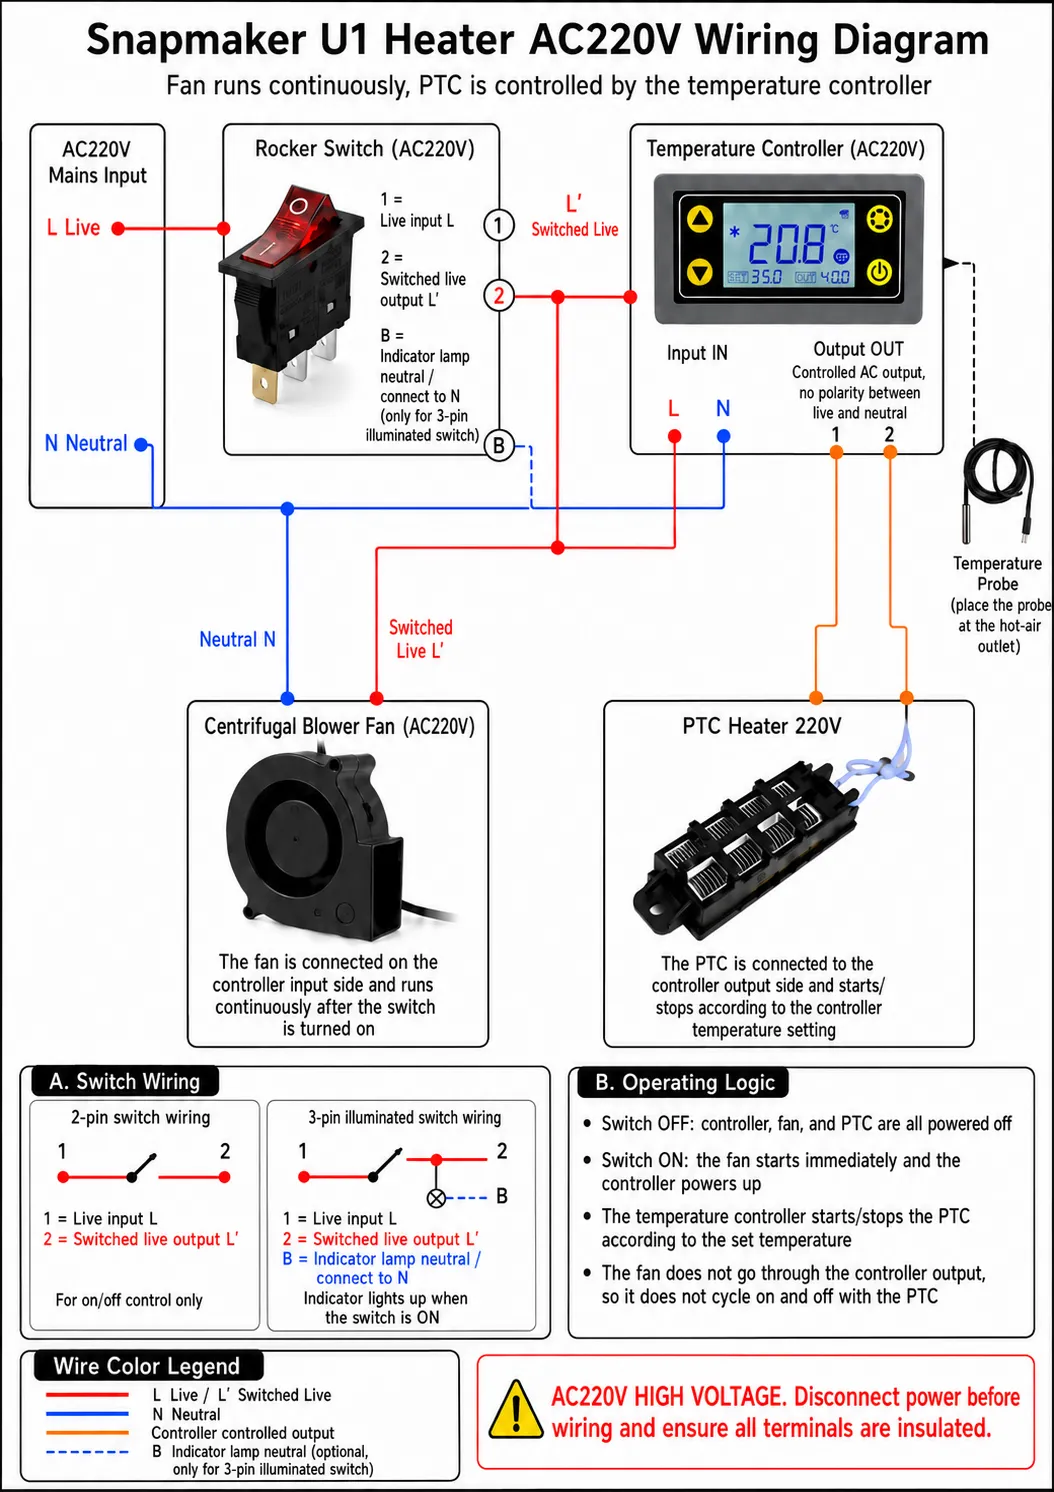
- Complete wiring according to the temperature controller specifications.
- Mount the assembly in the designated location on the Snapmaker U1.
- Set the desired temperature and begin operation.
Basic electrical knowledge is recommended for assembly and wiring.
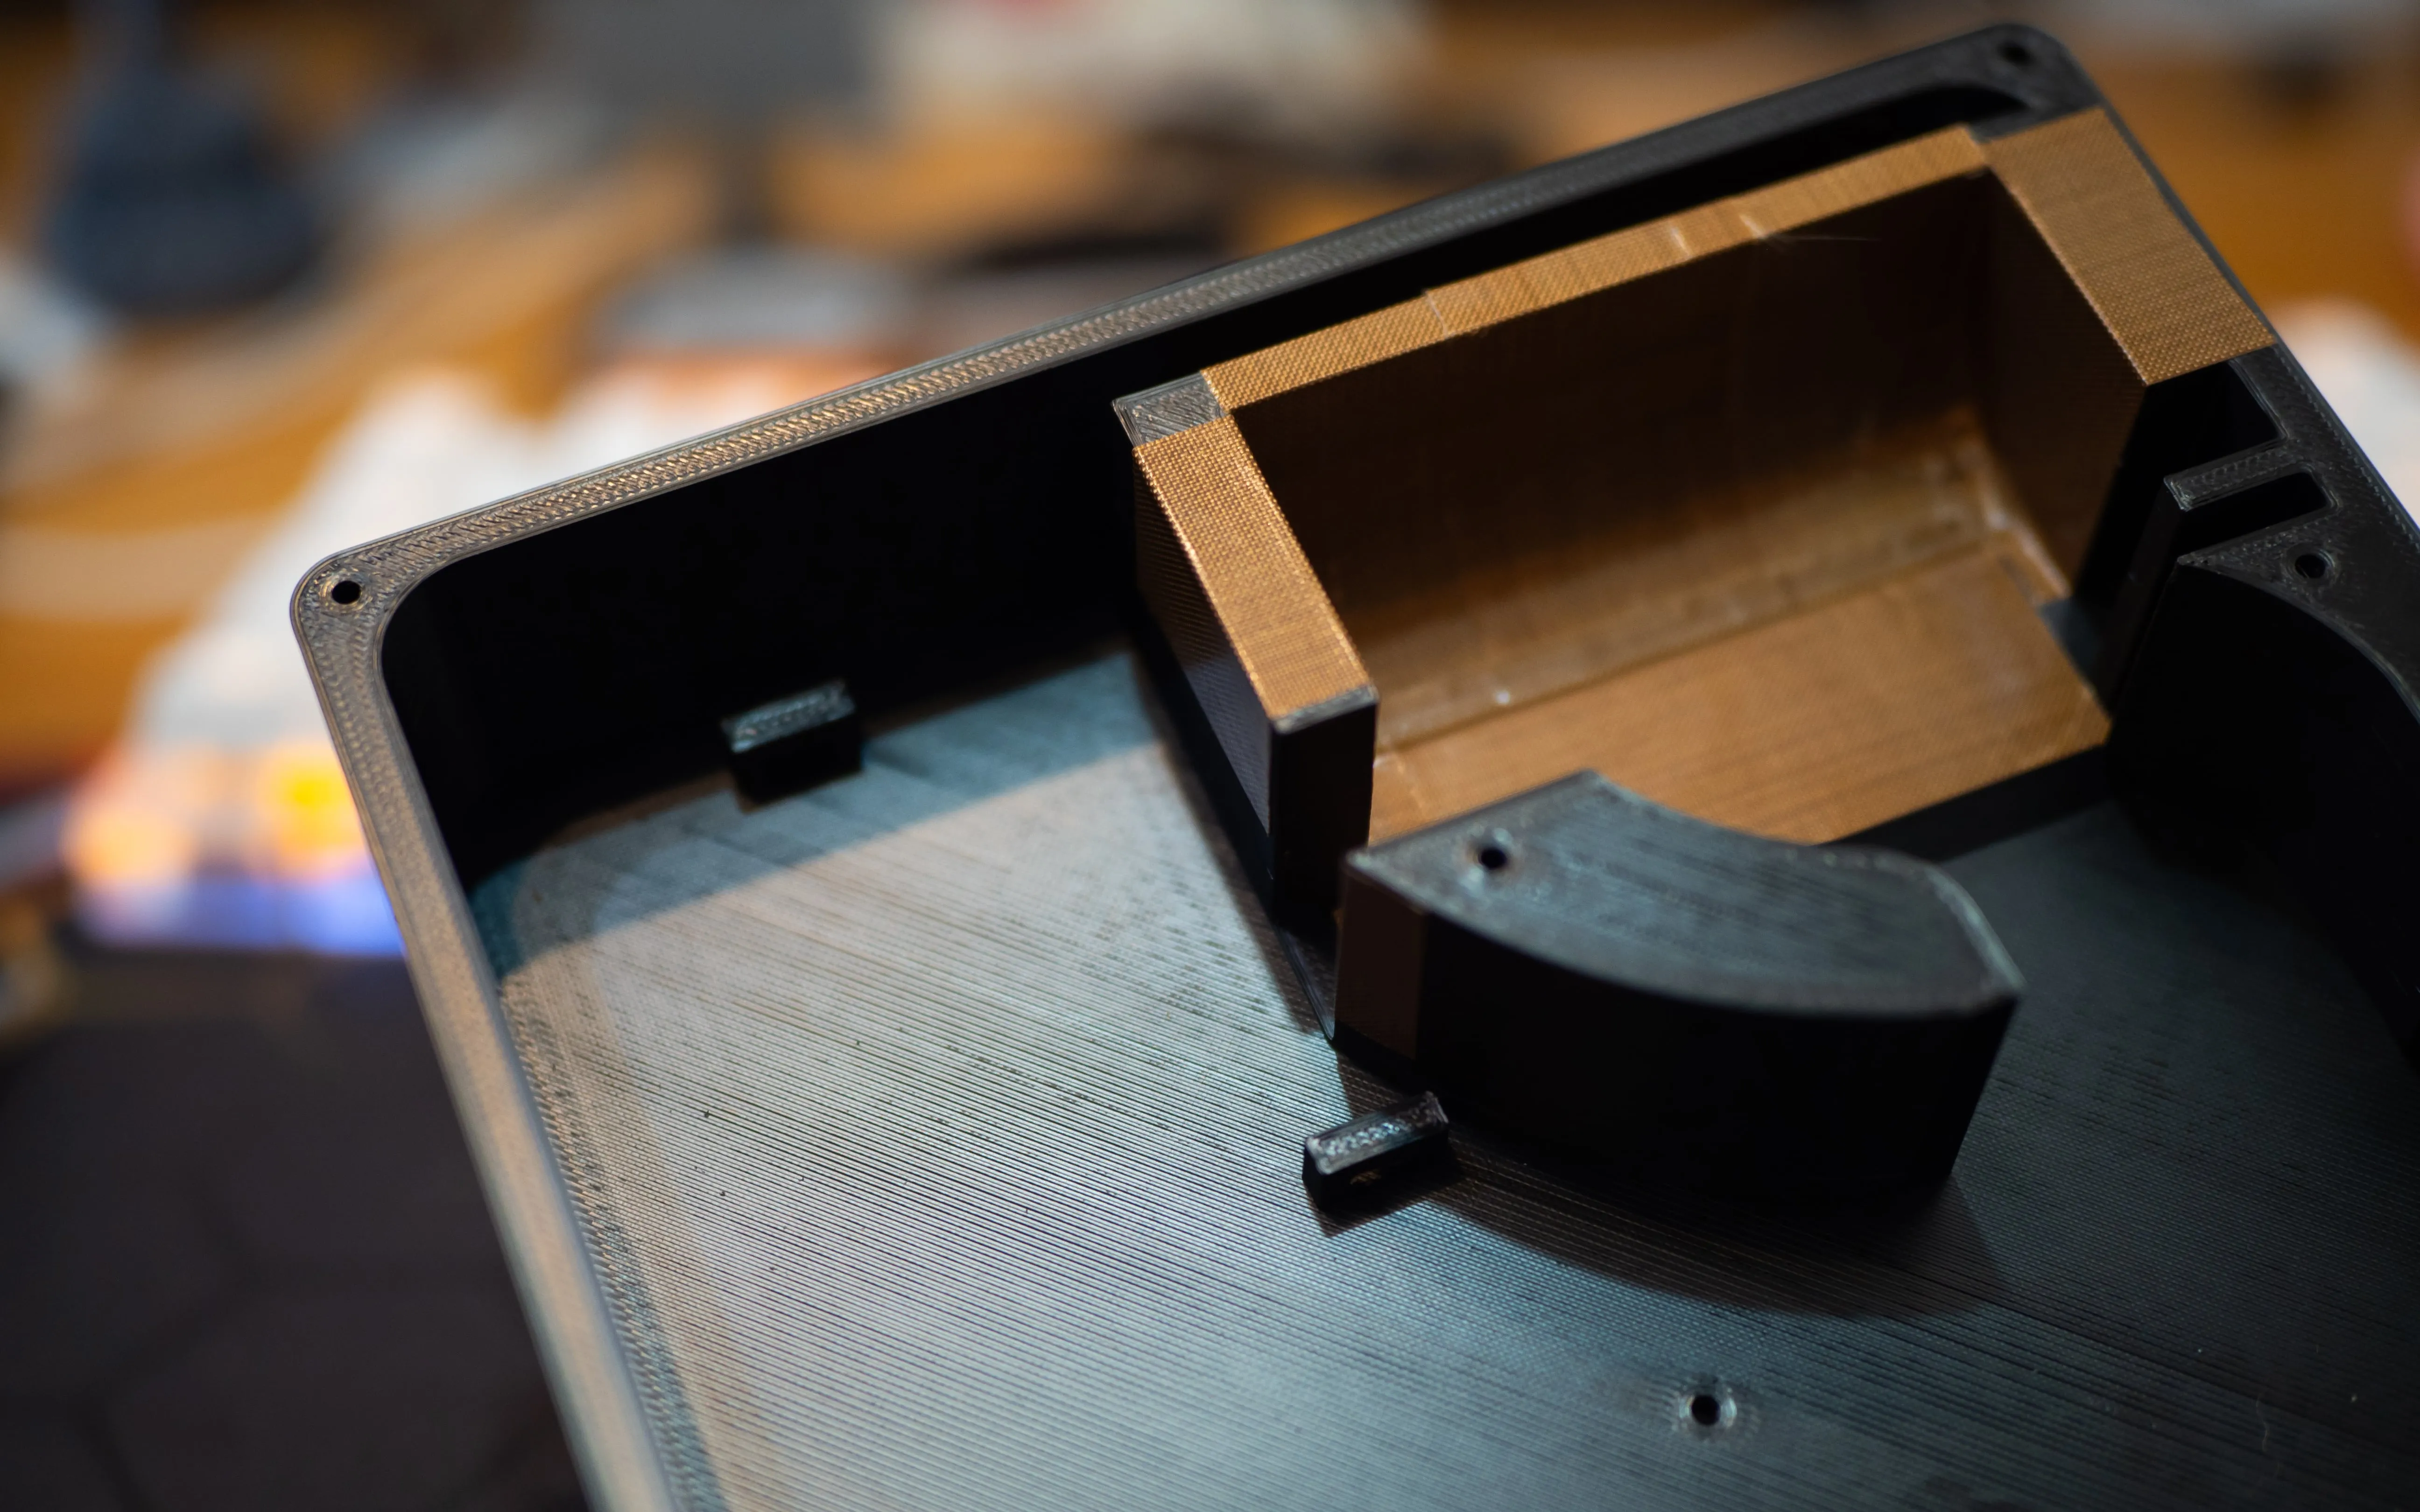
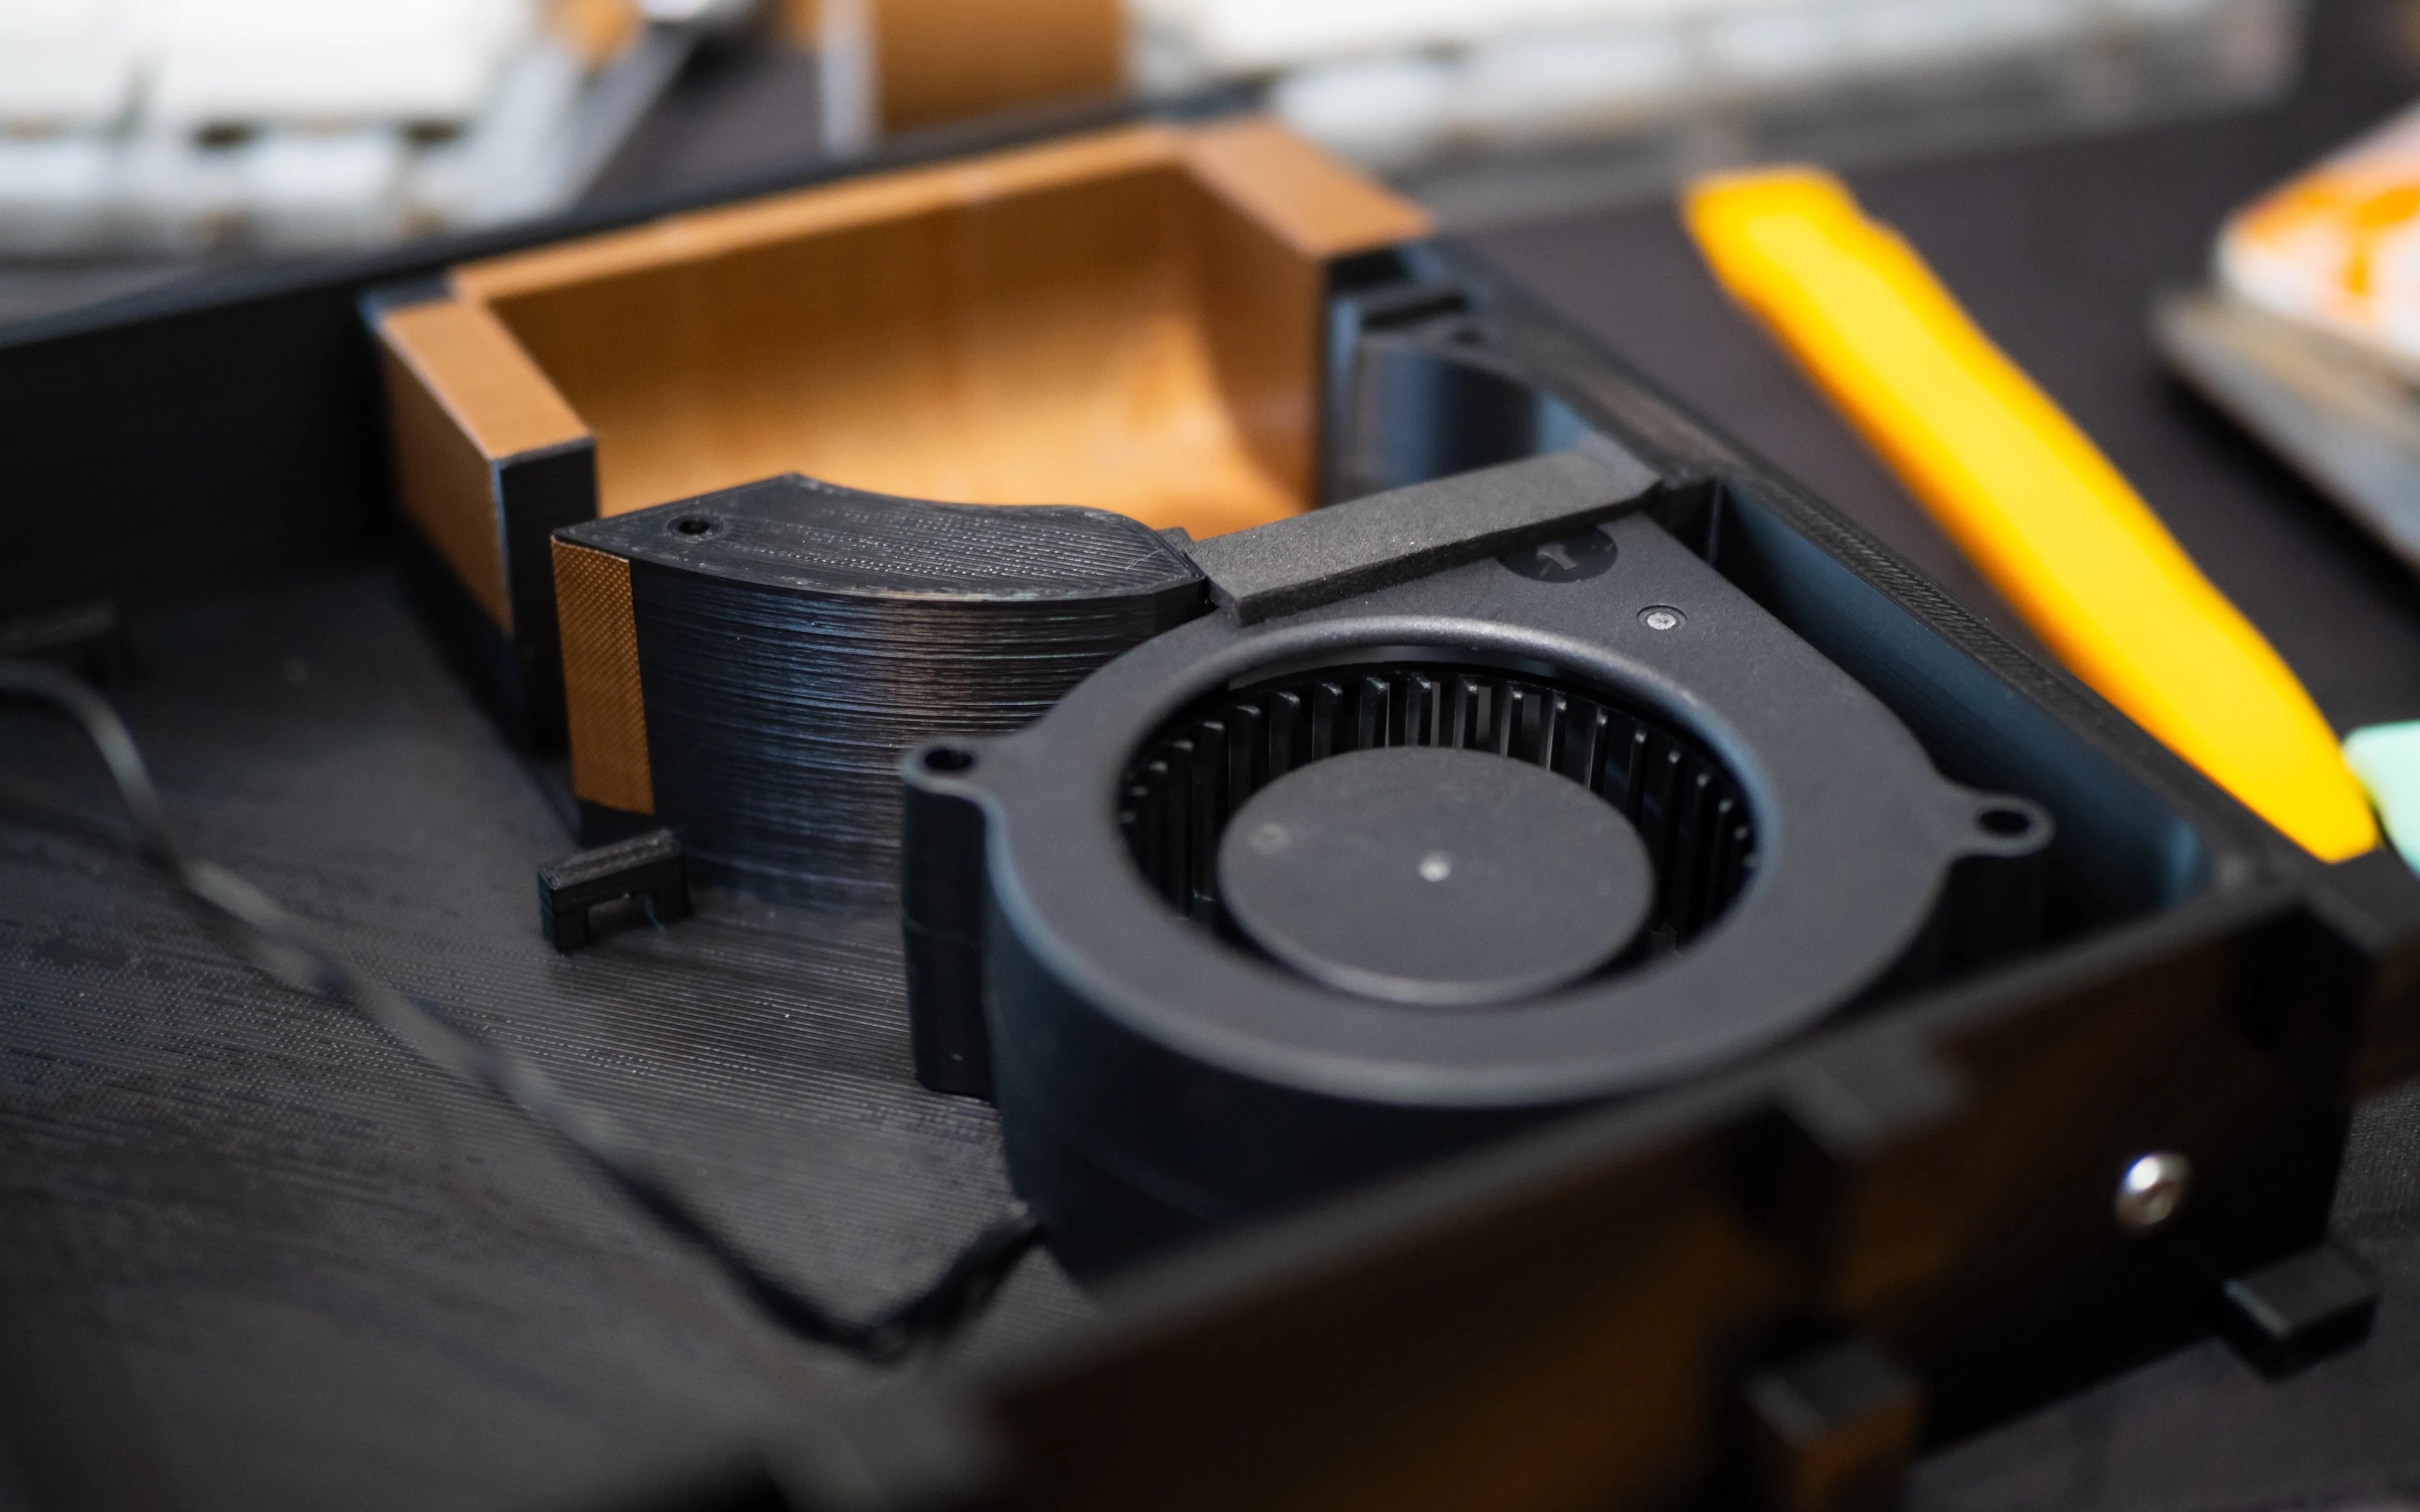
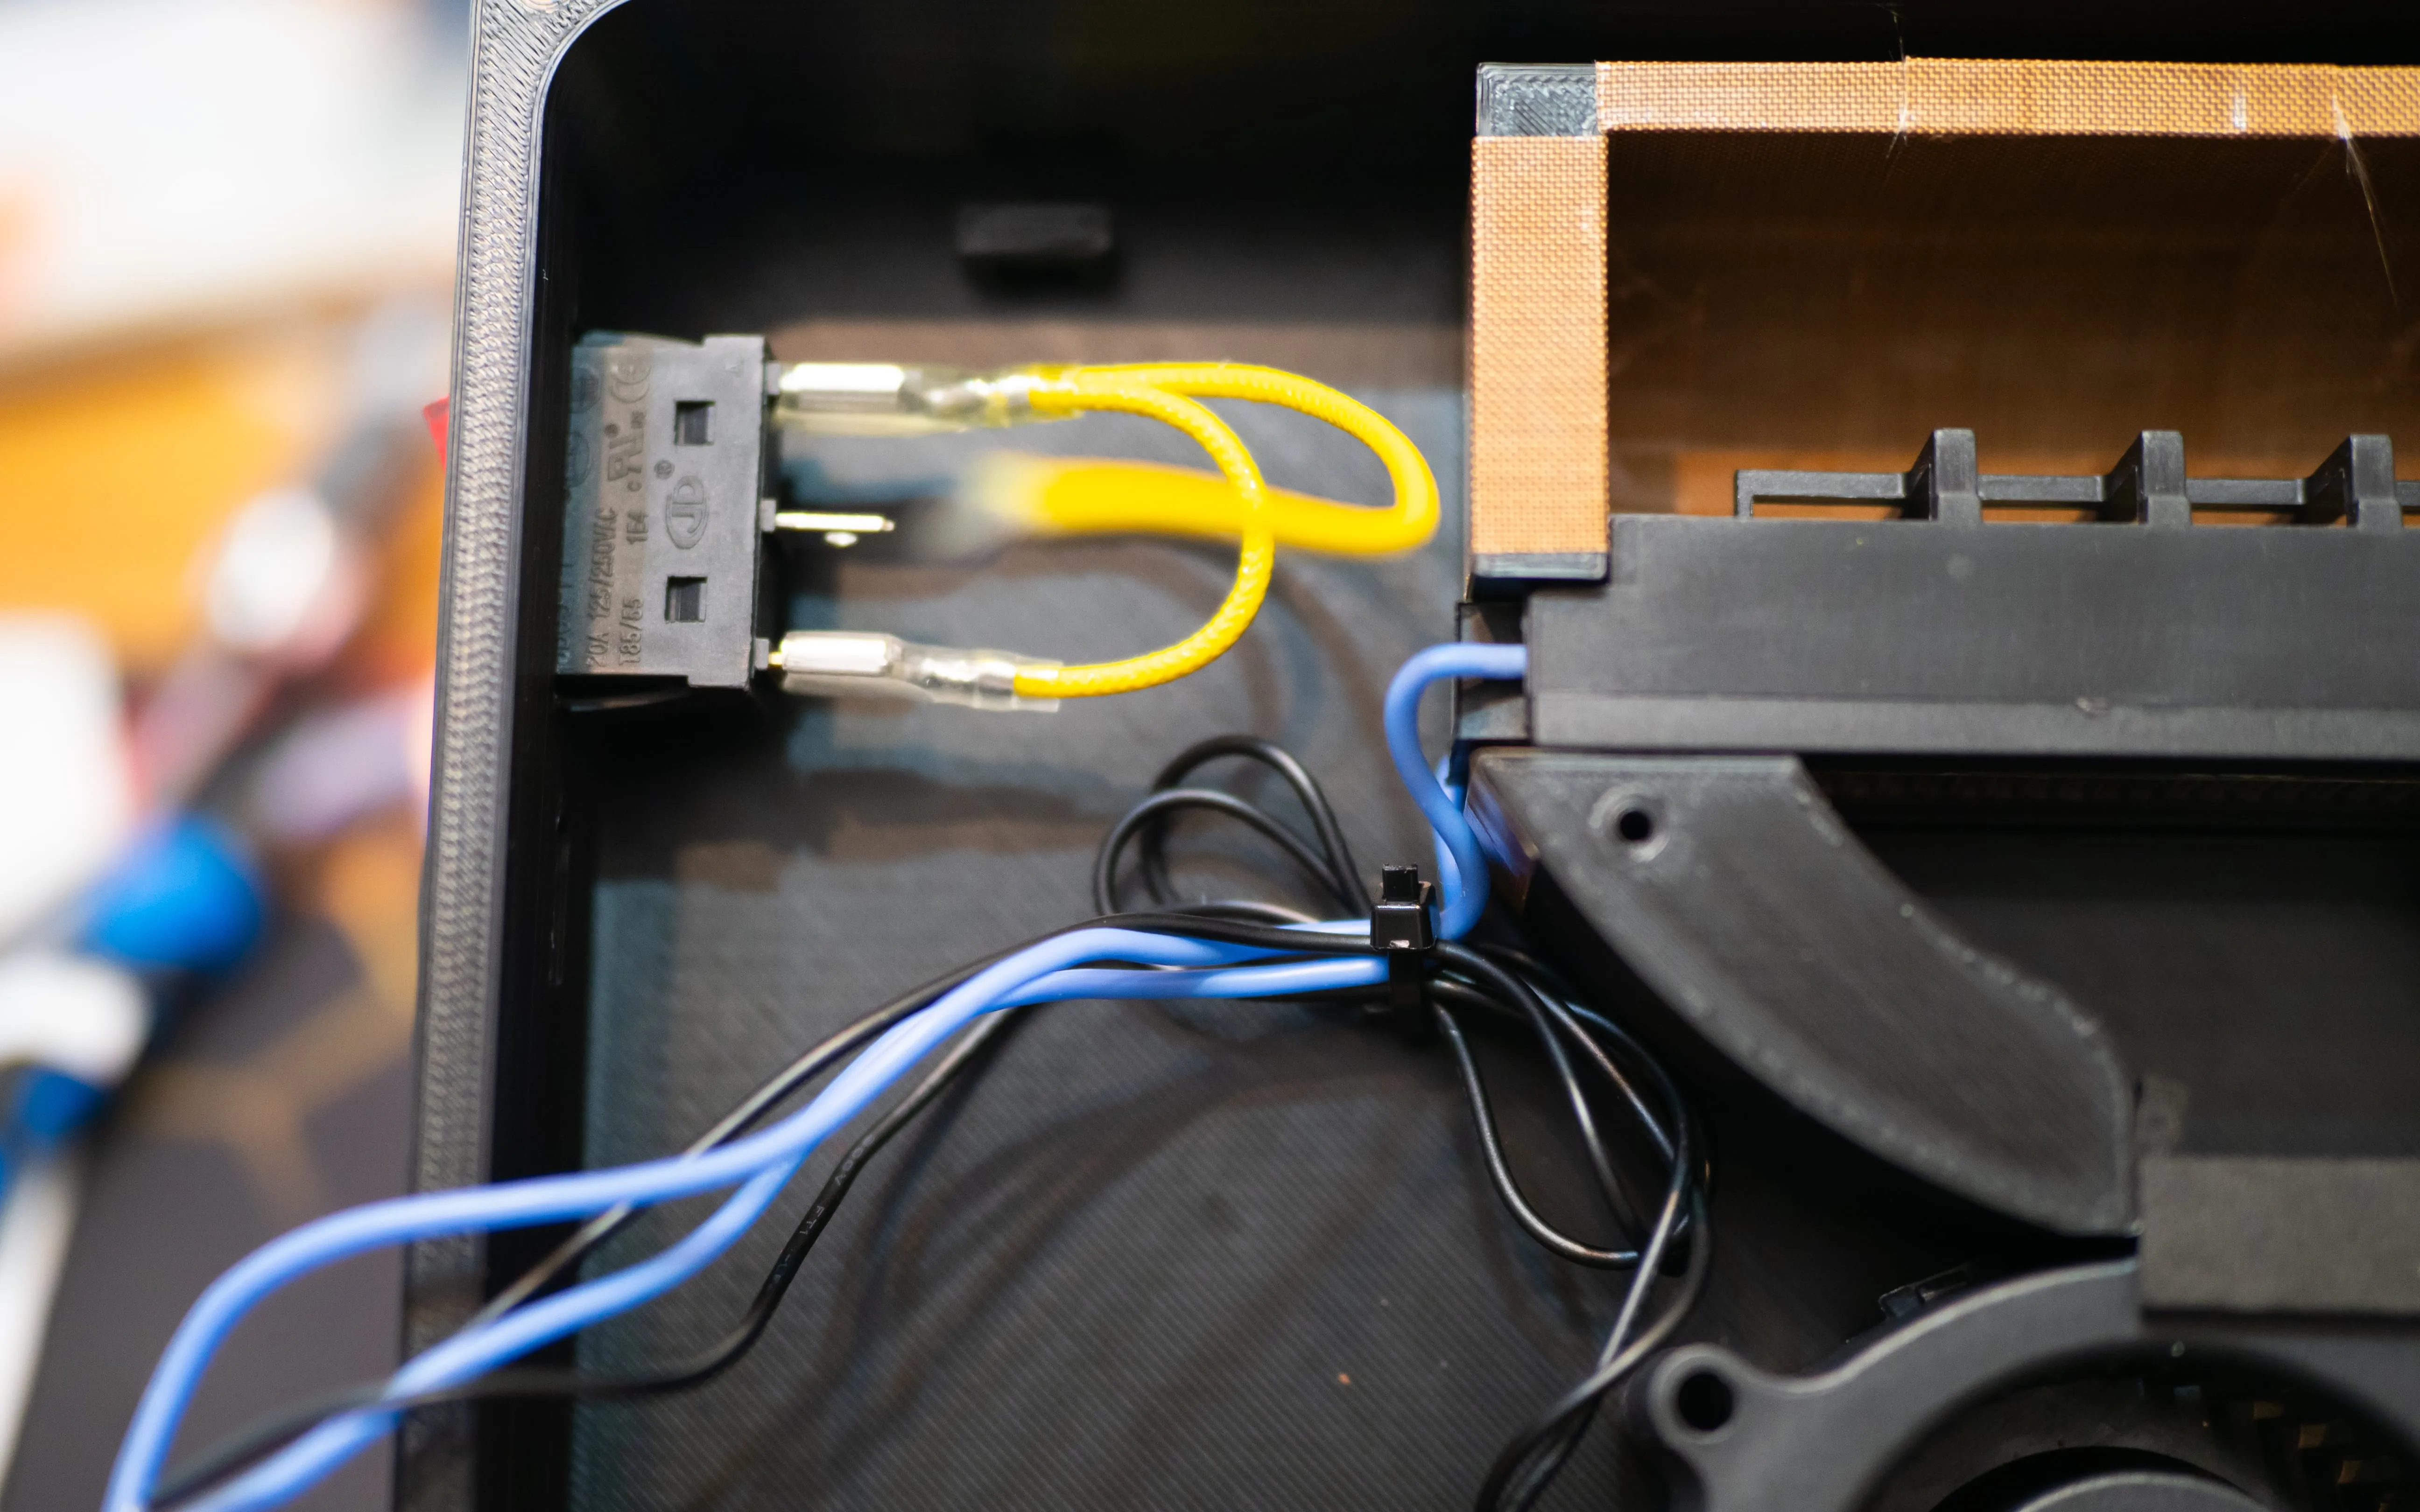
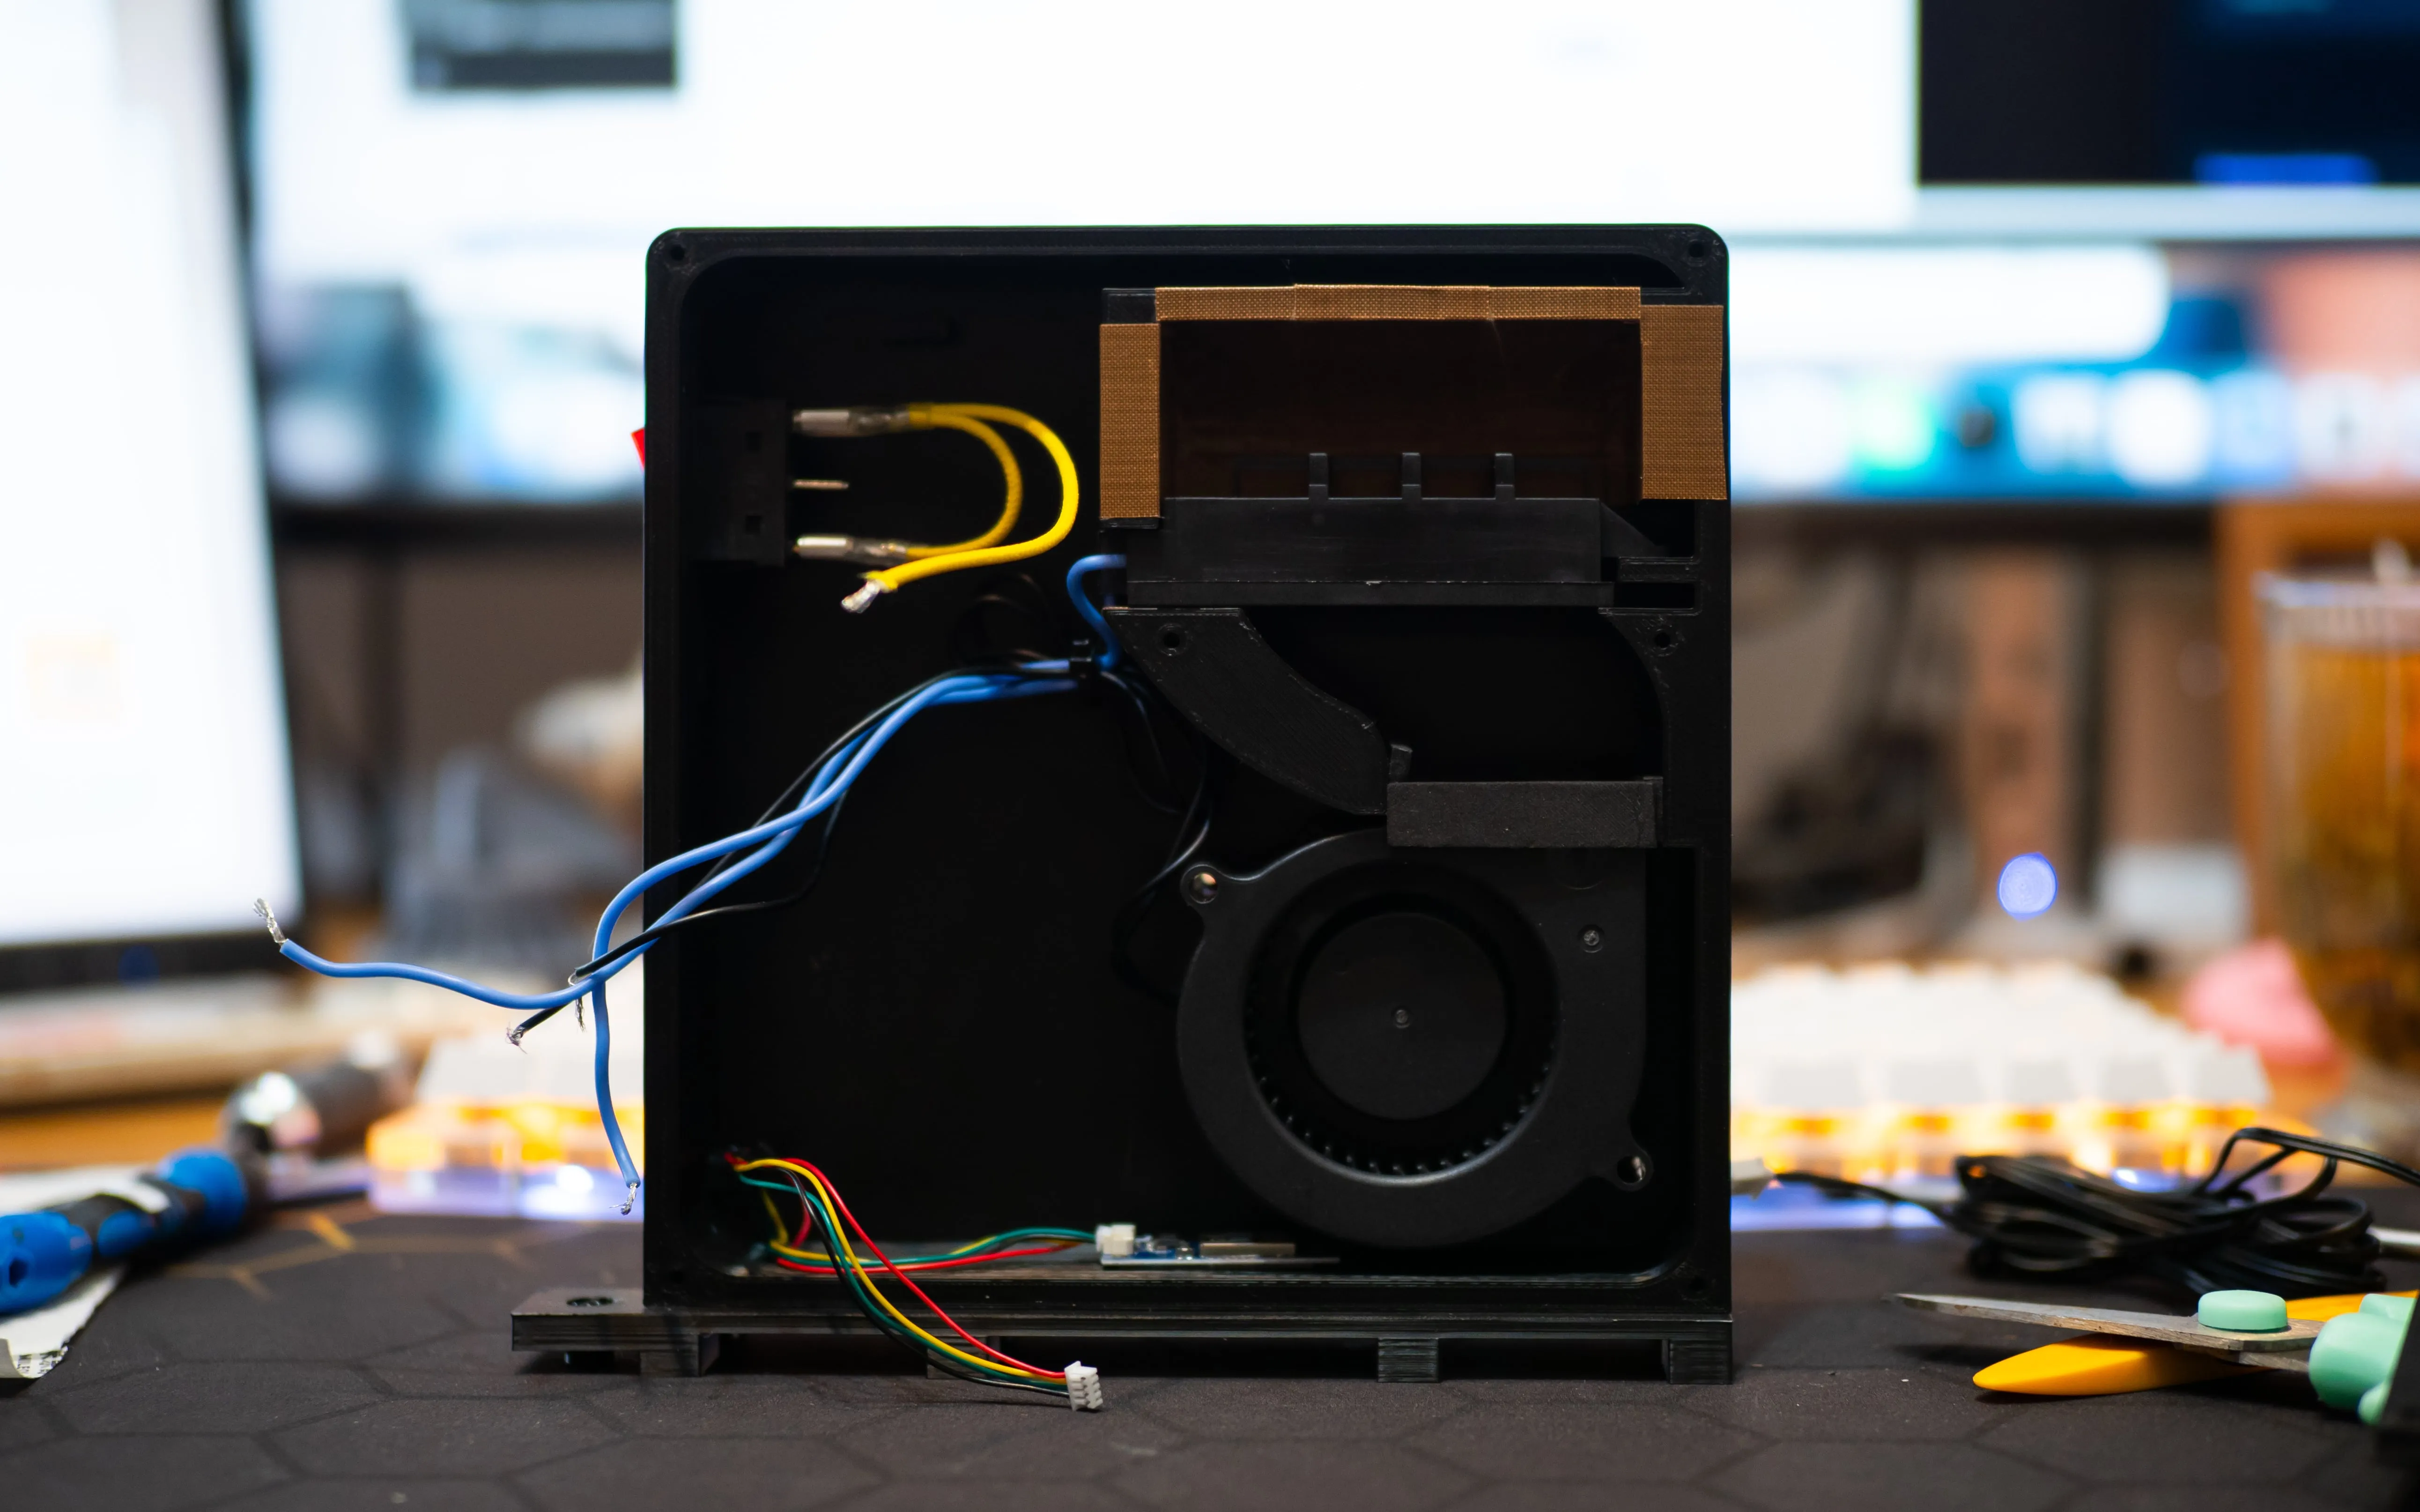
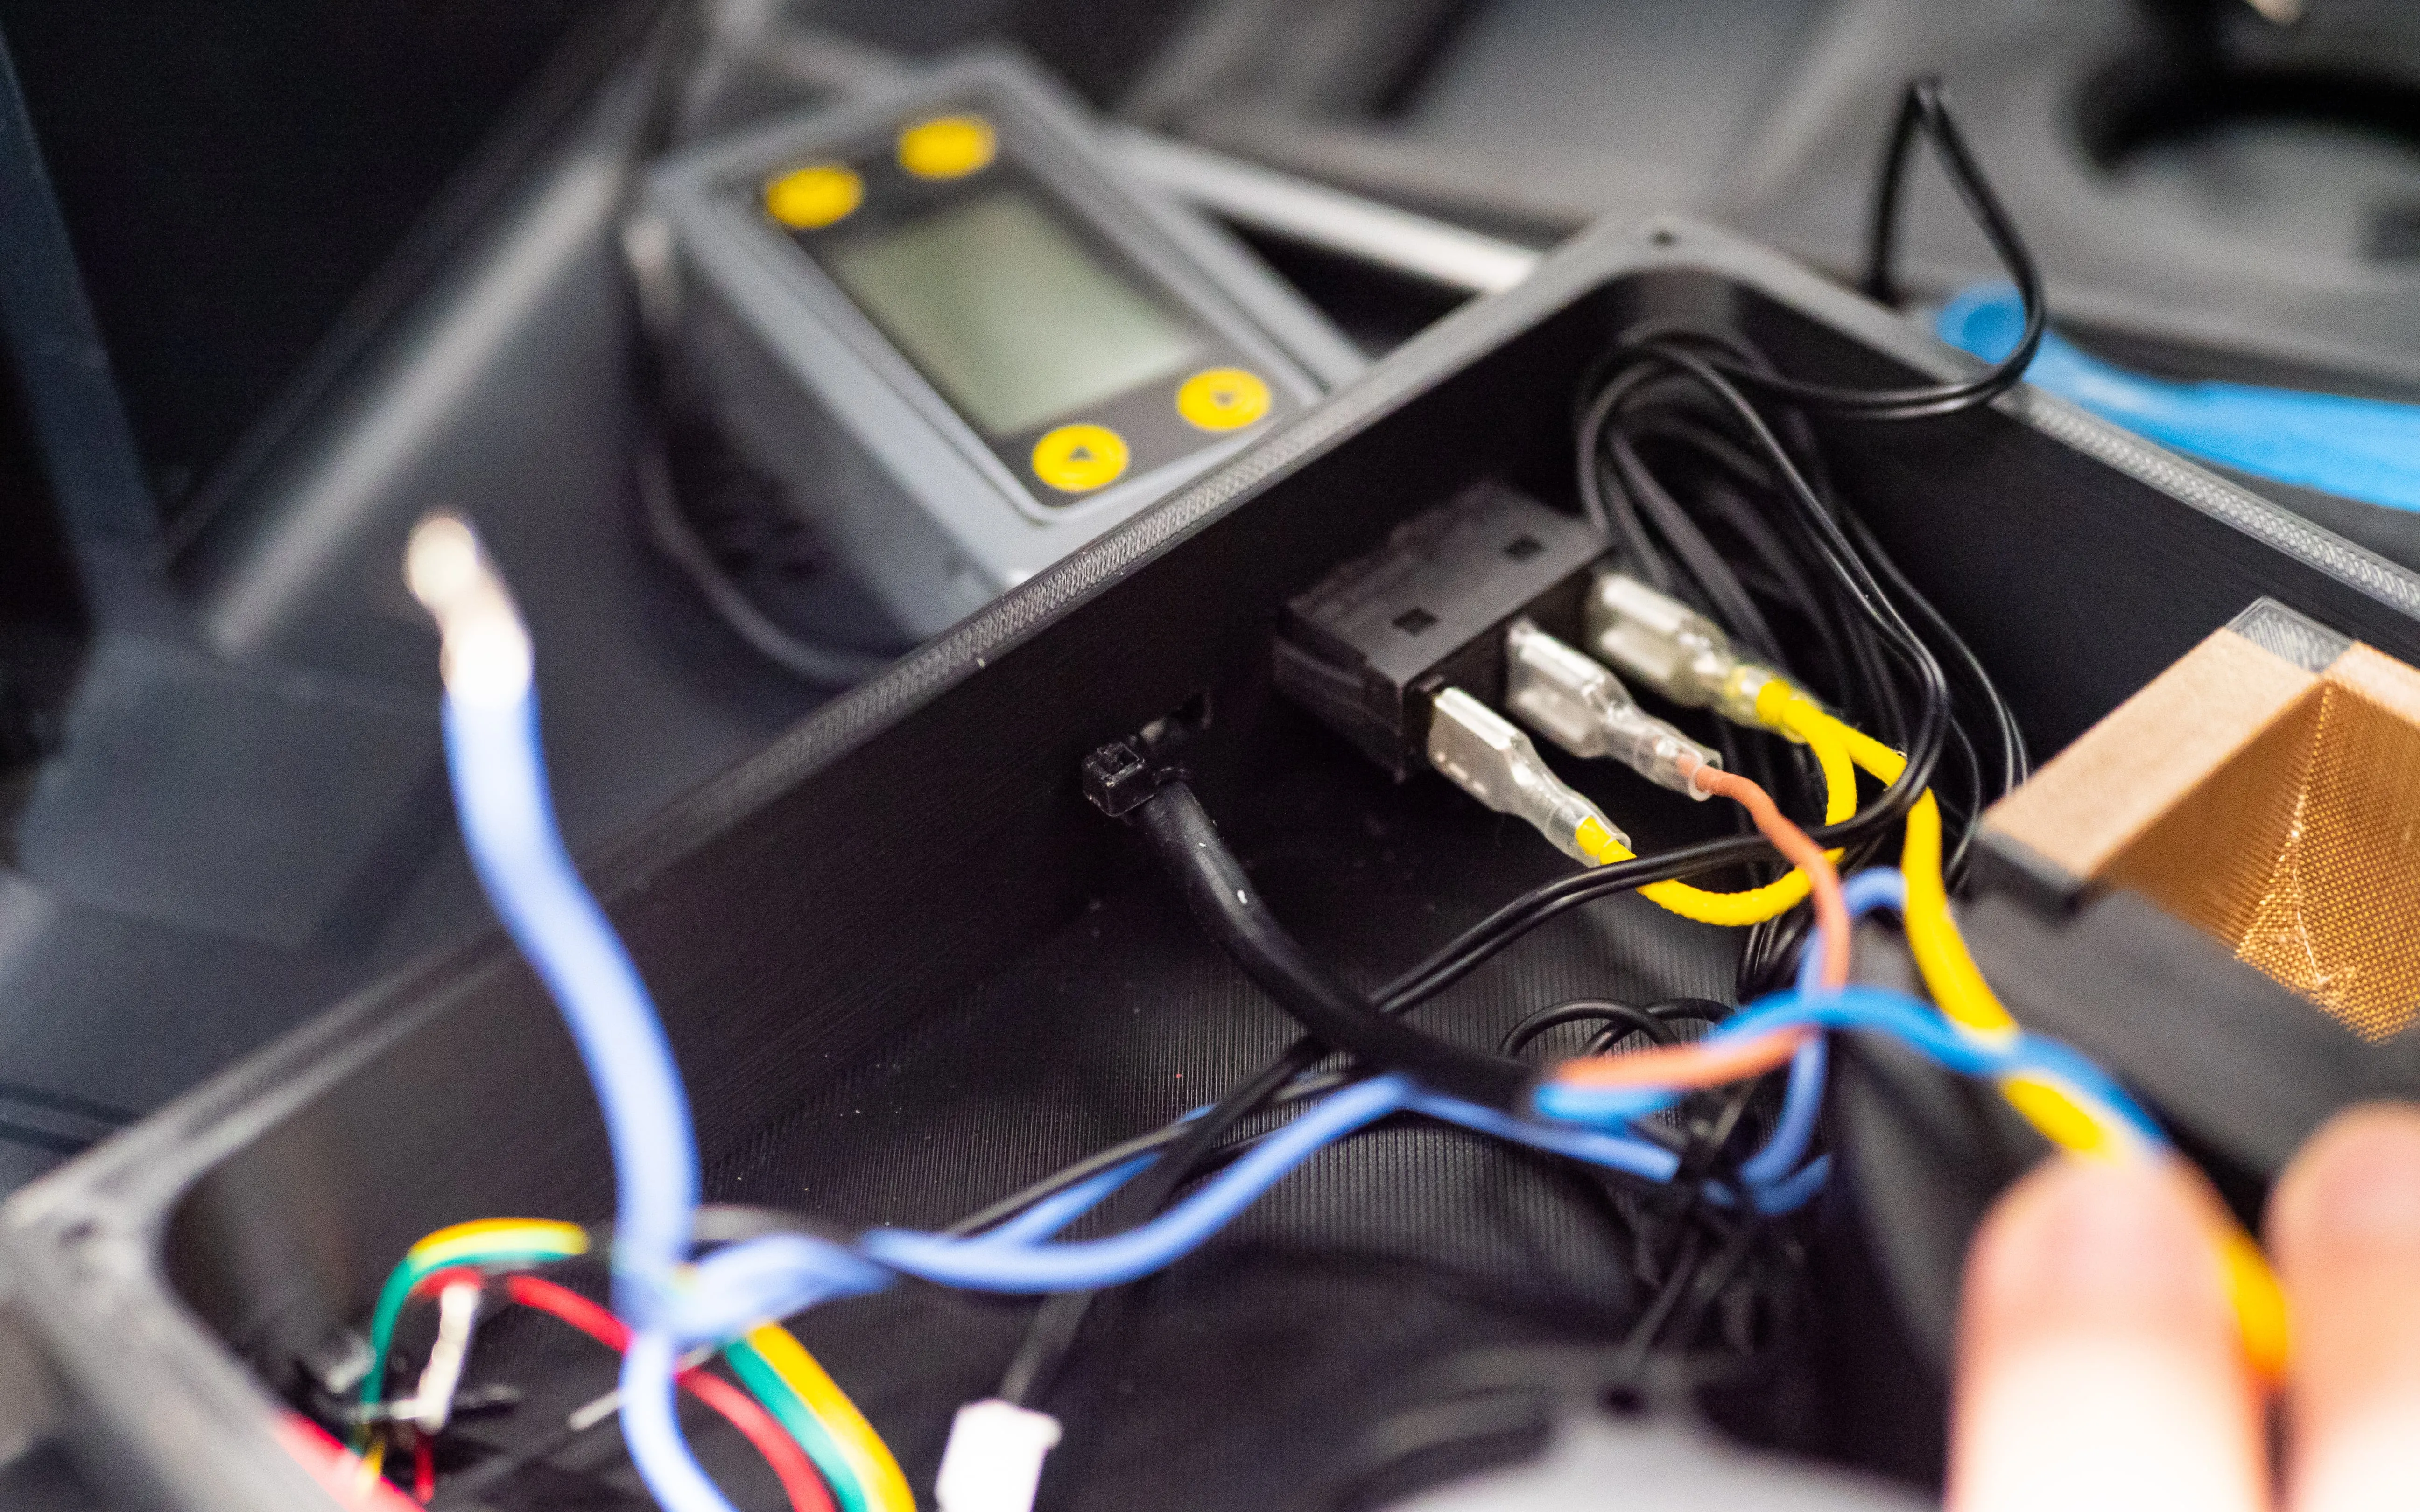
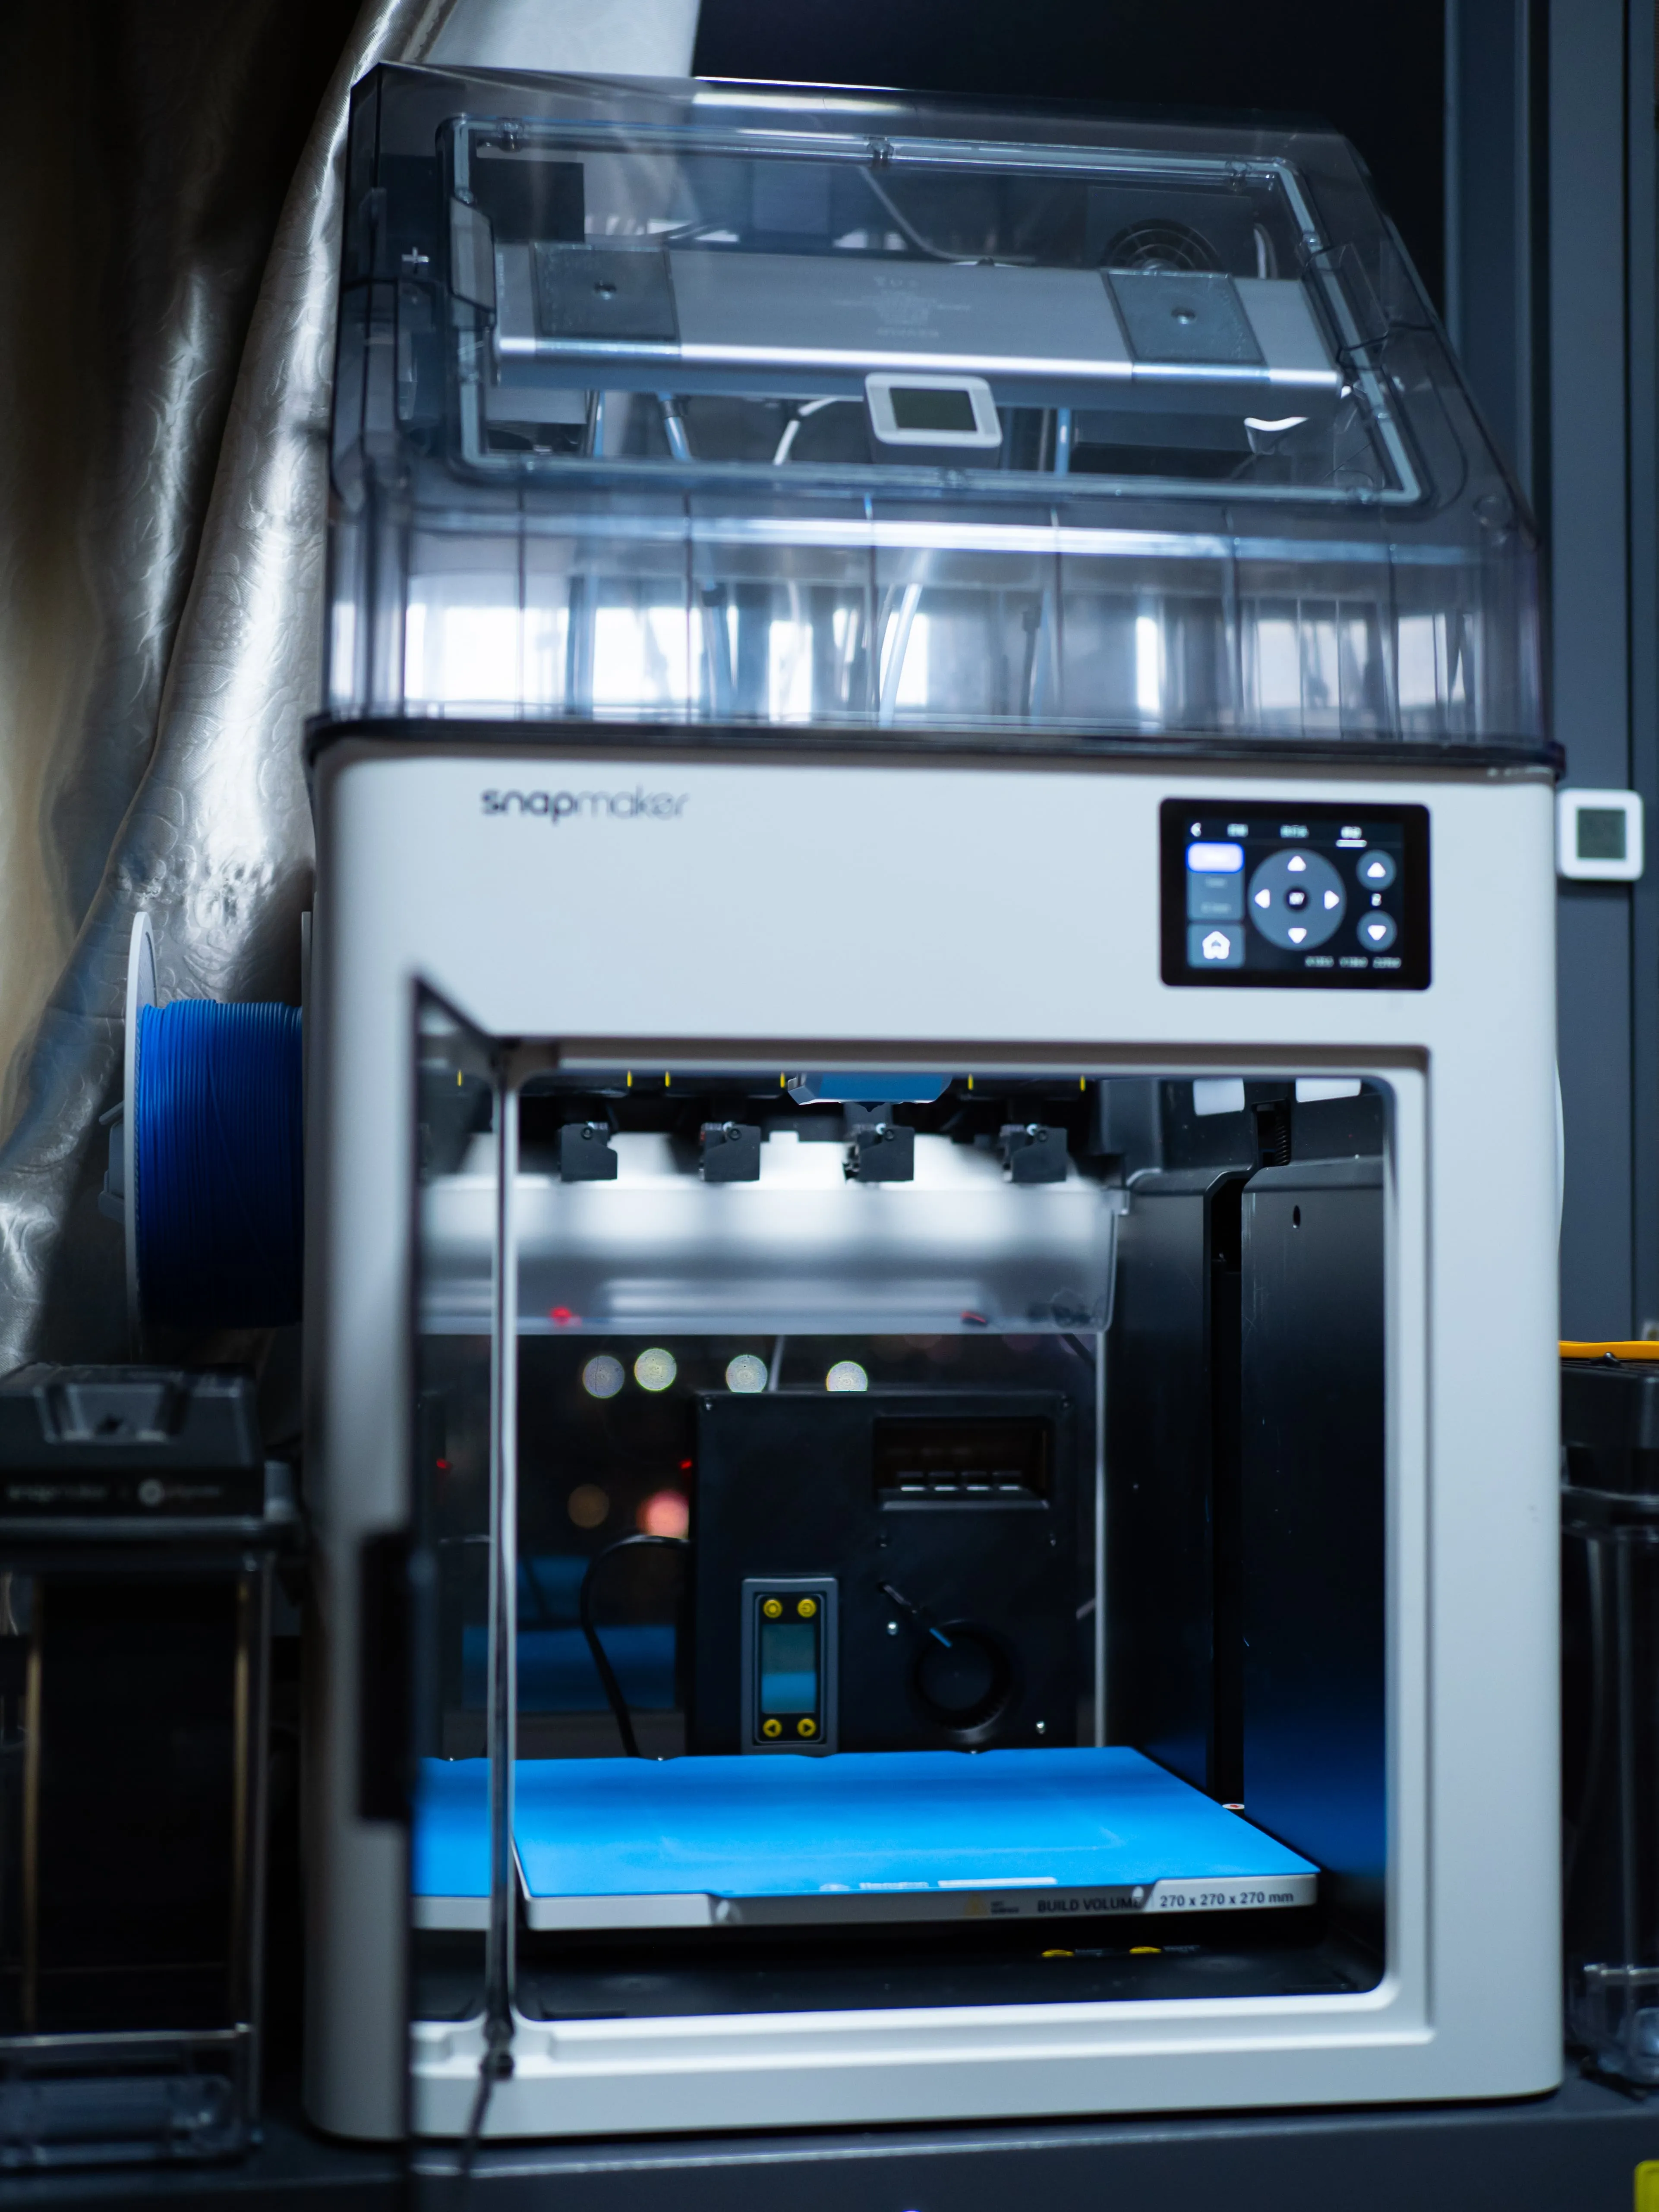
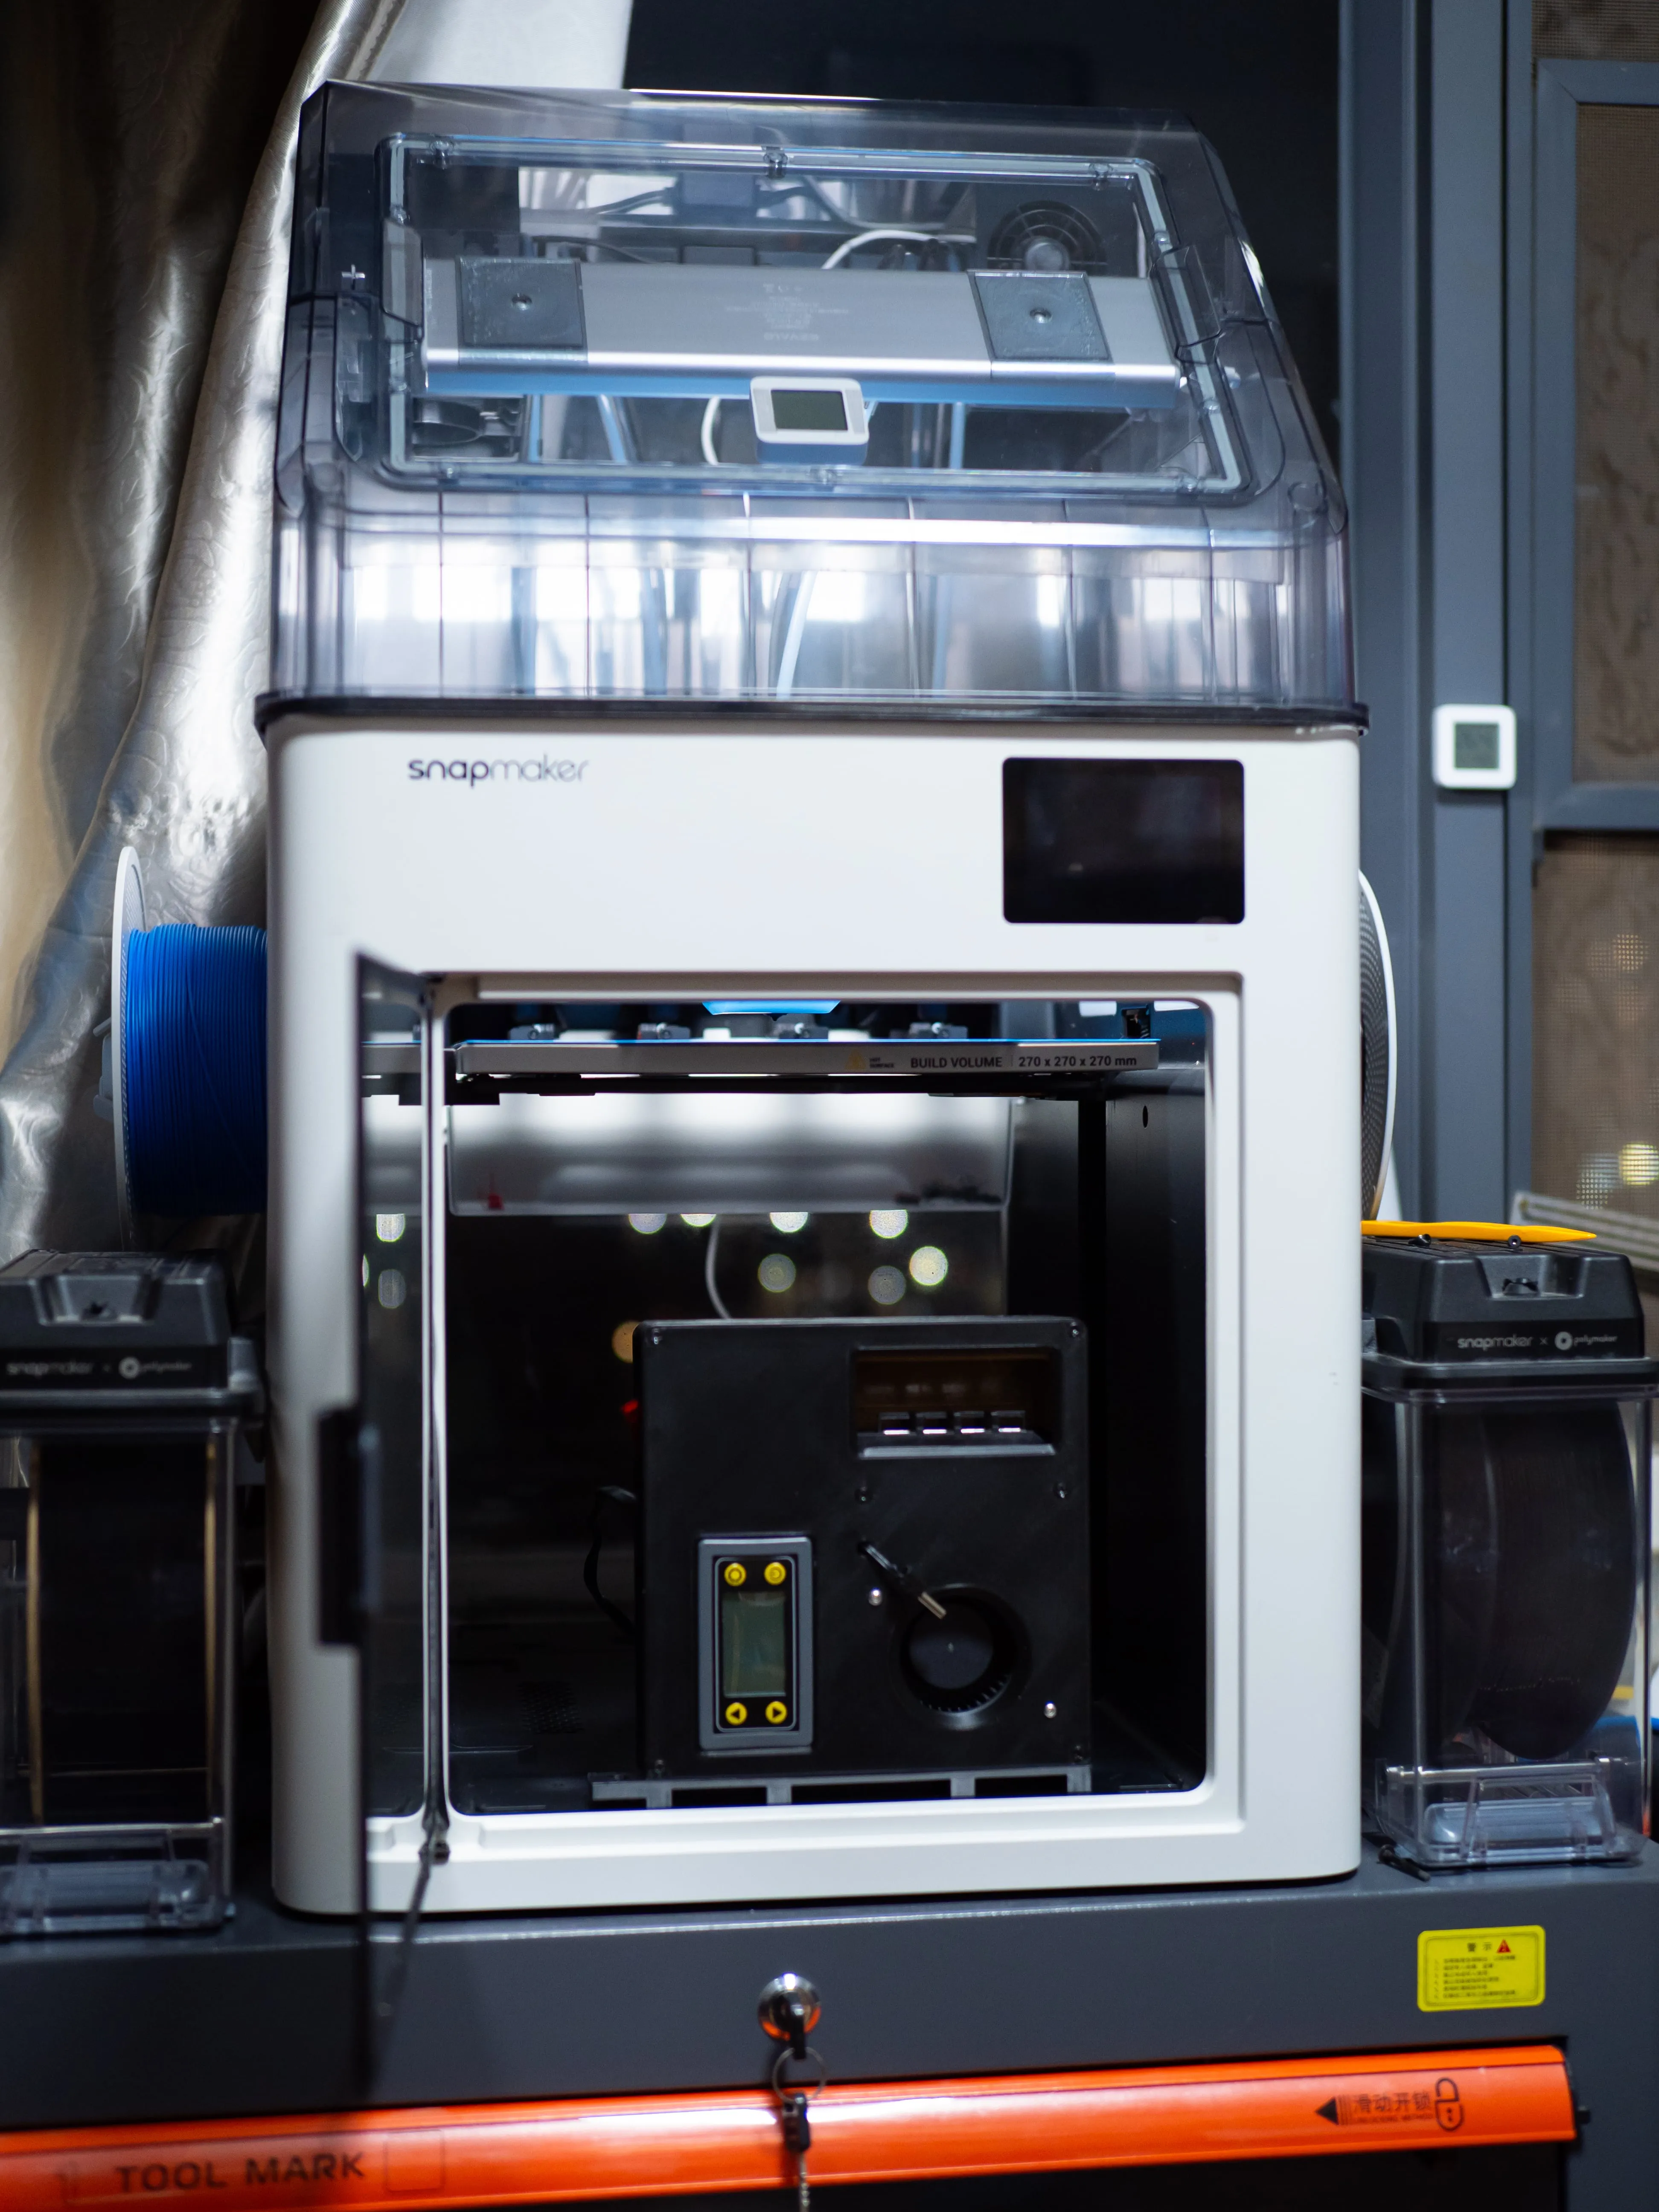
Assembly instructions are attached below in the attachments, wiring diagram can be referenced here:
📸 Performance
Air is drawn through the blower, passes across the PTC heater, and is then distributed into the enclosure to provide stable and even chamber heating.
This helps create a more controlled printing environment and can improve print quality when using temperature-sensitive materials.
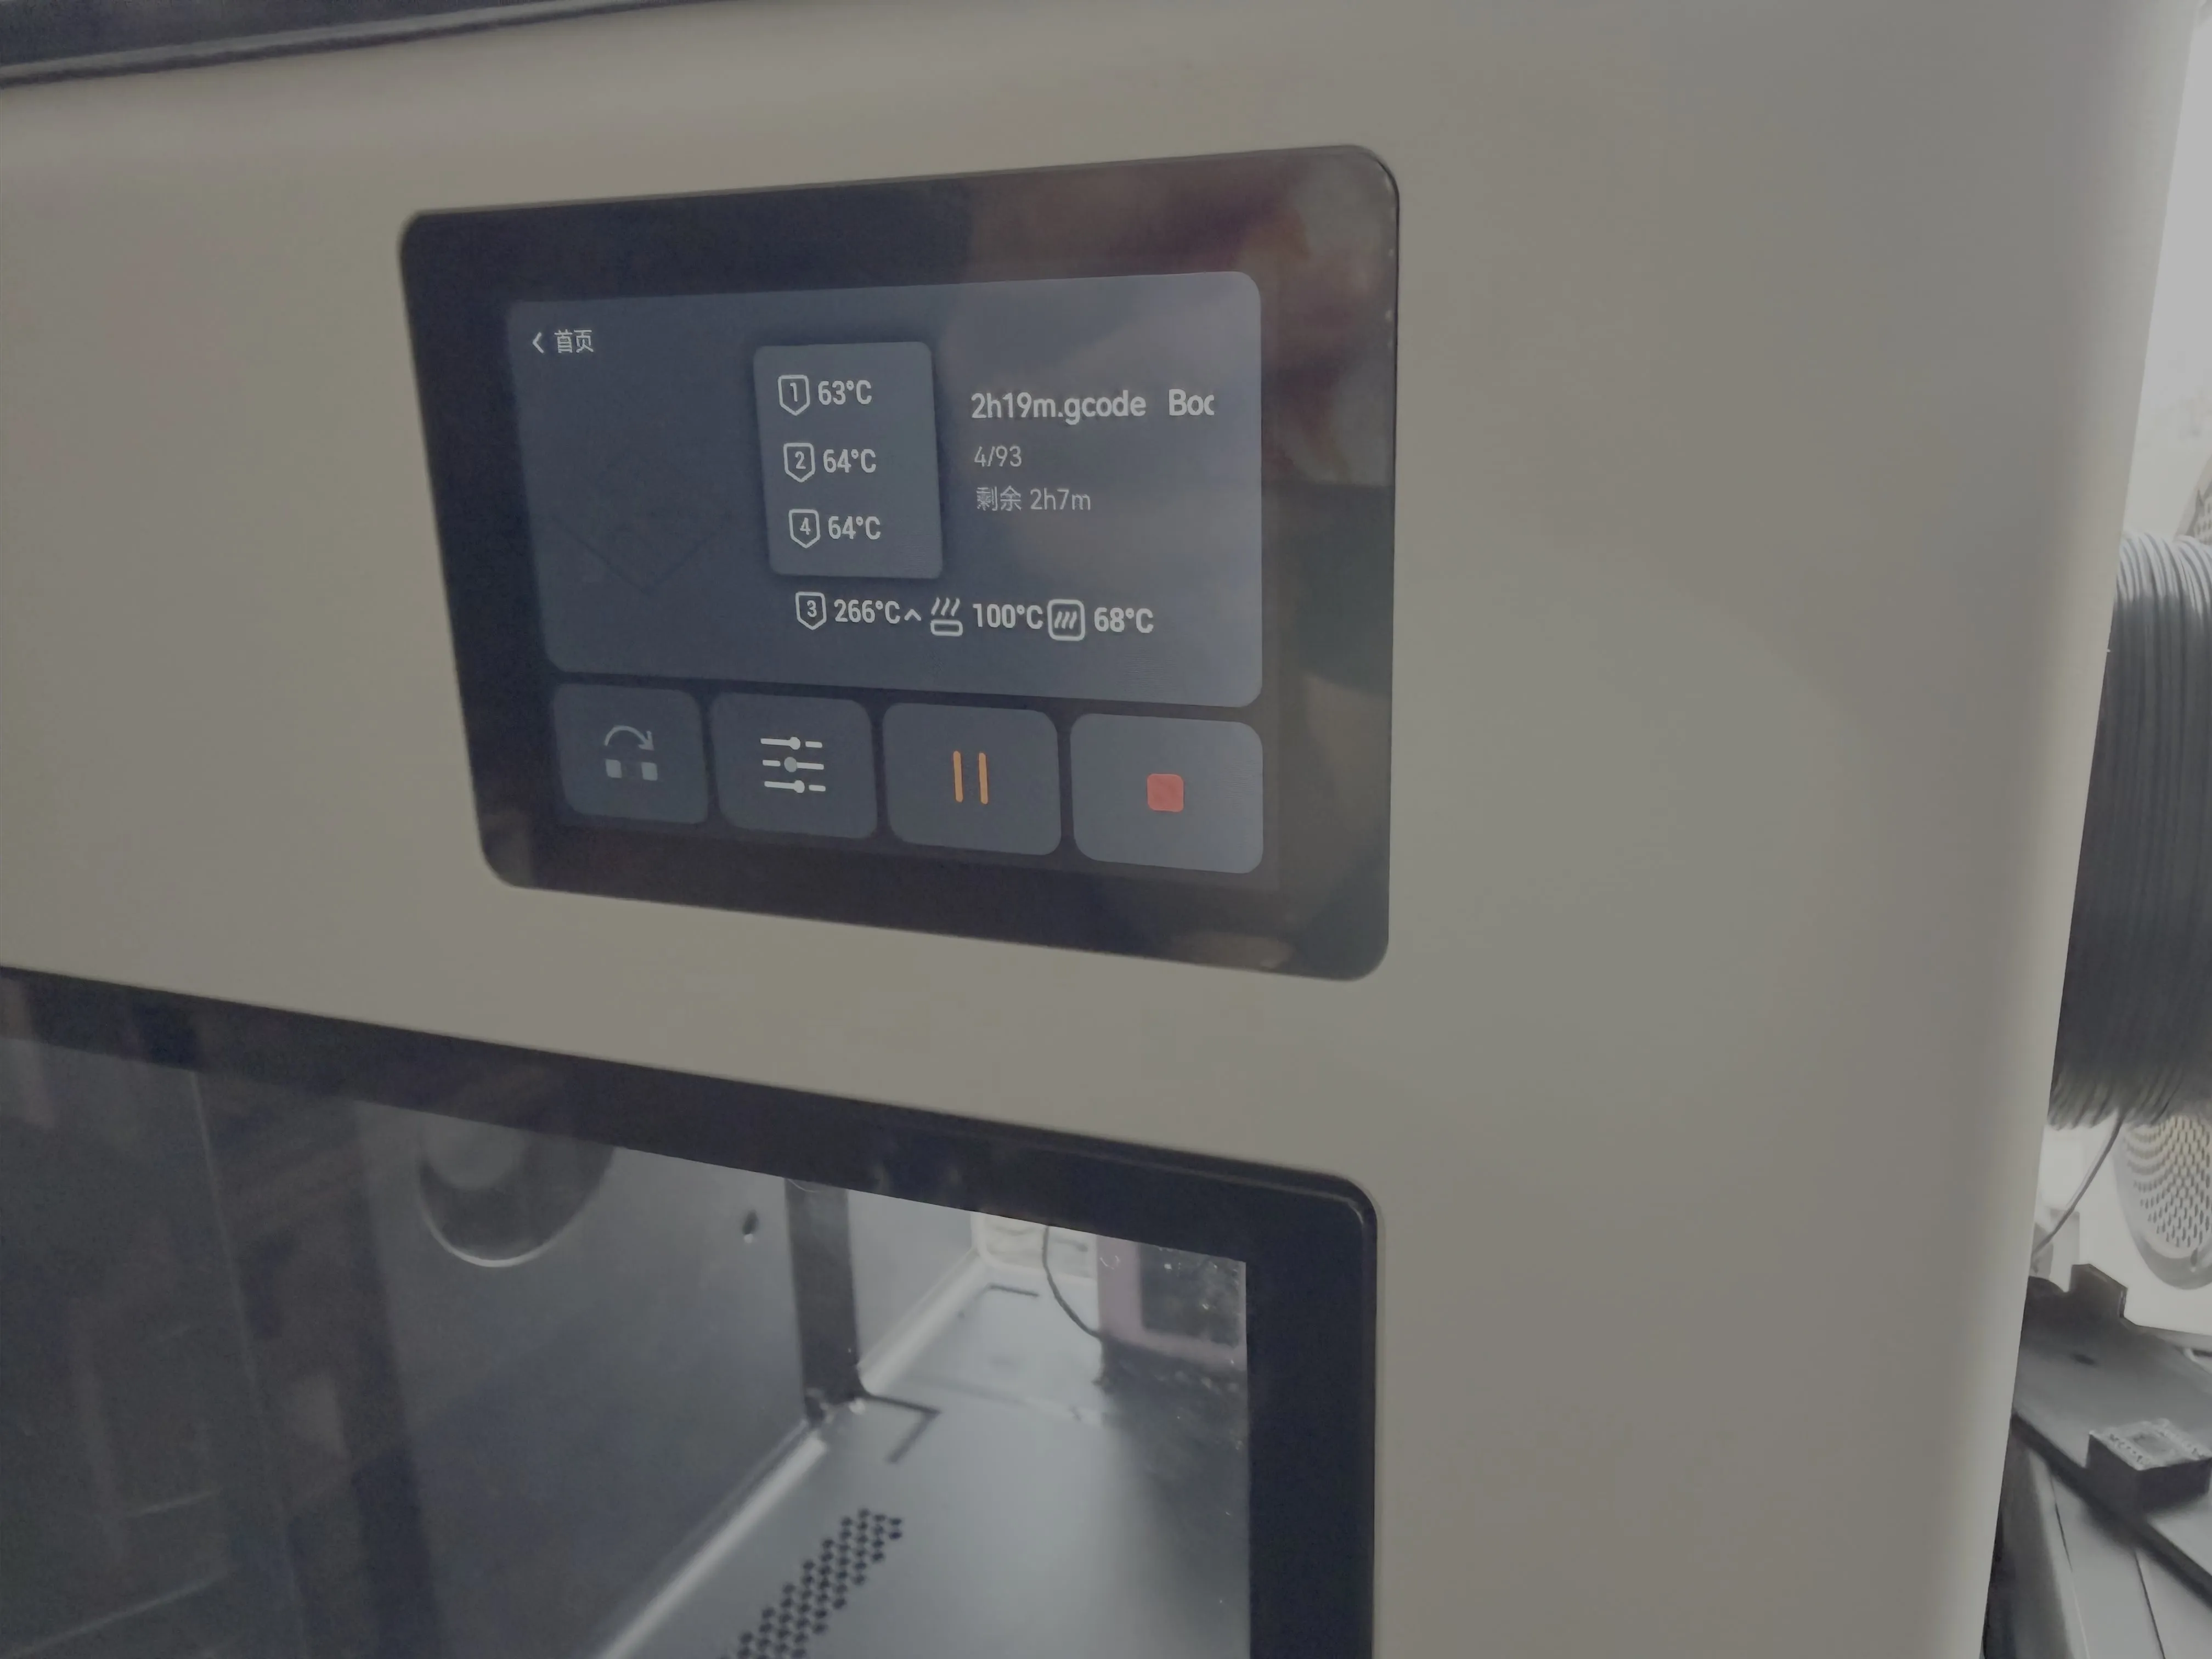
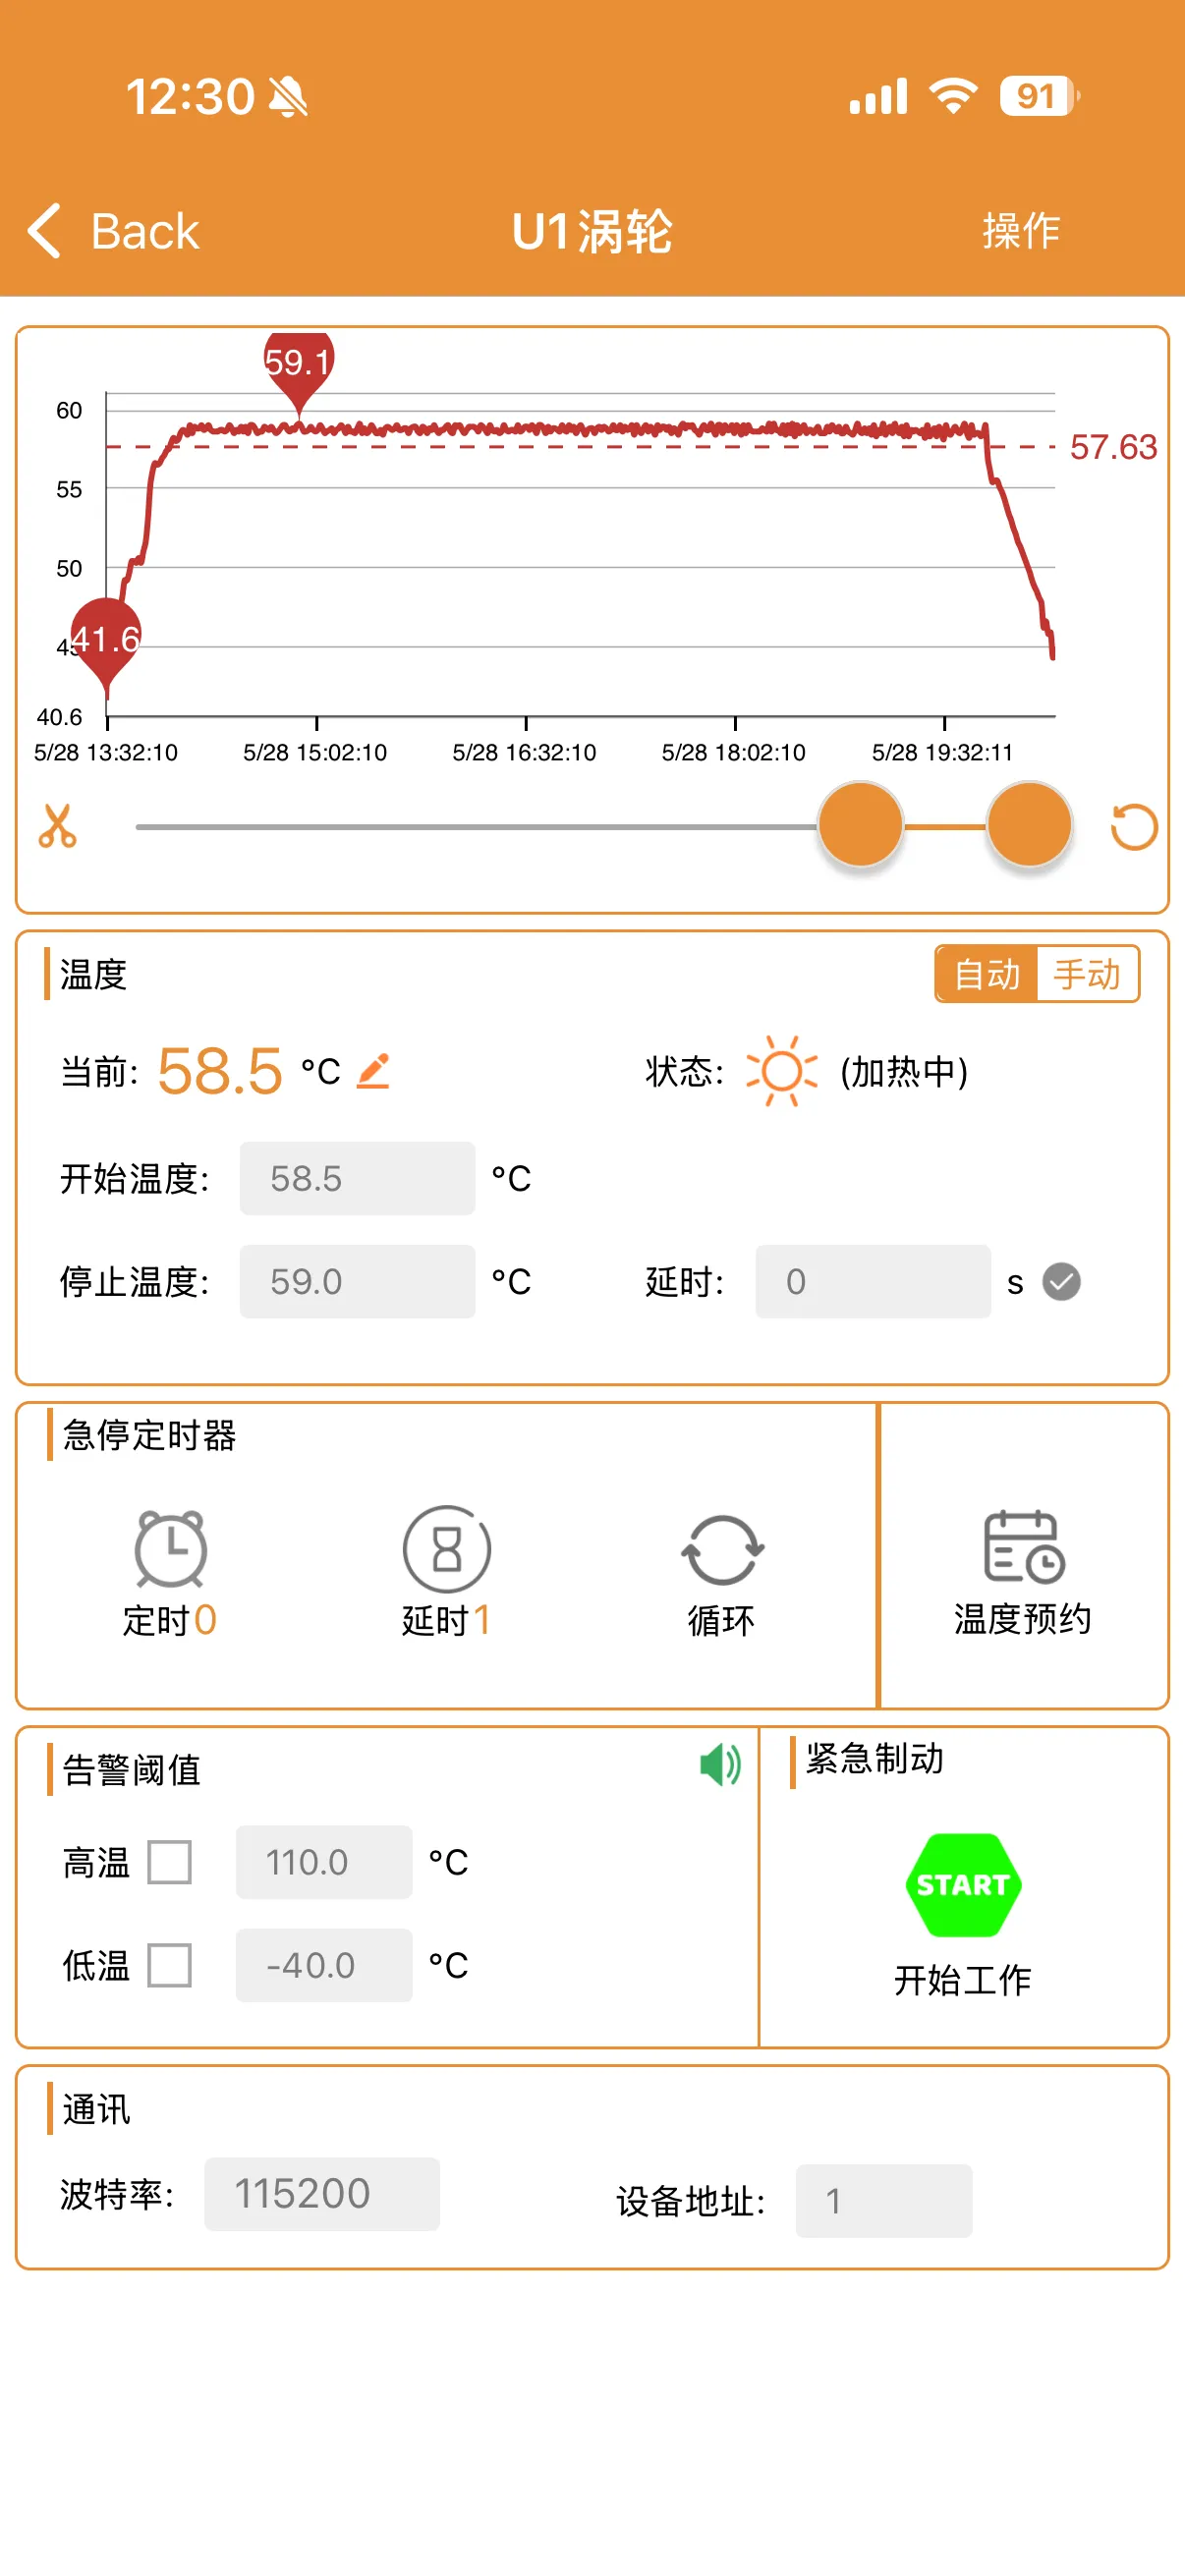
When pairing with XY-SA10-W's App, temperature range can be controlled; cold to full 60+ chamber in 30 minutes. Temperature also stable at per-setting.
 |  |
⚠️ Disclaimer
This project involves AC power and heating elements. Please ensure you have the necessary electrical knowledge before assembly and operation.
Improper installation or use may result in electric shock, short circuits, overheating, equipment damage, or fire hazards. Always ensure proper insulation, wiring, and temperature monitoring, and never operate the device unattended.
By downloading, printing, assembling, or using this model, you acknowledge and accept all associated risks. The author provides this design for informational and educational purposes only and assumes no responsibility for any damage, injury, or loss resulting from its use.
The Snapmaker U1 top cover shown in the images is a Beta version. The final production version may differ in appearance, shape, color, and overall finish. Images are for reference only.
Documentation (2)
License

You shall not share, sub-license, sell, rent, host, transfer, or distribute in any way the digital or 3D printed versions of this object, nor any other derivative work of this object in its digital or physical format (including - but not limited to - remixes of this object, and hosting on other digital platforms). The objects may not be used without permission in any way whatsoever in which you charge money, or collect fees.


Comment & Rating (0)