Pomni - Digital Circus (Articulated Action Figure)


Print Profile(1)
Description
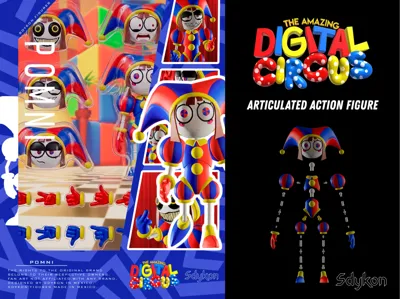
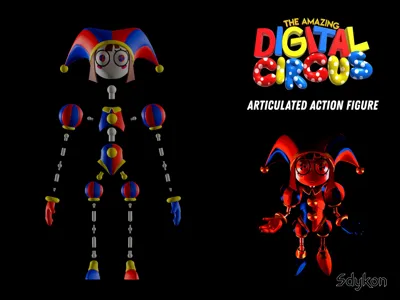
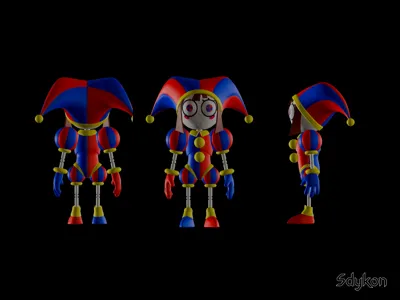
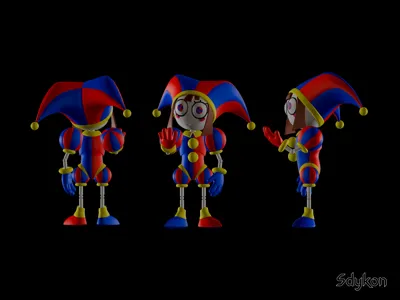
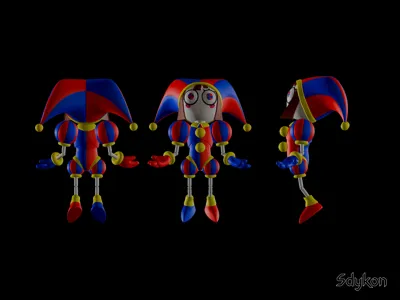
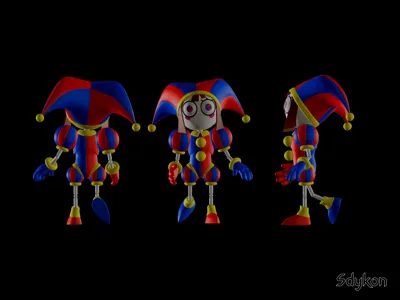
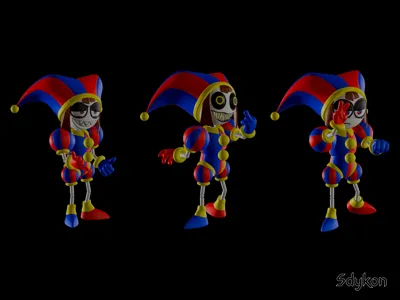
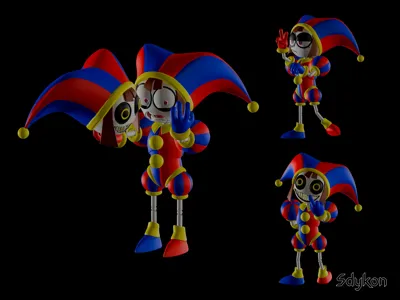
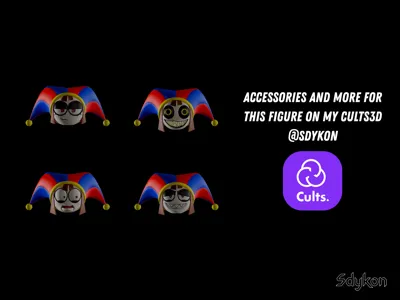
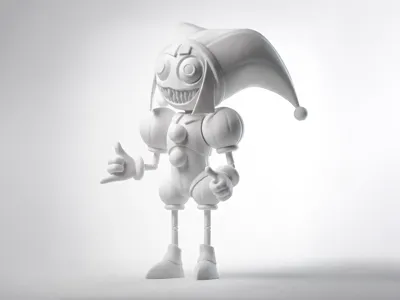
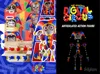
POMNI - THE AMAZING DIGITAL CIRCUS (ARTICULATED ACTION FIGURE)
● Description Of The Model:
- This is a 3D model that is ready for 3d printing.
- All STL files in only one zip.
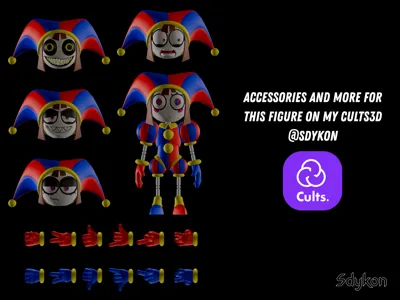
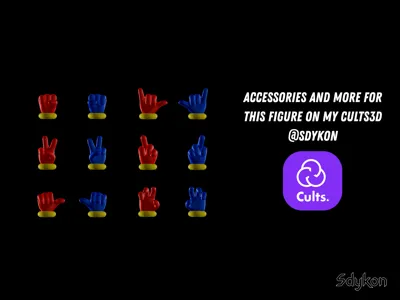
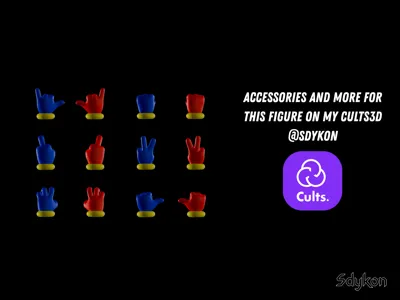
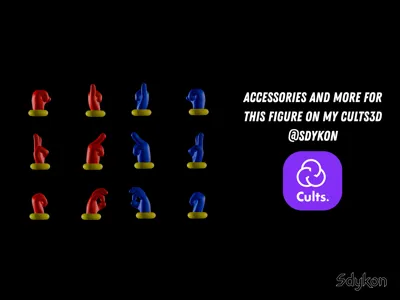
- 49 STL files in total.
- Clean and optimized STL geometry.
- Fully rescalable in slicer if you need it.
- 15.5cm original total height.
- Fan art not affiliated with any brand.
Disclaimer: This design is NOT official, it is merely a concept and redesign done for personal enjoyment. I was NOT hired by the brand; the rights to the original brand belong to their respective owners.
Boost Me (for free)
I would greatly appreciate your support with a boost for my 3D model. It was a long and arduous project, but finally, here it is, free and exclusive. I hope you enjoy it and support it as well. Thank you very much, and have a wonderful day.
● Observations:
- To join the parts with full ball joints, they can be pressed together thanks to the tolerances for which they were designed. However, it is recommended to use a heat gun where the ball will be inserted to make it easier. You could even use boiling water to heat it, if you don't have a heat gun for it; just be very careful when submerging and removing the piece, and take your time leaving it in the hot water as it shouldn't be for too long.
- It is recommended to print each part of the model separately to avoid potential problems during printing and to have better control over the printing of each part individually, allowing you to adjust the slicer parameters as needed.
- Please note that the available 3mf file is for printing all the parts on different build plates. However, I reiterate that it is recommended to use your own slicer settings that work best with your printer.
- I recommend using a low layer height, no greater than 1.4mm. The ideal layer height is between 1.0mm and 1.4mm for the parts when slicing.
- The 3D model parts were designed taking into account the respective tolerances so that the pieces can be worked with paint, primer, and sandpaper. Any imperfections or details that may appear during printing can be fixed and cleaned using the aforementioned methods.
- If any joint or fitting doesn't work or doesn't fit together properly when assembling the figure, or if it feels too stiff, remember that you can use sandpaper to clean the area and surface of the printed piece if necessary.
- If the joints are too loose or feel somewhat loose, this can be fixed with the technique used to stiffen joints on action figures. This technique uses liquid instant glue. I'm sharing two YouTube videos here that explain the technique:
Video 1: https://youtu.be/TOZNO4Tgyxw?si=7QkQxgMbhfBq-wnb
Video 2: https://youtu.be/I_D67F5soAU?si=dVG6mXtjSe3MJMep


License
You shall not share, sub-license, sell, rent, host, transfer, or distribute in any way the digital or 3D printed versions of this object, nor any other derivative work of this object in its digital or physical format (including - but not limited to - remixes of this object, and hosting on other digital platforms). The objects may not be used without permission in any way whatsoever in which you charge money, or collect fees.
Comment & Rating (213)