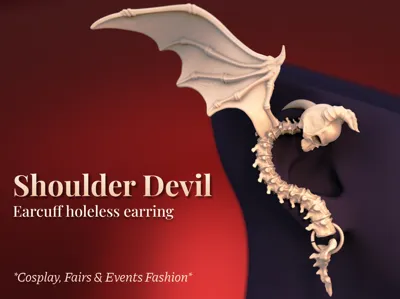
Shoulder Devil - Spine Inspired Earcuff Earring


Print Profile(1)
Description
Boost Me (for free)
Enjoy my models? Support me in creating even cooler stuff by boosting me - for free! 🚀🪐
Hey there! :)
This model is the second part of a set, and the matching earring for my previous design, Shoulder Angel! Since many of you guys loved it and asked for the devil version, I've had to give it a shot. :D

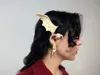
Also, the uploaded profile for this model is for the left ear, so you can directly print it to match the angel earring on the right. All the print & sizing notes are similar between these two pieces.
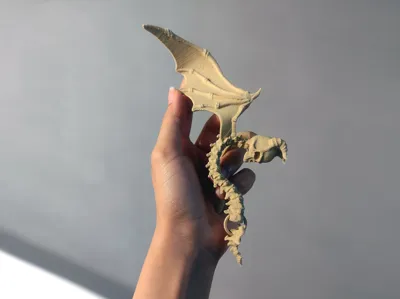
Sizing:
The uploaded profile that fits me best is about 10 cm in the Y direction. To go one size up, select all components and scale them up by about 10%. Use 10% increments to scale it up more.

Print Notes (For anyone who's not using the profile I've uploaded):
- 0.12 or 0.16 mm layer heights, 2 walls & 0% infill (to make your print stronger, you can increase the number of walls, but it will make your earring heavier).
- Change the Seam Position to “Nearest”.
- For a better surface quality, you'll need to lower your printing speed a lot. I've uploaded this profile with a 90 mm/s wall-printing speed, but I suggest going even lower, to about 60 or 50 mm/s.
- Enable outer brims generation.
Support Tuning (For anyone who's not using the profile I've uploaded):
- This is a rather support-intensive design, and for that reason, we need trustworthy supports. This is the support tuning I did on my prints to ensure my supports won't fail, but will also break away easily and leave the final surface undamaged and as smooth as possible.
- Lower the threshold to about 20 or 25 degrees.
- Increase the initial support expansion to 5 mm.
- Increase the support wall loops to 2.
- Increase the support/object gap to about 0.28 mm.
- Change the Interface Pattern to “Rectilinear”.
I hope you enjoy the new design! Happy printing! :) ✨🥂
If you really loved my work, you can always get me a coffee :)
(Commercial licences and high-quality renders also available on Ko-fi)

License
You shall not share, sub-license, sell, rent, host, transfer, or distribute in any way the digital or 3D printed versions of this object, nor any other derivative work of this object in its digital or physical format (including - but not limited to - remixes of this object, and hosting on other digital platforms). The objects may not be used without permission in any way whatsoever in which you charge money, or collect fees.
Comment & Rating (12)