Search models, users, collections, and posts

GIF
GIF
Print Profile(1)
0.2mm layer, 3 walls, 15% infill
Designer
13.2 h
5 plates
Open in Bambu Studio
Boost
16
52
0
1
12
4
Released
Bill of Materials
Maker's Supply Kits and Parts
Select all

Bambu Filaments
Select all


List other parts
- Schrauben M6 x 3: je nach Untergrund für die Befestigung, siehe Text
- M6x25 Schrauben + M6 Muttern x 6: für den Sockel
- M8 Muttern x 2: für den Sockel
- Gewindestange M8 x 1: Länge nach Wahl, oder 1m Standard und absägen
Description
Content has been automatically translated.
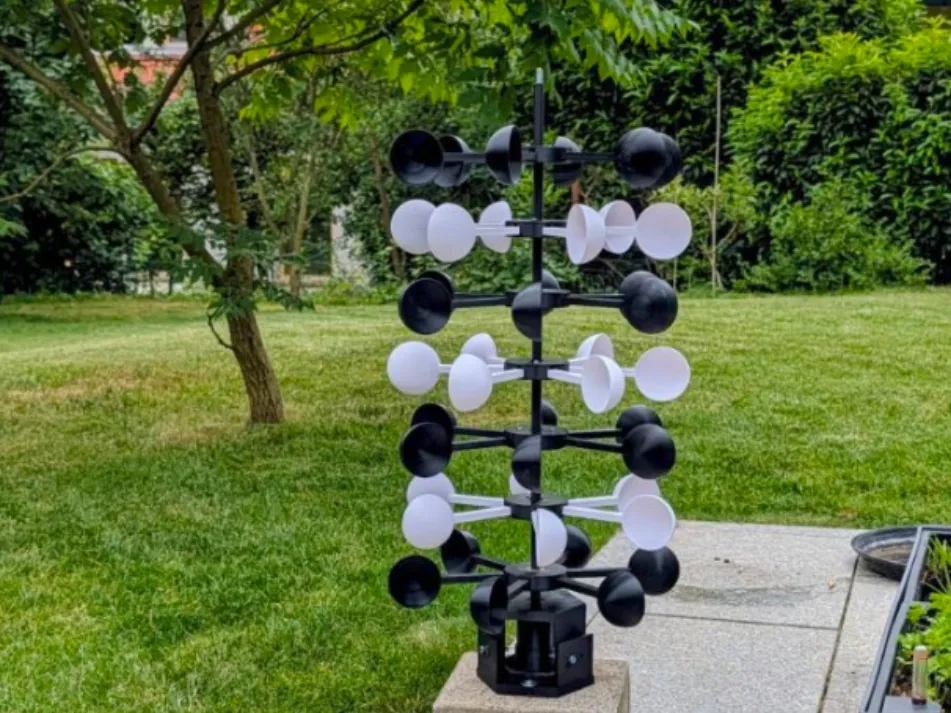

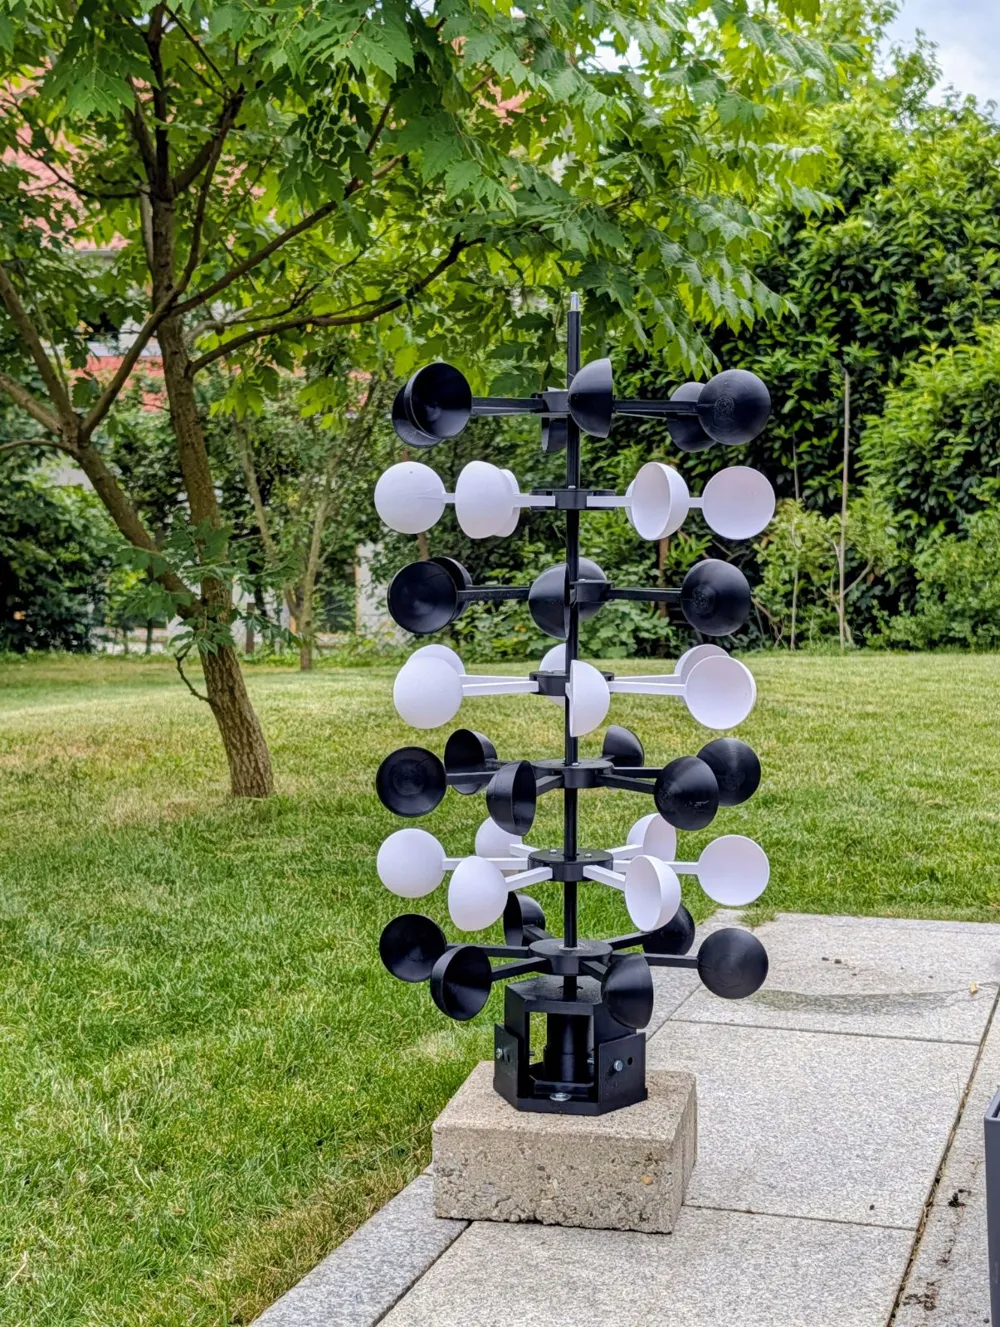

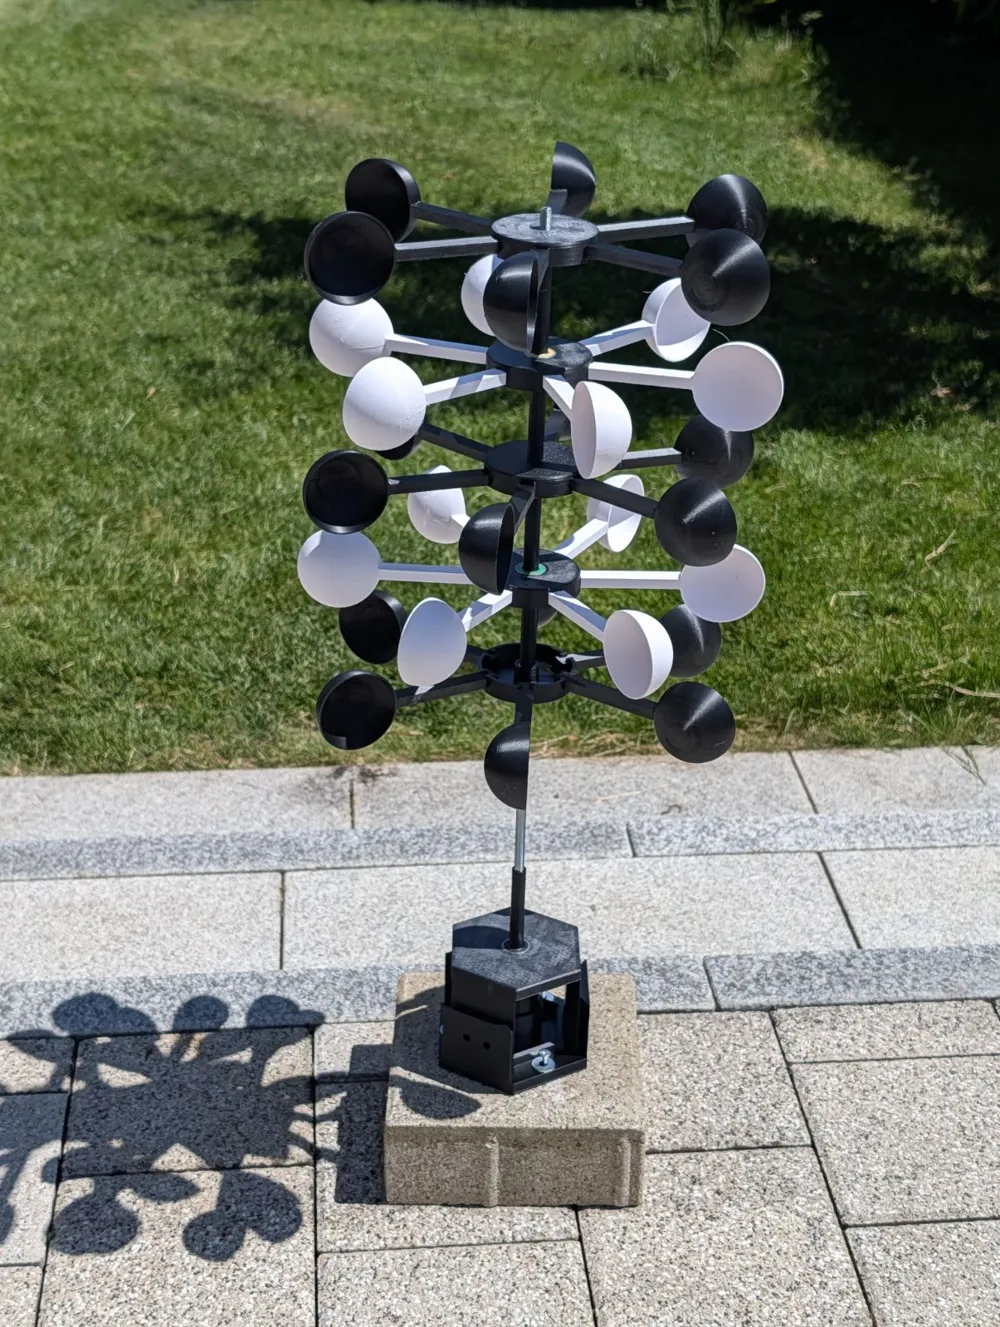
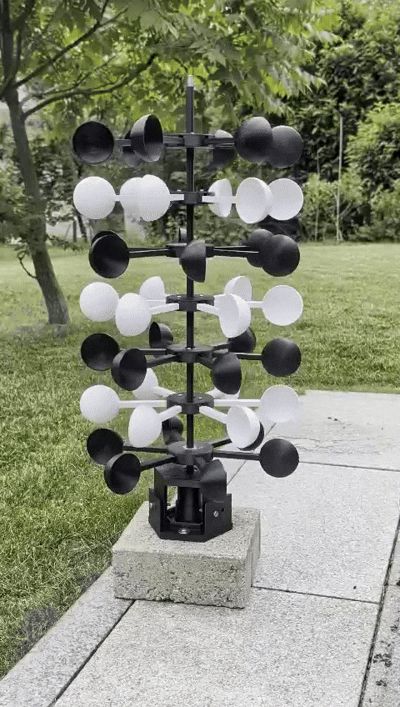
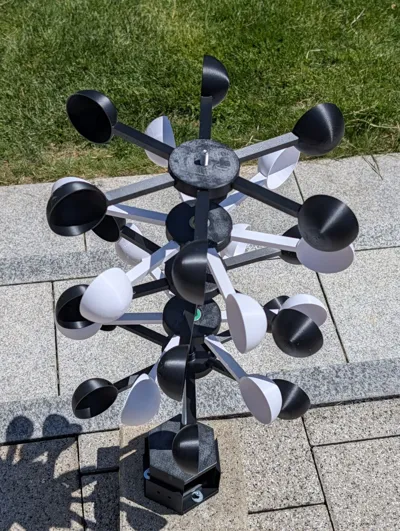
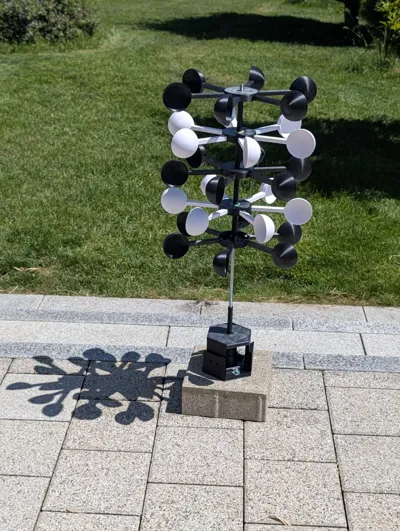
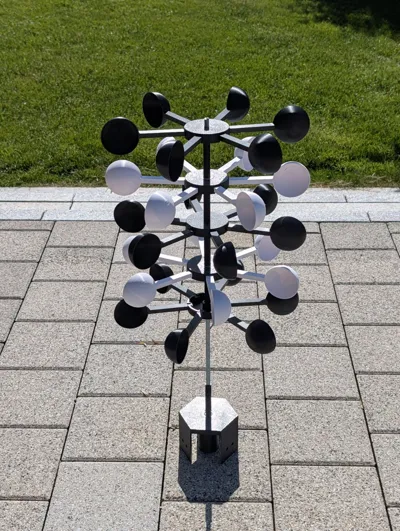
Jogi's modular wind turbine - up to 1m (or higher?) possible
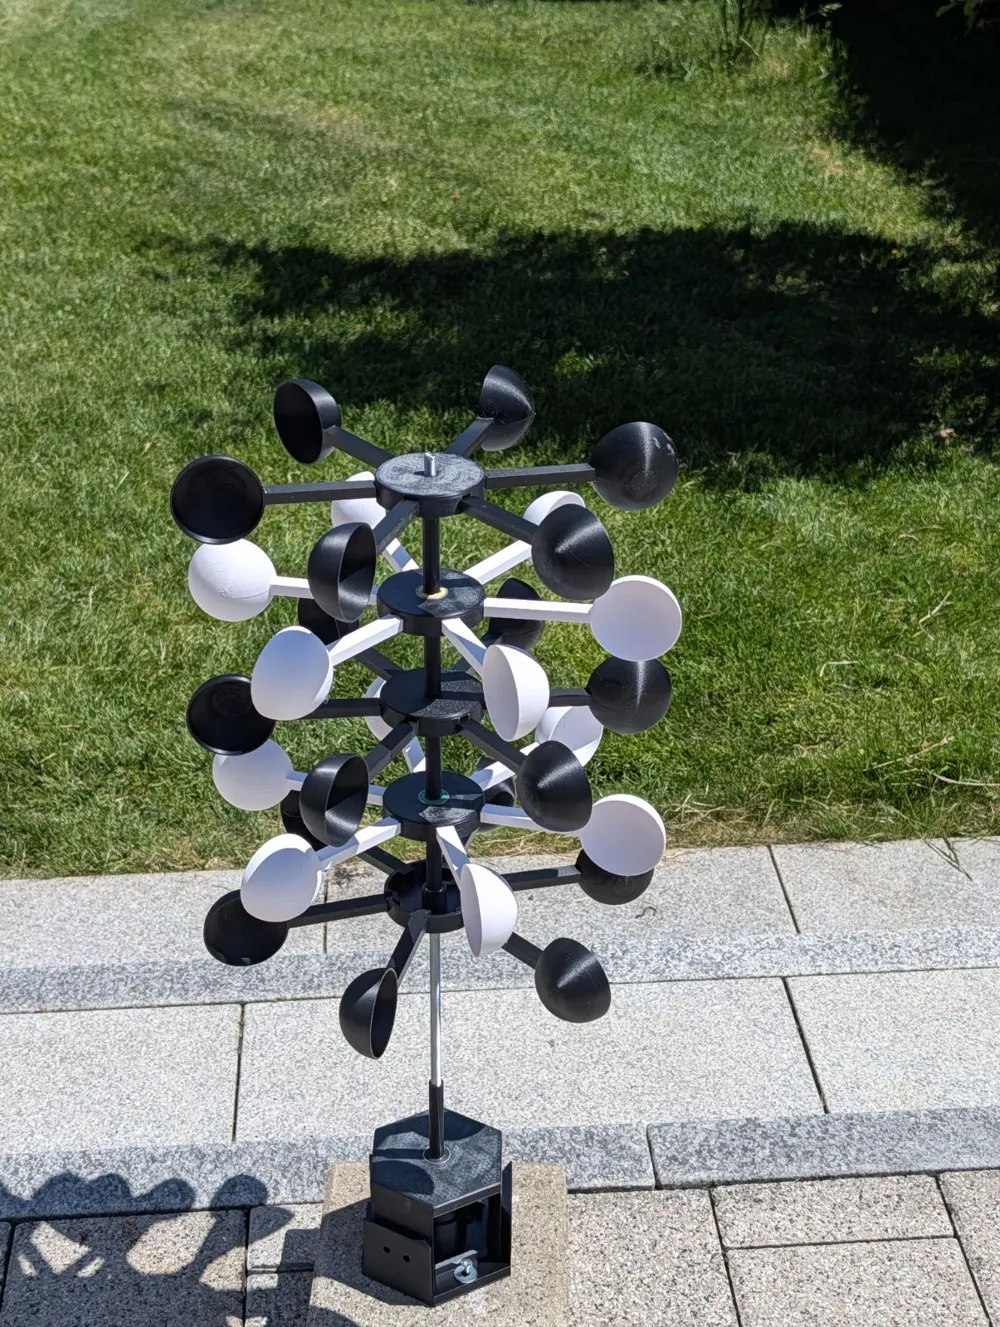
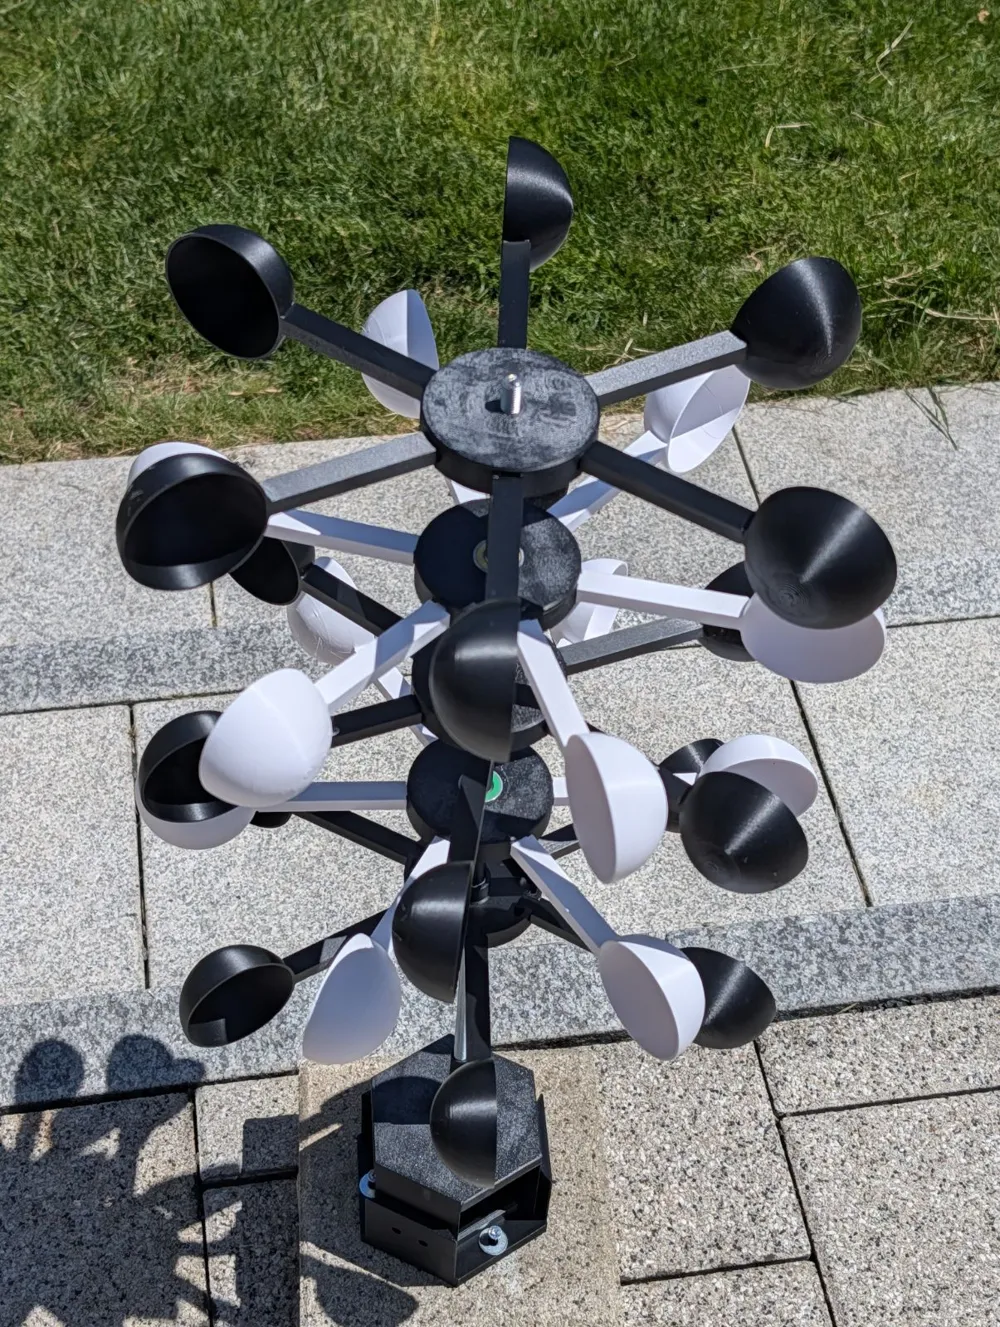
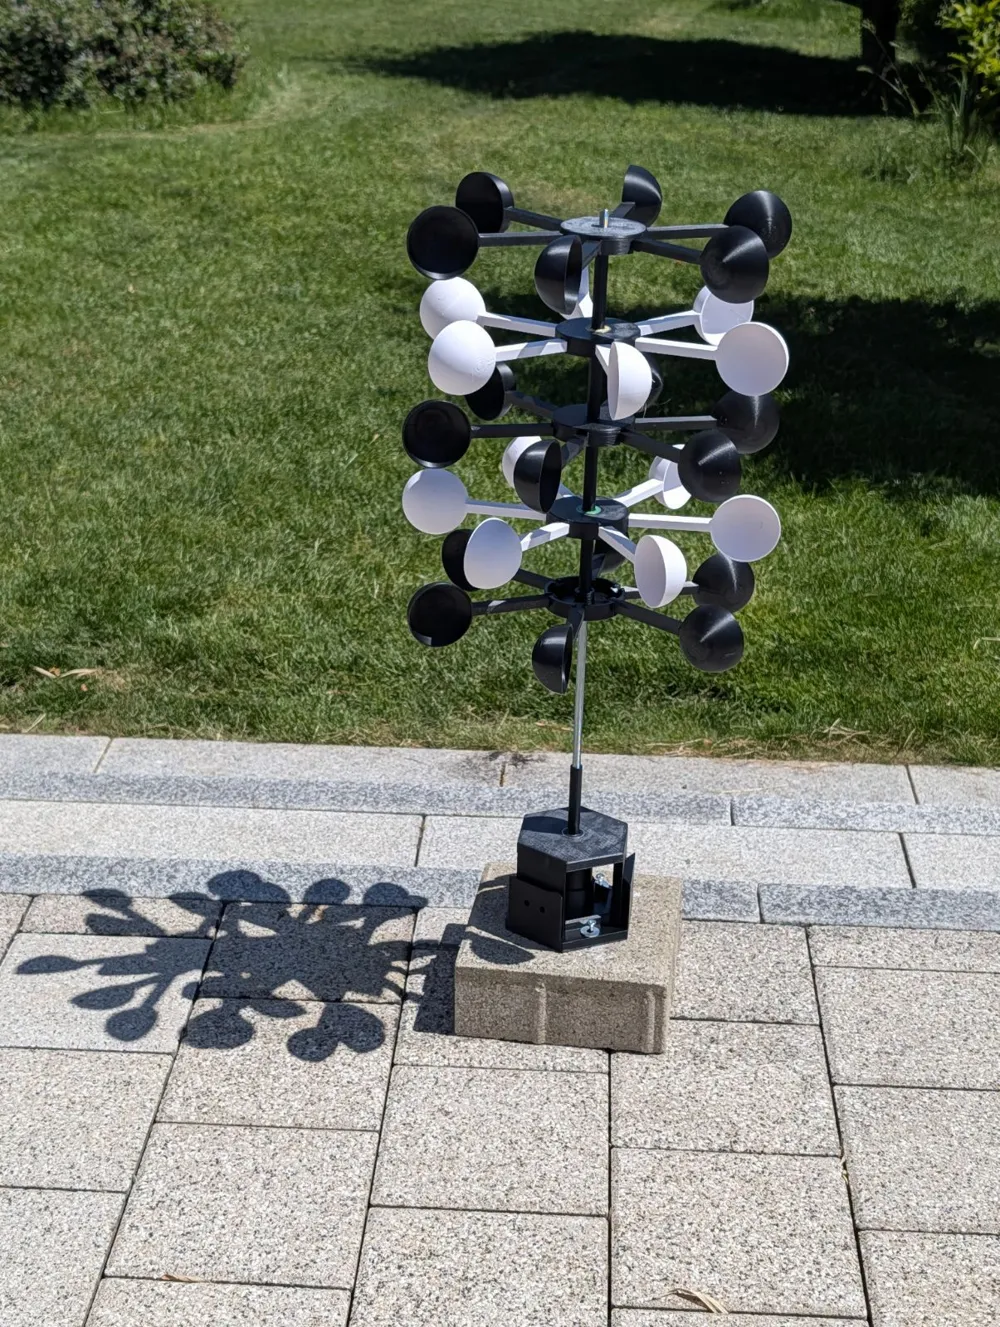
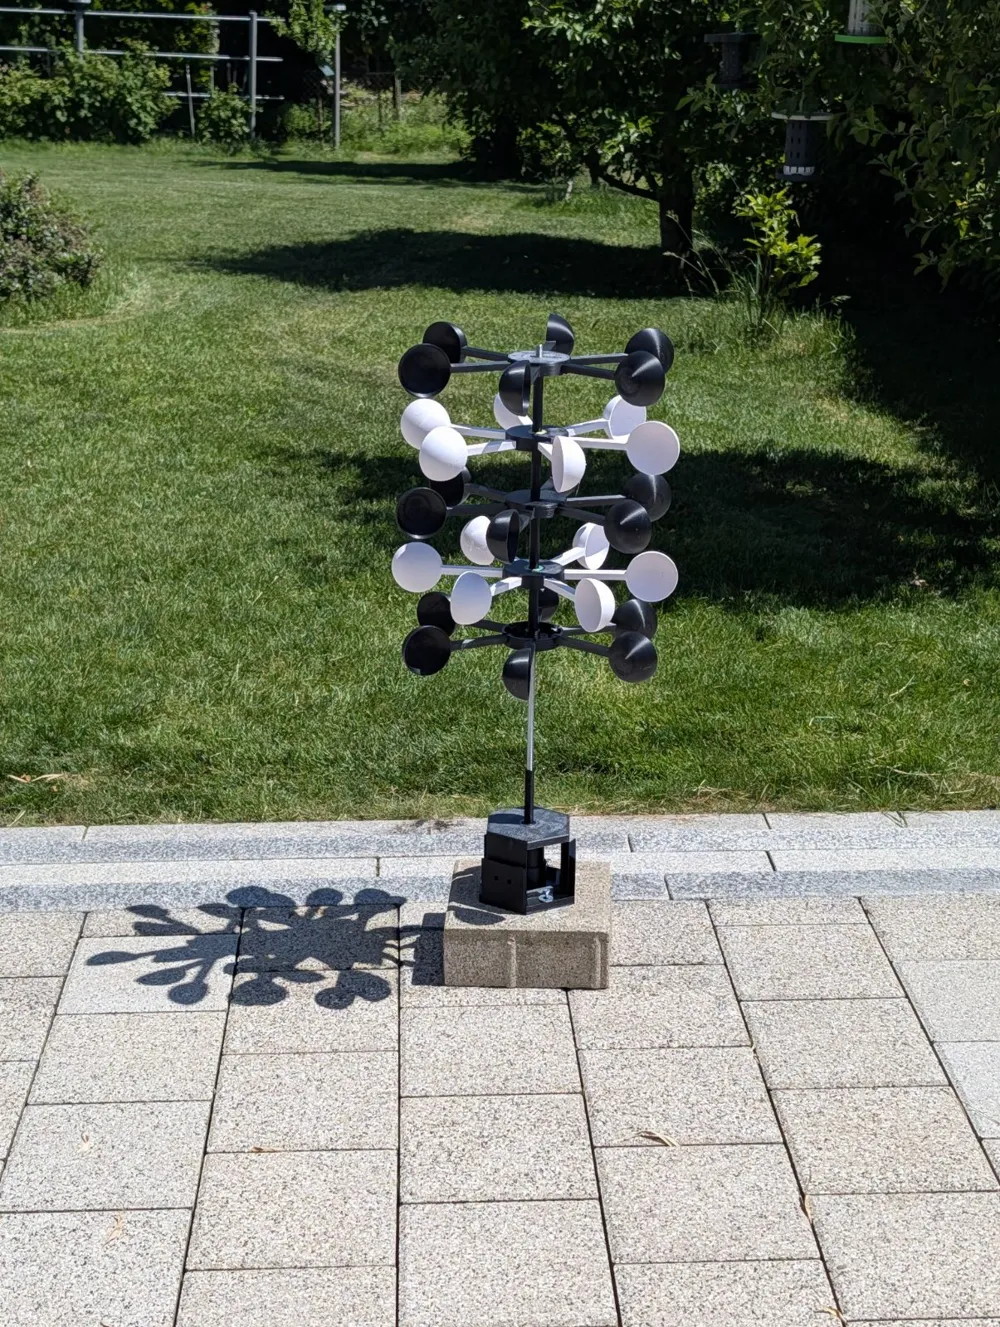
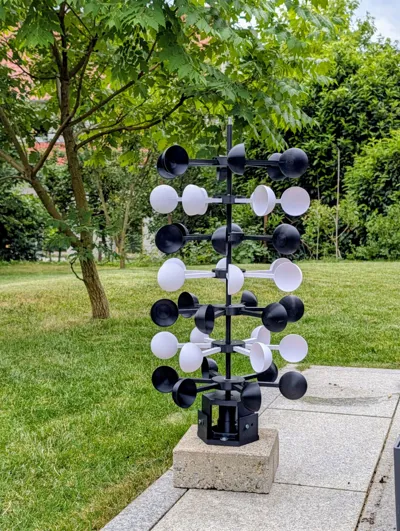
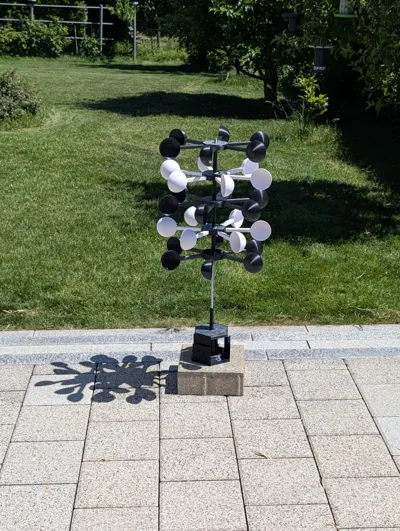
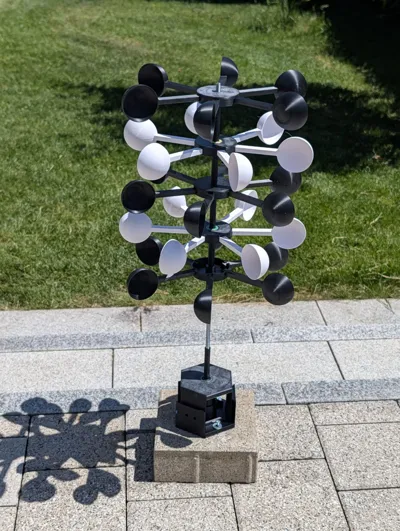
Here is my version of a wind turbine / wind chime:
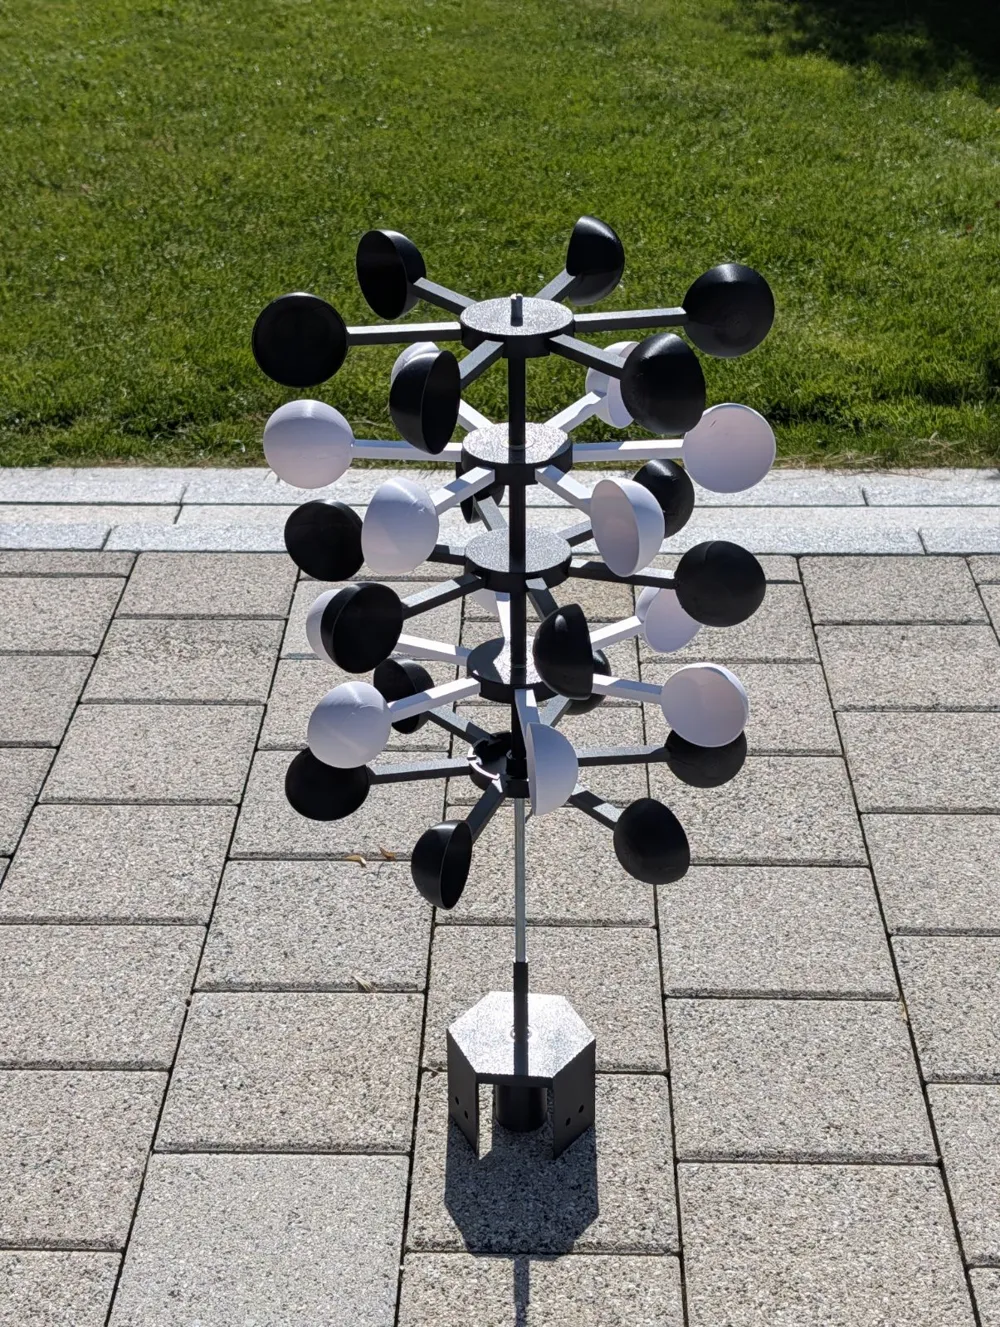
The version in the photos with 7 layers is over 70cm high!
Completely modular, many individual parts.
The blades are plug-in, and other versions will be available soon.
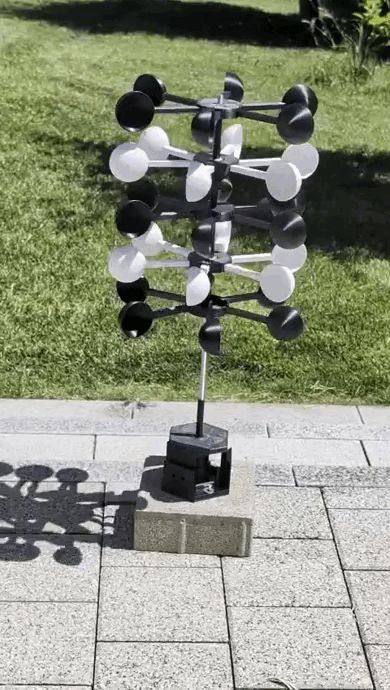
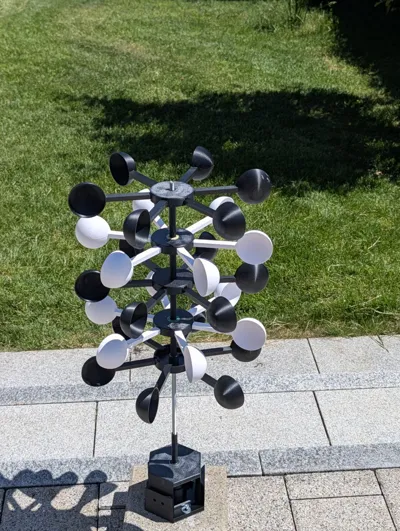
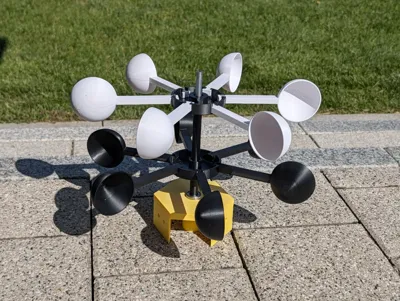
The height is arbitrary - I have tried 1 layer, 2 layers, up to 7 layers so far.
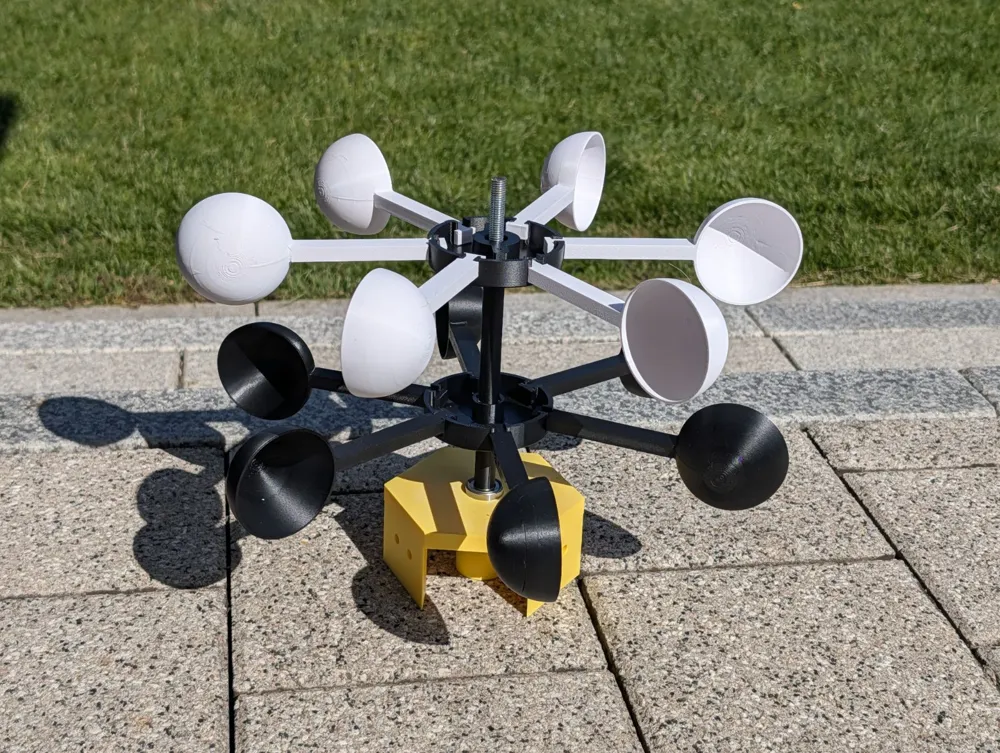
The scoops have a diameter of 6cm.
The spacers / covers for the threaded rod between the layers are 7cm long.
This means the wind turbine grows by approximately 10cm per layer.
JOGI Wind Turbine System Kit:
I have several wind turbines based on the same system.
You can combine the parts freely - scoops, holders, etc.
As you wish!
And here's how it works:
Use PETG or other outdoor-suitable materials, no PLA!
In addition to the print, you will need:
For the base, 2 ball bearings, and for freely rotating layers, 1 ball bearing per layer:
Version 608: inner diameter 8mm, outer diameter 22mm, height 7mm
(I now recommend the version with ball bearings; the print template has been adjusted accordingly)
Screws + wall plugs for base mounting: holes for M6-M8 are available. Use screws + washers.
I used M6 wall plugs and M4.5 screws, 40mm long, inside them.
For the cover caps, you will need 2 M3 x 6 or 8 screws per layer.
An M8 threaded rod of the desired length.
M8 nuts for attaching the layers.
M6 screws + nuts for the 2 base parts.
Print what you need:
6 rotor scoops per layer
+
1 rotor - optionally with or without ball bearing (I recommend ball bearings)
+
1 cover cap
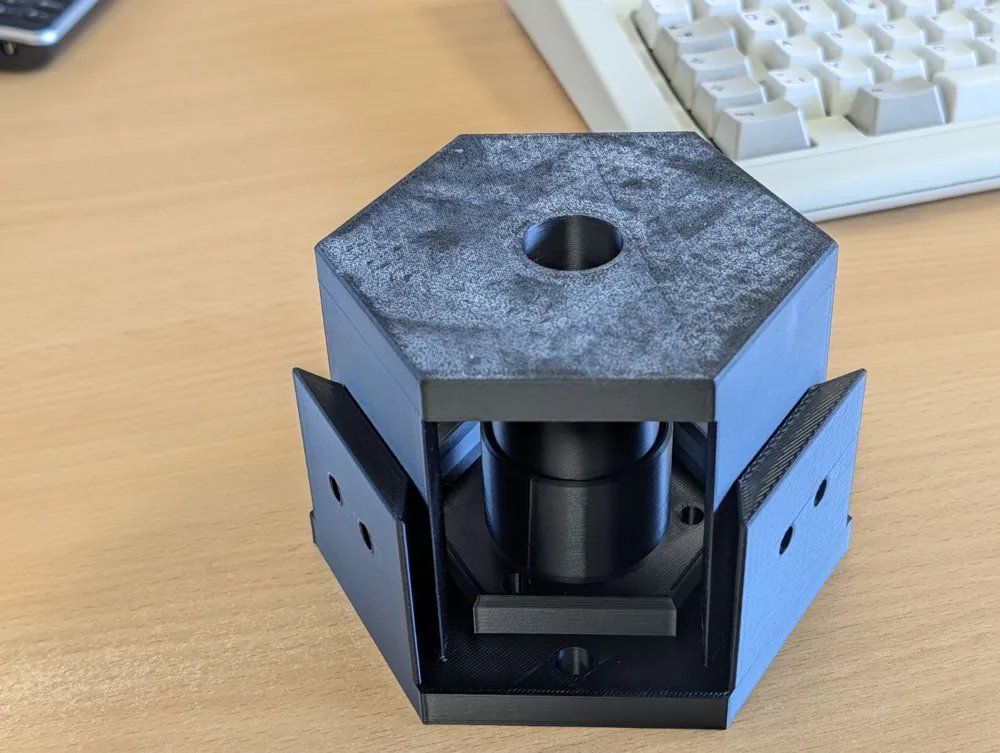
For the stand, print the 2 large parts.
For covering the threaded rod, print the corresponding covers - note - 1 piece is 50mm, the others are 70mm.
Assembly:
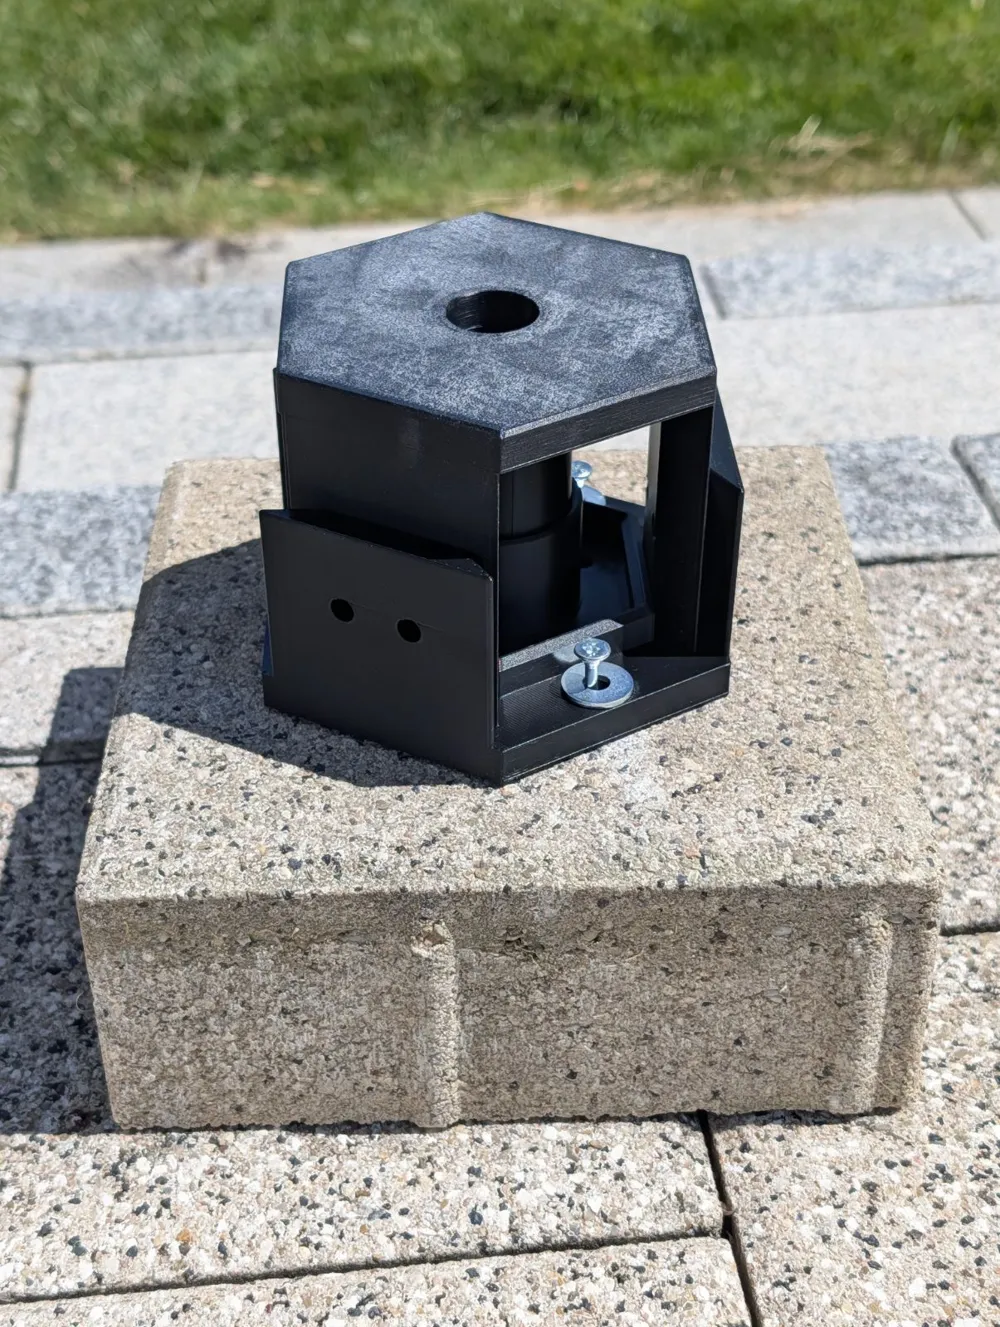
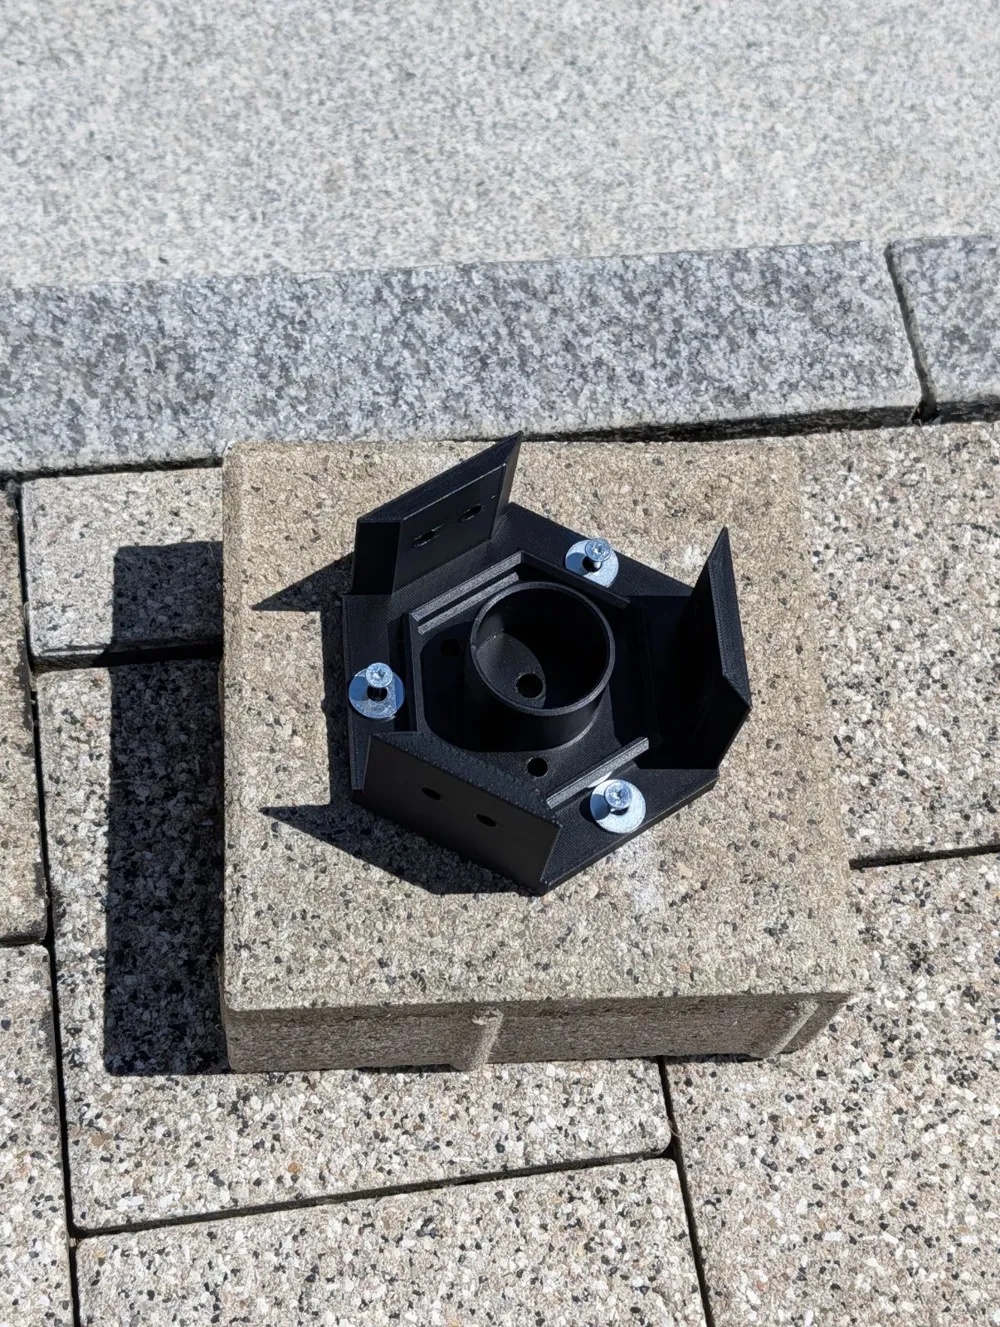
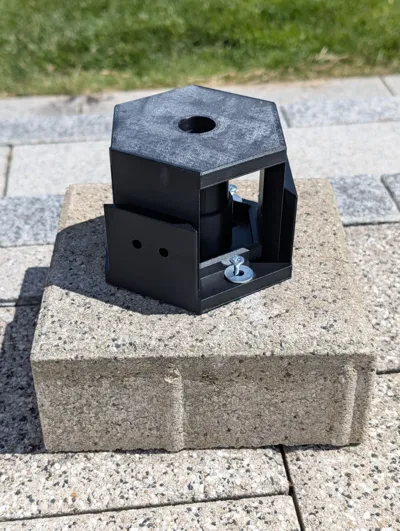
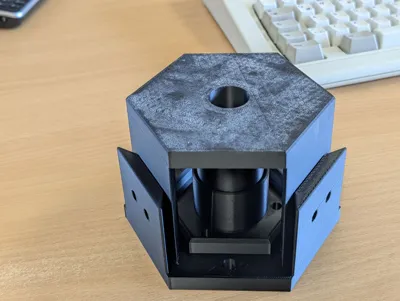
Print the base (2 parts).
Find a stone, a flat board, or another surface for mounting.
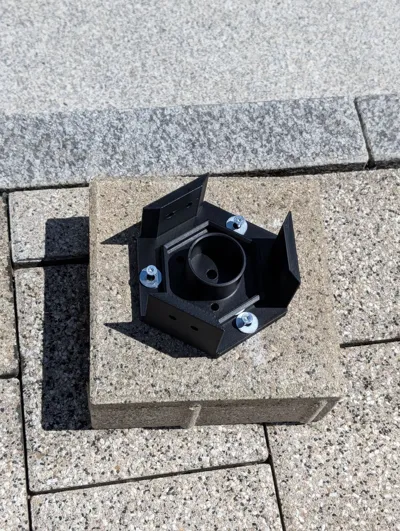
Place the lower part on the surface and mark the mounting holes (I used the 3 outer holes; there are also 3 inner holes for mounting).
Drill the holes into the surface. Use wall plugs depending on the surface.
Place the lower part back on and screw it firmly.
The base should be as vertical as possible.
Slide the upper part of the base onto the lower part and secure it laterally with the M6 screws against nuts mounted internally.
Insert a ball bearing into the hole in the center. Push it all the way down with a screwdriver (or any other suitable tool).
Take the threaded rod and saw it to the desired length.
(Tip: assemble and mark it beforehand, or just let it protrude, that also works).
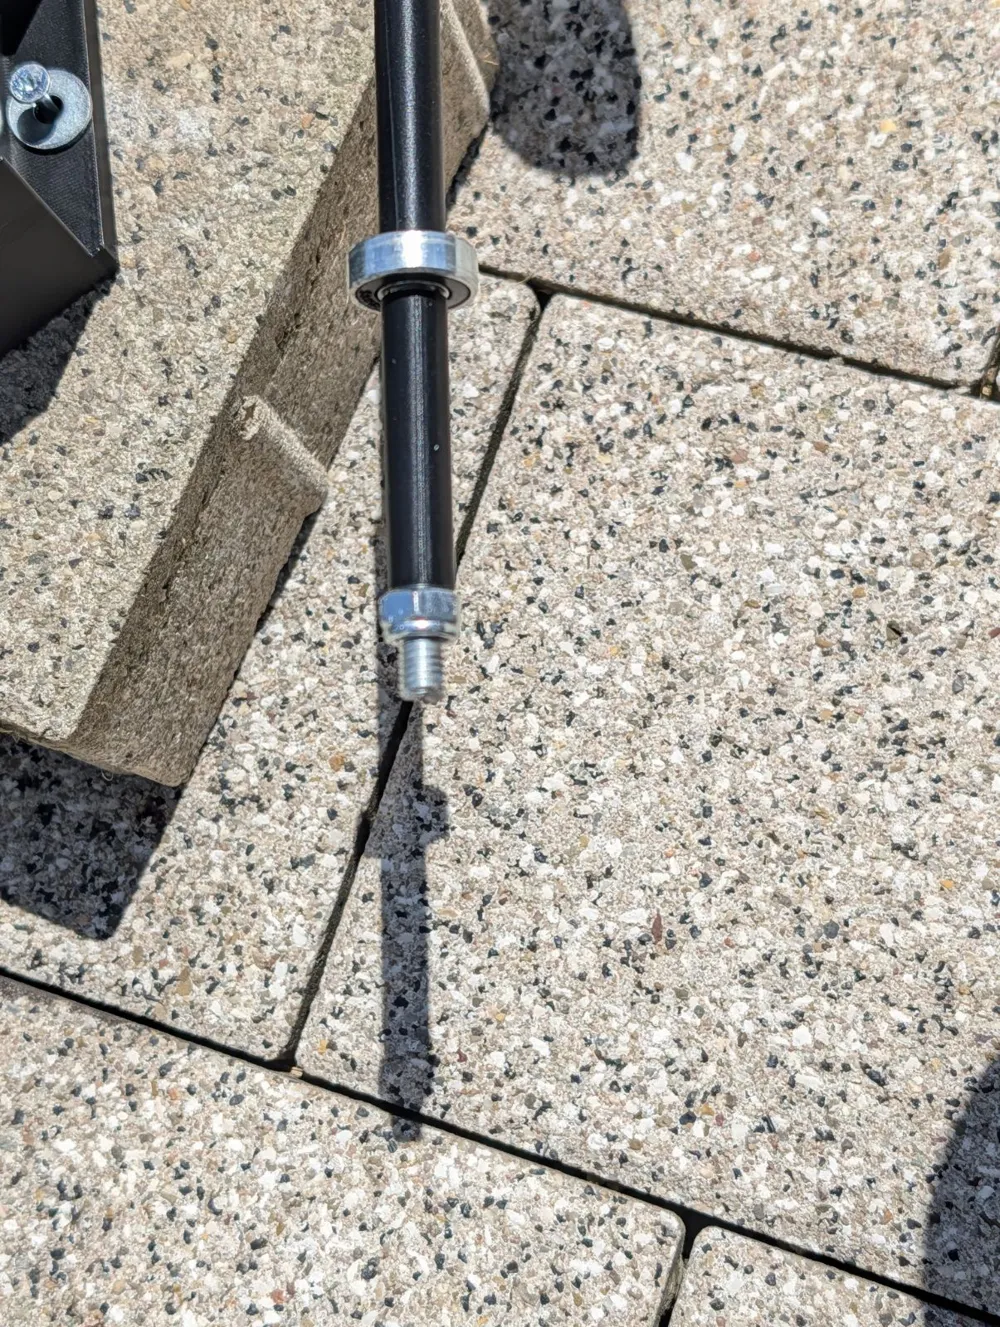
Thread a nut onto the threaded rod from one end (this will later be the bottom).
This nut must be secured, so either use a self-locking nut or some adhesive (superglue).
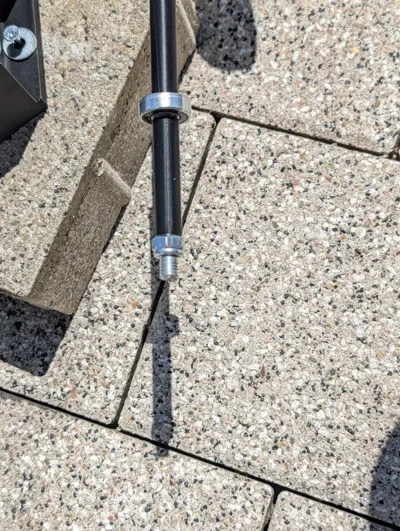
The threaded rod should protrude slightly more than the diameter of a ball bearing - not too long, otherwise, it will rest on the bottom later.
Approx. 1cm is OK.
Then slide the 5cm tube onto the threaded rod.
Insert the threaded rod into the base. It should fit into the ball bearing and protrude minimally downwards.
Now slide a second ball bearing onto the rod from above and press it down into the base. This should fit approximately flush.
The rod should now be vertical (if the rod is tilted, the wind turbine will rotate less effectively).
The Layers:
One layer is sufficient, but more layers look better.
Quite ingenious:
Each layer can rotate in a different direction, allowing for various effects:
In my version:
black layers rotate left, white layers rotate right.
The direction of rotation is determined by the orientation of the rotor blades / wind scoops.
Important: All scoops on a layer must, of course, point in the same direction!
First, slide the spacer / cover for the threaded rod, then a layer.
2 variations are possible:
1. With M8 nut:
Install the direction of rotation always in the direction of the thread, so that the layer "pushes downwards".
All layers with a nut must rotate in the same direction so that they do not block each other.
This version has the disadvantage that each layer must be "screwed on", which is a bit annoying with long threaded rods.
Advantage: all layers reinforce each other, the area exposed to the wind is larger. Conversion with a generator might be possible later (in progress).
2. With ball bearing:
Rotation direction freely selectable per layer.
One right, one left, 2 right, 2 left, as desired.
This version is simpler. Each layer rotates freely.
A mixture is also possible, but all layers fixed with a nut must rotate in the same direction.
6 blades / wind scoops are needed per layer.
Print the mount with M8 nut OR ball bearing - as desired.
Print 6 blades.
Print the cover.
Insert the blades into the hub - attention - all must be mounted in the same direction of rotation!
Insert the M8 nut OR the ball bearing.
Place the cover and screw it firmly.
Important: Use stainless steel ball bearings, or grease the ball bearings so they do not rust!
Slide the layers onto the threaded rod.
All layers assembled?
Finished - now it just needs some wind.
Have fun with it!
Update 2.6.26:
I now generally use the ball bearing version.
The nut version (where all layers are connected with a nut) is too complex for a wind chime.
The rotor mount with ball bearing has been revised - the mount is now placed on the other side. This makes it hold much better and no longer requires support during printing.
The opening of the rotor mount for the axle now has a 3mm larger diameter.
The cover tubes are thinner, which saves some material.
Application experience:
Definitely use weatherproof ball bearings; many Chinese ball bearings rust quickly!
I recommend greasing / oiling ball bearings.
Be sure to remove any filament residue, such as lint, from the ball bearing area. In my case, one layer did not rotate; it was simply caught on a filament lint that acted like an anchor.
Meanwhile, I have converted my model to "ball bearing only" layers and upgraded to 7 layers.
Update 8.6:
Closed cover for the threaded rod added.
So that the rod does not stick out at the top. Print the closed cover once for this.
The sleeves for the threaded rod can be scaled as desired.
However, always scale only in the Z-direction, NOT "uniform" and not in the X or Y direction!
This way, the diameter always remains the same, and only the length changes.
The minimum length to prevent individual layers from getting stuck together is 6cm, but I recommend at least 7cm.
By the way: All my modular wind turbines from the Jogi system can be combined with each other, so you can also use scoops or holders from other projects!
Boost Me (for free)
:-)
License

This user content is licensed under a Standard Digital File License.
You shall not share, sub-license, sell, rent, host, transfer, or distribute in any way the digital or 3D printed versions of this object, nor any other derivative work of this object in its digital or physical format (including - but not limited to - remixes of this object, and hosting on other digital platforms). The objects may not be used without permission in any way whatsoever in which you charge money, or collect fees.


Comment & Rating (0)