
CryoPod Insulated Can Holder Freezable Parametric
Print Profile(9)
Bill of Materials





Description
Membership
Love this model? With my Commercial License tier, you can legally sell 3D prints of it! Join now to unlock over 80 designs and boost your shop. Start selling today! 🚀
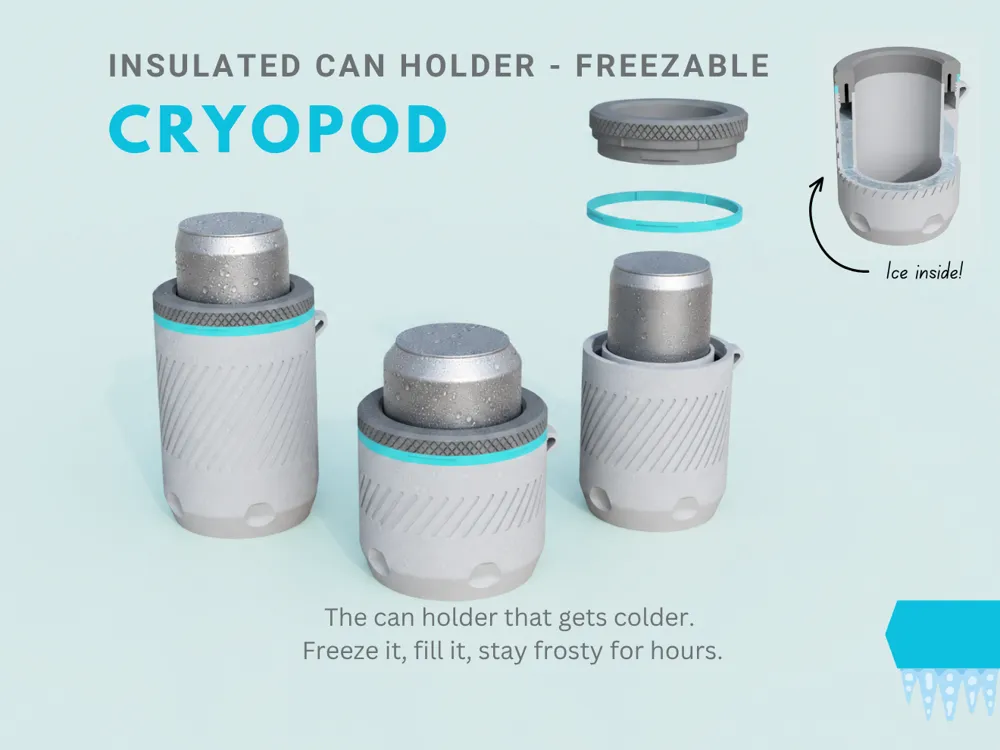
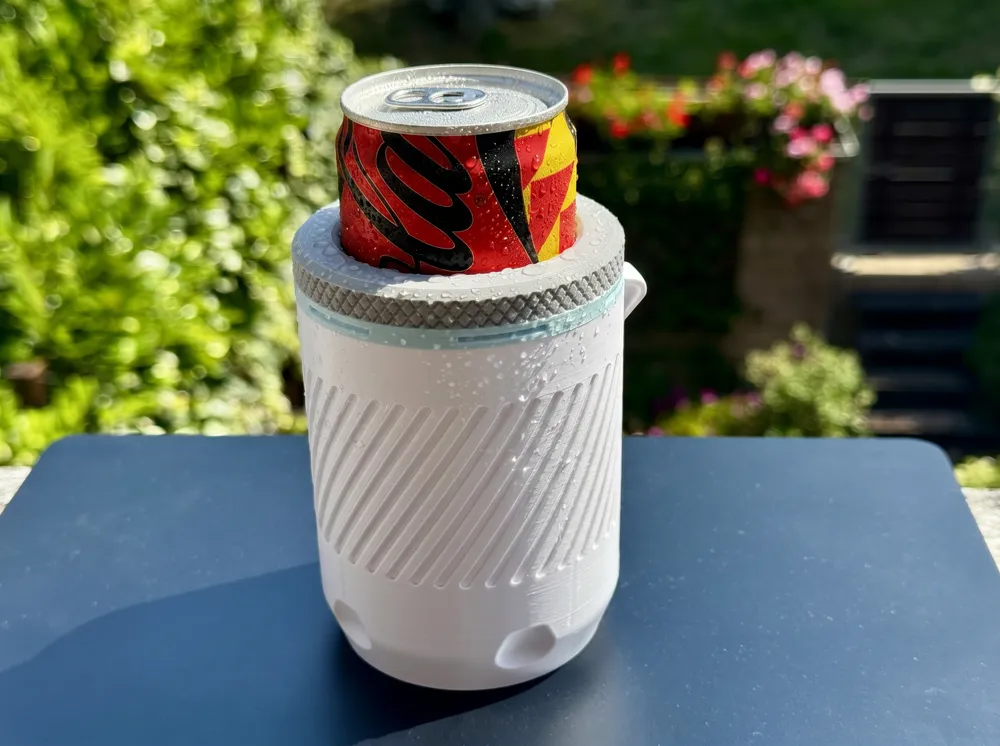
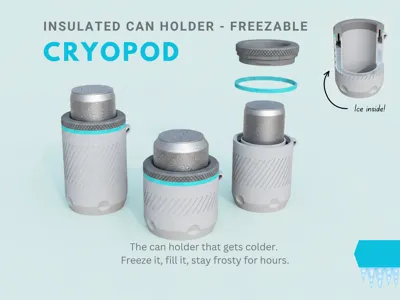
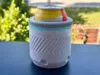
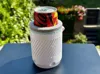
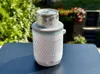
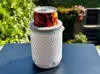
CryoPod — the can holder that gets colder 🥶
🔥 NEW — Parametric version is here! Set your own can diameter and height and CryoPod fits any drink, anywhere in the world. Just hit Customize, enter two numbers, and print. More below.
Summer is coming and our favorite drinks just can’t survive the heat ☀️. Standard insulated holders only slow things down — they don’t actually cool. I wanted something that actively keeps the can cold for hours, not just “less warm.”
So I built CryoPod and, spoiler, it works great!
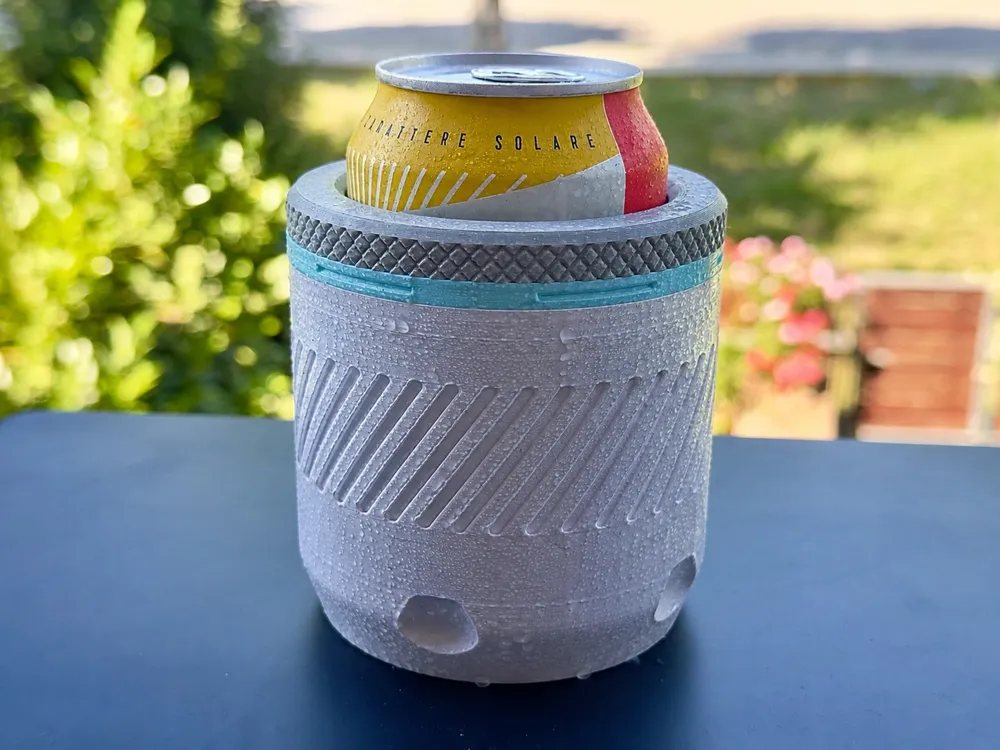
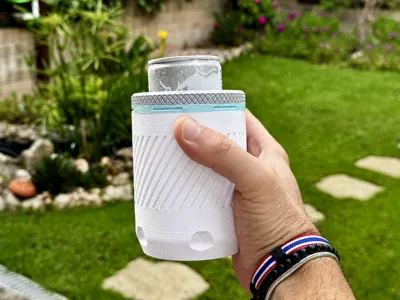
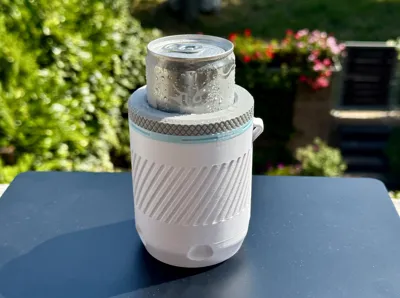
The idea is simple: a double-wall can holder with a hollow chamber you fill with water and pre-freeze. Drop in your can → the ice melts slowly around it → your drink stays frosty cold for hours, even on the hottest days.
🎛️ Parametric version — fits ANY can or bottle
Your drink isn’t in the preset list below? No problem. The parametric version lets you set your can diameter and height, so CryoPod fits literally any can or bottle in the world. 🌍
1. Customize your size
Click Customize, then enter two numbers:
- Diameter — measure the widest part of your can/bottle body (not the rim)
- Height — the full height of the can/bottle
Just enter your can’s real size. A 1.5 mm clearance is already built into the model, so the can drops in and out easily — no need to add anything yourself. (Want a snugger fit with less rattle? Enter a diameter ~1–1.5 mm smaller than your real can. Want it looser? Enter slightly bigger. Your call.)
2. Print it
Once you’ve set your size, you download a single 3MF with everything in it. To print:
- Open the 3MF in Bambu Studio
- Right-click the model
- Split → To Objects
- Arrange the parts on the plate and set up the slicer
This separates the pod, lid, and ring so you can print each component.
⚙️ Print settings — IMPORTANT for watertightness
The parametric file won’t carry over my tuned profile, so set these yourself or it may leak:
- Walls / perimeters: 5 or more
- Bottom layers: 6 or more
This makes the pod essentially solid-wall with no infill = no leaks. Skipping this is the #1 cause of a leaky pod, don’t skip it.
Supported can & bottle sizes
Each CryoPod is sized to fit a specific diameter — pick the model that matches your favorite drink. If your can or bottle isn’t listed, just measure the diameter (most production tolerances are within ±1mm) and match it to the closest pod.
| Model | Inner Ø | Fits |
|---|---|---|
| 🥤 Classic | 66 mm | 330ml EU cans (Coca-Cola, Fanta, Sprite, most European beers) • 12oz US standard cans (Budweiser, Pepsi, Mountain Dew) |
| ⚡ Slim | 53 mm | 250ml EU slim cans (Red Bull, Monster slim, energy drinks) • 8.4oz US slim cans (Red Bull US) |
| 🍻 Sleek | 57 mm | 12oz US sleek cans (Coors Light, Miller Lite sleek, Bud Light sleek) • Hard seltzers (White Claw, Truly, High Noon) • 12oz craft beer sleek format |
| 🍺 Tallboy | 66 mm | 16oz US tallboy cans (Modelo, Pabst Blue Ribbon, Coors Light tallboy, Stella Artois tallboy, craft beer 16oz) • 50cl EU cans (large-format European beers) |
| 🍾 LongNeck | 60.5 mm | 33cl EU longneck bottles (Heineken, Becks, Corona, Peroni, Stella Artois) • 12oz US longneck bottles (Bud, Yuengling, Sam Adams, most craft beers ISB standard) |
💡 Quick check: measure your can or bottle at its widest body section (not the top or bottom rim). If it’s within 1mm of one of the diameters above, that pod will fit comfortably. The CryoPod has about 1-1.5mm of clearance built in for easy insertion and removal.
⚠️ Note: Classic and Tallboy share the same diameter (66mm) — the only difference is height. If you have both 330ml and 16oz cans, you may want both pods to get the best fit for each.
Print tip: to keep the pod watertight, the profiles use 5+ walls and 6+ bottom layers (basically solid wall, no infill). This avoids the slight inter-layer porosity that FDM prints can have. If you customize the profile, keep those counts high.
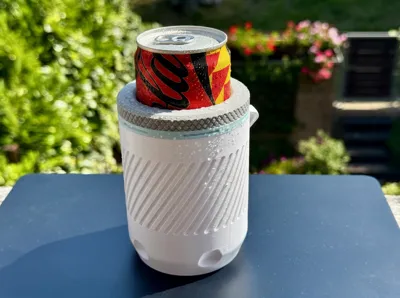
Why doesn't it cover the whole can? Deliberate choice: keeps the pods lighter (less weight, less print cost/time) and lets you grab your drink without flipping the pod over. It works surprisingly well even with the top exposed, most of the cooling happens around the body where the liquid is.
How it works
- Pop off the top cap with a satisfying snap
- Fill the chamber with water up to the internal indicator ring (more on this below ⚠️)
- Click the cap back on and place the pod upright in the freezer overnight
- Drop your can in and head out 🎒
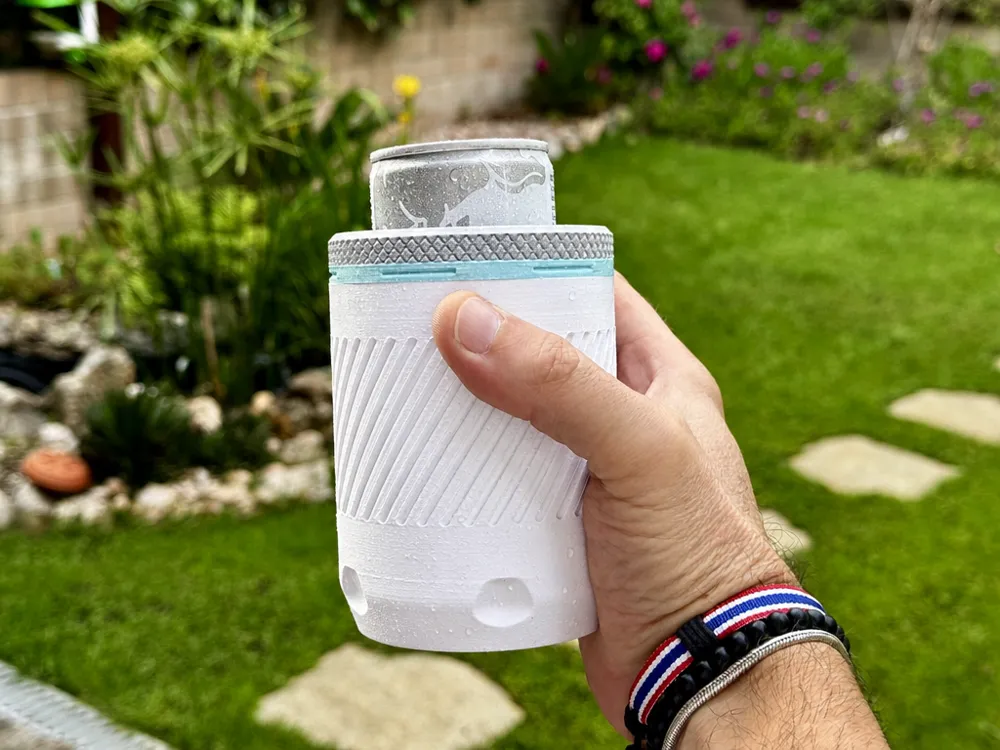
- Enjoy ice-cold drinks for 2 to 4 hours depending on ambient temperature 🌡️
The water chamber holds around 130-140 ml of ice — that’s a lot of cooling capacity for a pod that fits in your hand
Why CryoPod
- Actively cools, not just insulates — most can holders slow the warming, this one fights it
- Three sizes ready to go — Classic and Sleek for 330ml, Slim for 250ml
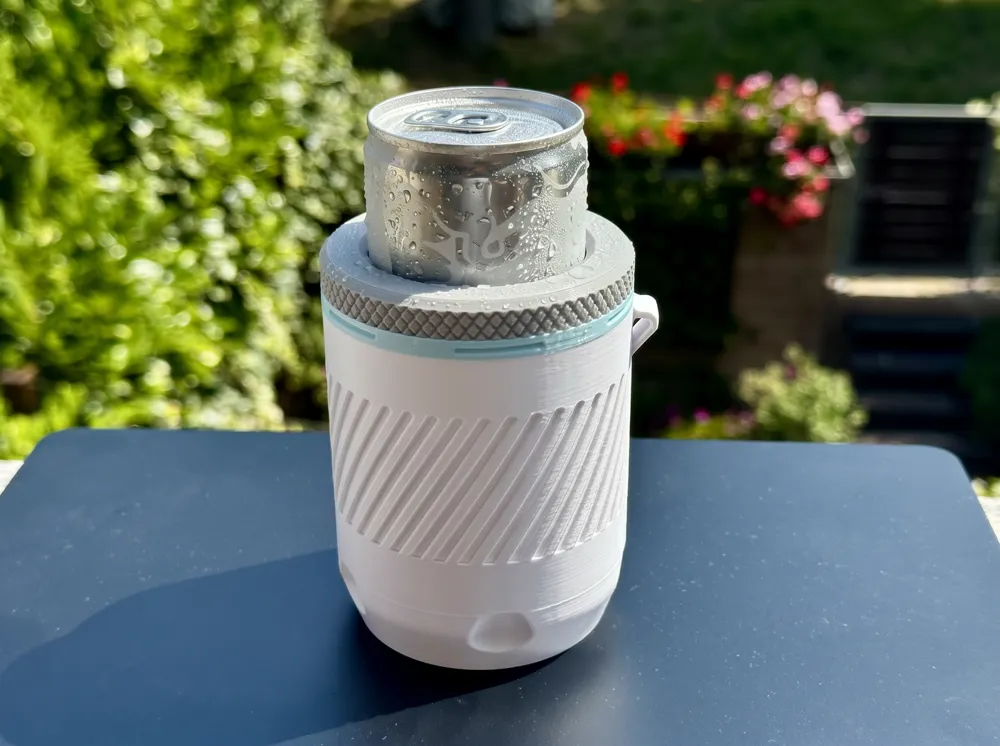
- Snap-fit top cap with diamond knurling — solid grip, satisfying click, no rattling, no twisting
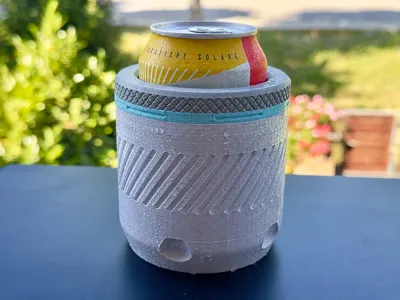
- Decorative ring insert in a contrasting color — slides in from below, holds in place by friction, no glue needed.
- No supports needed — print profile is ready and optimized
- About 4 hours per pod on standard settings
- Reusable forever — just refreeze and go again
About the seal
Right now there is no TPU gasket — I’m working on it for the next version 🔬. The current design has a snug snap-fit that holds water well as long as the pod stays upright. So:
- ✅ Keep the pod vertical in the freezer
- ✅ Keep it vertical in your bag (carabiner-friendly attachment points coming in the next revision)
- ❌ Don’t shake it or flip it upside down while filled — small drops may escape from the snap joint
Once a proper TPU gasket is ready, I’ll release v2 with full waterproof rating. For now, “splash-resistant” is the honest claim 🌦️
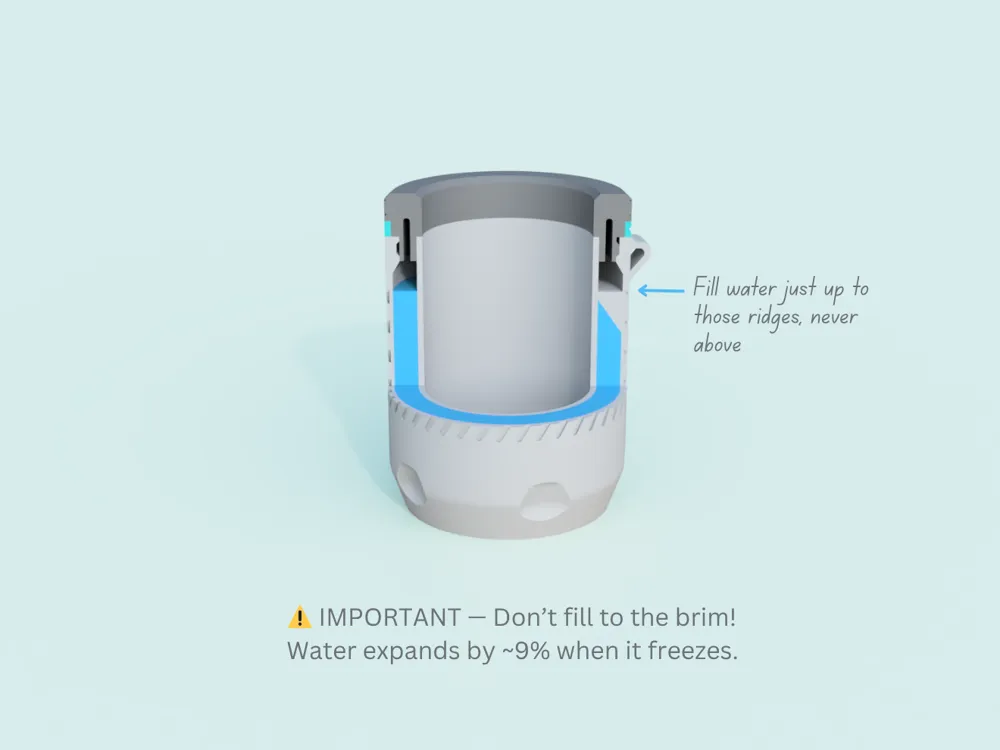
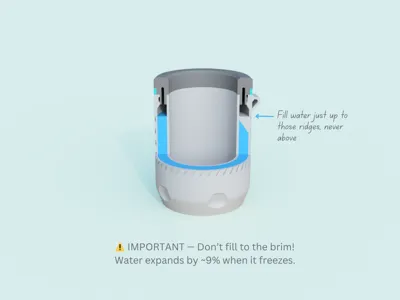
⚠️ IMPORTANT — Don’t fill to the brim!
This is critical: water expands by ~9% when it freezes. If you fill the chamber completely and seal it, the ice will push outward with massive force when it expands. The thinner walls (or the snap joint itself) will crack. Don’t risk it.
To make this foolproof, the chamber has internal ridges that mark the maximum safe fill level — about 90% of the chamber height. Fill water just up to those ridges, never above. The remaining 10% of air space is what saves your pod from cracking when the ice expands.
If you ever hear a worrying creak coming from the freezer, that’s the universe asking you to re-read this section 😅
Print info
- Filament: PETG strongly recommended (better moisture resistance, more flexible in cold temperatures, handles freezer cycles much better). PLA works too but expect more brittleness over time, especially with repeated freezing
- No supports required — the design is fully self-supporting
- Print profiles included and ready to use — just hit print
- Print time: roughly 4 hours per pod on standard settings
If you want to try other materials (PCTG, PETG-CF, ABS), feel free — but PETG is the sweet spot of cost, printability, and durability for this use case.
Customization
The decorative ring insert is the AMS-friendly part — print it in any color you like for instant personalization. Match your hydration flask, your bag, your moto, whatever. The body itself can be printed in any color, but I love a dark gunmetal body with a bright accent ring (cyan in my photos) — clean and visible.
Stay cold this summer and if you enjoy CryoPod, drop a like, share a print photo, and let me know in the comments how long it kept your drink cold in your climate — real-world data helps me improve the next version 🙏
Happy summer! 🚀☀️
FAQ
❓ How does it compare to a Yeti / vacuum cooler?
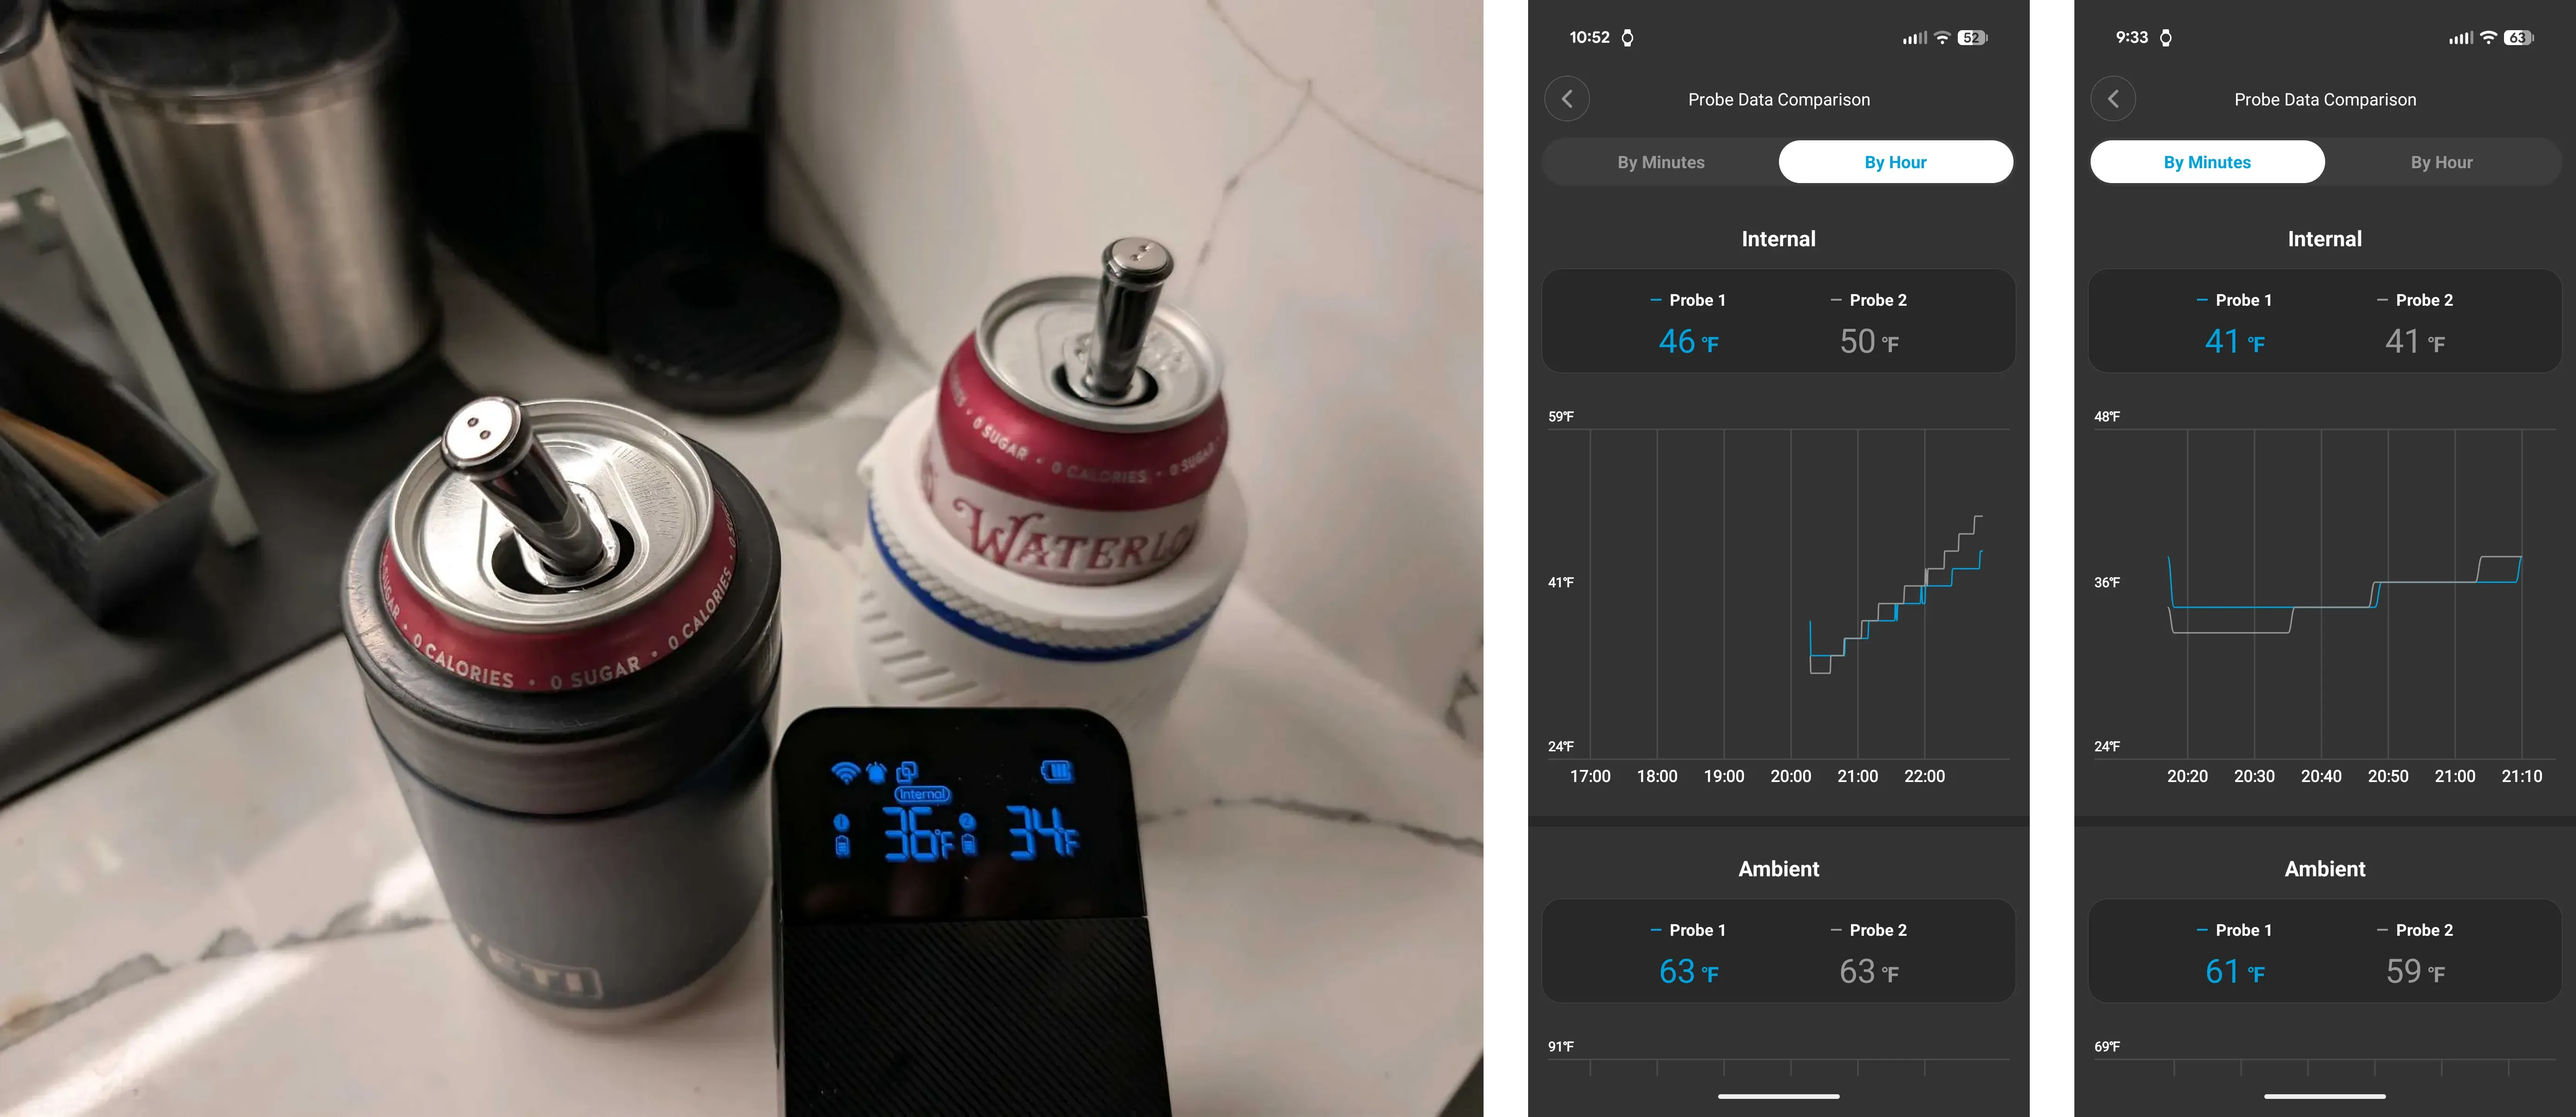
Great question and one of you actually answered it with data. A user (thank you @oscargarza88!) put both on temperature probes and the results matched the theory perfectly: CryoPod starts colder because the ice actively pulls the drink's temperature down, something a vacuum cooler simply can't do (it doesn't cool, it only slows down whatever you put in). The trade-off: once the ice melts, CryoPod's thin wall warms up faster than a vacuum flask. So the honest takeaway is CryoPod gets you colder, a Yeti keeps you steady a little longer. Pre-chill your can and drop it in CryoPod and you get the cold boost and a solid run. Thanks again for testing this!
License

You shall not share, sub-license, sell, rent, host, transfer, or distribute in any way the digital or 3D printed versions of this object, nor any other derivative work of this object in its digital or physical format (including - but not limited to - remixes of this object, and hosting on other digital platforms). The objects may not be used without permission in any way whatsoever in which you charge money, or collect fees.


Comment & Rating (195)