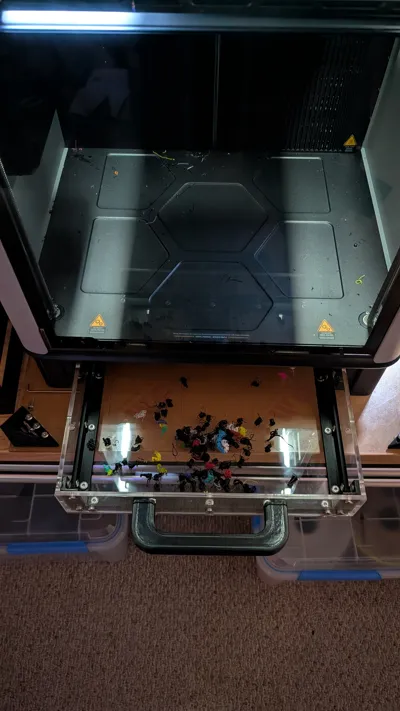
Poop Drawer for H2 Series (H2D/H2C/H2S)


Print Profile(7)
Description
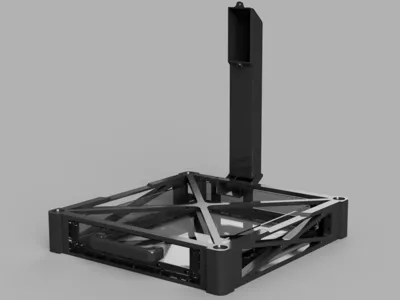
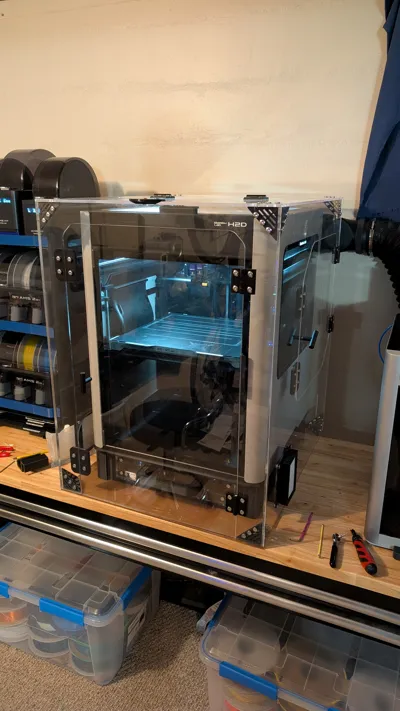
This poop drawer is perfect for situations where your printer is in confined spaces, and it is not possible or simply very inconvenient to use a bin to collect the poop. Overall, this adds 84mm of height and 90mm of depth to your printer. I would like to try a lower-profile design on the handle to help reduce the protrusion (it's currently 35mm adding to the depth).
(Pictured is my H2D inside a minimal sized Clearview Plastic H2D Enclosure.)
Before you begin printing: You must use a print profile with a calibrated shrink percentage. The minimum shrinkage that this model supports is 99% on the large parts, anything less and the H2D/C/S does not have enough build area to accommodate the print. For example, you could print the corners in ABS (shrinkage around 97.5% to 98.5%), but print the sides in PETG (shrinkage around 99.3% to 99.5%).
You can read the Bambu Wiki article on how to calibrate and set your print profile for the filament you choose to use.
Even in the best case, PLA shrinks by about 0.3%, and this model contains large parts that use nearly all of the build area – even a small 0.3% is roughly 1mm over the longest dimensions of this model. In the worst case, some ABS filament has shrinkage in excess of 1%, which is more than 2mm over the longest dimension. This much variation in the types of filaments is why it is important for you to calibrate your print profile.
Bill of Materials:
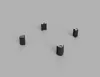
- M5 x 14mm button head screw (McMaster-Carr), Qt: 28
- M3 x 10mm button head screw (McMaster-Carr), Qt: 8
- M5 x 8mm binding barrels and screw (Amazon), Qt: 60
- M5 heat insert (McMaster-Carr), Qt: 28
- M3 heat insert (McMaster-Carr), Qt: 8
- (Recommended) BT3 x 12mm SHCS Self Tapping Screw (Bambu Store - AA109), Qt: 1
- (Optional) 6mm acrylic sheet
Options:
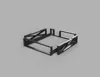
- Drawer Panels:
- Included in the additional files are DXF files for the drawer panels, if you wish order/cut yourself the drawer panels in 6mm acrylic. You will need to counterbore the bottom, left and right panels 2.3mm to 2.6mm.
- Printing the drawer panels.
- A jig for securing the corner parts when inserting the middle heat inserts. While it's not necessary, this can help if you're struggling to keep the corner pieces square with your soldering iron. The corner pieces are asymmetric, and they'll only fit securely in one orientation within the jig.
- (To be completed): A partition for the drawer to have a grid infinity base on the right side of the drawer.
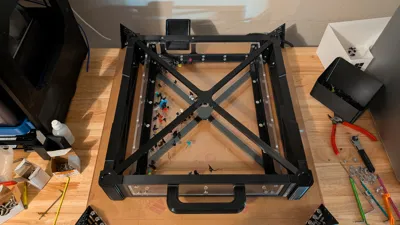
Assembly:
- Install M5 heat inserts.
- 6 inserts for each corner (total of 24)
- 2 inserts in the back frame side
- 2 inserts in the drawer handle
- Install the 8 M3 heat inserts to the frame brace (2 per part).
- Attach the poop chute to the back frame part using two M5 screws.
- Attach the front, back, and side frame parts to each corner using four M5 screws per side.
- Snuggly attach the braces to the connecting plates using two M3 screws per brace part. Note that the thicker connecting plate goes on top.
- Attach the brace assembly to the corners using two M5 screws per corner.
- Ensure the braces are flat and not obstructing, then fully tighten the M3 screws.
- Press fit the rails into the groves on the bottom of the brace assembly.
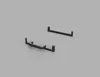
- Attach the drawer handle to the front drawer panel using two M5 screws.
- Attach the drawer panels to each edge piece using the binding barrels.
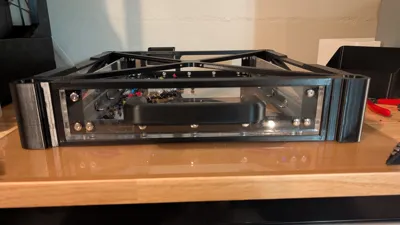
- Slide in the drawer.
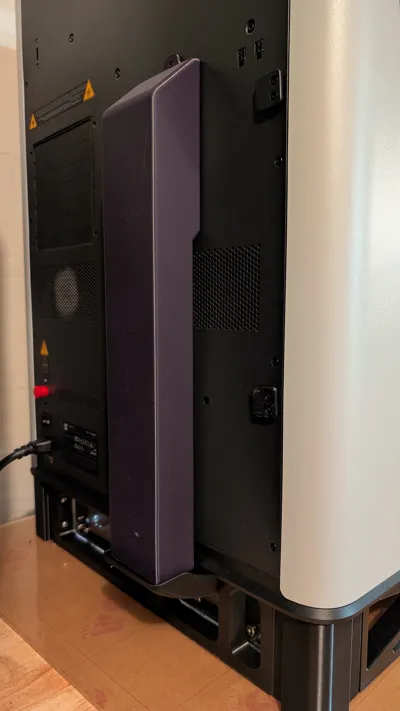
- On the back of your printer by the poop exit:
- Unscrew the two BT3x8mm self-tapping screws that are above and below the exit.
- Use either the existing BT3x8mm, or the BT3x12mm, to screw in the chute fastener on the bottom.
- Slide the chute onto the fastener, then use a BT3x8mm self-tapping screw to secure the top of the chute to the printer.
- Place your printer onto the drawer assembly.
License
You shall not share, sub-license, sell, rent, host, transfer, or distribute in any way the digital or 3D printed versions of this object, nor any other derivative work of this object in its digital or physical format (including - but not limited to - remixes of this object, and hosting on other digital platforms). The objects may not be used without permission in any way whatsoever in which you charge money, or collect fees.
Comment & Rating (0)