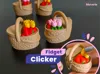
Picnic Basket Fidget Clicker


Print Profile(1)
Bill of Materials


Description
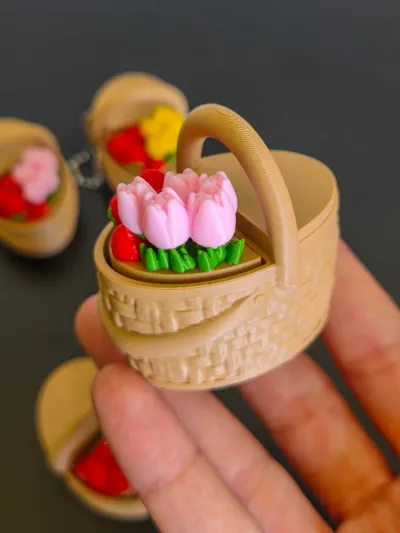
A cute picnic basket clicker inspired by spring and summer picnics 🍓🌷✨
🧺 This model is printed in two main parts and requires a Cherry MX style mechanical keyboard switch (see details below).
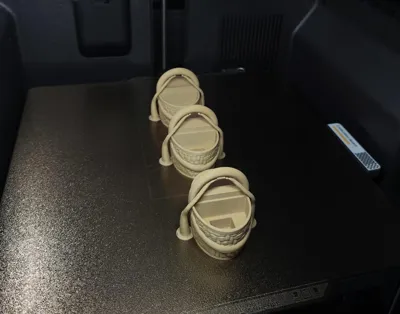
Basket Base
The base forms the picnic basket itself, printed in a single color.
Available in two versions – pick your favorite:
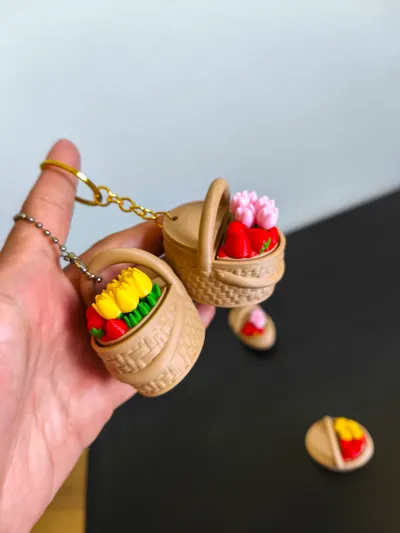
• With hole: ideal if you want to attach a keyring
• Without hole: standard clicker version
The upright basket handle can also be used as an attachment point, making it a great option for those who use ball chain style keychains.
Supports are required to properly print the basket handle. They are already enabled in the print profile, so please do not disable them.
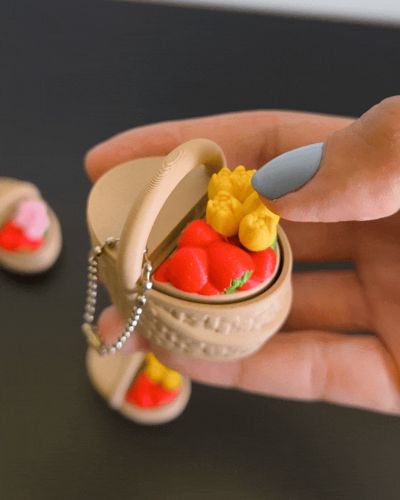
Top (Lid)
The top features a half open basket lid revealing strawberries and tulips inside.
This part is printed in 4 colors (AMS required), and you can choose your preferred tulip color variation.
The floral top contains the connection for the switch. It attaches using the cross shaped stem of the switch and fits neatly into the basket base.
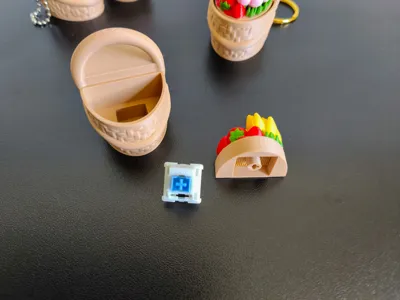
⚠️You will need a Cherry MX style mechanical keyboard switch. I used a square edged switch like in the photo, but I also tested with a smooth edged one and it worked fine. Make sure to check your switch model before printing and assembling!
⌨️ ✨ For those who aren’t sure which switch to get:
I use a Cherry MX–style mechanical keyboard switch. It has a small cross-shaped stem on top where my models attach. You can find these switches in mechanical keyboard stores, electronics shops, or DIY keyboard sites. I can’t include a link here, but I’ve added a photo for reference.

Assembly:
Print the two parts (basket base + top).
Insert the cross shaped stem of the switch into the small cross slot on the underside of the top piece.
Place the top + switch assembly into the basket base.
Tip: Add a small amount of glue here to make the connection extra secure.
🌸 License Notice!!
Any commercial use including selling physical products, giveaways, freebies, subscriber rewards, or promotional use requires a Commercial License. A Commercial License is available here: https://bluveriestudio.gumroad.com/
License
You shall not share, sub-license, sell, rent, host, transfer, or distribute in any way the digital or 3D printed versions of this object, nor any other derivative work of this object in its digital or physical format (including - but not limited to - remixes of this object, and hosting on other digital platforms). The objects may not be used without permission in any way whatsoever in which you charge money, or collect fees.
Comment & Rating (6)