
FUTURON FPV RC car
Print Profile(1)
Description
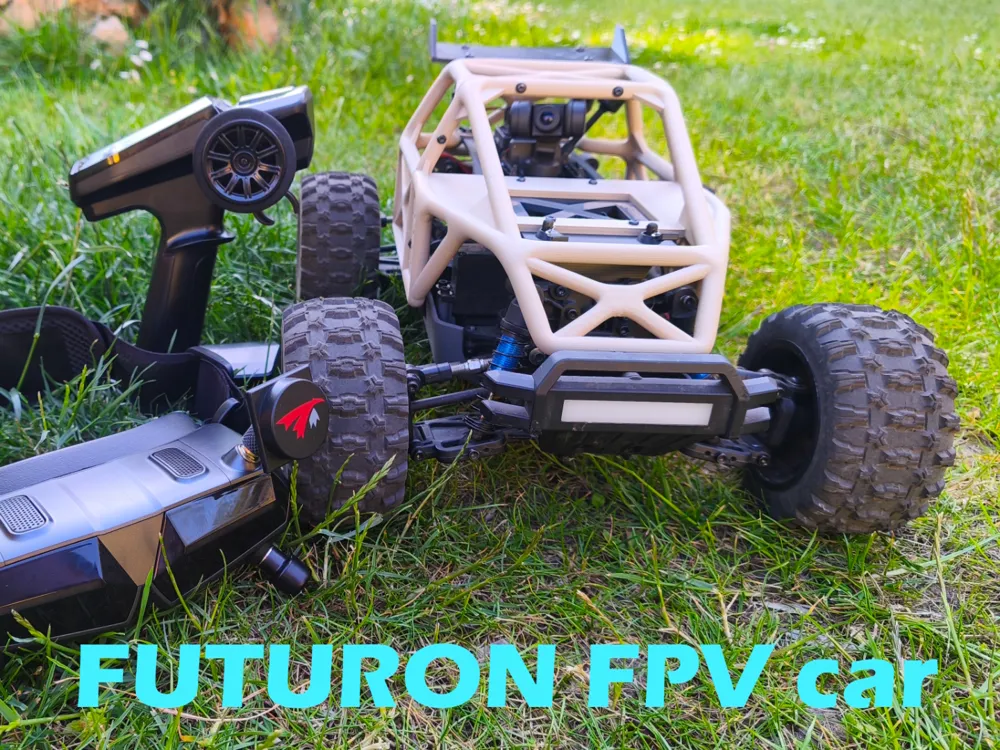
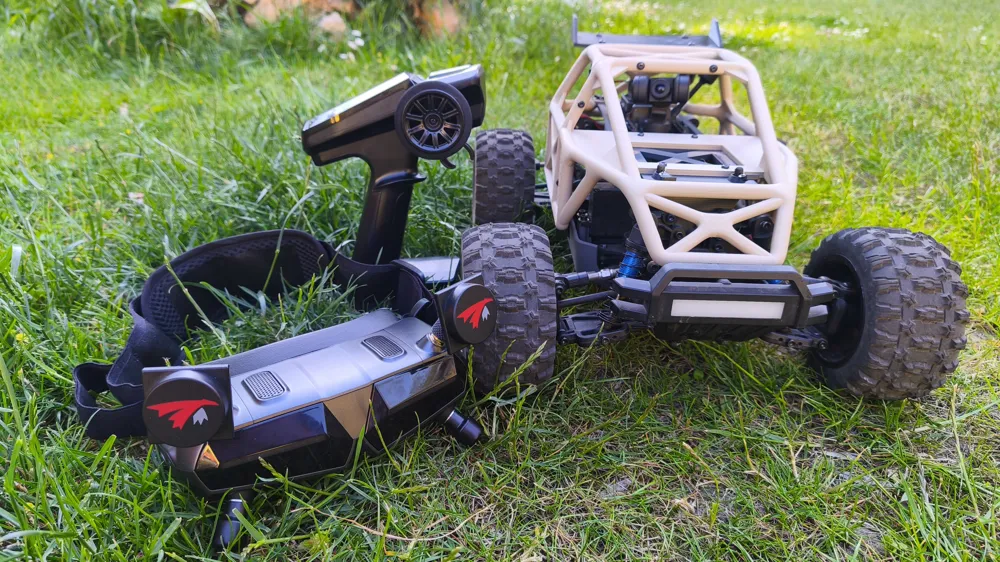
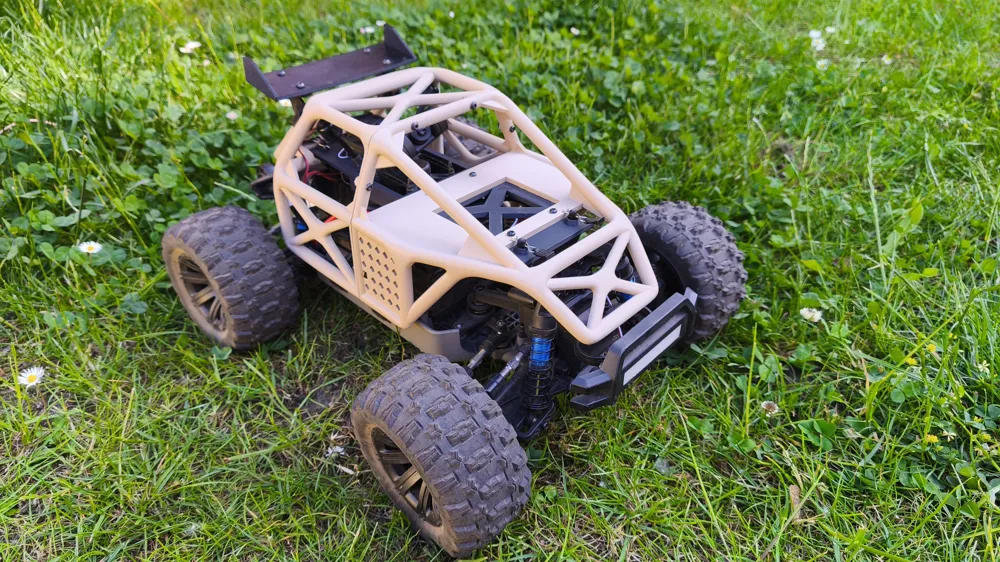
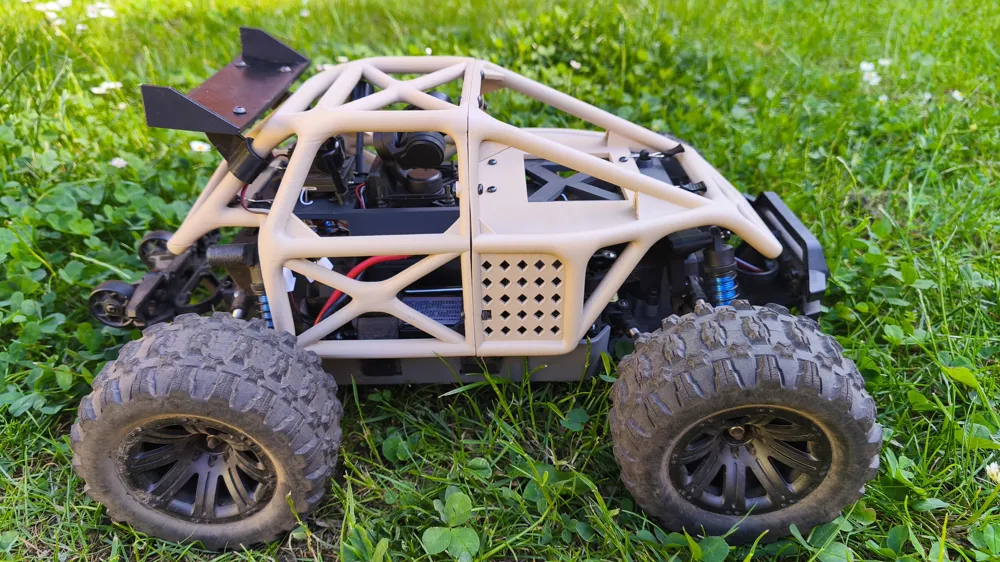
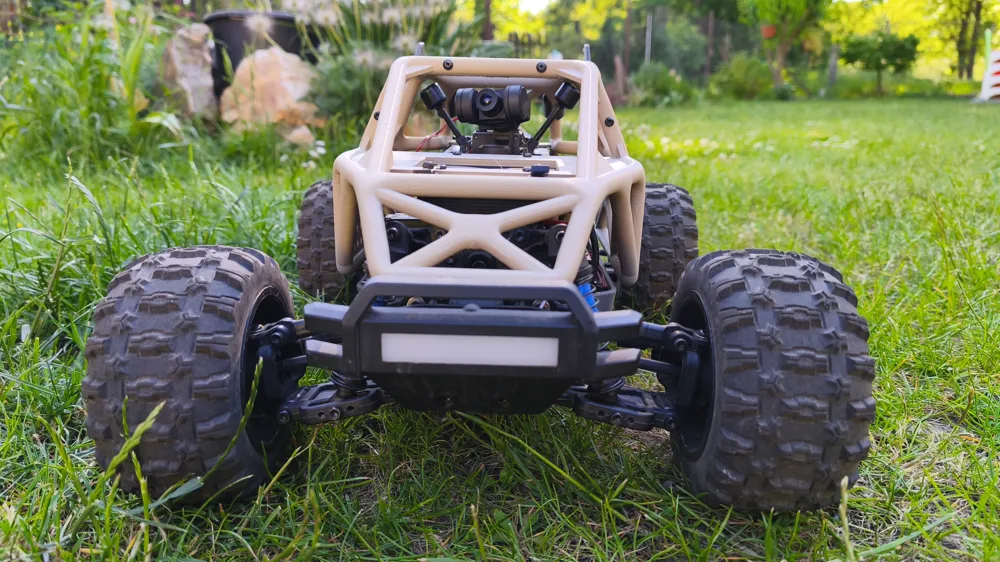
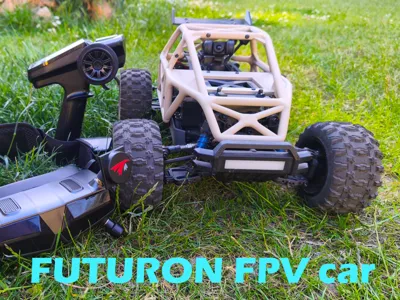
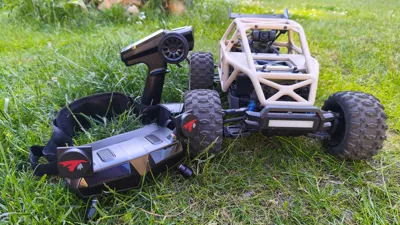
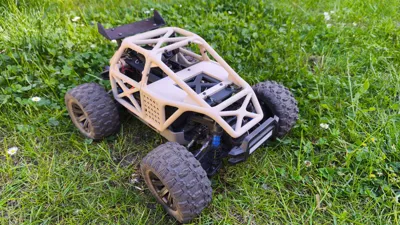
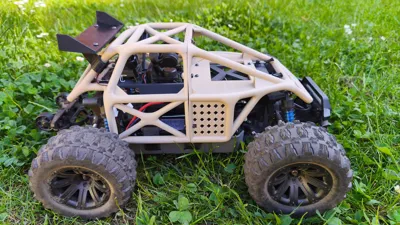
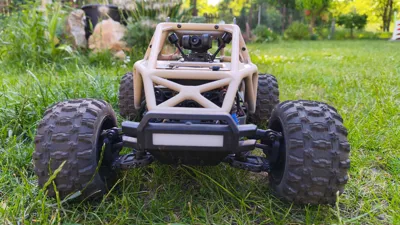
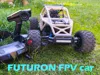
As a kid I always wanted radio controlled car. They were rare and expensive. But now I am little bit older, but kid inside me is still there and I still want RC car. A lot of them. Since I flying FPV drones and I have FPV goggles, then why not to use it with RC car. An possibility to turn camera with headtracking. Lets do it. So thats how my project FUTURON FPV came to life. First I needed to learn how to draw in Blender, then some prototypes and here it is. This FPV fuselage is using chassis of MJX HyperGO 12212 car. Which is fast, cheap and pretty resistant. It can go to pretty difficult terrain. And as FPV components I am using Caddx Avatar goggles X, Caddx GM3 3 axis gimbal and Caddx Avatar HD V2 camera and Vtx.
Here is short video of FUTURONs drive:
Future plans for FUTURON
This is just a basic setup, but I am planning to continue with my work. I would like to add some digital voltmeter, so if you look with camera down, you can see the voltage of main battery. Yeah you can see it in goggles, but it will be cool. Then I would like to ad some roof light bar, because those two screws just saying “install it here”. And of course some tail lights will be cool too.
Material to print
I was prototyping it with PLA and actualy it lasted a lot of crashes without any damage. But still its advisable to use some UV and heat resistant material. Minimum is PETG and better is ASA.
How to print it
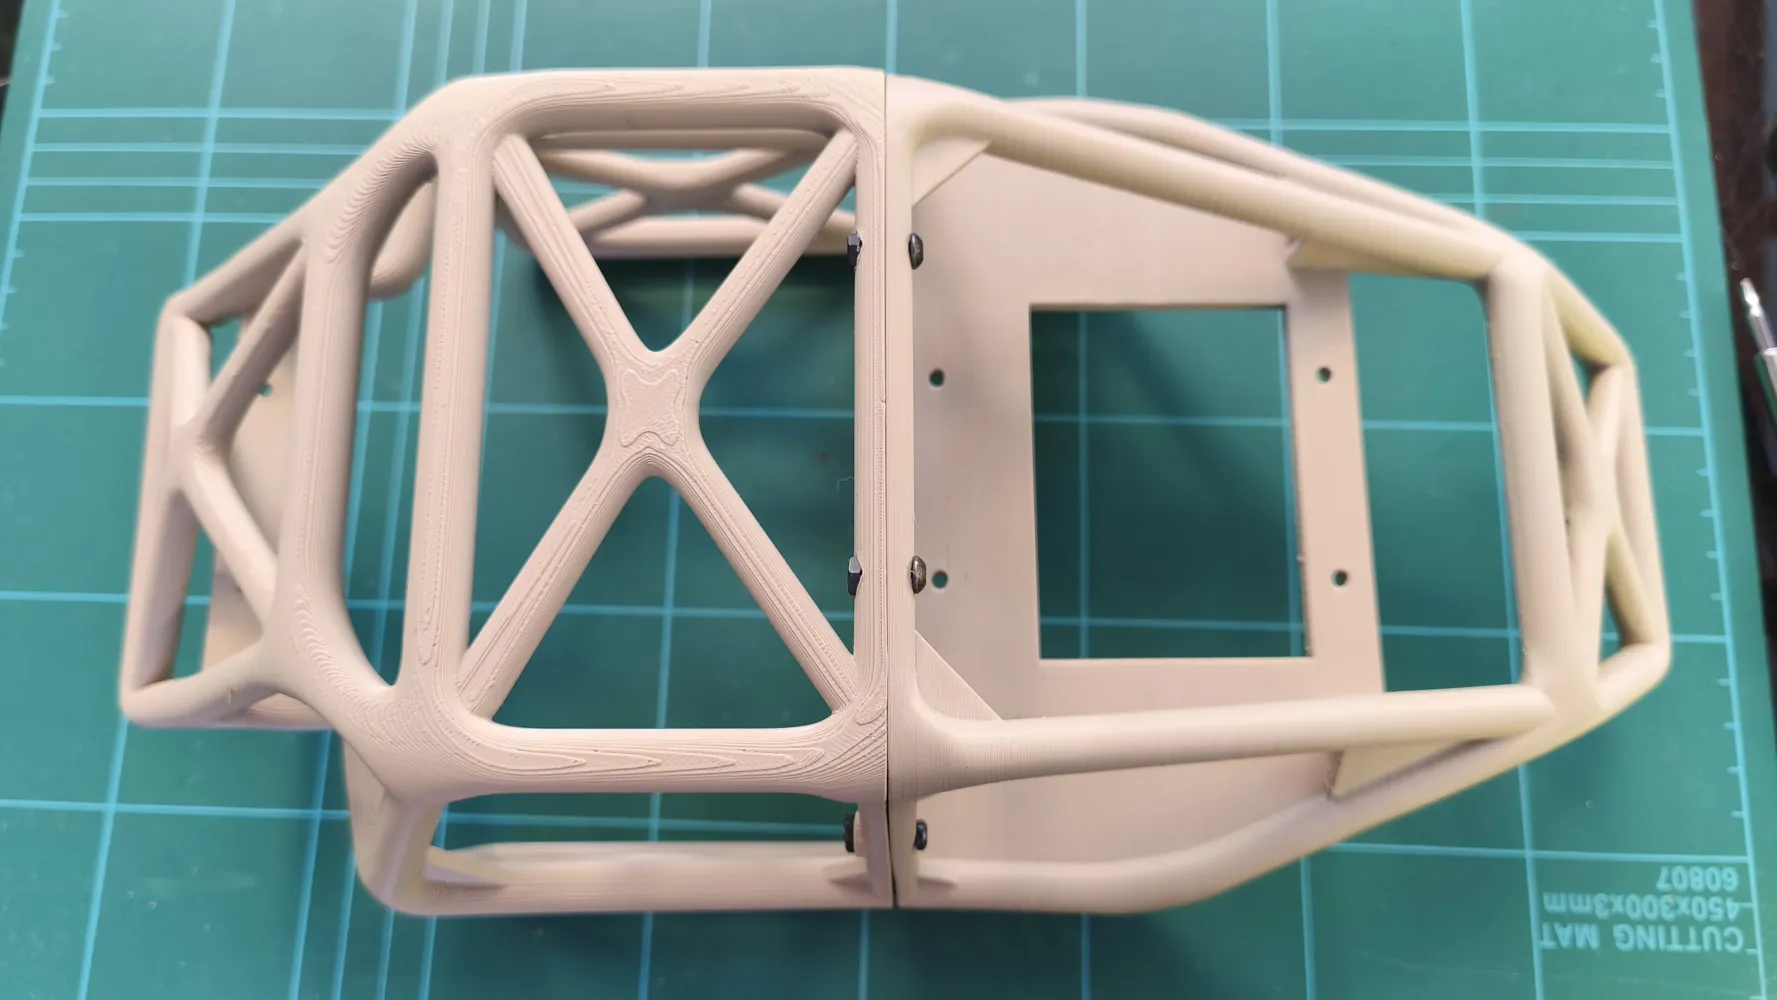
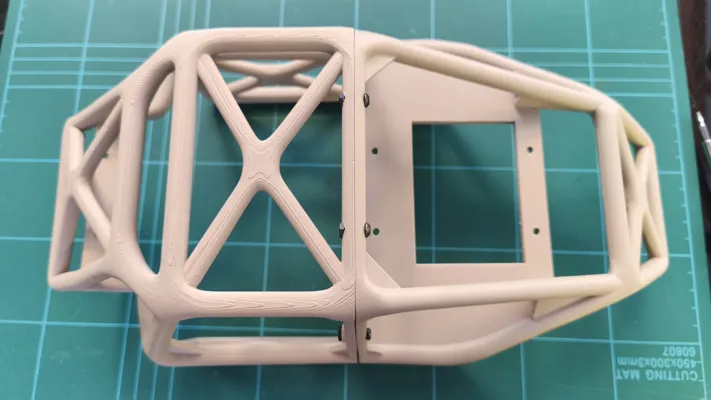
There are different ways how to print the fuselage. Its halfed, because if you break it, you can just change one half. Most of the force should go against the multiple layers, but this kind of printing makes fuselage ugly. It deppends what you prefer. Look or endurance. If you want both, its possible but with lot of support material. Especialy for the front mount use something stronger then jus PLA.
How to assembly it
Assembly is very easy. You just need few screws and rc car pins to secure fuselage. In advance I am sorry for some inaccuracies. Its my first model, and I am still learning a lot. But it worked for me. Maybe according to your print settings, some holes need to be slightly adjusted with drill.
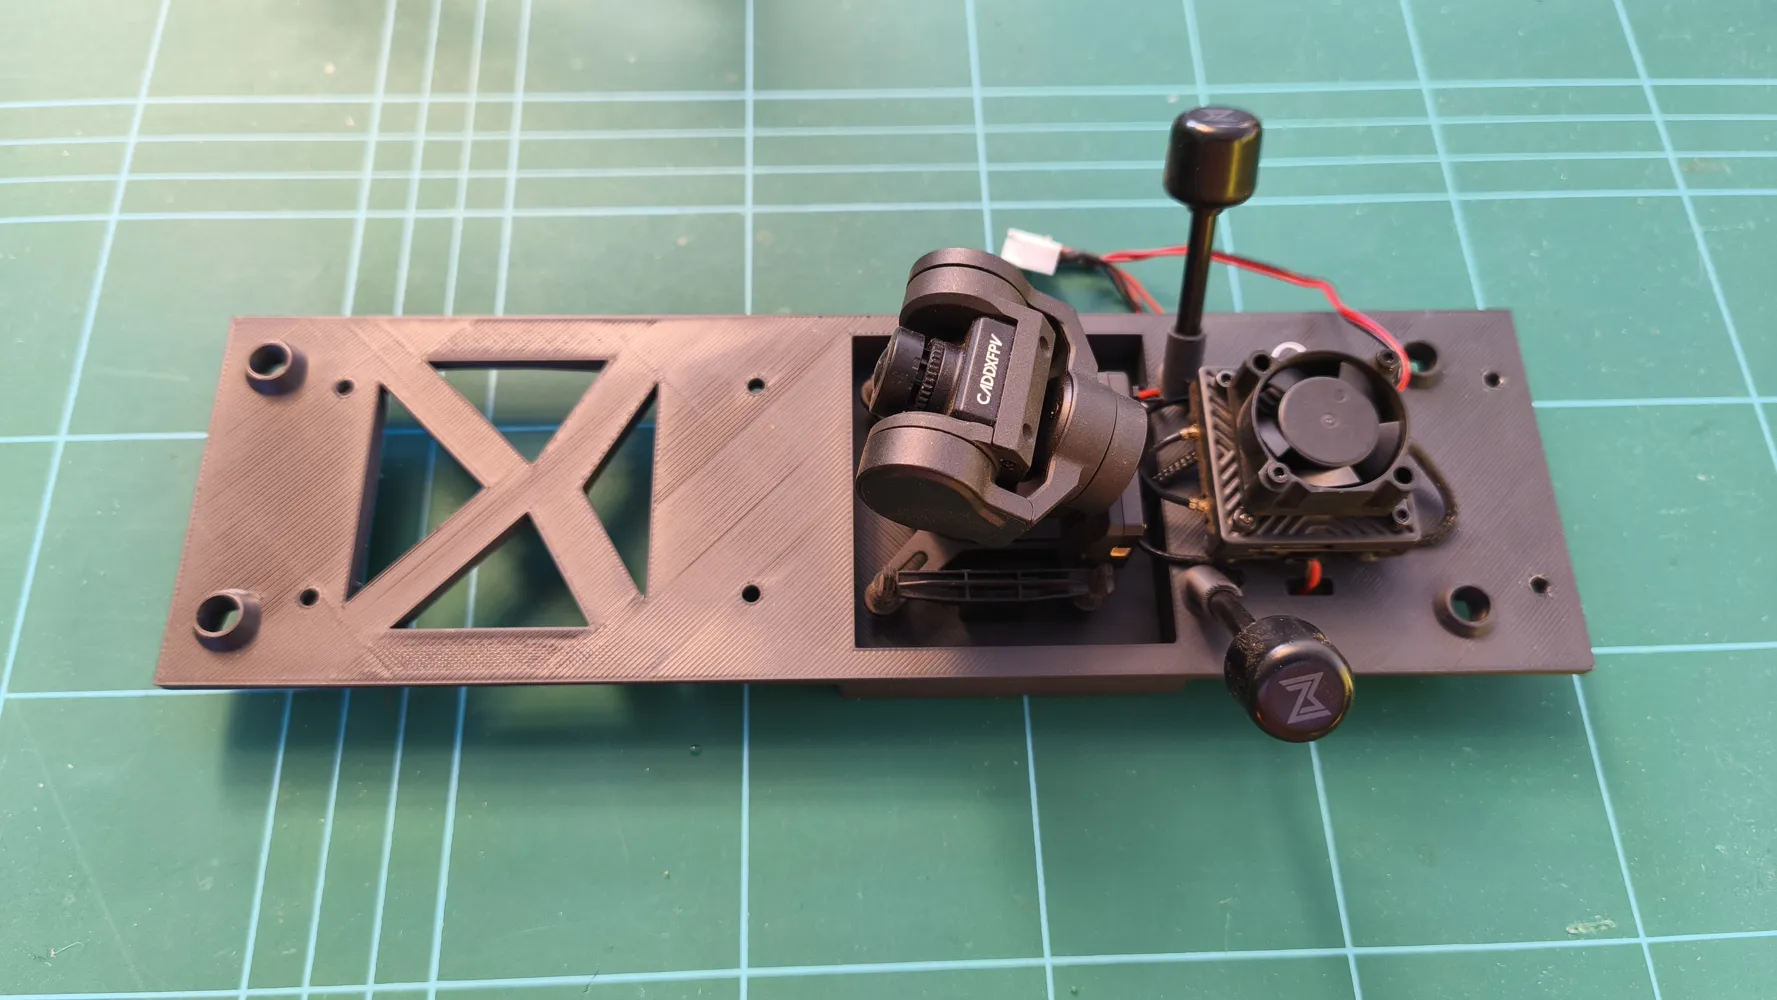
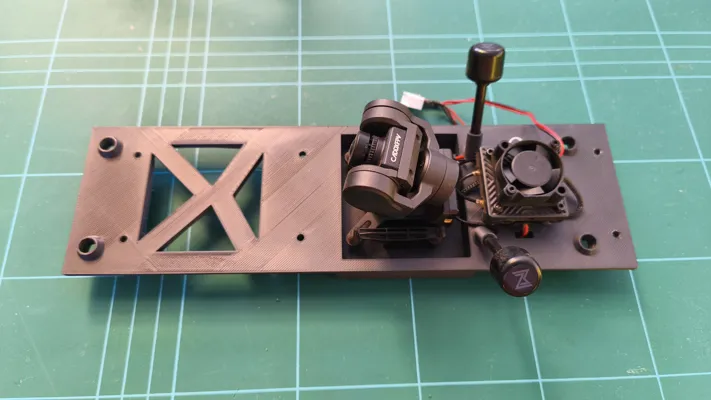
Mount the gimbal. There are 4 holes for M2 screws. Use them all. You need at least 6mm long M2 screws
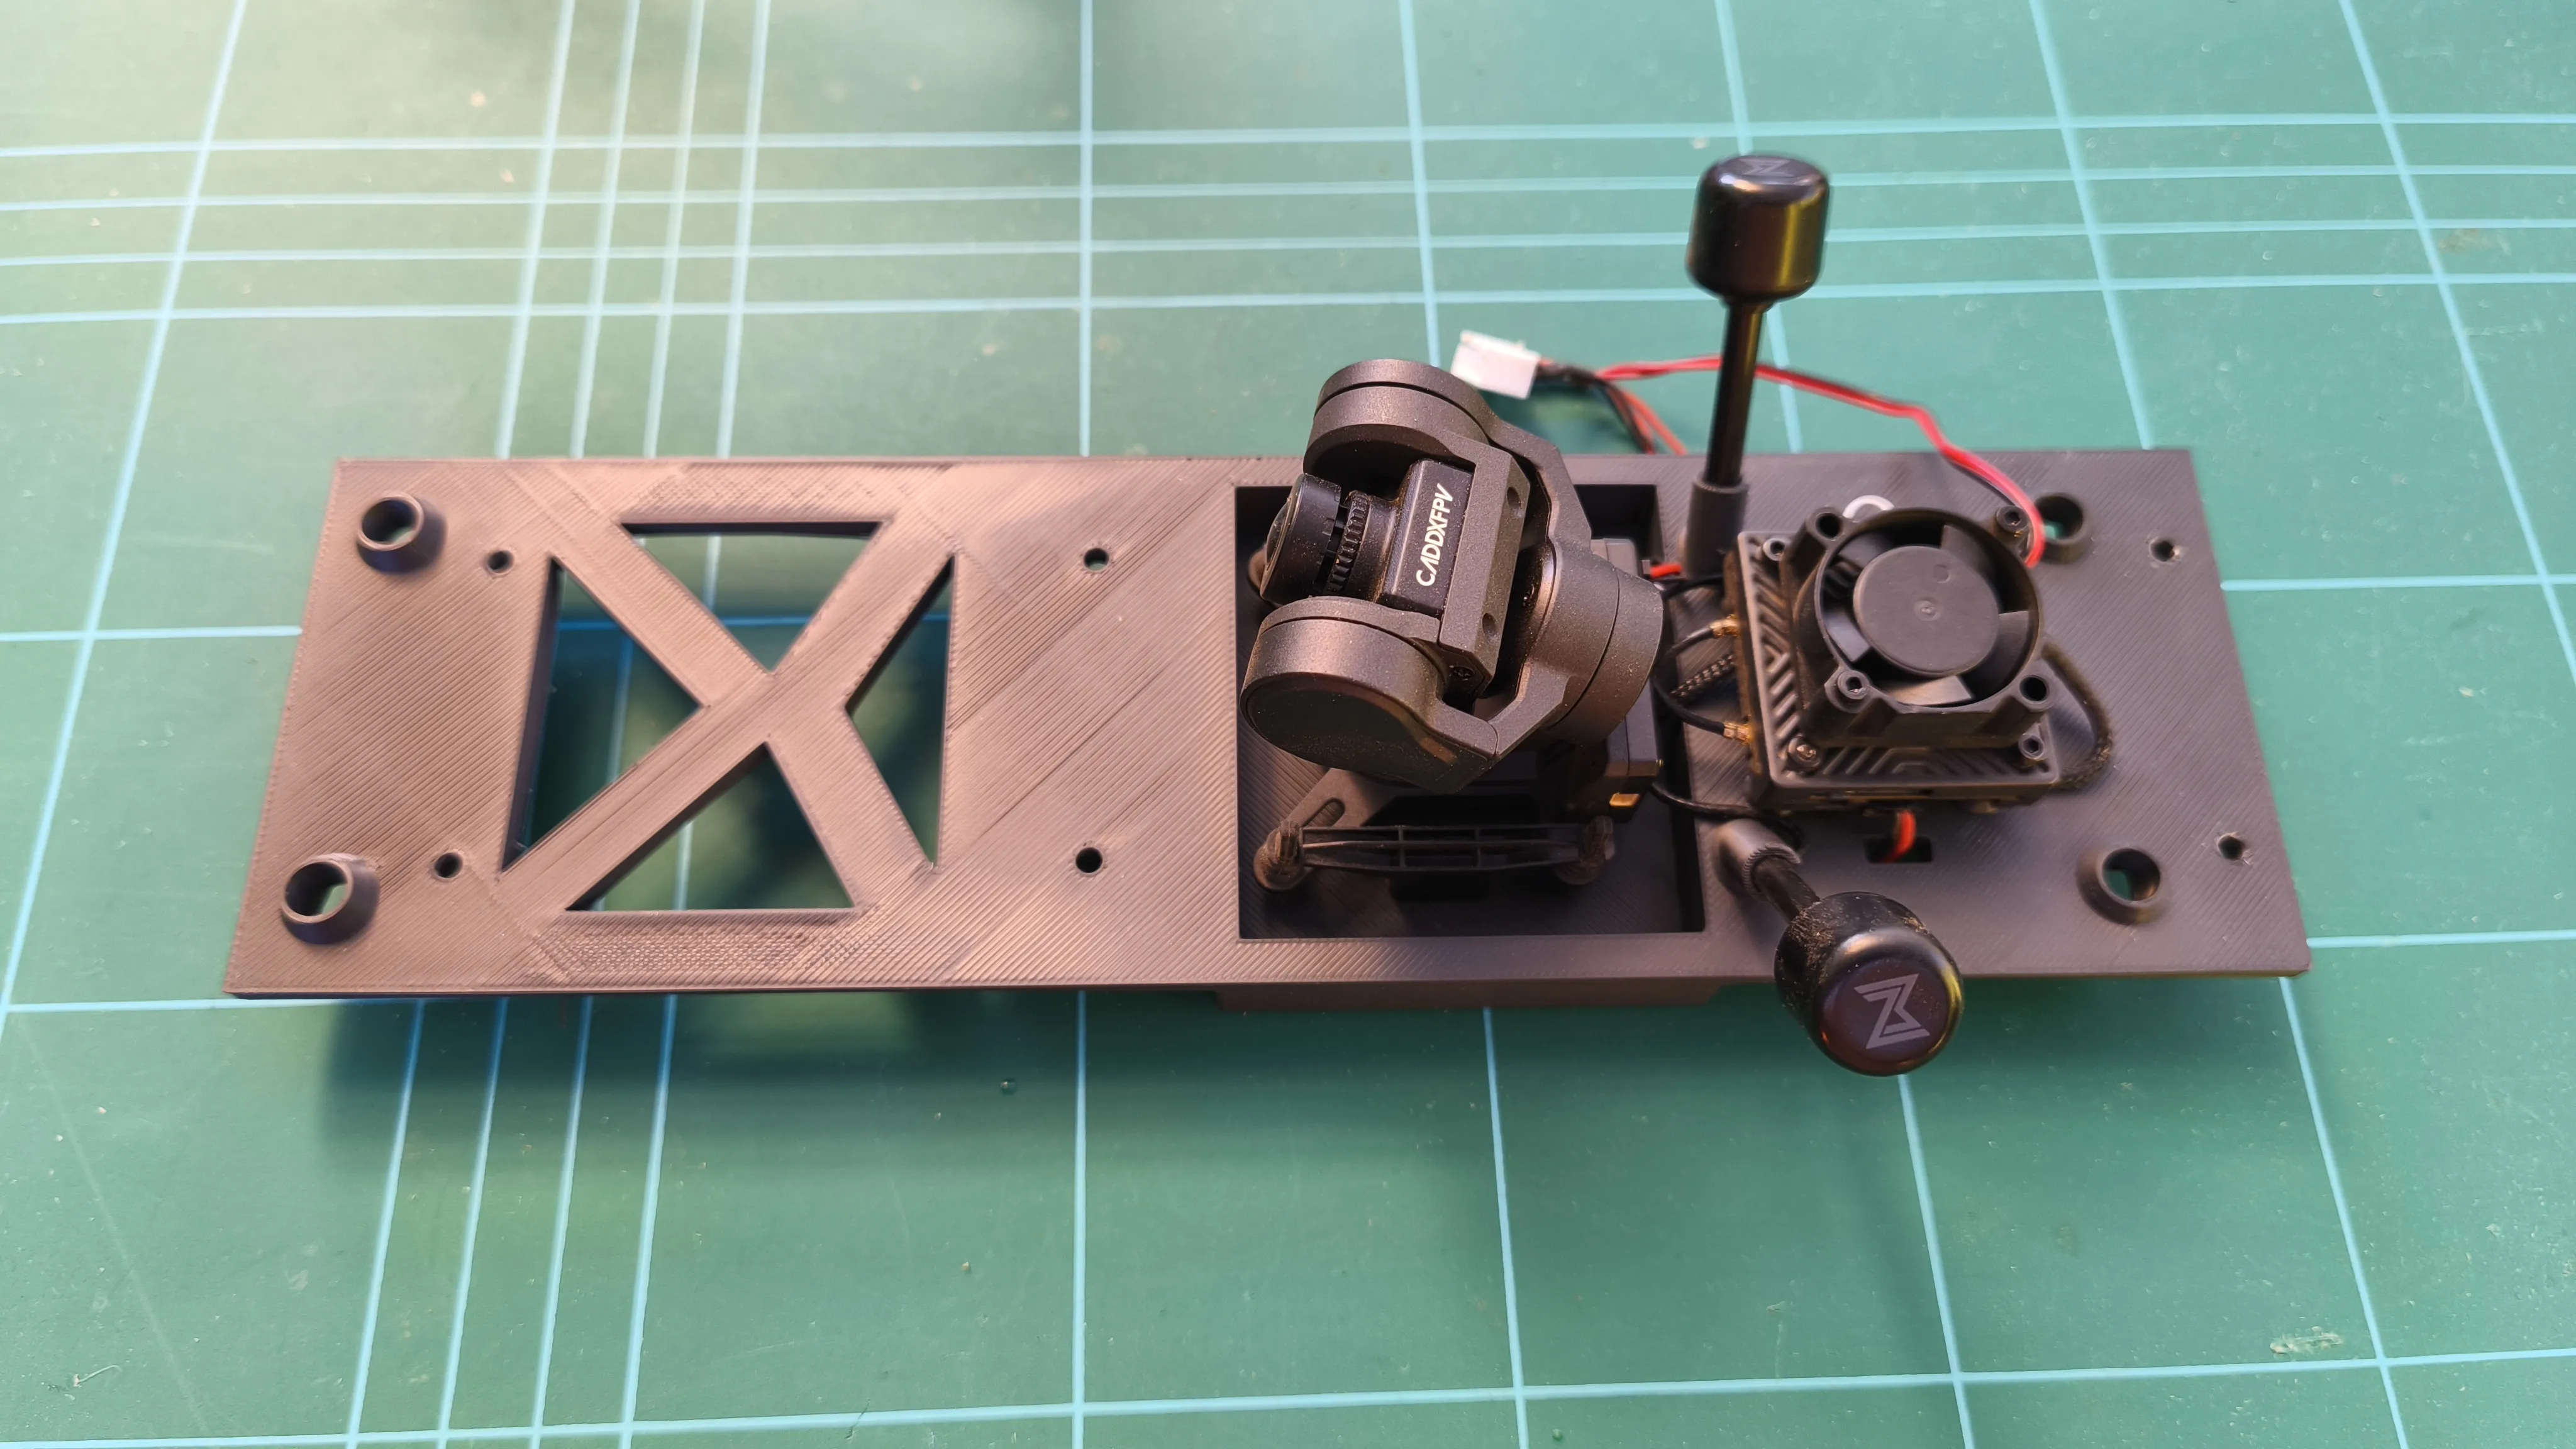
- Connect cable to the gimbal. This setup doesn need any extra controller board. You can control gimbal through the video signal. So you need only power cables and Rx and Tx cables. Entire connector fits through the hole at the bottom.
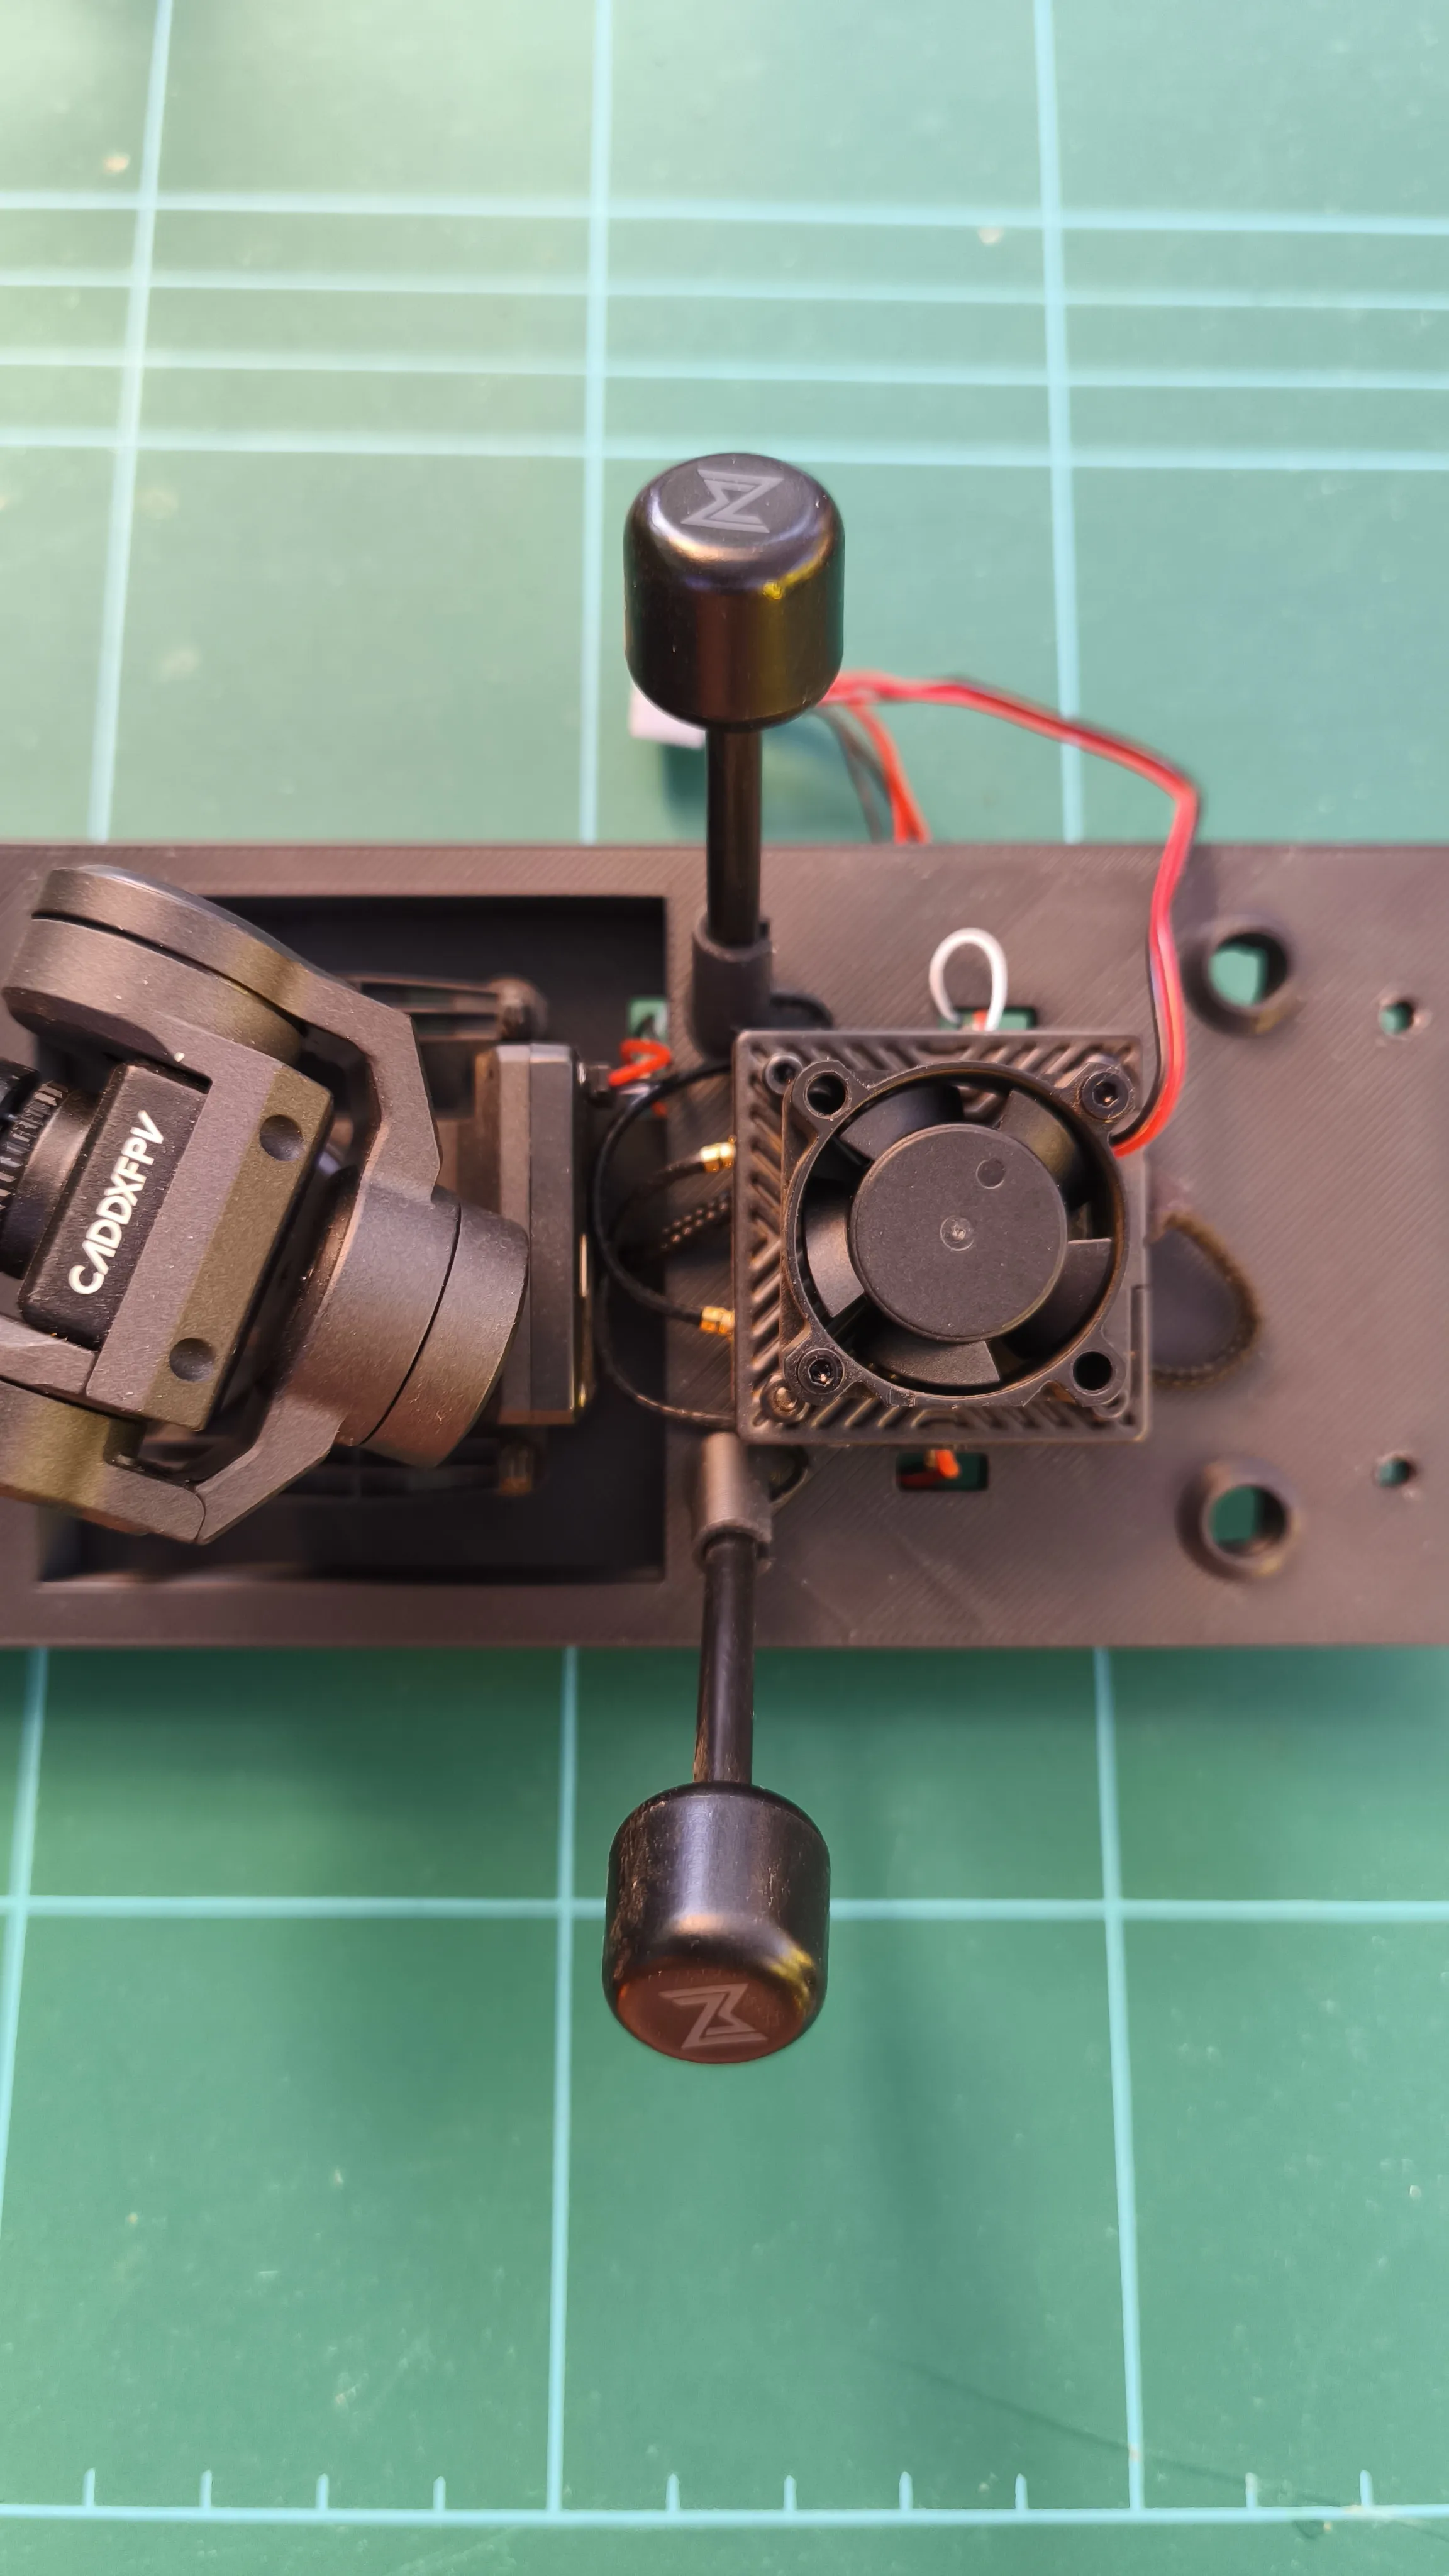
Mount Vtx. For mounting Vtx I am using long M2 screws which goes through the entire Vtx righ to the bottom of the middle plate. I put the video cable under the Vtx, so it leads to the end of the car. On the left side of Vtx is power cable and on the right side is data cable for gimabal. Both they have its hole, so most of the cables are underthe middle part. Connect all power cables (sepparately black and red ones of course) and solder them to balancing 3S connector. Both pins are on the edge of the connector, so you will get 12V from battery. Balancing connector will provide enaugh amps for Vtx and gimbal. I added 12V mini fan for Vtx. Its powered from balancing connector as well.
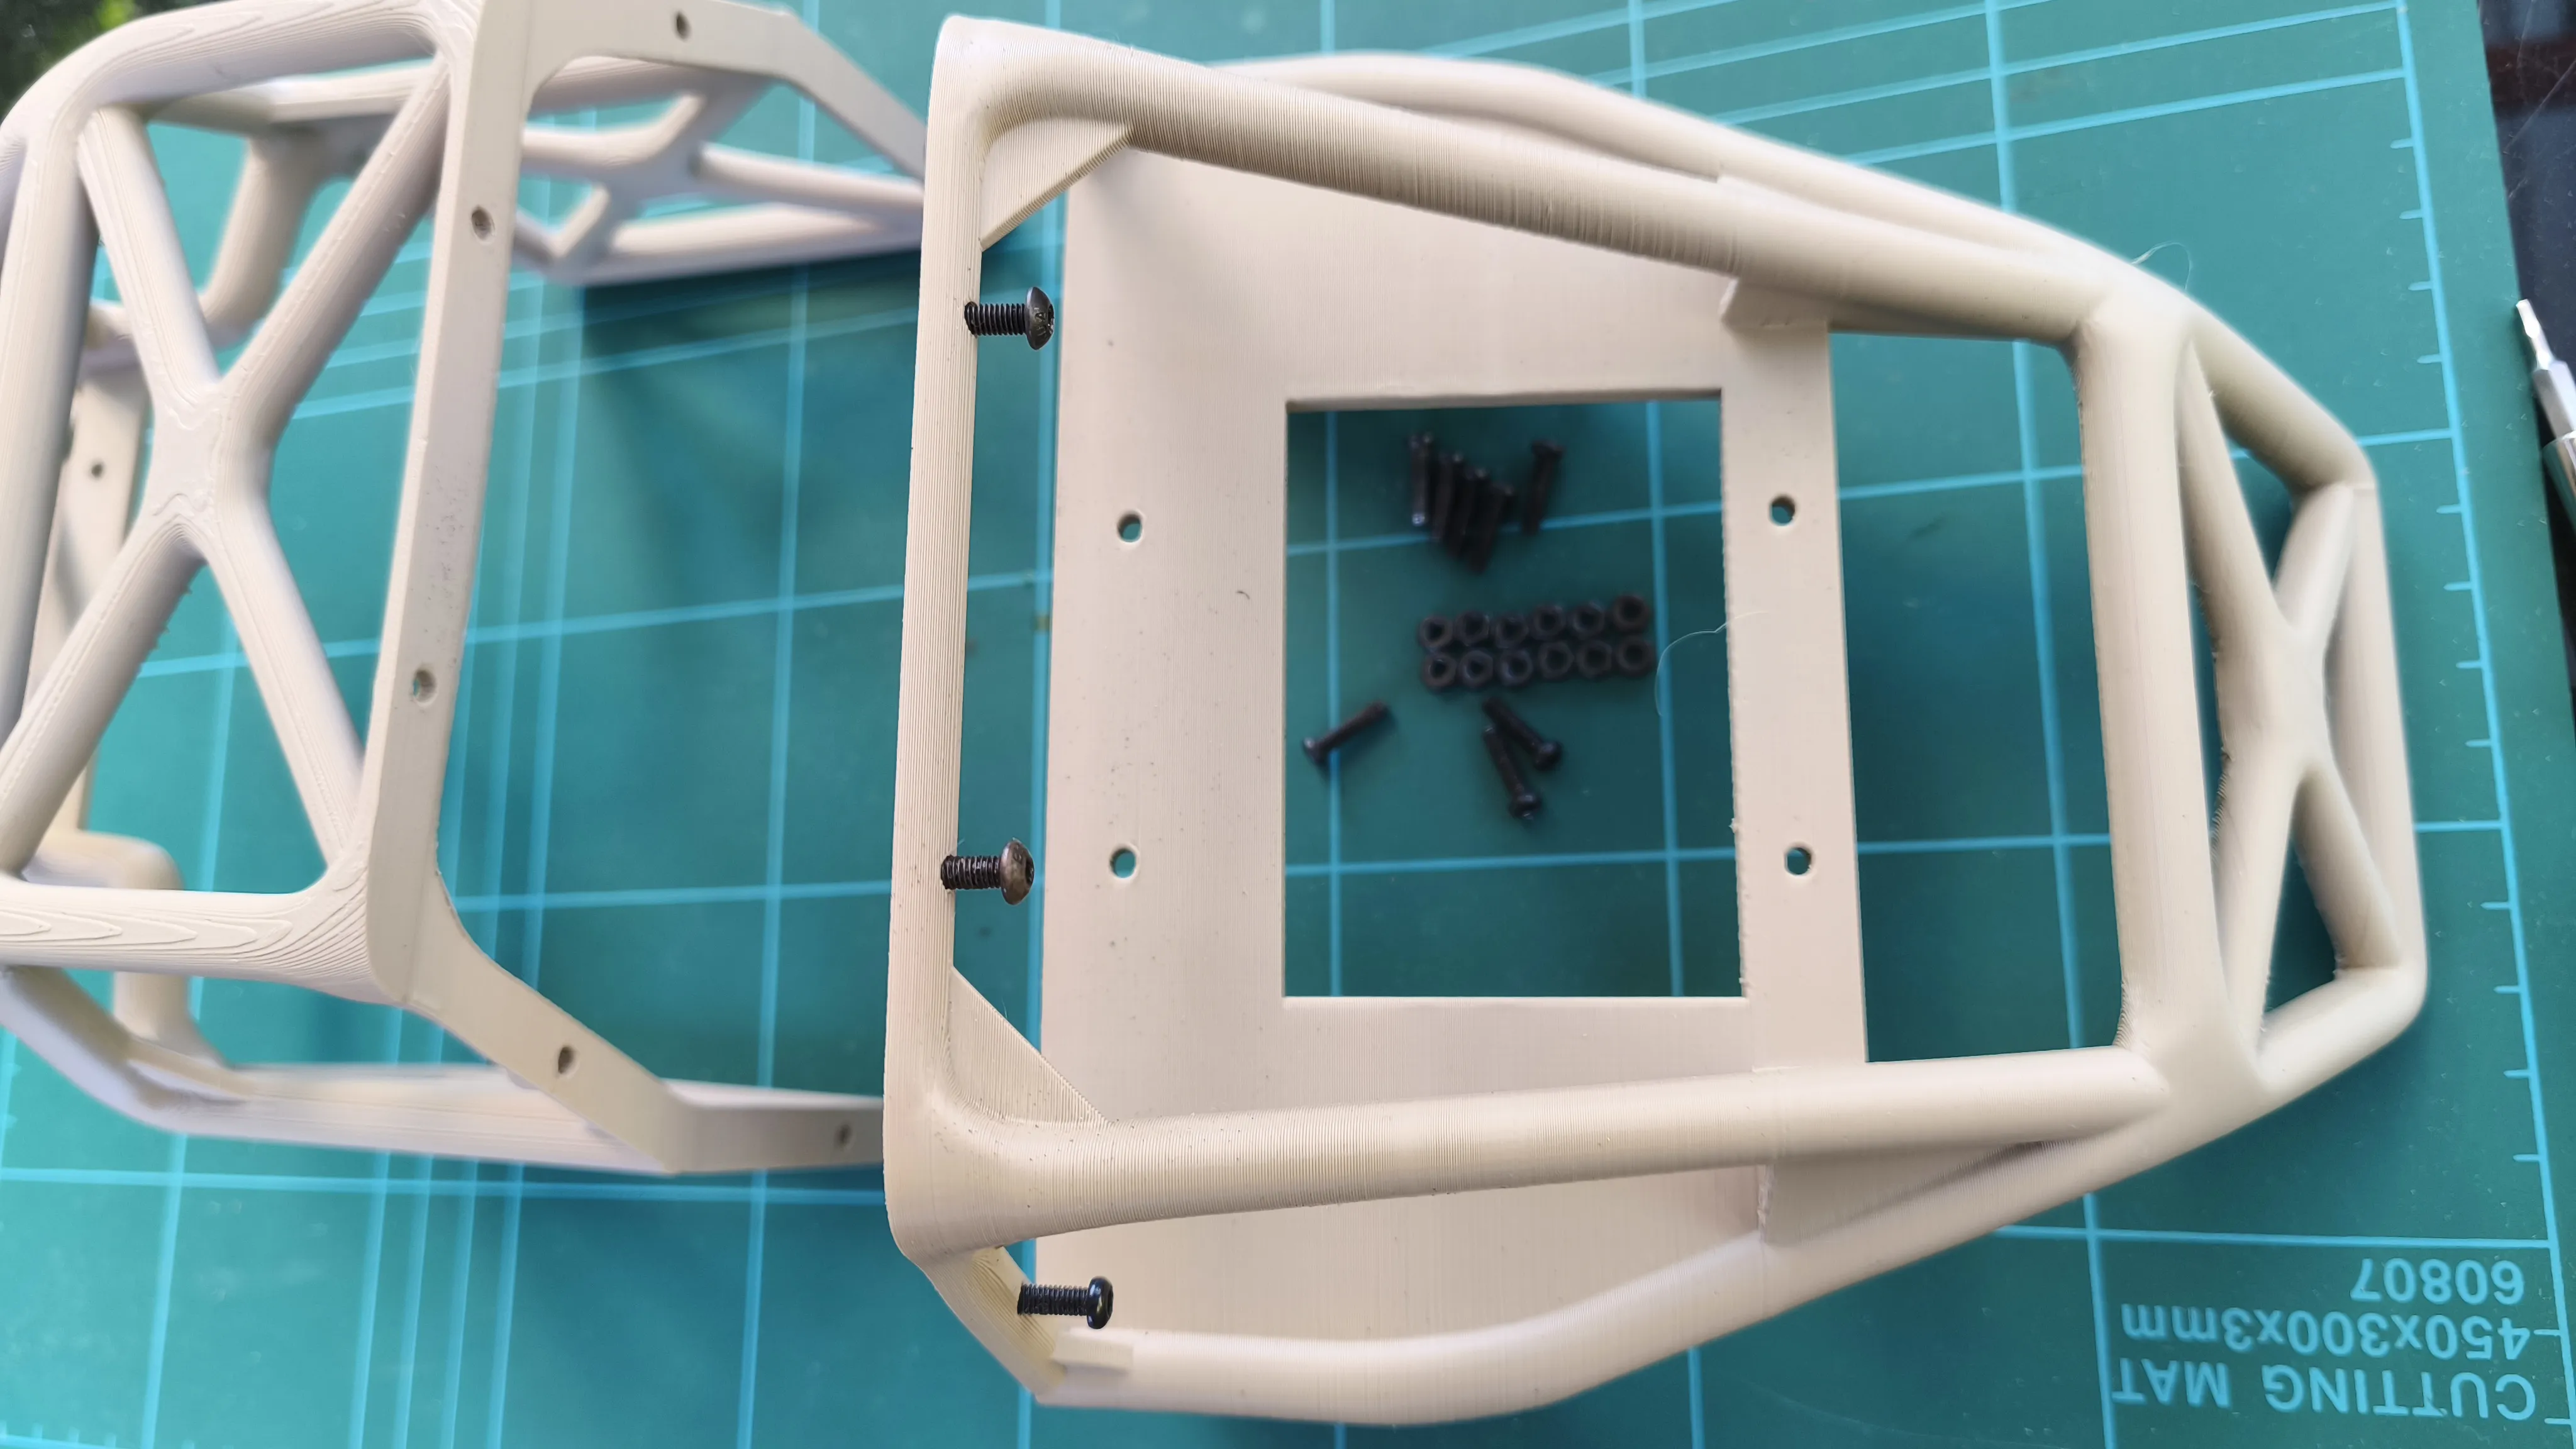
Protective cage assembly. You need 4x M3x12 and 2x M3x10 screws with M3 nuts. 2 shorter ones use for top of the cage and those longer ones place on the side. They should be inserted from the front to the back of the cage. Only those two at the bottom, you insert in oposit direction, because the square hole is used for nut.
Connect the middle plate with gimbal to the protective cage. For that you just need 6x M3x12 screws with M3 nuts. There are six holes: front, middle and back of ther car.
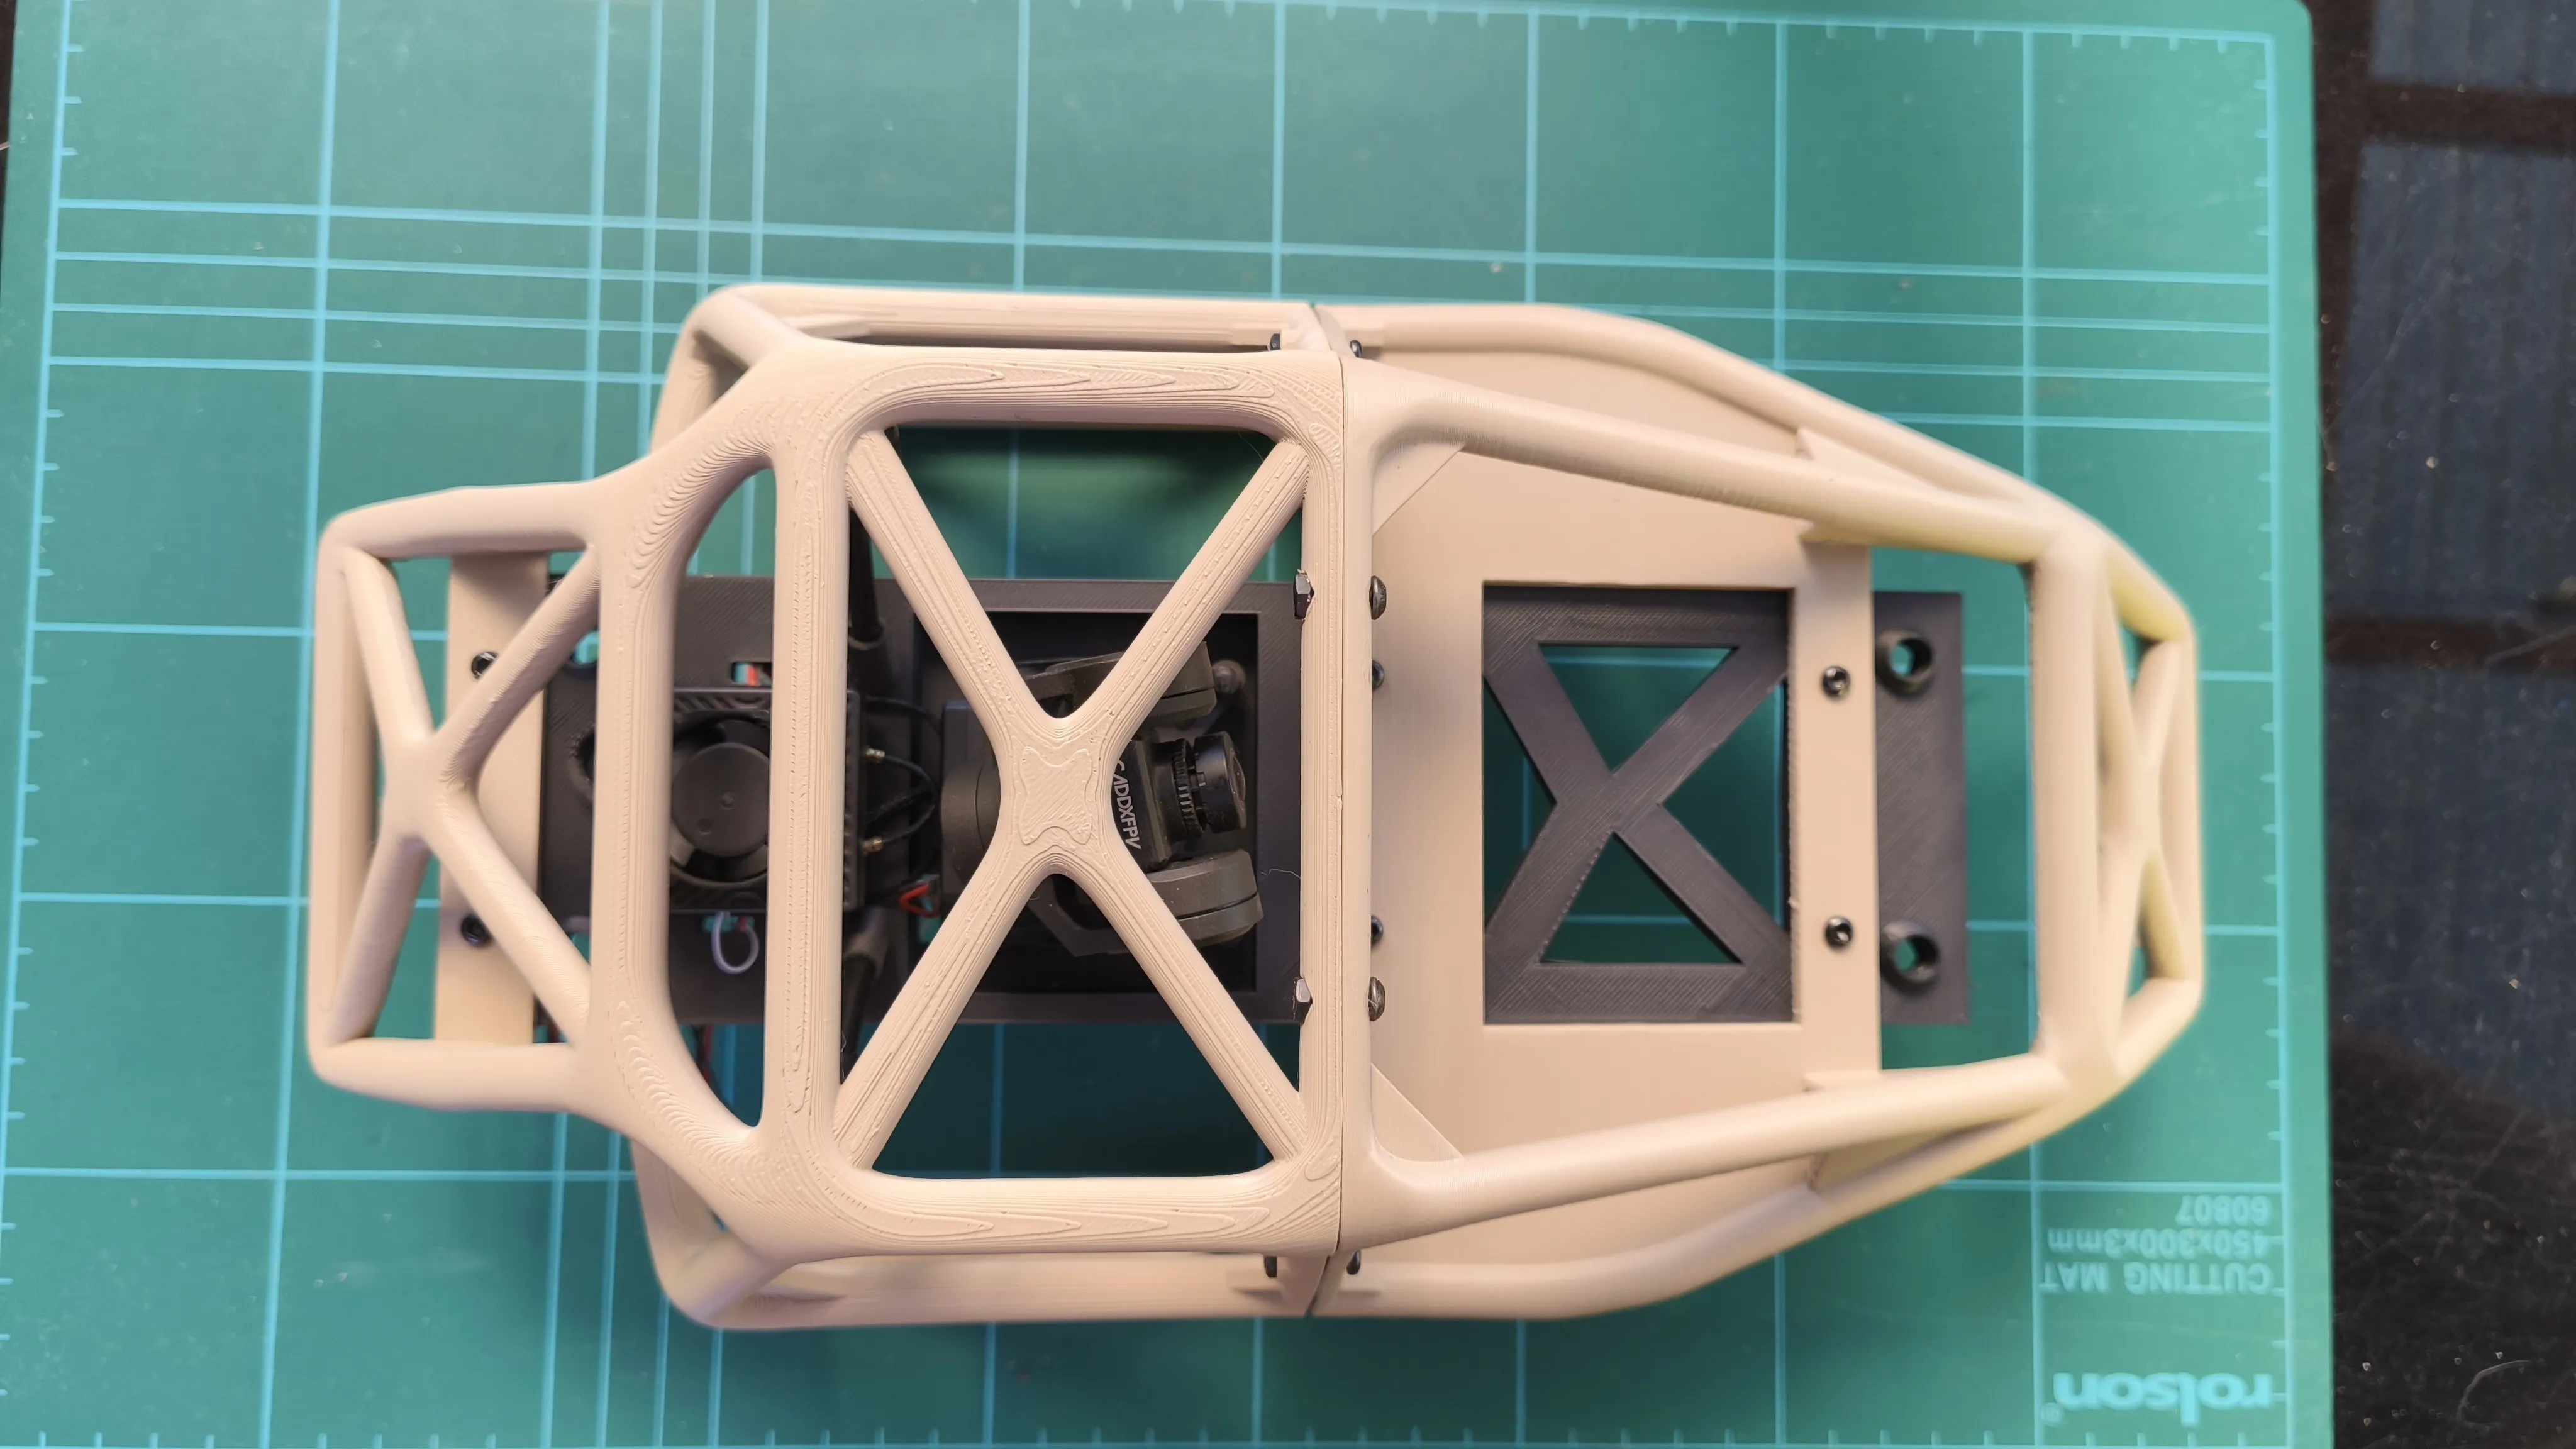
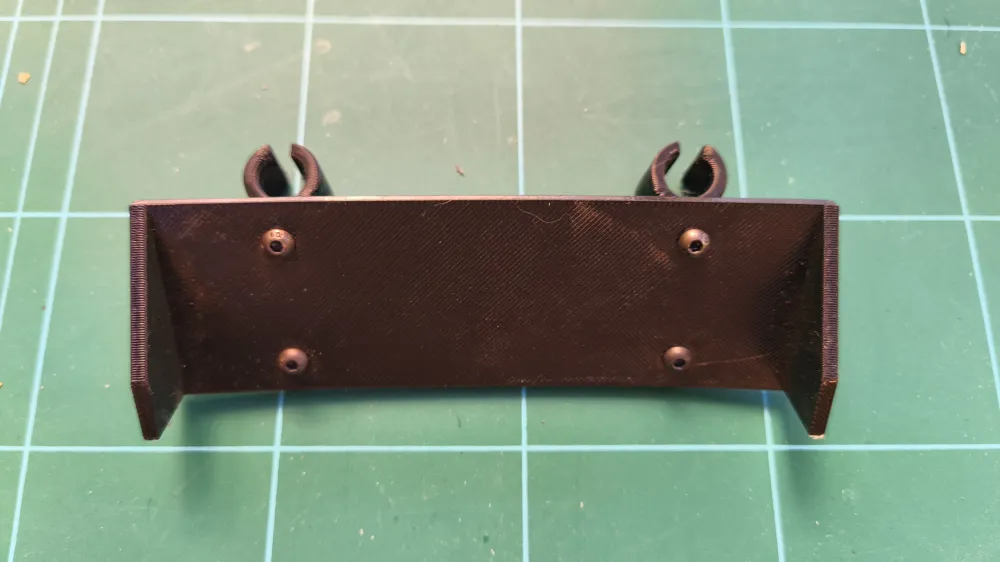
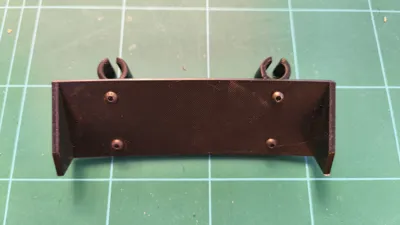
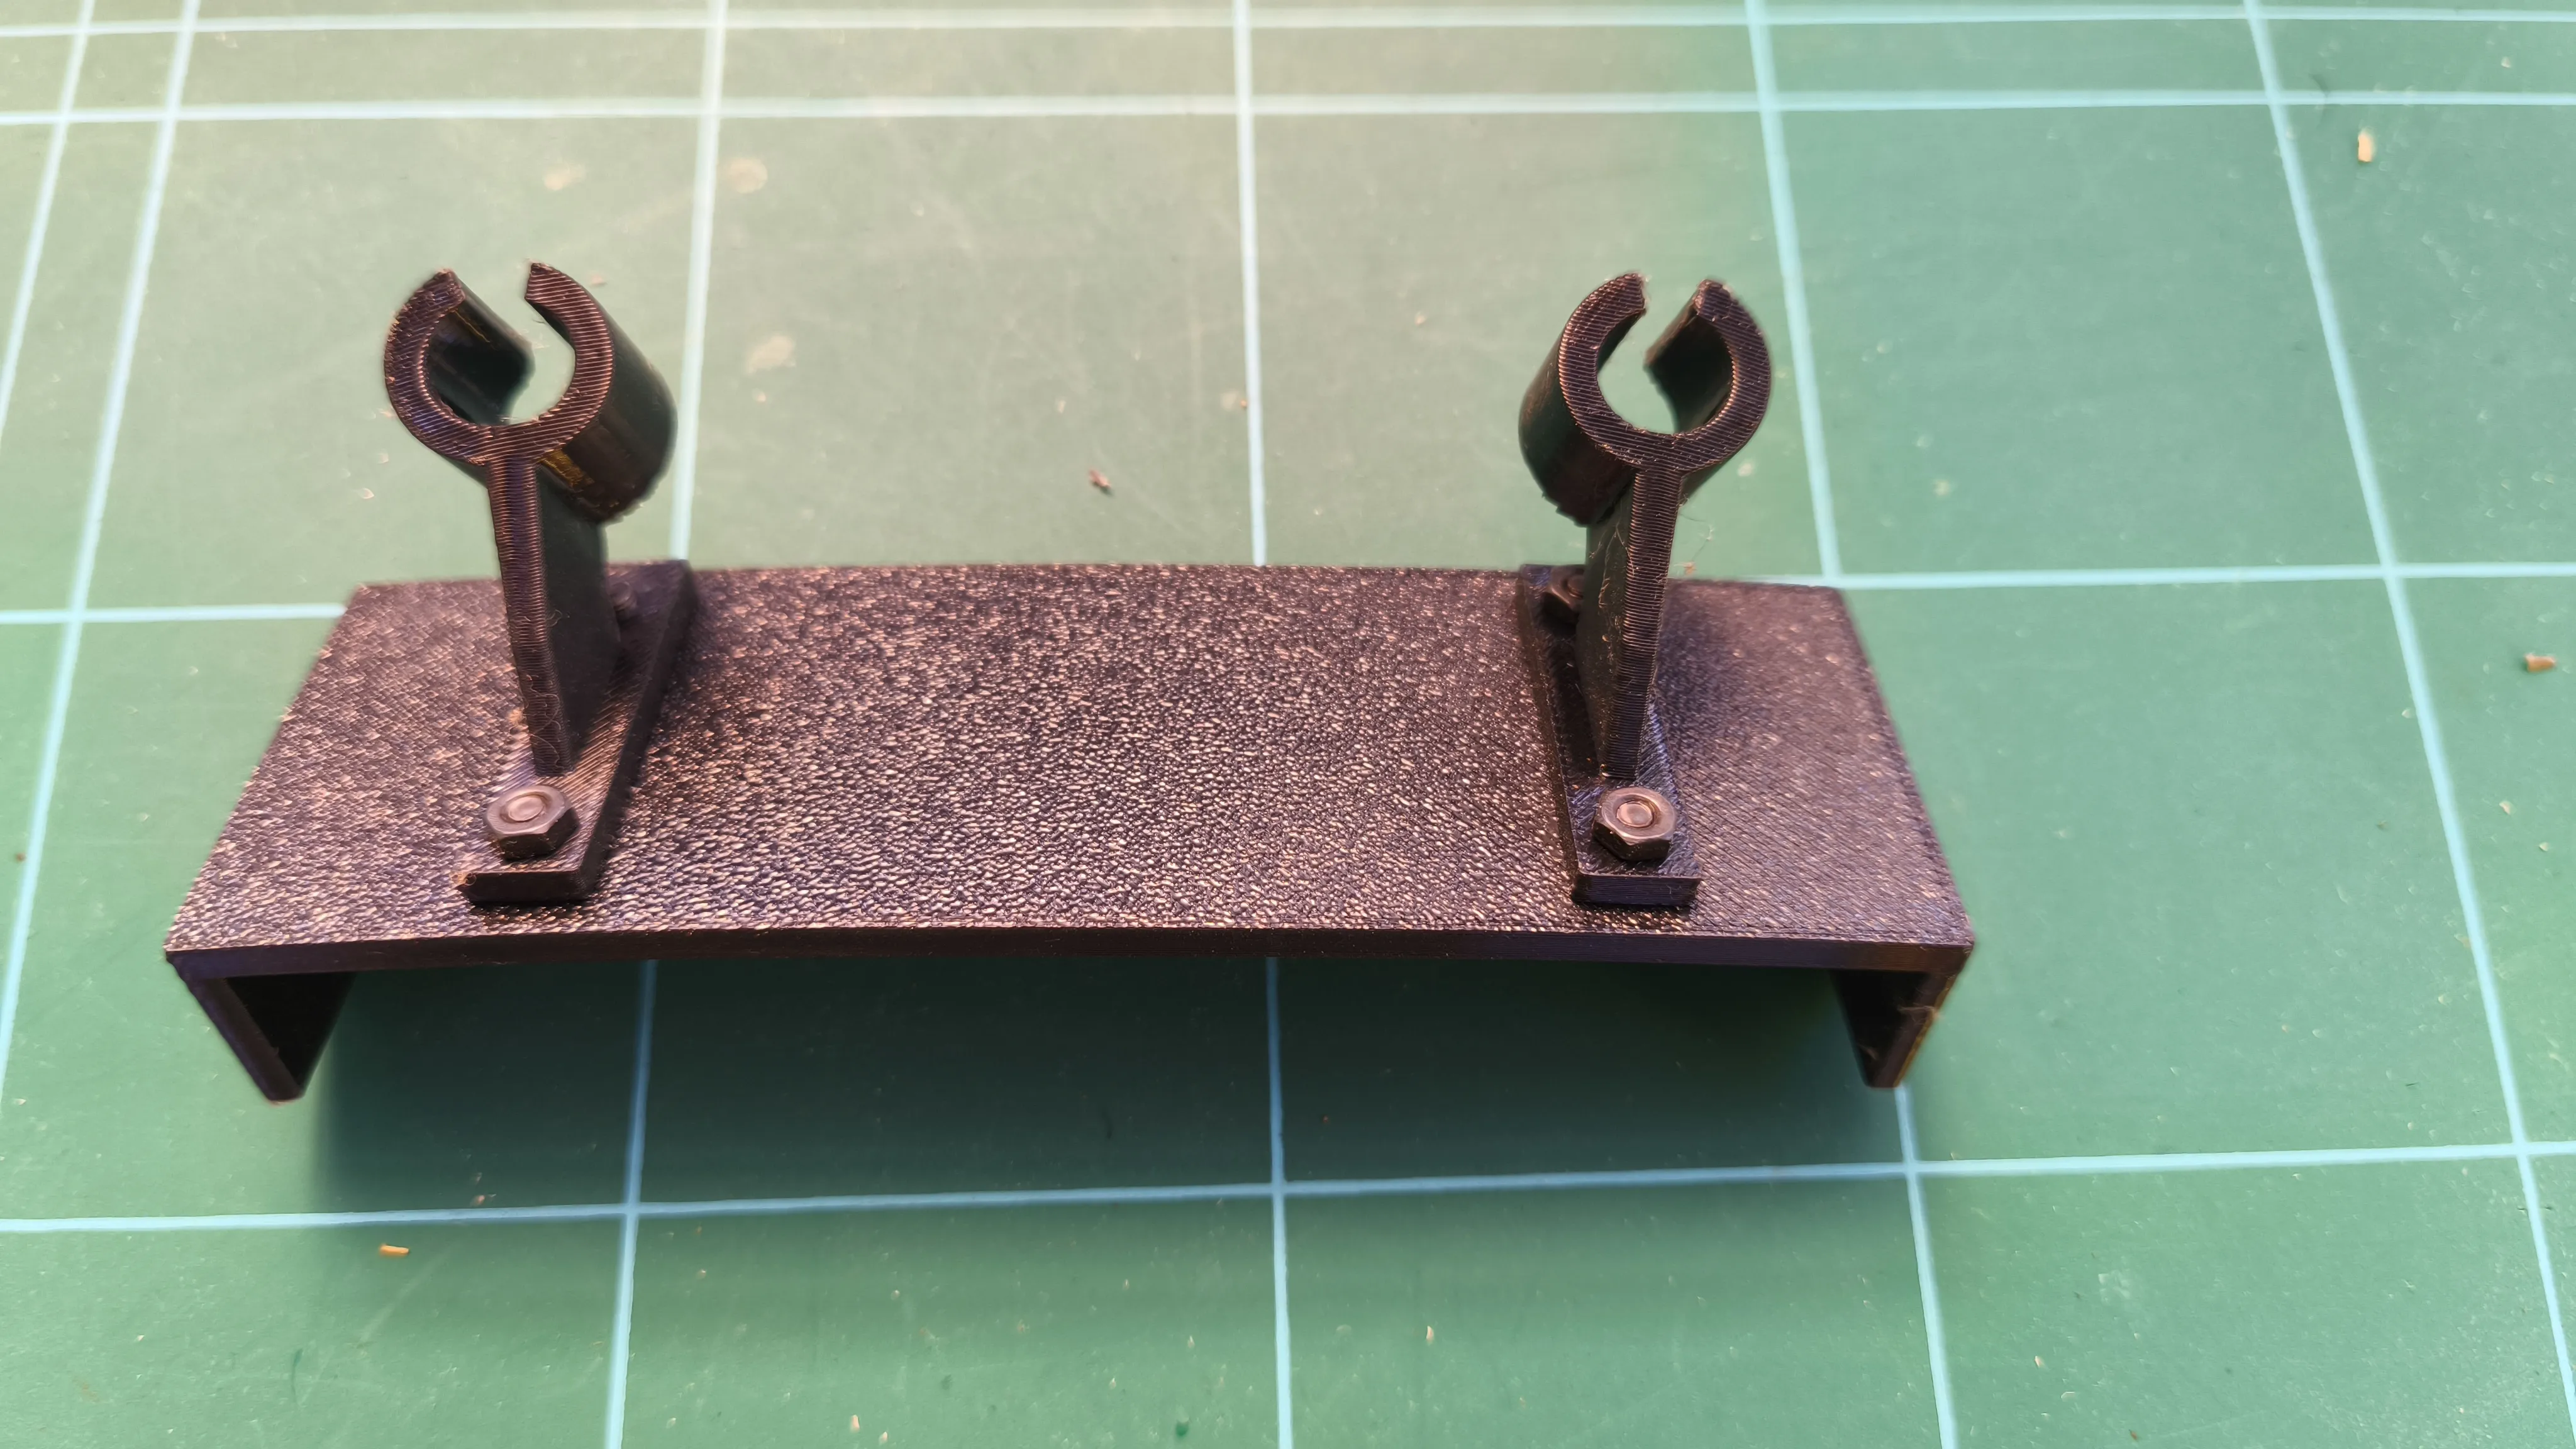
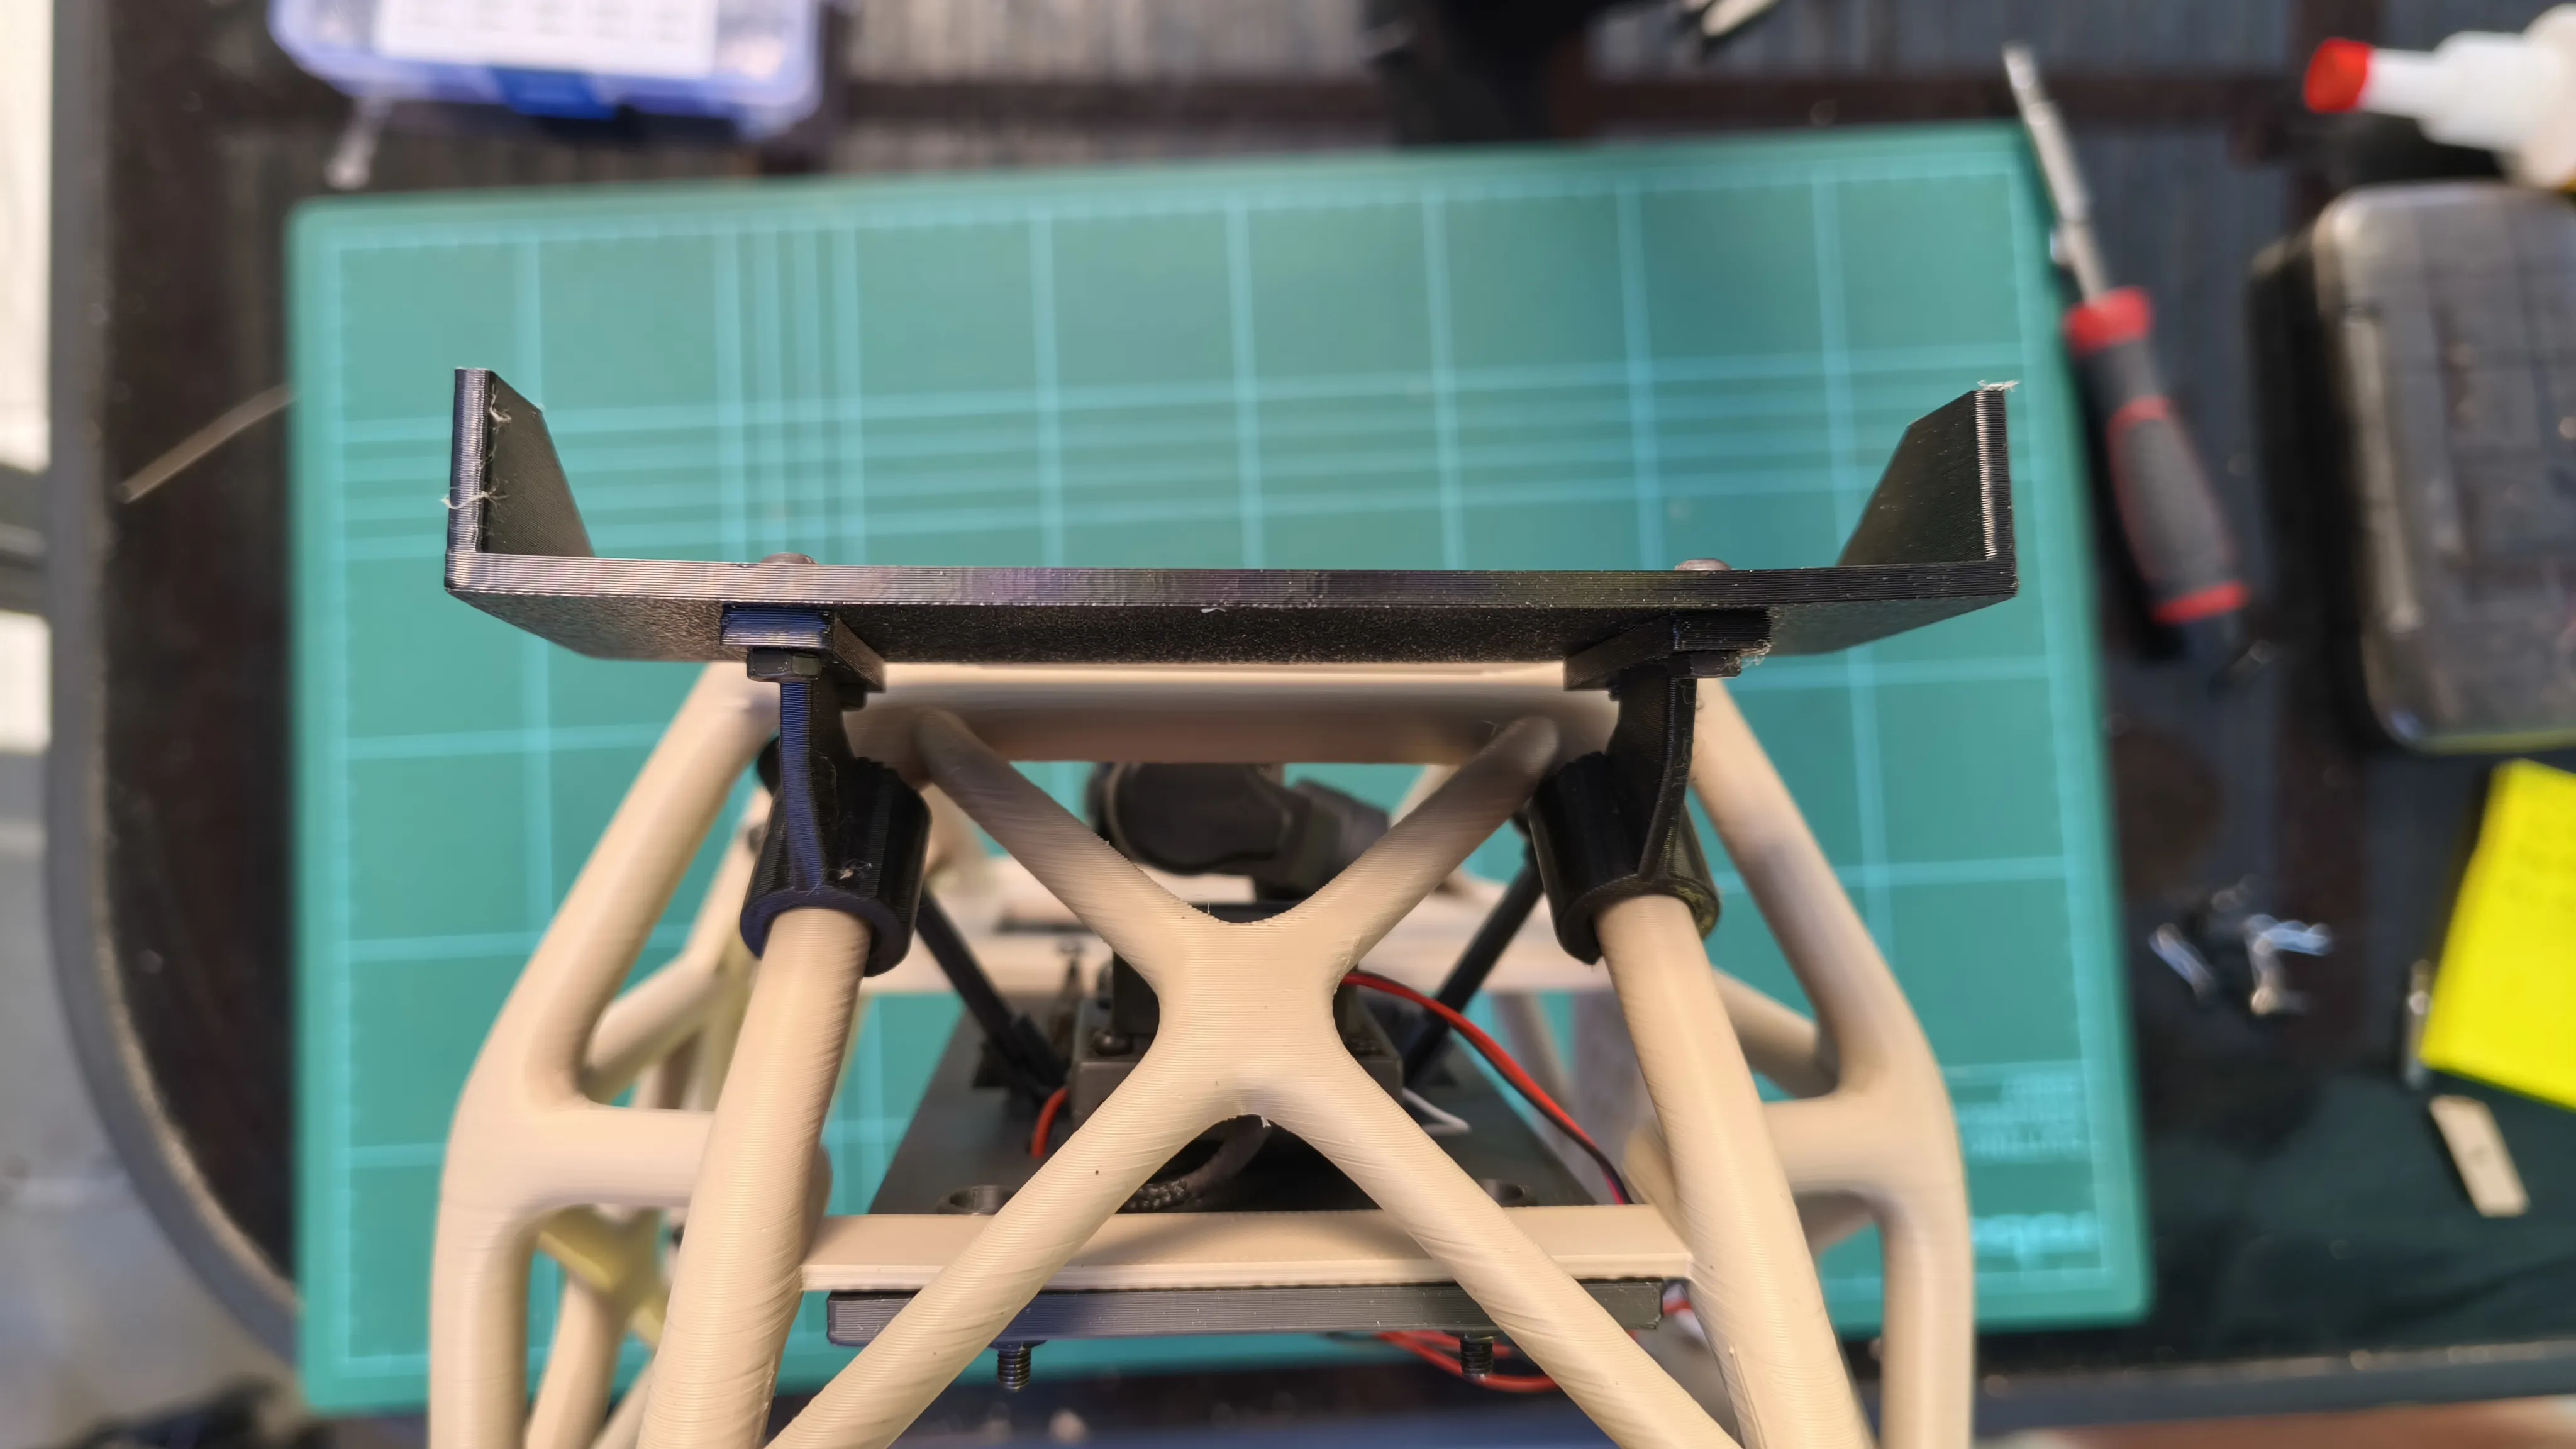
Rear spoiler. Withi 4x M3x8 screws put together the spoiler and its mounts. Be carefull, those mounts are little different and they have its own side. Print it with something flexible, like TPU 95. Then you can just snap them to the frame
Install front cabin mount. Since the original front fuselage mount works differently, you need to use my front mount. Just unscrew the original one and replace it with the printed one.
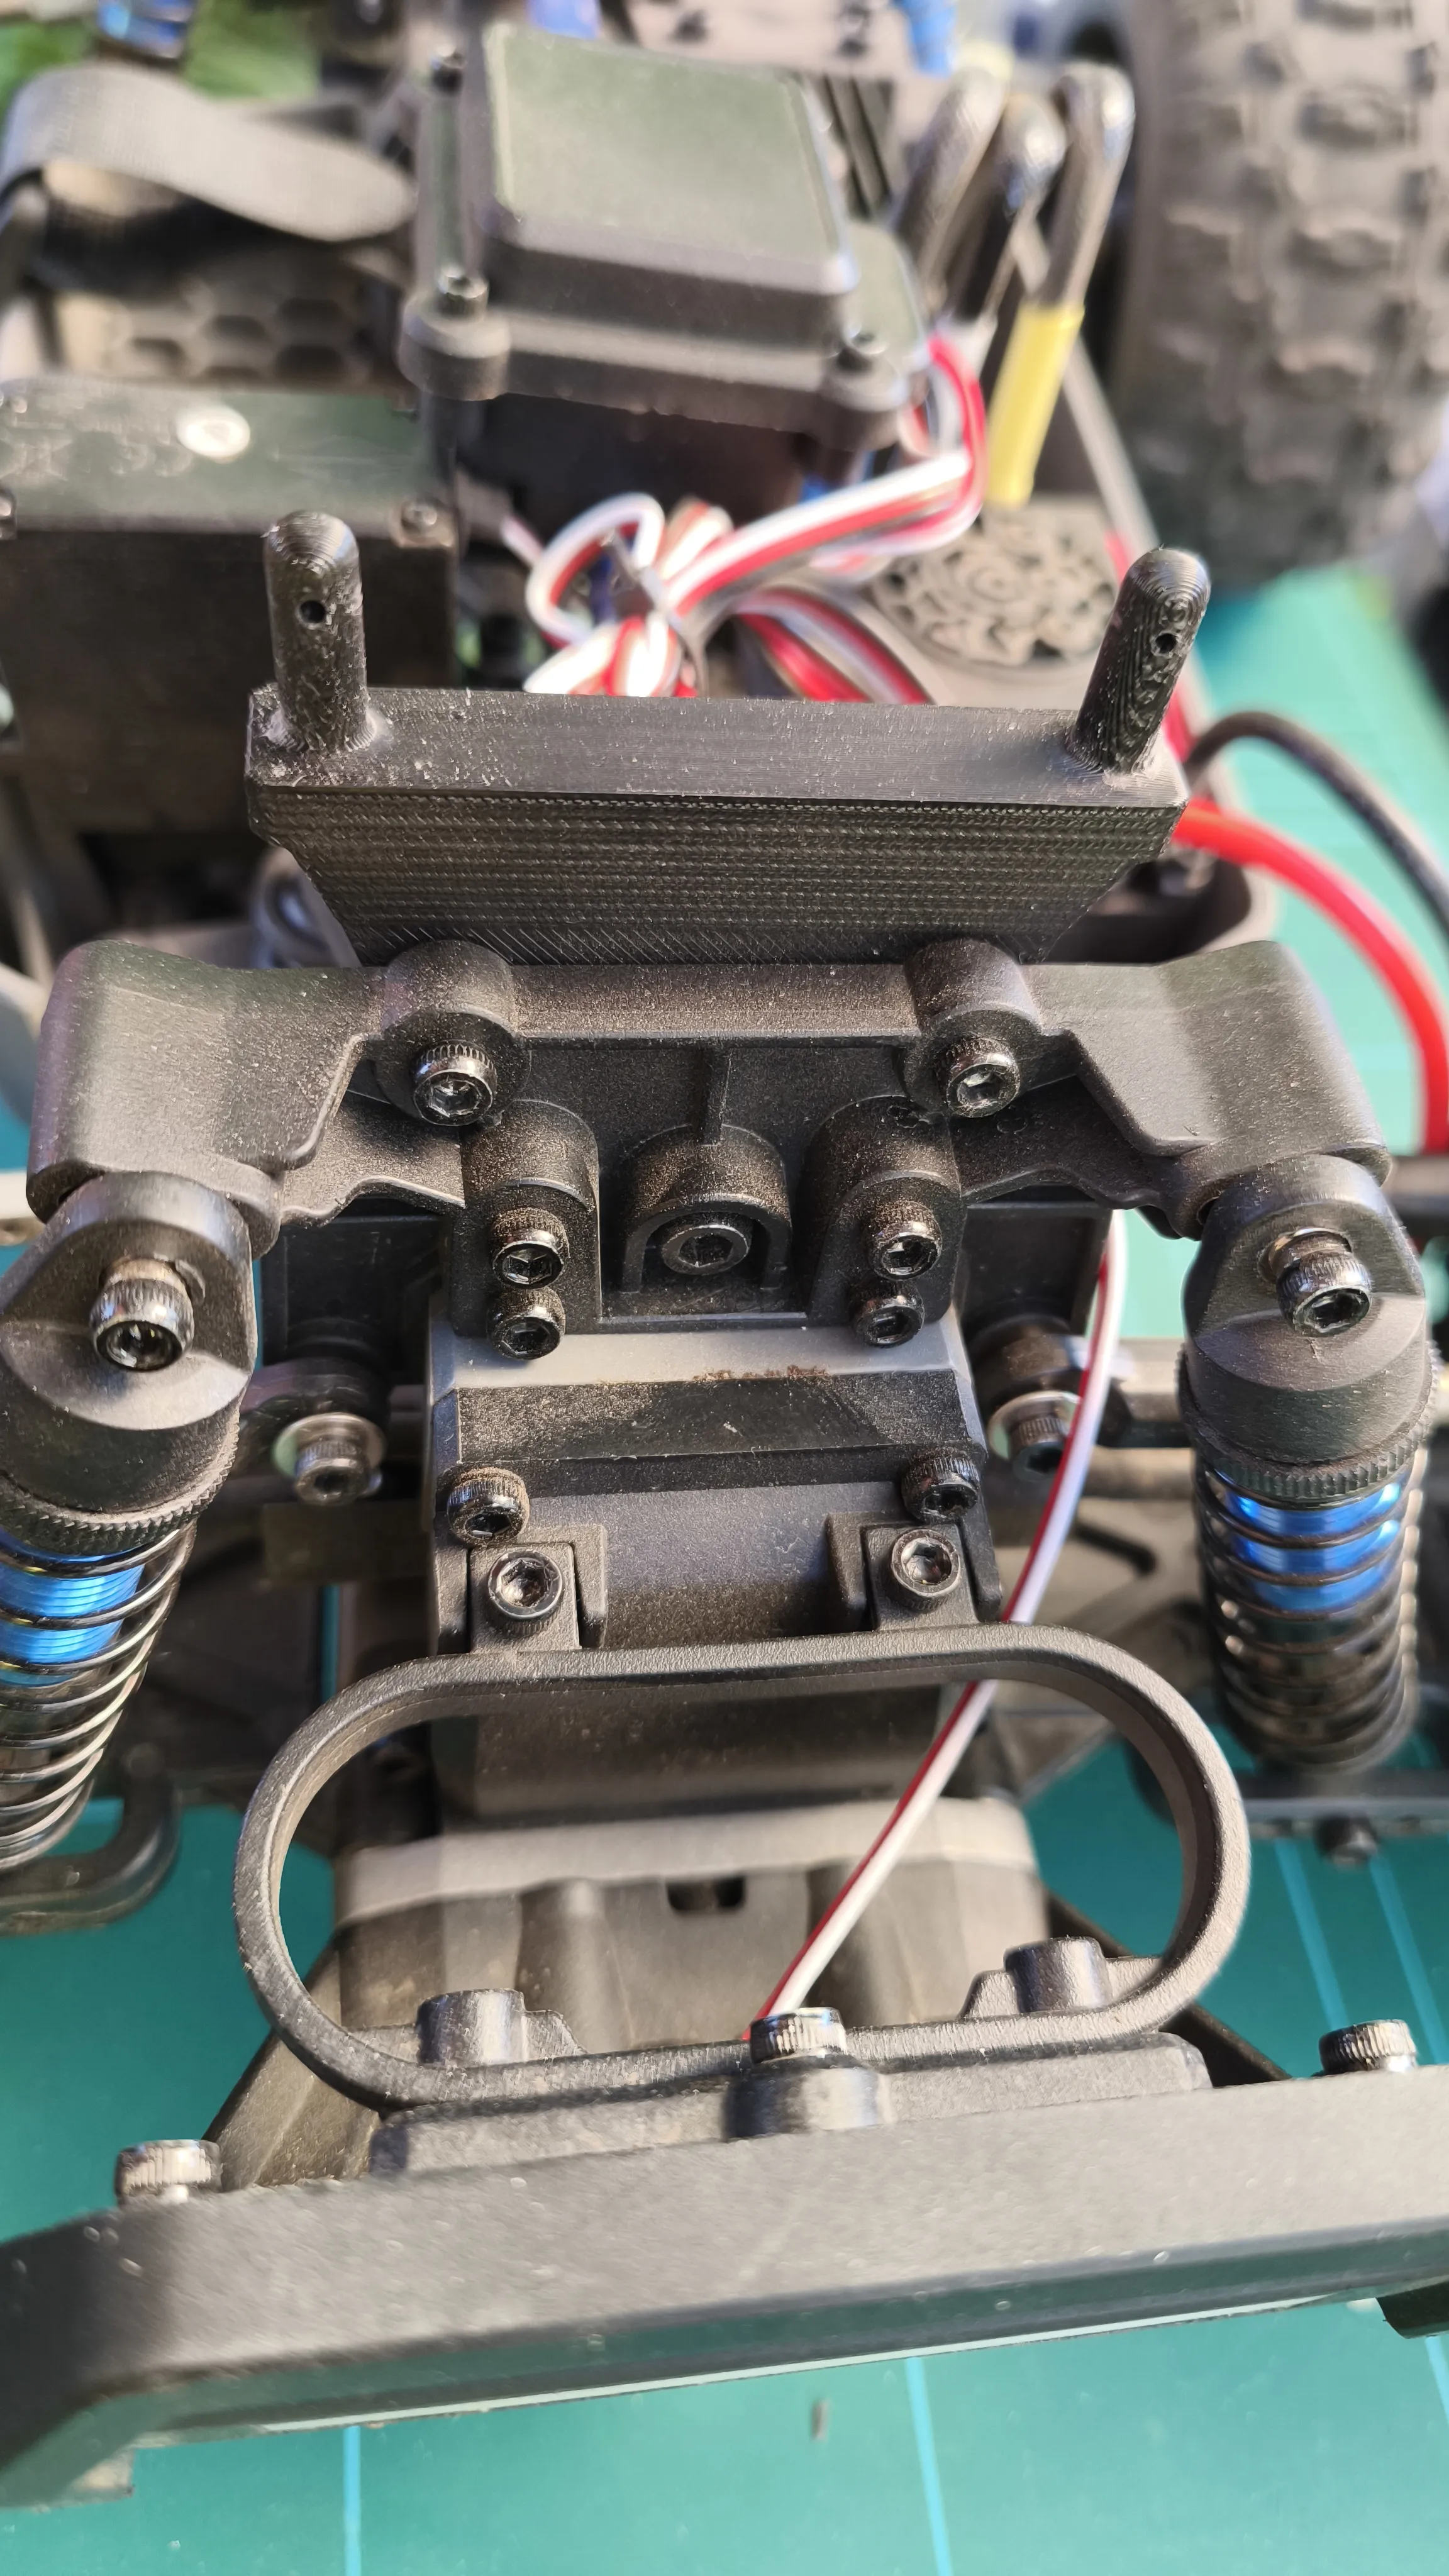
Secure the FPV fuselage. You are almost there, now add battery to the car, place the FPV fuselage on those cabin mount pins and secure it with rc car double pins in th front and back.
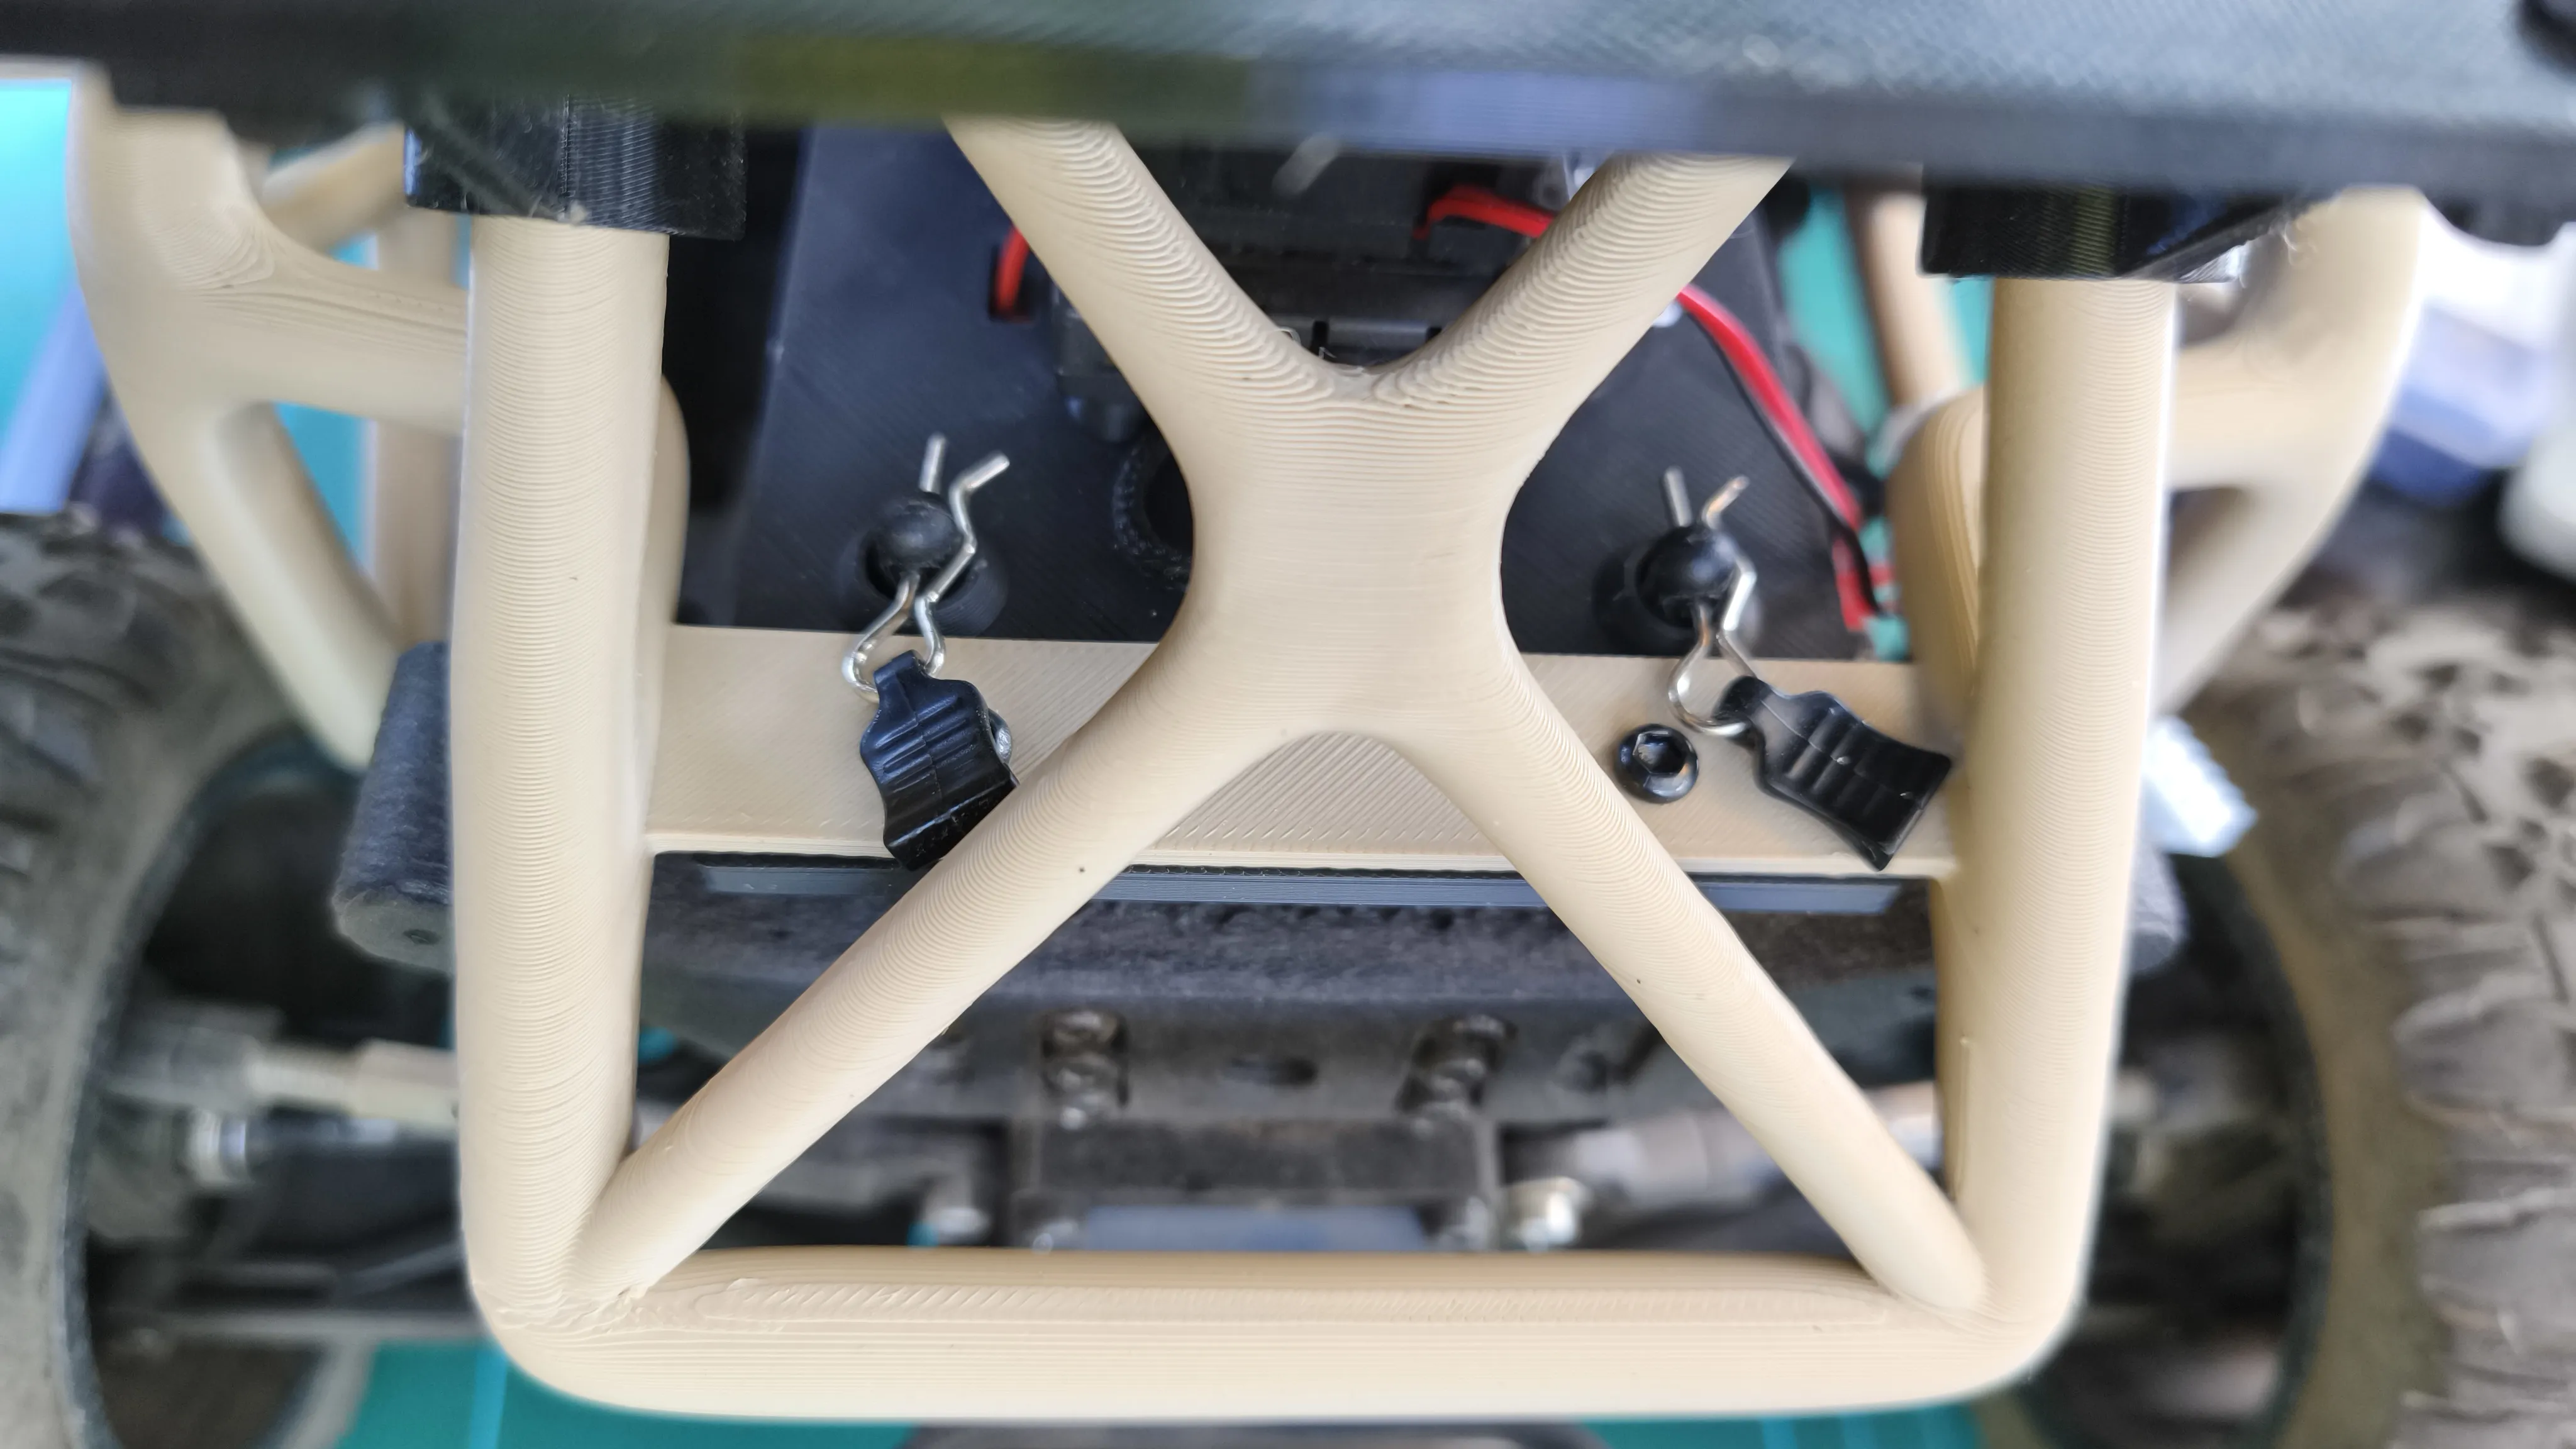
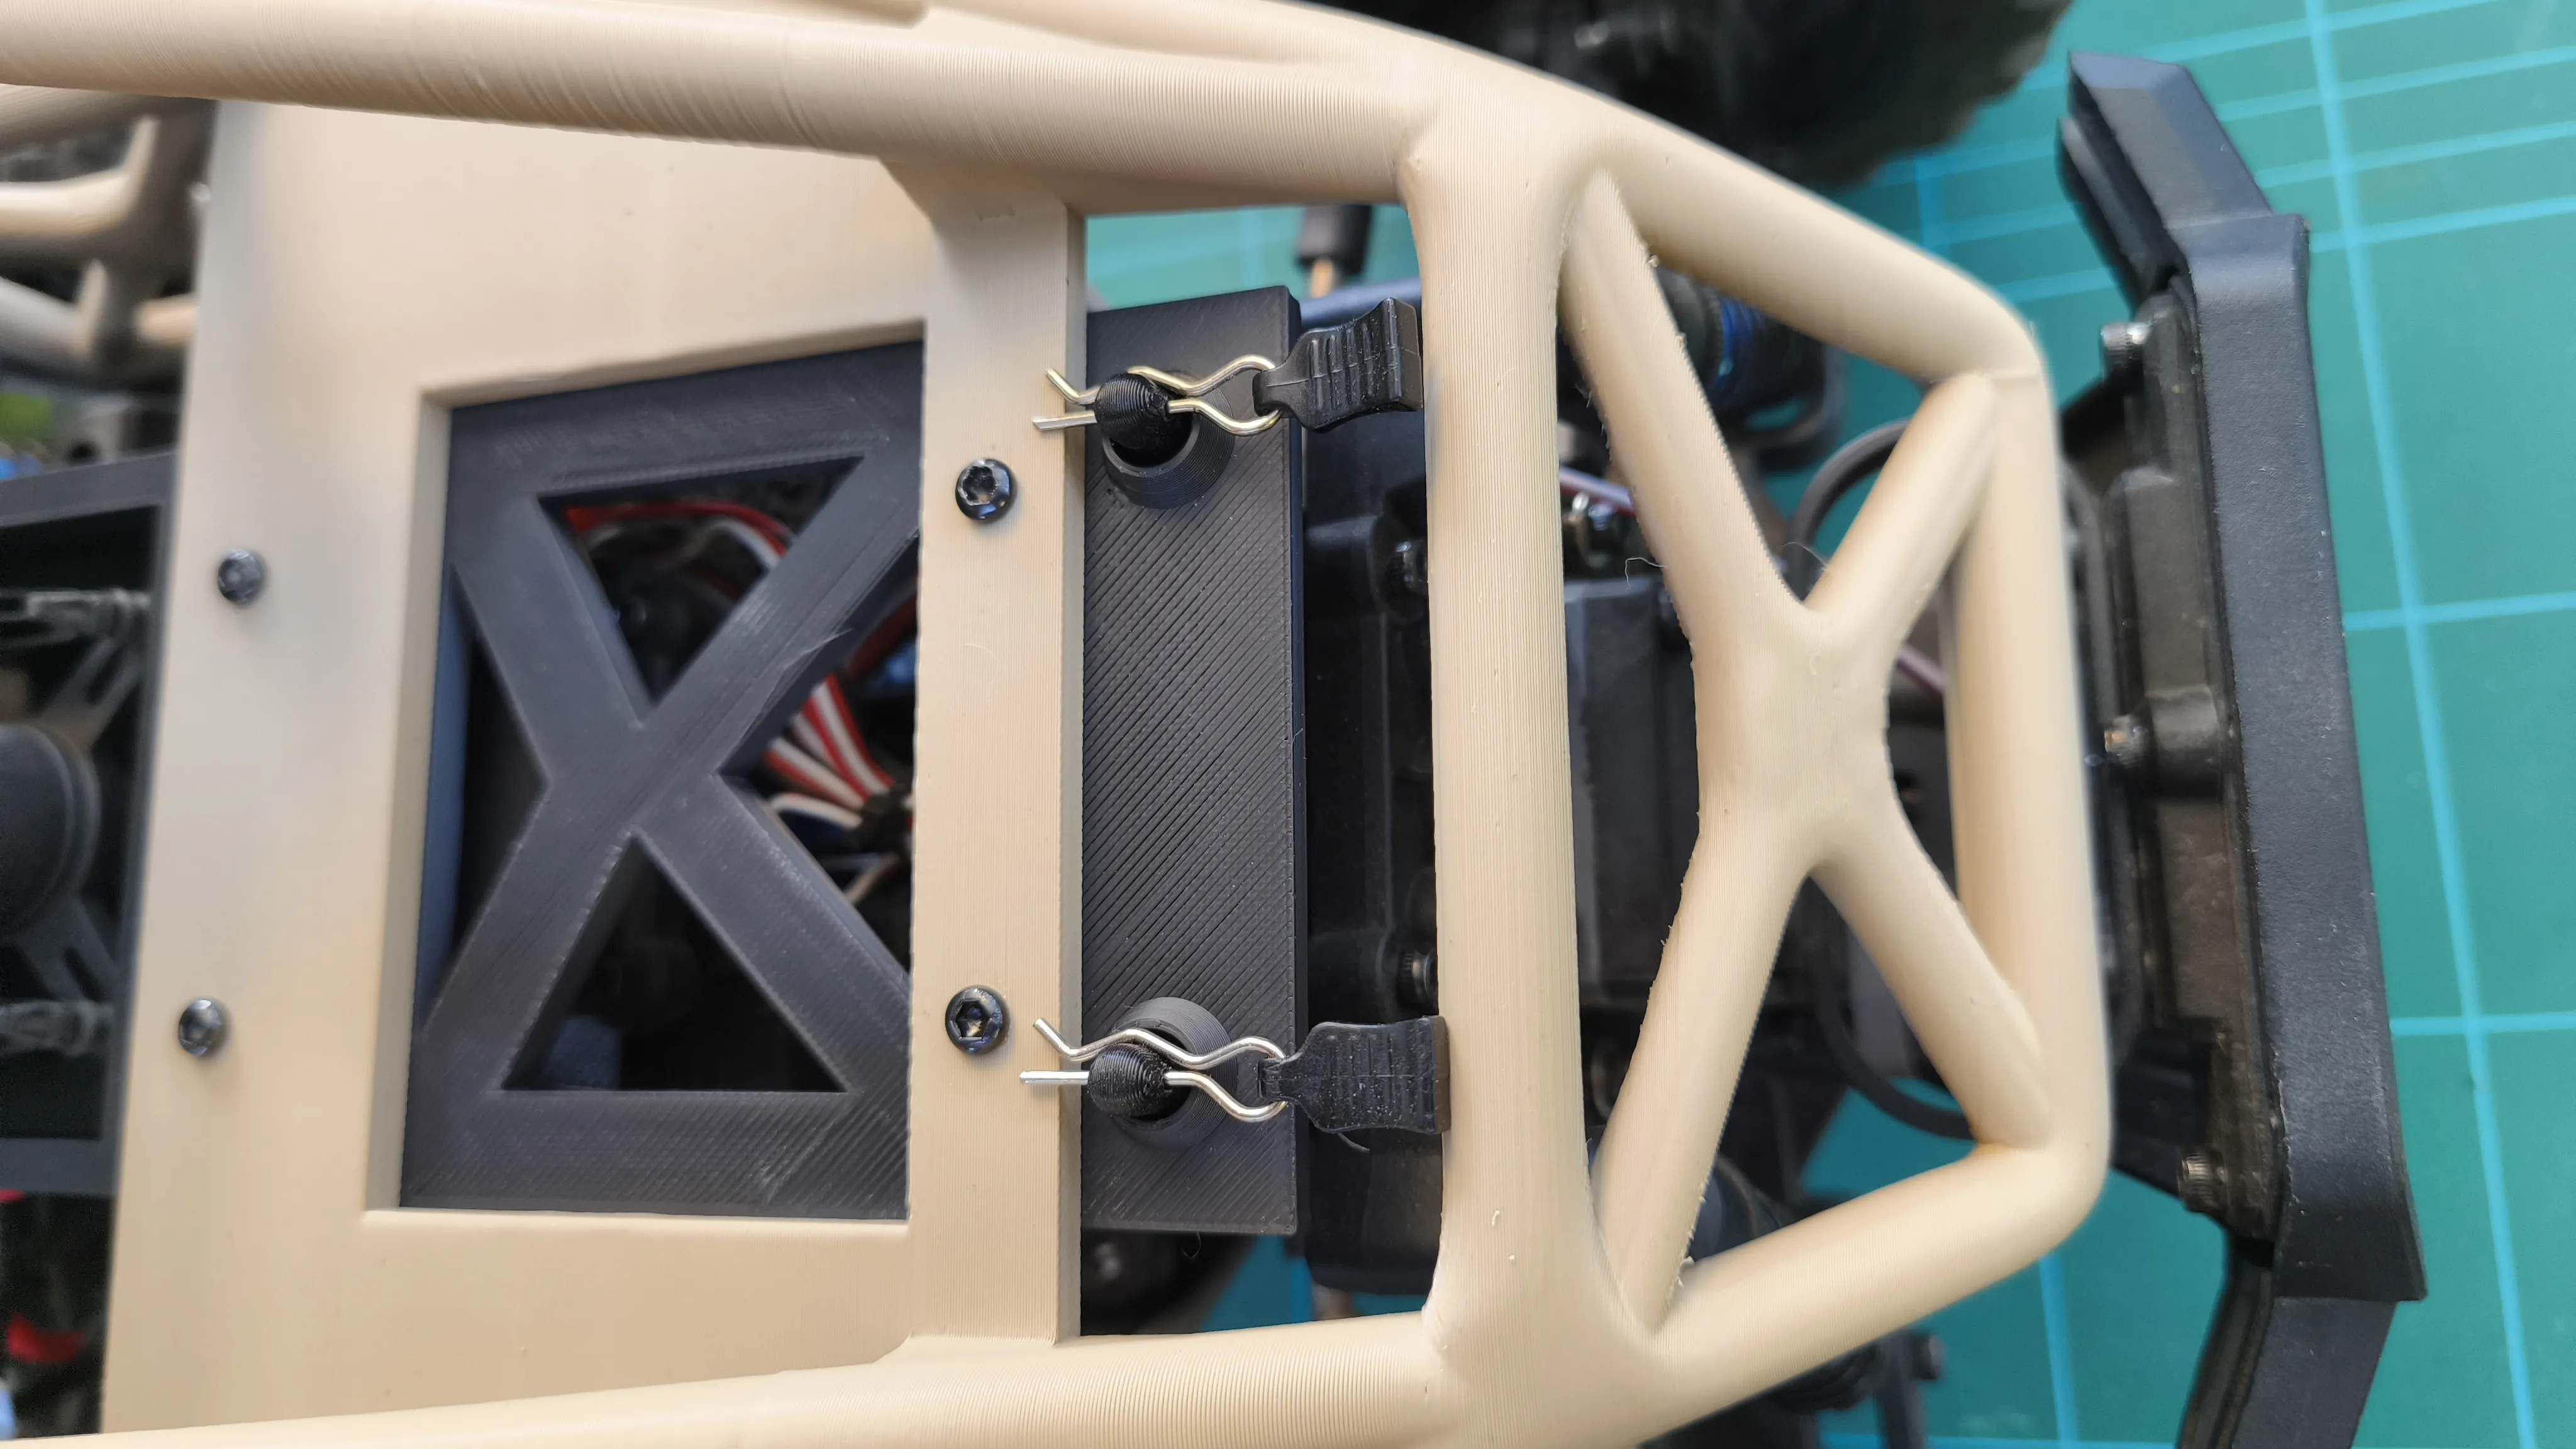
Plug in the balancer connector. Thats a little bit tricky, but I have big hands, and its still managable
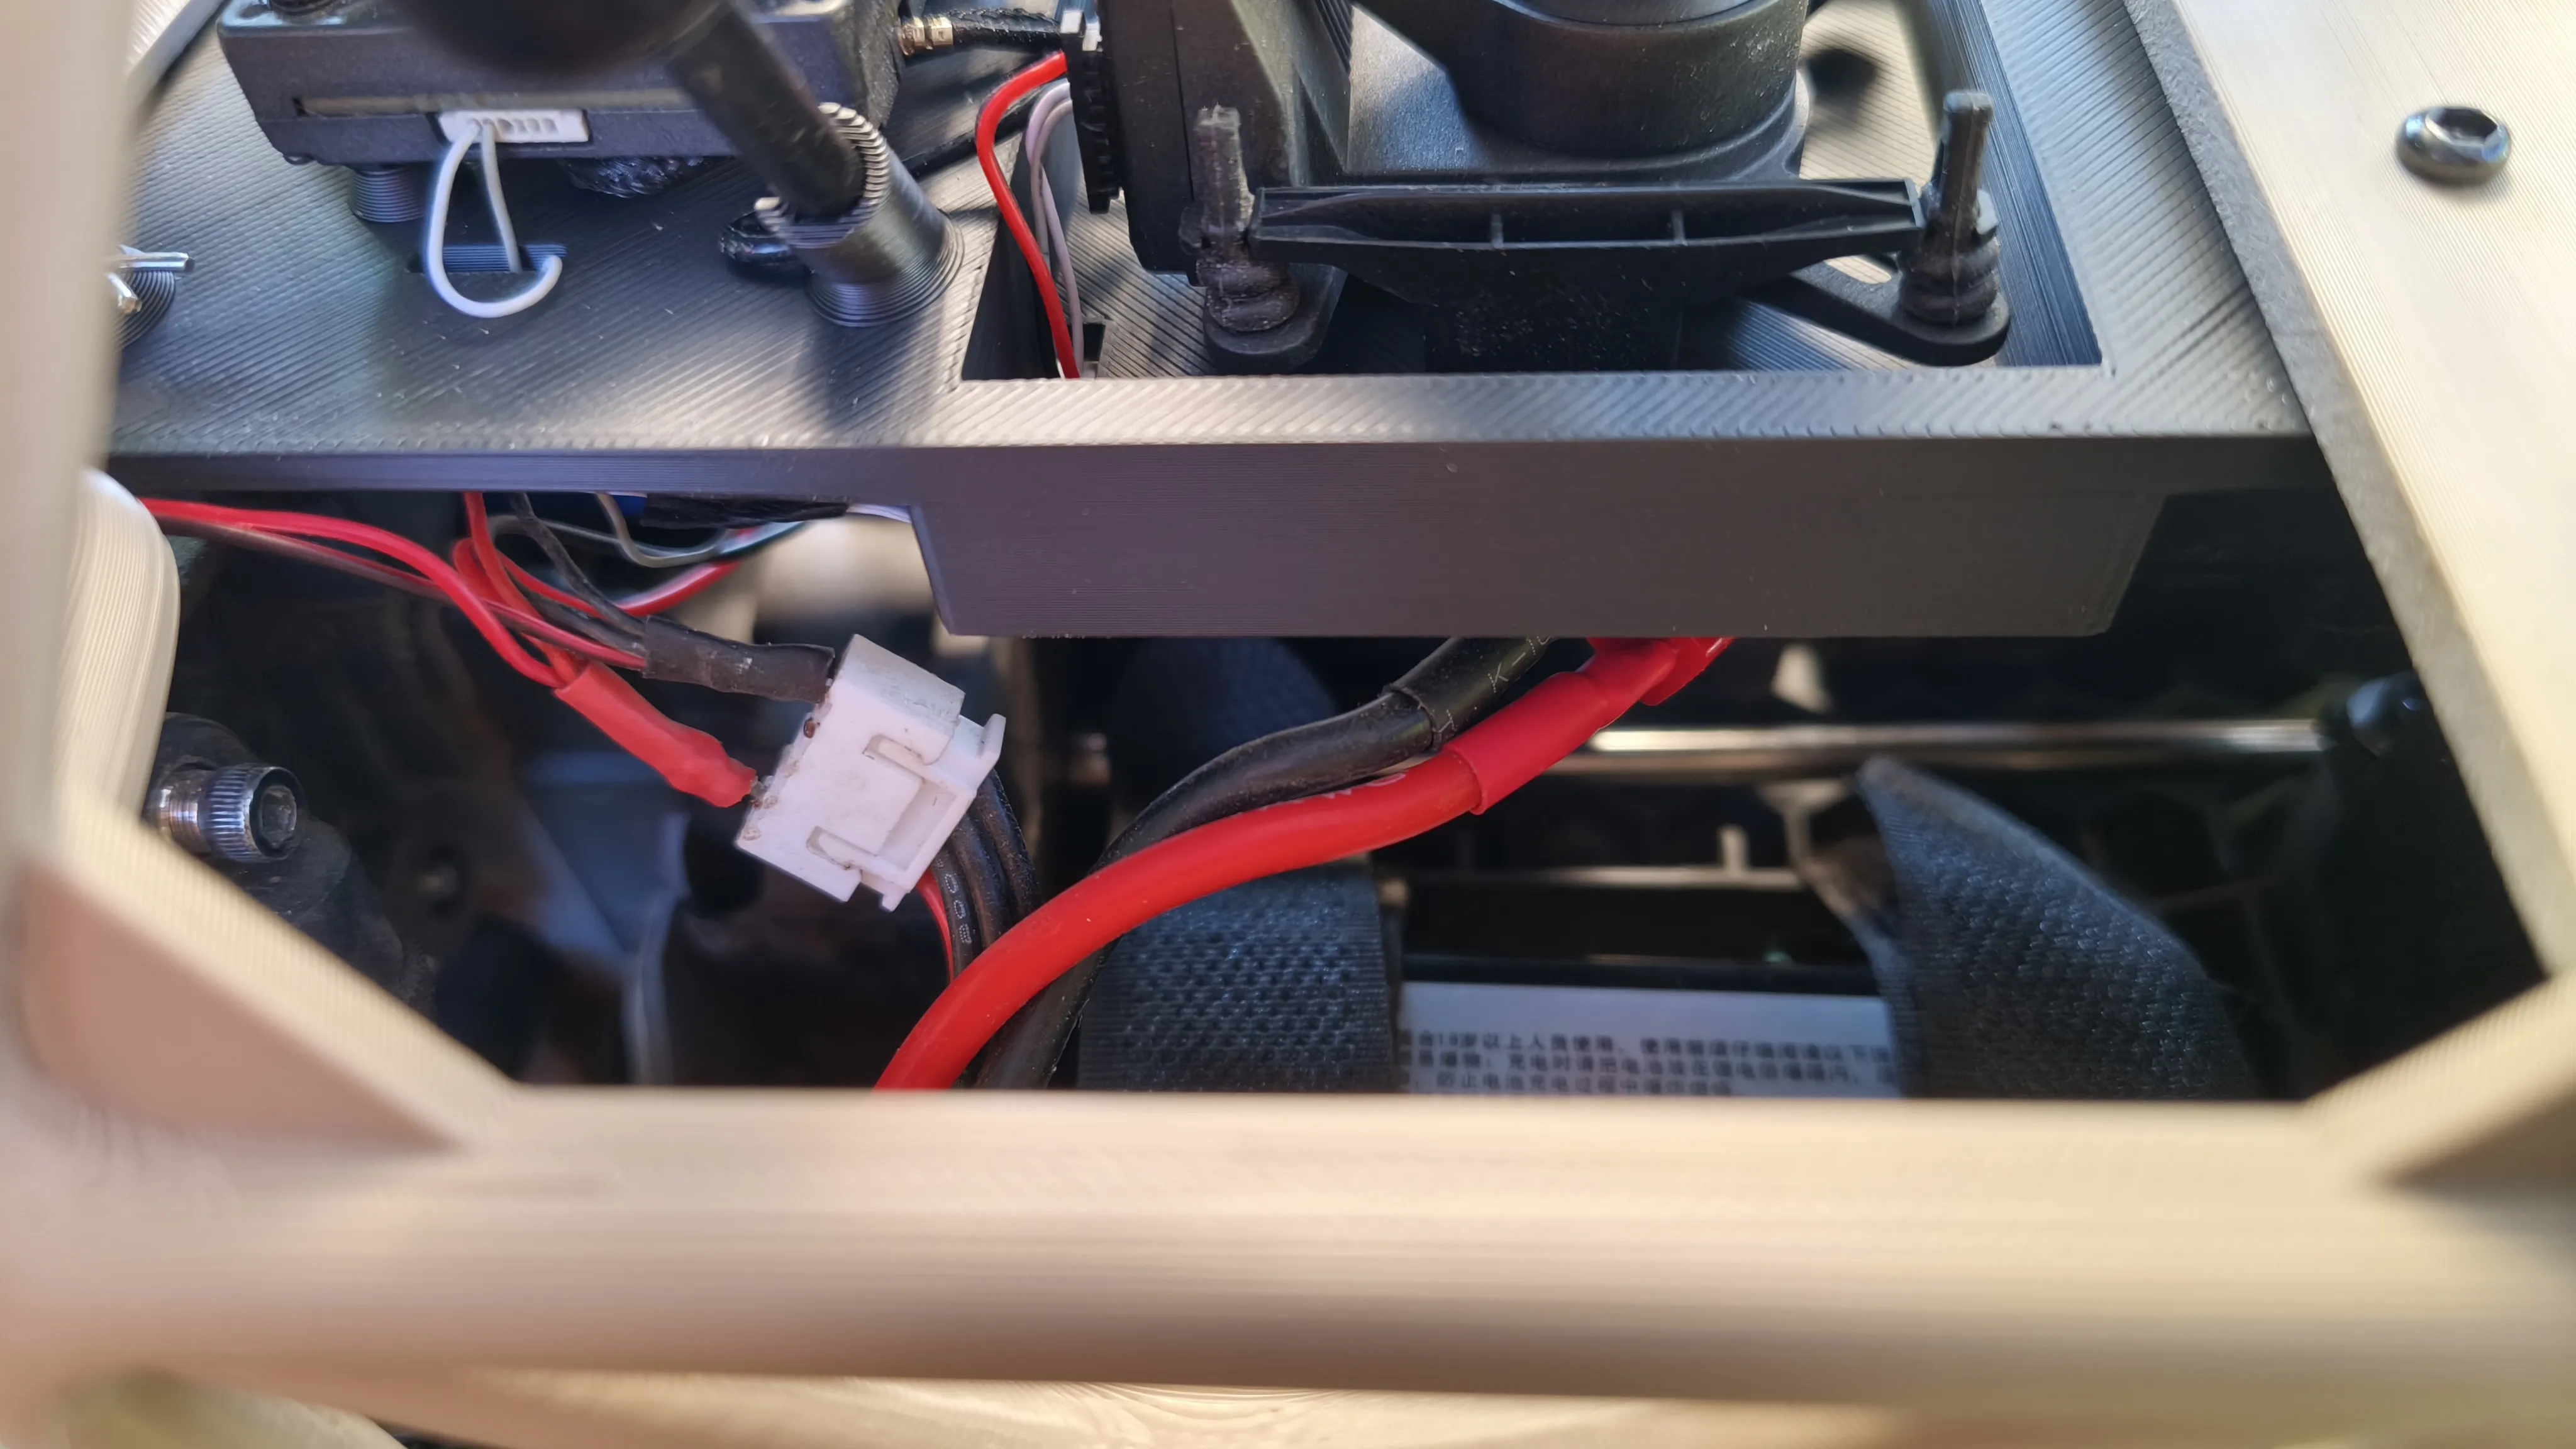
- Enjoy the ride. You dont need description for that :-)
License

You shall not share, sub-license, sell, rent, host, transfer, or distribute in any way the digital or 3D printed versions of this object, nor any other derivative work of this object in its digital or physical format (including - but not limited to - remixes of this object, and hosting on other digital platforms). The objects may not be used without permission in any way whatsoever in which you charge money, or collect fees.


Comment & Rating (0)