
Twilight Imperium space station miniatures
Print Profile(2)
Bill of Materials


Description
Boost Me (for free)
Boosting my models would help fueling my hobby to release more miniatures and models free for all!
🛰️ Twilight Imperium space (trade) station miniatures 🪐
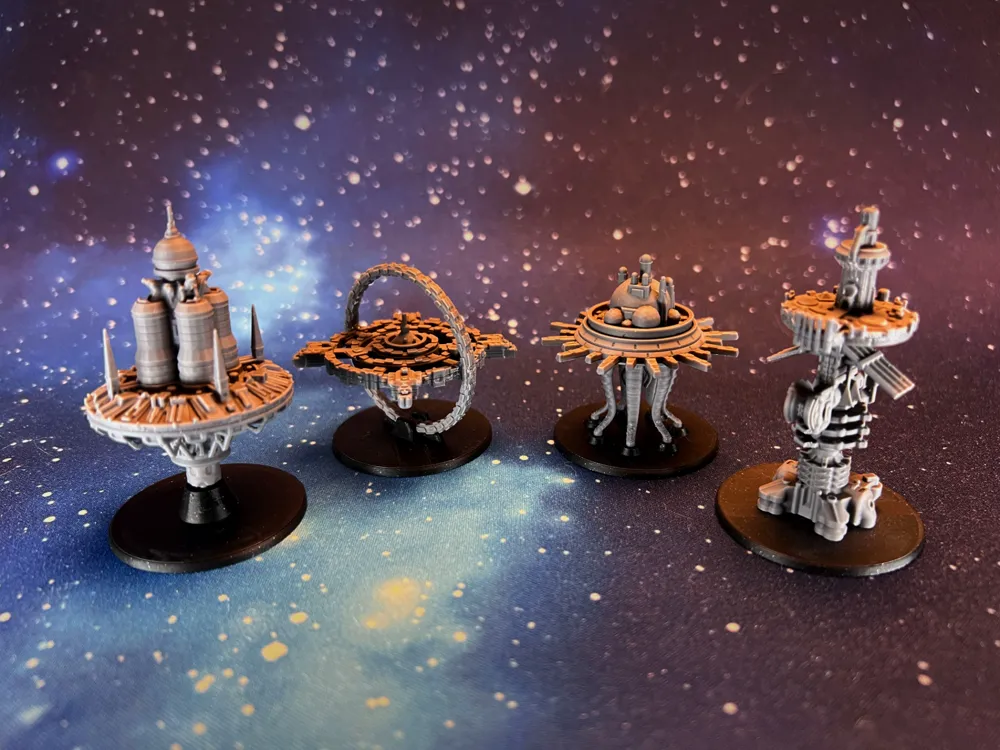
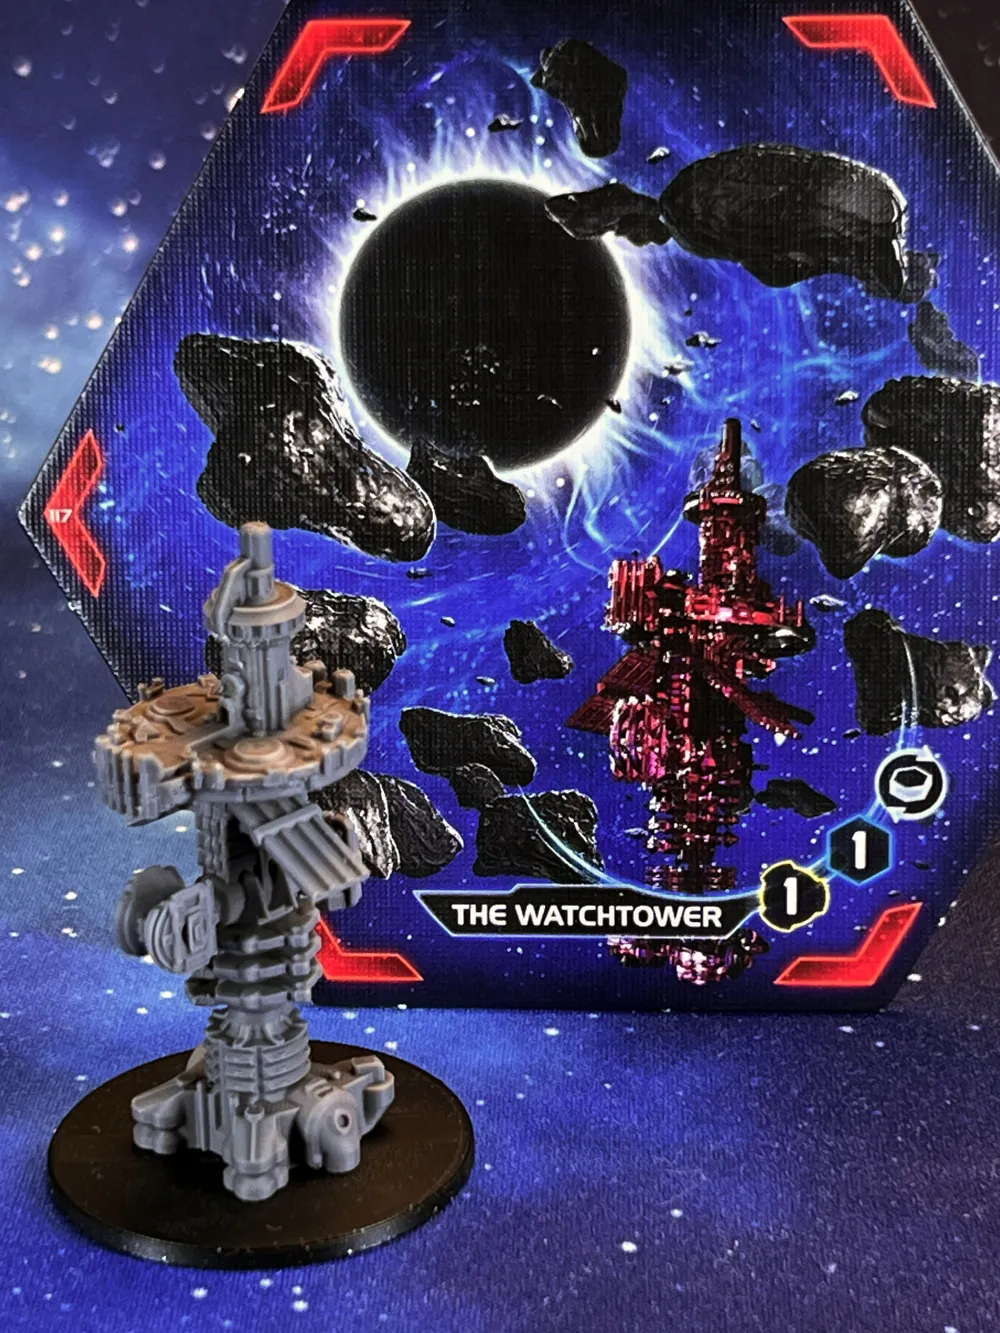
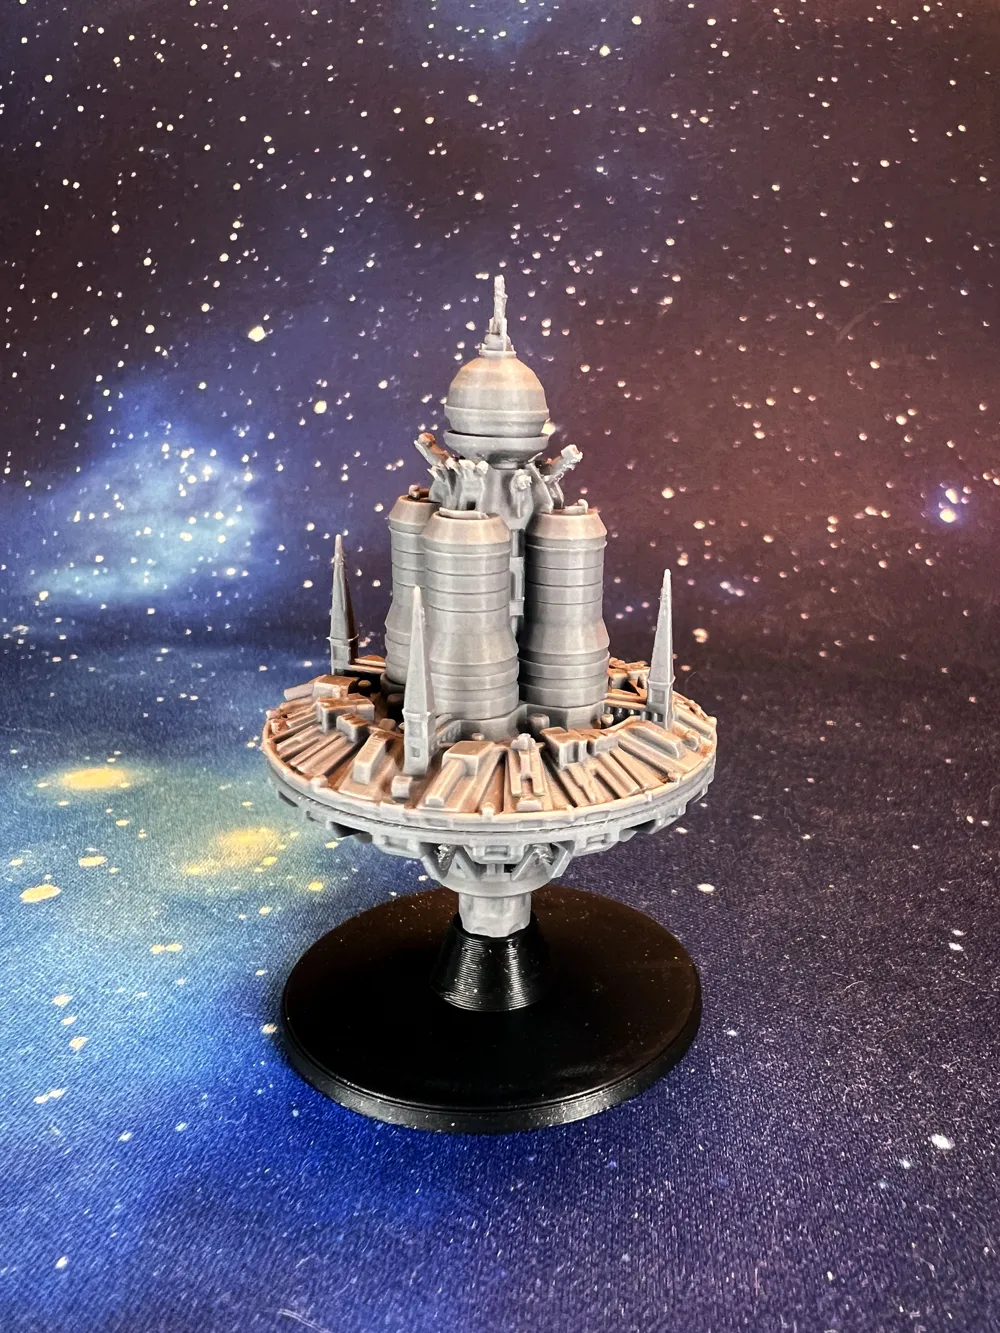
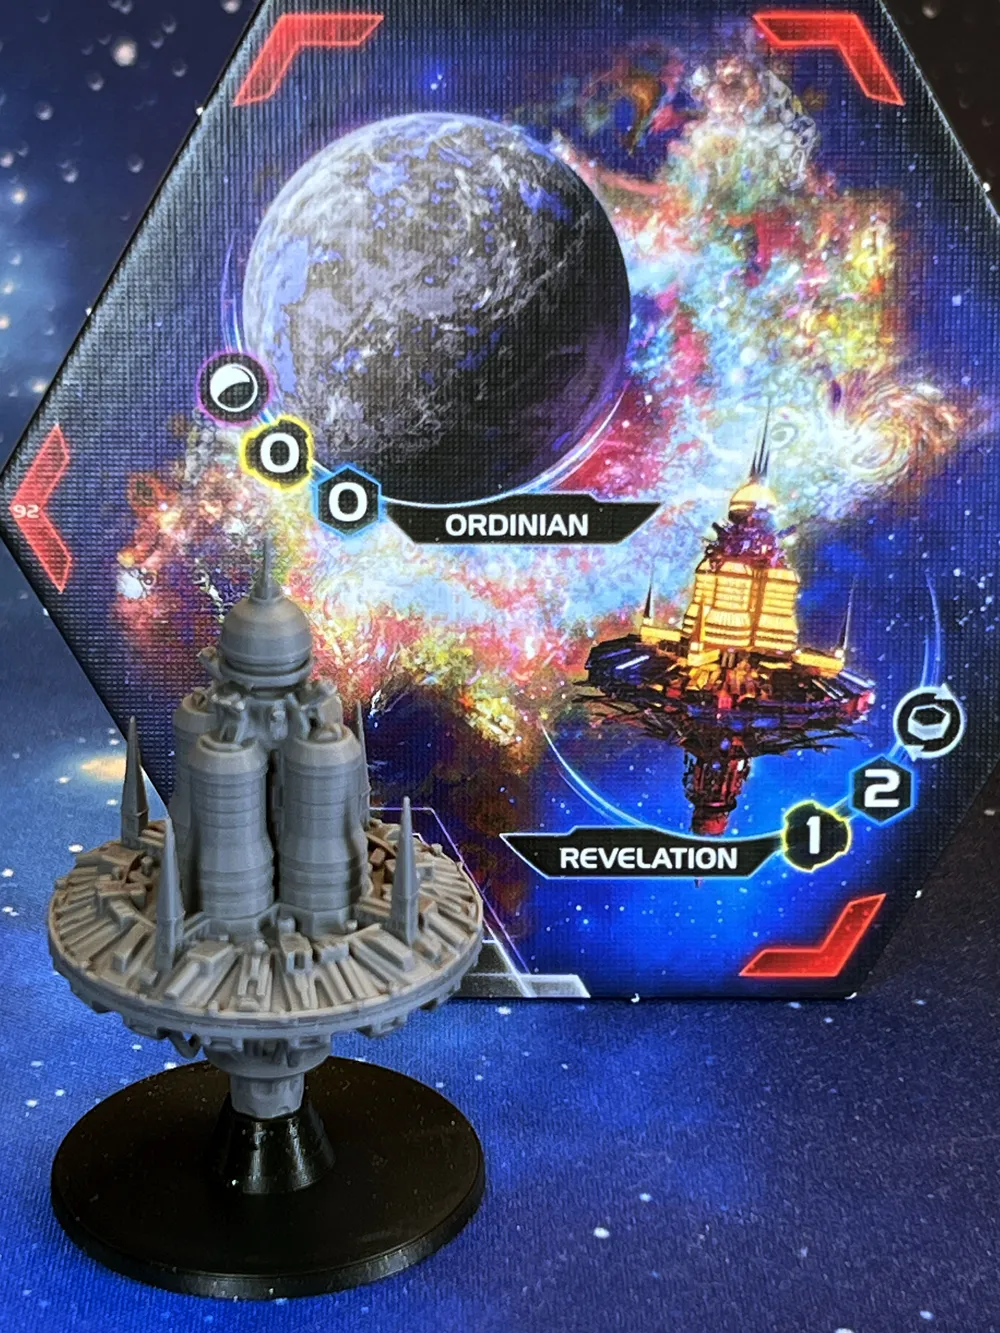
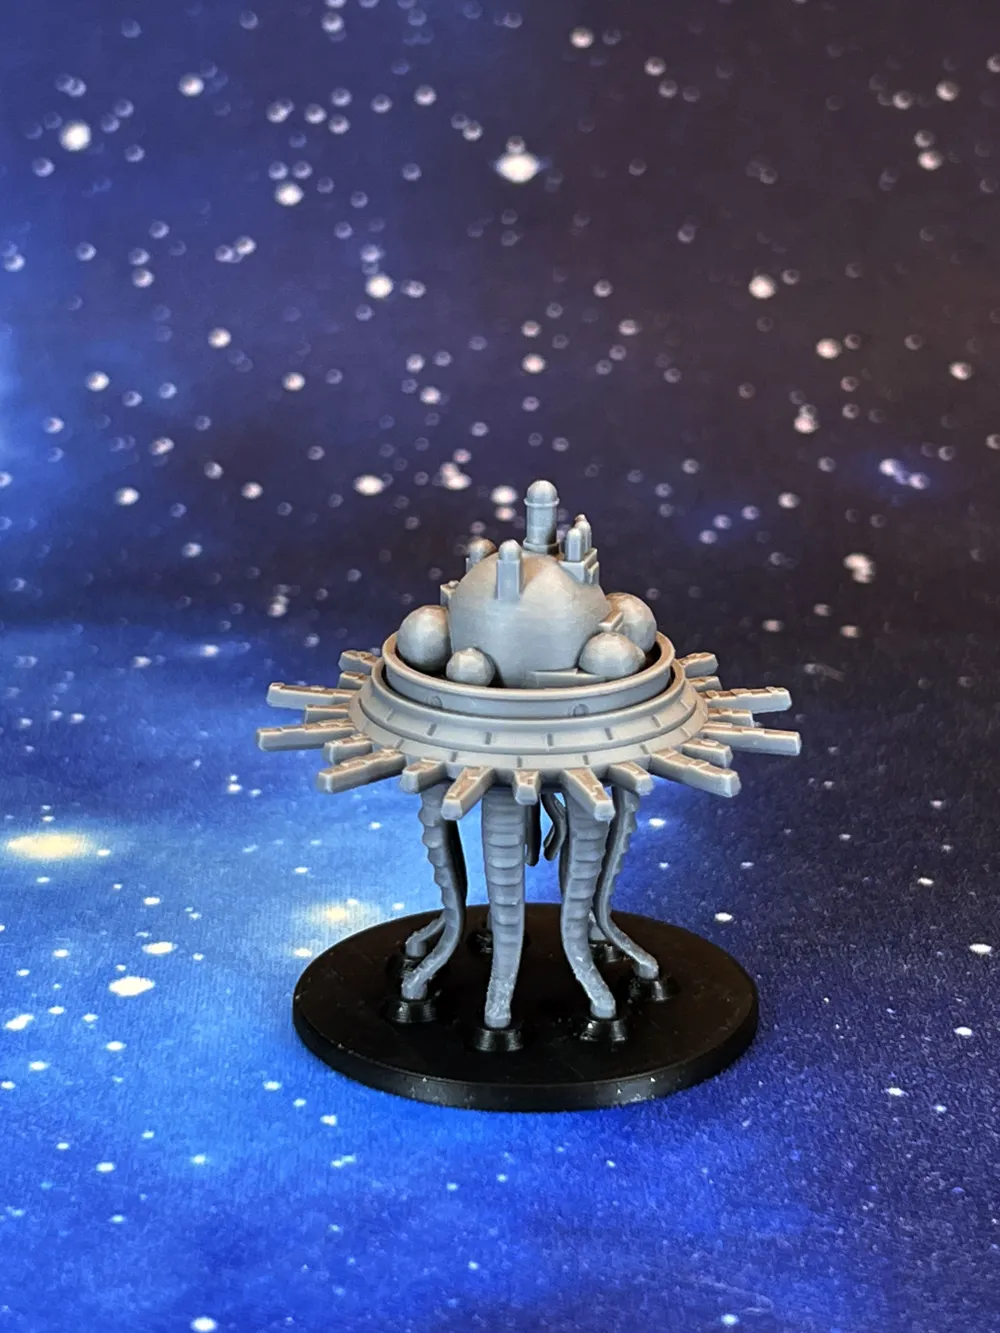
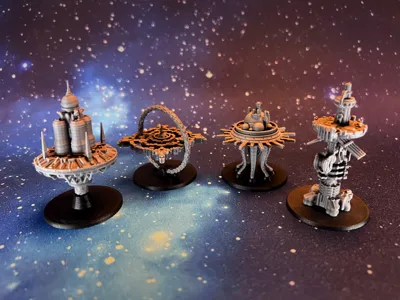
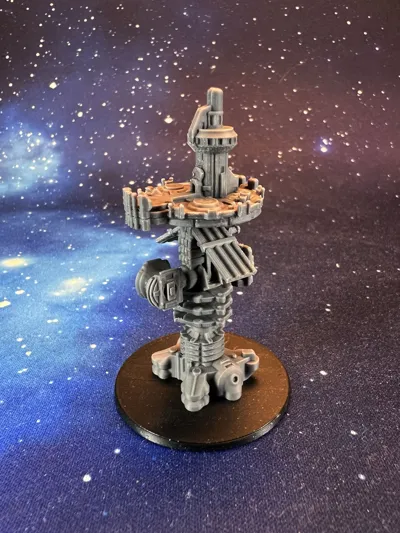
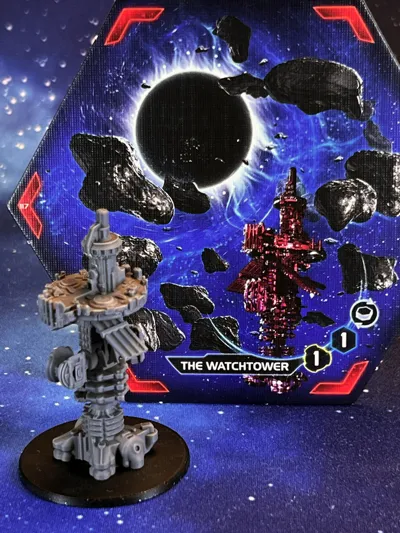
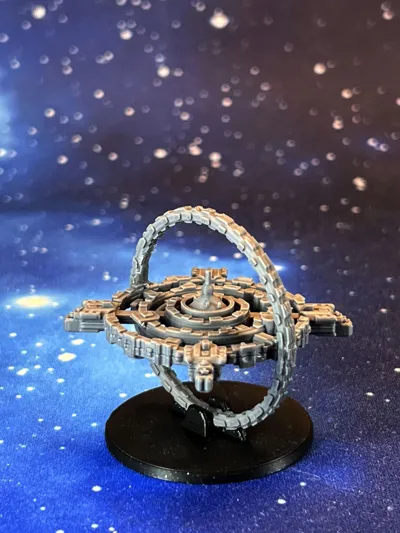
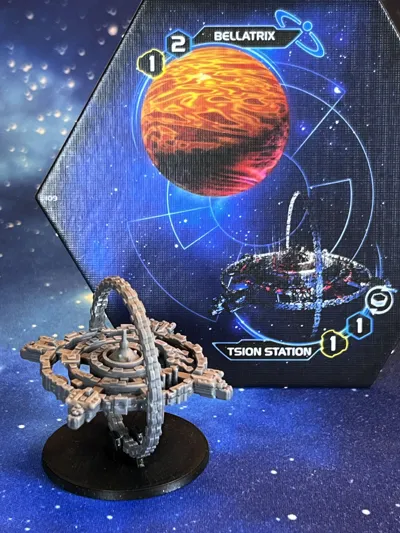
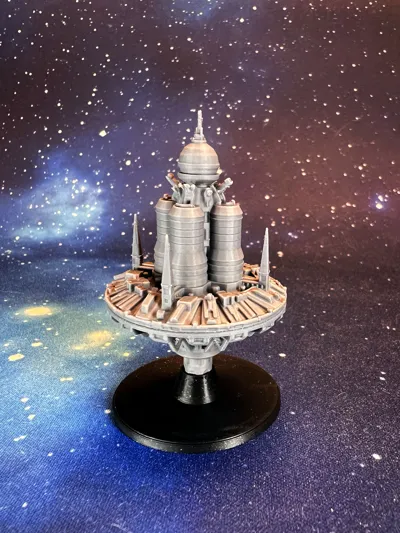
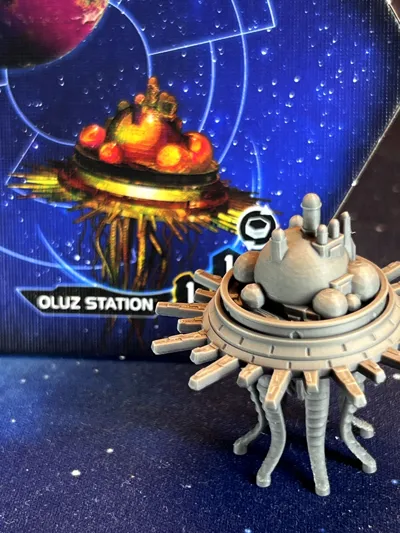
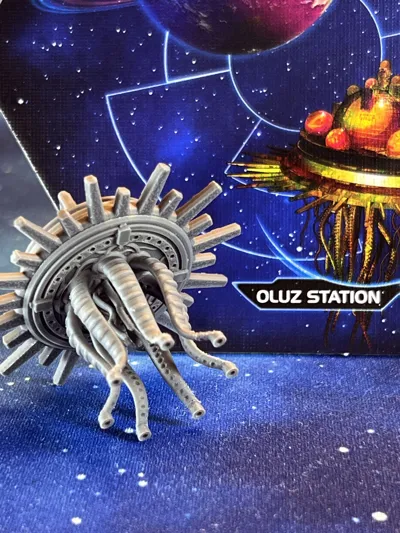
A full set of 4 space stations* for the board game of Twilight Imperium, introduced in the Thunder's Edge expansion.
*In Twilight Imperium 3rd edition these were known as trade stations, but they became more commonly known as space stations in the 4th edition.
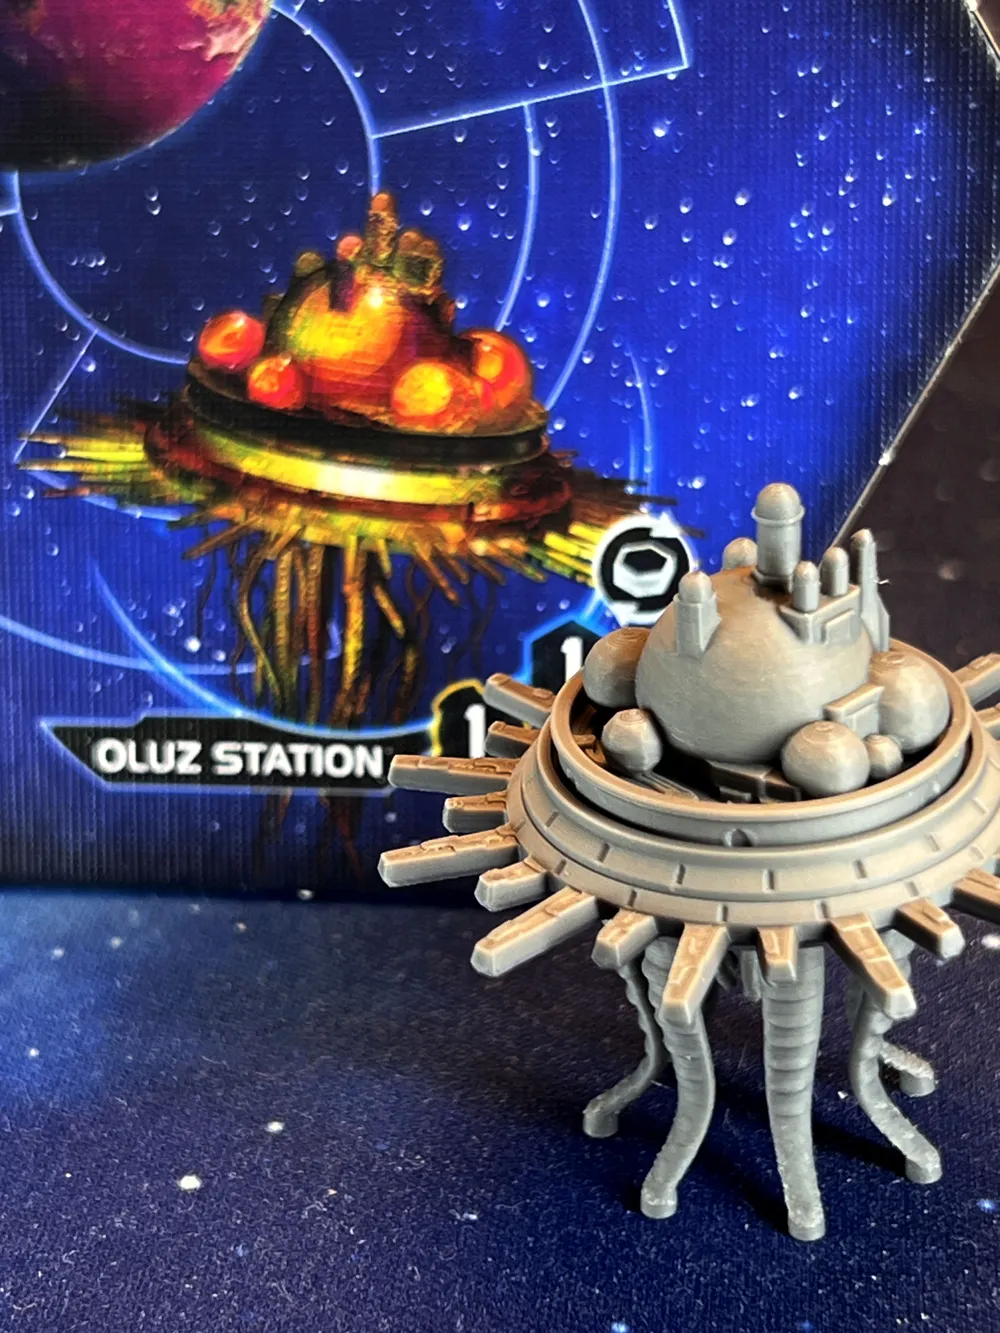
These are the first miniatures ever I designed and I am quite proud of them! I thought having a space station pictured on a system tile was a little odd when sitting next to planets. Plus you're supposed to land units on a planet but not really on a space station, so having them 2D made less sense, in some way. Anyway, I just wanted an excuse to learn how to model a miniature and put out there another piece of bling for my Twilight Imperium games really. You can find the rest published in this collection, if you're interested.
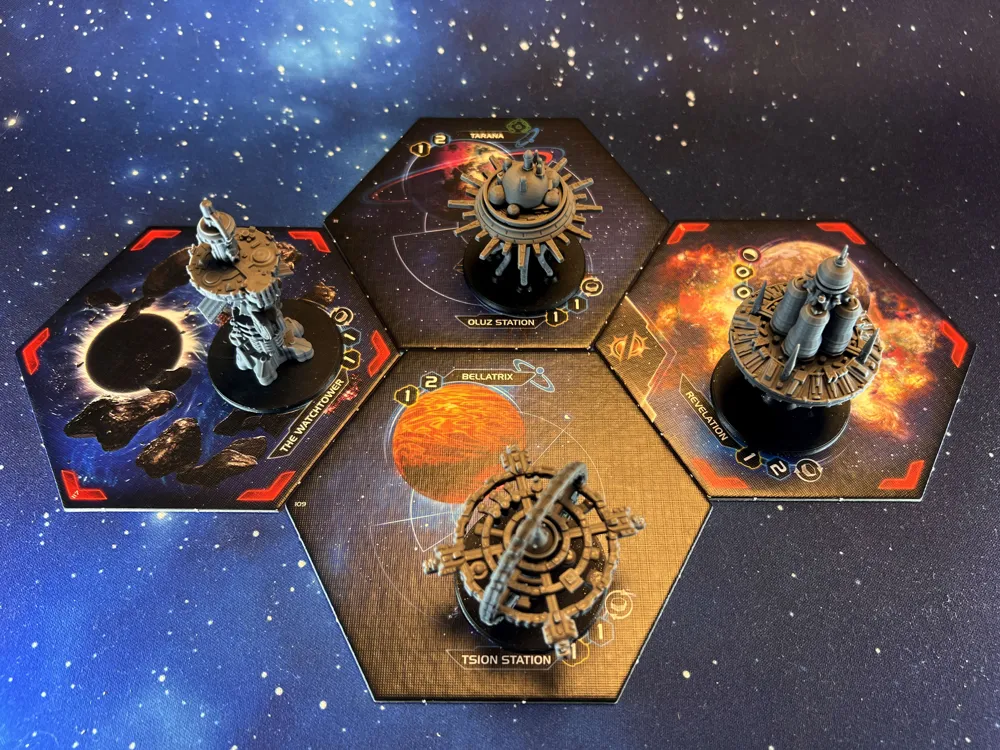
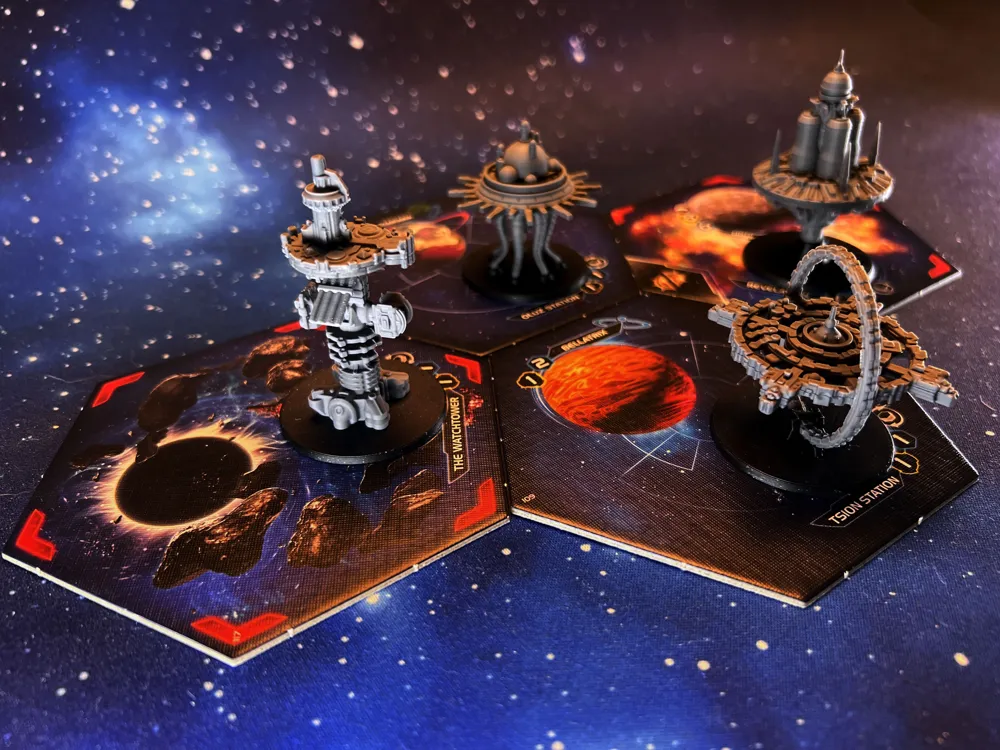
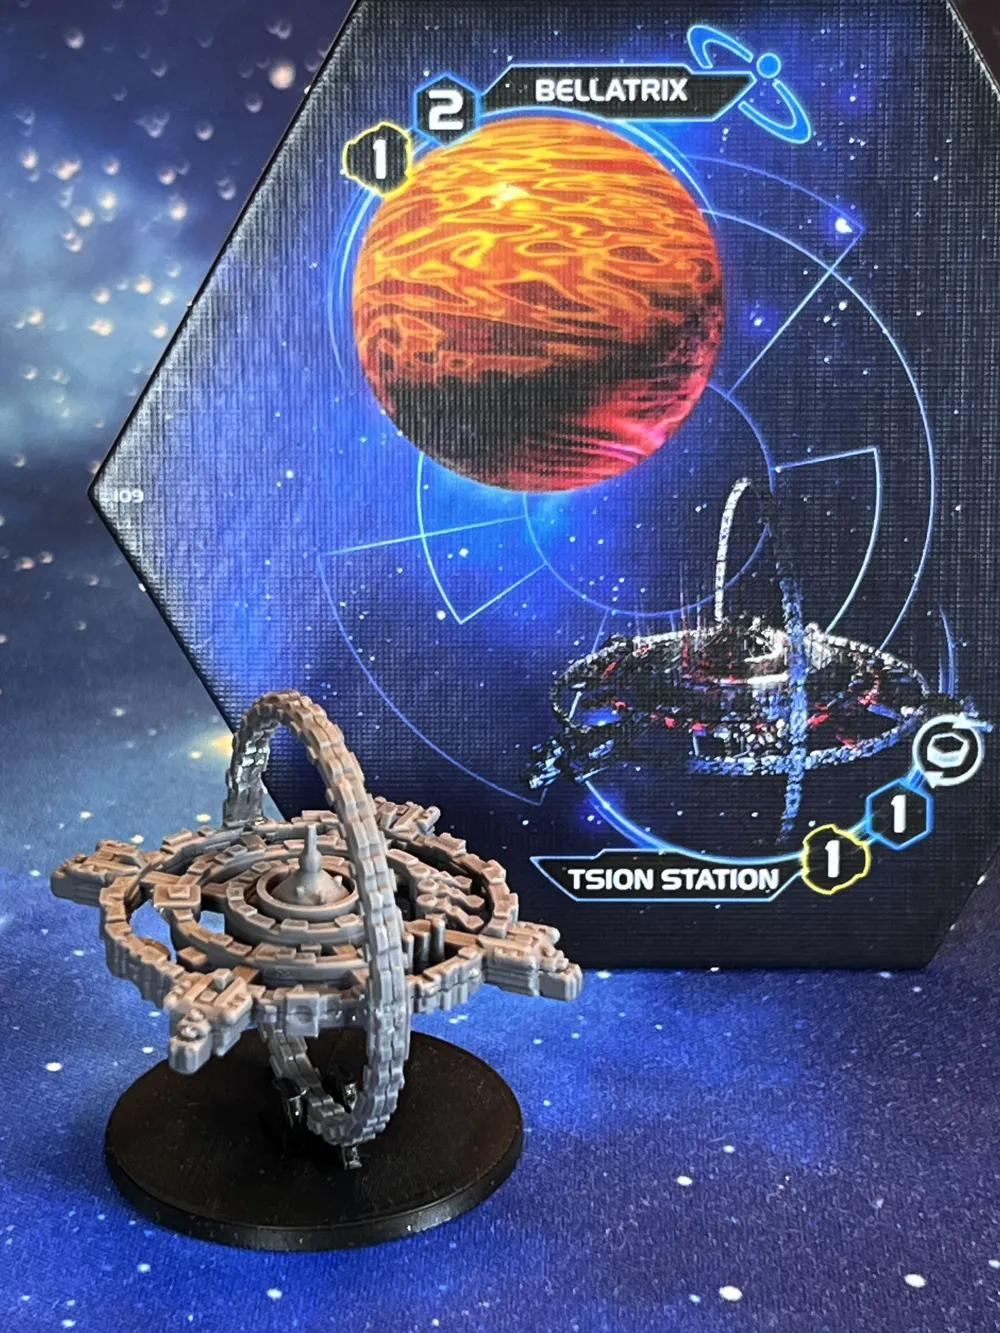
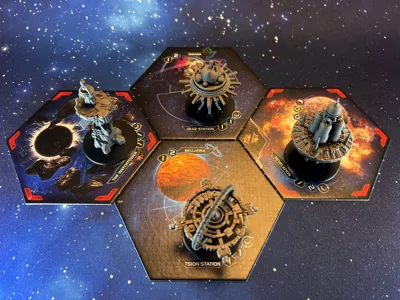
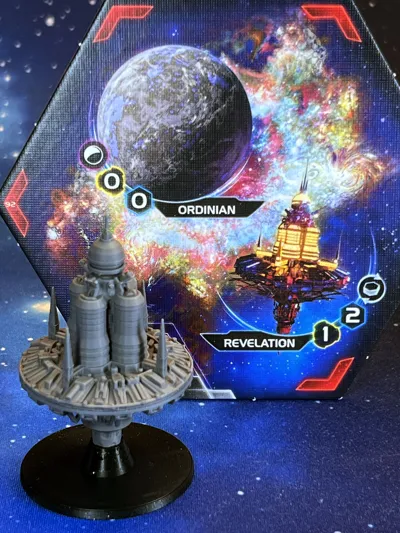
The miniature bases will cover the portion of the system tile that represents the station so it will sit more elegantly on it. You can even place a control token on it as a reminder of who's controlling it (not by the rulebook but helps when there are no ships for example).
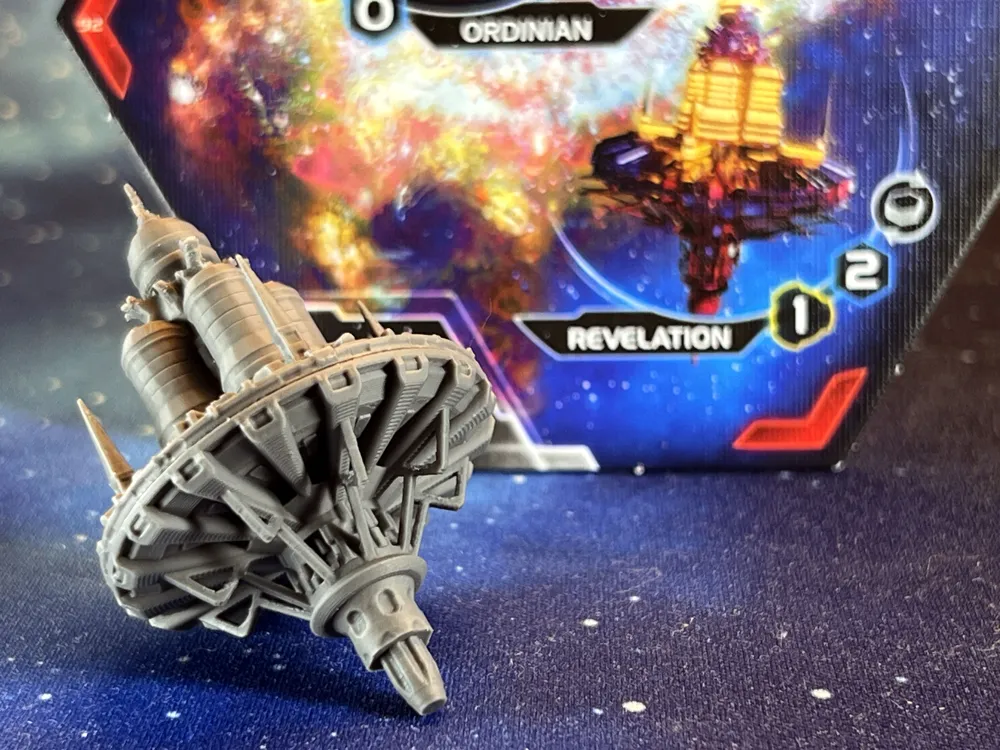
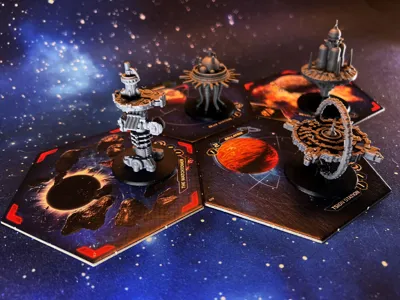
The bases are not mandatory to print, but some of the stations (Revelation, Tsion) will not stand upright otherwise. They don't look bad inclined (it's space!) but then they will overlap with the art on the tile. Your pick!

📓 Print instructions
All miniatures are SUPPORT FREE! See assembly instructions below (the compromise is that you'll need some superglue to stick some halves together).
0.2mm nozzle highly recommended – I haven't tried printing these with a larger 0.4 nozzle but some people did with good results. However, I'd still recommend a 0.2 to get the best out of the details I tried to put here. The print profile I am offering assumes a 0.2 nozzle. I recommend a PLA basic filament: don't use matte or other filaments because they might be more brittle!
I have tuned the print profile to be optimized for miniature printing and is inspired by what other people with a lot more experience than me have gathered for FDM miniature printing. In fact, if you want an even higher resolution you could lower the layer height further, but that will increase significantly the printing time. I feel like at 0.04 layer height they will print pretty nicely even if you plan to paint them.
🏗️ Assembly instructions
All miniatures require some superglue and assembly. I preferred it this way as it both helped with overhangs and eliminate supports. Once glued together you won't notice the seams. Please read the following instructions carefully and assemble the pieces one miniature at the time. I have listed the models from least complex to most complex to assemble so you can familiarize with the process.
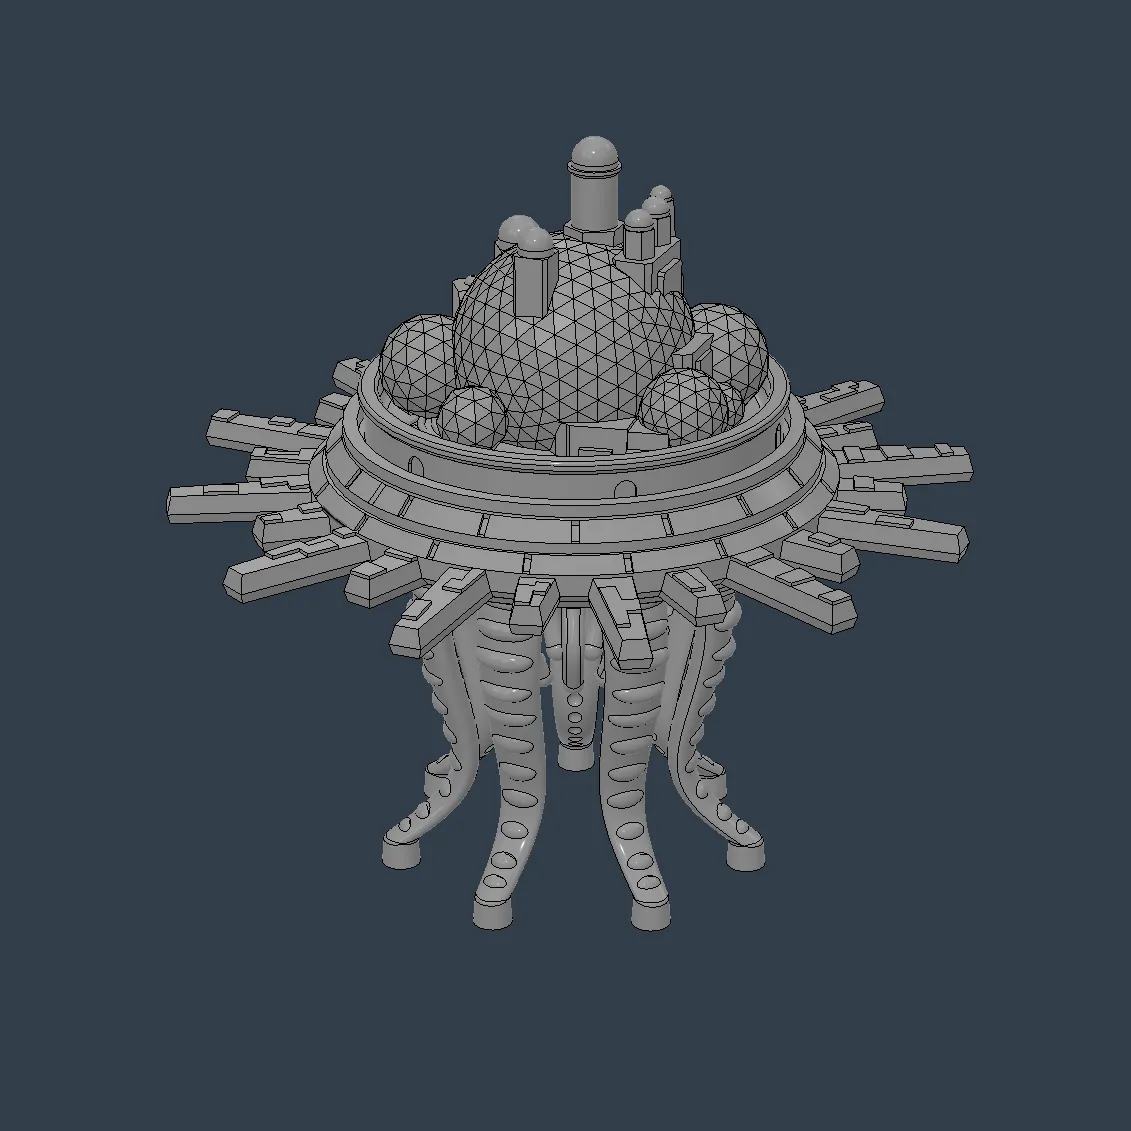
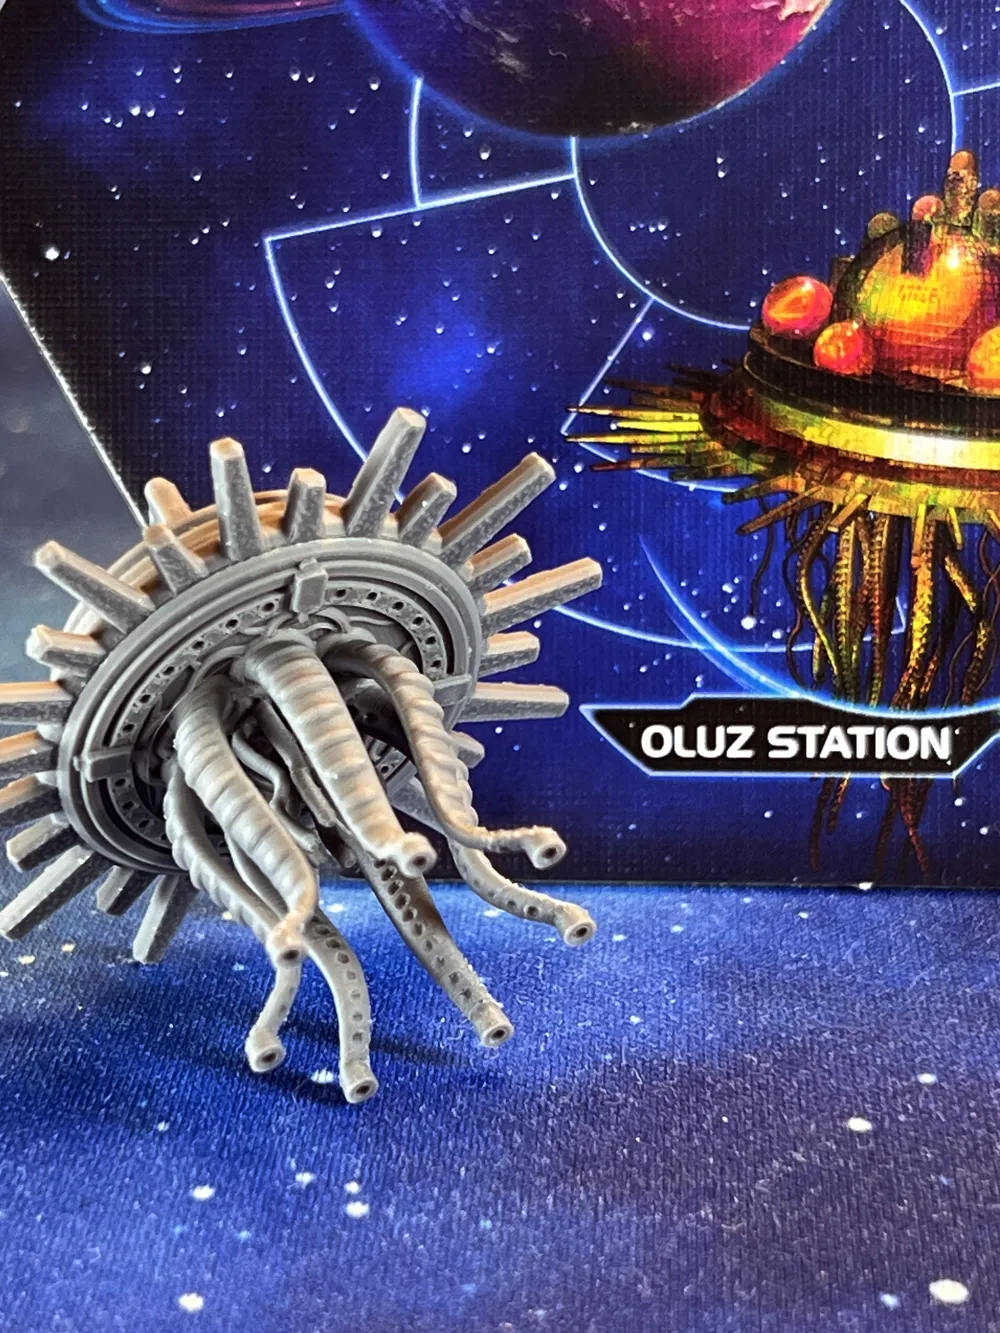
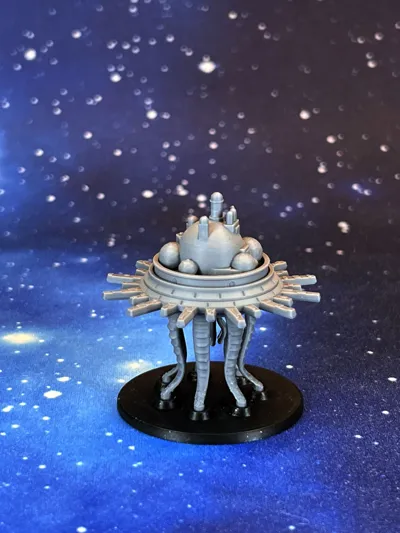
Oluz station
This is straightforward as you'll only need to glue the top and the bottom half making sure you don't go over the edge. There's no particular hard rule about how you orientate the tendrils, you can look at the photos I posted here for a reference.
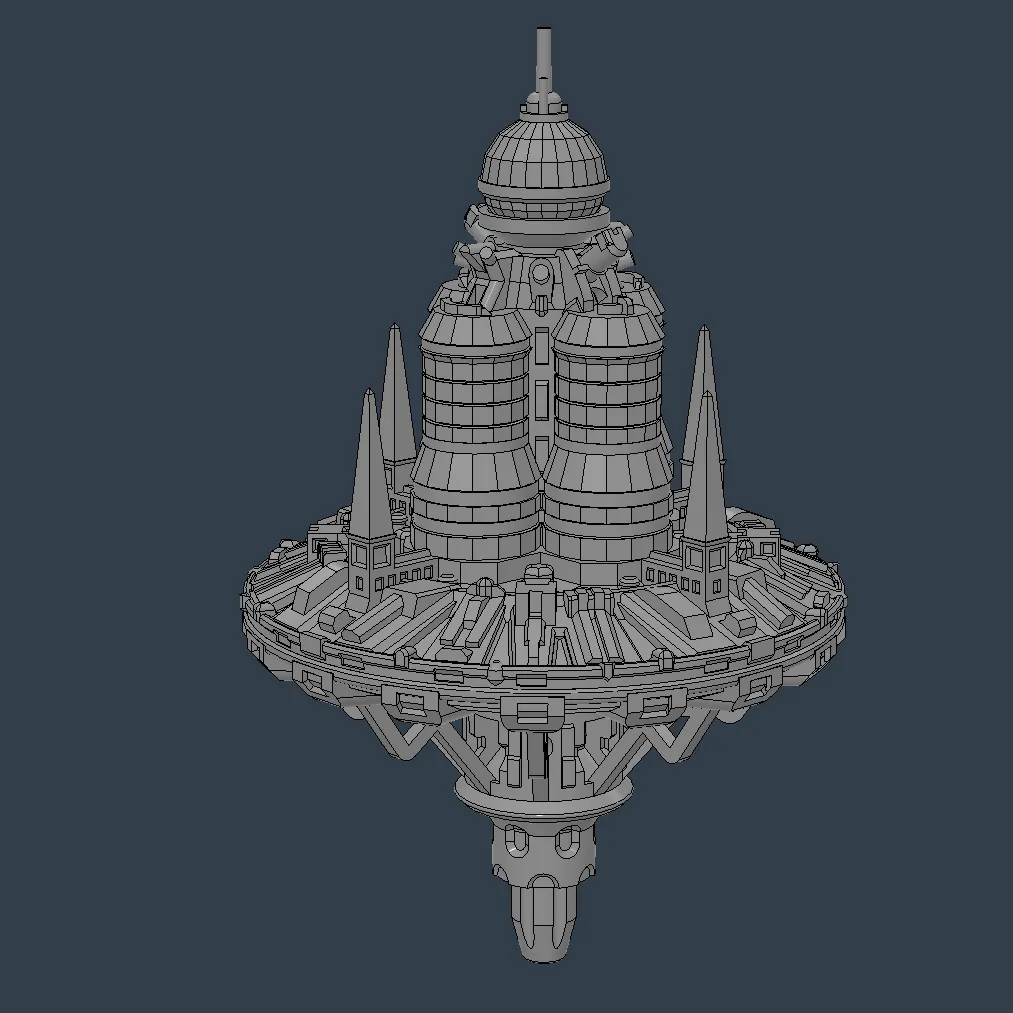
Revelation station
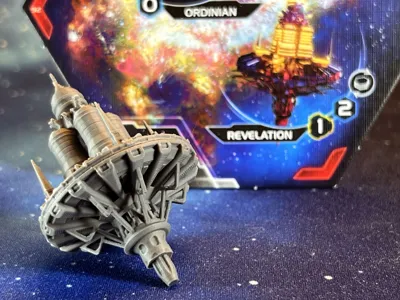
Similar instructions as per Oluz: both halves are symmetrical so it should be just as straightforward. Make sure to sit the glued model upright (perhaps on its base, if you printed it) so it doesn't slide while curing.
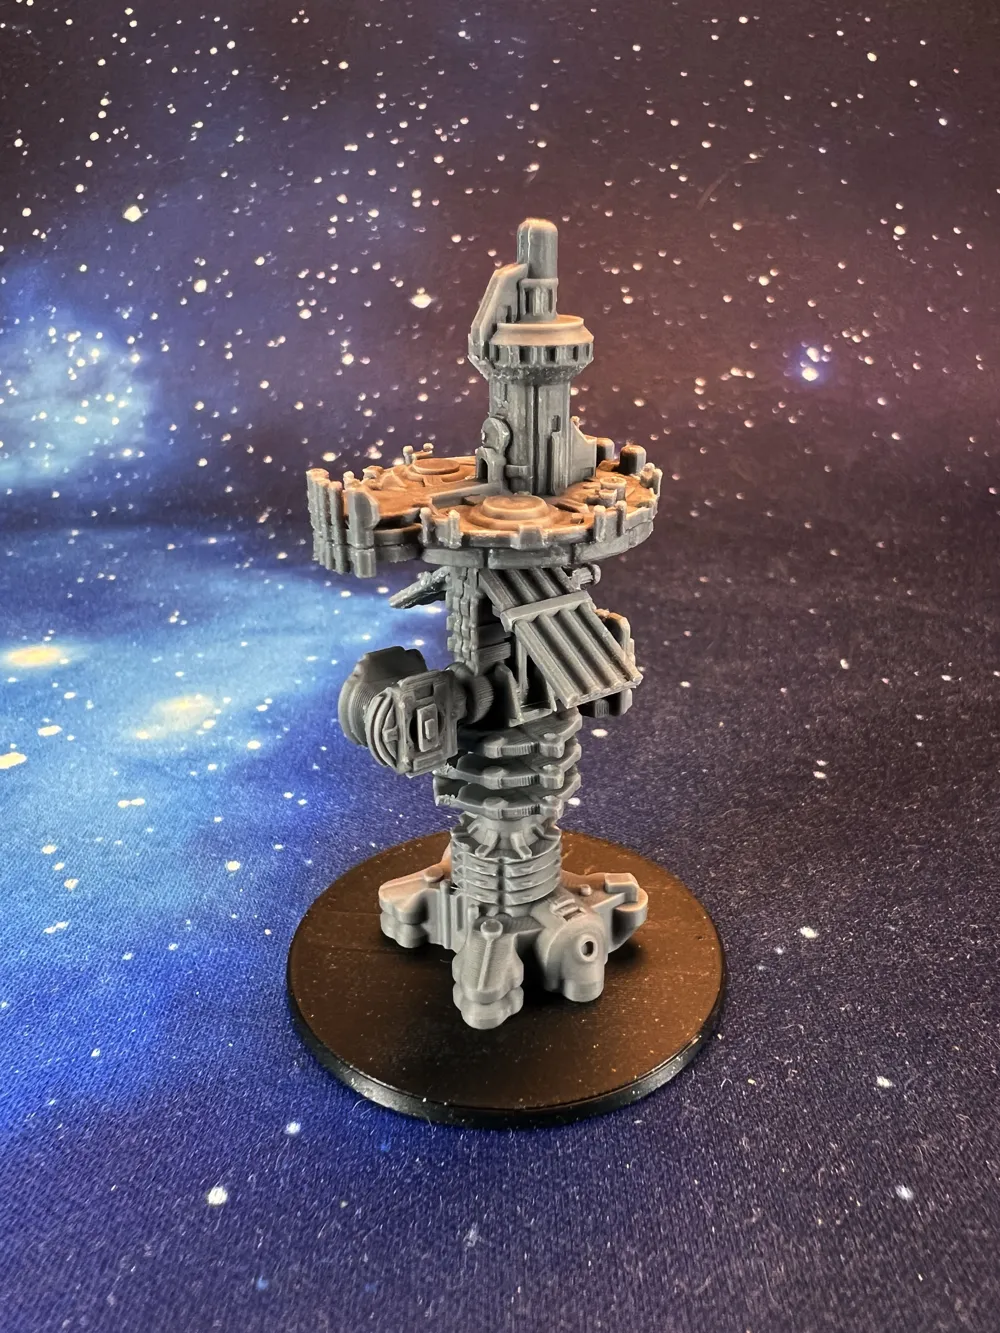
The Watchtower
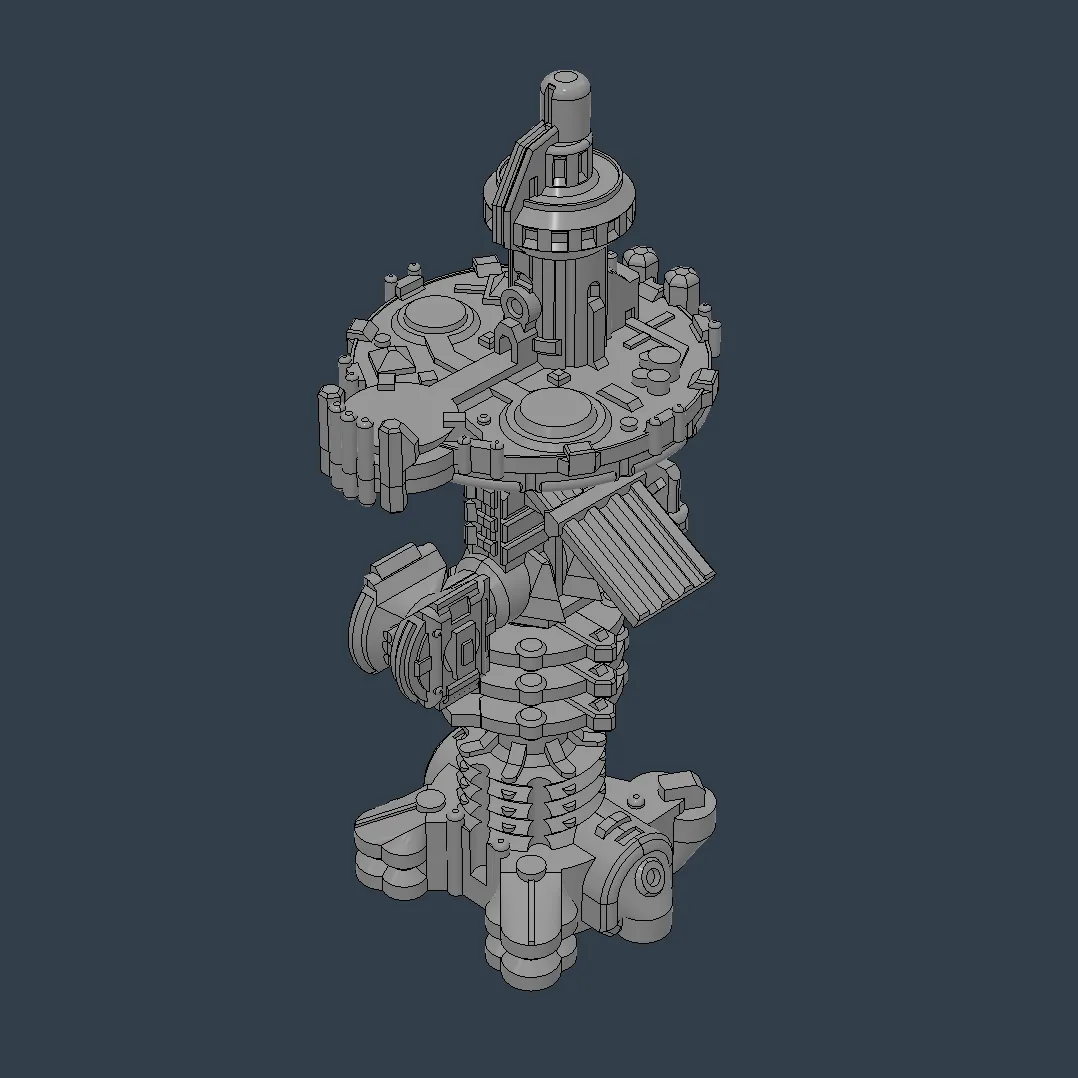
This one requires more steps:
- The top of the tower is two halves: glue them so they match perfectly.
- The main body consists of two symmetrical halves printed sideways. These too need to be glued so they match perfectly.
- Glue the main body into the foot: there's a peg coming out of the main body and a hole at the top of the foot. Check the photo published here for the orientation reference.
- Glue the tower on top of the main body. Again, check the photos for orientation reference.
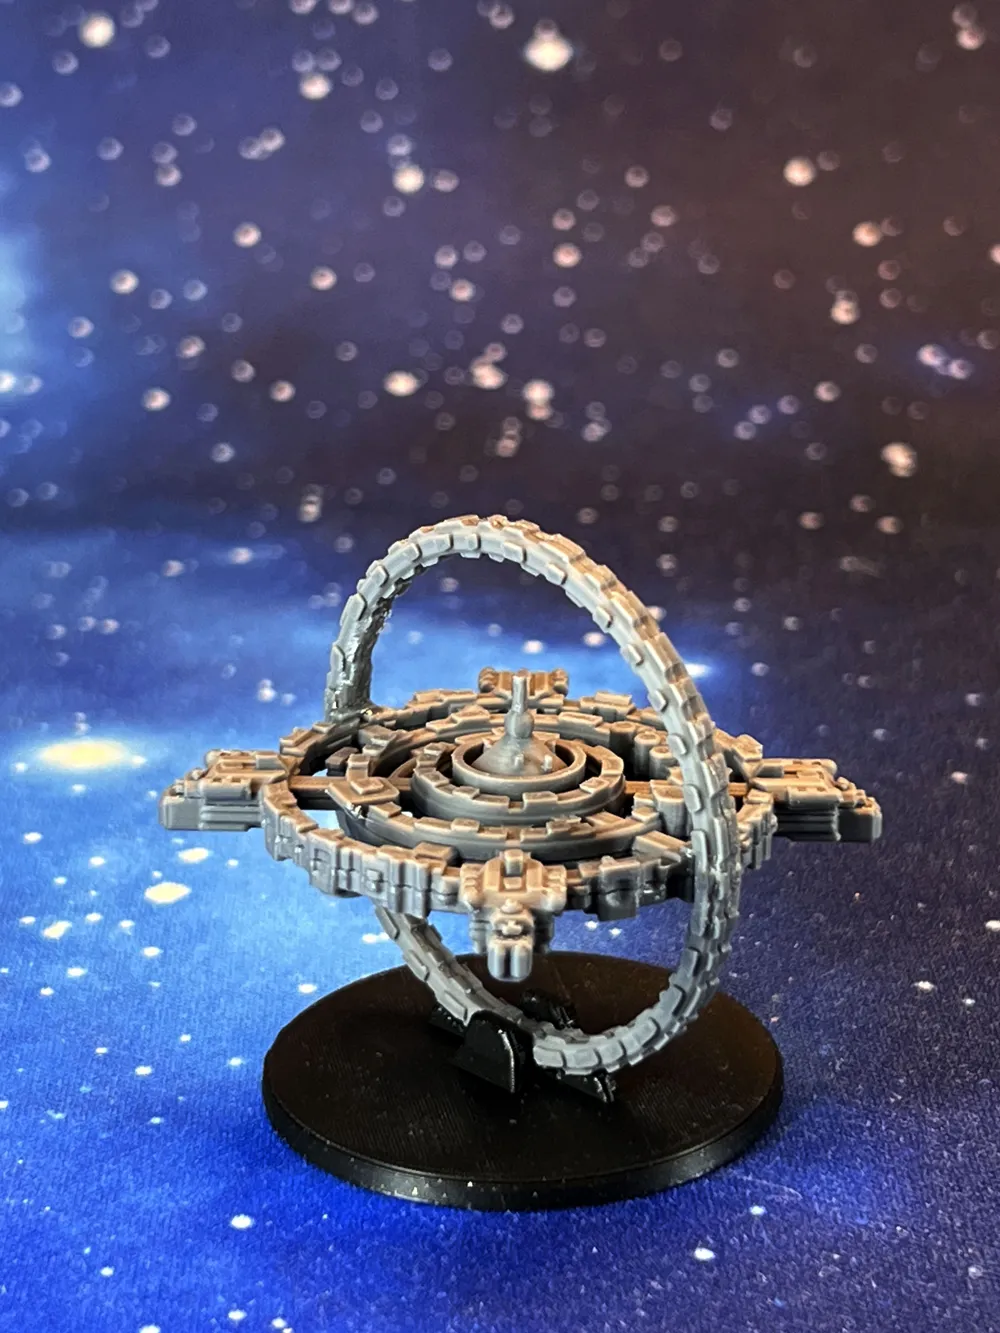
Tsion station
This one is requires a bit of attention.
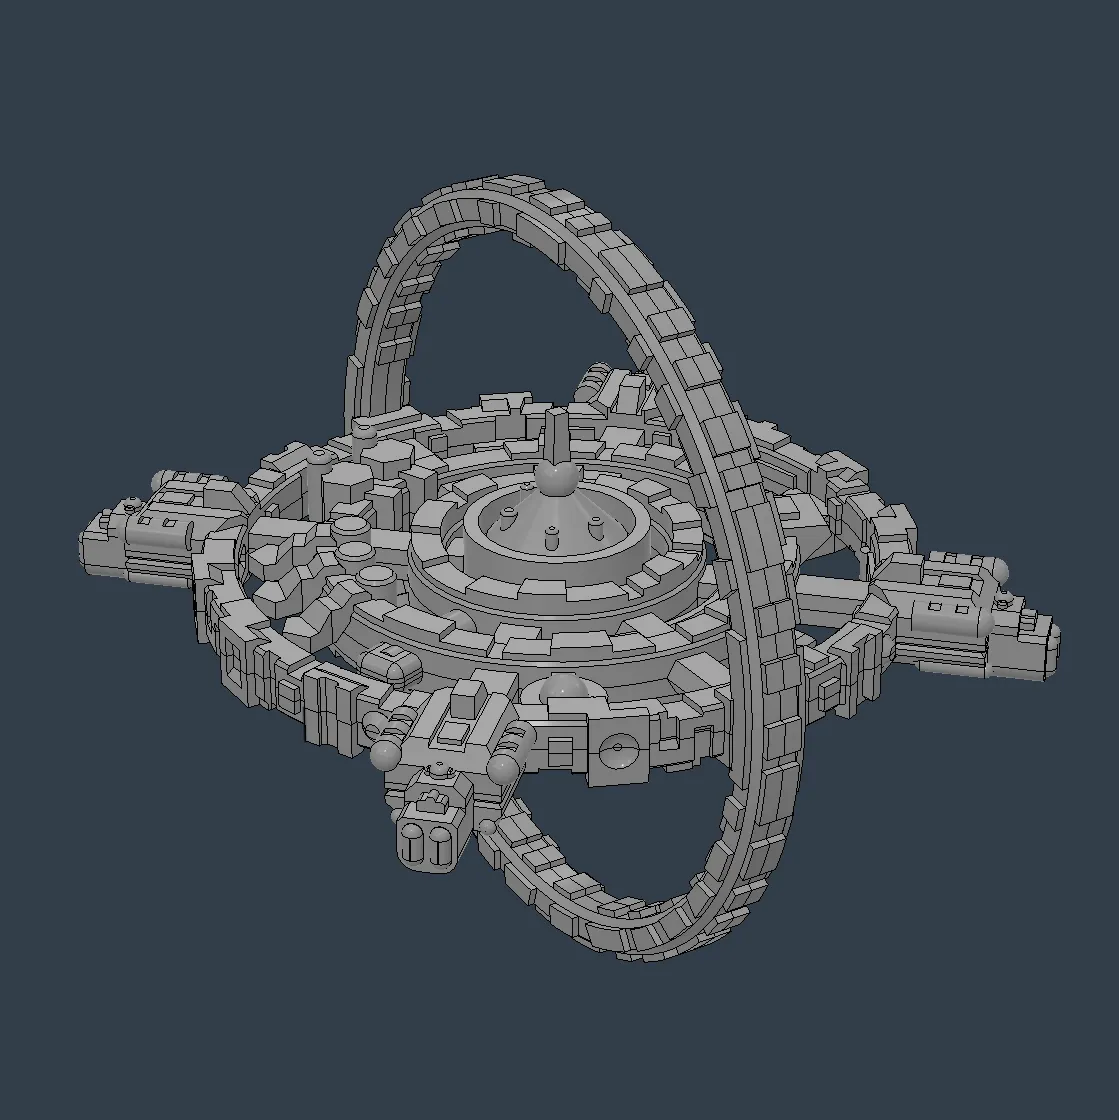
You need to glue the two sets of halves first, SEPARATELY.
- I have included some tiny “X” markings which will tell you were to sit the two halves.
- The Xs will be broken in half when coming out of the printer, so you need to align them.
- Then, slide the thinner ring sideways wrapping around the more detailed horizontal ring (the actual main station body).
- DO NOT APPLY GLUE YET to the two sets of rings.
- Instead, make sure the thinner perpendicular ring ring sits around the more detailed horizontal ring first.
- Make sure it's centered and the Xs on each side touch each other. Then, apply superglue. You'll just need a drop where there's contact between the two pieces. You can help yourself with a small brush or a toothpick, etc.
📝 Notes
If you run into any trouble printing these, just send me a message and I'll try to help you out.
If you print these miniatures please post your print! I'd love to see them! Especially if you paint them afterwards!
Please check my other models on Makerworld, especially my Twilight Imperium collection.
💰 Commercial license available!
This model is an exclusive model and it's not meant for printing for commercial purposes. If you intend to sell prints from this design, please contact me first!
If you are considering to offer this model as a print for sale in your online store, such as Etsy or similar, without my permission, please refrain to do so. It took me considerable time and effort to make these miniatures and my main wish is to have people print them for free with their printers, not profit. I wouldn't be happy if you took advantage of that ignoring this simple request. Just contact me instead.
License

You shall not share, sub-license, sell, rent, host, transfer, or distribute in any way the digital or 3D printed versions of this object, nor any other derivative work of this object in its digital or physical format (including - but not limited to - remixes of this object, and hosting on other digital platforms). The objects may not be used without permission in any way whatsoever in which you charge money, or collect fees.


Comment & Rating (9)