
42W Crawler Crane
Print Profile(9)

Bill of Materials























Description
Discussion Board
First and foremost, I've created a thread on the Bambu forums, so if you're interested in building the crane, have questions, need help, or whatever, please drop by and join the conversation! https://forum.bambulab.com/t/42w-crawler-crane/253811
Updates
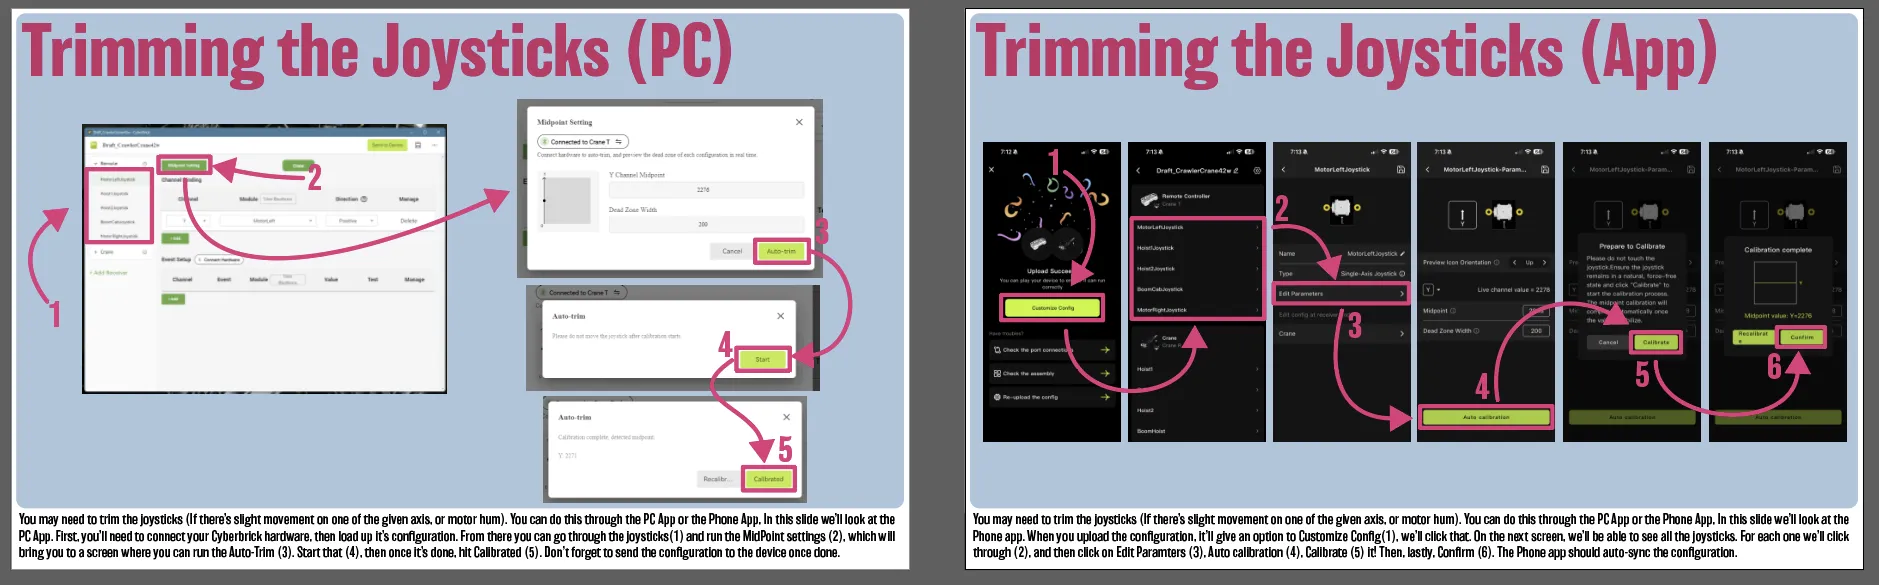
I've updated the 1_42wCrane_Controller guide with information on trimming the joysticks through the PC and Phone Apps. So if you have troubles with the sticks not centering properly, you can trim them to alleviate the issue.
Introduction
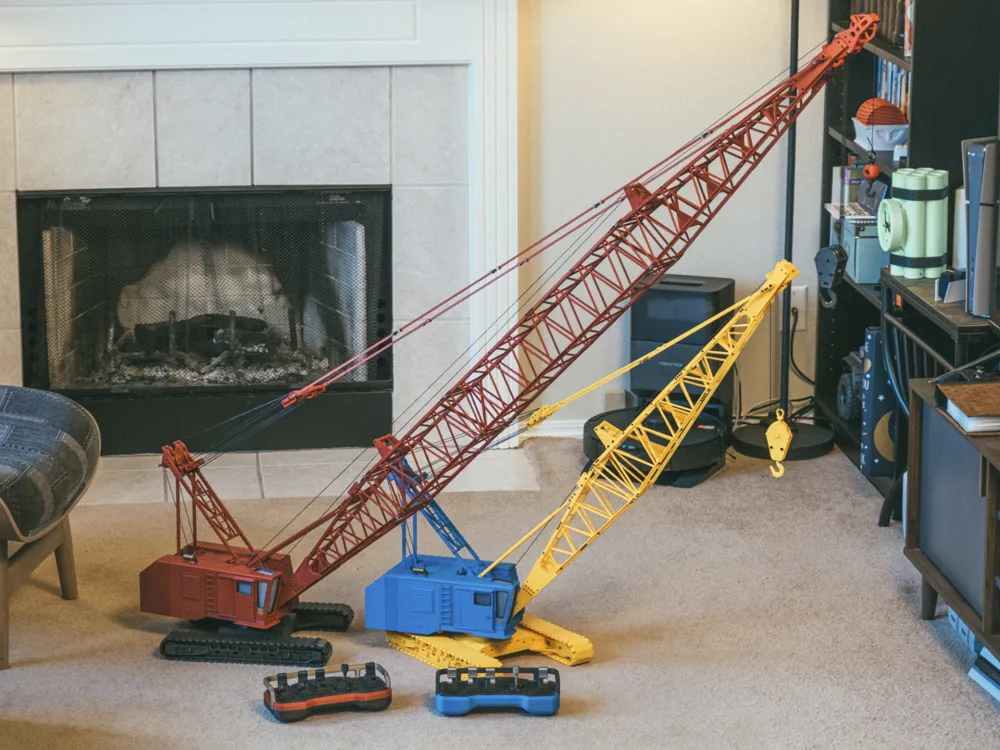
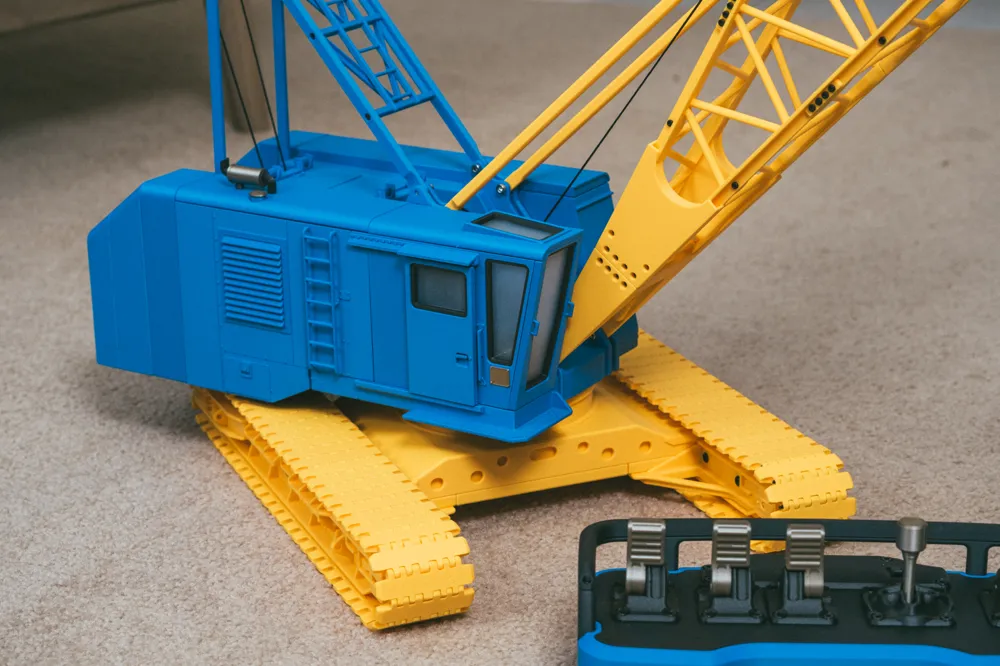
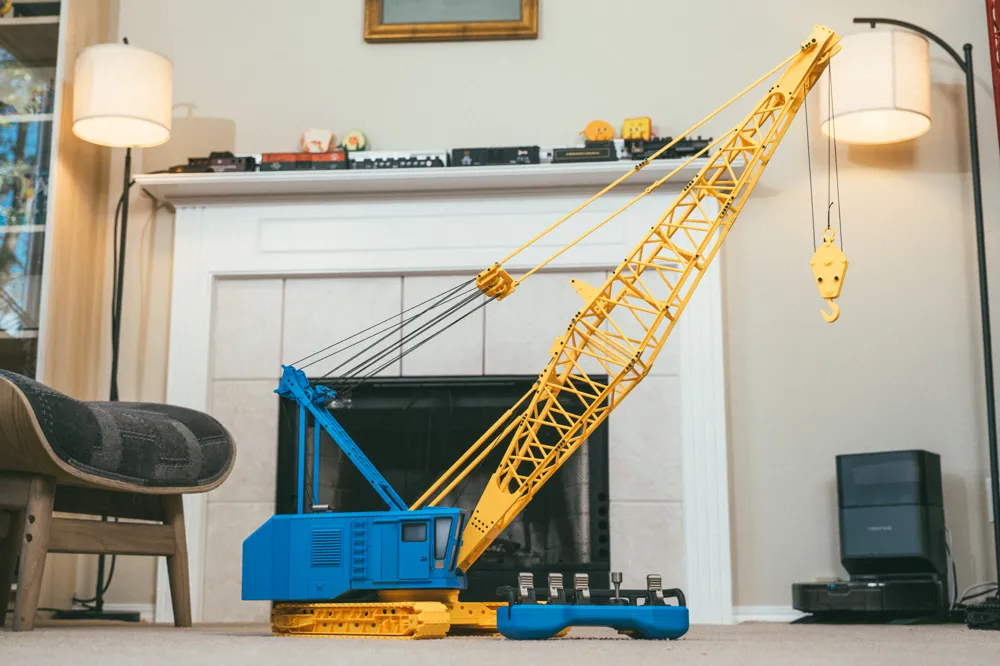
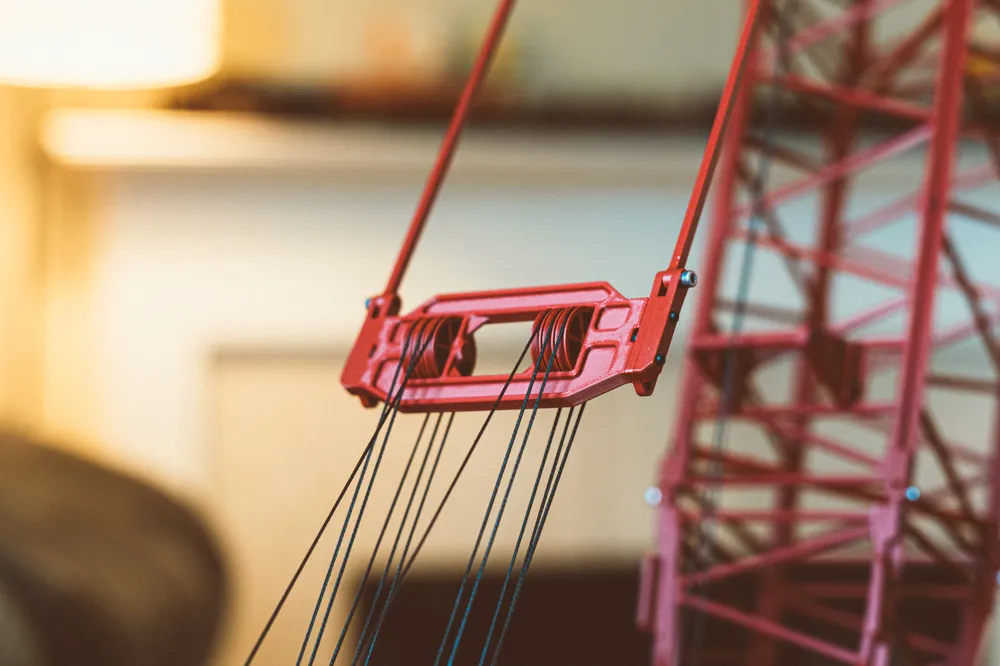
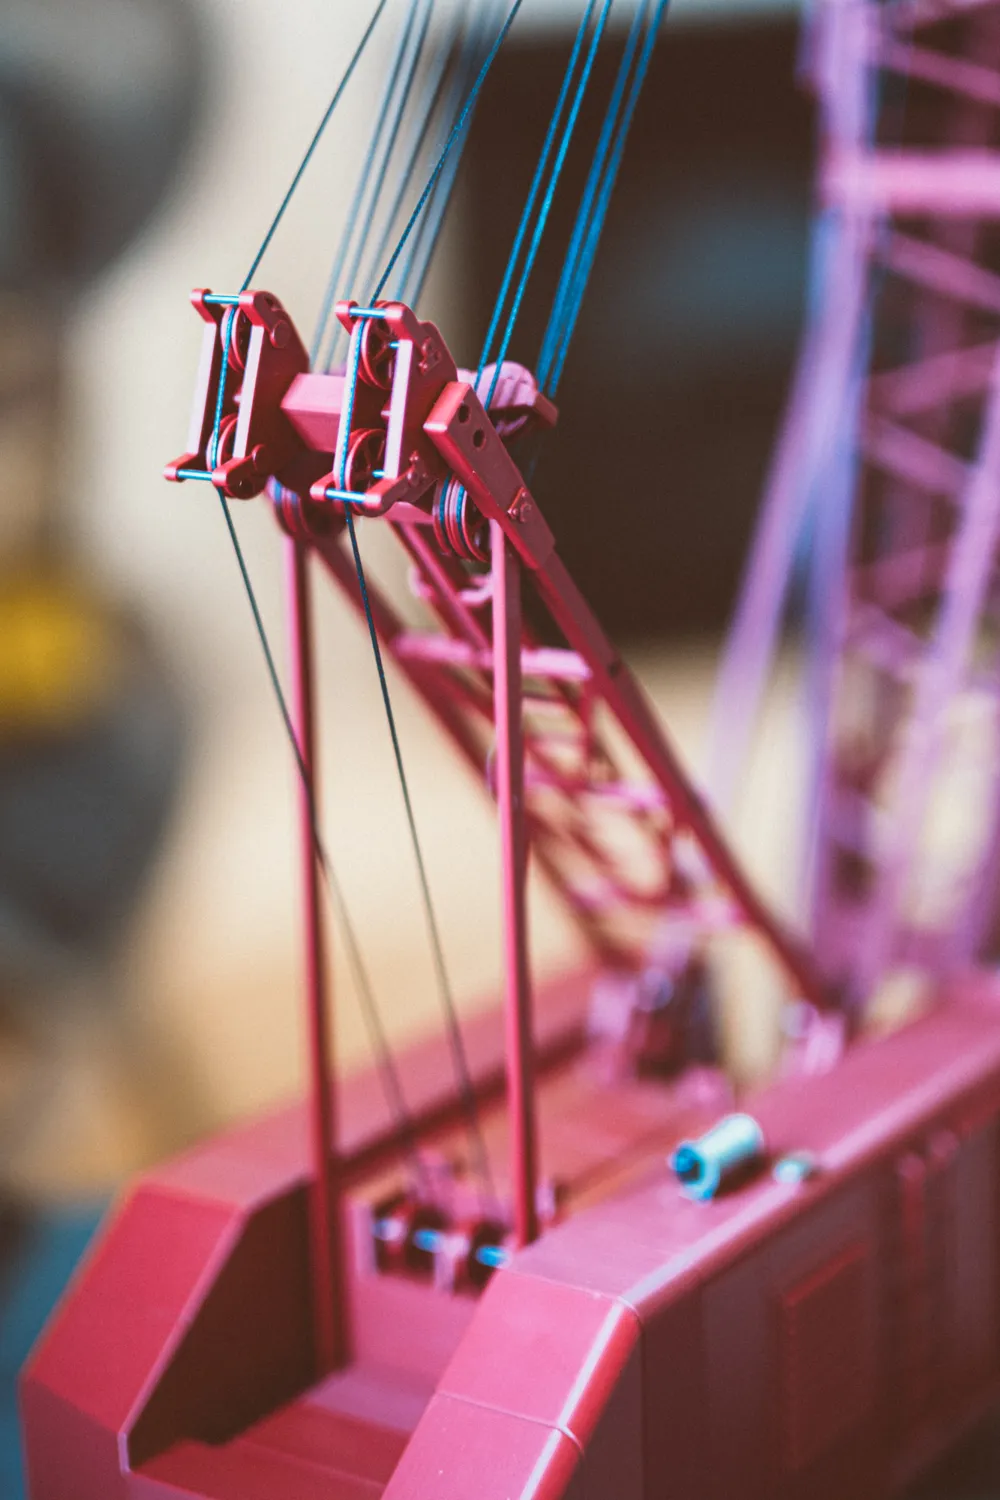
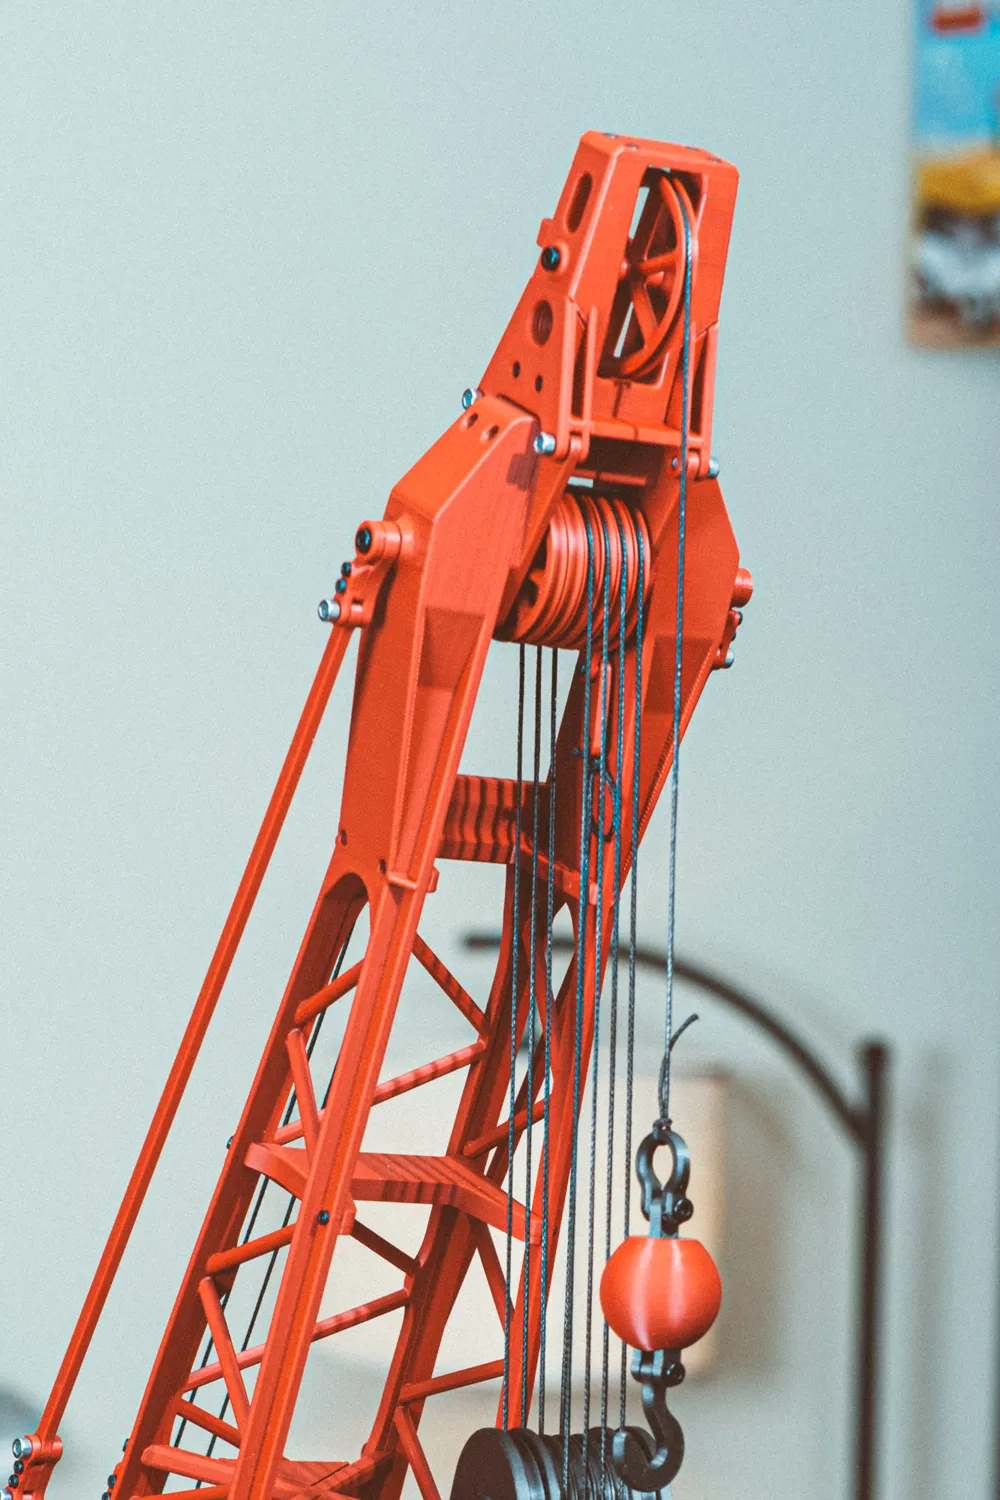
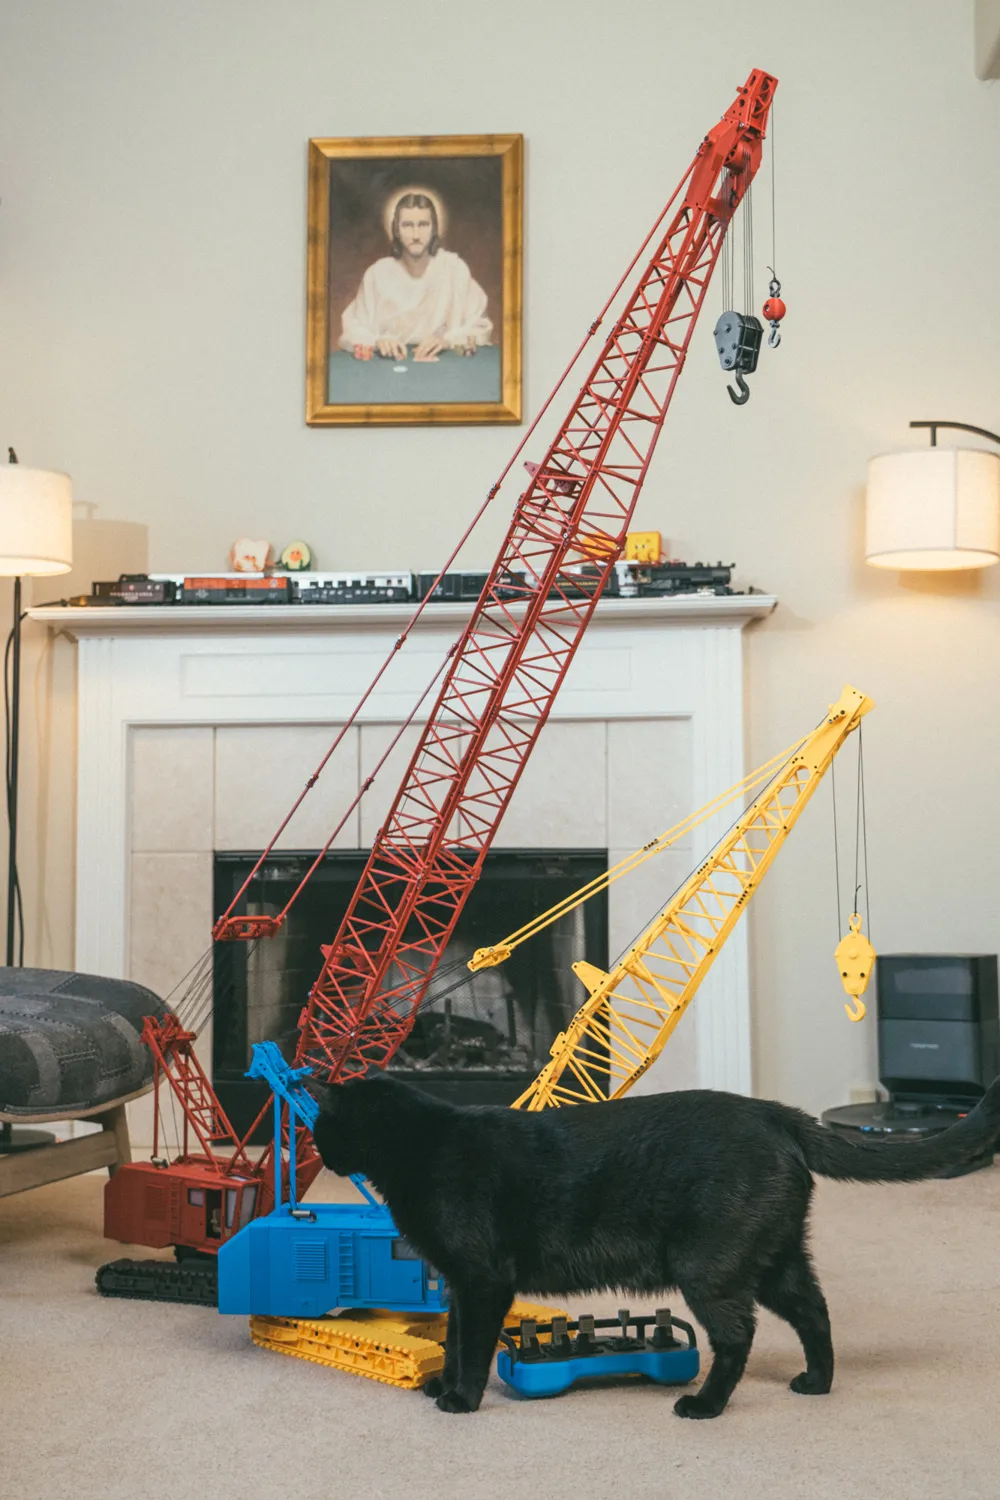
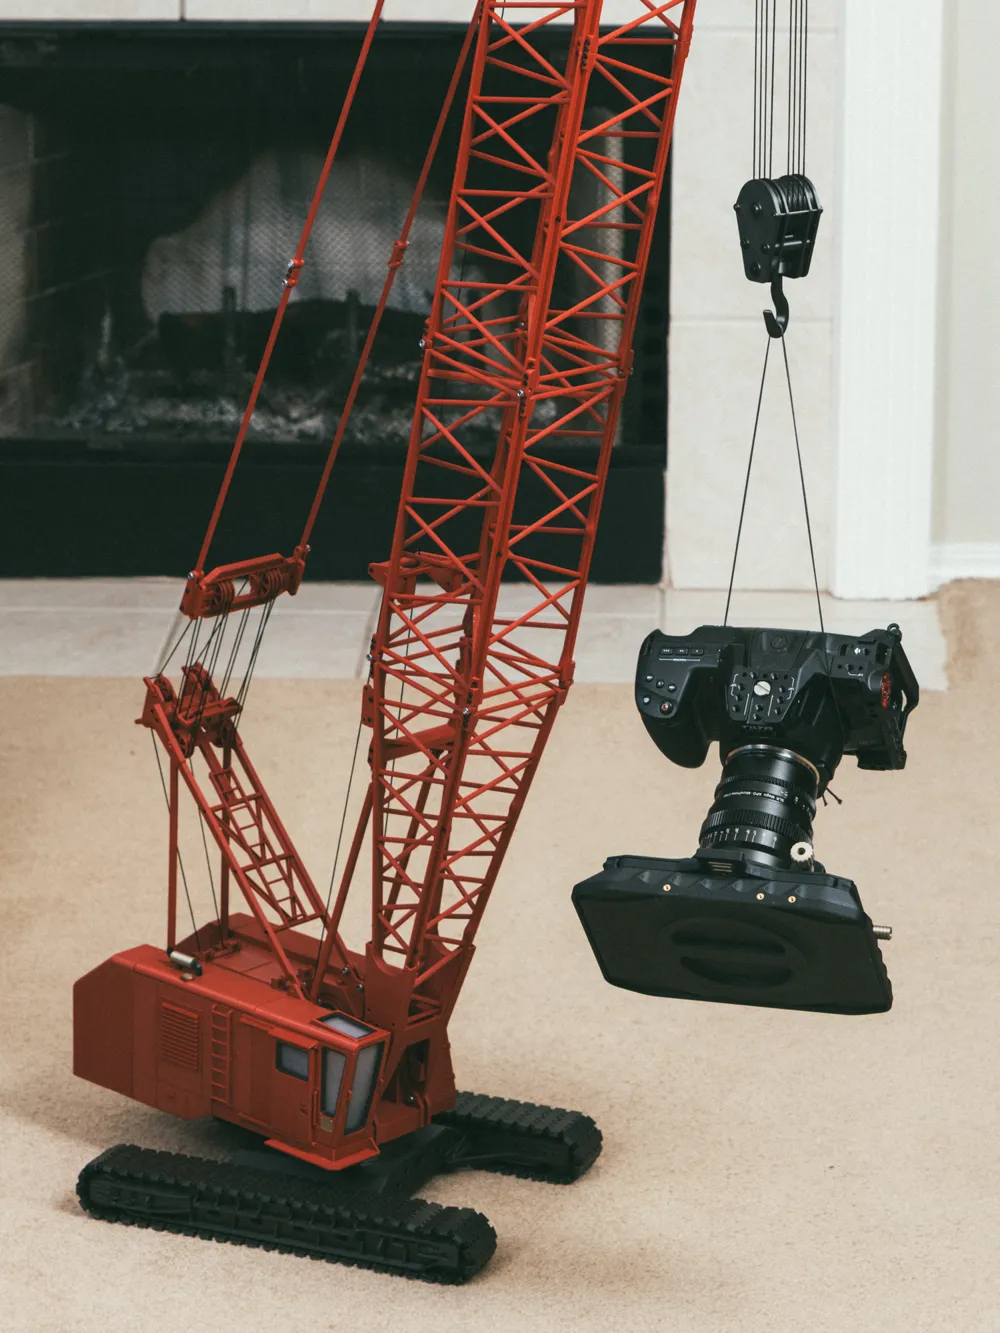
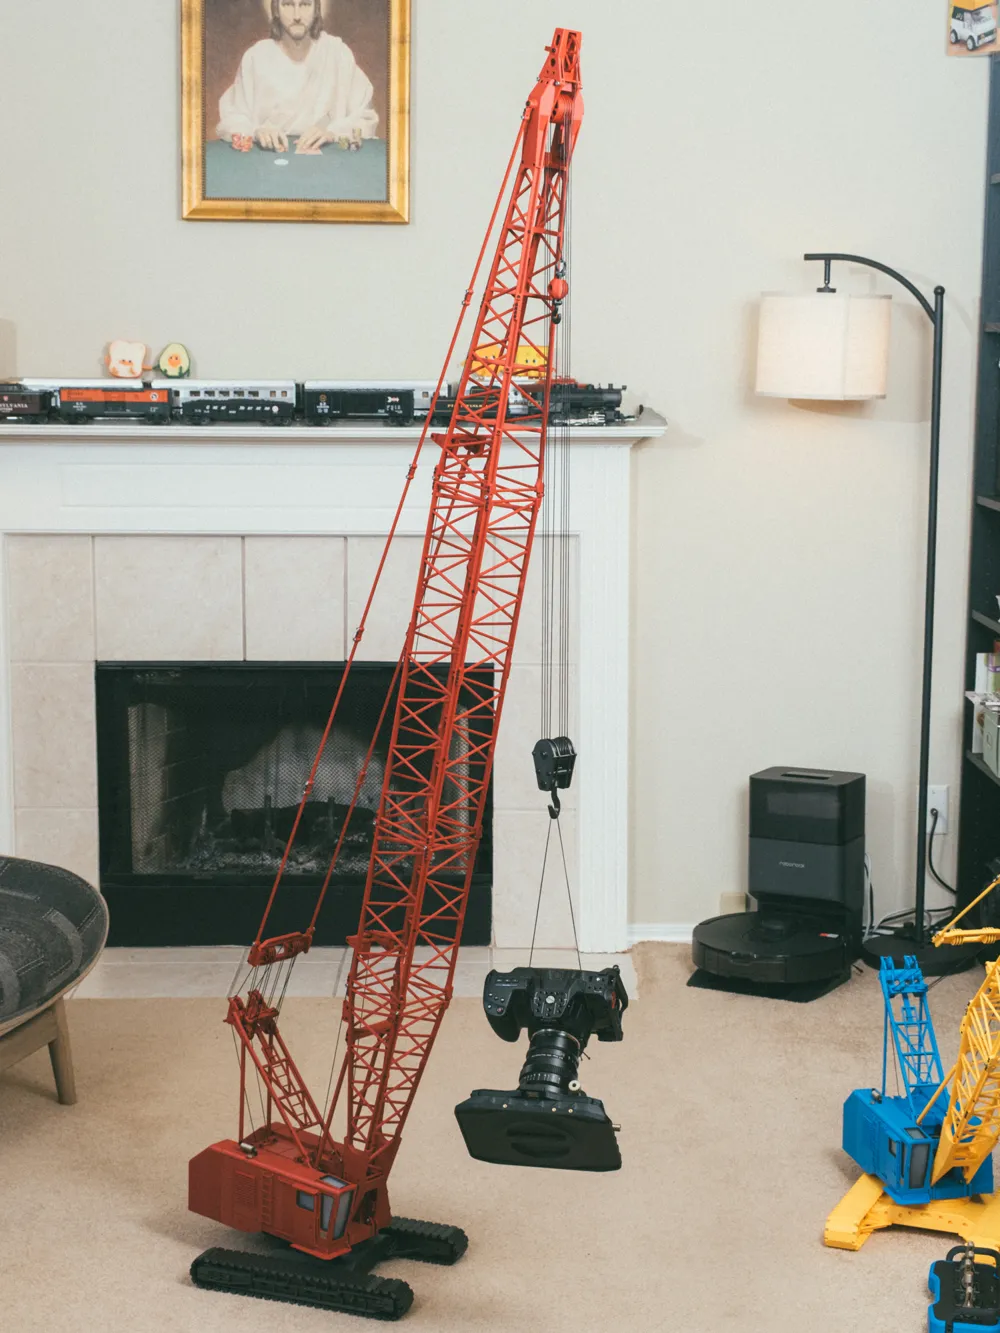
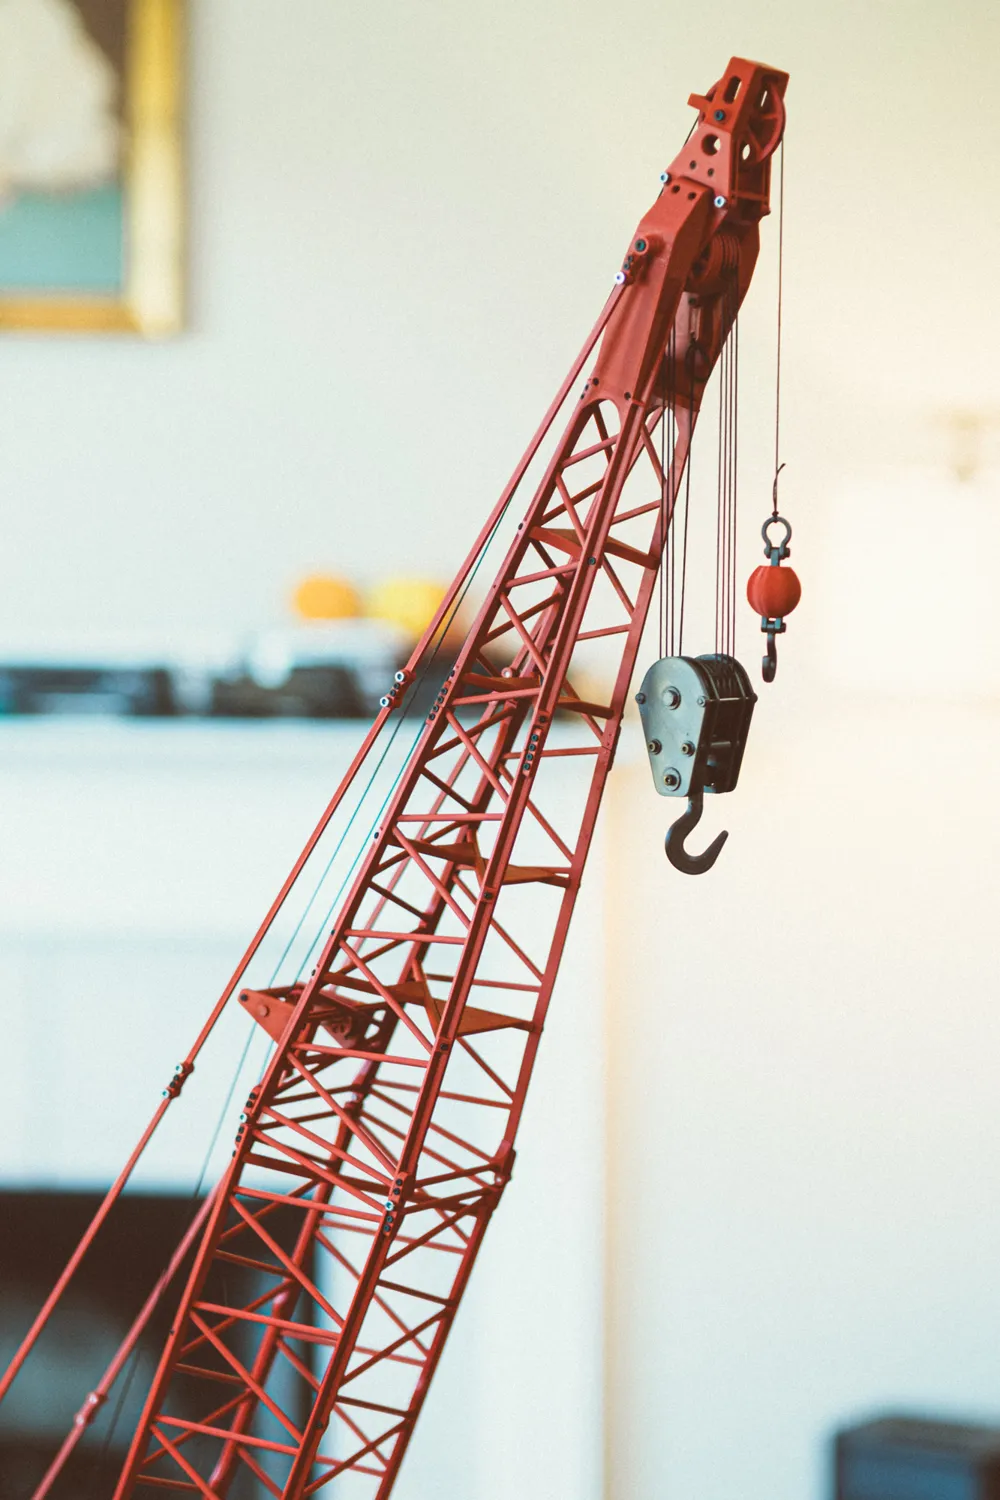
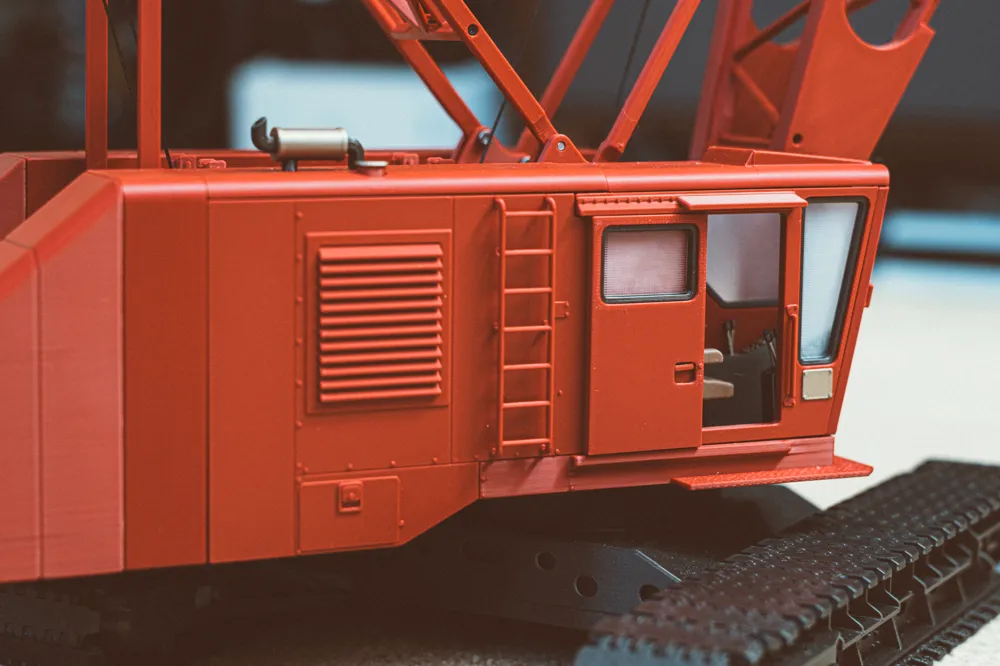
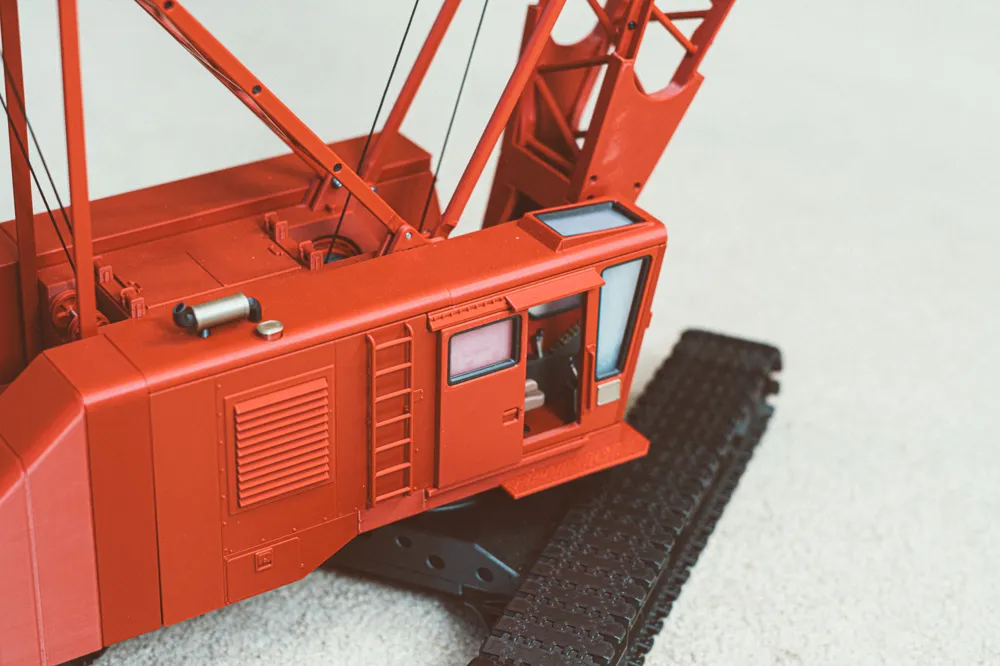
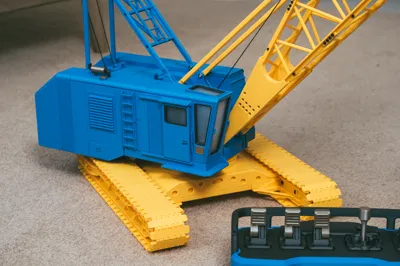
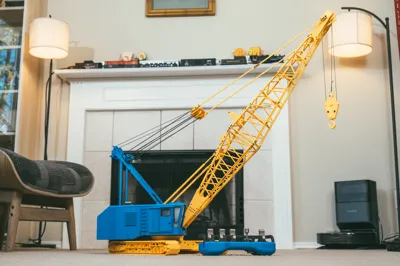
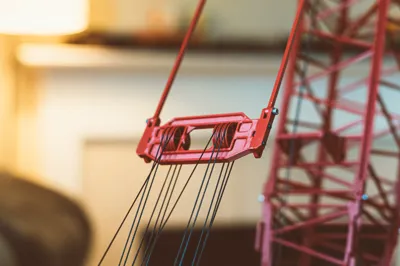
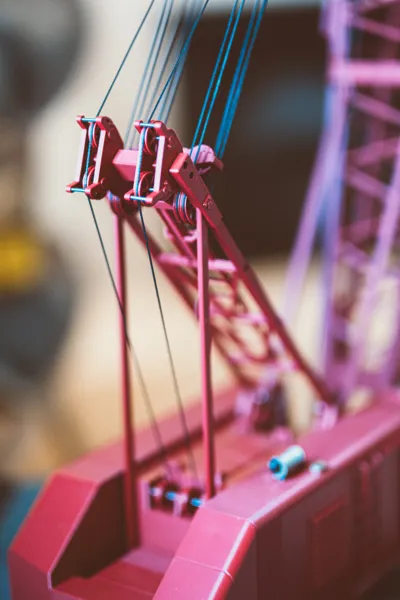
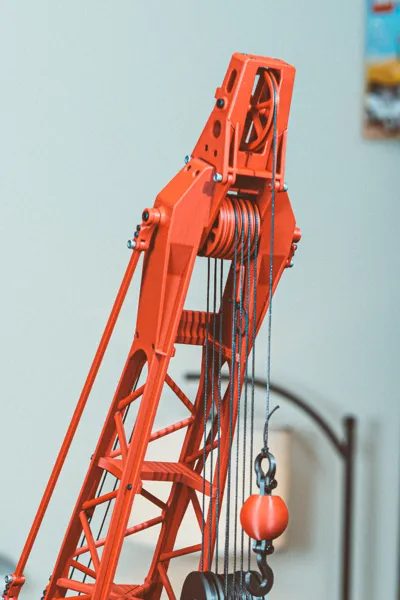
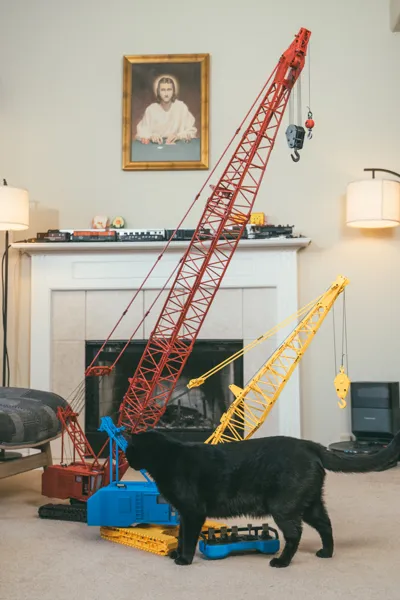
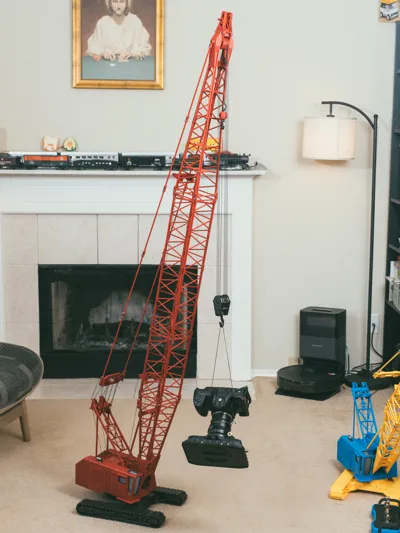
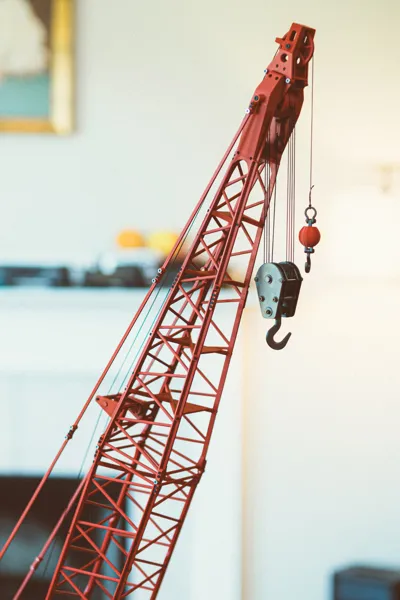
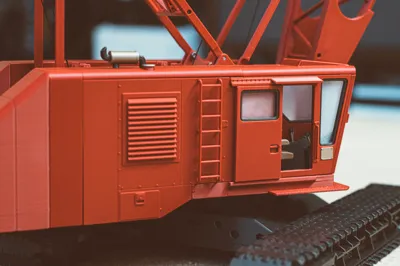
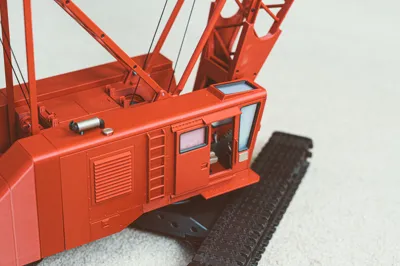
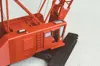
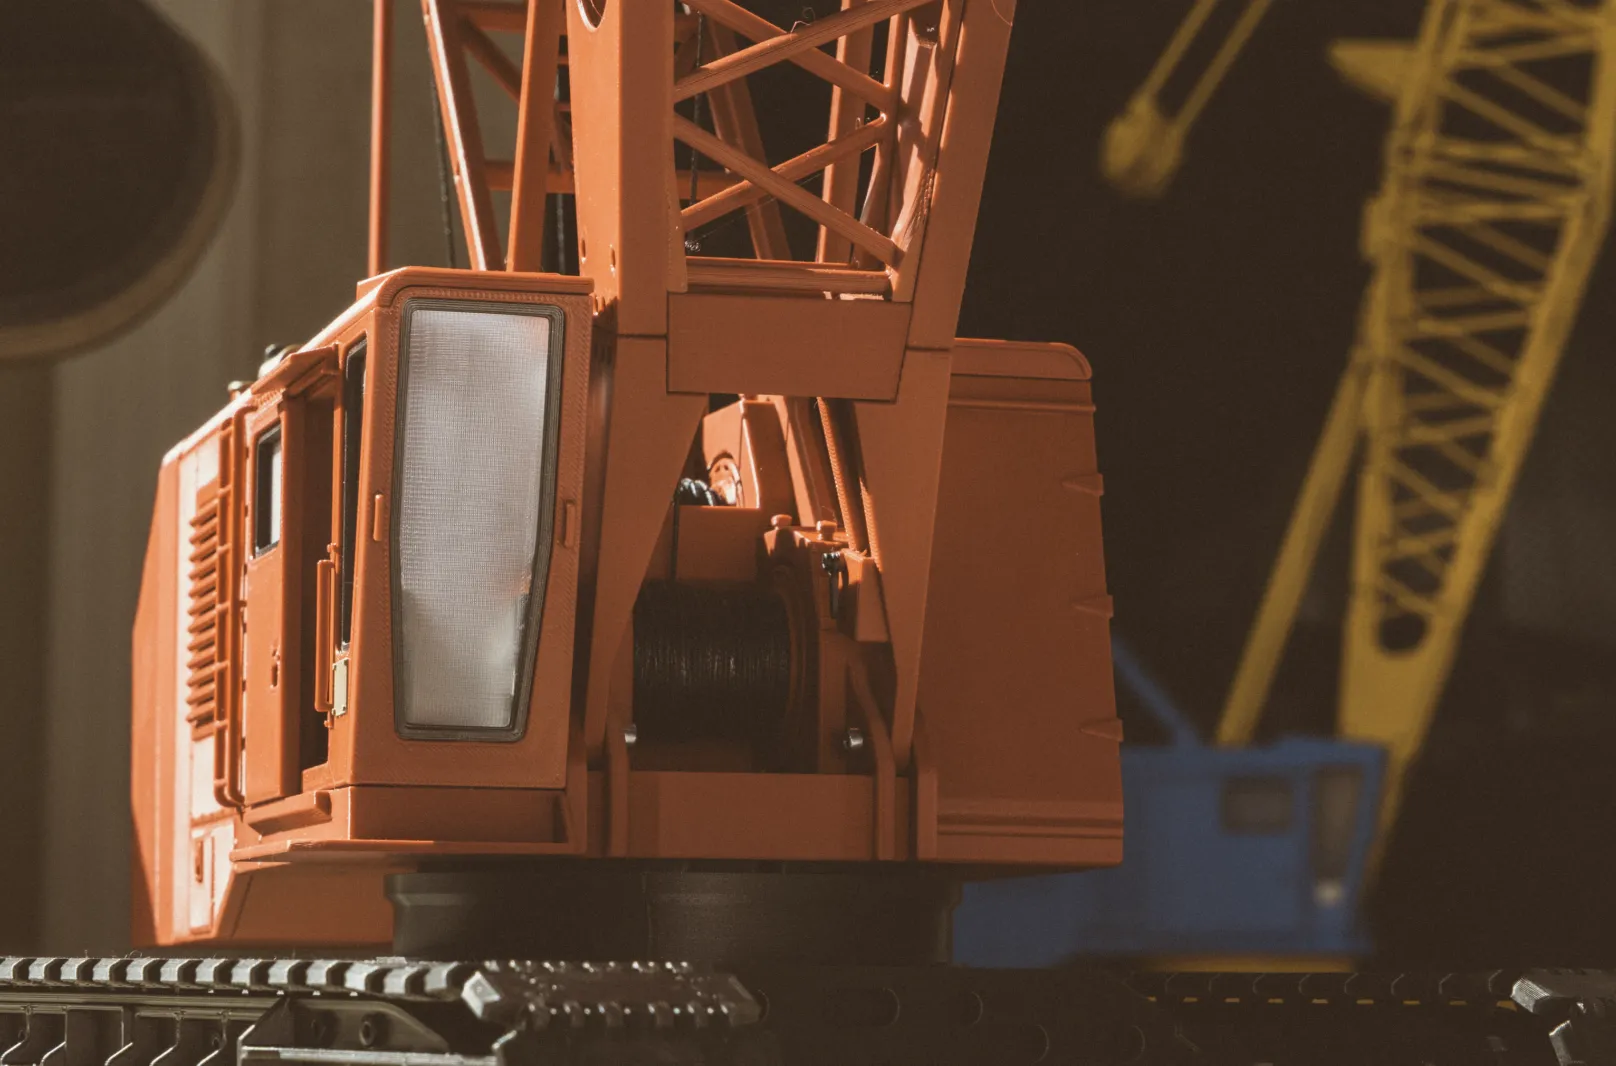
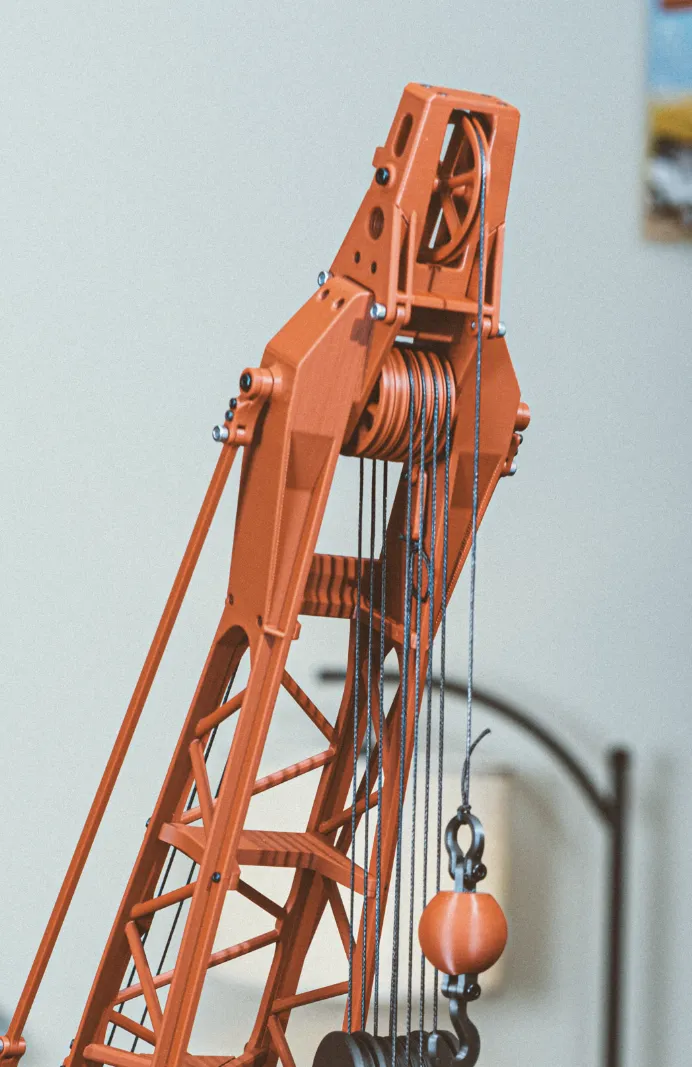
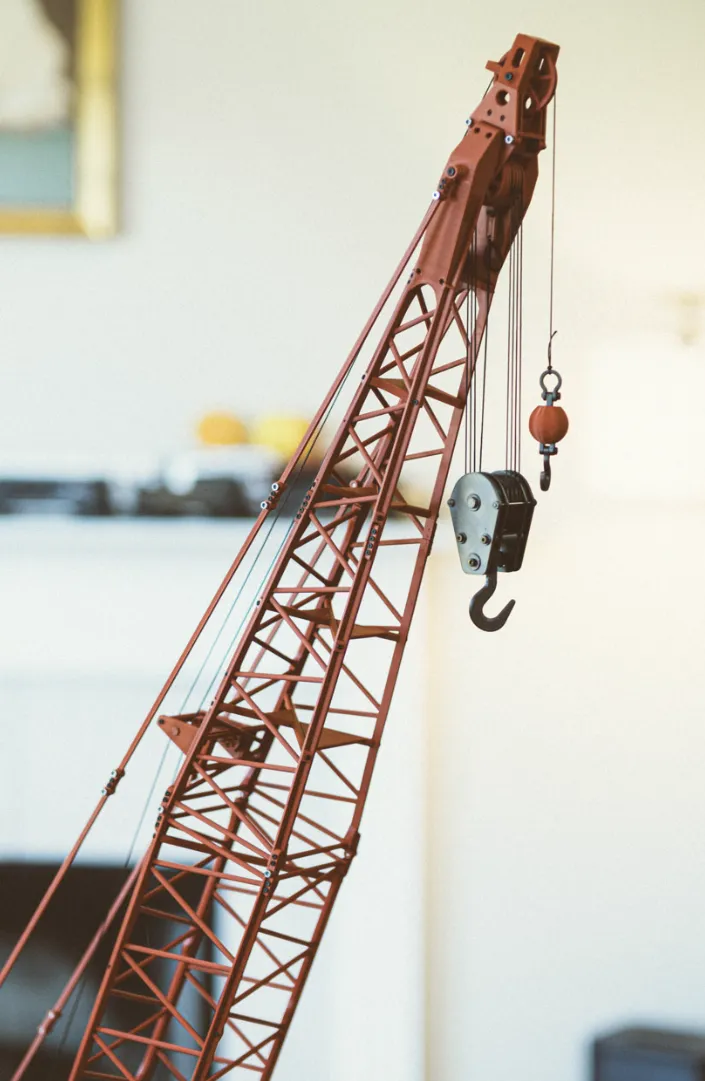
Nerdy as I am, I do enjoy a good crane, especially crawler cranes with big lattice booms. My favorite, the Manitowoc 4100w. This model is my homage to that crane. While it closely resembles the original crane, there are a number of little adjustments I made to make the model easier to print and sturdy at this scale. This model is a 1:24 model, utilizing the Cyberbrick electronics to power it.
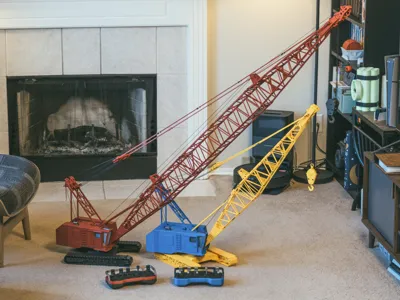
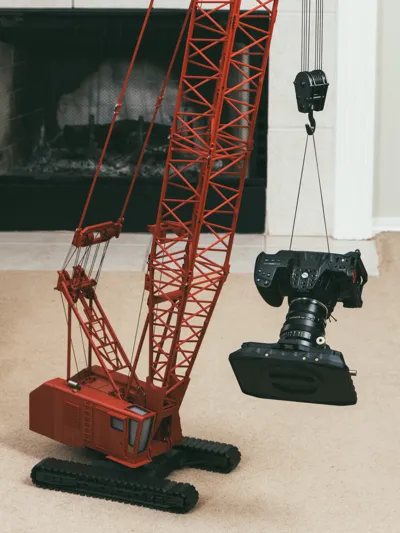
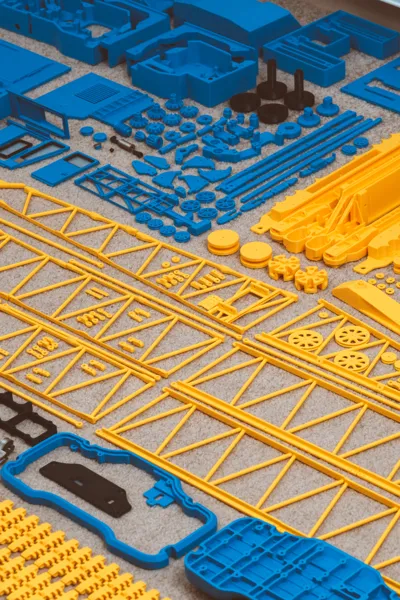
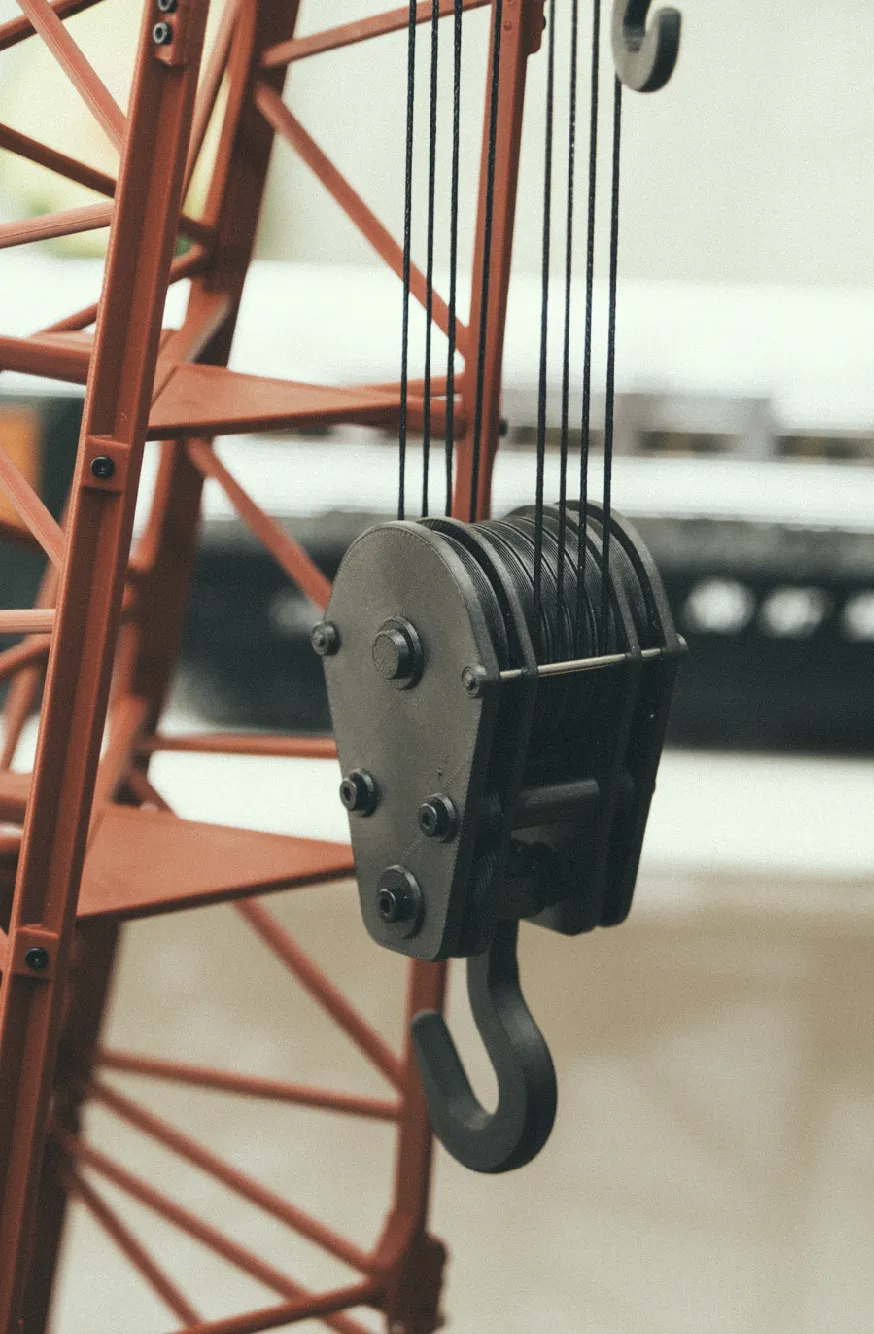
Like with most things I do, this is certainly pushing the limits. I tried to make as large of a crane as I could, and while I originally targeted the H2D's build volume, I ended up being able to fit it on a 256 sized print bed. Nice! At this scale though it's still pushing the limits, and as you add on the weight, it will strain the Cyberbrick hardware some. Mainly it's in the track, where once there's a lot of load, it can't maneuver as easily. With the right hook, and a good counter balance, it can hold upwards of 10lbs though! Although 5lbs is a more realistic top end.
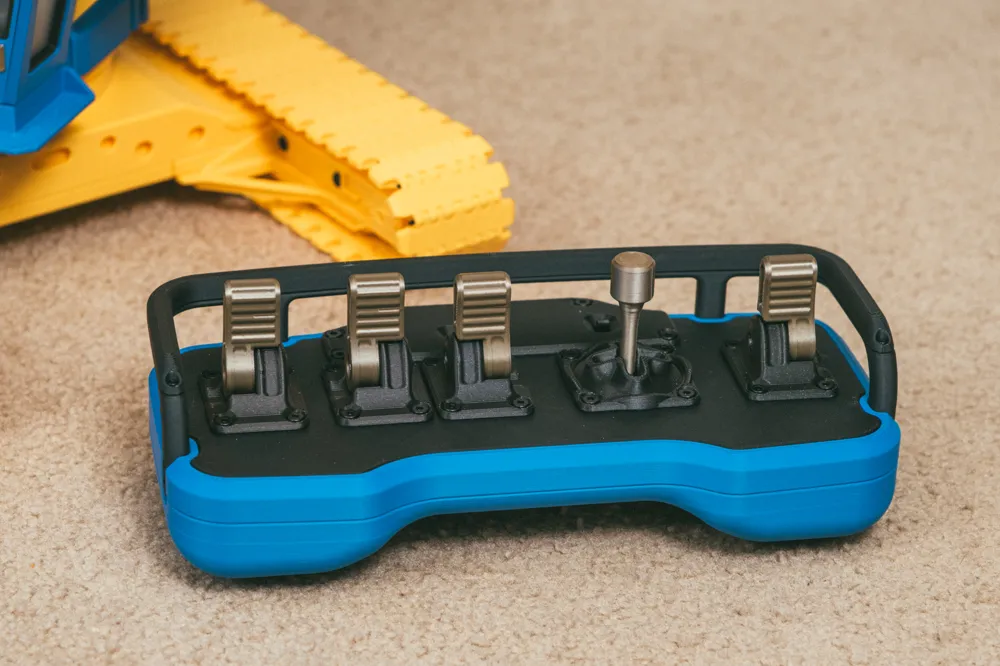
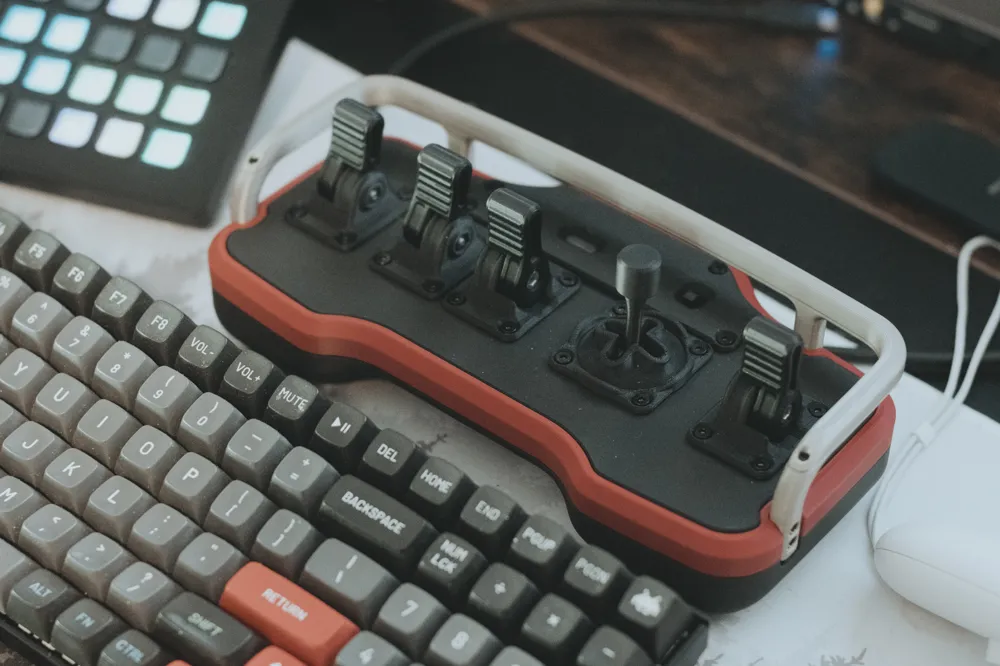
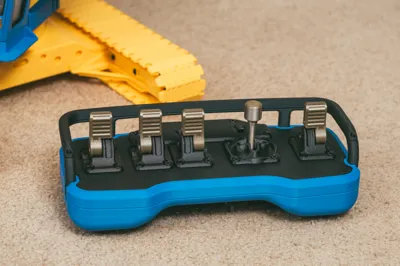
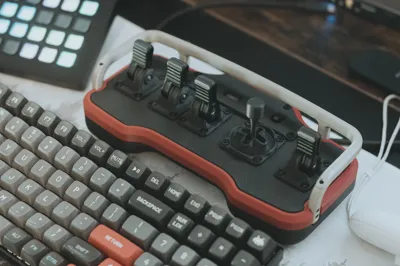
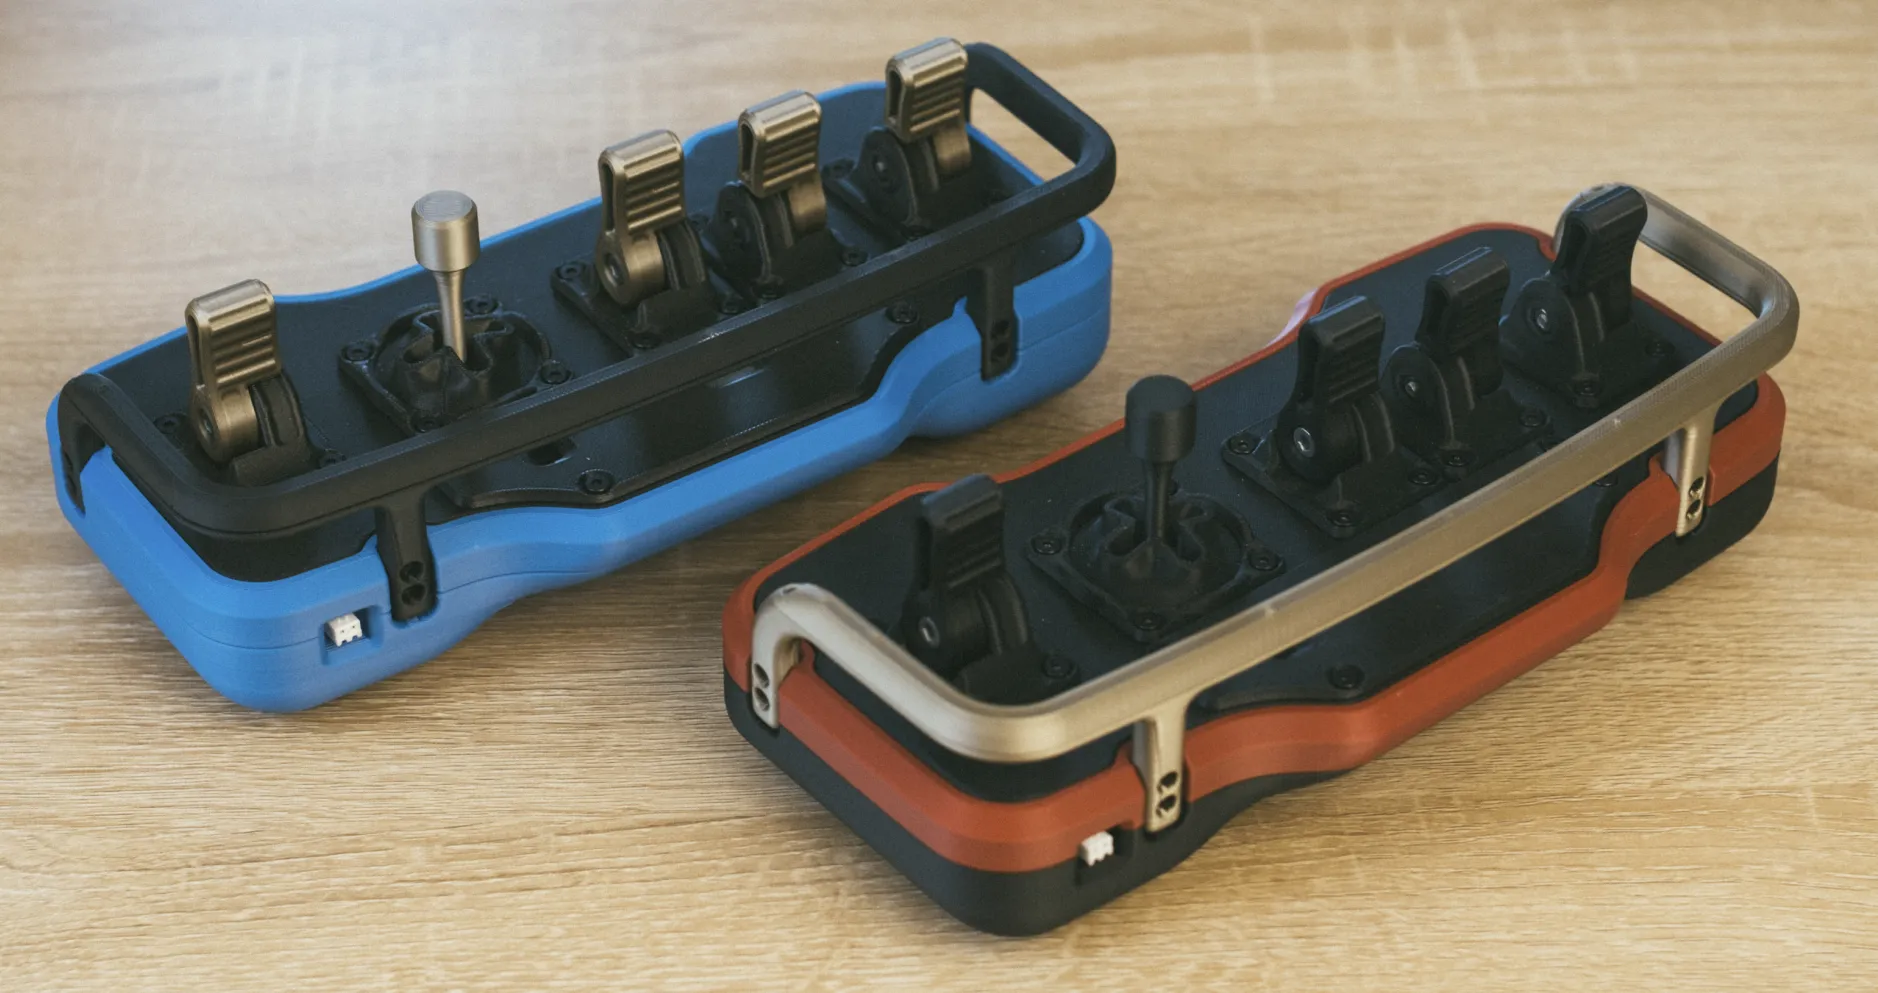
For the controller, I wanted something fun, that made you feel like you were actually operating a crane. Heavily inspired by industrial controllers, but with a little more modern of a profile. The two outer levers control the crane's tracks, the two inner levers control the hooks, and the joystick controls the room lift and cab rotation. It features a charging port on the back so you don't have to remove the battery to charge it.
This project has been a bit of a passion project. Like I said, I enjoy cranes. I use to really get into diecast cranes, but always wanted a way to control them too, and this project is the realization of that dream. Not only controllable, but big!
Support The Designer
This model has been a massive under taking! If you'd like to help support my work, please make sure you purchase the hardware through the model page here. You can also give this model a boost, which would be much appreciated. Lastly, you can give a small thank you through my Buy Me a Coffee page. Link and more info is at the end of the description.
Builders Info
General:
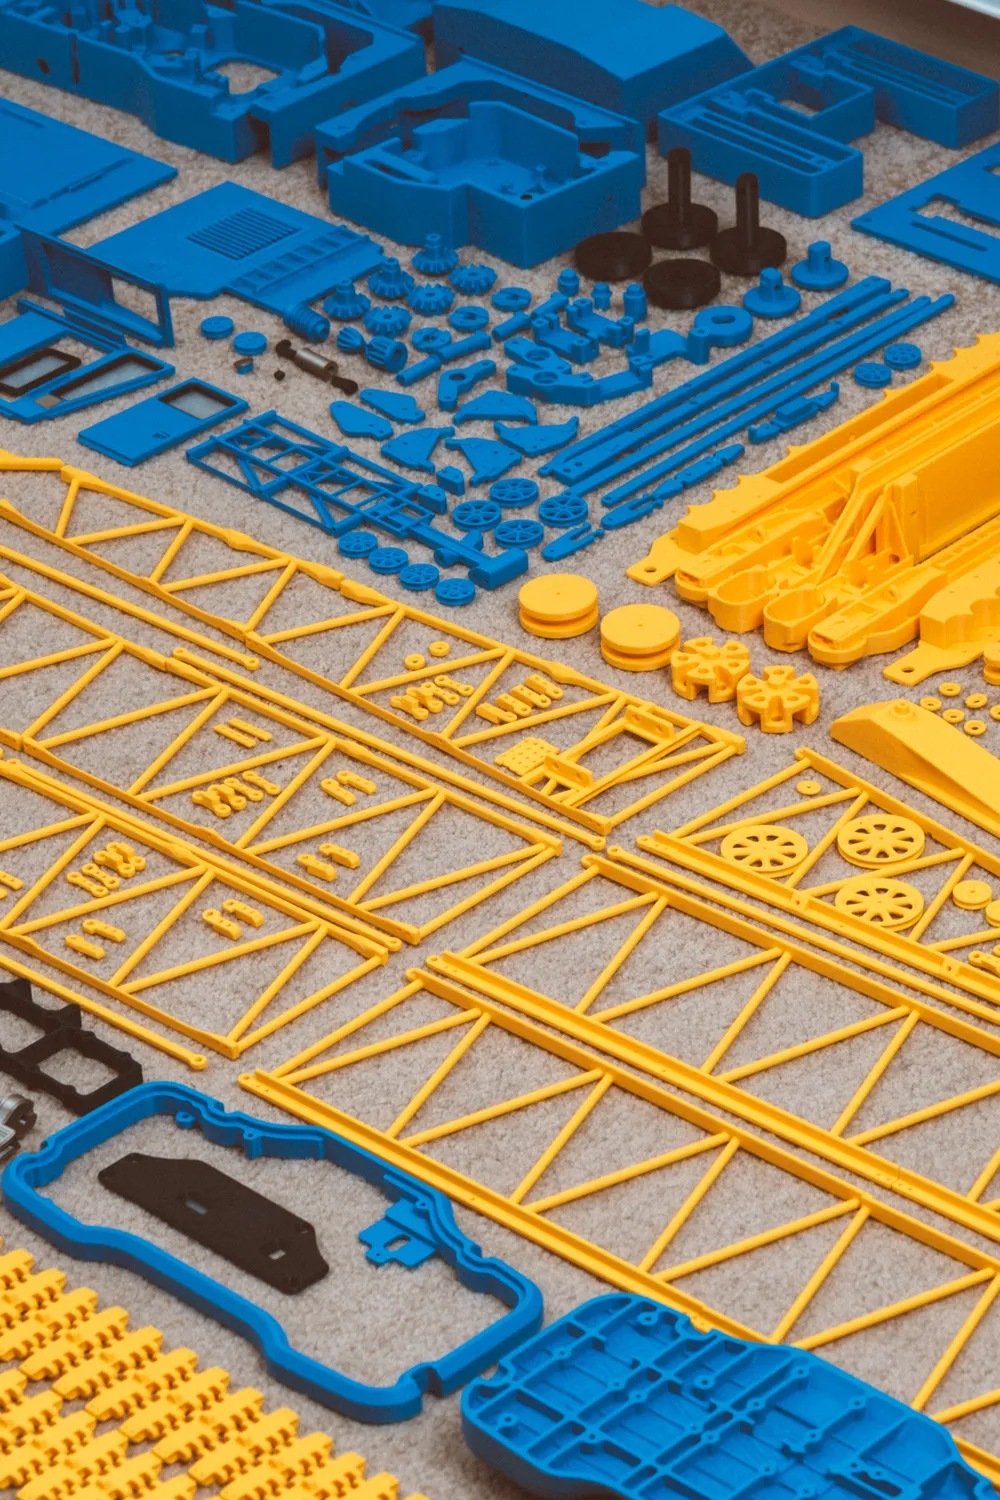
I would consider this a medium to advanced level project. I tried to make it as easy as I could, but there's still a ton of parts that can pose various challenges when printing. In particular, you want to make sure you have any warping under control, as there's a number of large parts and parts with a thin profile on the print bed, that can be prone to warping.
I tried to give enough tolerance in the parts to accommodate most situations, but there are a few parts with tight tolerances that might prove troublesome depending on the filament you're using, if it's calibrated correctly, and other environmental factors that are beyond my control. Keep this in mind, as you might need some drills to help clear out some of the holes that screws should otherwise pass through easily, or help open up some of the holes that dowels are to be inserted into.
For the assembly, again, I tried to make it as straight forward as I could, but there are still a couple of tricky parts to assemble.
Filaments & Hardware (Full disclosure, I am part of the Amazon Affiliate Program. All amazon links are affiliate links. I earn a small commission from these links without any added cost to you. These links help to support me so I can bring more content for free!)
Filament usage depends on what colors you choose. Overall you'll need about 3.7kg. The figures I list out in the table below are based on Bambu Studio's given numbers, based on the Red/Black color scheme. Mileage may vary, depending on a few factors.
| Colors | Total Usage | Controller | Tracks | Cab | Gantry | Boom Base | 20ft | 40ft | Boom Tip | Hooks |
|---|---|---|---|---|---|---|---|---|---|---|
| Total Usage | 3.66kg | 359g | 943g | 1367g | 98g | 110g | 116g | 202g | 289g | 172g |
| Color 1 (Red) | 2.1kg | 43g | 1293g | 98g | 109g | 116g | 202g | 289g | 172g | |
| Color 2 (Iron Gray) | 1.15kg | 943g | 38g | 1g | ||||||
| Matte Black | 279g | 279g | ||||||||
| Iridium Gold | 61g | 34g | 27g | |||||||
| Transparent | 7g | 3g | 4g | |||||||
| Brown | 5g | 5g |
Featured Filaments:
Crane1:
Bambu PLA Basic Maroon Red
Bambu PLA Iron Gray Metallic
Crane2:
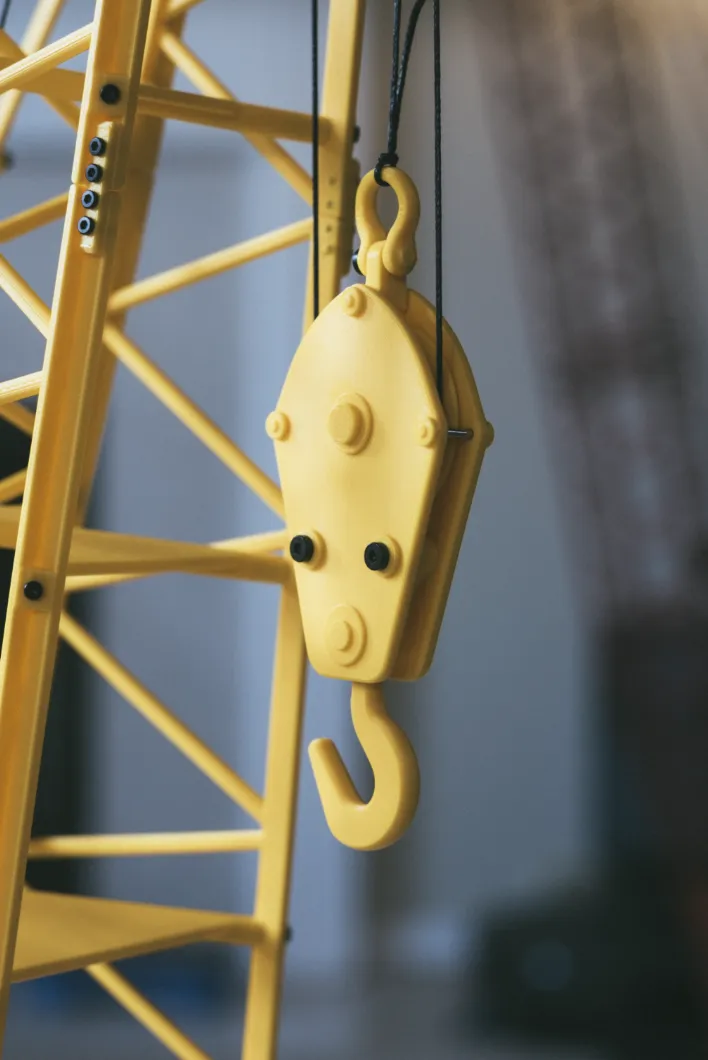
Bambu PLA Basic Sunflower Yellow
Bambu PLA Matte Marine Blue
Additional Filaments:
Bambu PLA Matte Charcoal
Bambu PLA Matte Dark Brown
Bambu PLA Iridium Gold Metallic
Bambu PLA Translucent Ice Blue
Recommended Tools:
I would recommend a couple of additional tools to help with the assembly process. Most importantly is probably an electronic screwdriver like This One from Amazon, as you're going to be putting in a lot of screws. A small drill set can be handy too, for clearing out holes. I'd also recommend tweezers and snips (Like you'd cut your filament with).
Hardware:
The Majority of the hardware can be purchased from the Maker's Supply. The only real exception is the string. I used 1.0mm braided fishing line for the models I built. This one specifically, from Amazon. That 100m was enough for two cranes.
I tried to optimize the screw usage as best as I can, but this is complex and large model. I wanted to make it strong, and try and use the shortest screw lengths where I could, especially on the boom. With that being said though, the Maker's supply usually provides screws in bags of 20, so you're certainly going to have some left over screws.
For the general field assembly, I'm using M3 machine screws as pins. The final full assembly ends up requiring 22 M3x8mm screws, but I set it up so the BOM only uses one bag (20 screws) of m3x8mm screws, figuring there will be extra M3x10s and M3x12s that one can use.
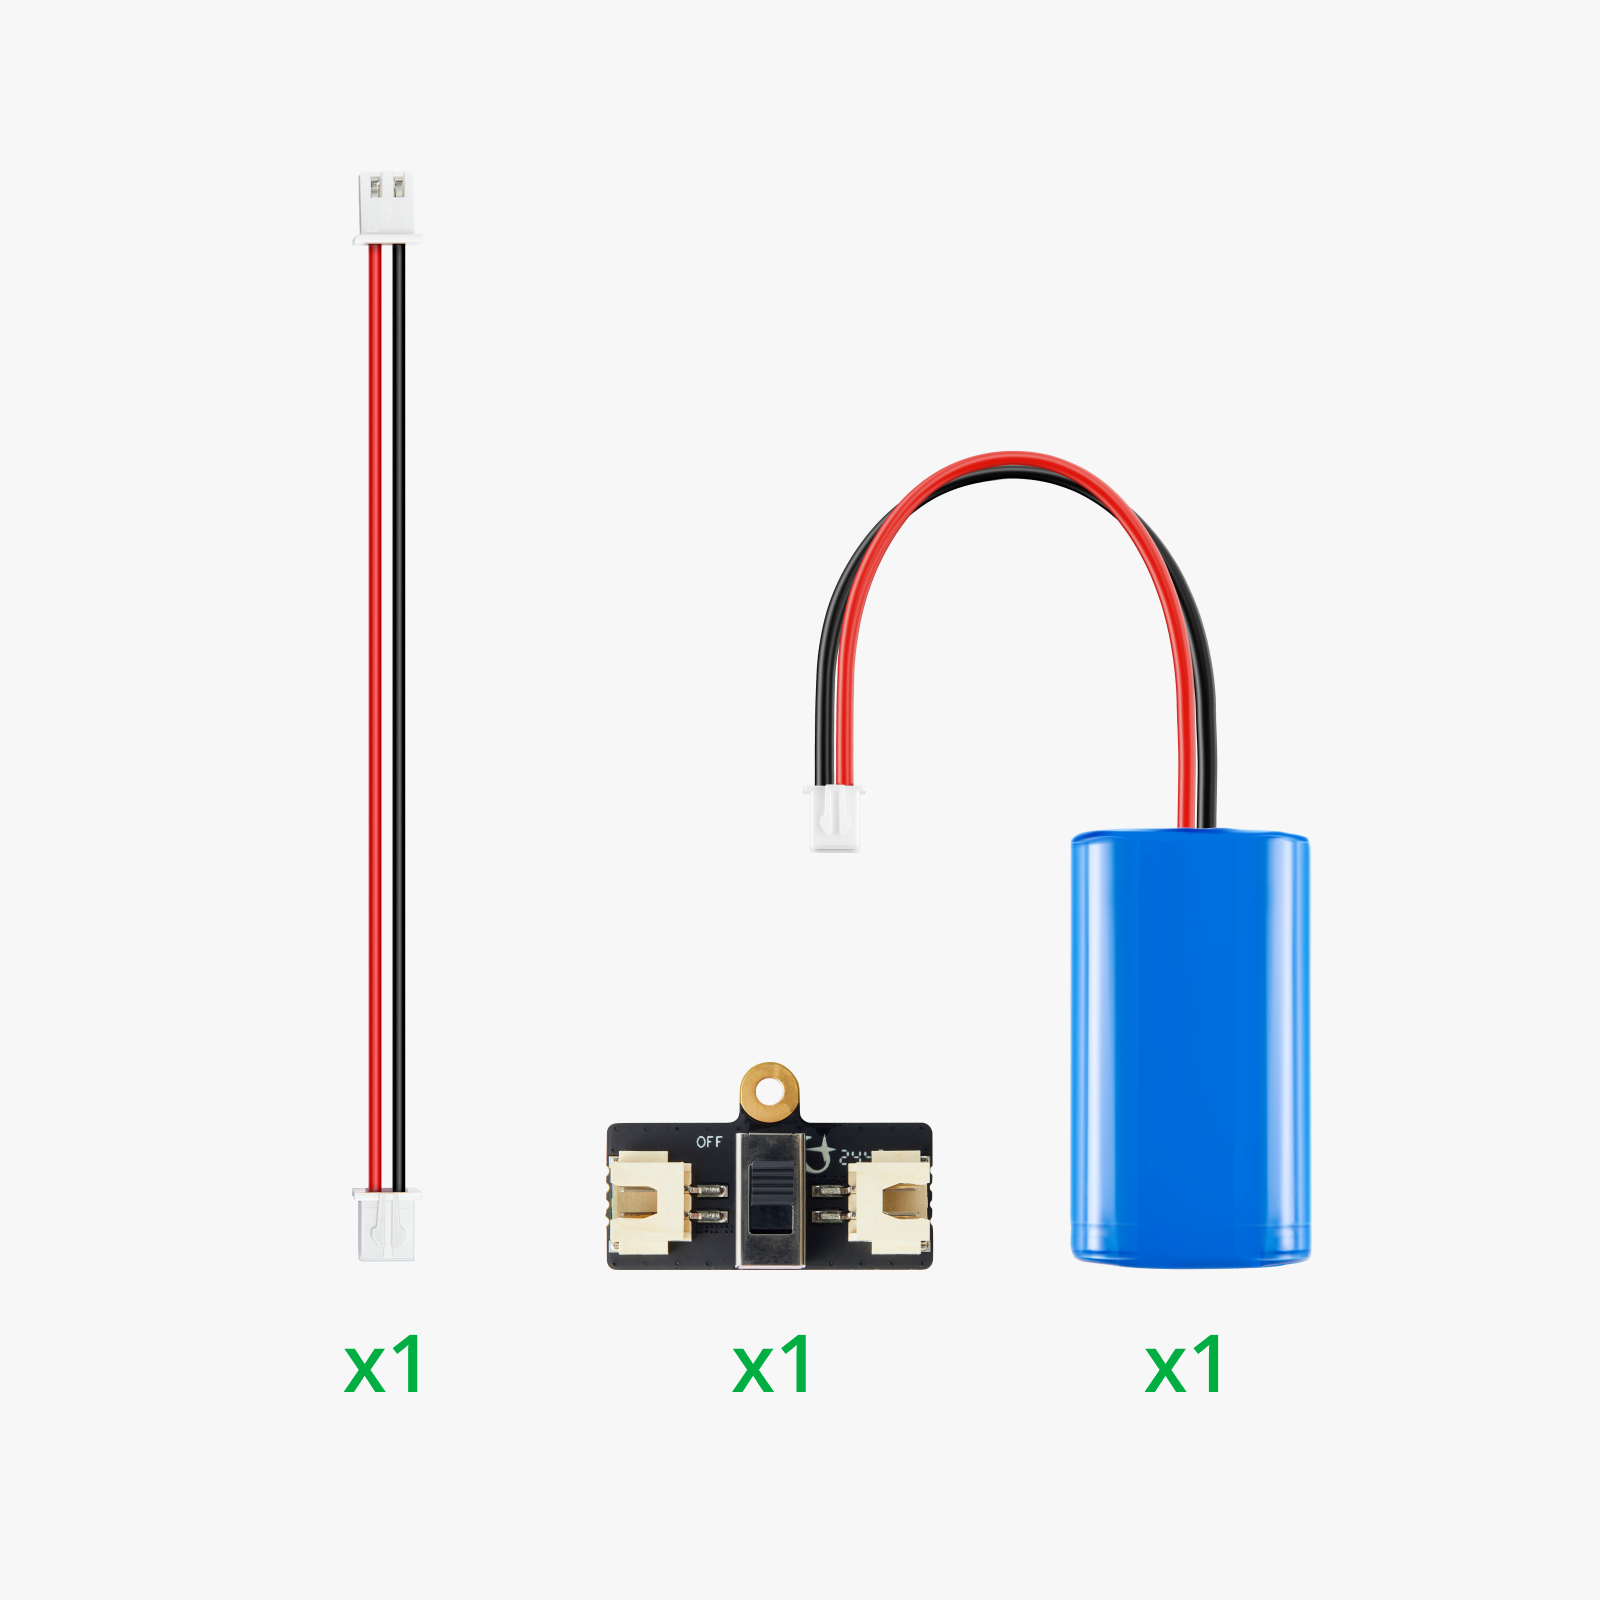
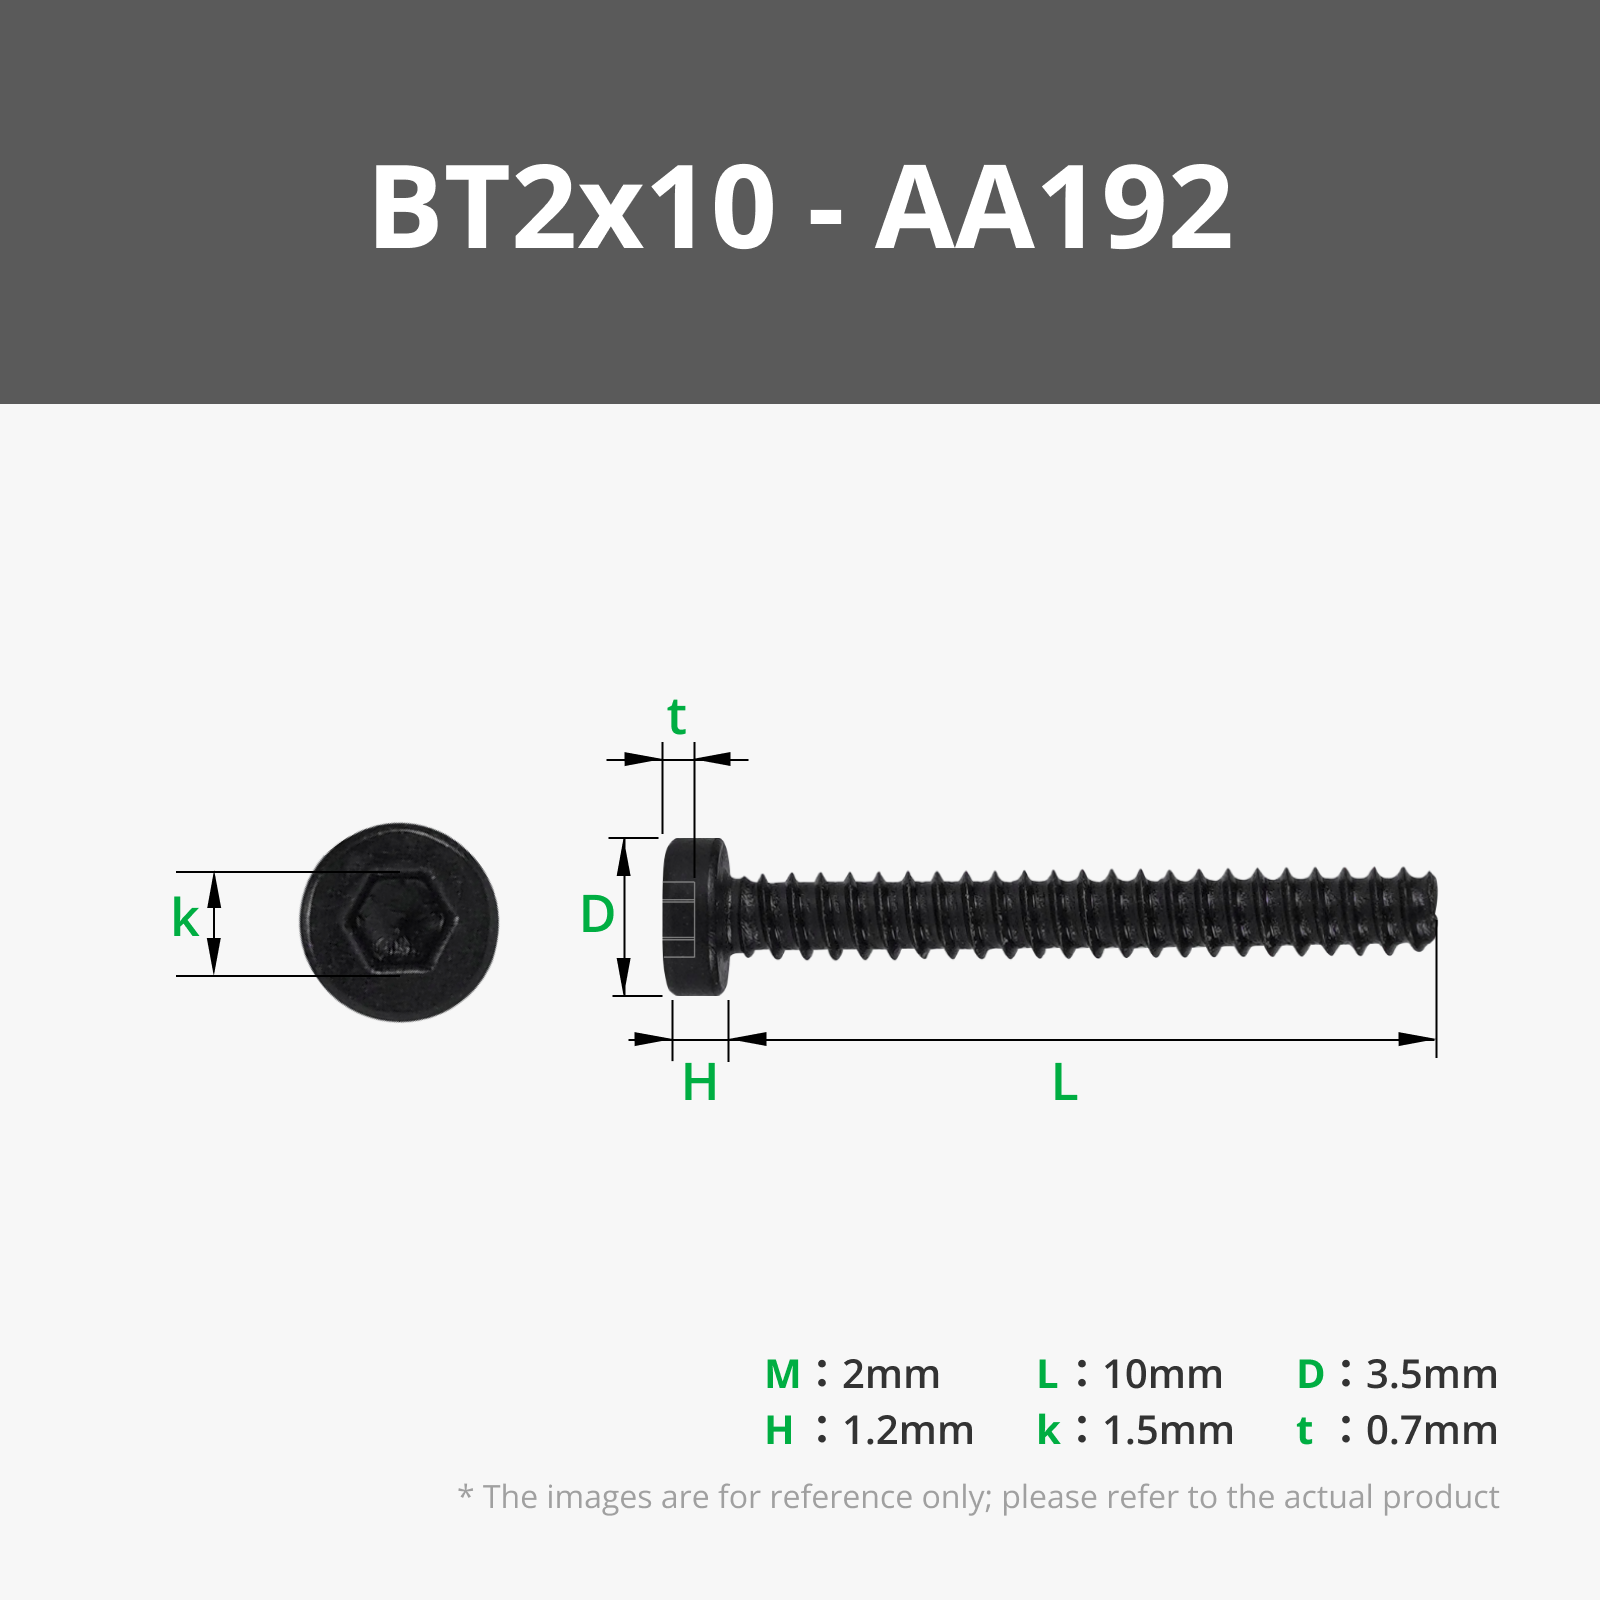
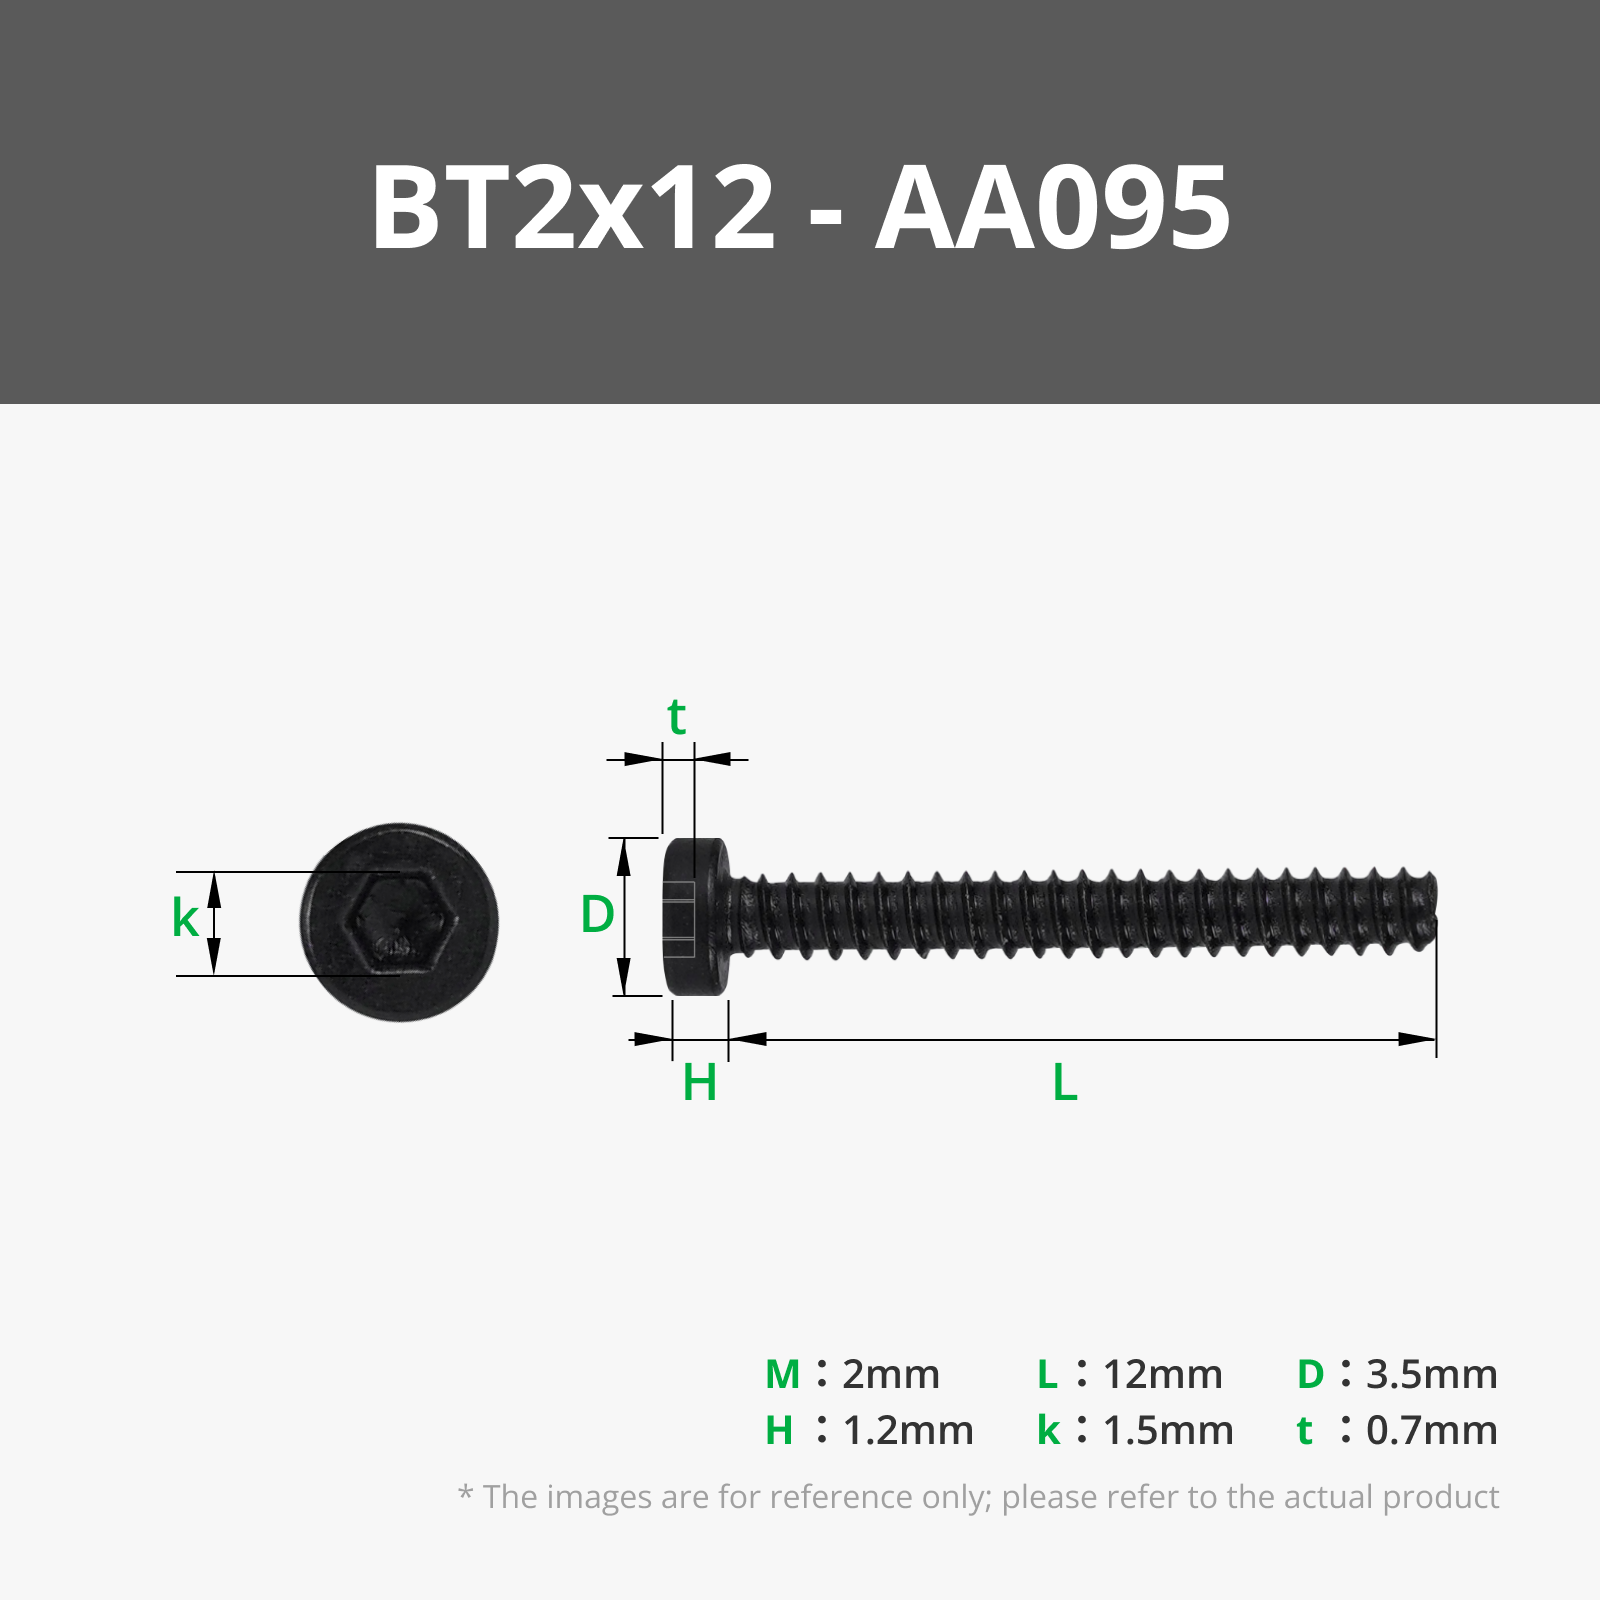
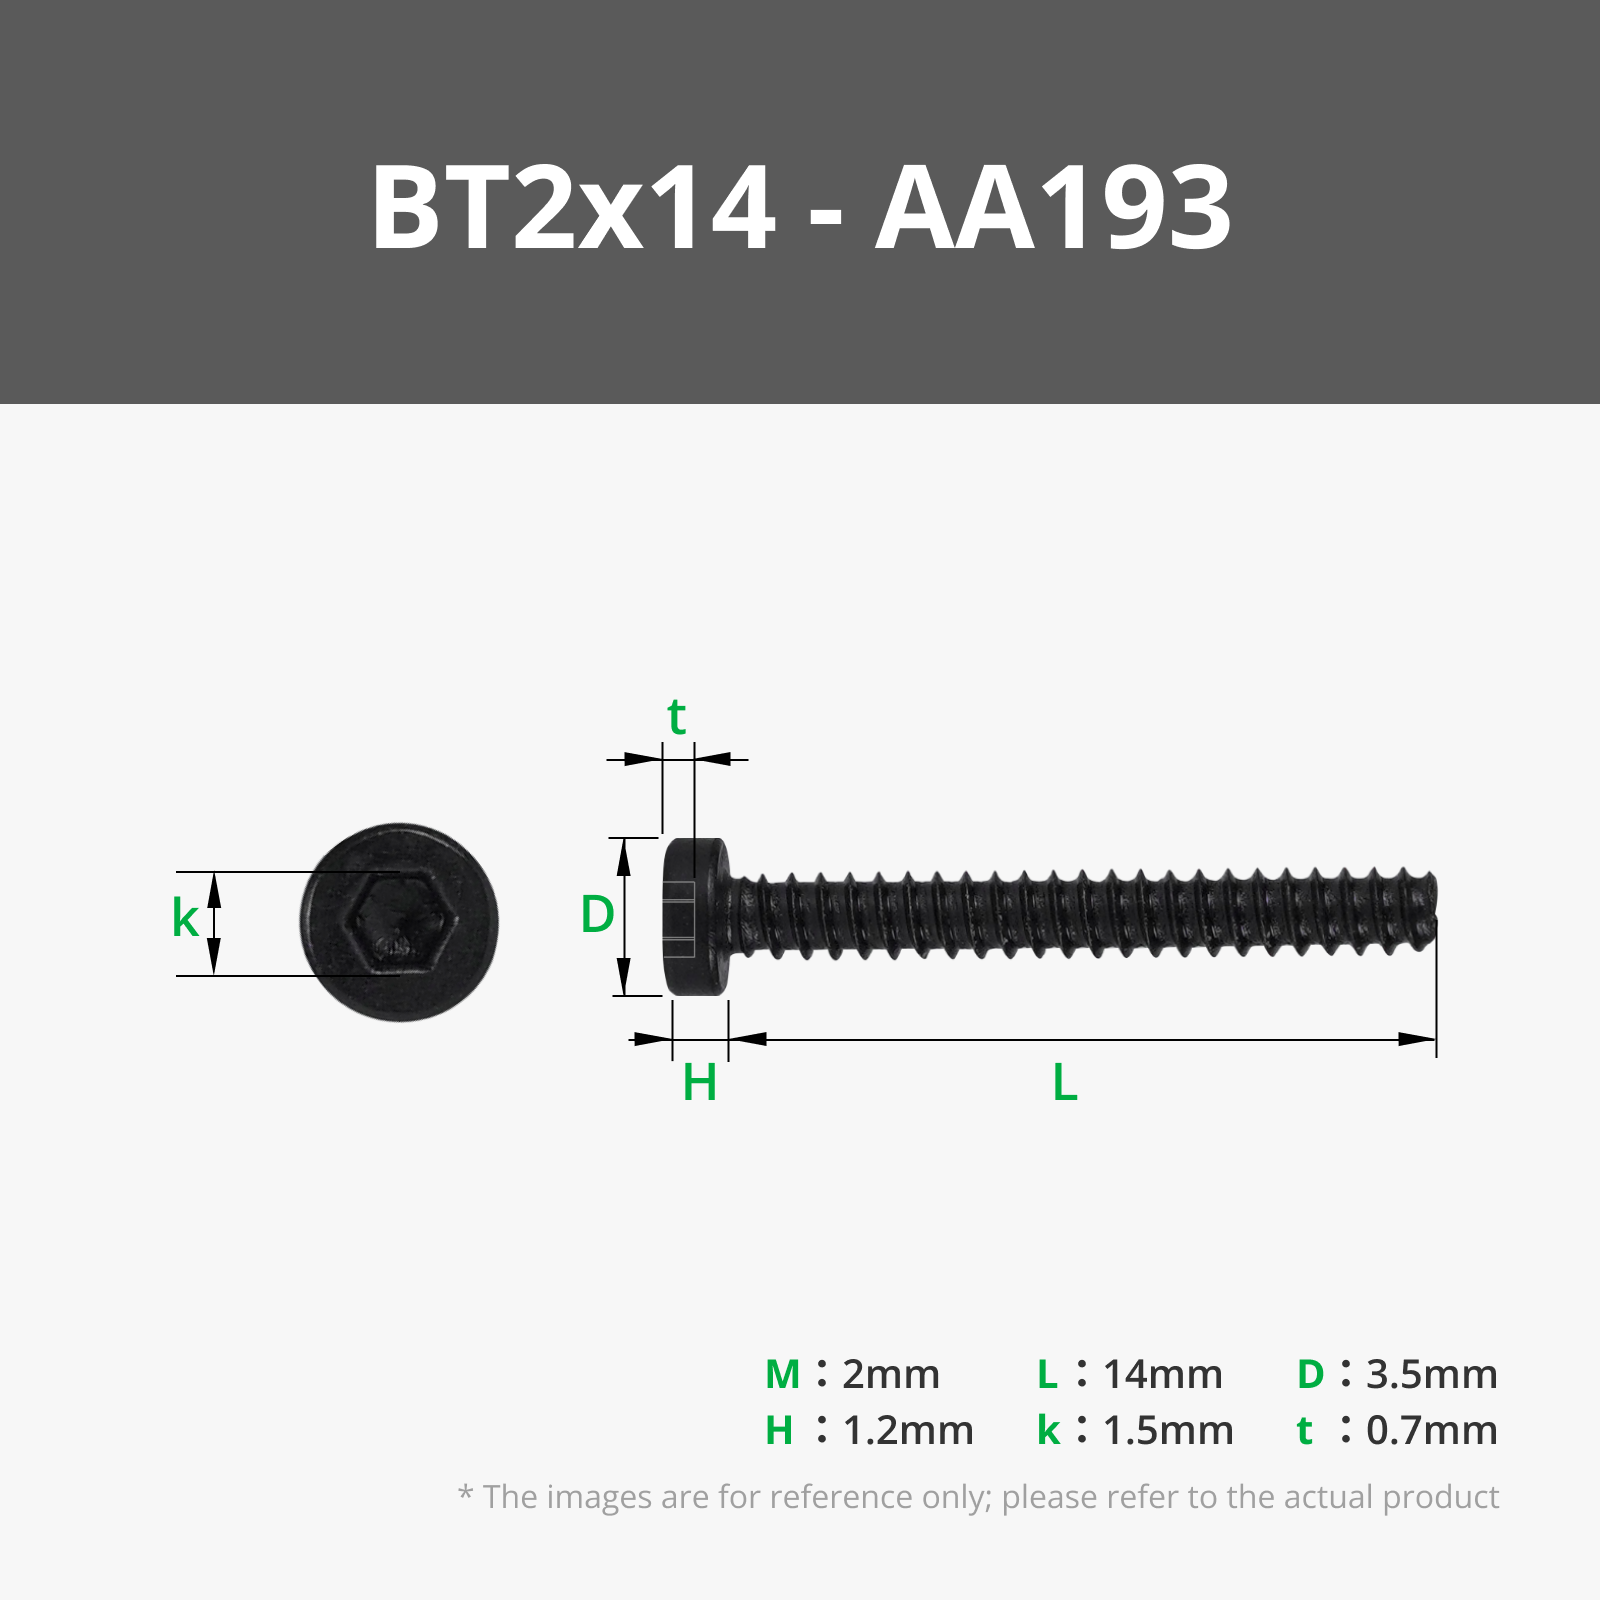
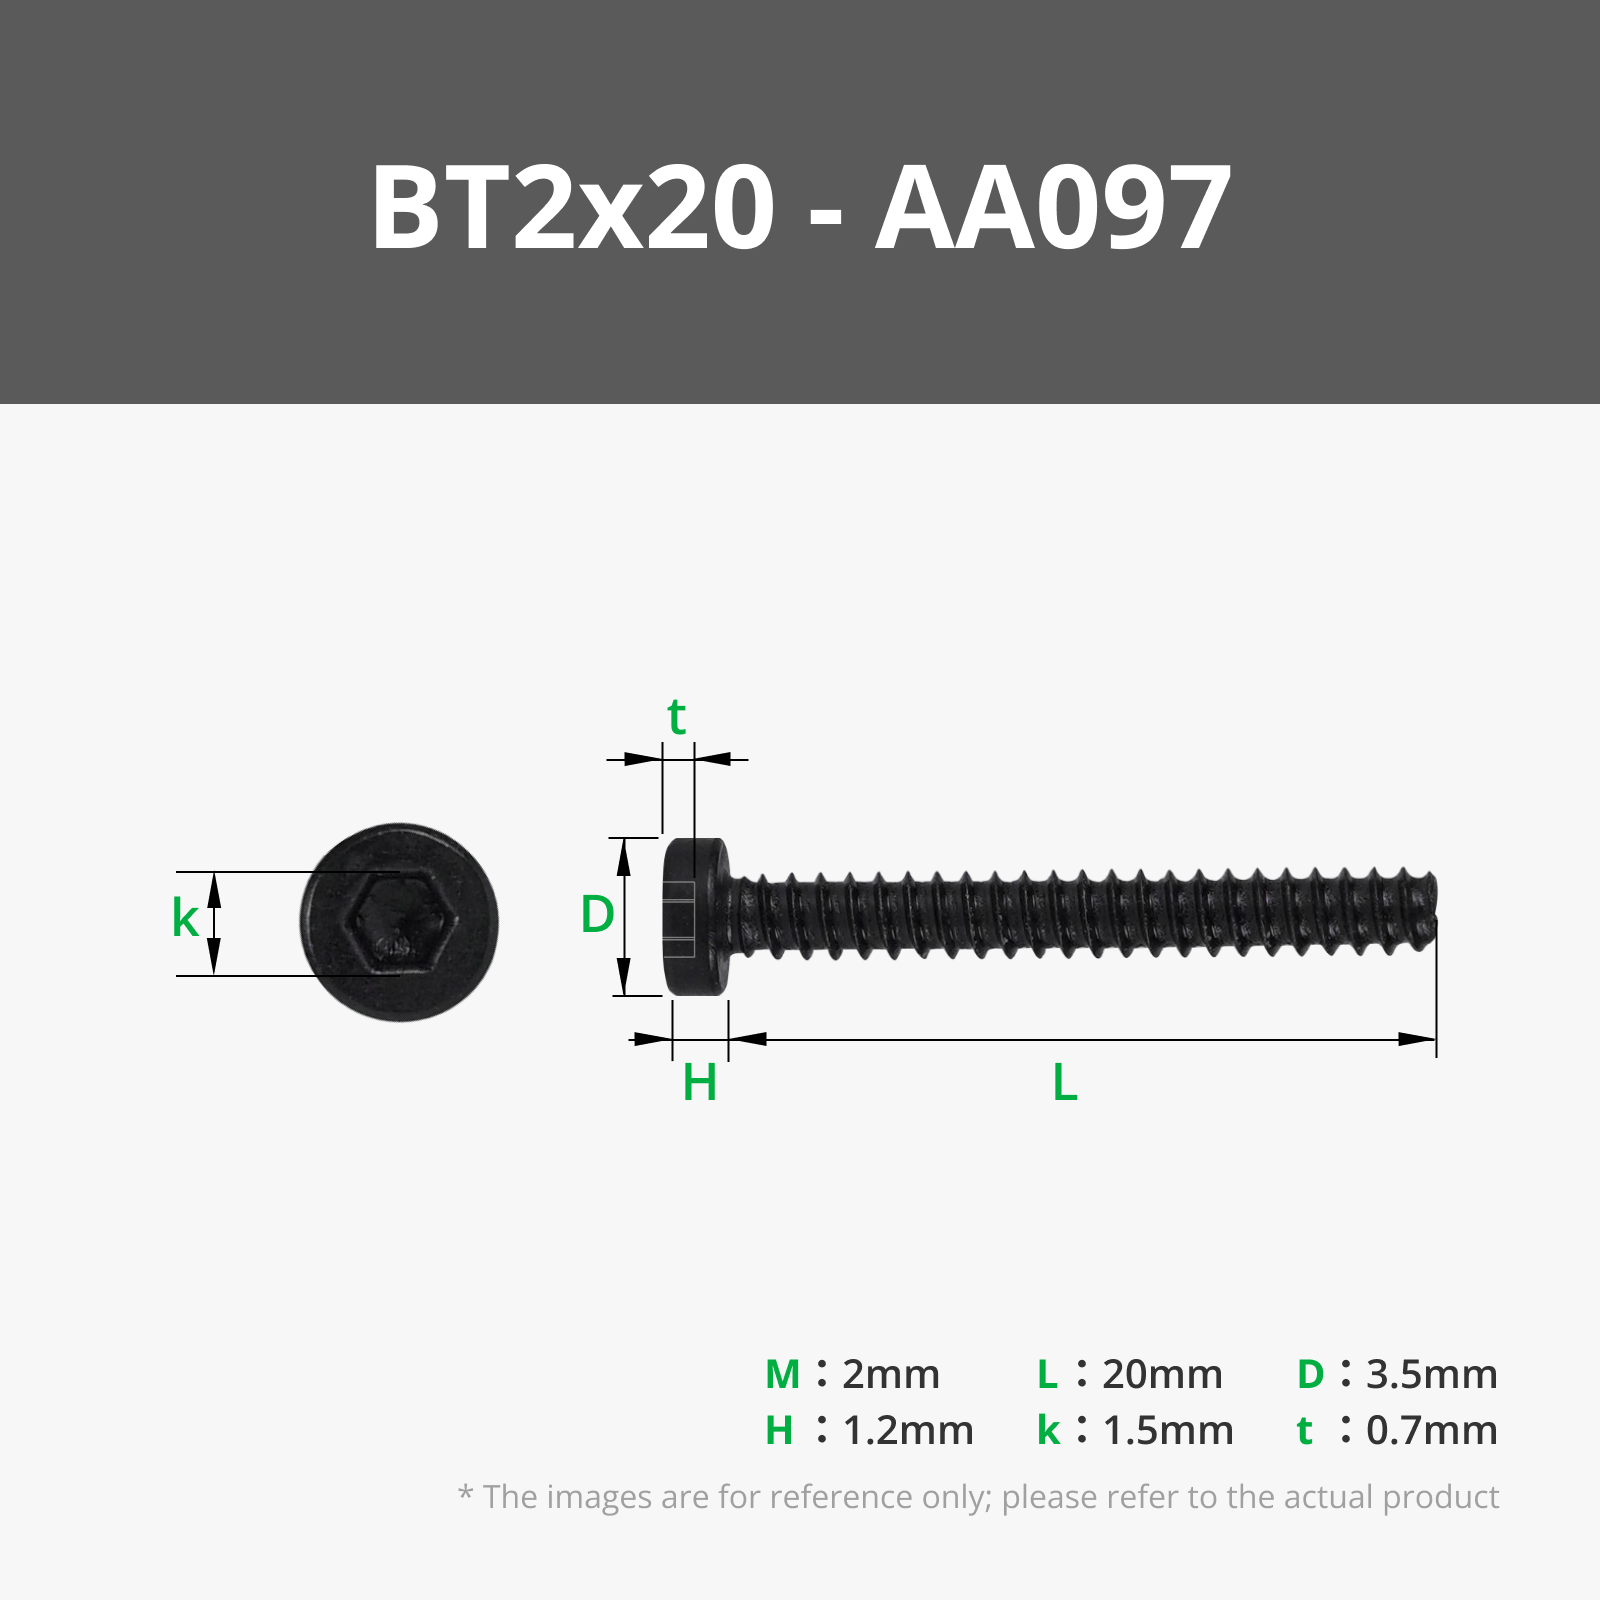
| Hardware | Total | Controller | Main | Boom Base | Outger Bail | 20ft Boom | 40ft boom | Boom Tip | Aux Pulley | Hooks | Assembly |
|---|---|---|---|---|---|---|---|---|---|---|---|
| BT2x6mm | 79 | 9 | 8 | 16 | 8 | 16 | 22 | ||||
| BT2x8mm | 99 | 8 | 12 | 25 | 8 | 24 | 16 | 6 | |||
| BT2x10mm | 23 | 3 | 10 | 8 | 2 | ||||||
| BT2x12mm | 30 | 2 | 16 | 8 | 4 | ||||||
| BT2x14mm | 27 | 4 | 23 | ||||||||
| BT2x20mm | 8 | 4 | 4 | ||||||||
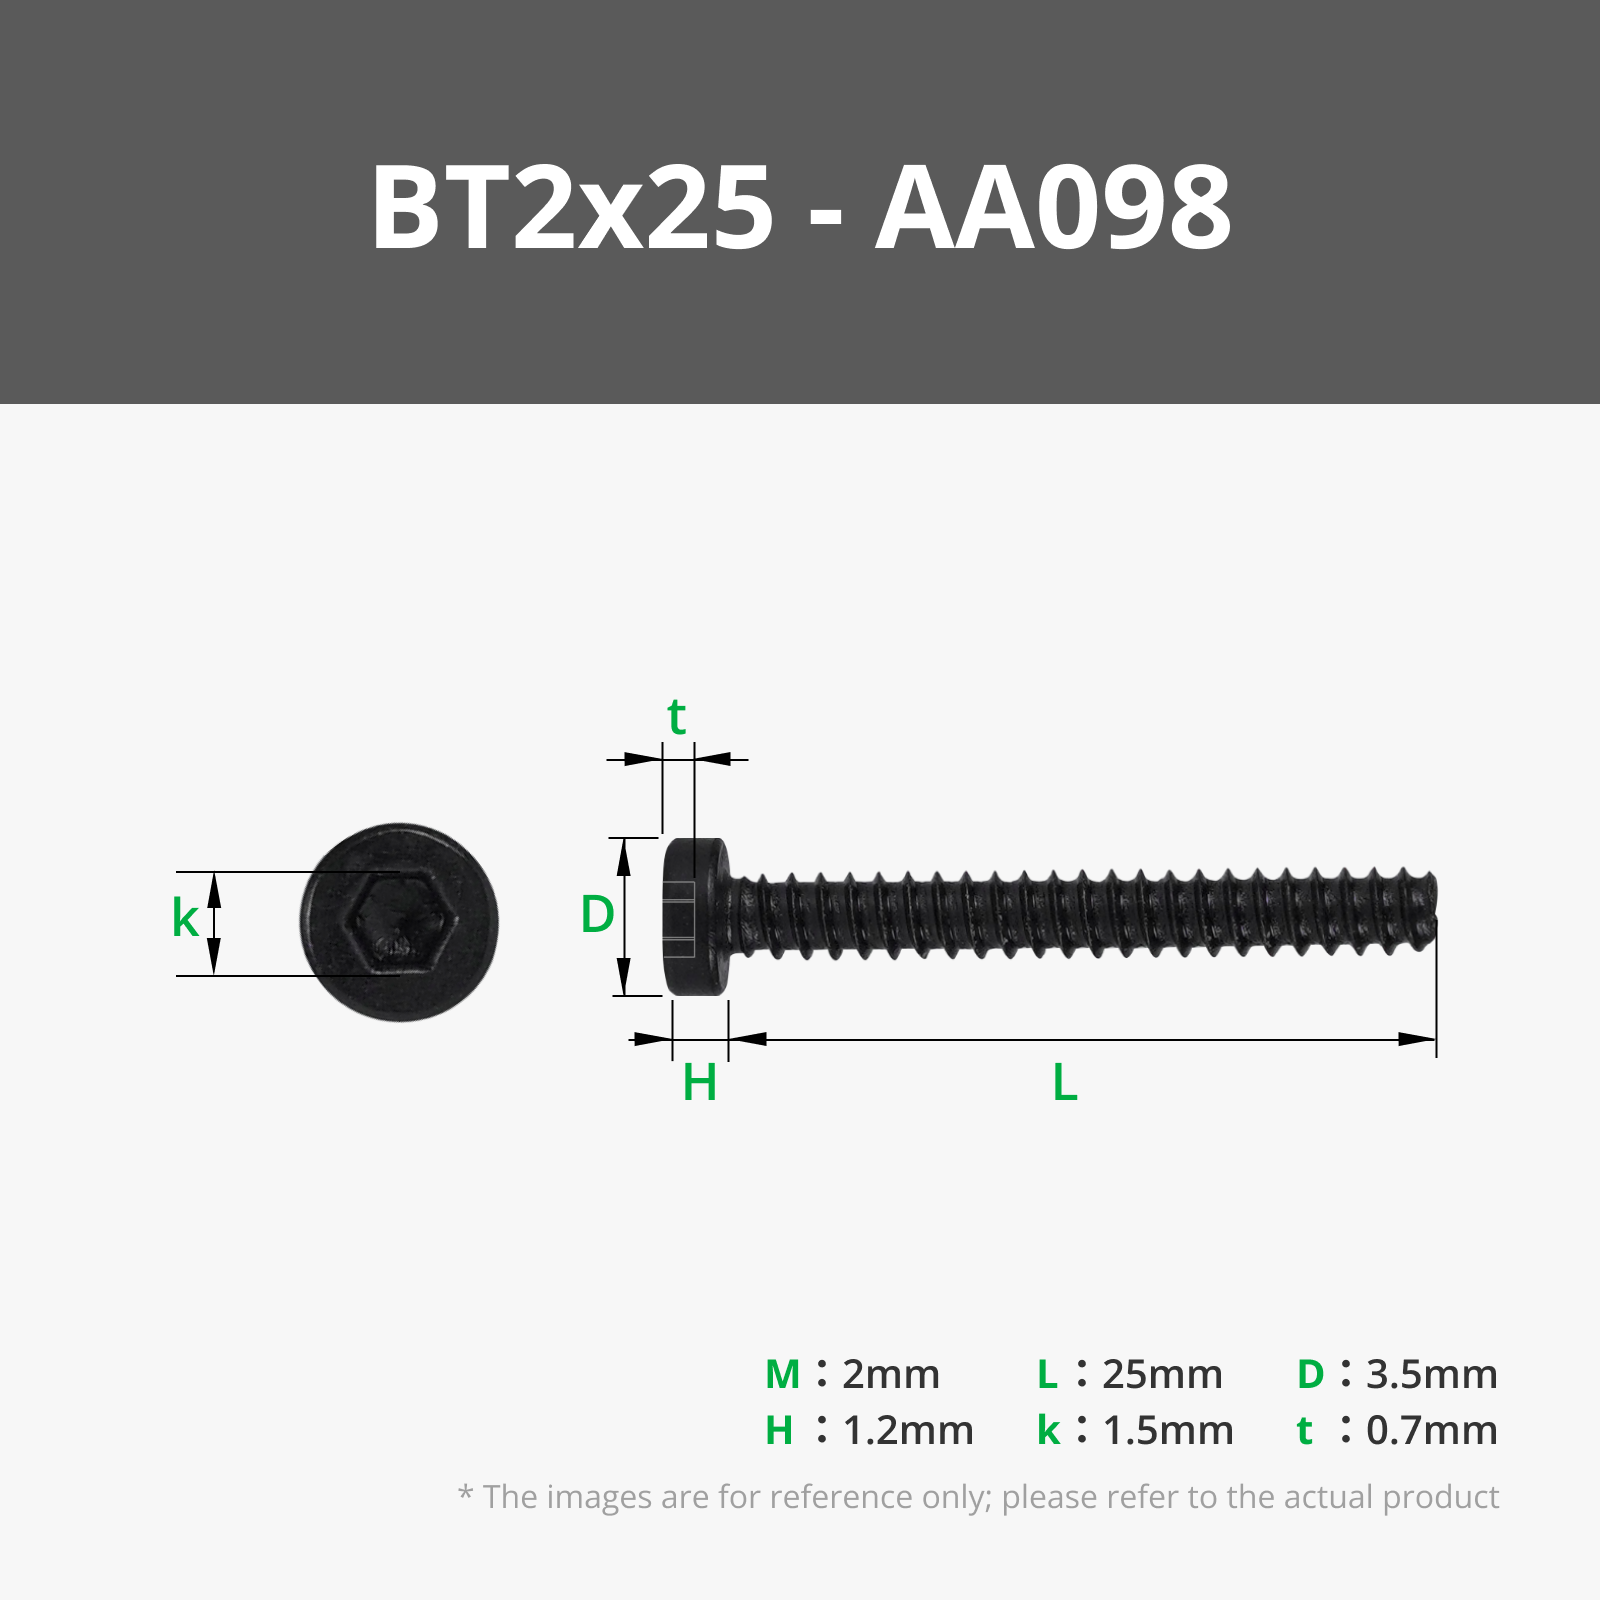
| BT2x25mm | 4 | 4 | |||||||||
| BT2.6x8mm | 18 | 15 | 3 | ||||||||
| BT3x5mm | 10 | 10 | |||||||||
| BT3x6mm | 10 | 10 | 4 | 4 | |||||||
| BT3x8mm | 18 | 29 | 9 | ||||||||
| BT3x10mm | 38 | 4 | 25 | 2 | 3 | ||||||
| BT3x16mm | 38 | 21 | 6 | ||||||||
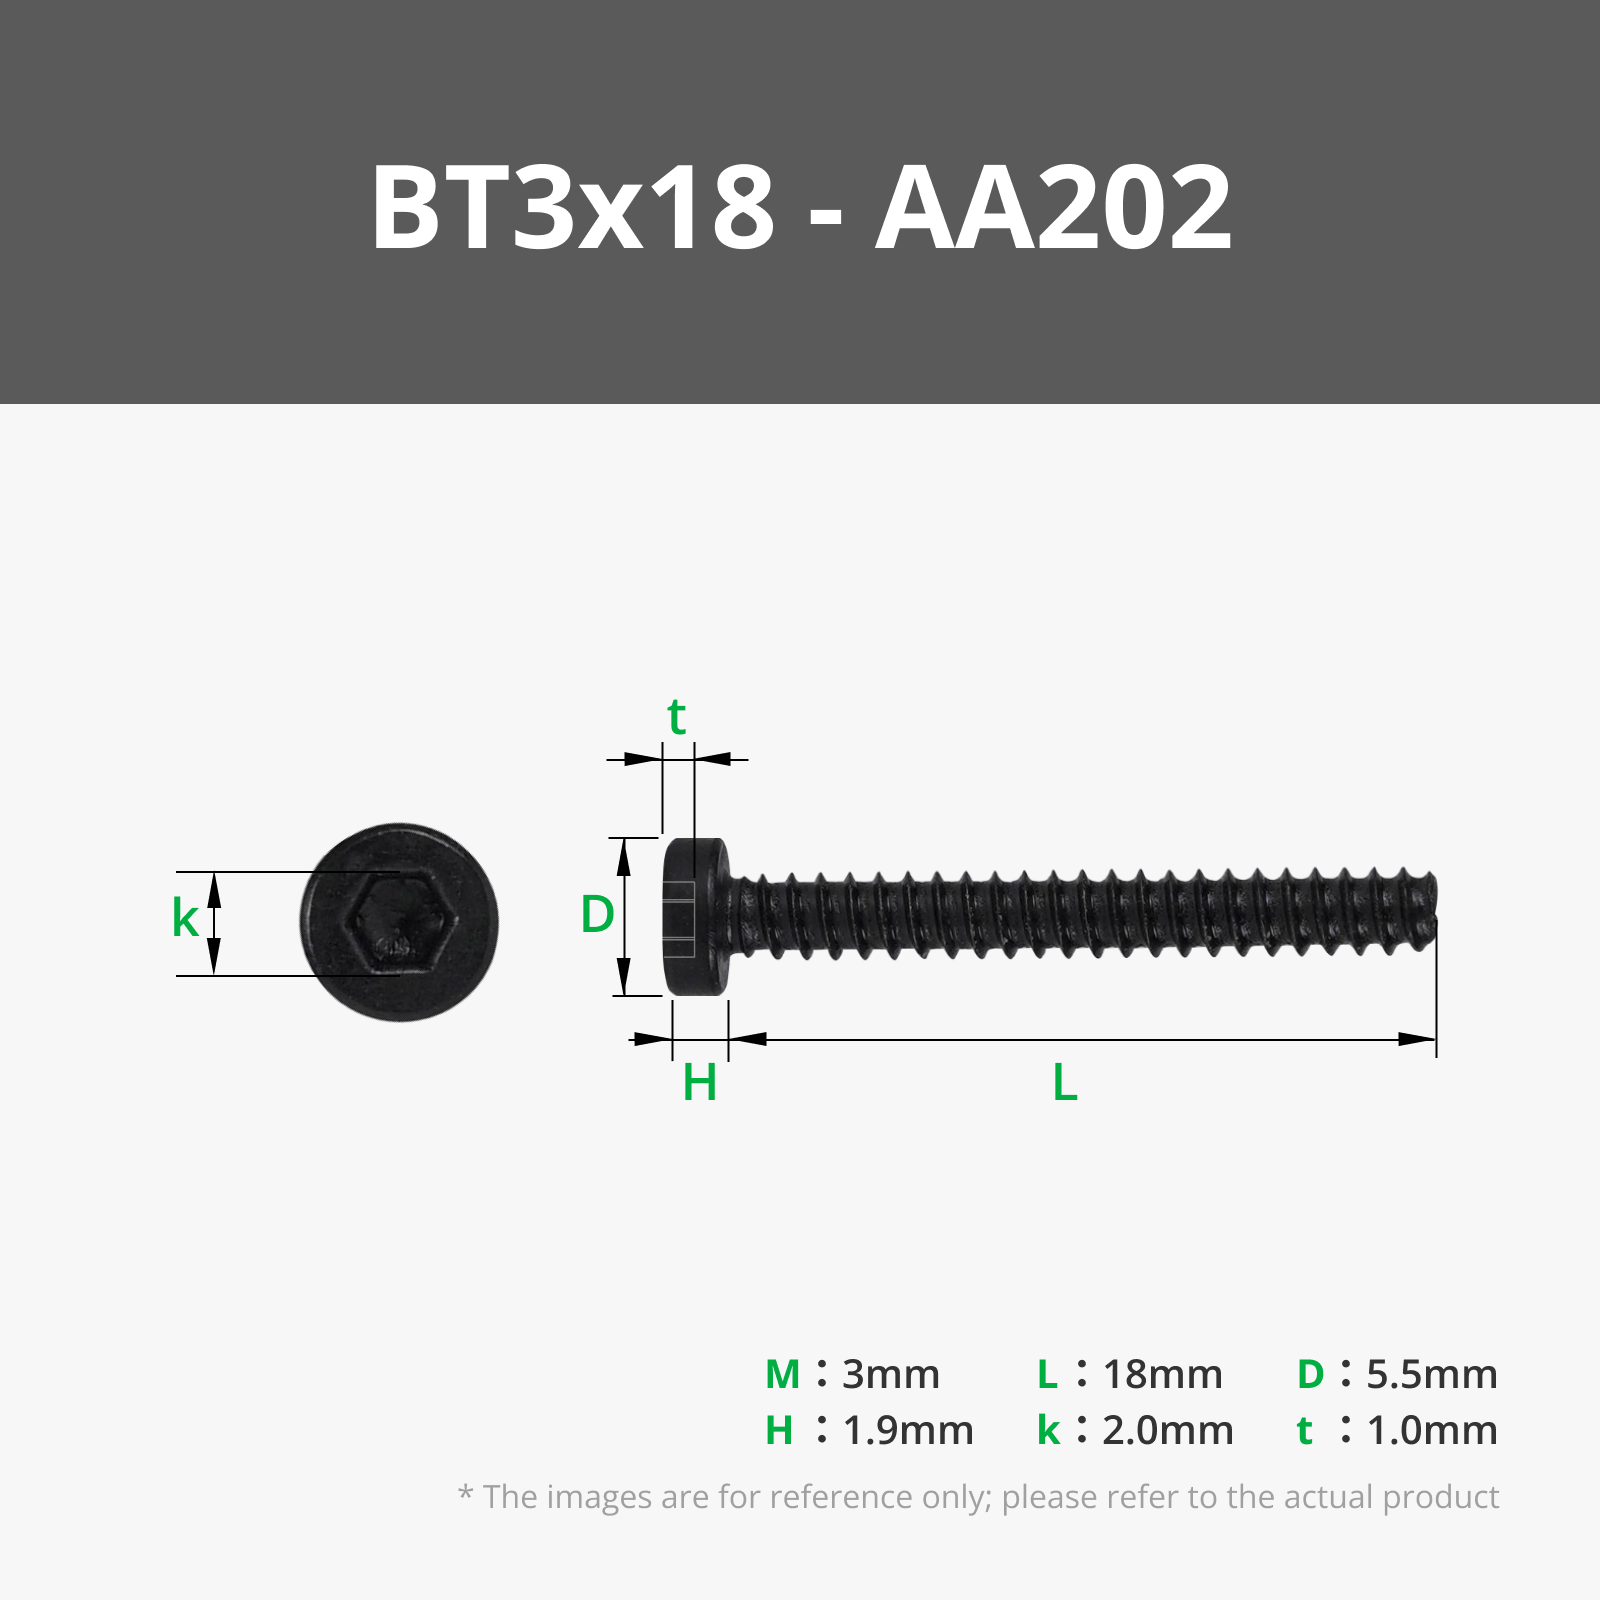
| BT3x18mm | 29 | 17 | |||||||||
| BT3x20mm | 18 | 12 | |||||||||
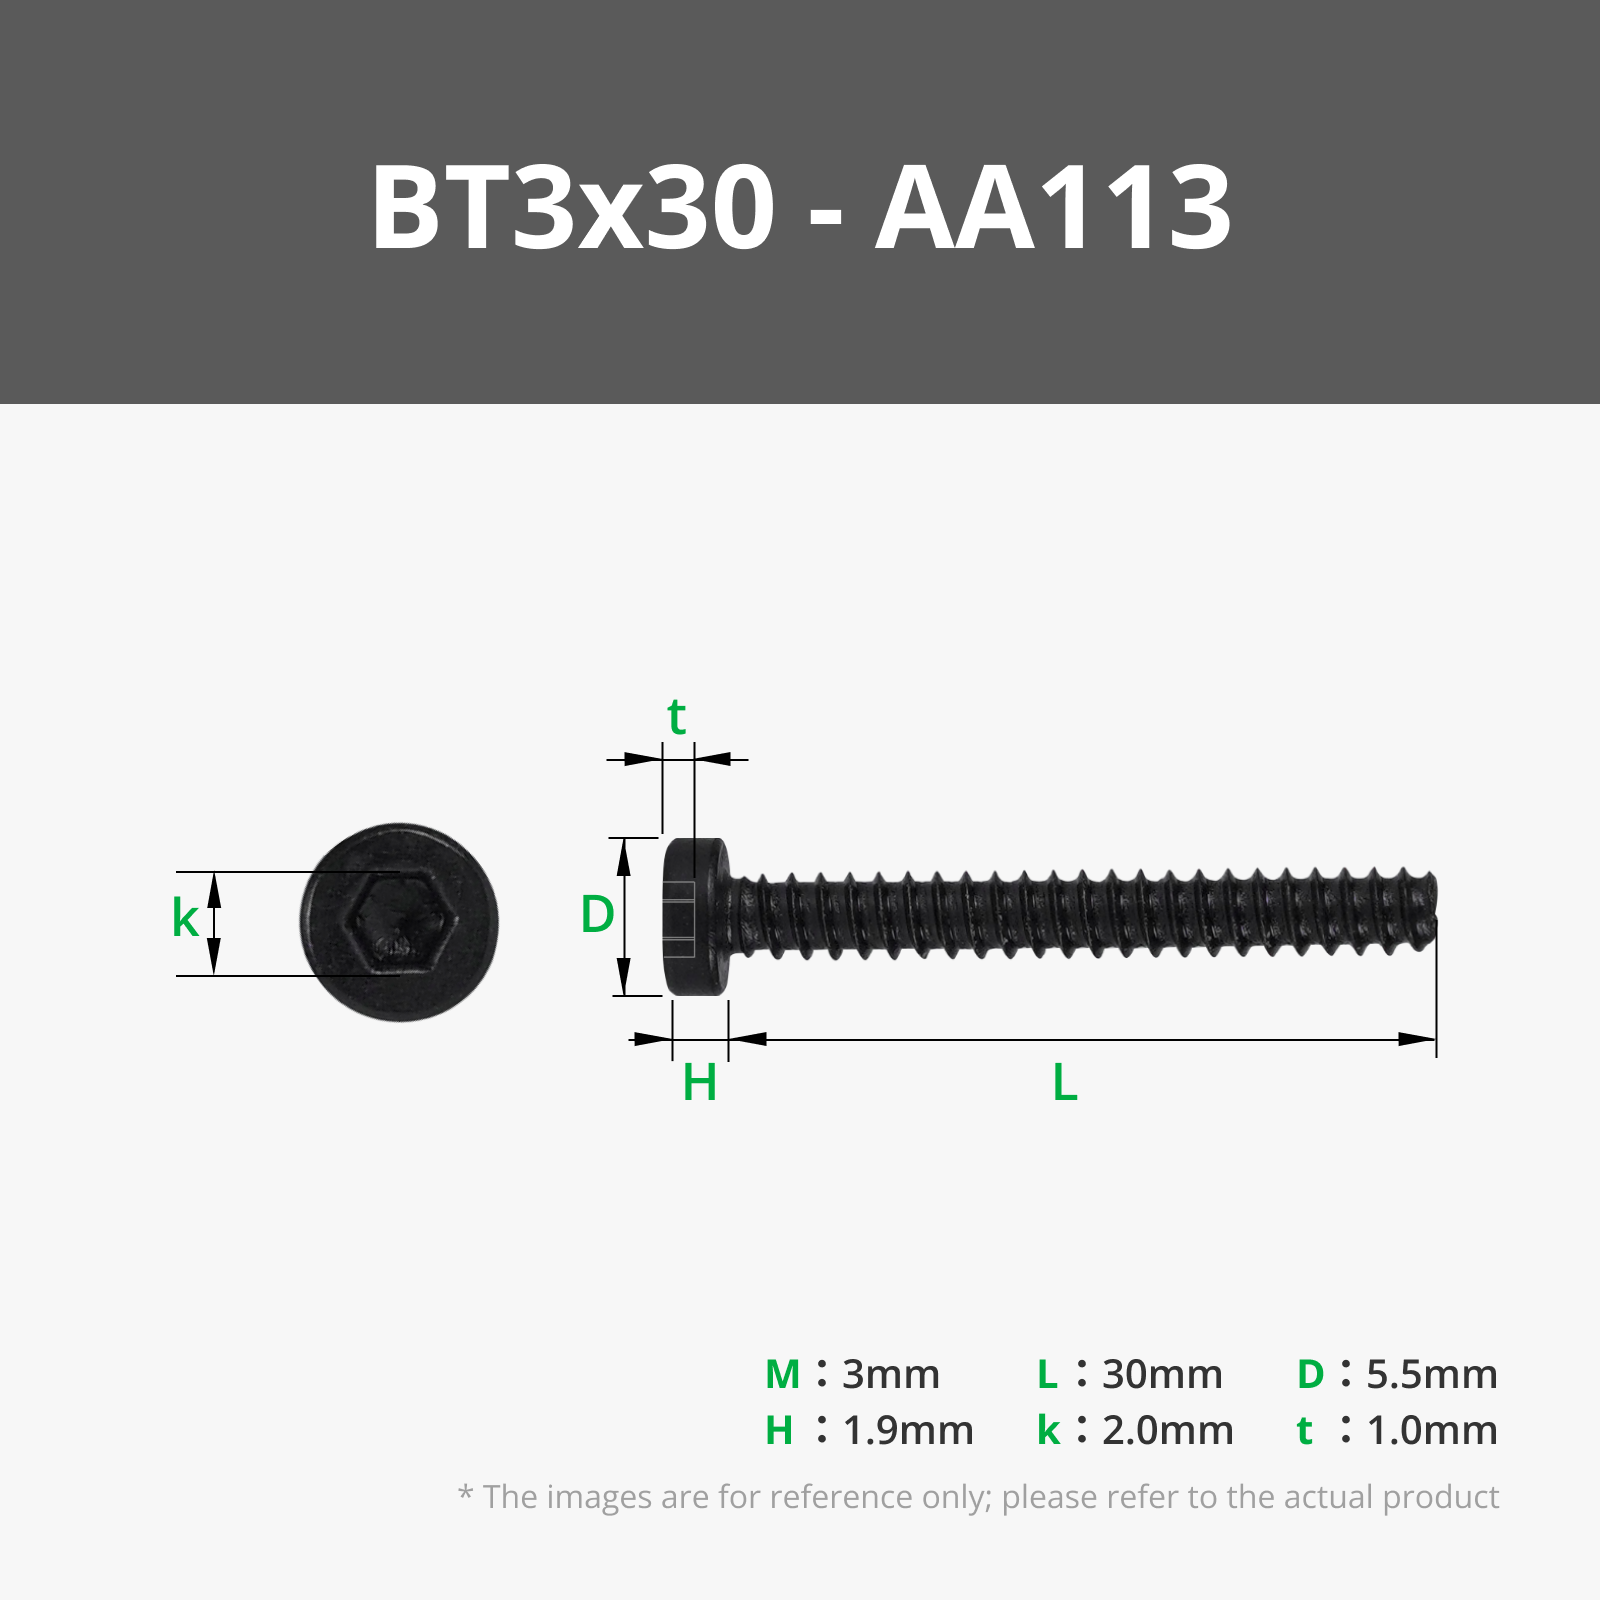
| BT3x30mm | 12 | 4 | |||||||||
| M3x8 Machine Screw | 22 | 2 | 2 | 6 | 6 | 6 | |||||
| M3x10 Machine Screw | 6 | 2 | |||||||||
| M3x12 Machine Screw | 4 | 2 | |||||||||
| M3x4x10 Shoulder Screws | 4 | 4 | |||||||||
| M3 Nuts | 4 | 4 | |||||||||
| MR128ZZ Bearings | 20 | 17 | 3 | ||||||||
| 6704ZZ Bearings | 2 | 2 | |||||||||
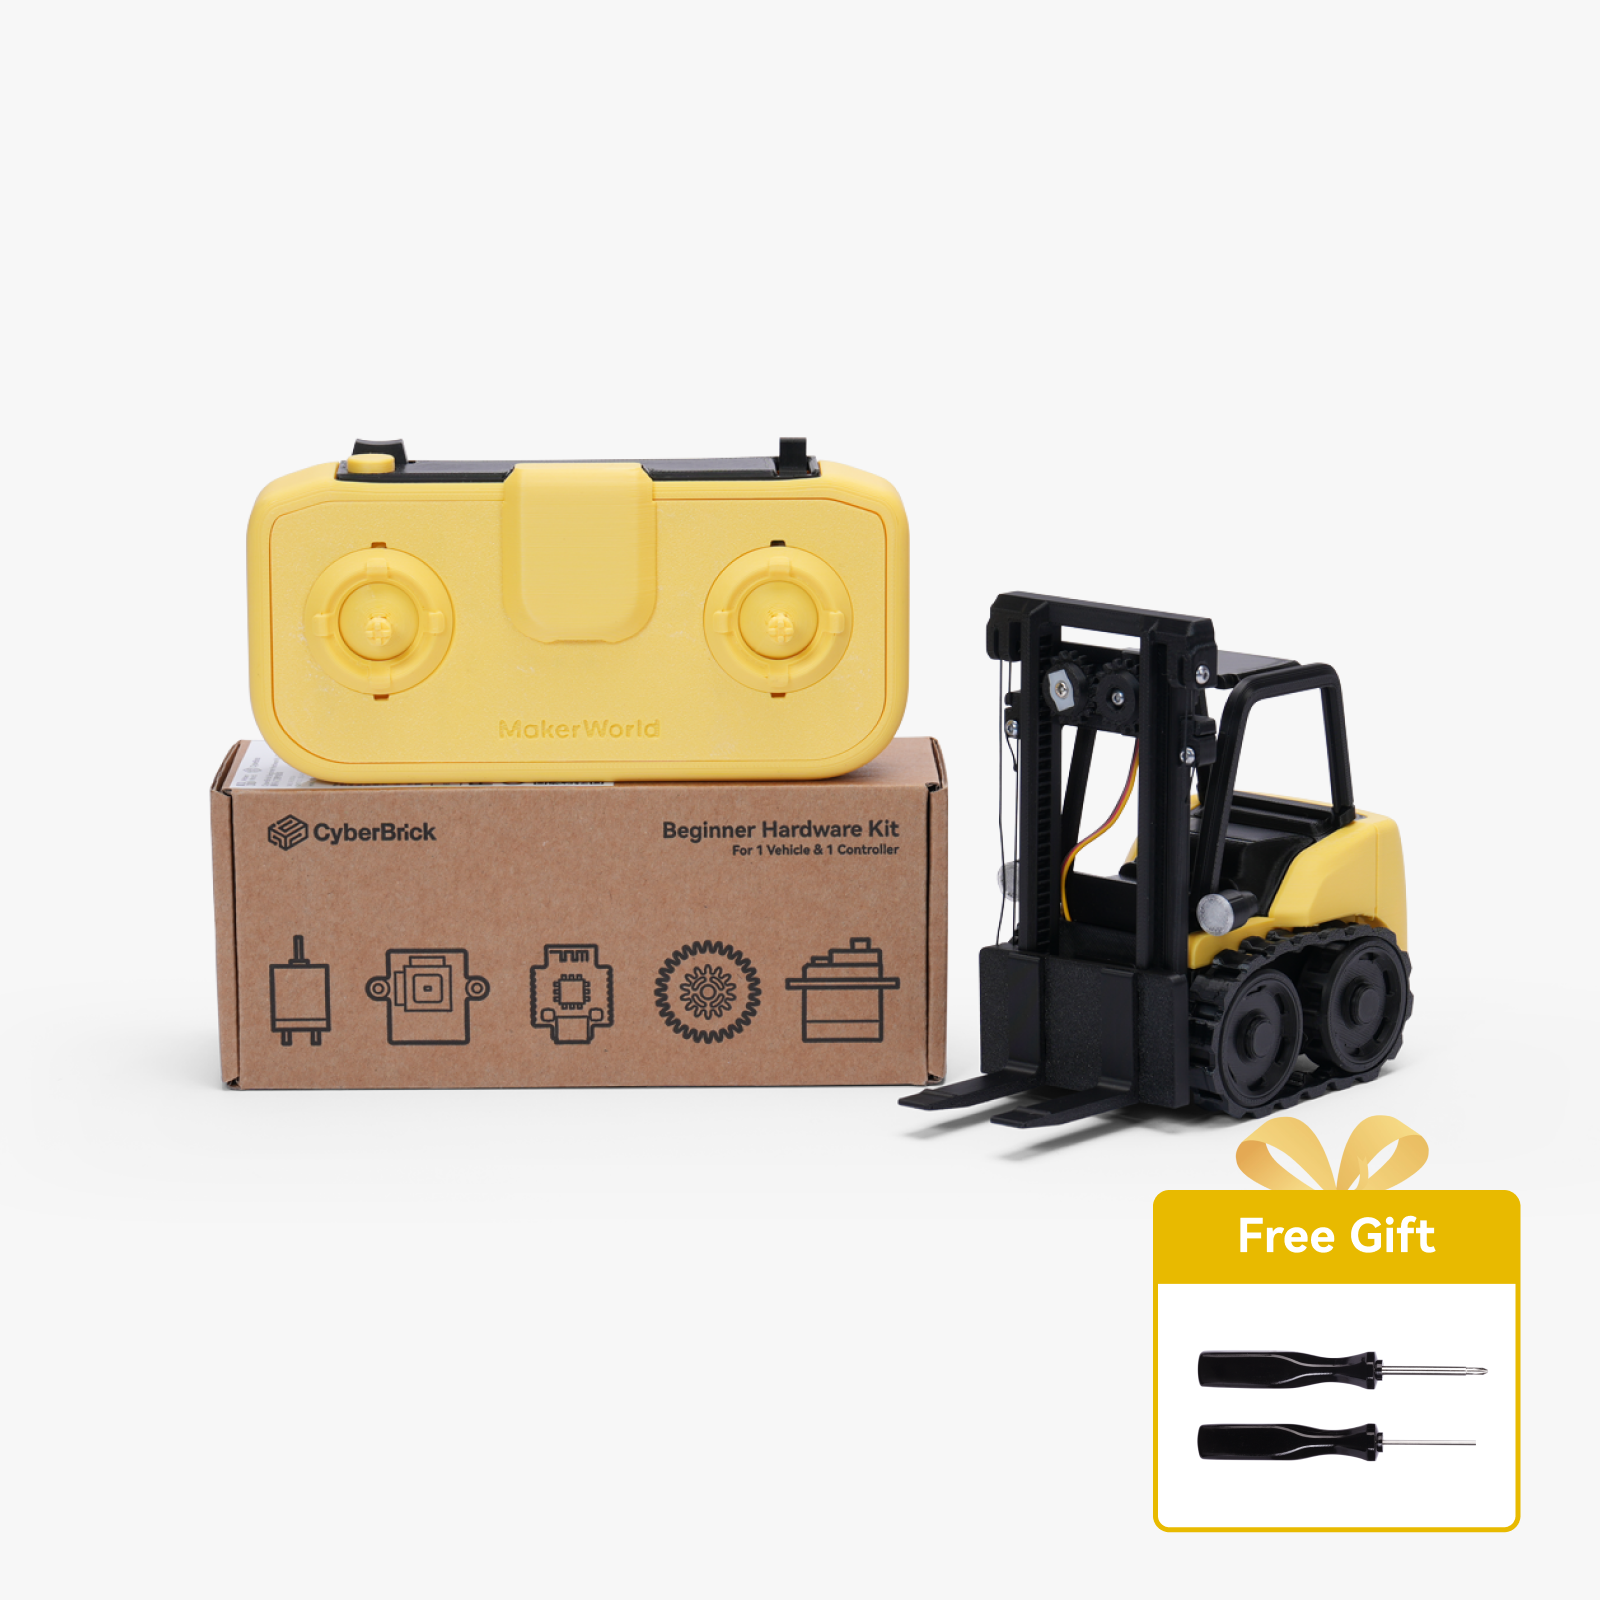
| Cyberbrick Transmitter | 1 | 1 | |||||||||
| Cyberbrick Reciever | 1 | 1 | |||||||||
| 1 Axis Joystick | 4 | 4 | |||||||||
| 2 Axis Joystick | 1 | 1 | |||||||||
| Power Switch | 2 | 1 | 1 | ||||||||
| Battery | 2 | 1 | 1 | ||||||||
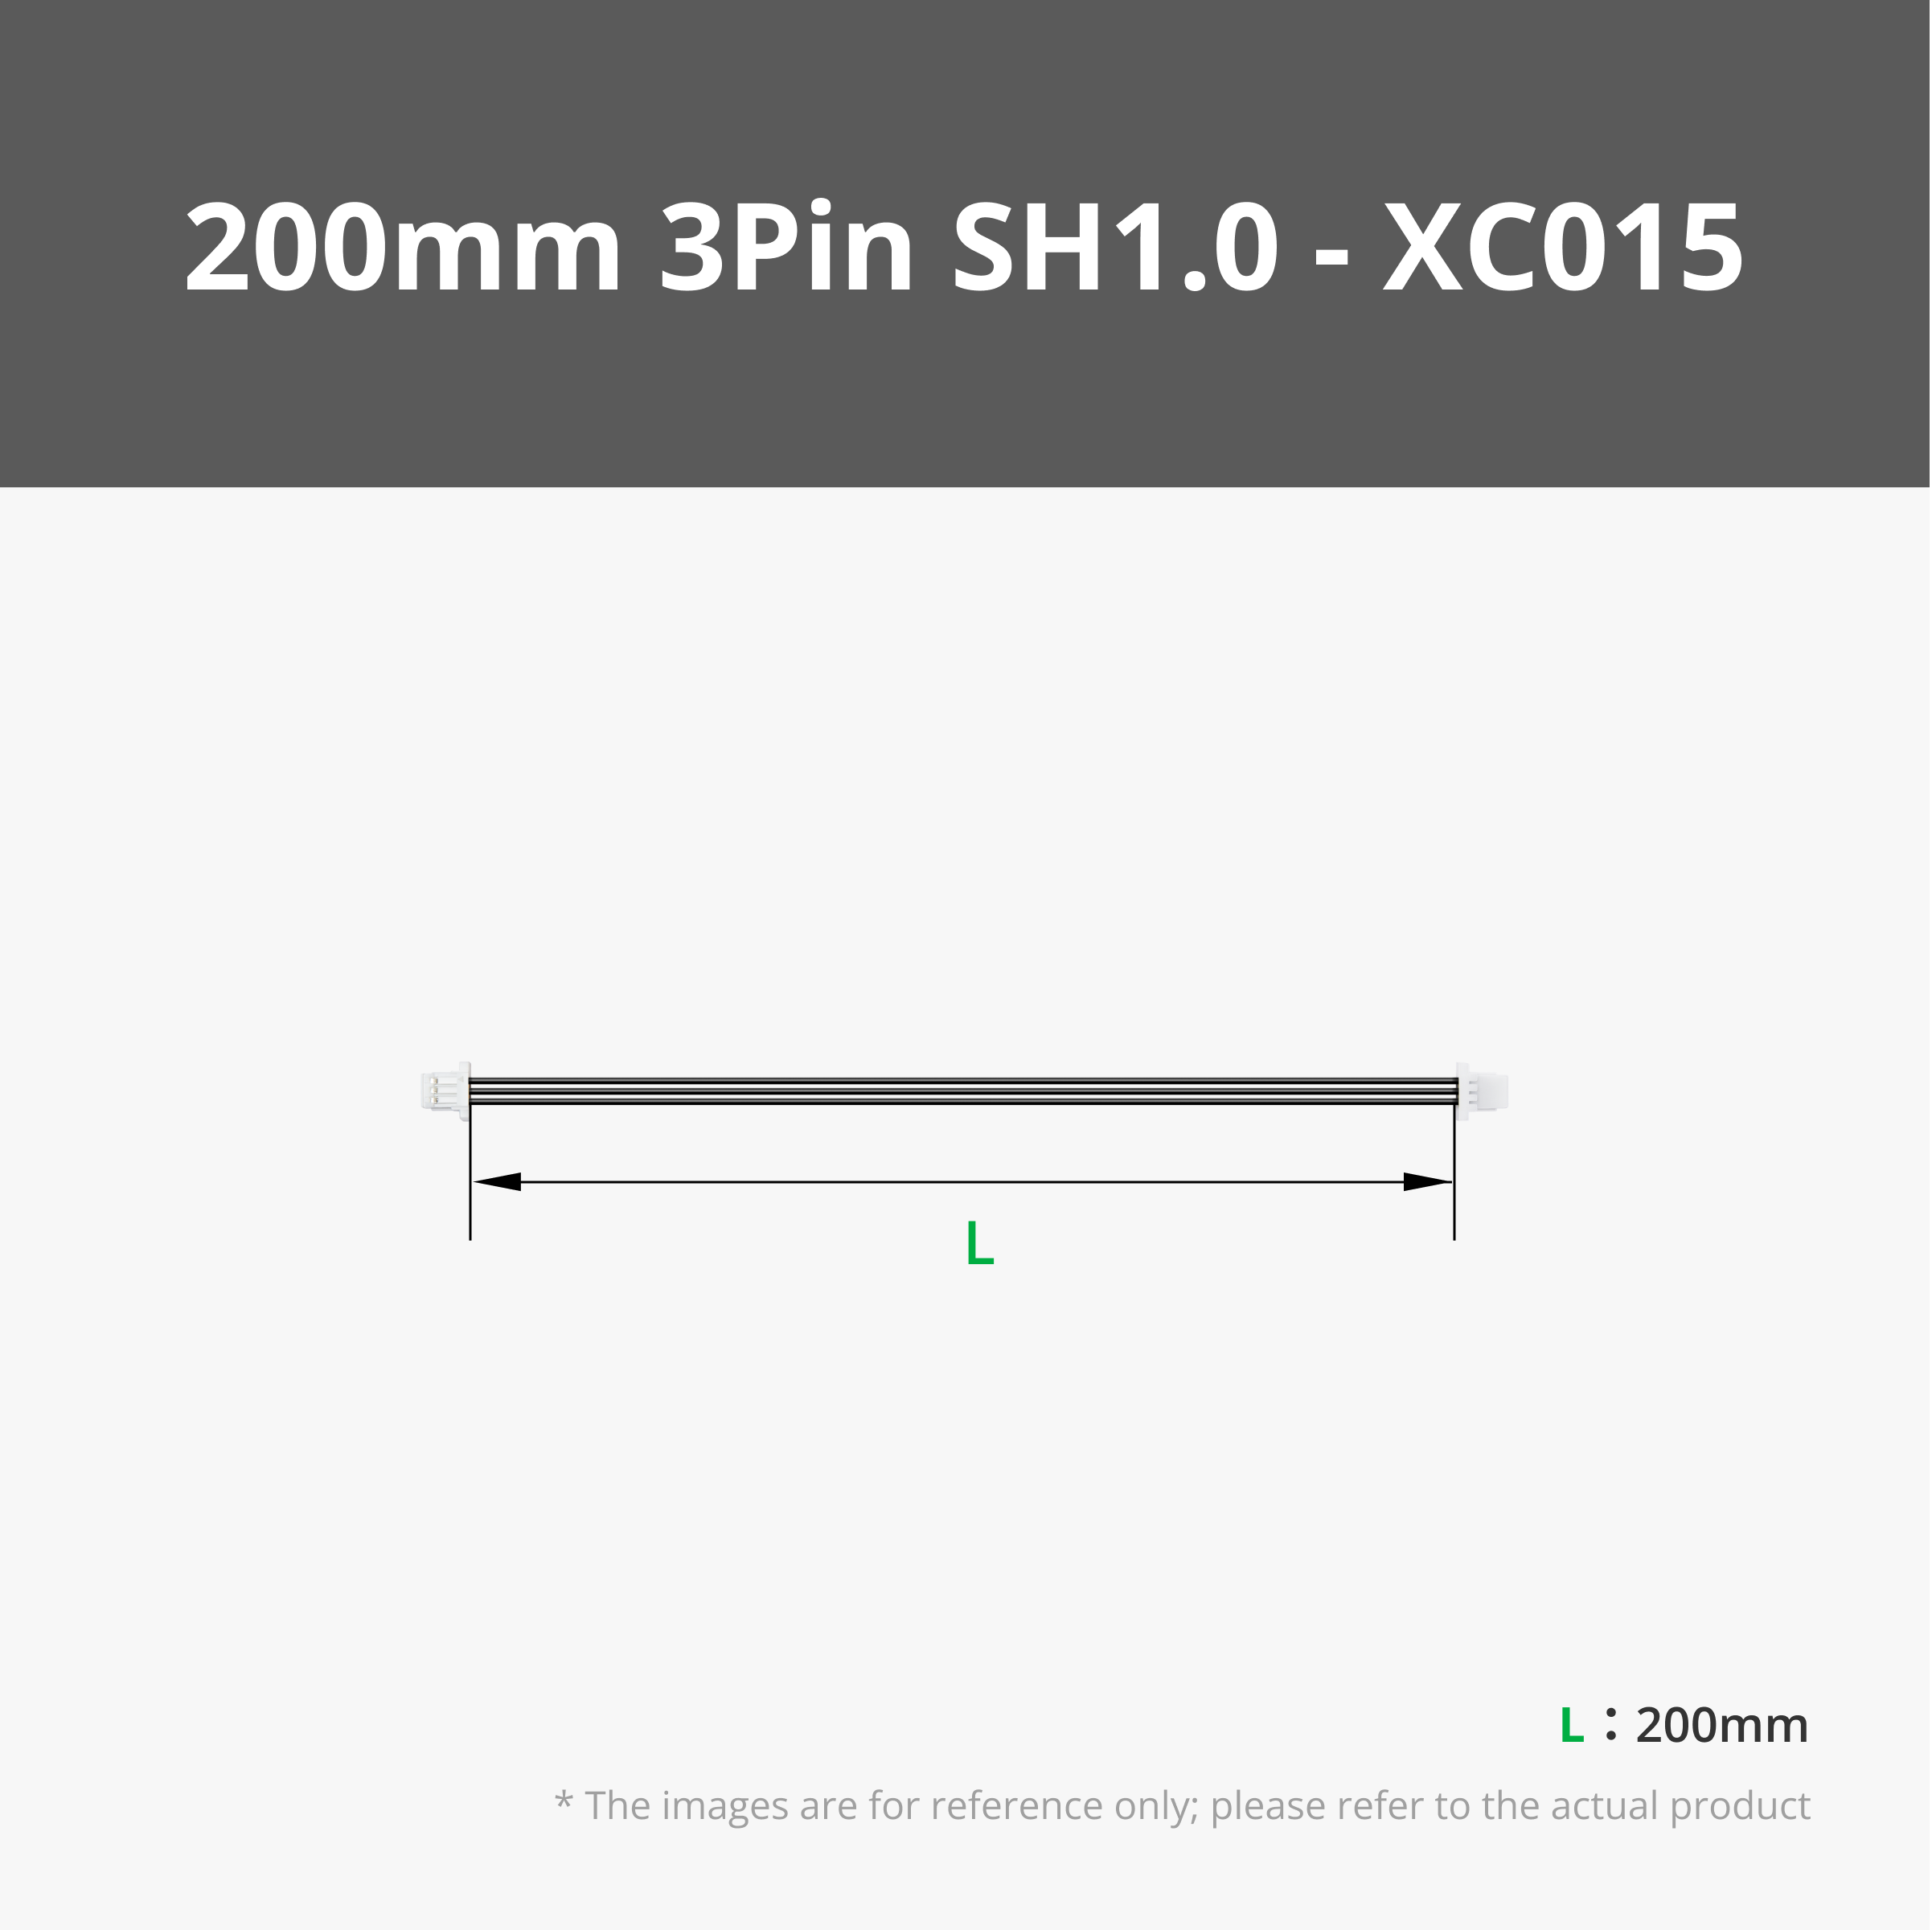
| 20cm wires 2wire | 2 | 2 | |||||||||
| 20cm wires 3wire | 2 | 2 | |||||||||
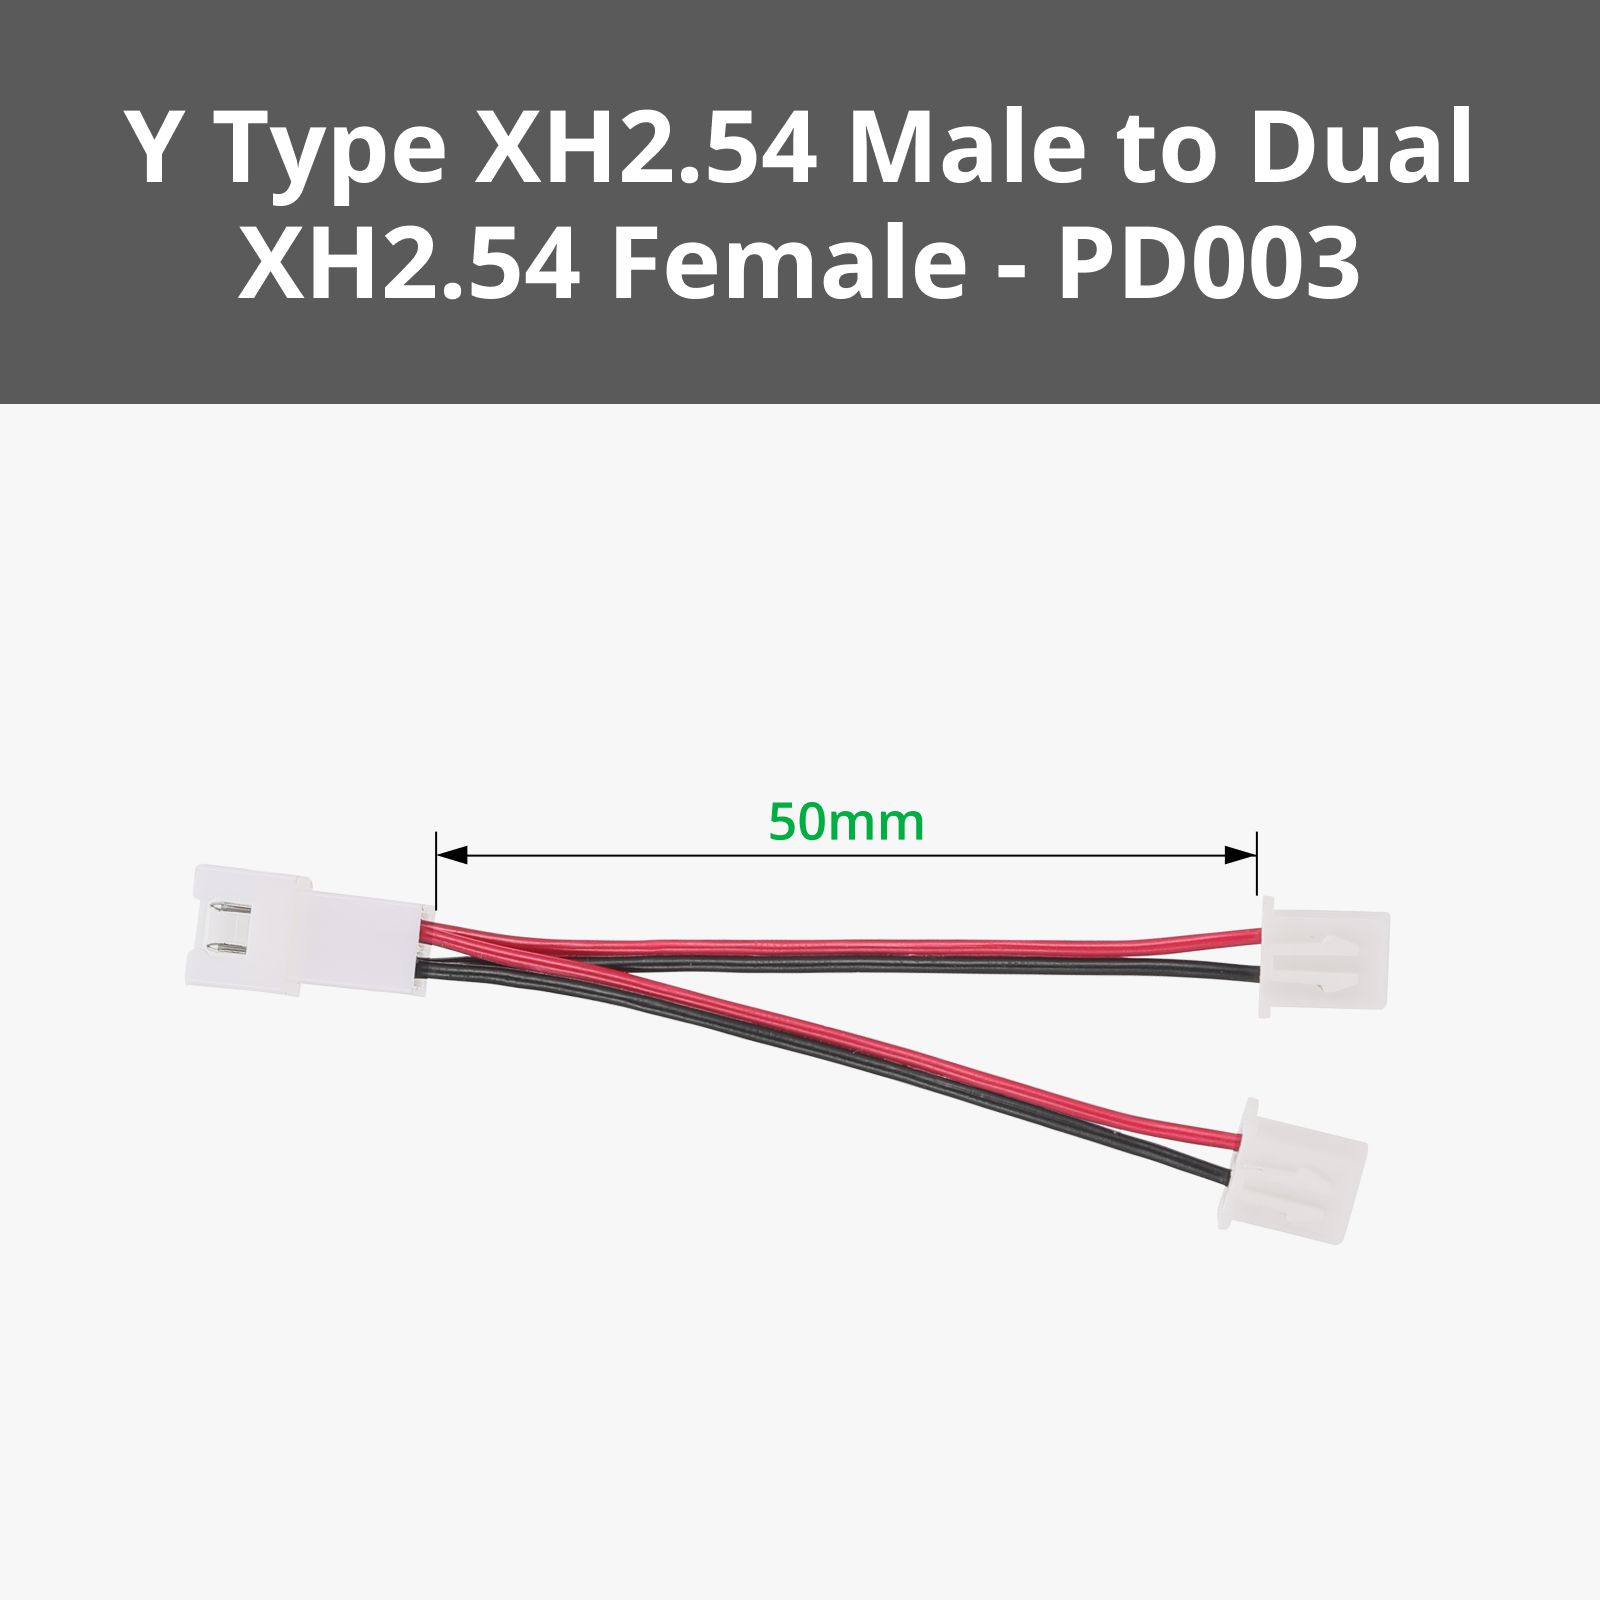
| Y Type XH2.54 to Dual XH2.54 | 2 | 1 | 1 | ||||||||
| 2 Wire Slip Ring | 1 | 1 | |||||||||
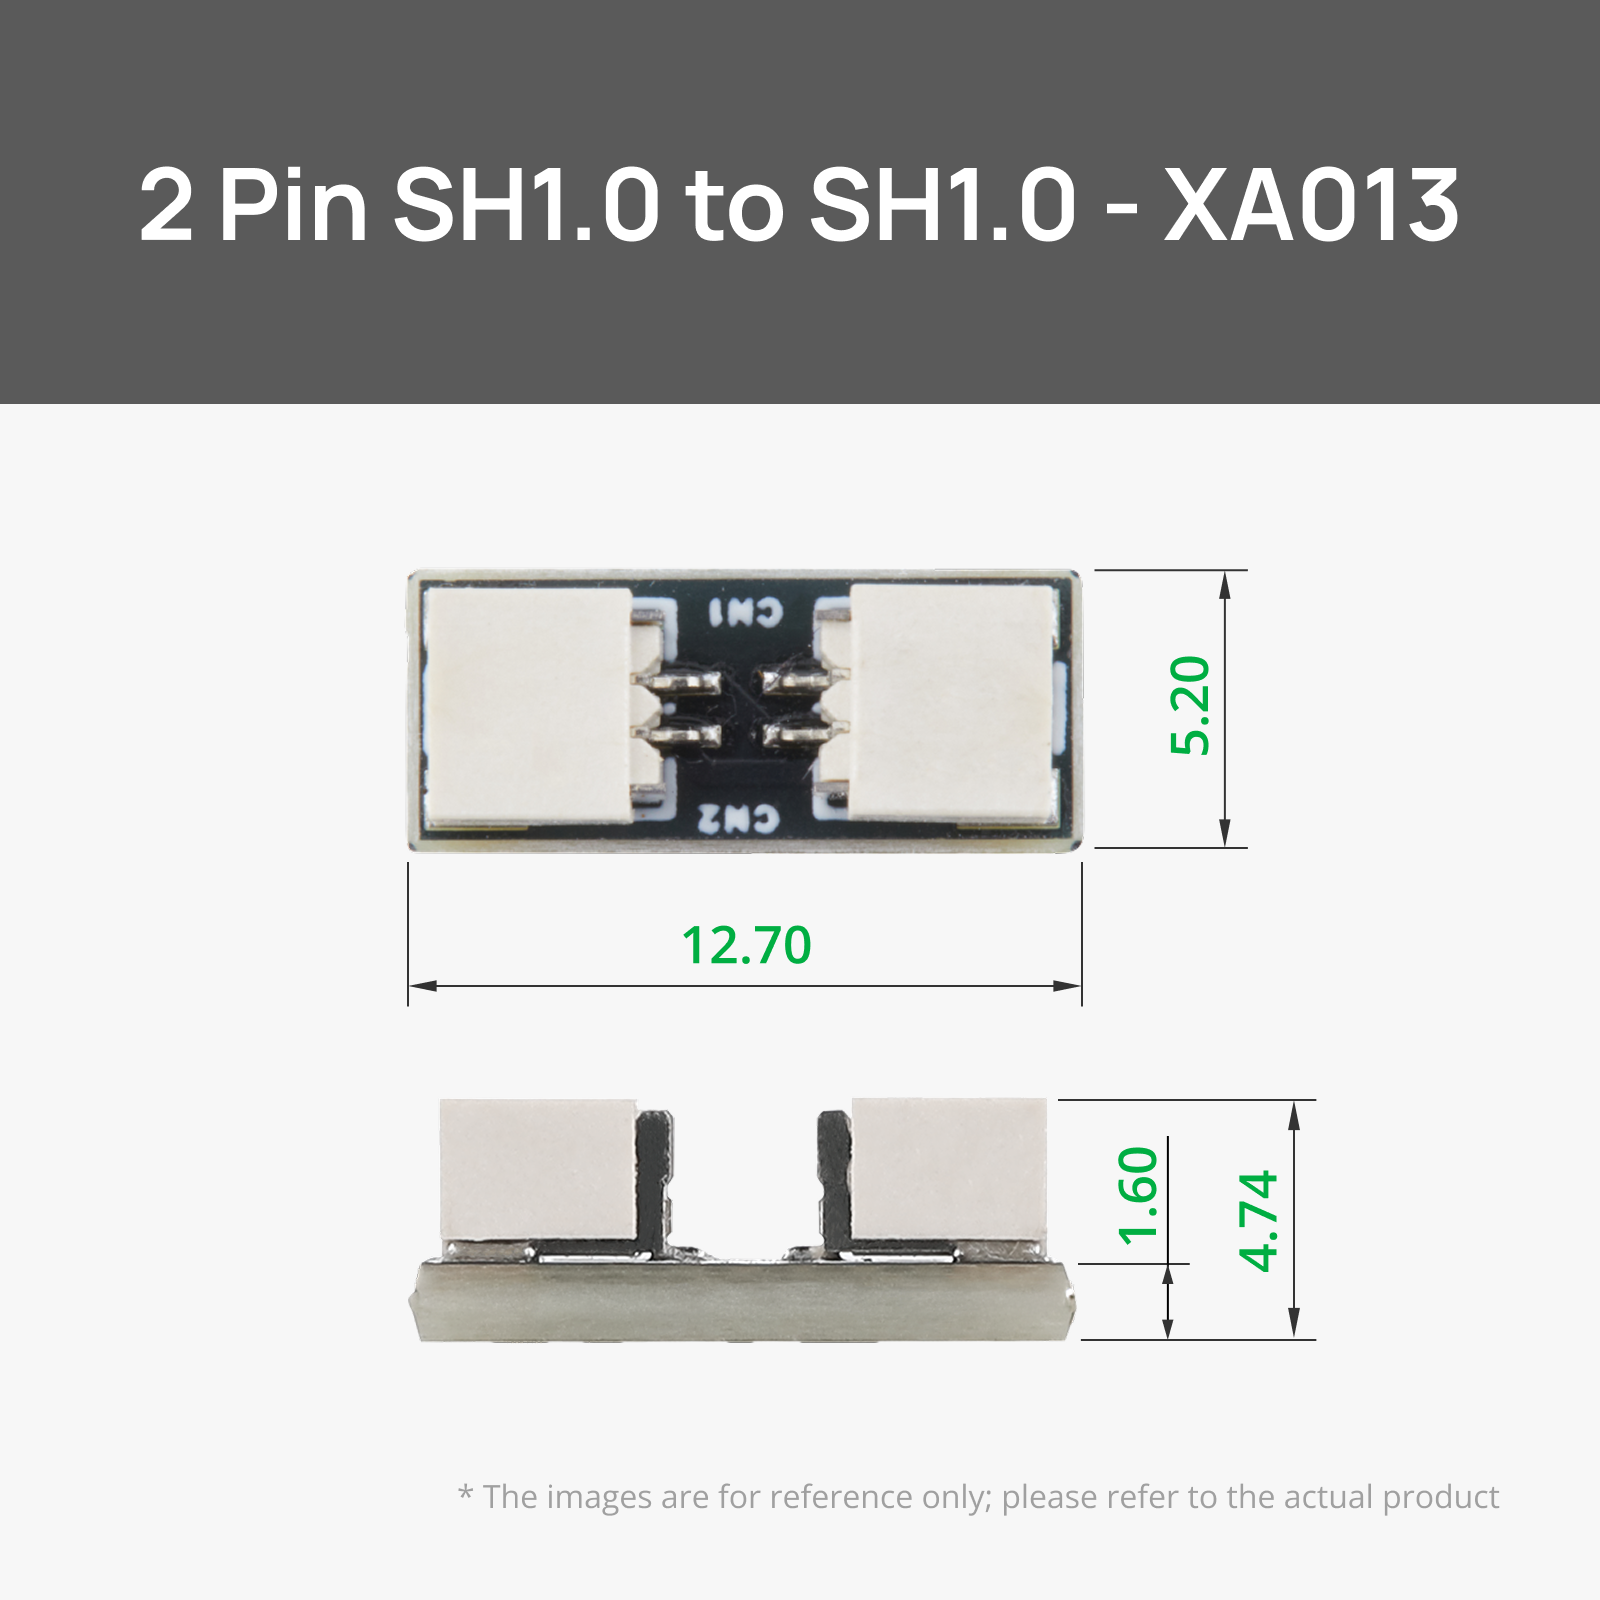
| SH1.0 to SH1.0 Board | 4 | 4 | |||||||||
| 030 DC Motor | 2 | 2 | |||||||||
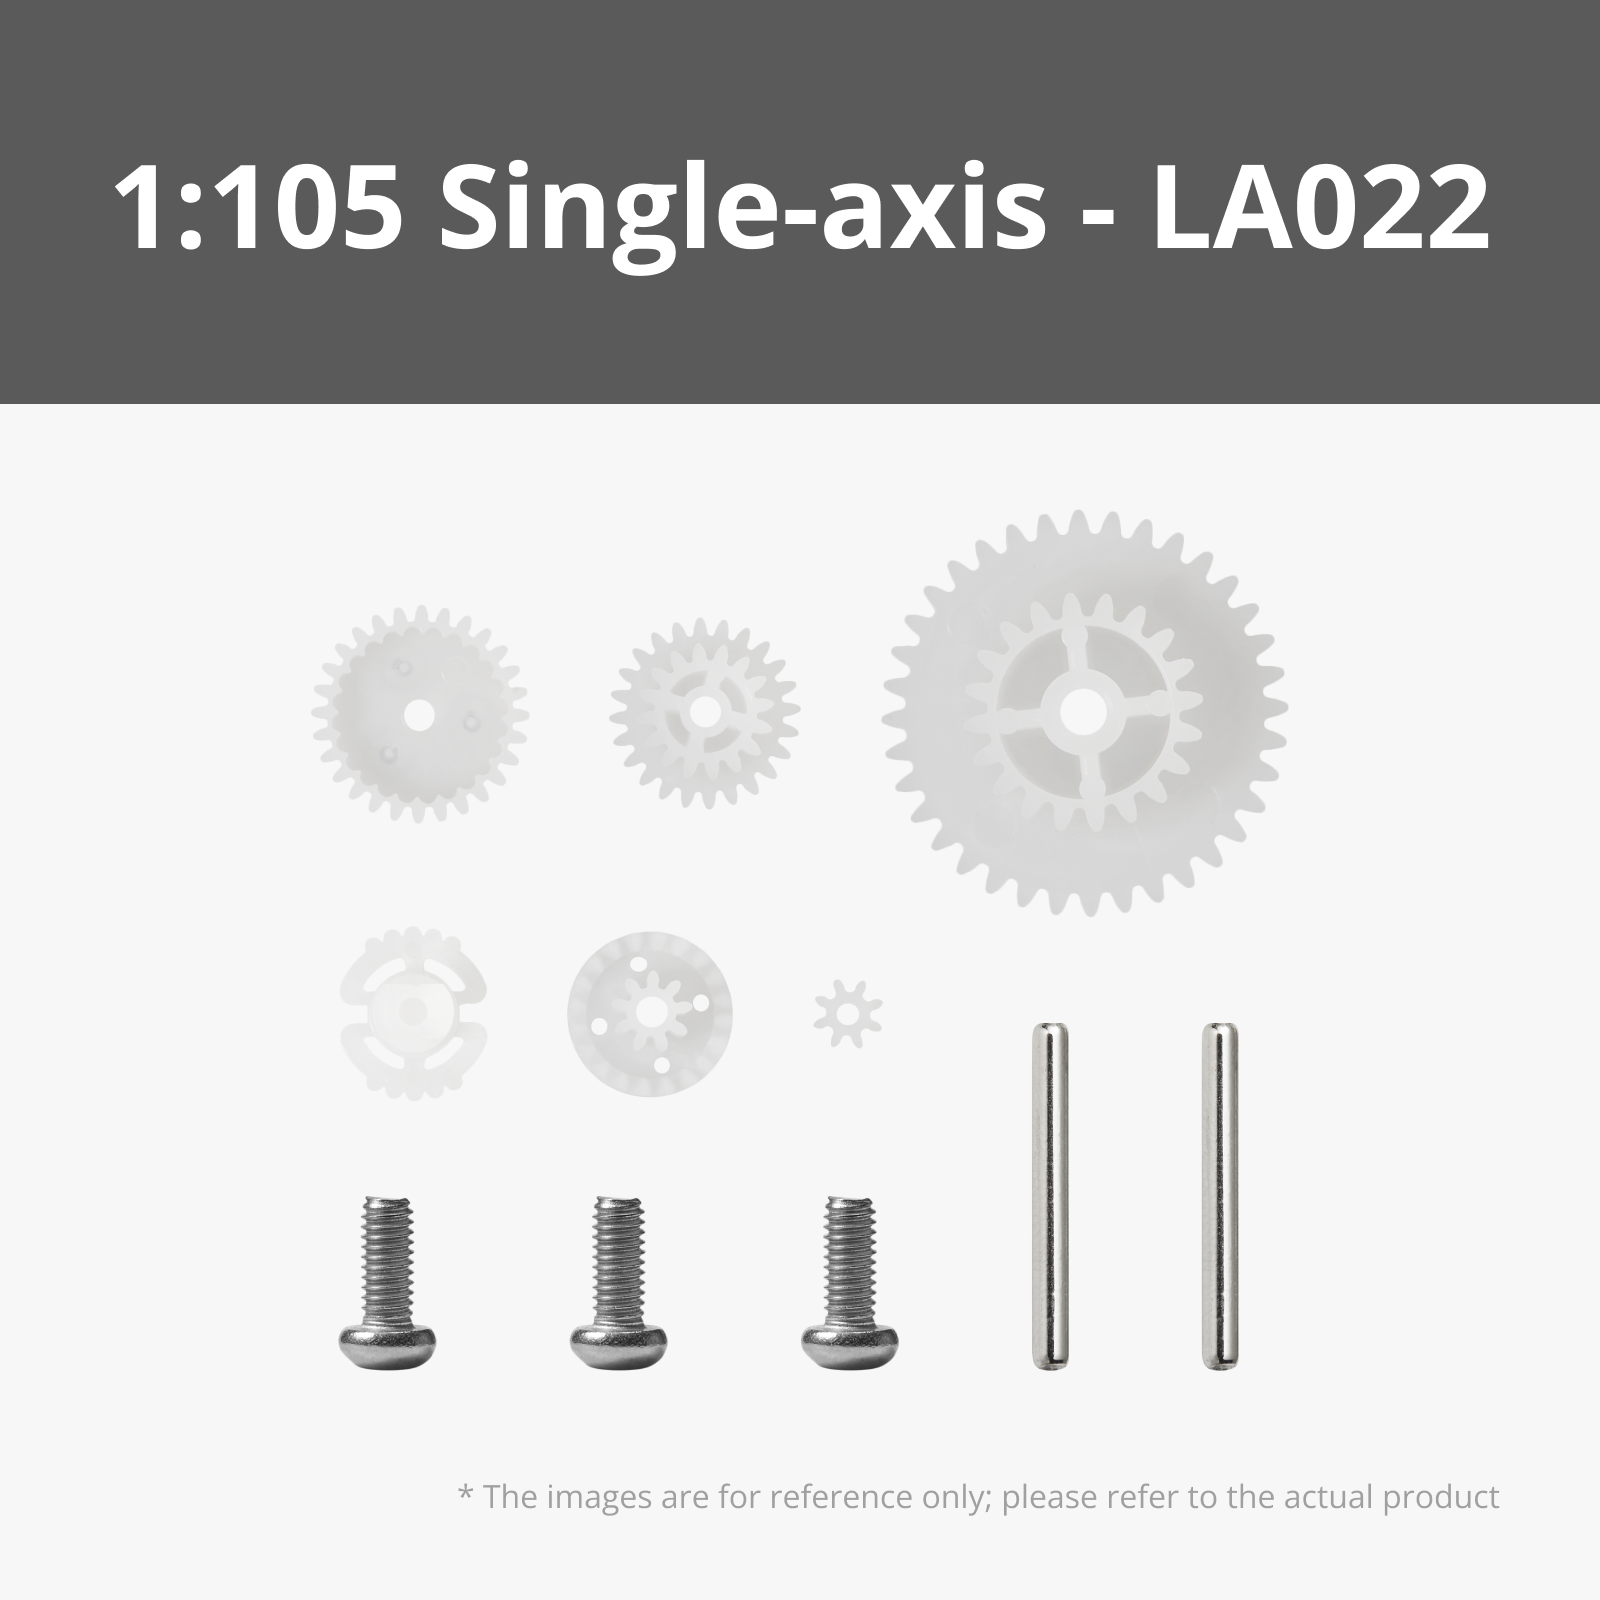
| 1:105 Gear Ratio | 2 | 2 | |||||||||
| 360 Servo Motors | 4 | 4 | |||||||||
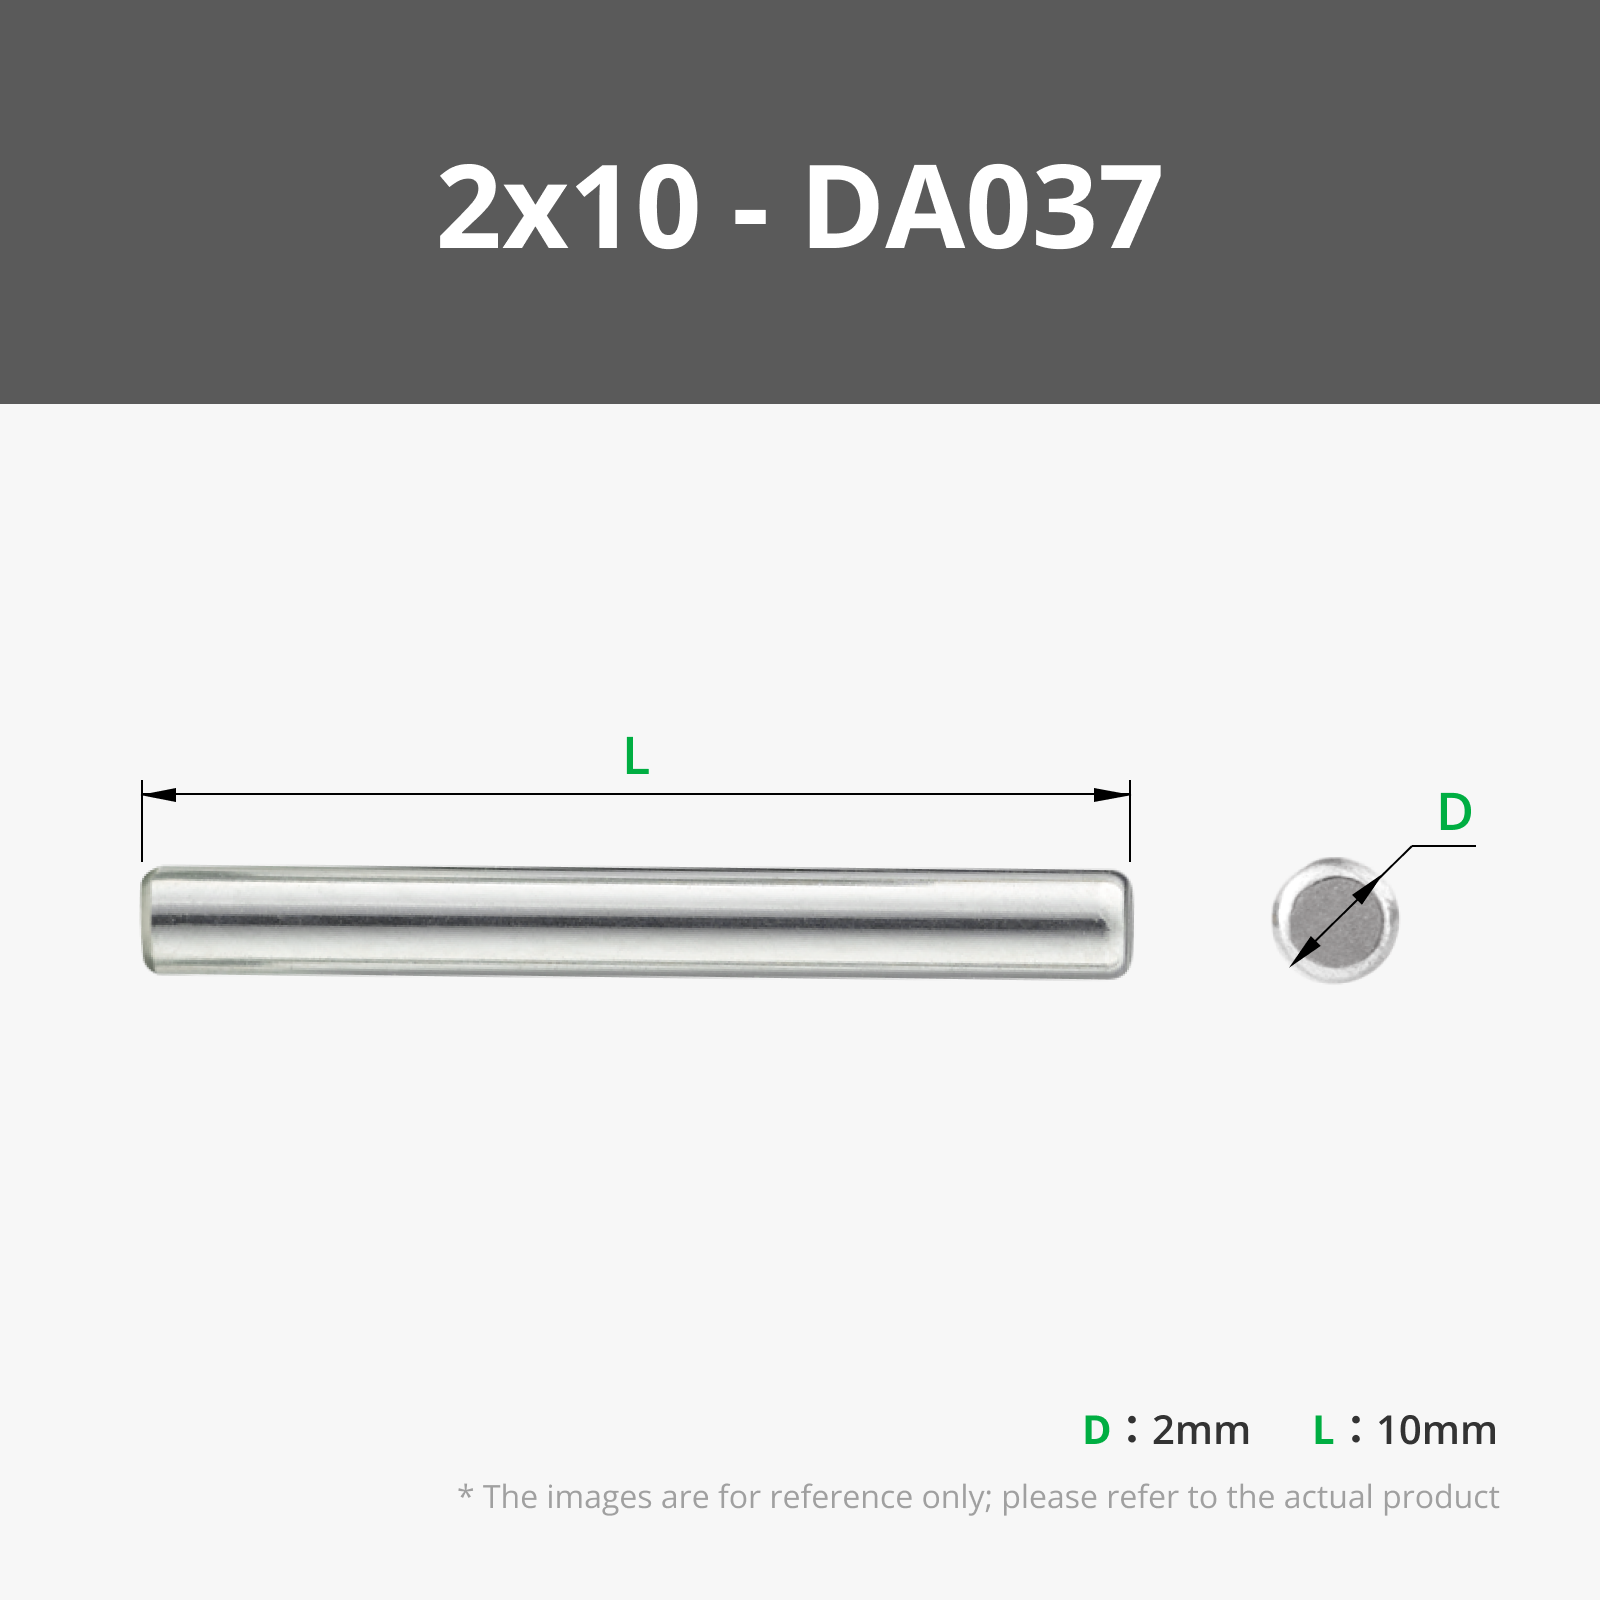
| 2x10mm Dowel | 6 | 2 | 4 | ||||||||
| 2x16mm Dowel | 11 | 8 | 3 | ||||||||
| 2x20mm Dowel | 31 | 30 | 1 | ||||||||
| 2x25mm Dowel | 4 | 2 | |||||||||
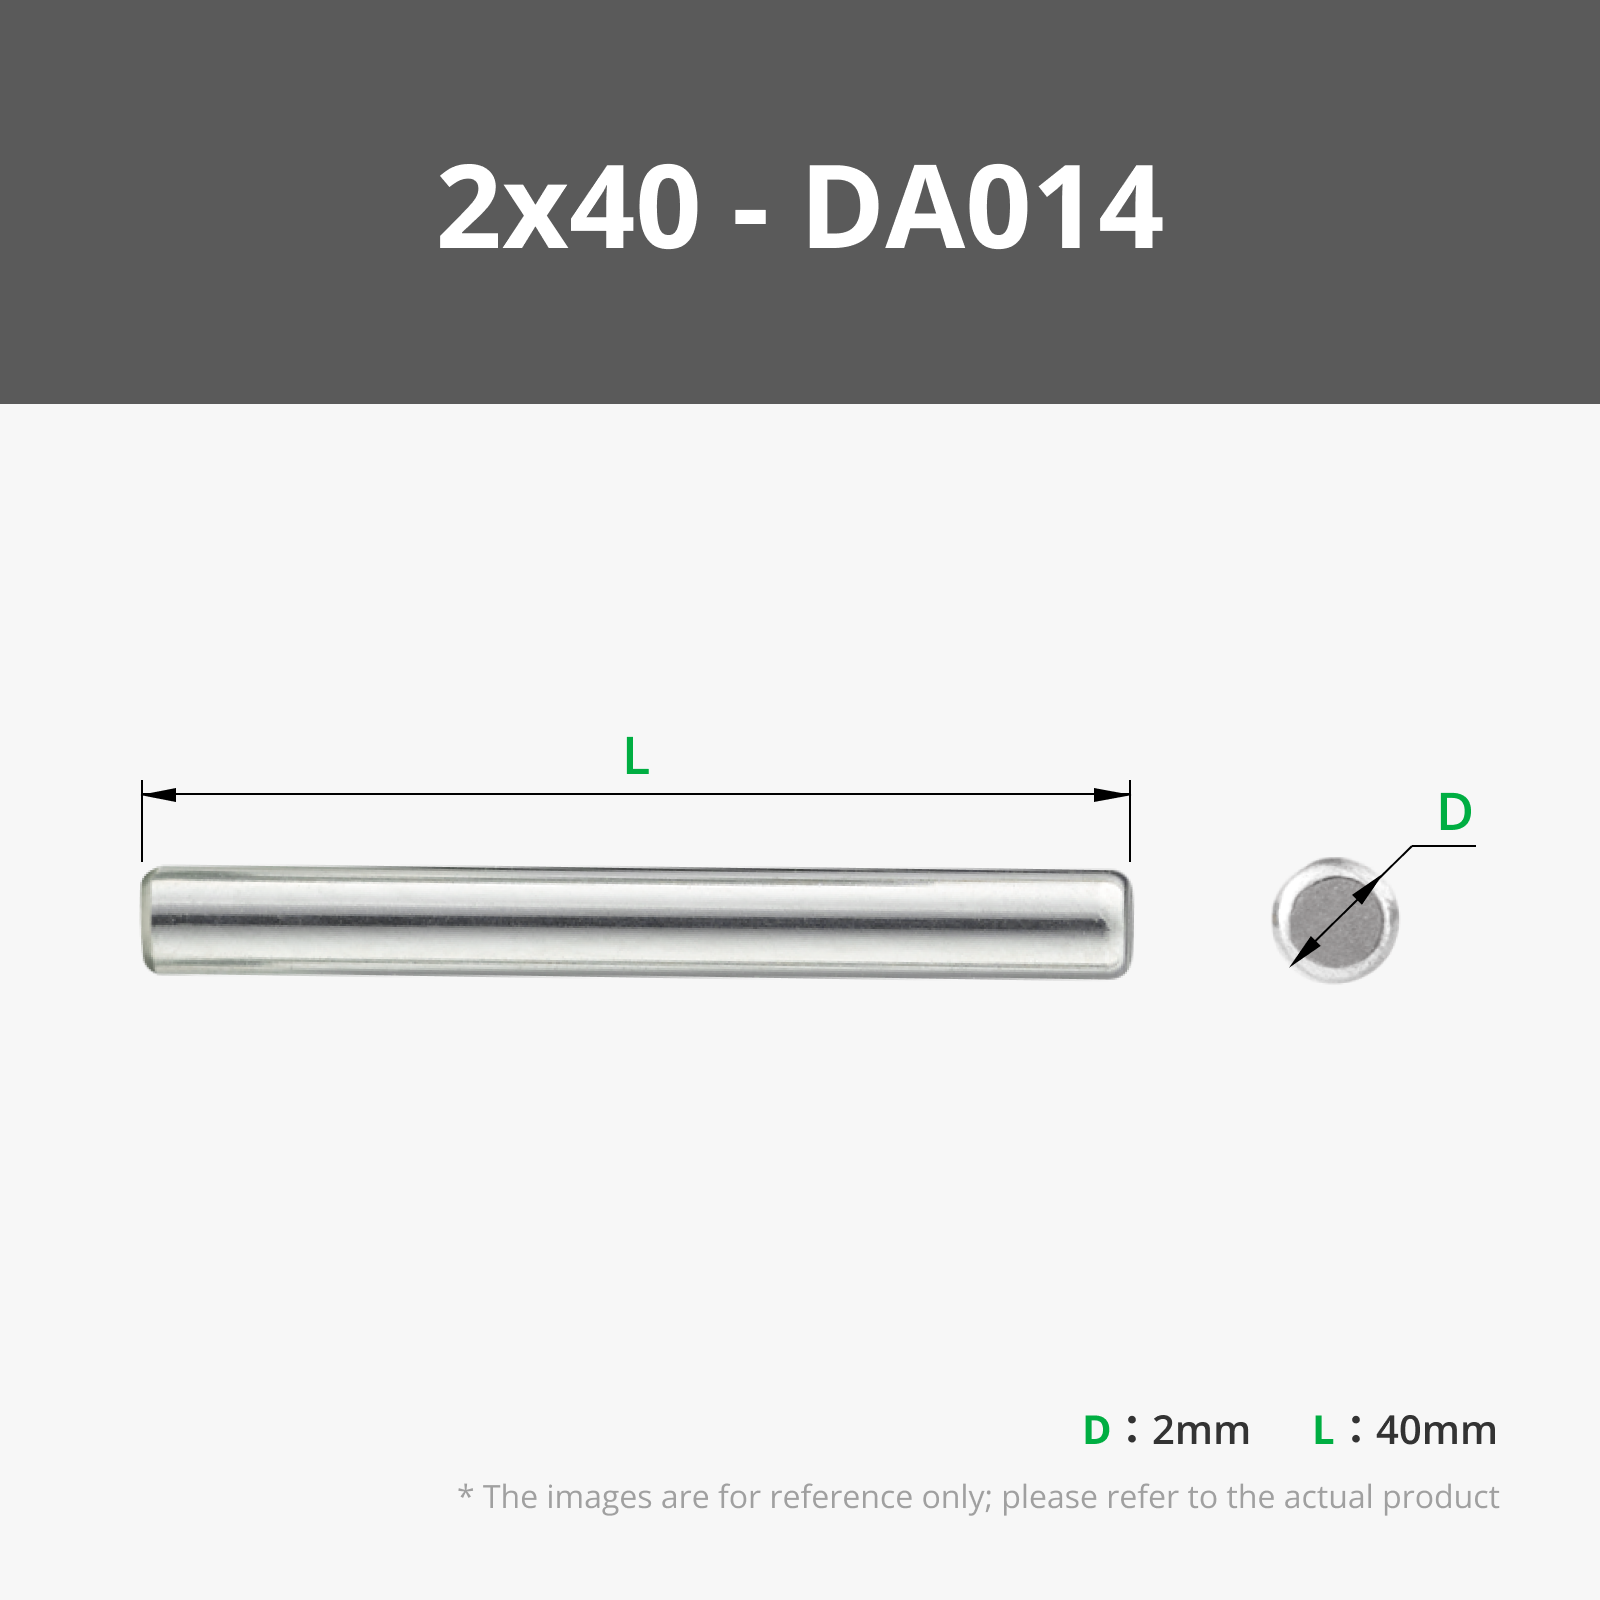
| 2x40mm Dowel | 3 | 3 | |||||||||
| 2x50mm Dowel | 5 | 1 | 1 | 3 | |||||||
| 6x2 Round Magnets | 9 | 9 | |||||||||
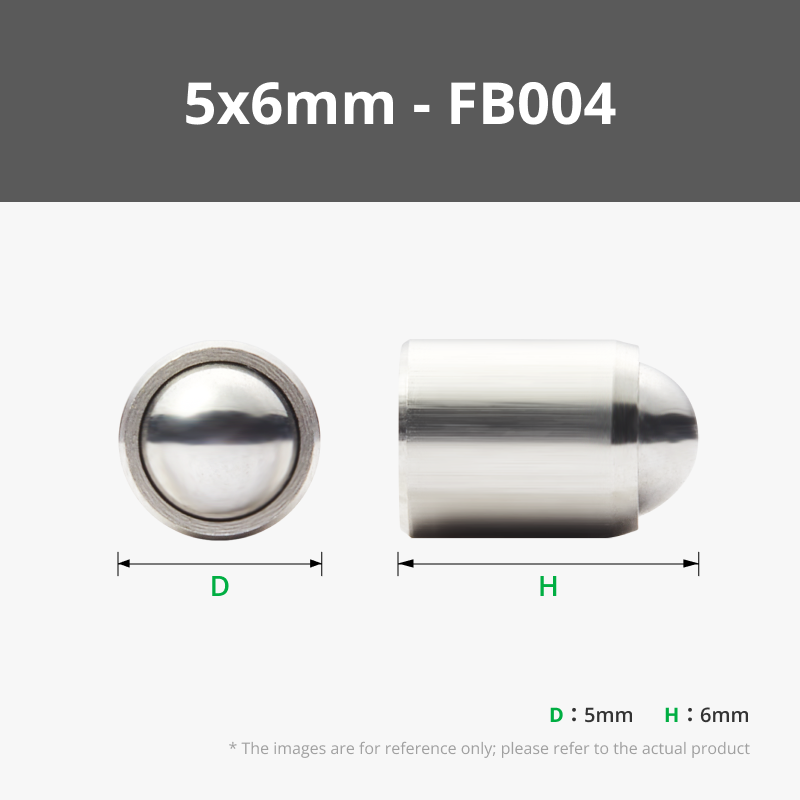
| 5x6 Ball Spring Plunger | 1 | 1 |
Assembly Instructions
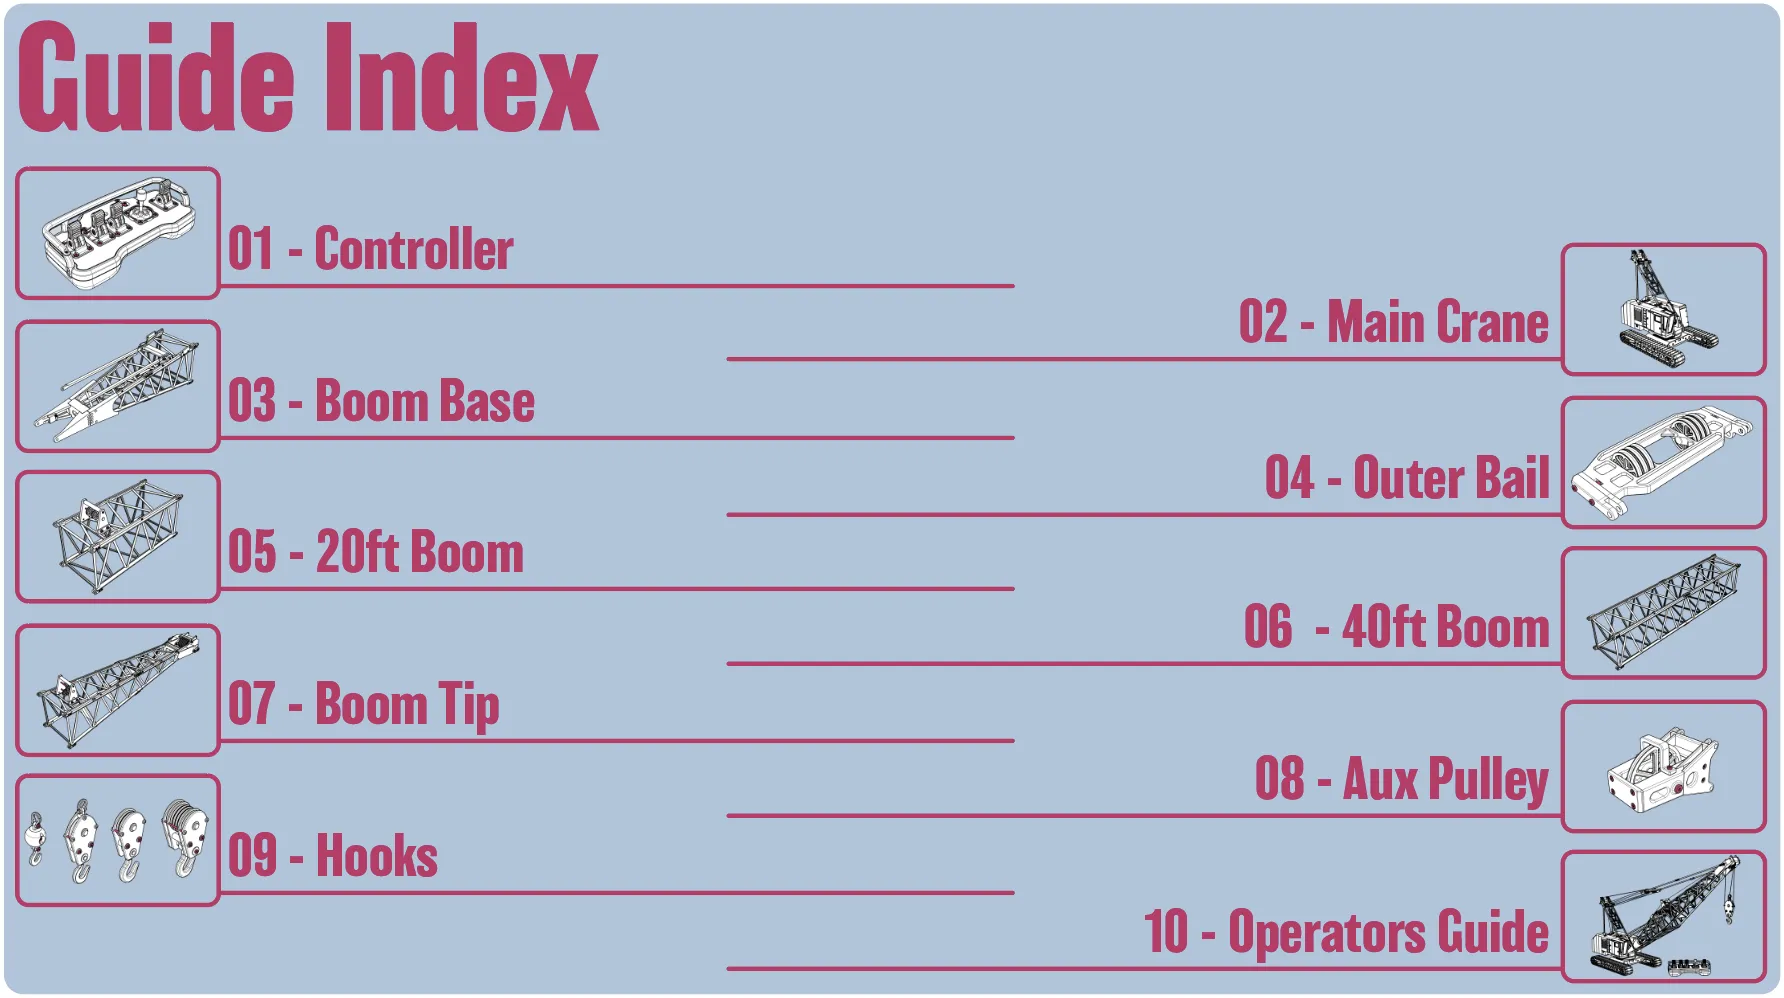
This build is a big one! I've split the build guide up into 10 different guides, with the first 9 covering the main build of the crane, and the last one acting as the operating manual.
The Controller
The Crane: Tracks
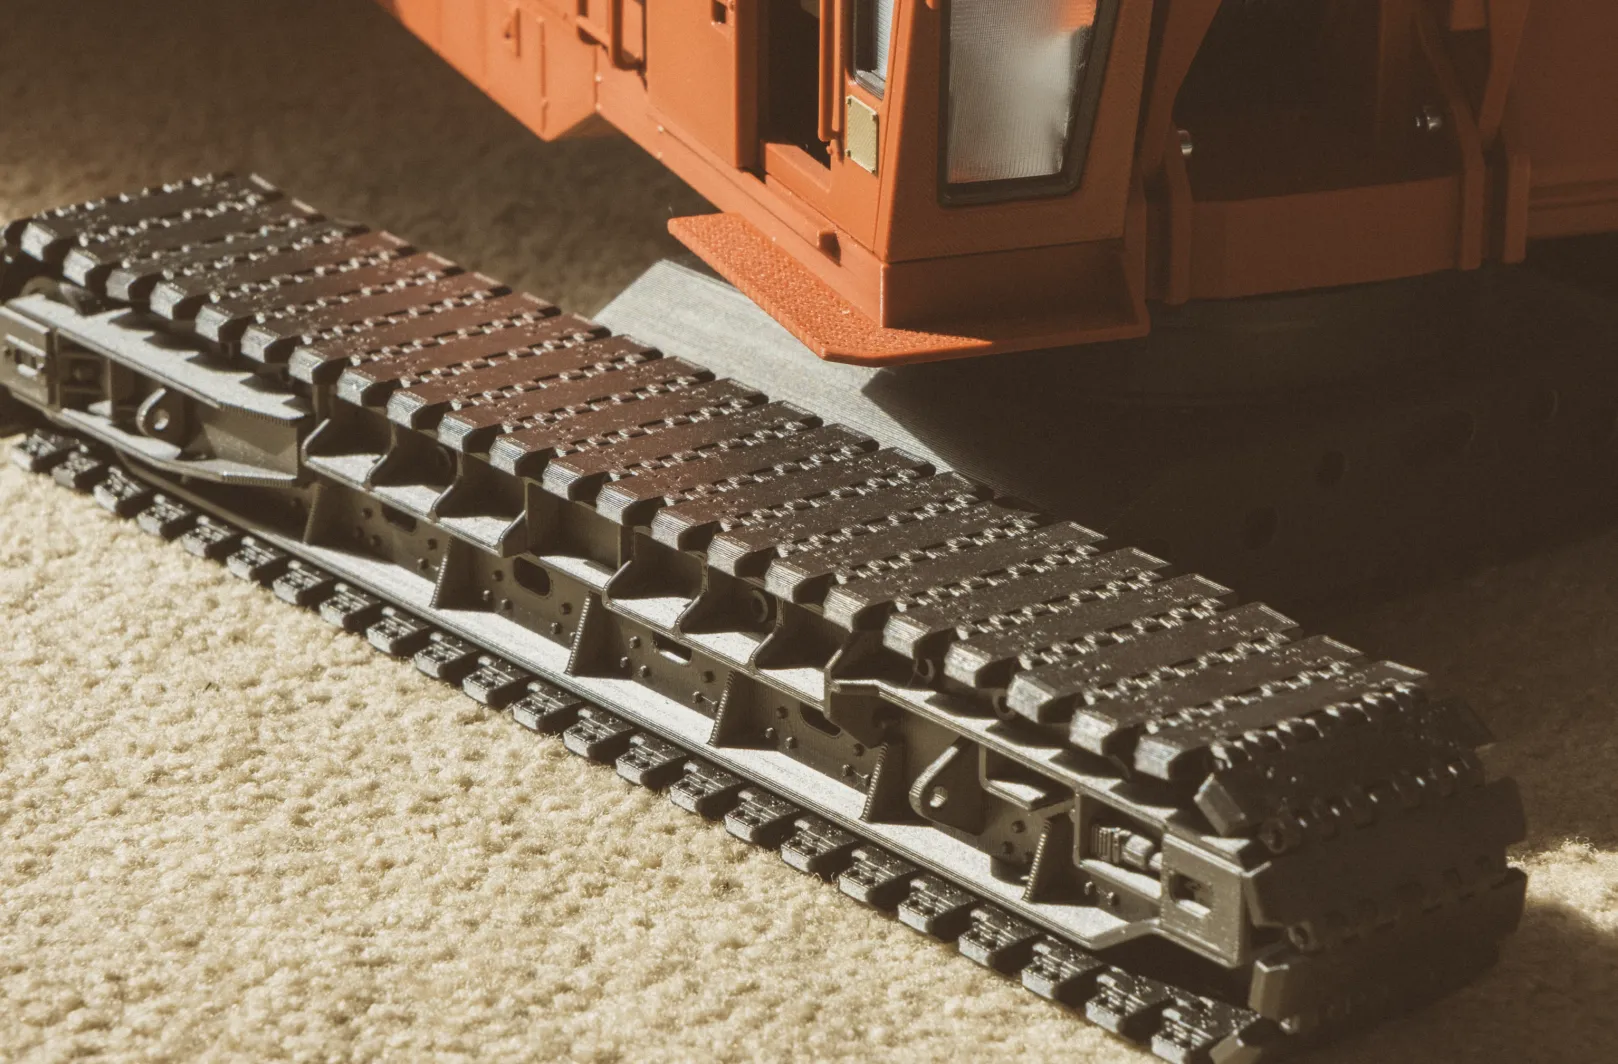
The Crane: Main Cab
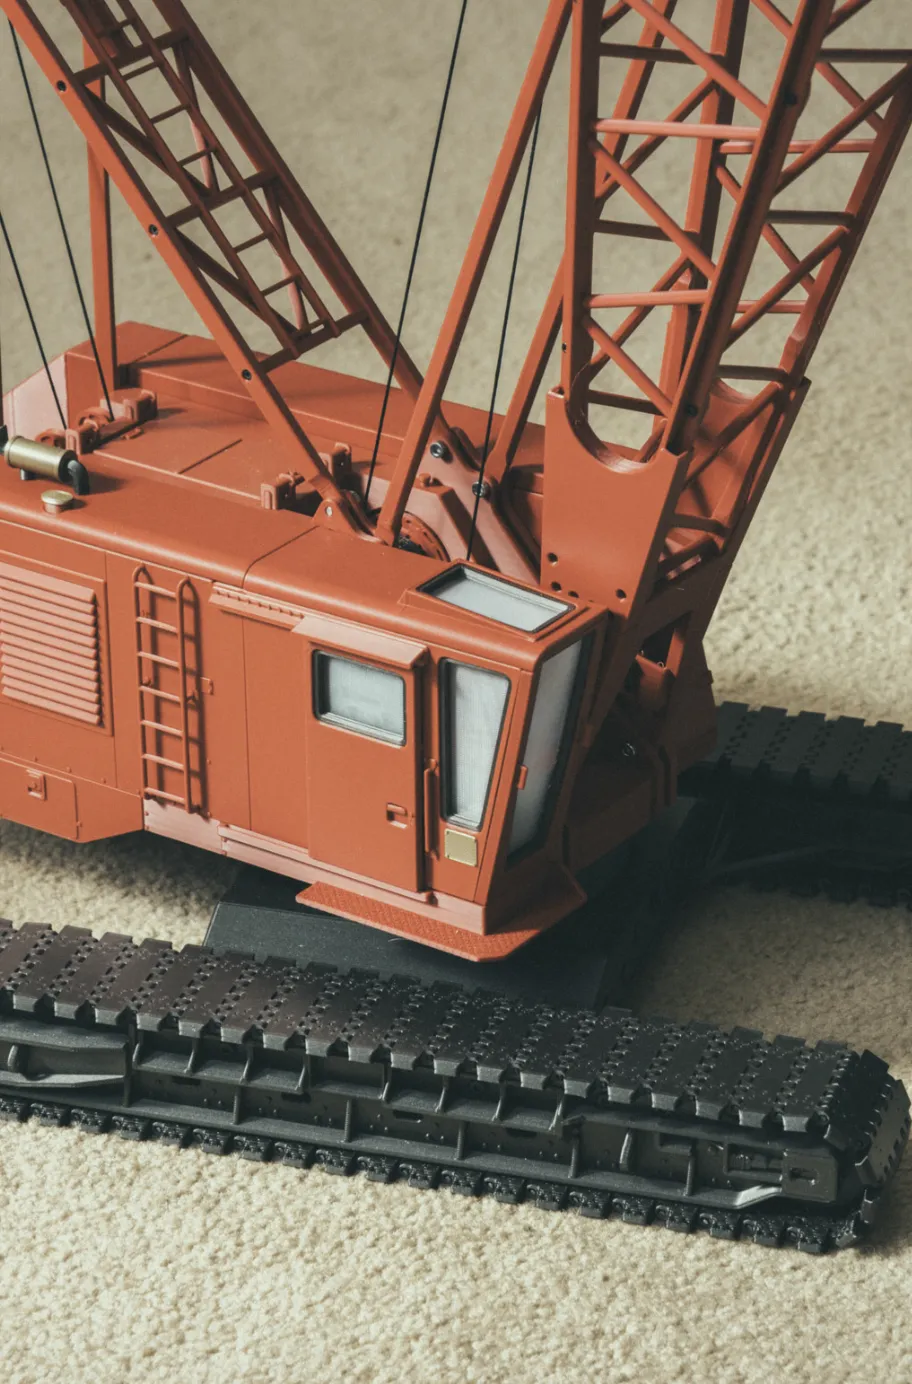
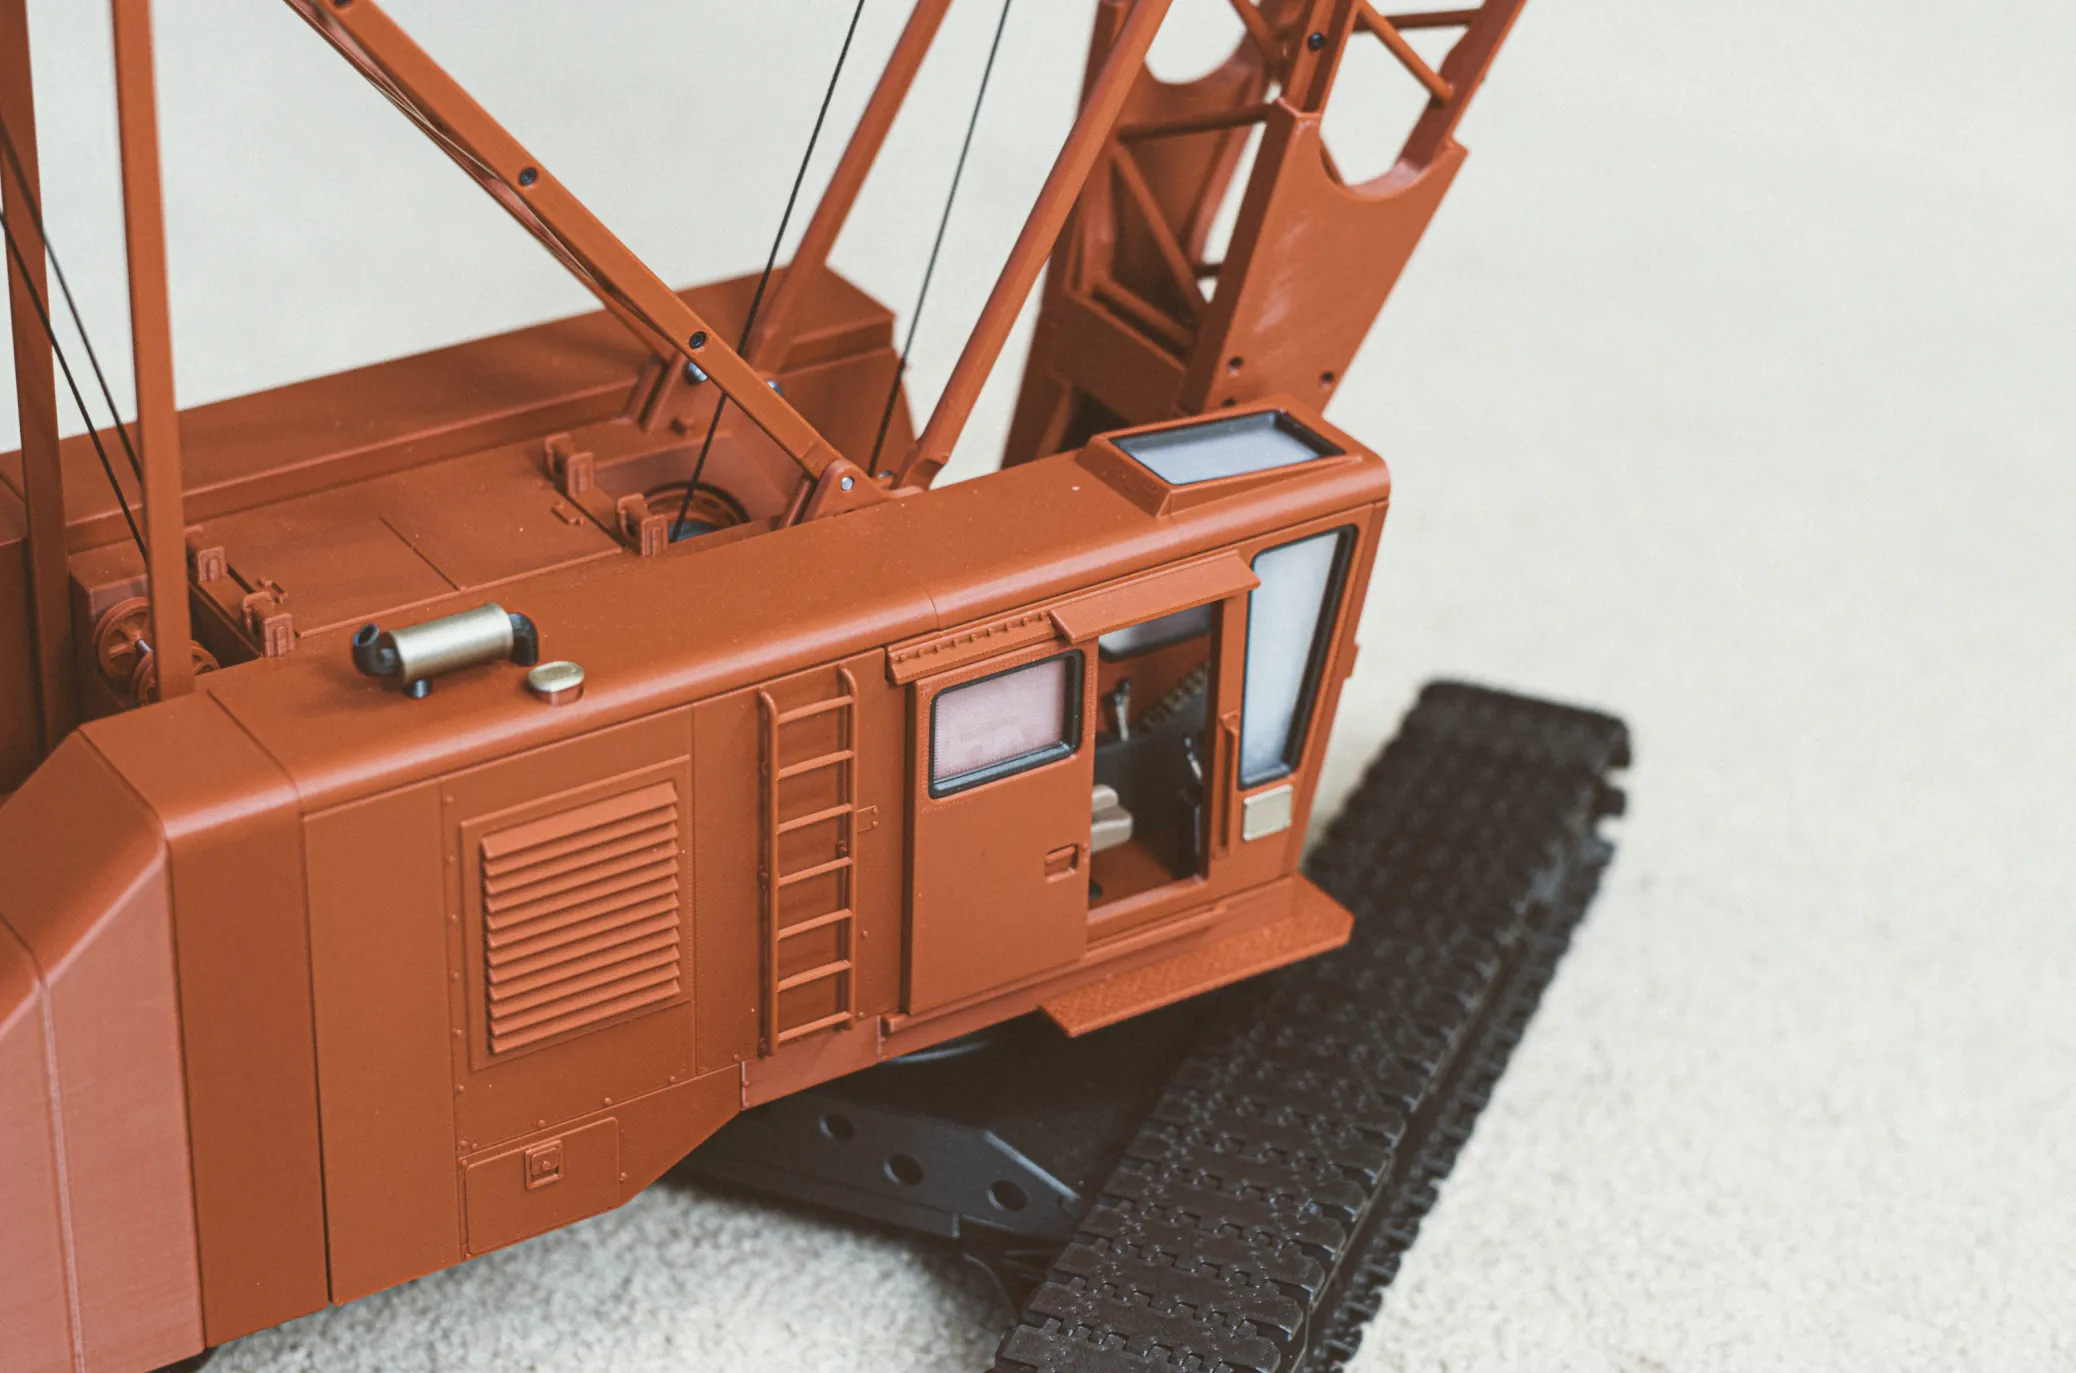
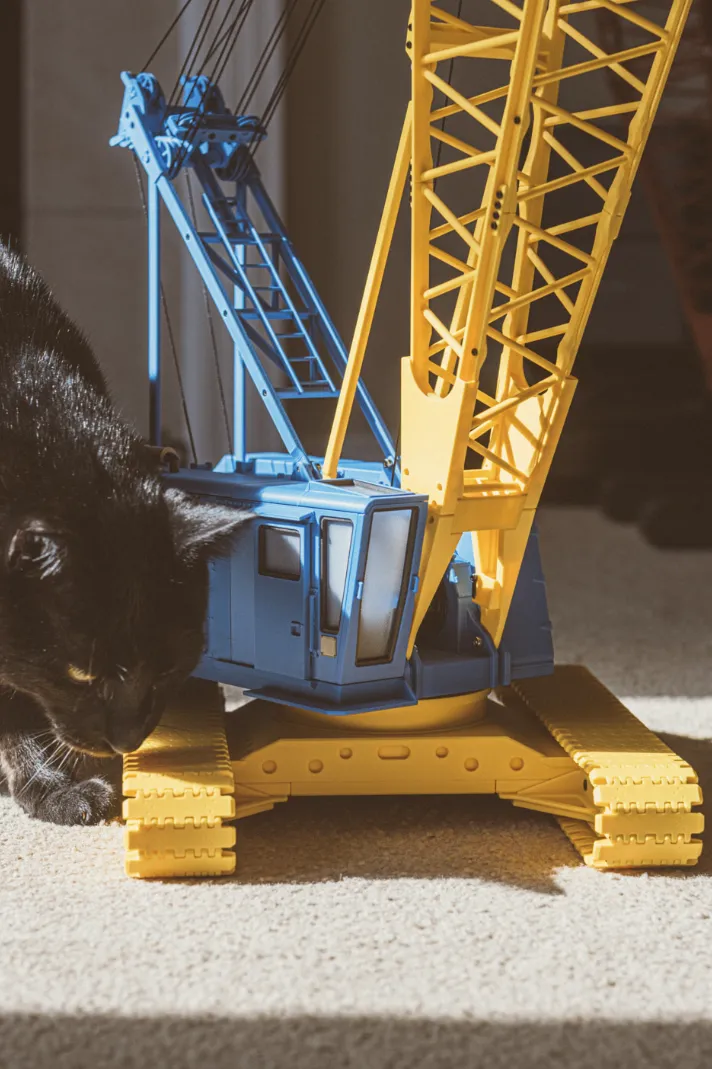
The Crane: Gantry
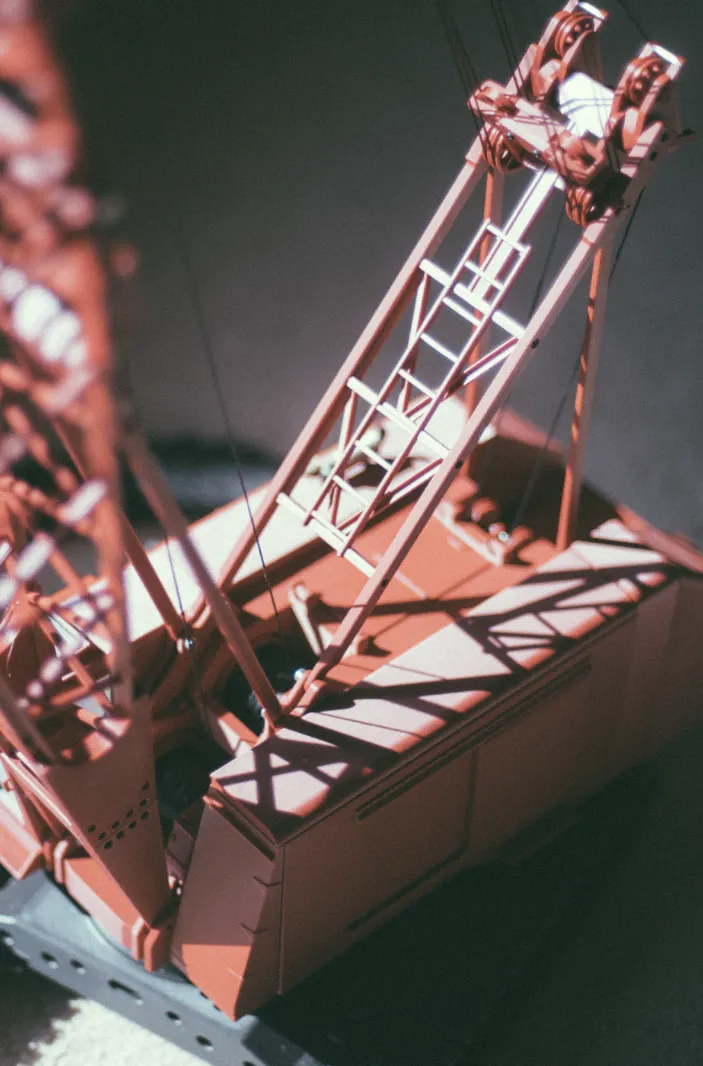

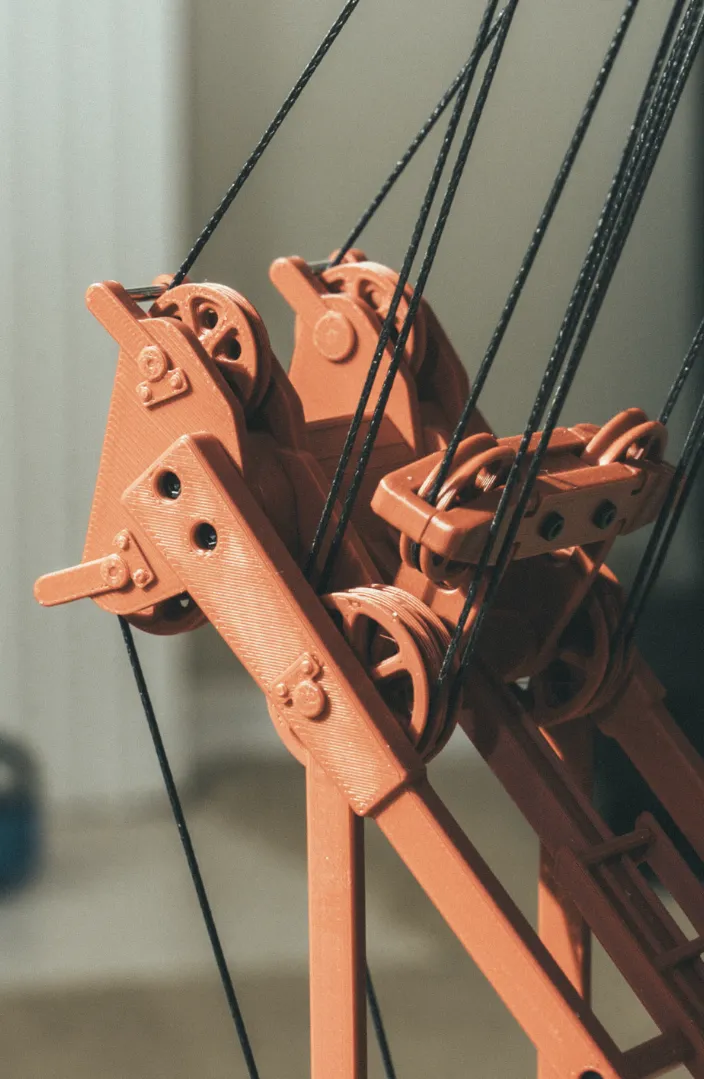
The Crane: Outer Bail
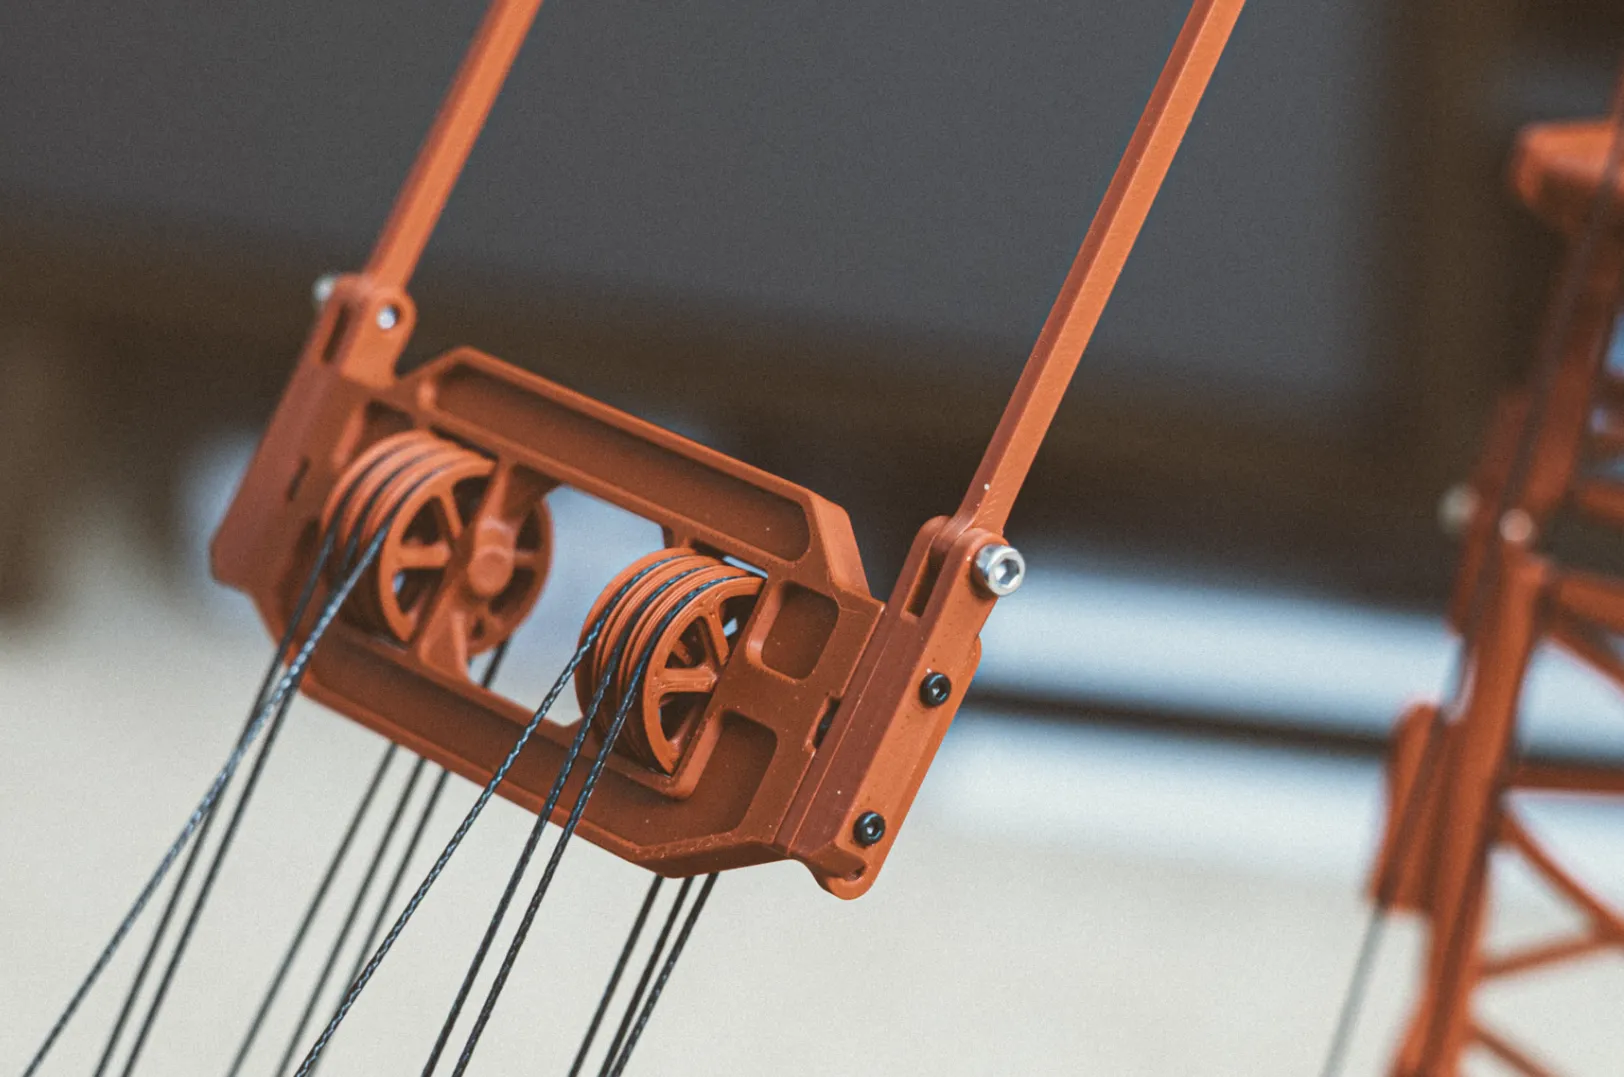
The Crane: Boom Tip & Hooks
-------
If you like my work, consider showing your love by Buying me a coffee. Additionally, if you're looking to sell prints of my design, please check out my Patreon page for more information.
Documentation (10)

License

You may create derivative works based on this object, provided that all such derivative works are published exclusively on the MakerWorld platform and include proper attribution to the original creator. You may not share, upload, host, distribute, or publish this object—or any derivative work of this object—on any other digital platform, marketplace, or distribution channel. Commercial use of this object and any derivative works is strictly prohibited. This includes, but is not limited to, selling, renting, sublicensing, or using the object in any context in which you receive monetary compensation or other financial benefits.


Comment & Rating (156)