Buildable Brings Joy Briks Logo


Print Profile(4)


Description

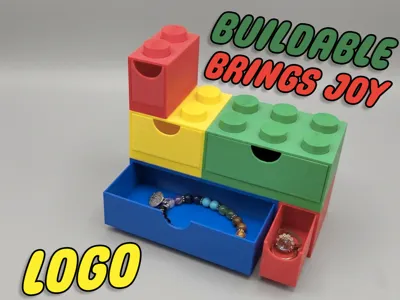
Buildable Brings Joy Briks Logo
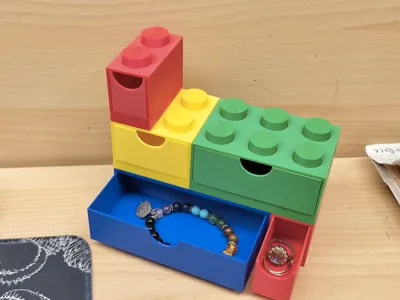
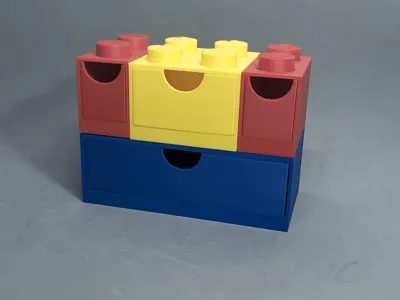
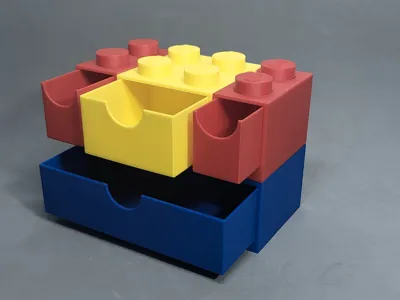
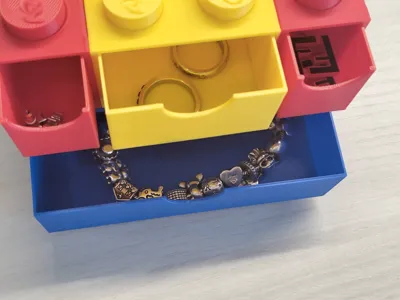
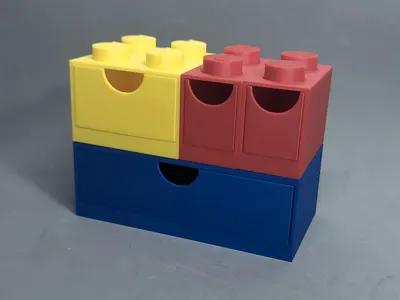
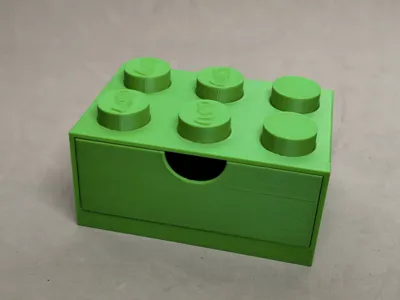
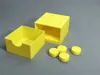
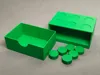
A jewelry holder inspired by the bricks of the world's most famous construction toys. Create your own jewelry or object organizer with various height and width combinations using stackable bricks of different sizes
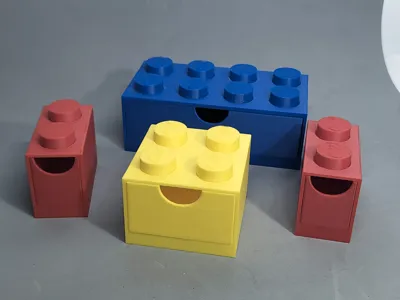
I designed the bricks in the following formats:
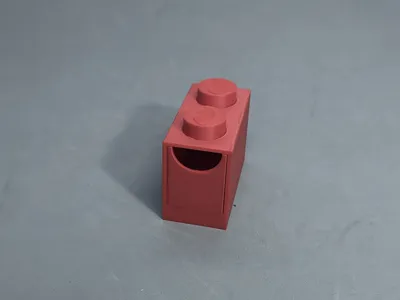
- 1x2
- 2x2
- 3x2
- 4x2
The 1x2 brick is 32mm wide, 64mm deep, and 45mm high without studs and 52mm with studs. The 2x2 one is 64mm wide, the 3x2 one is 96mm wide, and the 4x2 one is 128mm
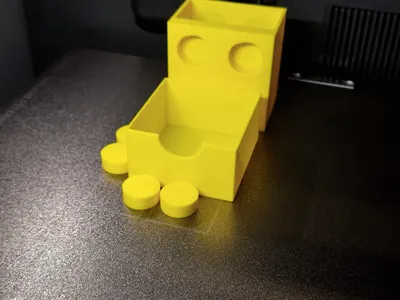
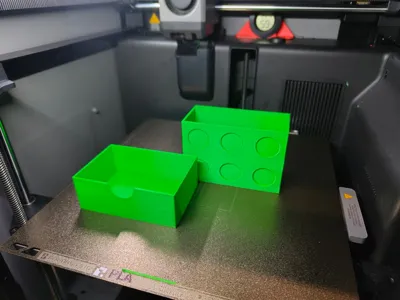
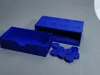
Each brick has a drawer to hold objects. Each model is printed entirely on a single print plate. To facilitate printing, the brick is completely disassembled; the interlocking cylinders are printed individually one by one and must be glued with a drop of superglue after printing on the top of the brick. I designed them disassembled because it is also possible to insert a personalized inscription on the top. In the profile, some cylinders already have a sample inscription on them, and if you want to modify them or print them all with the same inscription, you need to use Bambu Studio
Assembly Notes:
The interlocking parts have a tolerance of 0.2 mm on the diameter. With my P2S and X1C, I haven't encountered any problems, but it might be necessary to deburr the holes in the bottom part of the brick with a deburring tool or sandpaper. Alternatively, you might need to interlock another brick 1 or 2 times to self-deburr the holes
During the gluing process with superglue, do not overdo it; a few drops are enough to glue the top studs. When the top stud is correctly inserted into its seat, it makes a CLACK sound
Before stacking the bricks on top of each other, wait for the glue to be completely dry
Pre-print Notes:
Always clean the build plate to prevent adhesion issues and color contamination. I recommend using my profiles, which are optimized for printing and have seams placed on the back of the drawers
Have fun with all kinds of combinations and colors. I can't wait to see your prints
Boost Me (for free)
License
You shall not share, sub-license, sell, rent, host, transfer, or distribute in any way the digital or 3D printed versions of this object, nor any other derivative work of this object in its digital or physical format (including - but not limited to - remixes of this object, and hosting on other digital platforms). The objects may not be used without permission in any way whatsoever in which you charge money, or collect fees.
Comment & Rating (0)