
Motorization of hand mills
Print Profile(1)
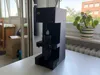
Description
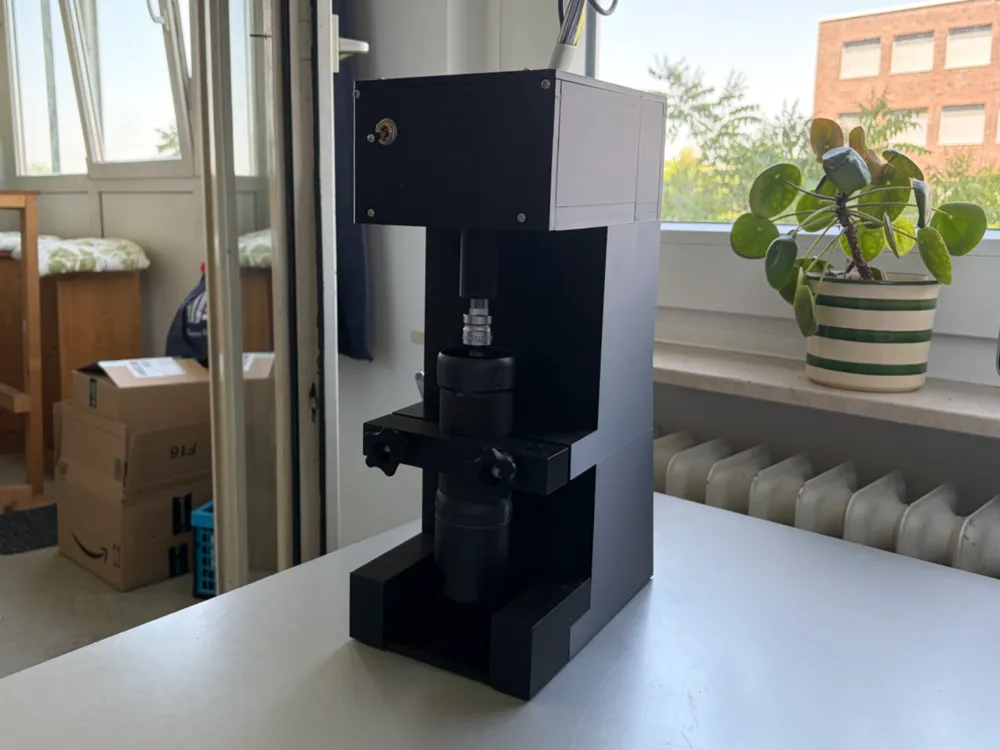
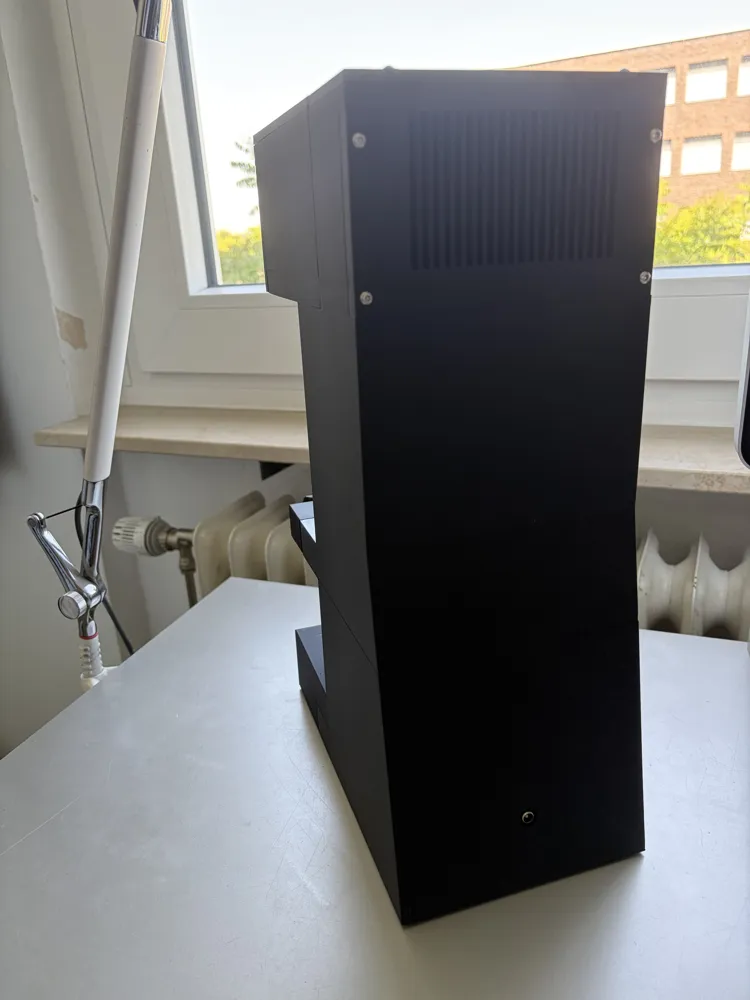
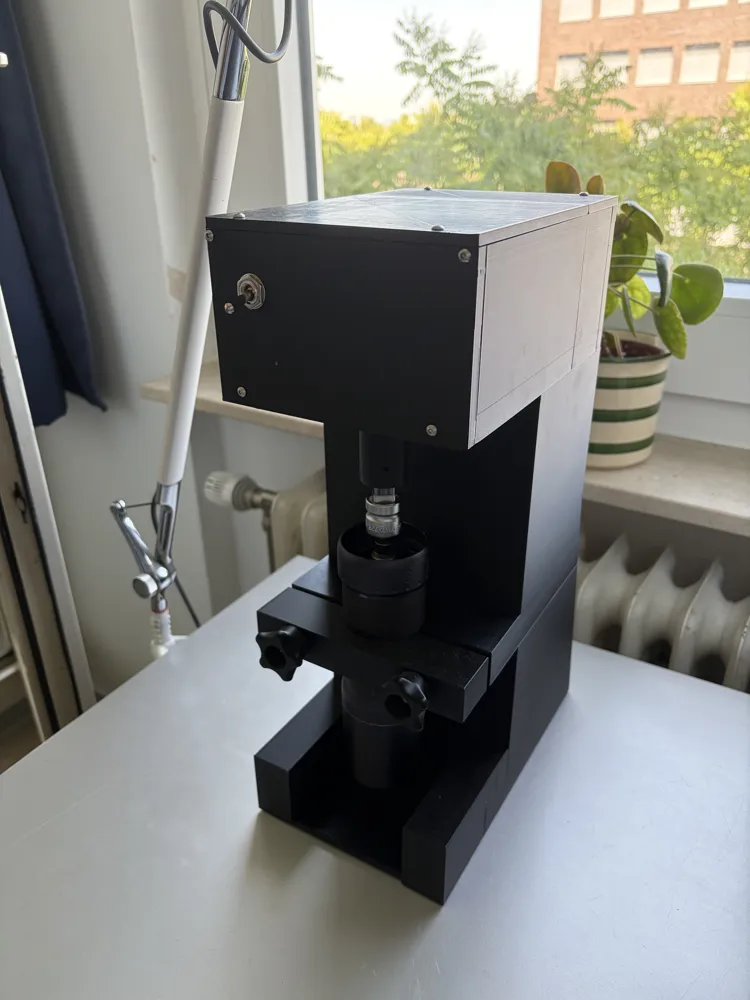
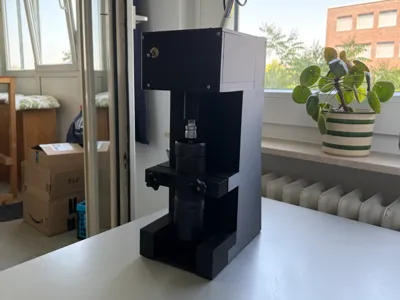
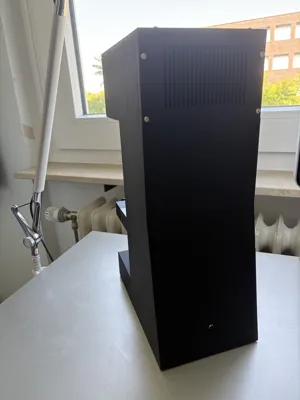
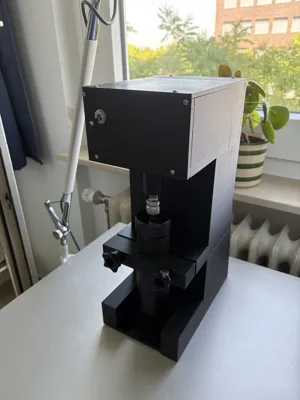
Converting a manual grinder to an electric motor.
In my case, I motorized the 1ZPresso J-Ultra.
You will need:
100 RPM motor: https://www.ebay.de/itm/185986964278?mkevt=1&mkpid=0&emsid=e11400.m144671.l197928& mkcid=7&ch=osgood&euid=7ed5ade7ca6c4ca9af481cc6634276d6&bu=45760251909&exe=0&ext=0&osub=-1%7E1&crd=20260428093022&segname=11400
Power supply: https://www.amazon.de/dp/B0DMSTNZLW?ref=ppx_yo2ov_dt_b_fed_asin_title
Switch: https://www.amazon.de/dp/B09Q89NXRZ?ref=ppx_yo2ov_dt_b_fed_asin_title
M8 threaded rod, 4x approx. 40 cm
M4 threaded rod, 4x approx. 25 cm
M6 threaded rod, 2x approx. 20 cm
M3 screws, 12x approx. 15 mm
M5 Screws, for the Motor
M8 nuts, 8x
M8 washers, 8x
M4 nuts, 8x
Washers, 8x
M6 nuts, 4x
1.5 mm² cable, approx. 2 m
Square bar
1/2" to Ibus adapter
Assembly:
After printing all parts:
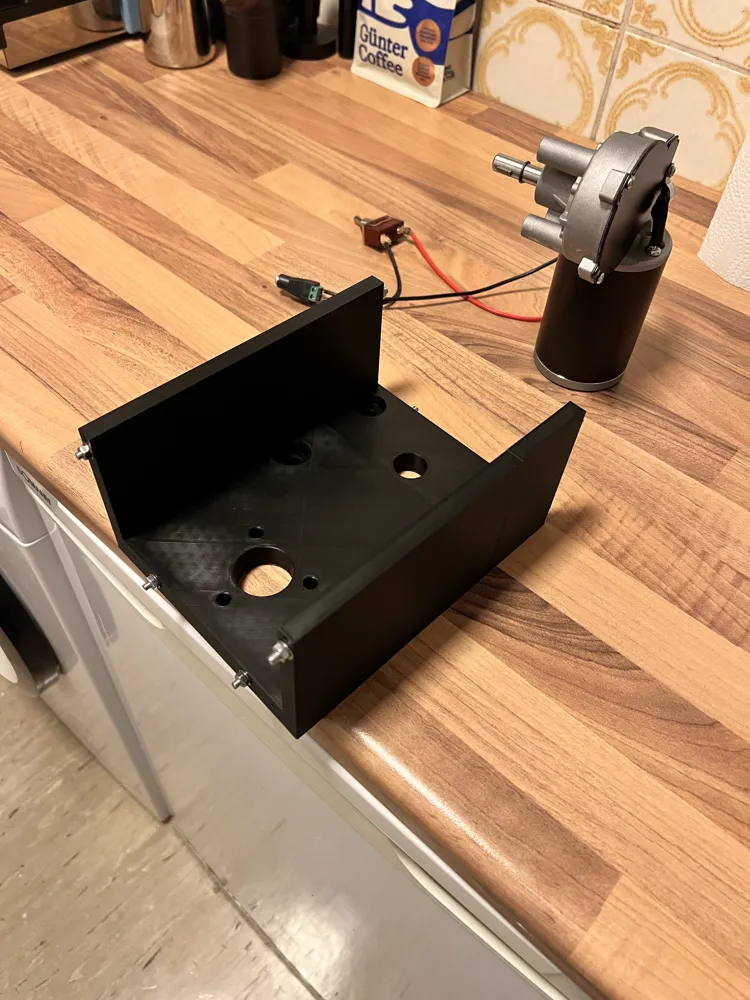
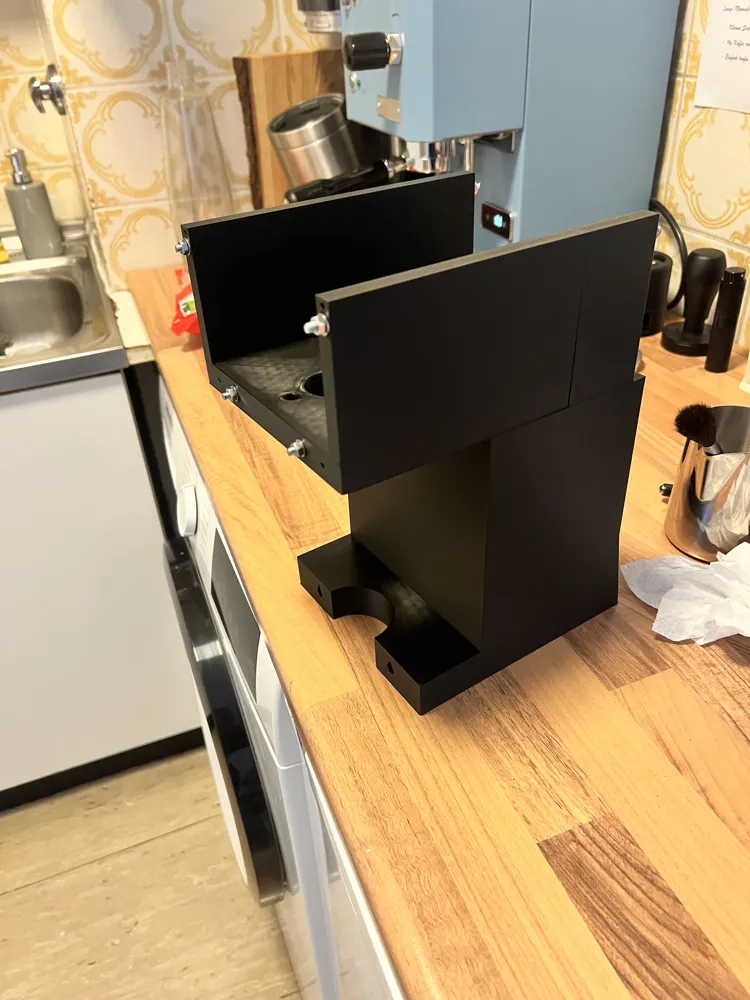
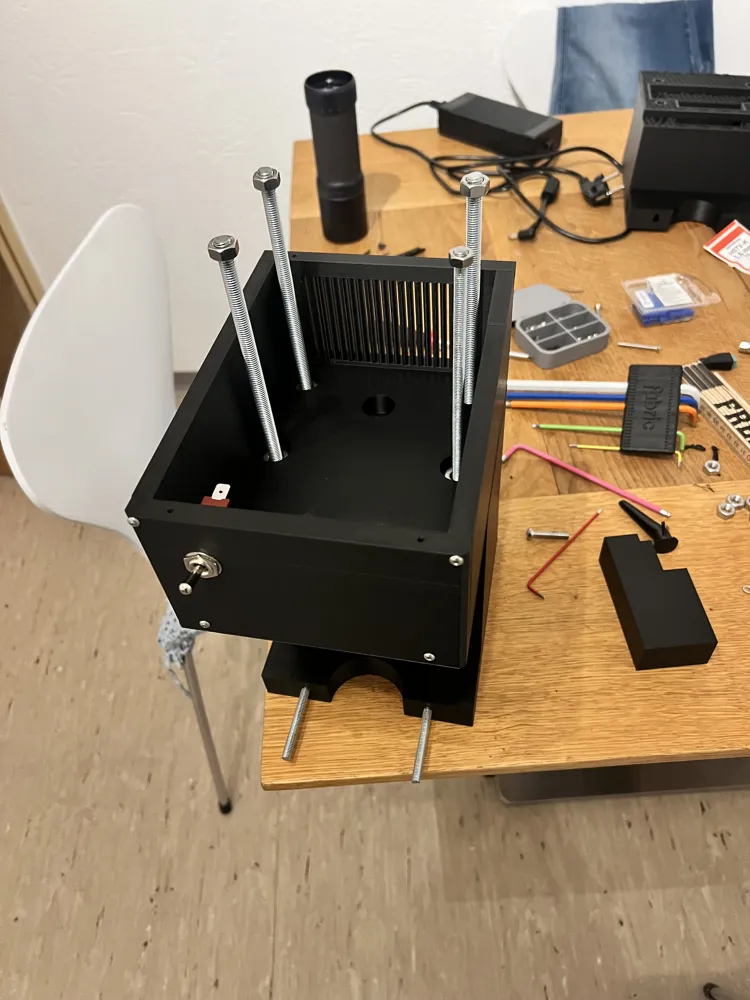
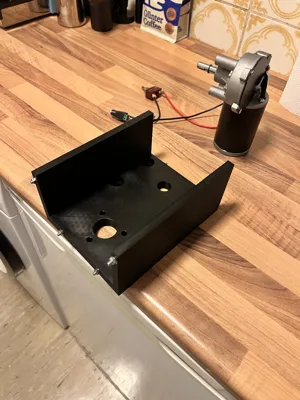
- Assemble and secure the “Top Front” & “Top Rear” using M4 threaded rods and M4 nuts
- Insert the power supply into the “Floor Section”
- Attach the motor to the “Top Front” & “Top Rear” using M5 screws
- Solder or connect the electrical cables with the switch and route them through the “Centerpiece”
- Insert M6 nuts into the “Centerpiece” (inside)
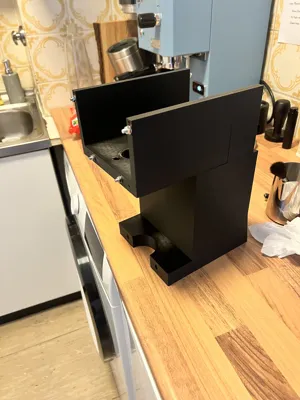
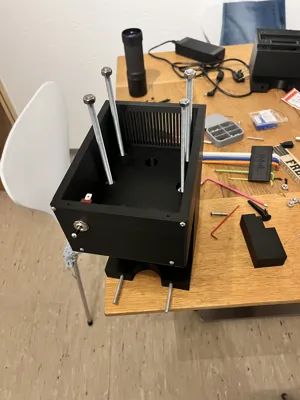
- Assemble and secure the “Centerpiece,” “Floorsection,” and the combination of “Top Front” and “Top Rear” using M8 threaded rods and the corresponding washers and nuts
-Screw on the “Top Front Cover” and “Top Rear Cover” using the M3 screws
-Assemble the “Lid Rear” and “Lid Front” and secure with M3 screws
-Snap the “Lid Rear” and “Lid Front” together and secure them with M3 screws
-Glue the “Feet” to the “Floor Section”
-Press M6 nuts into the “Grips” and screw an M6 screw into the “Centerpiece”
-Attach the adapter to the motor, insert the square rod into the adapter, and place the Ibus adapter onto the square rod
-Tighten the grinder
-Enjoy easy grinding!
- If you have any questions, just comment under this model!
If you're printing on a printer larger than the A1 mini, you might be able to do without a few of the threaded rods. I'm looking forward to seeing remixes without the rods!
License



Comment & Rating (0)