
WLED-Monitor
Print Profile(1)
Description
🌟 ESP32 WLED Status Monitor
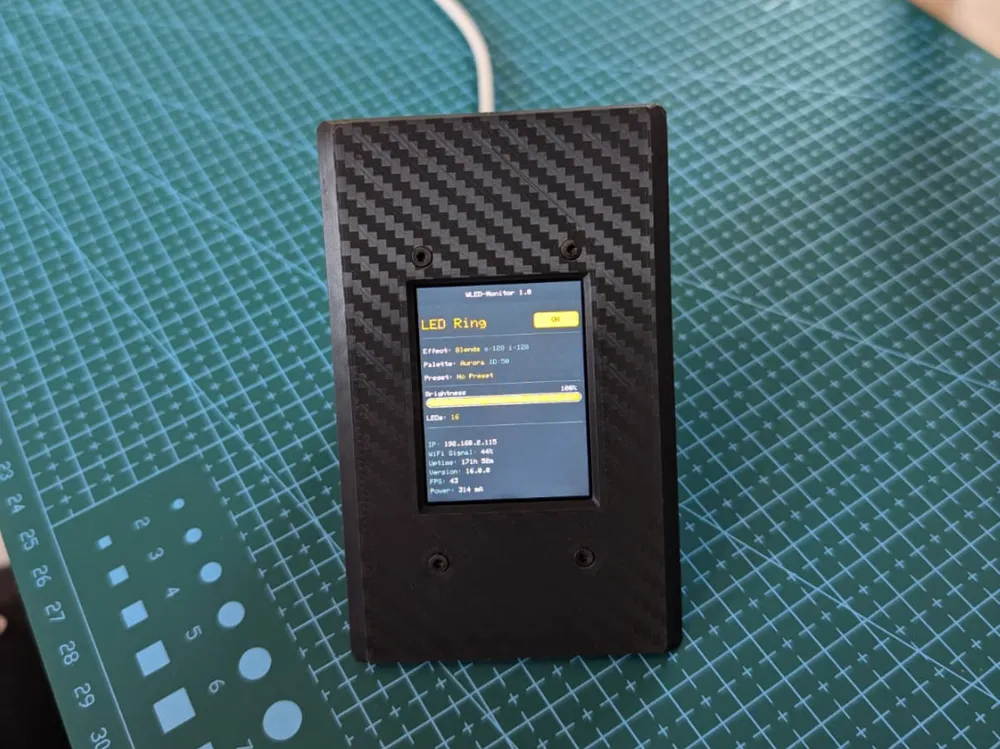
A compact, hardware-based monitoring solution designed to cycle through and display live statistics from multiple WLED instances across your local network. Built around an ESP32 and a vibrant 2-inch IPS TFT display, this desk monitor provides a sleek, real-time glance at your smart lighting setup.
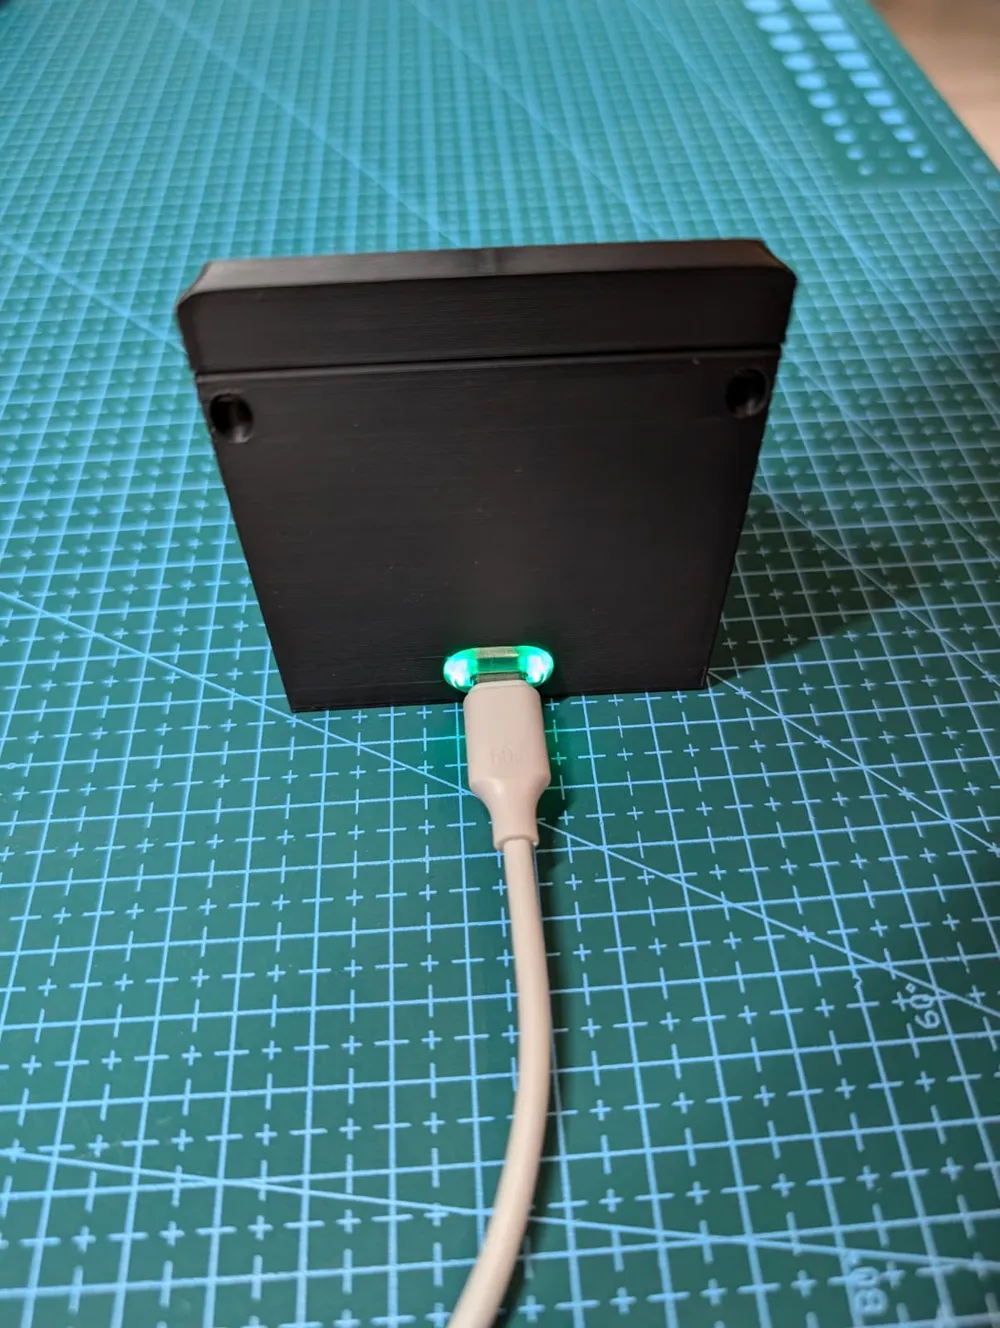
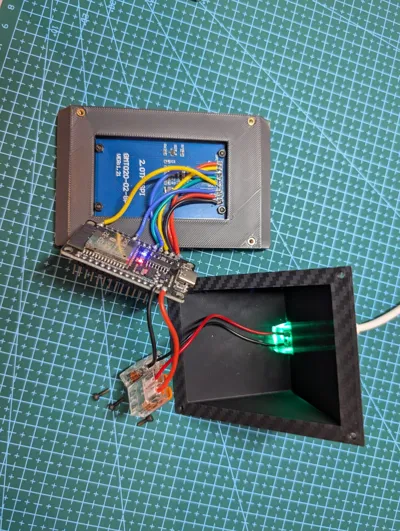
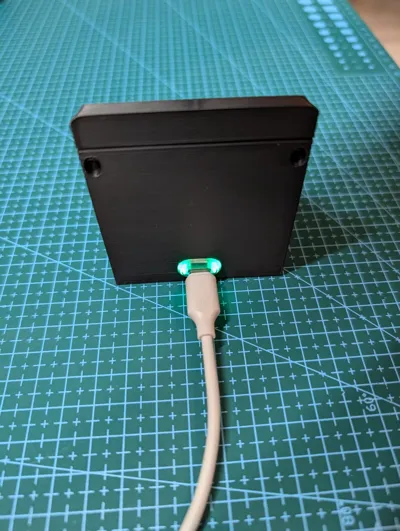
The custom enclosure features a modern carbon-fiber texture look on the front, clean hidden mounts, and a neat illuminated USB-C power inlet on the back.
🛠️ Bill of Materials (BOM) / Required Hardware
3D Printed Parts:
- Front Plate (optimized for structured PEI plates to get that carbon/textured look)
- Back Cover / Lid
Electronics:
- Microcontroller: ESP32 (NodeMCU / Development Board)
- Display: 2.0-inch SPI TFT LCD Module (Resolution: 240x320, ST7789 Driver, IPS panel)
- Buy on AliExpress
- Search keywords on AliExpress: 2.0 inch tft spi st7789 240x320
- Power Inlet: 1x USB-C Female breakout board / port
- Buy on AliExpress
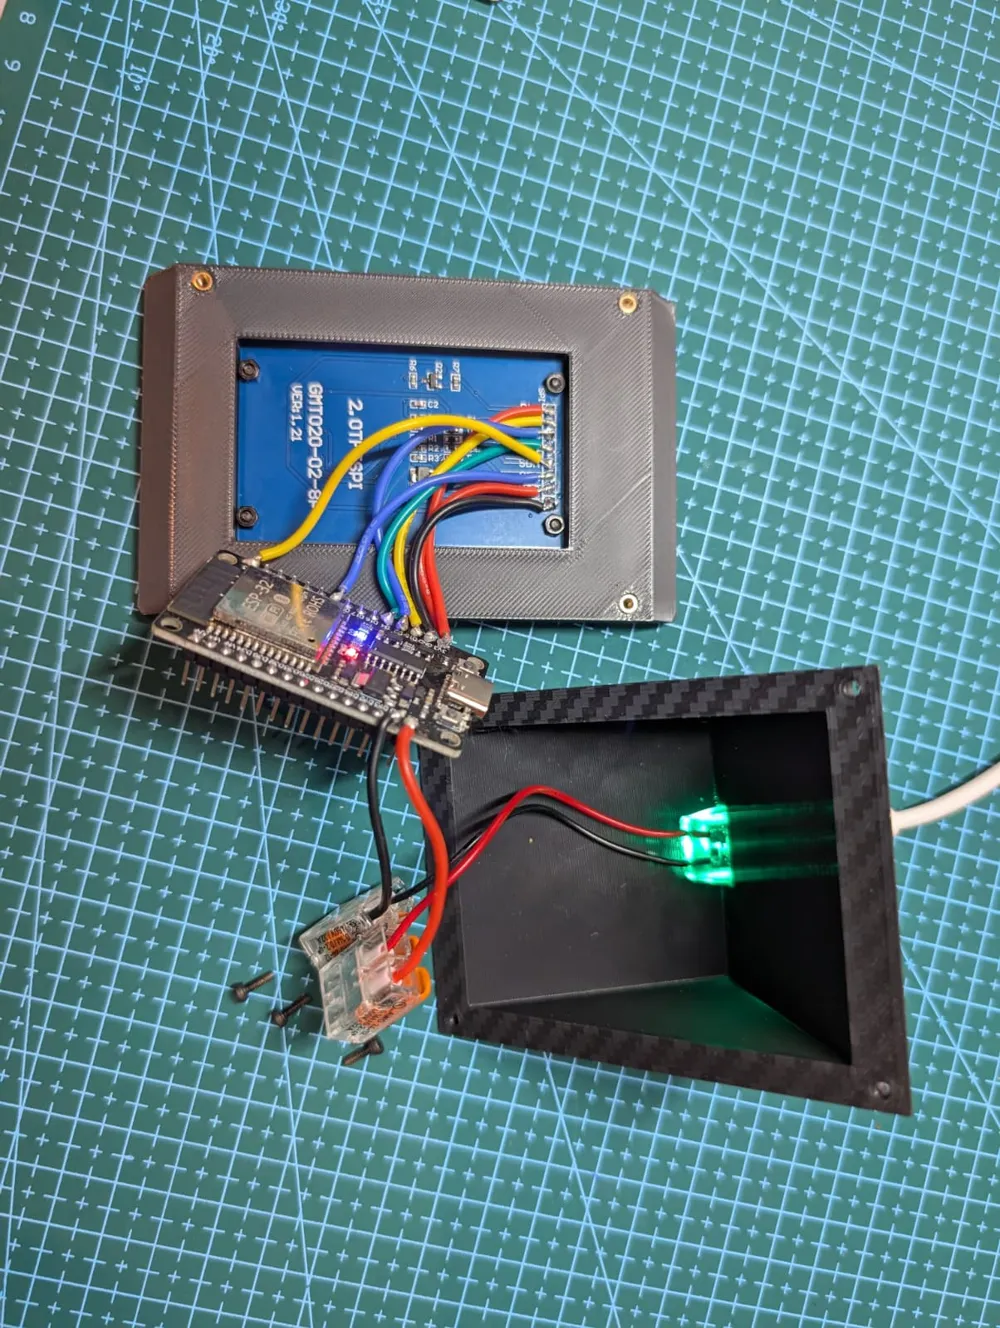
- Connectors: 2x 2-port WAGO connectors
Fasteners & Hardware:
- 8x M2 x 10mm Bolts / Screws
- 4x M2 Nuts
- 4x M2 Heat-Set-Inserts (for securing the main frame/lid)
🖨️ Recommended Print Settings
- Material: PLA, PETG, or ABS
- Layer Height: 0.2mm
- Infill: 15% - 20% (Gyroid or Grid)
- Wall Loops: 3
- Supports: Not required if oriented correctly on the build plate (print face-down for the front texture).
🔌 Electronics & Wiring Diagram
Connect the 7-Pin SPI Display to your ESP32 according to this pinout table. Use the WAGO clips to distribute power easily between the USB-C port, ESP32, and Display.
| Display Pin | ESP32 Pin | Function |
|---|---|---|
| VCC | 3V3 / 5V (Check Screen) | Power |
| GND | GND | Ground |
| CS | GPIO 15 | Chip Select |
| DC | GPIO 2 | Data / Command |
| RST | GPIO 4 | Reset |
| SDA (MOSI) | GPIO 23 | SPI Data |
| SCL (CLK) | GPIO 18 | SPI Clock |
💻 Software & Firmware Setup
The source code is completely Open-Source and free. It utilizes WLED's built-in HTTP JSON API to read values like effects, palettes, presets, brightness, framerate (FPS), and power consumption.
Features:
- Multi-Instance Cycling: Automatically switches between multiple WLED devices (e.g., every 20 seconds).
- Live UI Updates: Displays active effects, current color palettes, active presets, and a smooth live brightness bar.
- Error Handling: Enhanced offline screen showing exactly which device is currently unreachable by its custom name and IP.
- ArduinoOTA Support: Flash updates wirelessly over Wi-Fi after the initial upload.
How to flash:
- Download the code (.ino) and instructions from the official repository.
- Open it in Arduino IDE, enter your Wi-Fi credentials (SSID & Password).
- Add the IP addresses and Names of your local WLED instances in the configuration section.
- Download required libraries (Adafruit_GFX, Adafruit_ST7789, ArduinoJson) via the Library Manager.
- Flash it via USB to your ESP32.
🔗 Full Source Code & Updates: GitHub Repository - WLED-Monitor
Documentation (1)
License



Comment & Rating (0)