
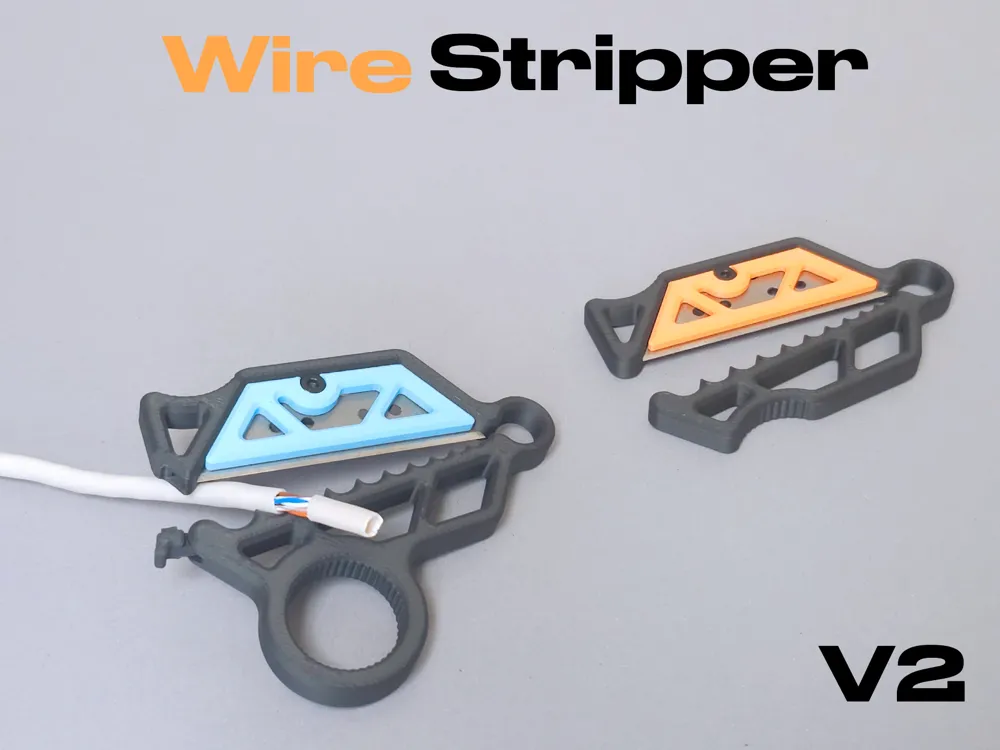
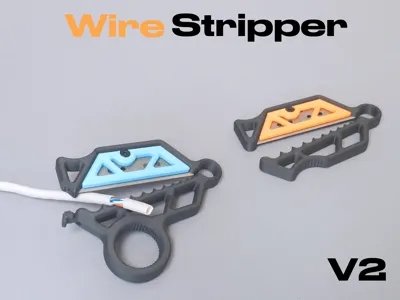
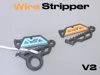
Wire Stripper V2
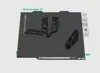
Print Profile(6)

Bill of Materials





Description
Boost Me (for free)
Enjoying this print? Give it a boost! 🚀 It’s a free way to support my work and help others find this design. Thanks a million!
UPDATES
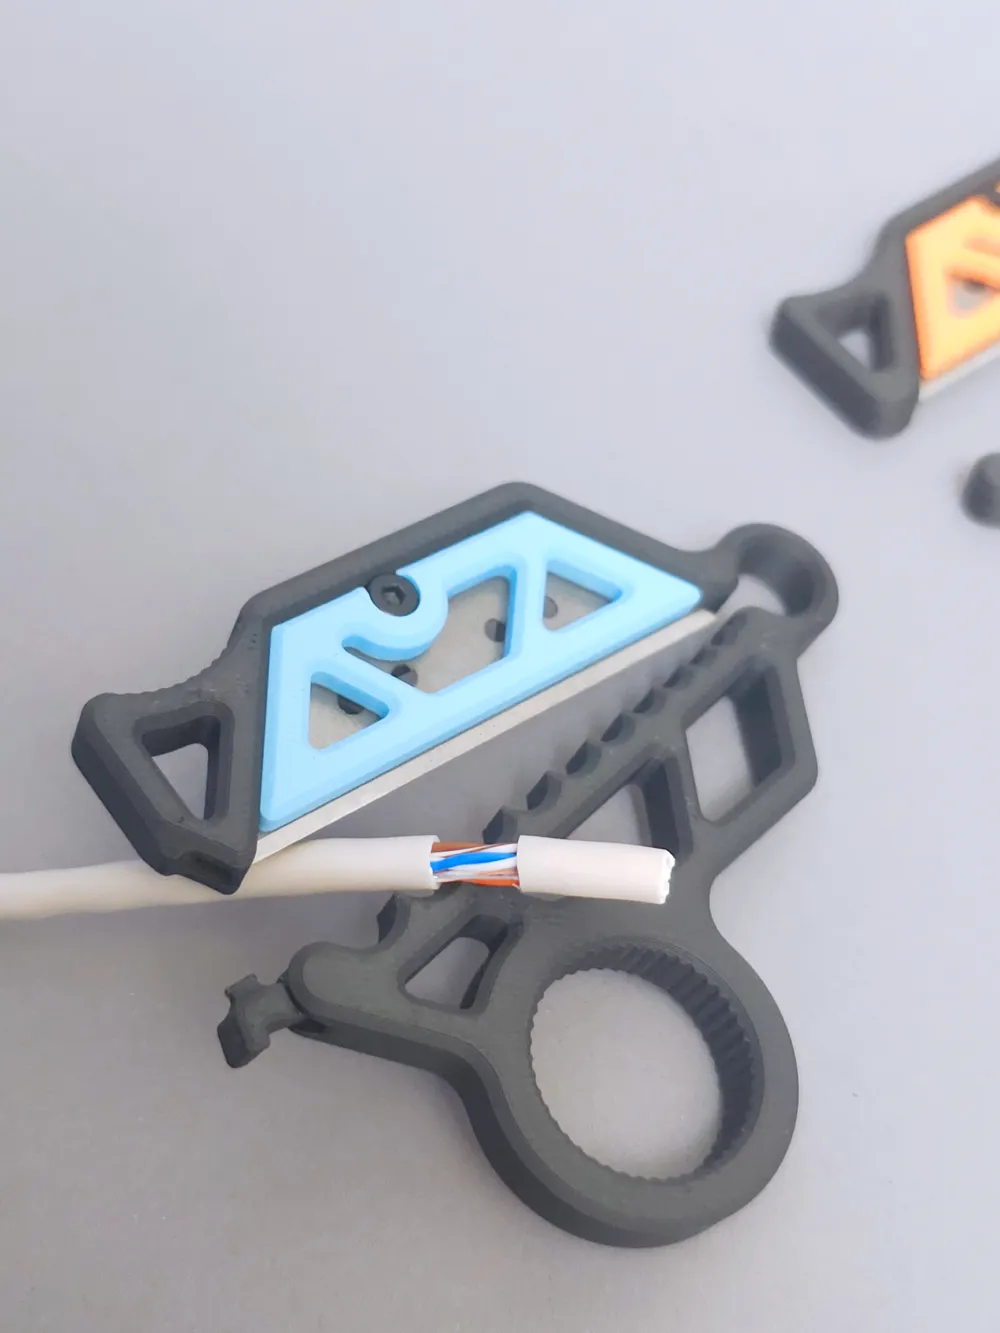
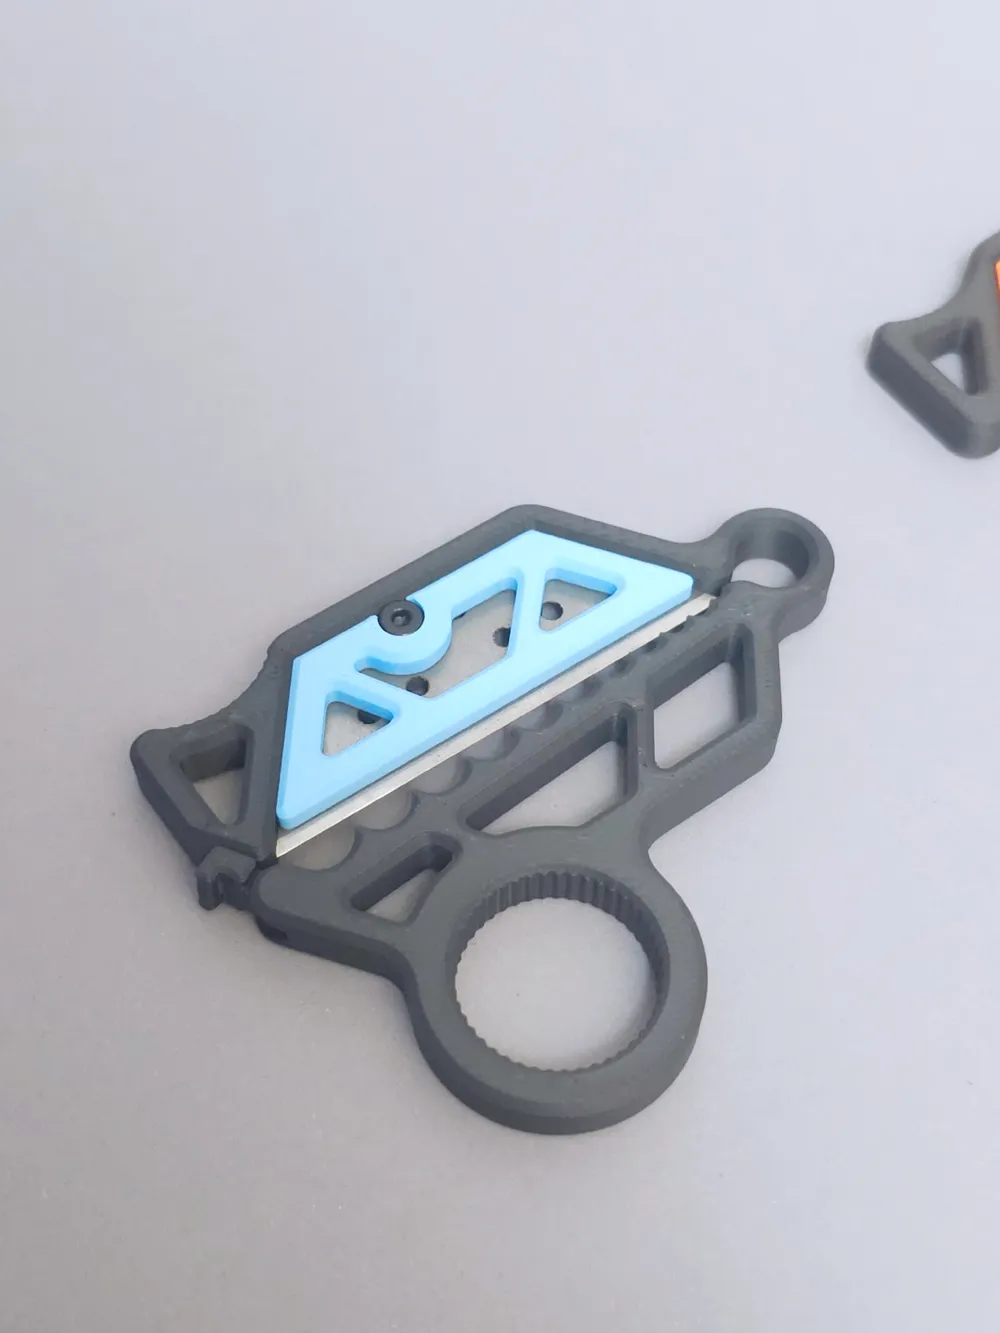
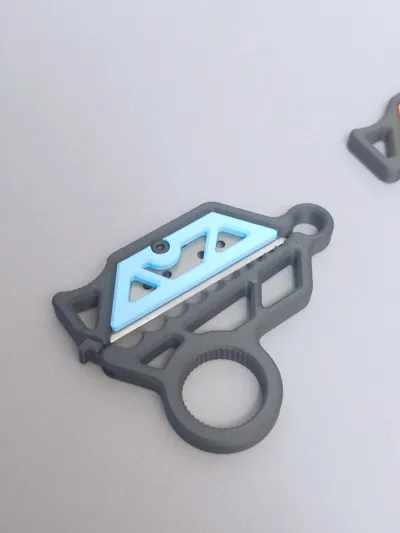
- 03-06-2026 - Released V2 version featuring a new safety latch and improved ergonomics with a built-in finger ring (uses M3x5 or BT3x5 screws).
- 26-05-2026 - Updated the 5mm screw version for a better fit and added a new 6mm screw version.
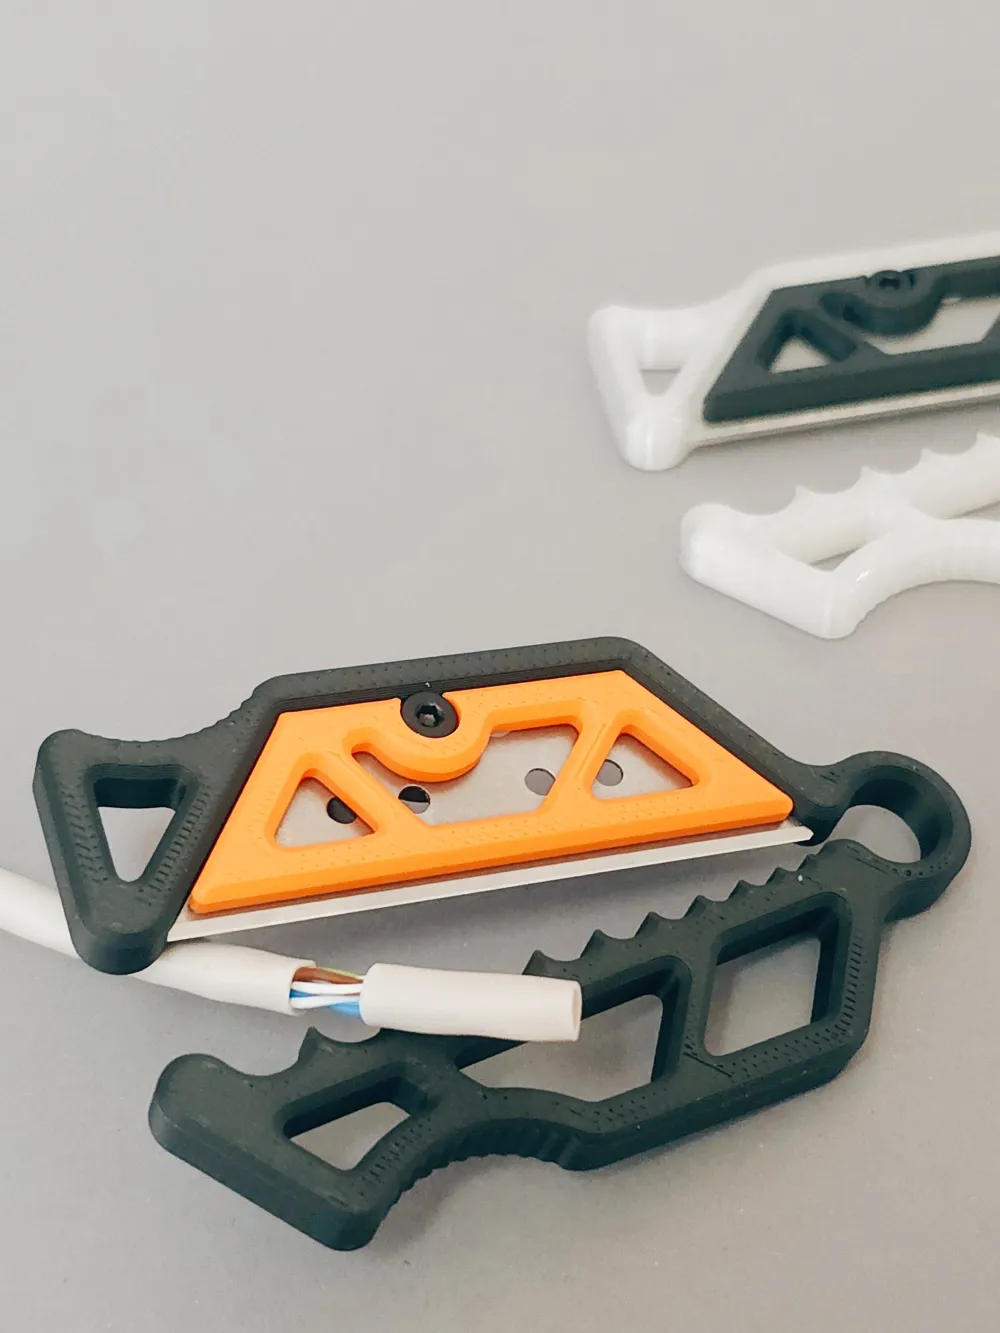
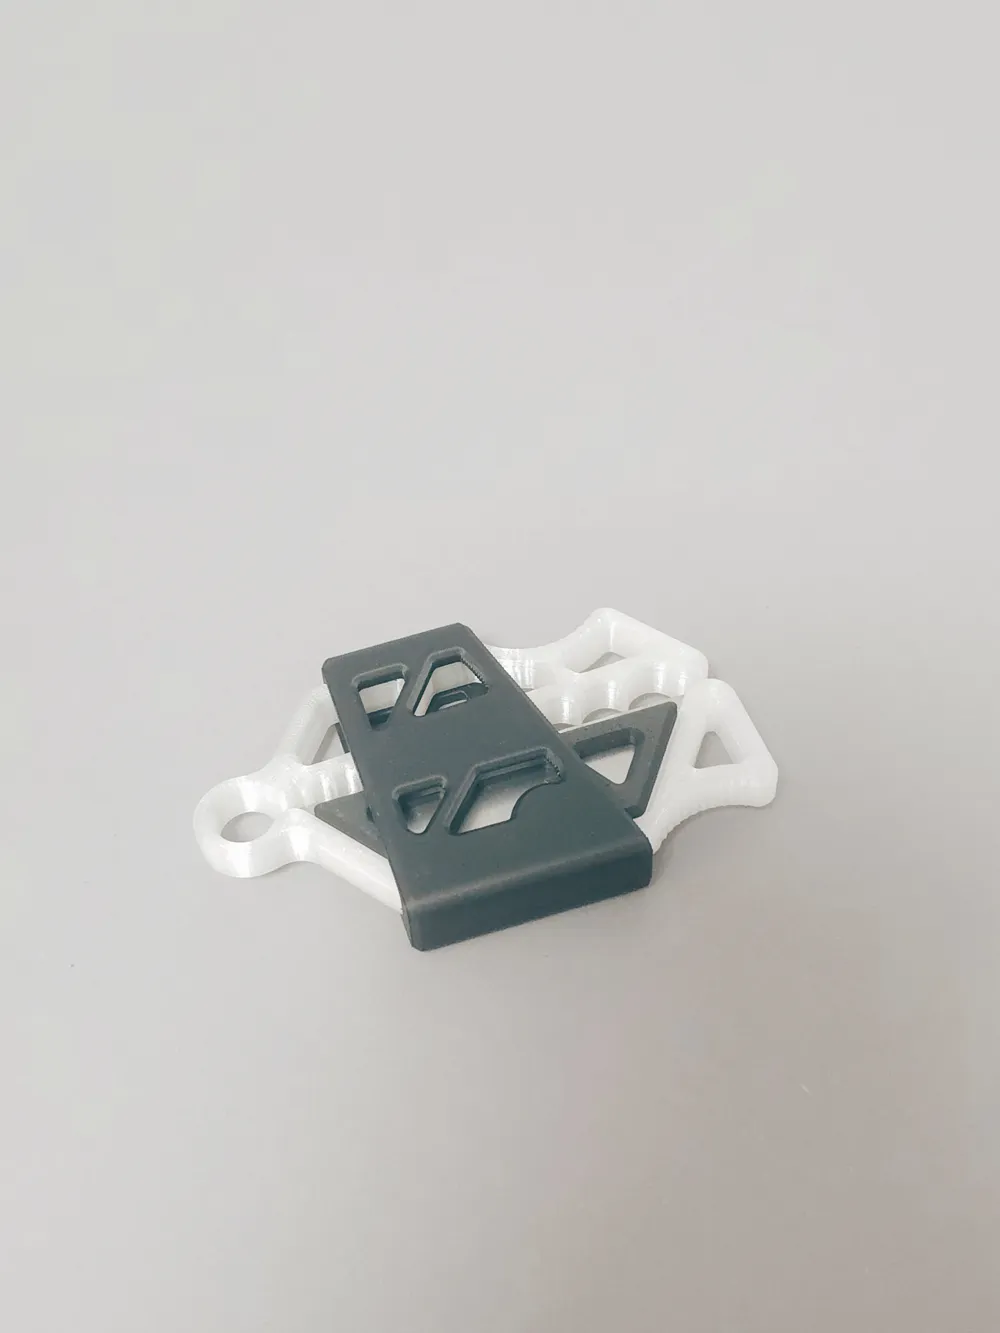
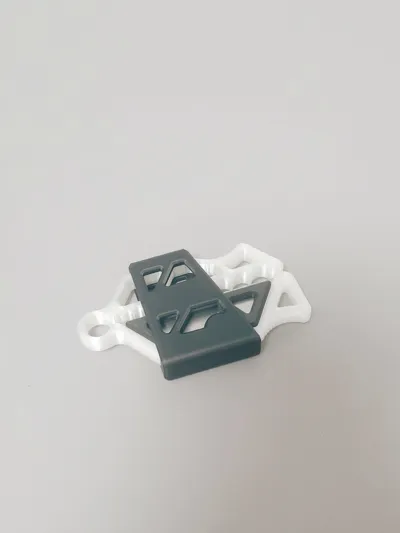
- 25-05-2026 - Added a new "Wire Stripper Case" to safely store the tool when tossed in your pocket or toolbox (as seen in the last picture).
Wire Stripper
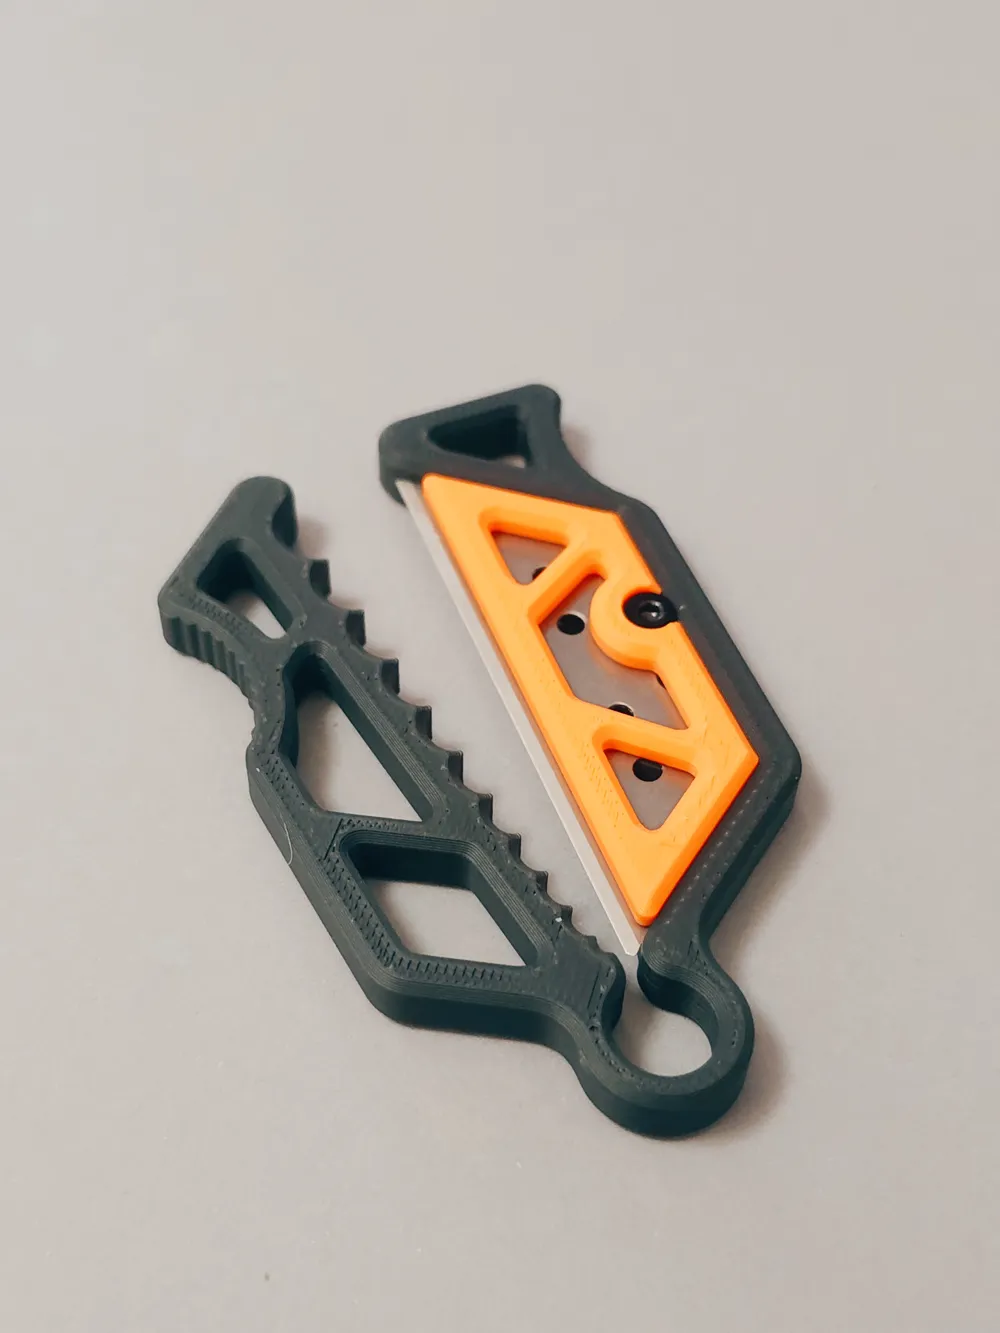
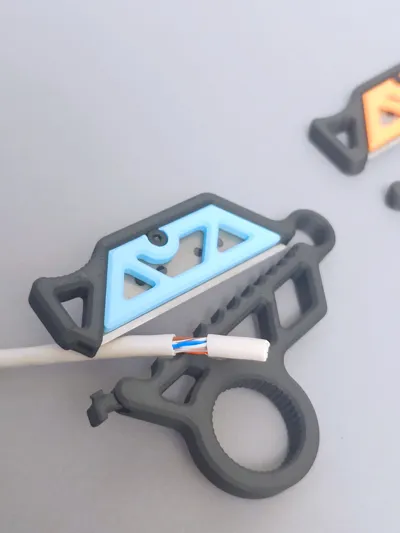
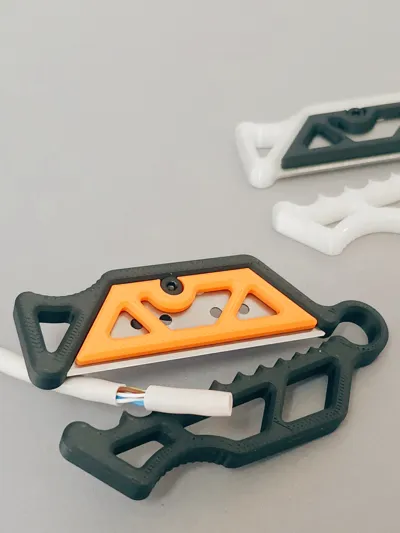
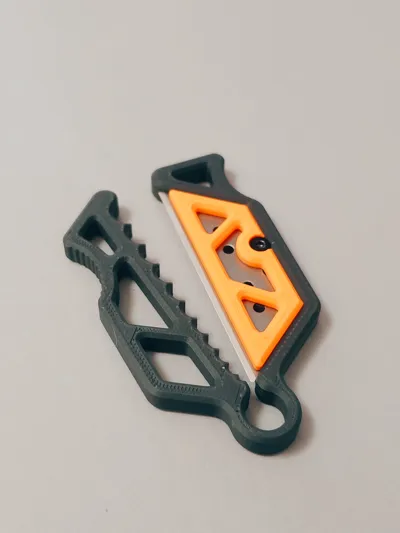
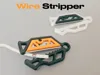
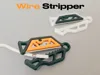
This compact Wire Stripper is a functional workshop accessory designed around a standard utility blade. Featuring a modular two-part assembly, it combines clean design with everyday utility for your electronics or wiring projects.
Why print this?
- V-Groove Logic: Features a continuous row of unique, precise wire-stripping sizes ranging from 8.0mm down to 2mm.
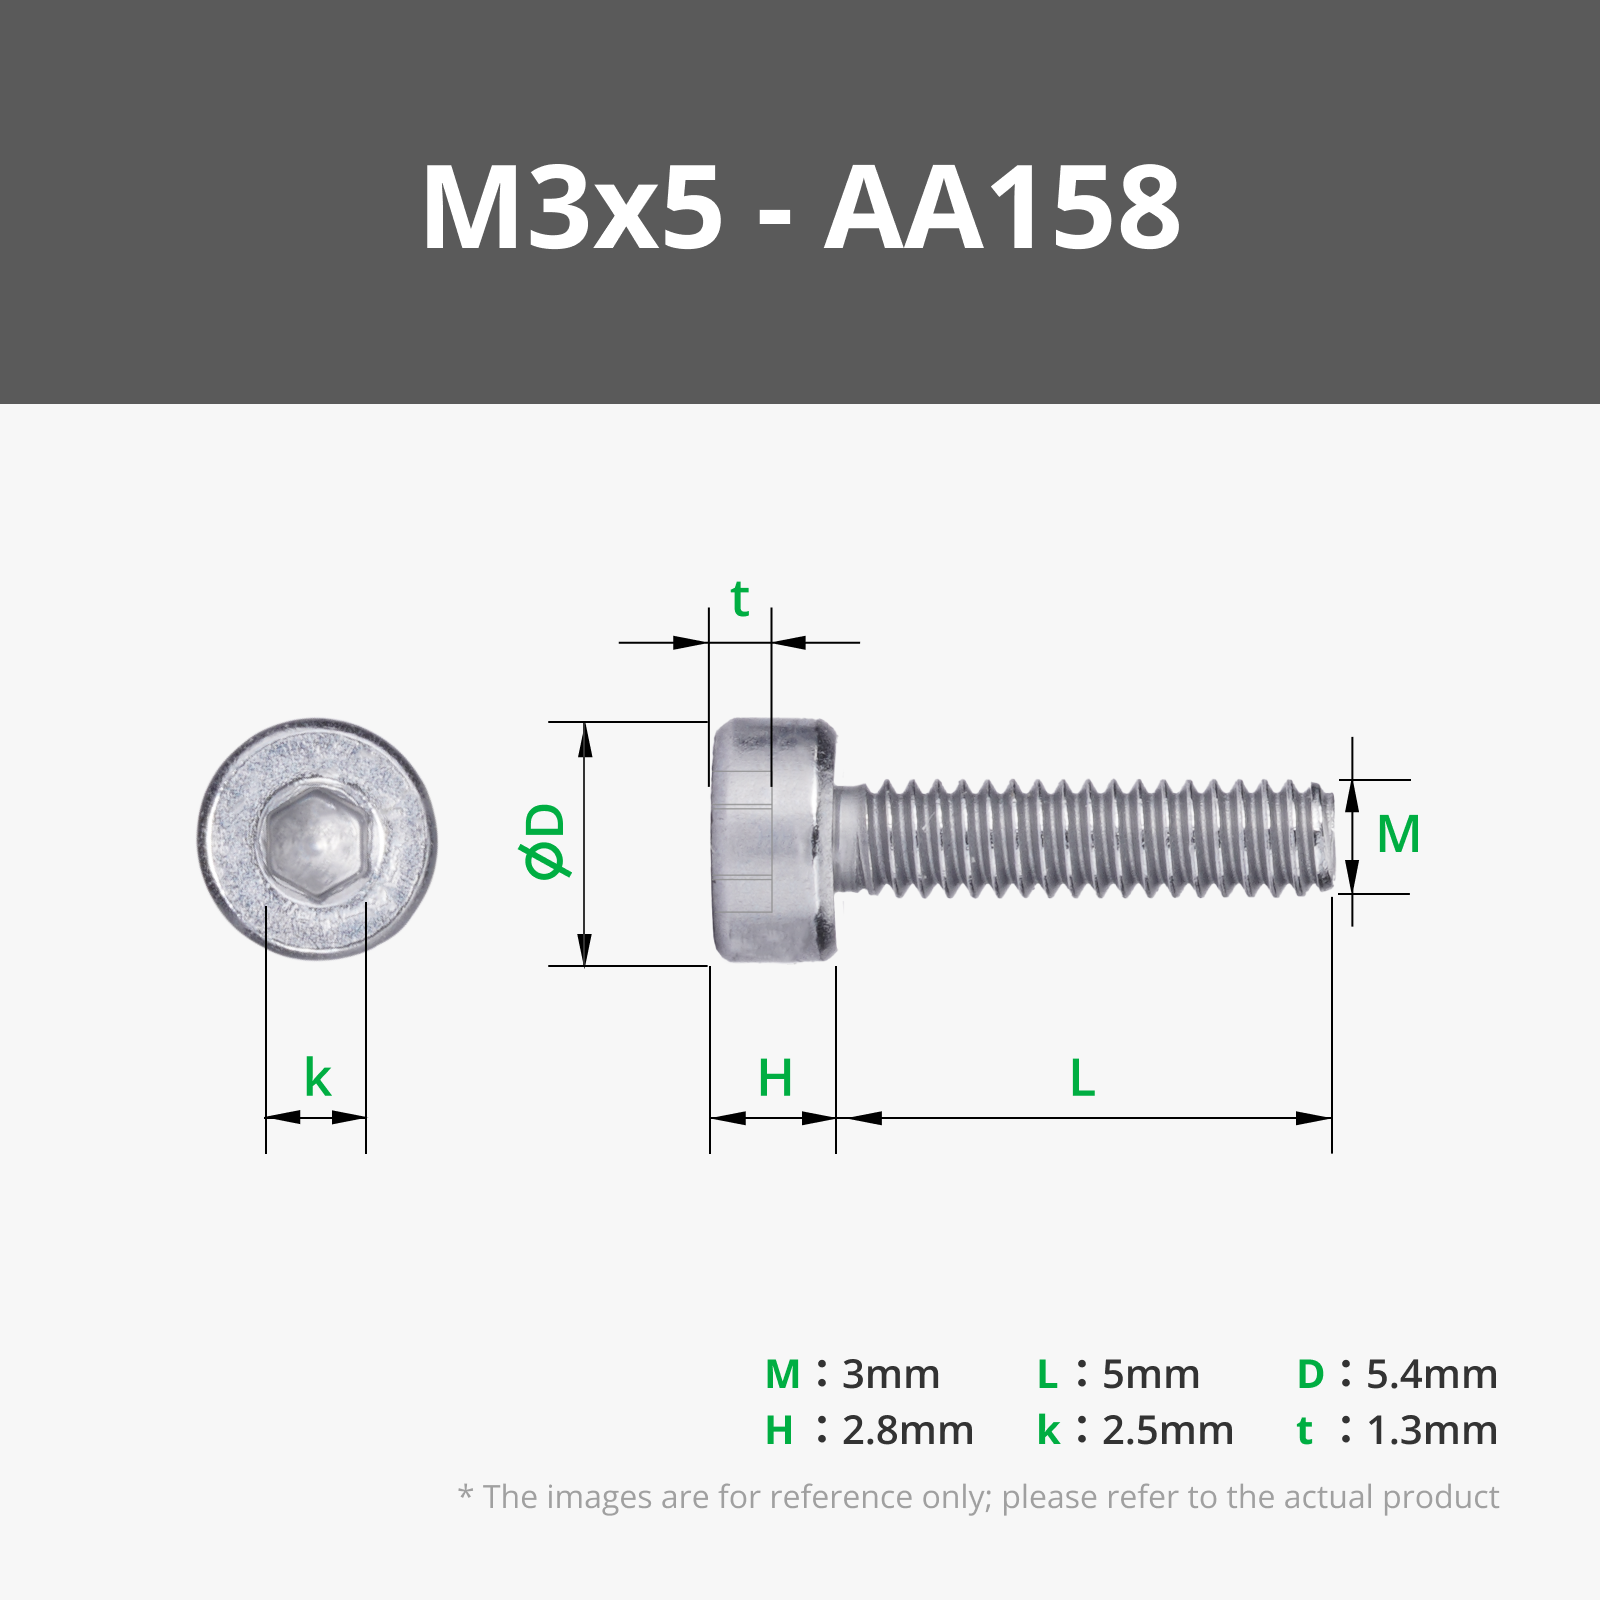
- Hardware Reinforced: Uses a standard utility blade and a single M3x5mm or BT3x5mm screw for a solid, secure hold.
Installation
- Place the standard utility blade into the Main Body.
- Position the Blade Clamp over the blade.
- Secure both parts together using one M3x5mm or BT3x5mm screw.
License

You shall not share, sub-license, sell, rent, host, transfer, or distribute in any way the digital or 3D printed versions of this object, nor any other derivative work of this object in its digital or physical format (including - but not limited to - remixes of this object, and hosting on other digital platforms). The objects may not be used without permission in any way whatsoever in which you charge money, or collect fees.


Comment & Rating (157)