
UK Wheelie bin OZ competition style wheel covers
Print Profile(3)
Bill of Materials

.jpg)

.jpg)

.jpg)
Description
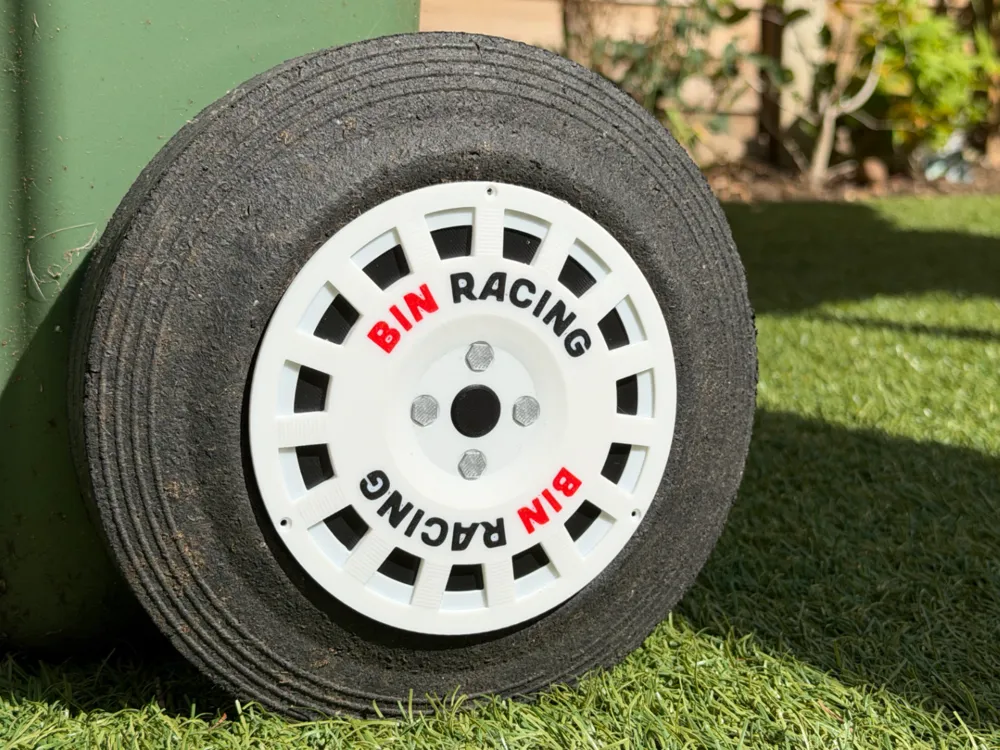
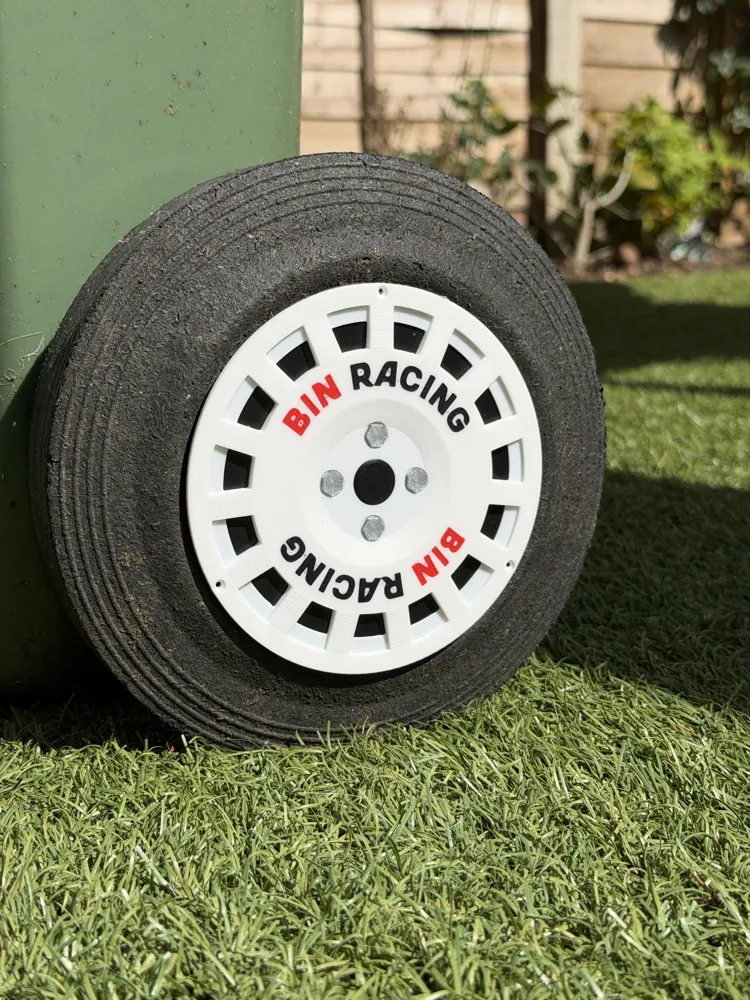
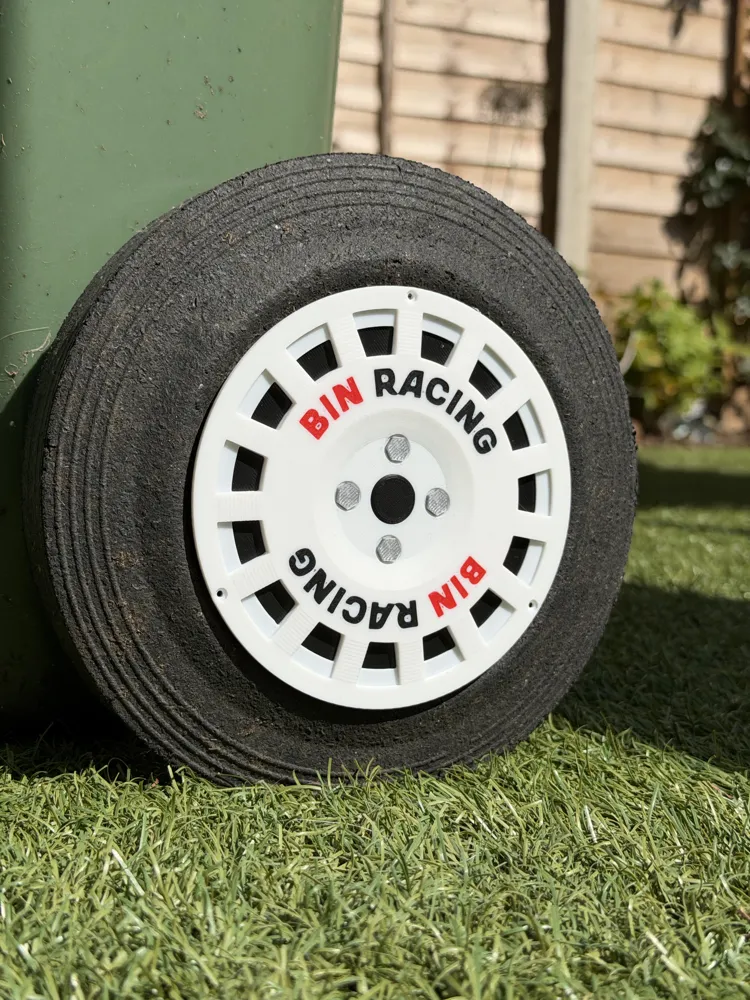
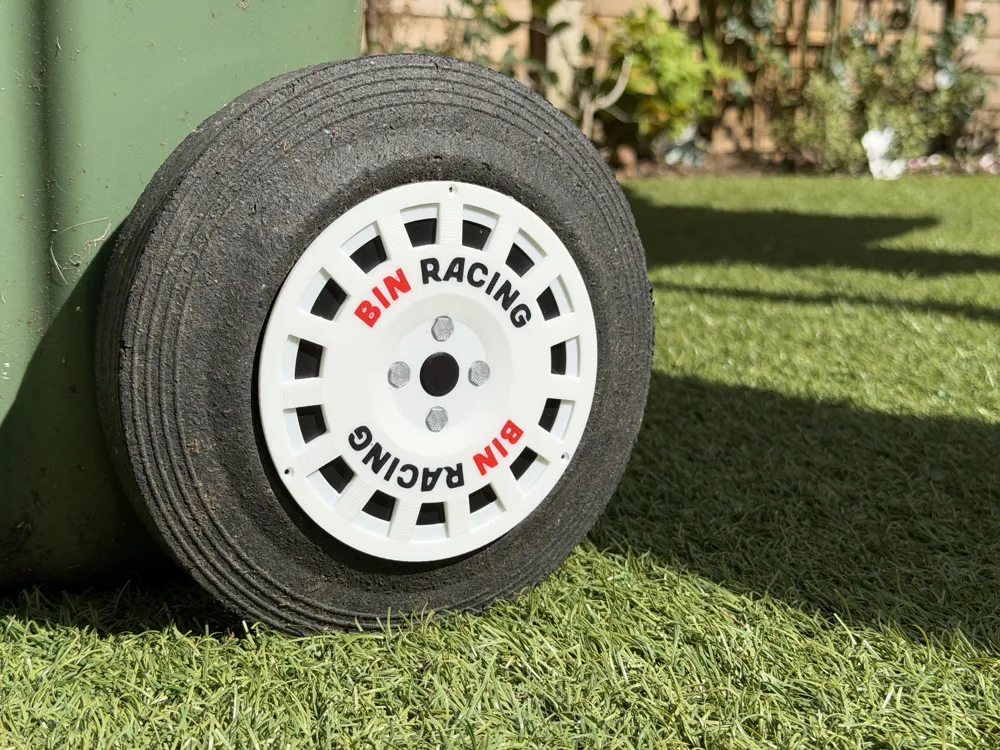
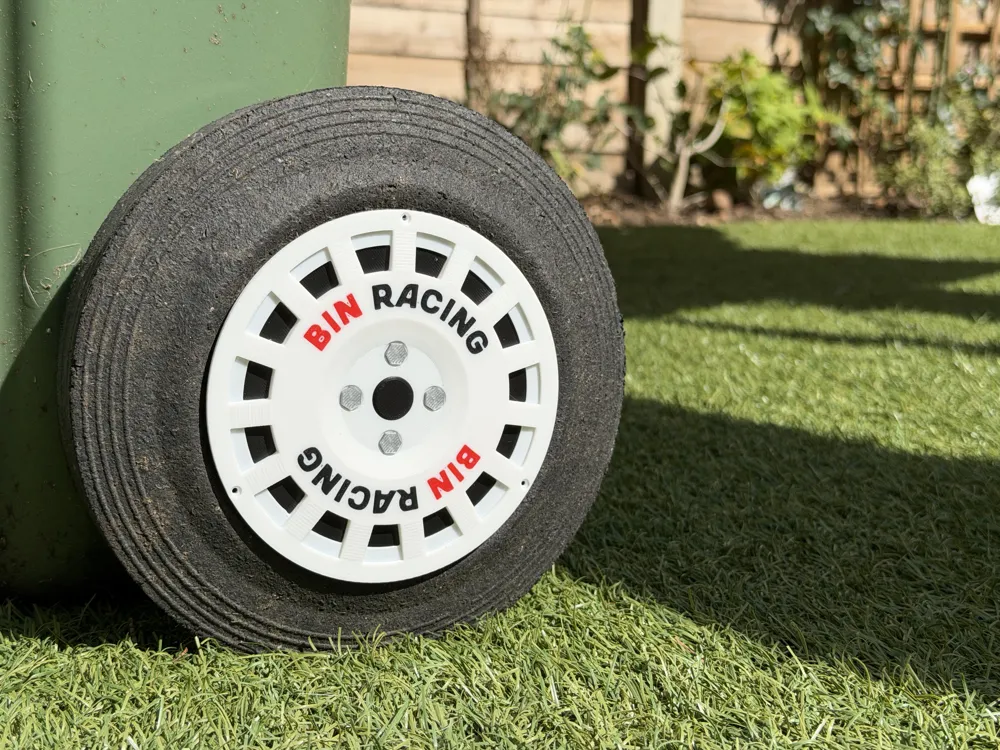
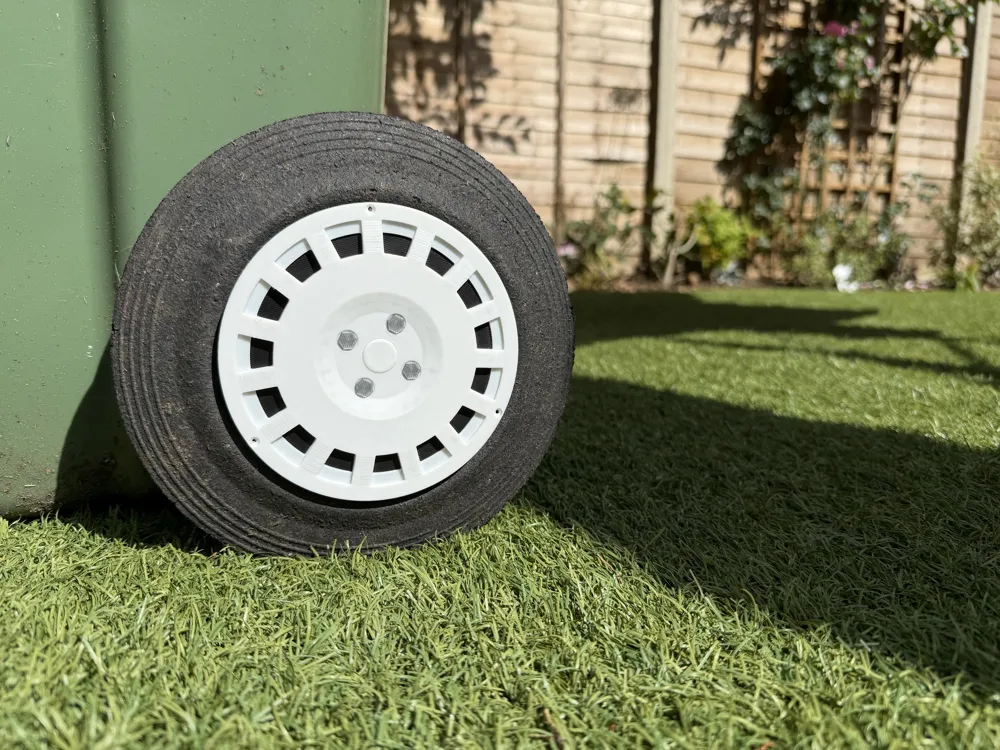
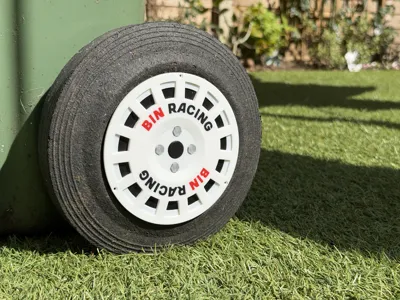
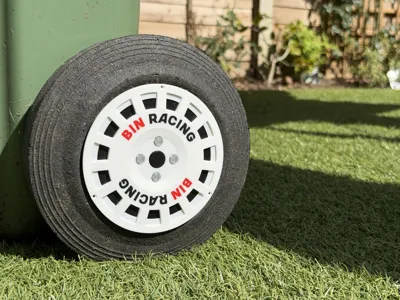
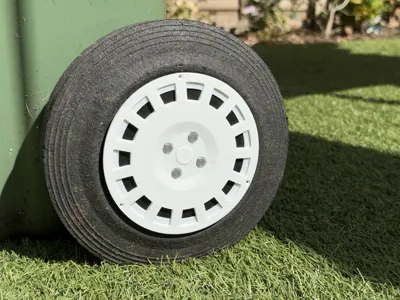
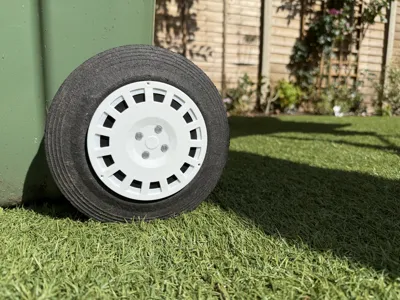
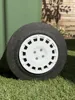
OZ Competition Style Wheelie Bin Wheel Covers
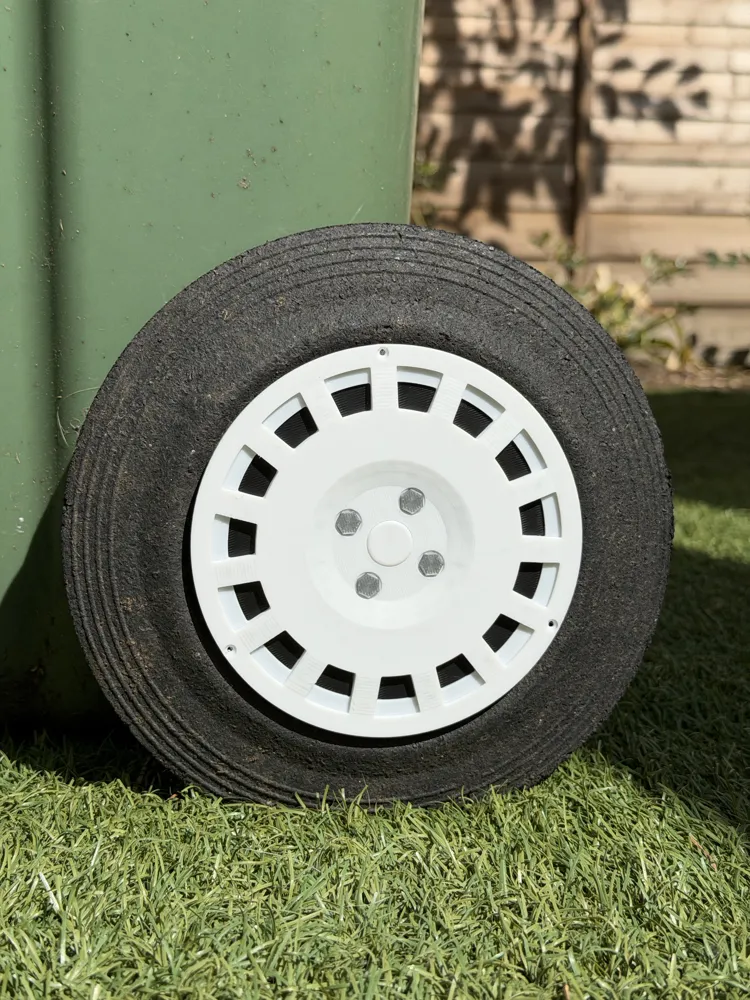
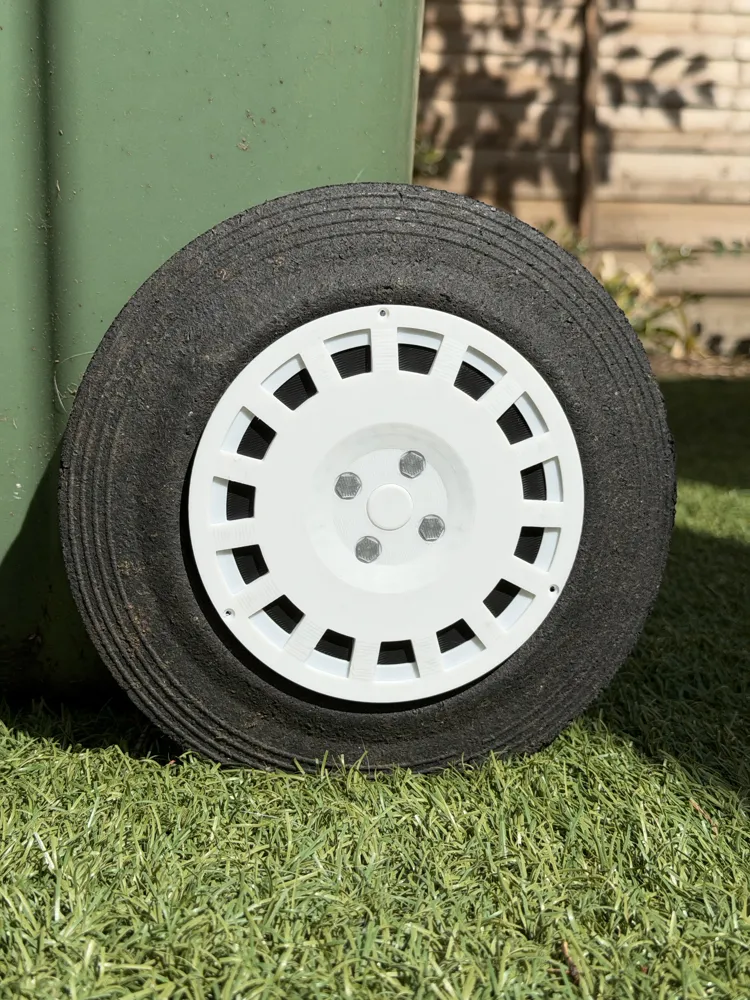
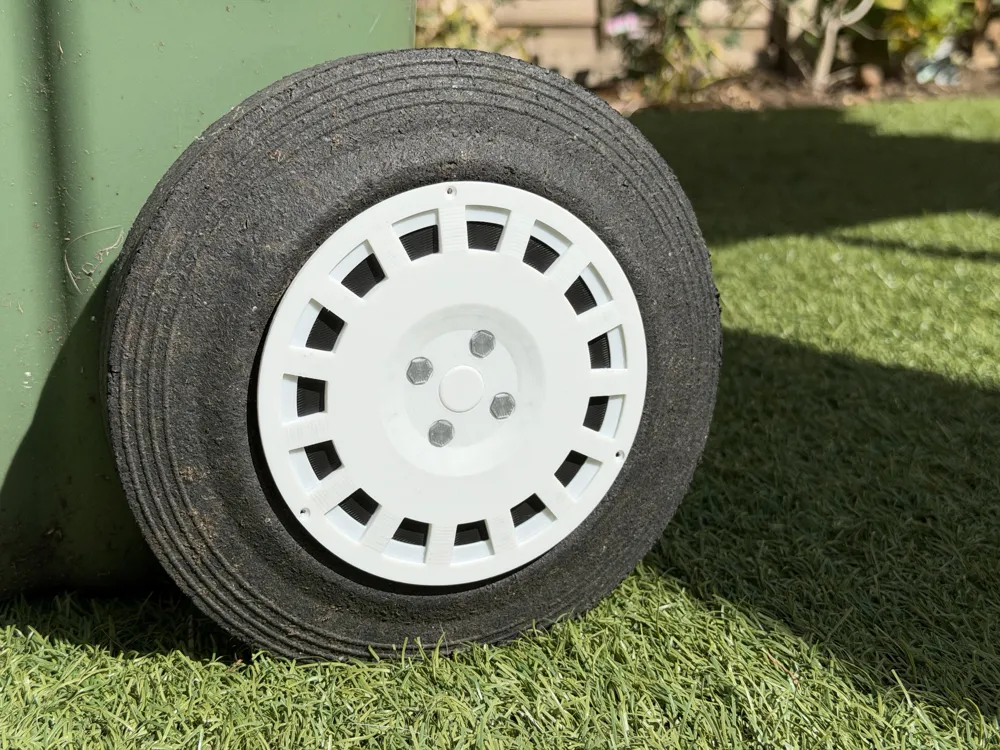
Give your wheelie bin a motorsport -inspired upgrade with these OZ Competition style wheel covers.
Designed to fit standard UK wheelie bin wheels (125mm), these covers recreate the iconic multi-spoke styling associated with classic OZ Competition alloys.
Perfect for adding a bit of touring car and modified car scene energy to bin day.
This set includes three different versions / profiles:
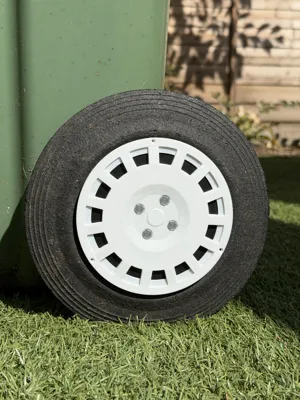
- A simple two-colour version for non-AMS printing
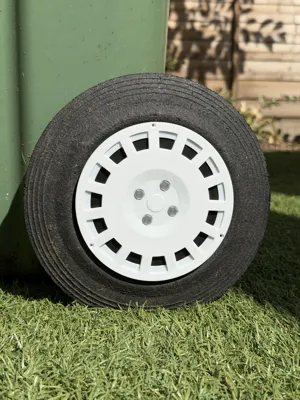
- A clean AMS version without decals
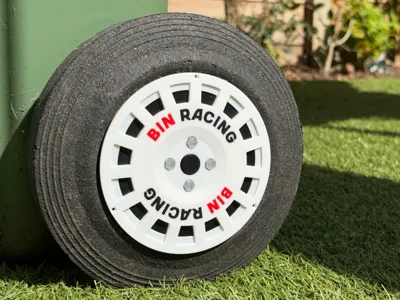
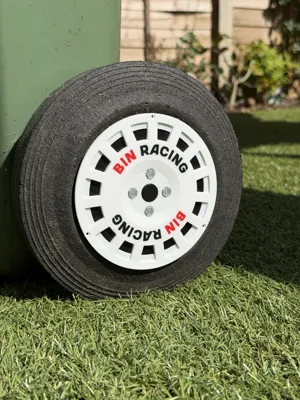
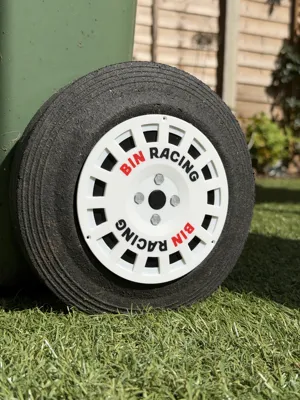
- An AMS version with decal detailing
The AMS versions feature separate body colour and bolt detail colours, allowing you to customise the appearance to suit your own car or favourite colour scheme directly within Bambu Studio.
The covers mount directly onto the original wheelie bin wheels using Bambu MakerSupply BT2x6 self tapping screws for a clean and secure fit.
Boost Me (for free)
Boost Me (for free)
If you enjoy the model or print a set for your own bin, boosts, makes and photos are always appreciated.
-----
Before you start
Clean your print bed and hot end
Clean your plate first, following your usual routine. Dish soap works best, clean and then rinse thoroughly, ensure the plate is dry and free of debris before putting back in the printer.
Leftover filament residue on your hot end can cause unwanted colour streaks, which. Please inspect your hot end before starting the print, if you spot any clumps or leftover filament, follow Bambu's recommended cleaning guide to remove.
Hardware required
- Bambu MakerSupply BT2x6 self tapping screws (linked in the BoM)
- Wheelie Bin!
-----
Printer setup
Non-AMS version
The two-colour non-AMS version is designed for a simple filament swap setup.
Recommended colours:
- Black background
- Silver wheel face
To achieve the two-colour effect:
- Print the first two layers in black
- Add a manual pause at layer 2 in the slicer (go to layer 2, right click, add pause)
- Swap to silver filament
- Resume printing from layer 3 onwards
AMS versions
The AMS versions include:
- Version with decals
- Version without decals
The body colour and bolt details are assigned as separate colours, allowing easy colour customisation inside Bambu Studio.
You can tweak the colours to match your own car, wheel setup or preferred style before printing.
-----
Printing
Recommended settings
The supplied 3MF profile is recommended for the intended fit and appearance, adaptive layer height us used to help with smoother curves / chamfers.
Please choose filament suitable for the weather in your area. These test prints are in PLA, but I will be ordering some PLA Tough which I've listed in the Bill of Materials.
Layer change
For the non-AMS version, the colour layer starts at layer 3.
If not using an AMS:
- Insert a pause at layer 2
- Change filament before continuing the print
AMS colour setup
Before starting an AMS print, double check all filament assignments inside Bambu Studio to ensure the correct colours are mapped to the correct sections.
-----
Assembly
Fitting the covers
Position each cover centrally over the existing wheelie bin wheel and secure using the Bambu MakerSupply BT2x6 self tapping screws. I peronsally drilled a very small starting hole, then used a hex screwdriver (for applying pressure easier) to screw them in place.
Do not overtighten the screws, especially when using PLA, as excessive force may crack the print.
Outdoor use
For long-term outdoor exposure, PLA Tough, PETG or ASA is recommended over standard PLA.
-----
Troubleshooting
Colours not lining up correctly
For the non-AMS version, make sure the filament change occurs after layer 2. The colour layer starts at layer 3. Please test this in your slicer if unsure.
AMS colour assignment issues
Double check your AMS filament assignments before starting the print to ensure the correct colours are mapped to the correct sections.
-----
Disclaimer
This is a fan-made design inspired by classic OZ Competition alloy wheel styling. OZ and associated product names remain the property of their respective owners.
Please install and use these covers at your own discretion. The creator accepts no responsibility for damage to wheelie bins, wheels, fixings, property or injury resulting from installation, misuse or modification of the printed parts.
License

You shall not share, sub-license, sell, rent, host, transfer, or distribute in any way the digital or 3D printed versions of this object, nor any other derivative work of this object in its digital or physical format (including - but not limited to - remixes of this object, and hosting on other digital platforms). The objects may not be used without permission in any way whatsoever in which you charge money, or collect fees.


Comment & Rating (3)