Modular & Functional Target fun hobby


Print Profile(1)
Bill of Materials

Description
Boost Me (for free)
🙌 Thank you for visiting my creative world! Every boost you send me is more than just a click: it's a real spotlight on my work, and a huge source of motivation to continue creating unique lamps, decorations, and objects. ✨ If you like what I do, a boost helps me to: -Gain visibility on MakerWorld -Create even more original models -Offer exclusive content to members 💡 A boost is simple but super powerful support. 💖
Membership
✨ Welcome to my creative workshop! I design original, decorative, and customizable 3D printed lamps. Whether you're a fan of geek, retro, designer, or artistic decor, you'll find something here to light up your space differently.
🔒 Important: Most of the models I offer are based on licenses or brands belonging to their original creators. They are therefore intended for strictly personal and non-commercial use.
🍻 Want to use a model for commercial purposes?
I simply ask for a small gesture for the time invested in modeling:
💬 Buy me a virtual beer (€2.50 where I live!)
You can do it via PayPal right here ⬇️
🙏 Thank you for respecting the work and for your support!
https://www.paypal.me/clairenteau
My Etsy shop ✌️
📝 Description:
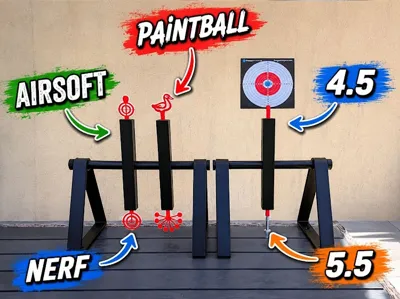
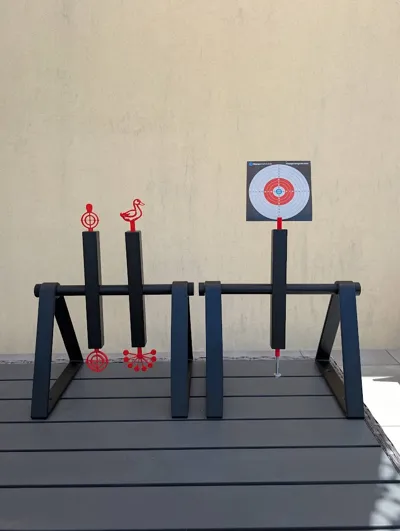
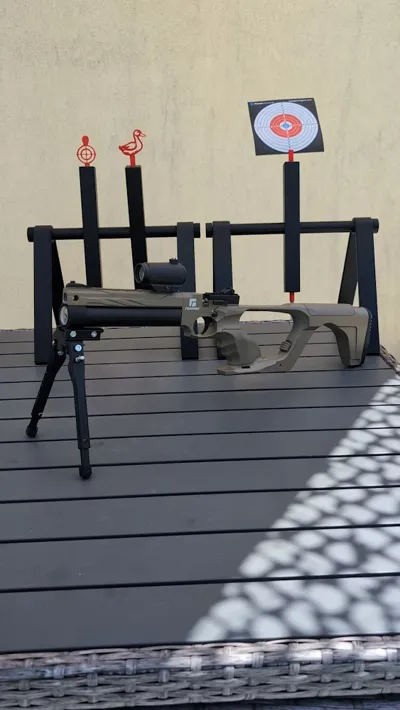
Here is a modular target designed for fun, simplicity, and above all, personalization!
Designed to be robust, scalable, and easy to print, it adapts to many types of uses:
- PCP
- airsoft
- Nerf
- paintball
- lead 4.5 / 5.5
- gel blaster
- recreational shooting
- precision training
- outdoor plinking
The system is fully disassemblable and configurable according to your wishes.
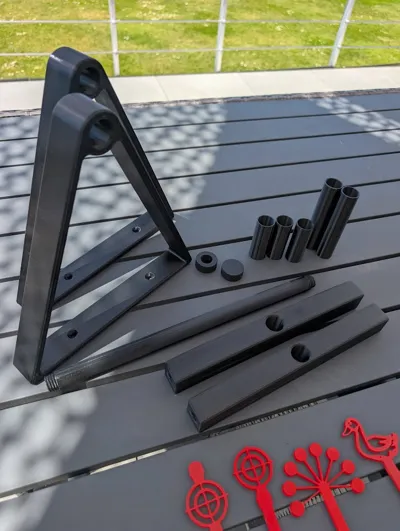
⚙️ Operation & Assembly
The structure relies on:
- two robust pre-drilled feet allowing simple attachment
- also possible to use a clamp for quick installation
- a printable central axis with screwable caps
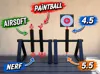
Two swingarm configurations are available:
✅ Double arm
- with 63 mm spacers
- allows two arms to be used simultaneously
✅ Single arm
- with 109.5 mm spacers
- perfect for large targets or simpler assembly
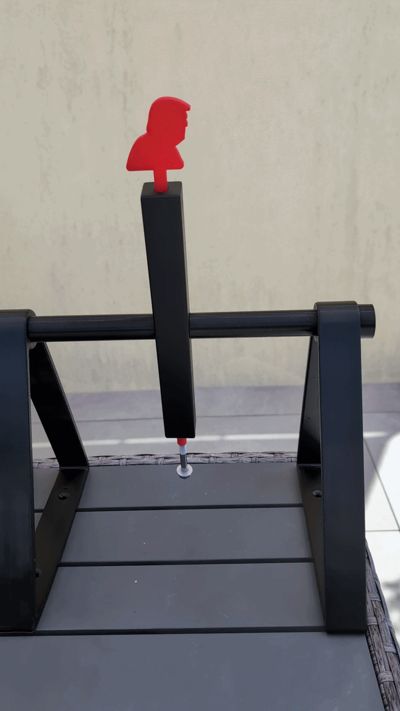
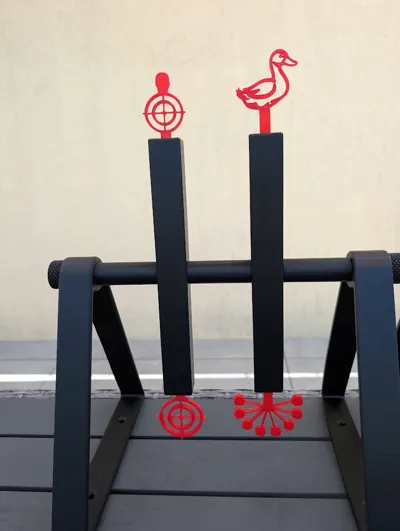
The targets simply slide into the upper and lower holes for ultra-fast replacement.
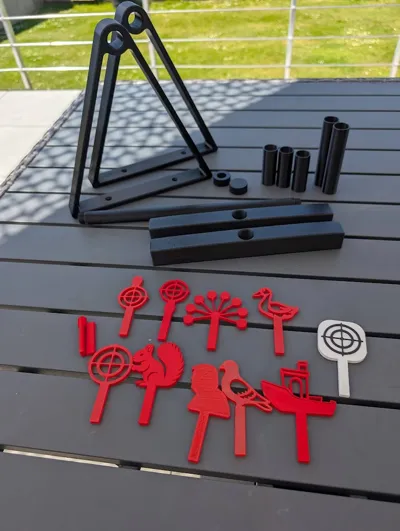
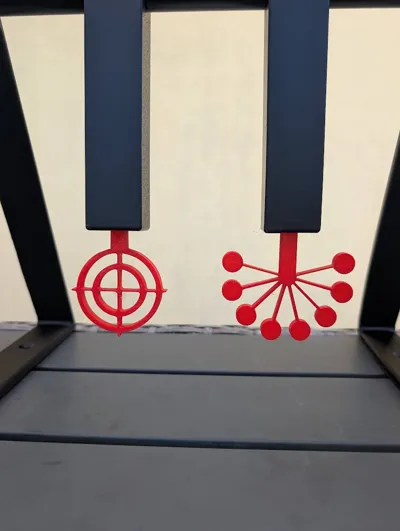
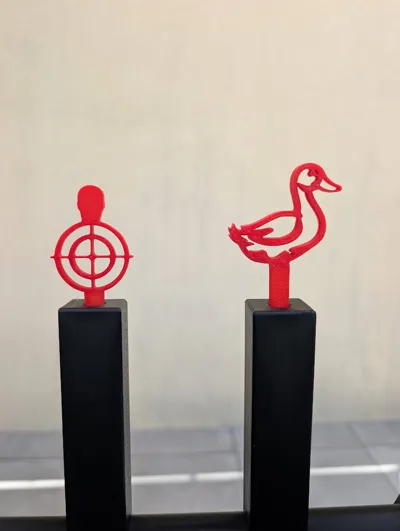
🎯 Included Targets
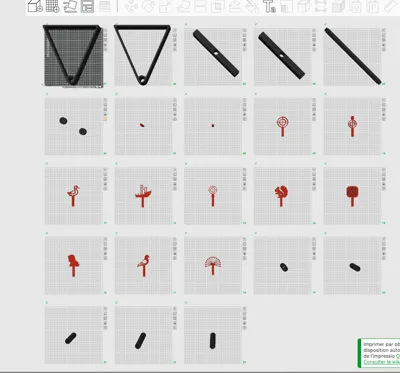
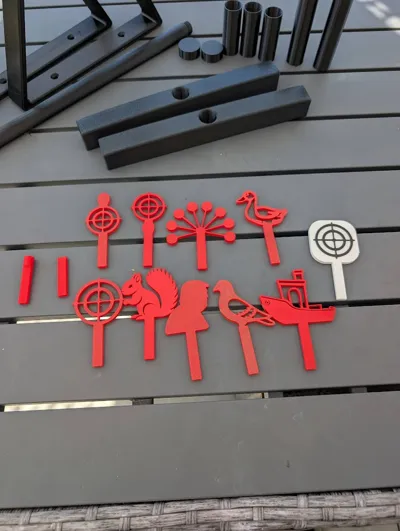
Several target models are provided:
- 4 aiming target models
- Benchy target
- duck target
- pigeon target
- squirrel target
- Trump target
- multiple target
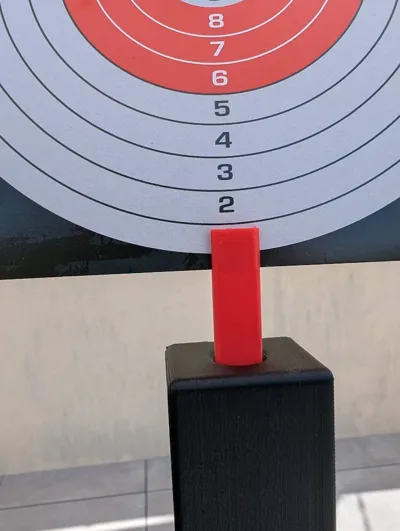
A cardboard holder is also included for using classic paper targets.
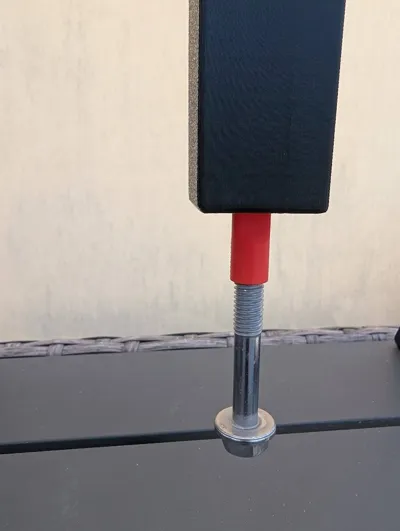
Two accessory supports also allow adding an m8/125 threaded screw type to serve as a counterweight to keep certain targets in an elevated position for swingarm systems.
🧵 3D Printing
The model prints easily in:
- PLA
- PETG
Both materials have been tested without issue.
And regarding the targets… I can already see you coming 😄
“Yes, but it's going to be expensive in consumables…”
➡️ Well, no!
With my settings, each target weighs less than 4 g, or about €0.04 per piece with economical PLA under €10 per kilo.
The whole point is to shoot them down, so it's best to use affordable filament 😁
🔫 Usage
Personally, I mainly use this target with a PCP pistol between 15 and 20 meters, and the result is really fun.
But it is also perfectly suitable for:
- PCP rifle
- airsoft
- Nerf
- paintball
- gel blaster
- recreational shooting
- precision training
- garden plinking
- silhouette shooting
- dynamic shooting
🛠️ Tips for perfect adhesion in 3D printing:
Clean your print bed thoroughly before each print. Grease residue, dust, or fingerprints can impair adhesion and cause warping.
Check bed calibration: a well-leveled bed ensures a uniform and well-adhered first layer.
Use an appropriate adhesion surface: depending on your material, apply a thin layer of glue stick, an adhesive spray, or a specific tape (e.g., Kapton, BuildTak).
Set the bed temperature correctly to promote adhesion according to the material used (PLA, ABS, PETG, etc.).
Reduce the print speed of the first layer: a slower speed allows for better filament adhesion to the bed.
Include a “skirt” or a “brim” in your slicer to stabilize the first layer and limit warping.
License
You shall not share, sub-license, sell, rent, host, transfer, or distribute in any way the digital or 3D printed versions of this object, nor any other derivative work of this object in its digital or physical format (including - but not limited to - remixes of this object, and hosting on other digital platforms). The objects may not be used without permission in any way whatsoever in which you charge money, or collect fees.
Comment & Rating (0)