
OO Gauge Model Railway - LNER Teak Coach
Print Profile(3)
Description
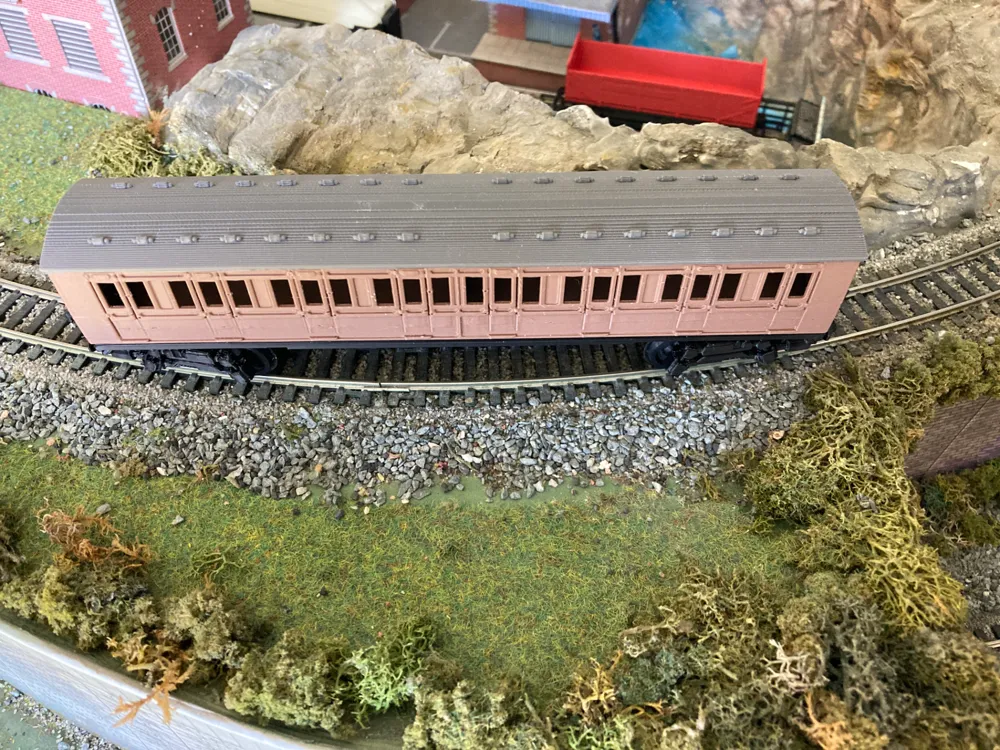
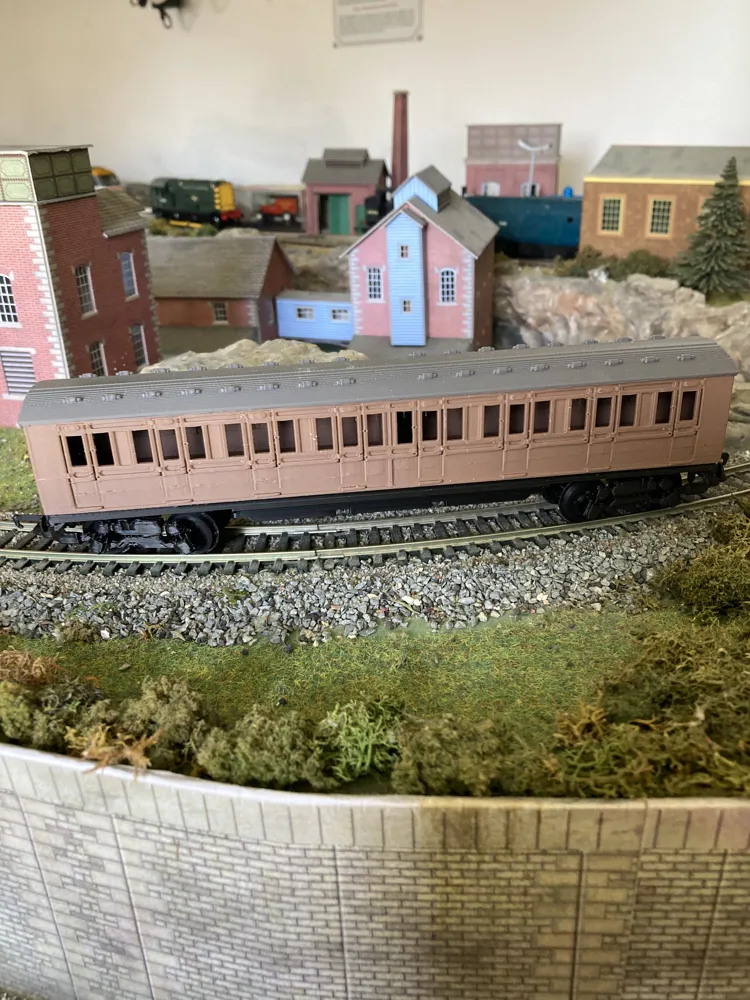
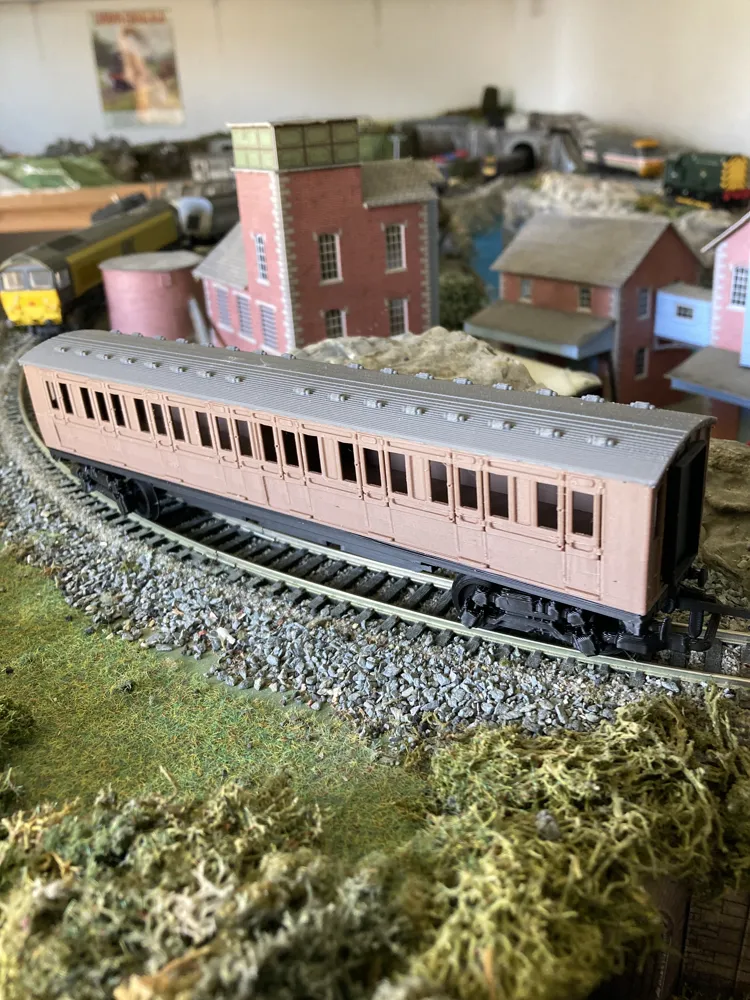
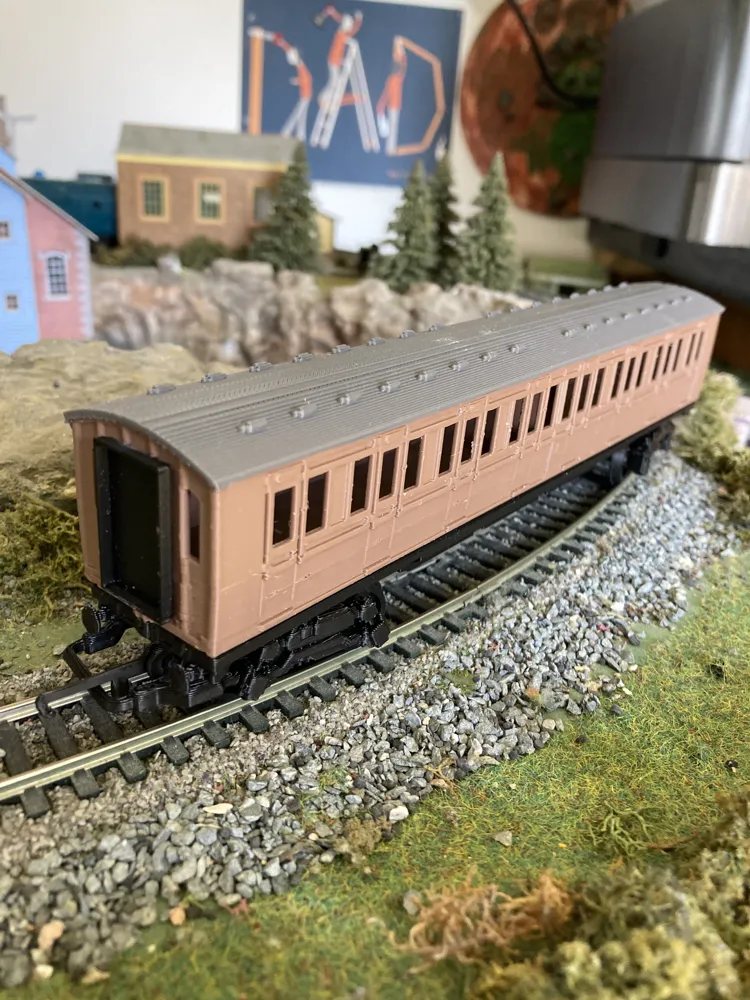
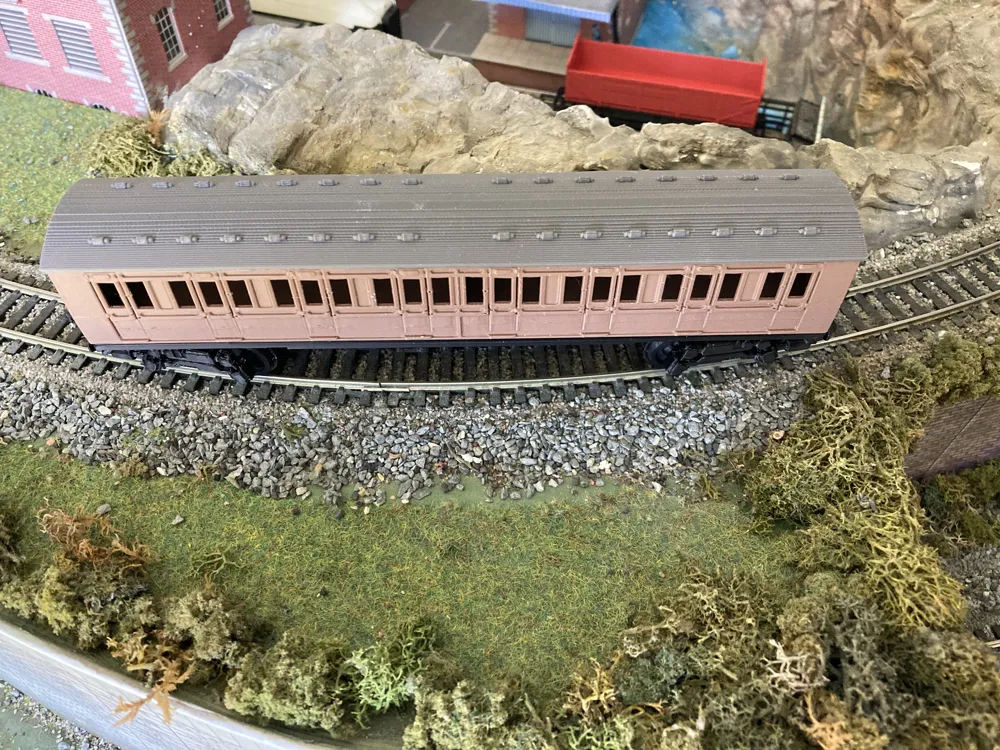
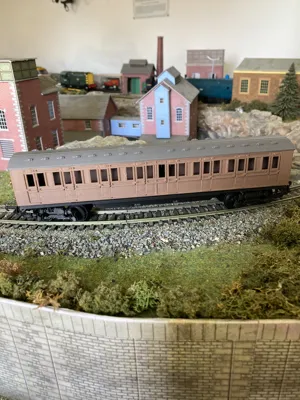
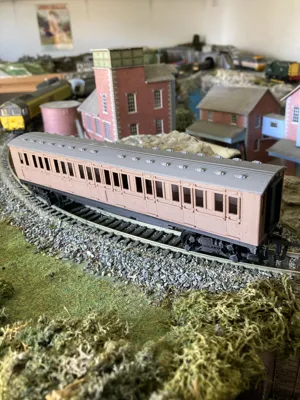
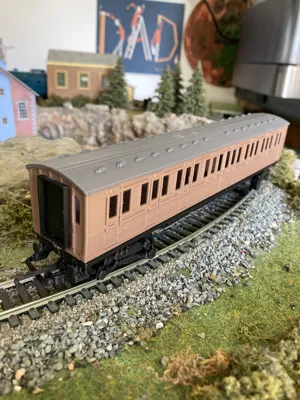
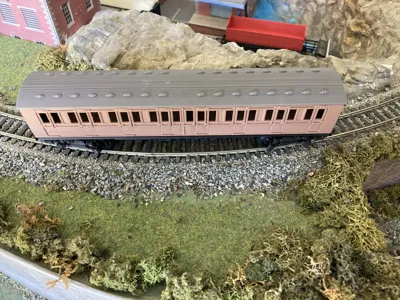
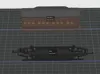
OO Gauge (1/76) Model Railway LNER Teak Coach
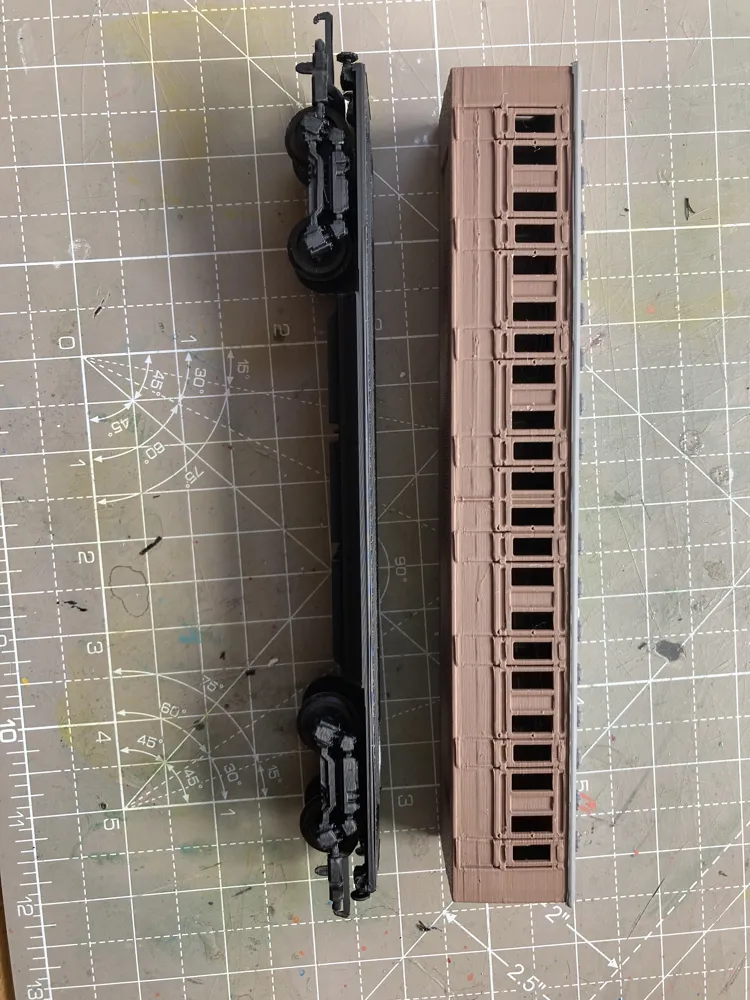
A new take on the classic LNER Teak Coach with all printable parts to run, including main body, chassis, double bogies and separate print profile for the wheels and axles. This includes the updated wheels version to run better over newer points.
The end result runs very well on a OO gauge layout with gradiants and radius 2> bends and points.
Note the bogies will not accomodate aftermarket wheel sets as they are slightly wider and are intended for the printed wheels and axles only
Print profiles use AMS although they can be printed single colour and painted - they create an effective, fun, functional model. Any graphics are by use of clear vinyl printable sticker sheets.
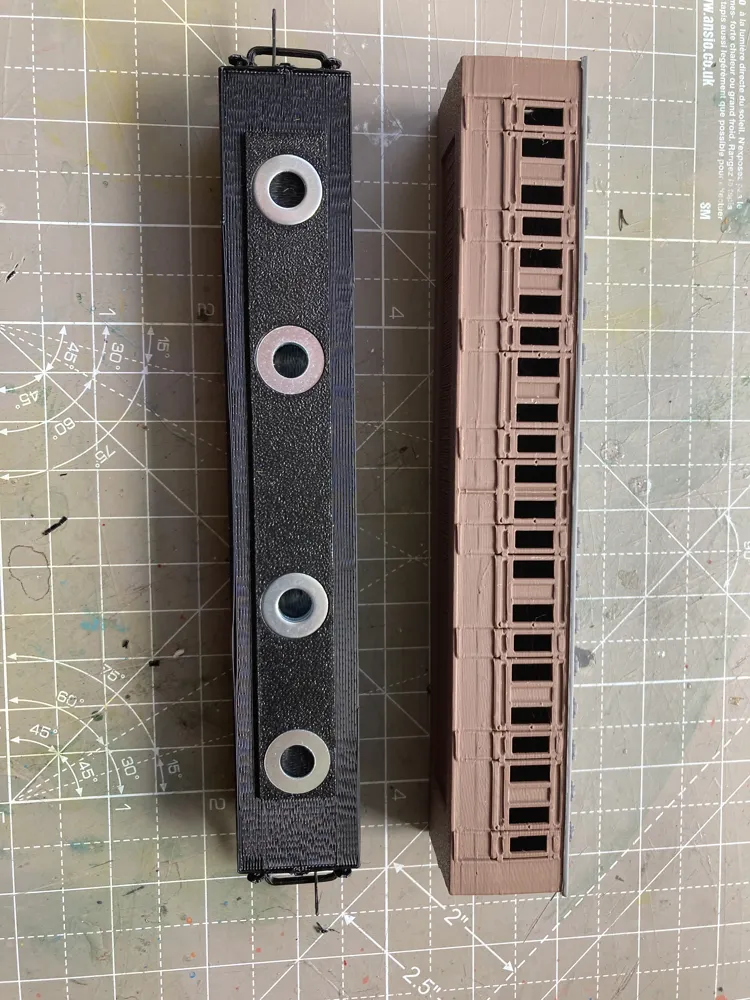
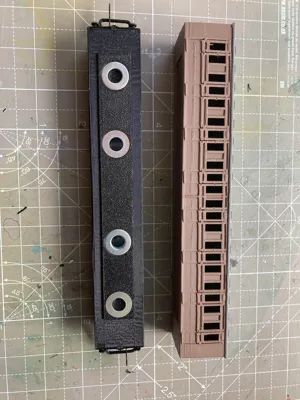
Add ballast to each of these models as the plastic wheels and overall weight is too light - I use heavy gauge M10 and M8 washers and ballast chambers are provided on each of my projects, either as separate items to print; fill with washers and fix in position or they are built into the bogies.
Caution when cutting off the support material on the bogies, and do not try and release the hook, it will work loose and there is enough play in the hook arm anyhow.
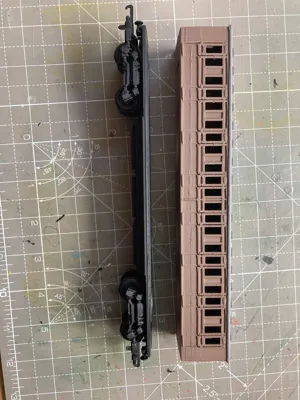
Assembly; the chassis is glued to the underside of the main body, ensure support material is removed as there is a slight recess to aid alignment. The body can only be aligned one way. Glue the vestibules on each end within the recess. The wheel axles are a tight fit at first - similar to replacing those on a RTR model - insert one end of the axle in the bogie axle hole, and prize outward on the opposite side just enough to slot the other end of the axle in.
Parts needed; M8 washers, glue
Documentation (1)
License



Comment & Rating (3)