
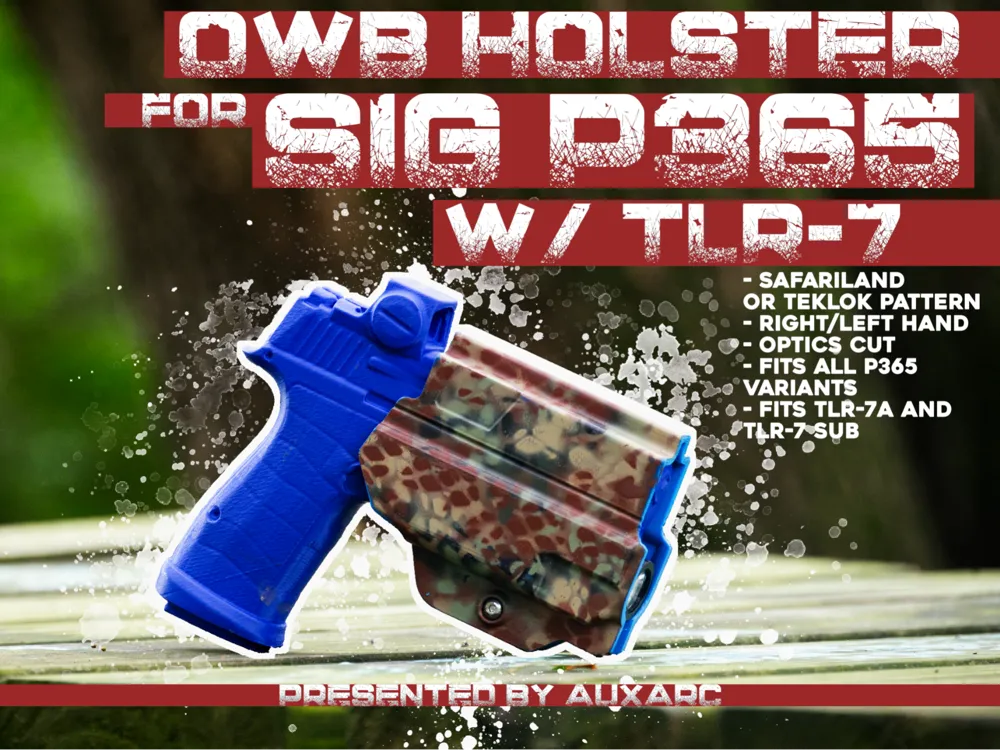
OWB Holster for SIG P365
Print Profile(1)
Description
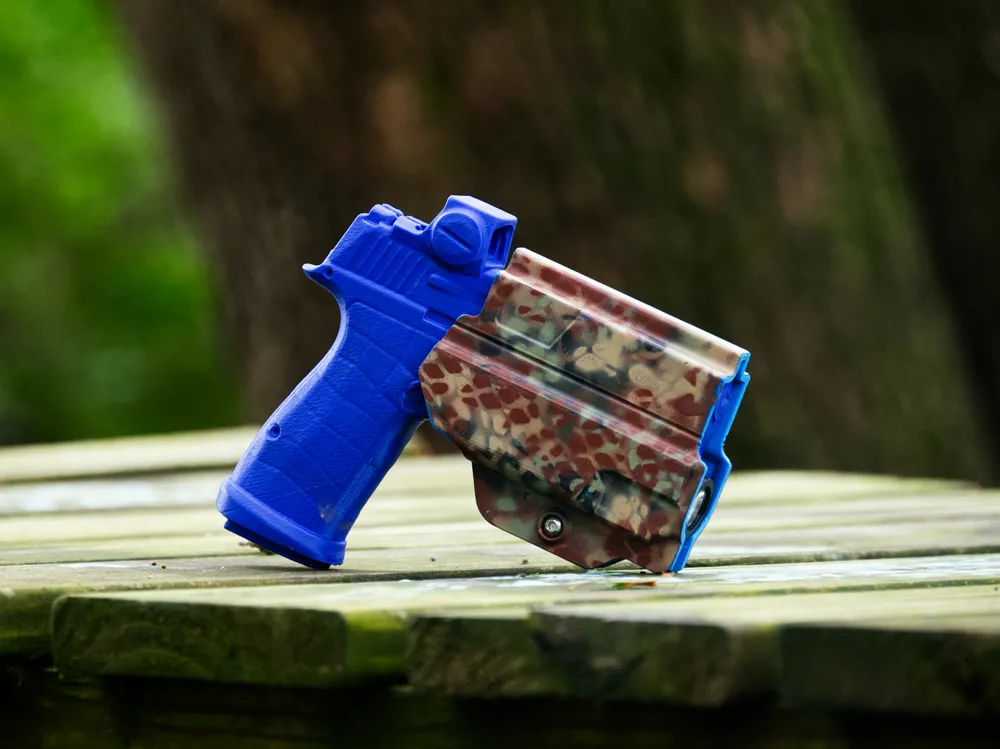
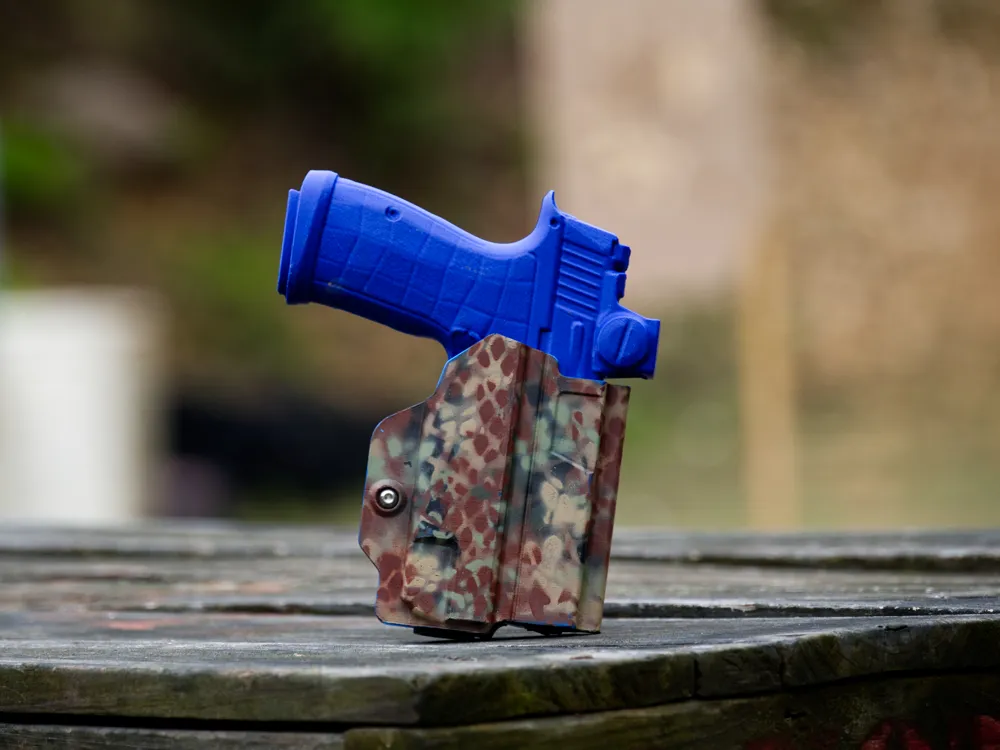
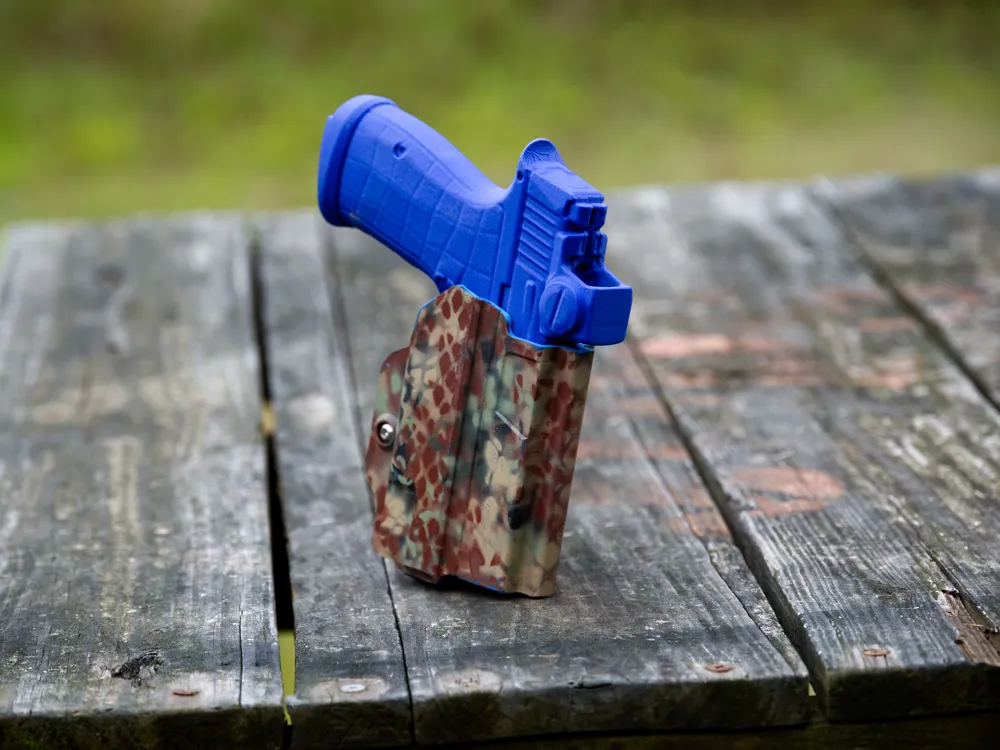
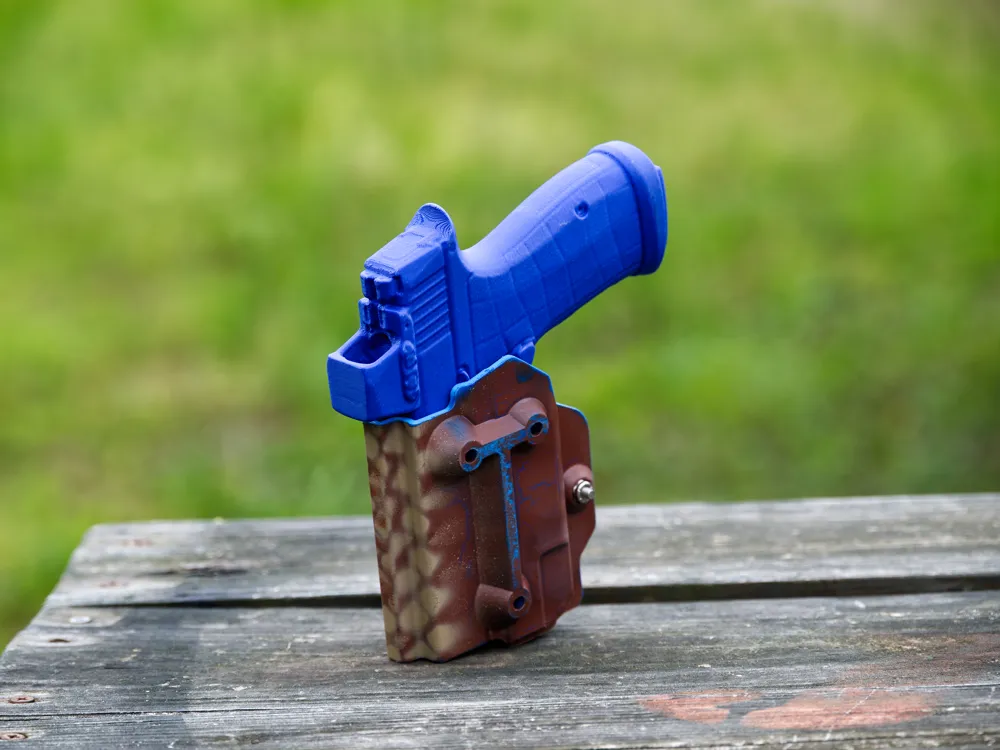
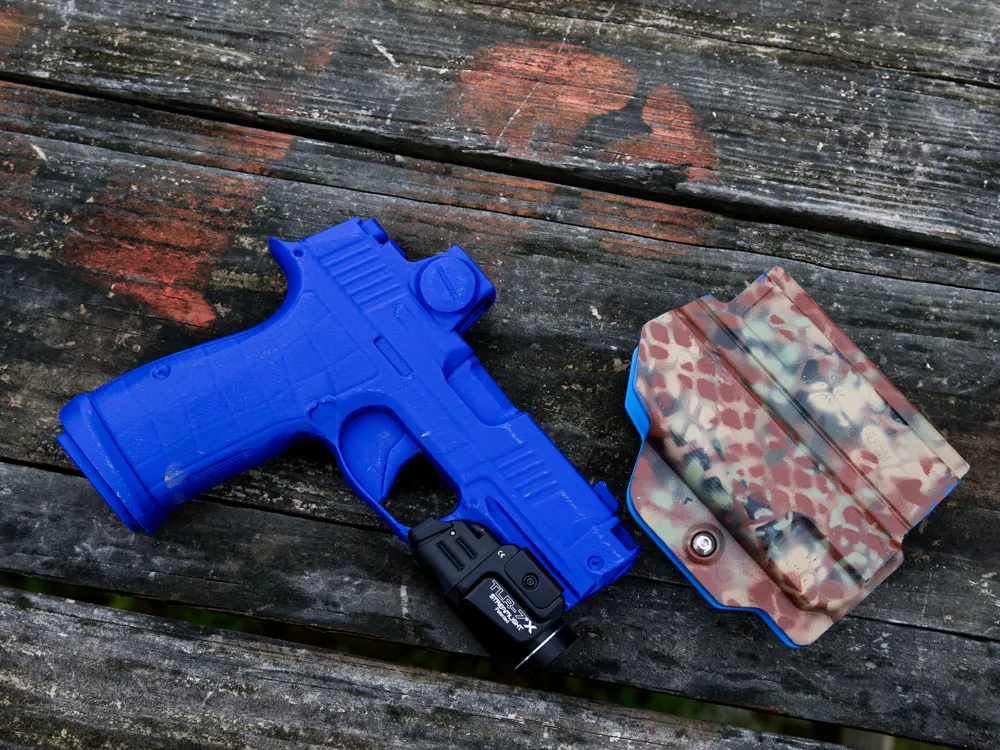
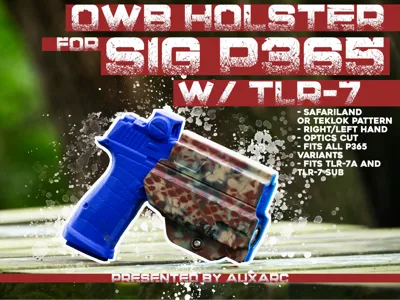
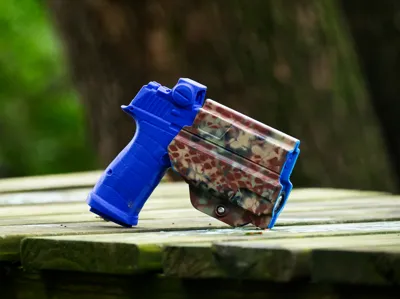
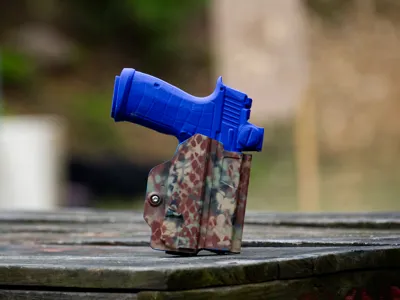
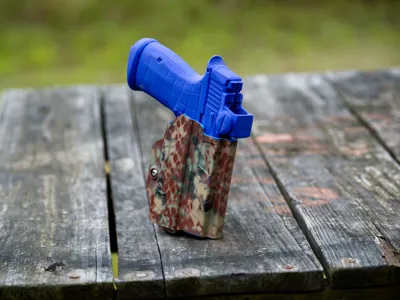
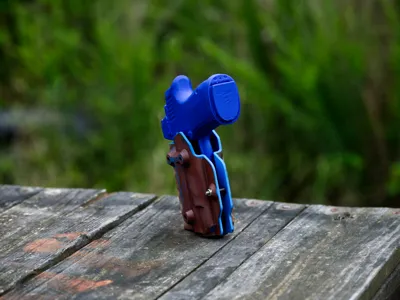
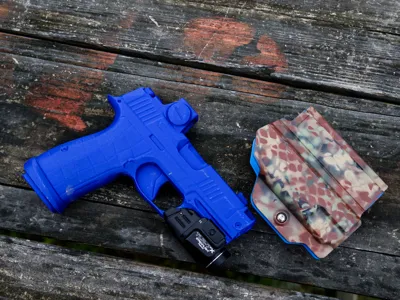
AuxArc Presents a Safariland Patterned Optics Cut OWB Holster for the Sig P365 Lineup with a Streamlight TLR7-A or Sub attached.
Boost Me (for free)
I appreciate the downloads and boosts! That's what keeps me designing and churning out these designs. This design was specifically requested, and I'm happy to assist.
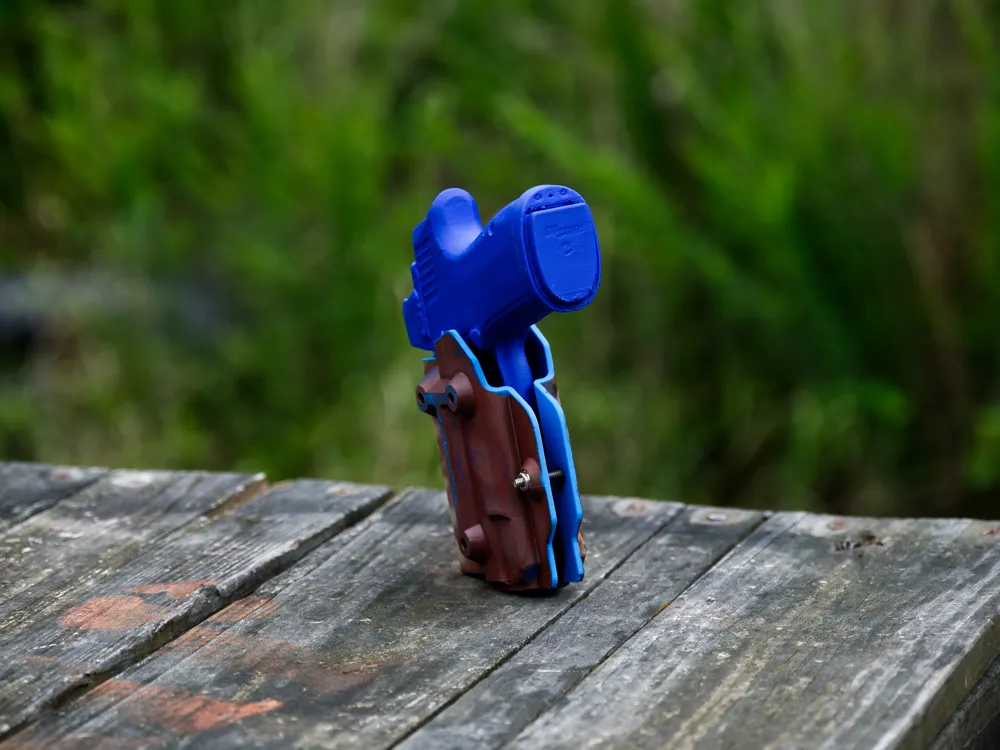
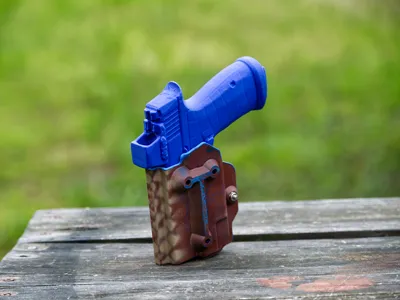
This is an OWB holster for the Sig P365 series of handguns with the TLR-7A attached. The TLR-7 Sub and the Surefire XC3 both should also be compatible. The holster has a Safariland or Teklok bolt pattern to be attached to all compatible platforms. This includes my parametric holster hanger setup that I also already have published and my belt mount.
The primary retention is a combination of friction and a nub that catches inside the ejection port. This nub is oversized on purpose so that people can trim it down to the retention they want in addition to the tension screw. I personally trim mine down pretty far and let the friction handle most of it.
The shorter P365s will have a little room in the end of the holster, but because the light wasn't going to change locations, I left the holster at the maximum length.
There are four profiles:
- Right Hand Safariland
- Left Hand Safariland
- Right Hand TekLok
- Left Hand TekLok
To assemble, use #8-32 hardware, same as Safariland. Lengths will vary depending on what you are mounting the holster to. The holster is designed for you to be able to press the appropriate nut into the recess, and be held there. You will need:
3x regular #8-32 nuts
1x nylock #8-32 nut. This is for the tension.
3x #8-32 screws, either hex, button head, whatever. This depends on what you are attaching to.
1x martini or button head #8-32 screw. This is for the tension.
To assemble, press the 3 regular nuts into the recesses inside the holster. You can then use the 3 screws to attach the holster to whatever. Be sure that the lengths are correct, so that the threads of the screws are not extending into the holster and inhibiting your gun or scratching it. Take the remaining nylock nut and martini screw. Press the nut into the hex recess of the tensioner and thread the screw in. It's best for you to place the unloaded handgun and light into the holster and tension until desired tightness is achieved.
Print in PETG for best results in outdoor work.
Thanks for all the support. Feel free to offer comments, critique, etc. Follow the youtube channel or follow me on X for updates and other nonsense. IWB version coming soon.
License

You shall not share, sub-license, sell, rent, host, transfer, or distribute in any way the digital or 3D printed versions of this object, nor any other derivative work of this object in its digital or physical format (including - but not limited to - remixes of this object, and hosting on other digital platforms). The objects may not be used without permission in any way whatsoever in which you charge money, or collect fees.


Comment & Rating (10)