
Print Profile(1)

Description
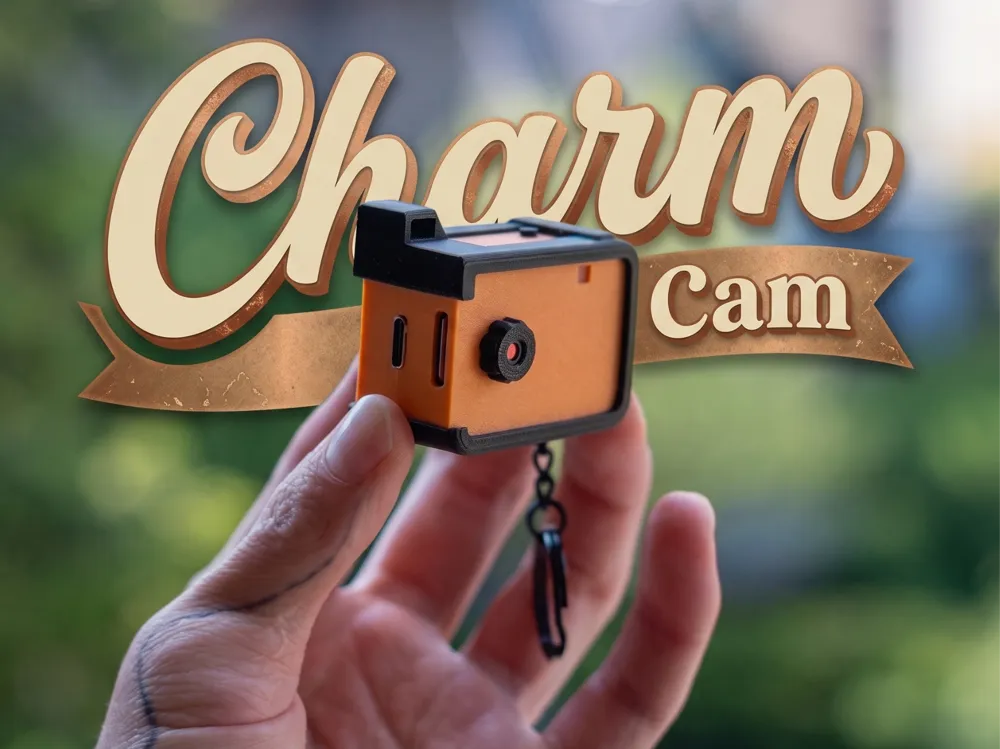
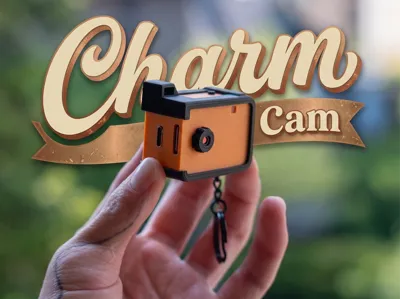
Charm-Cam
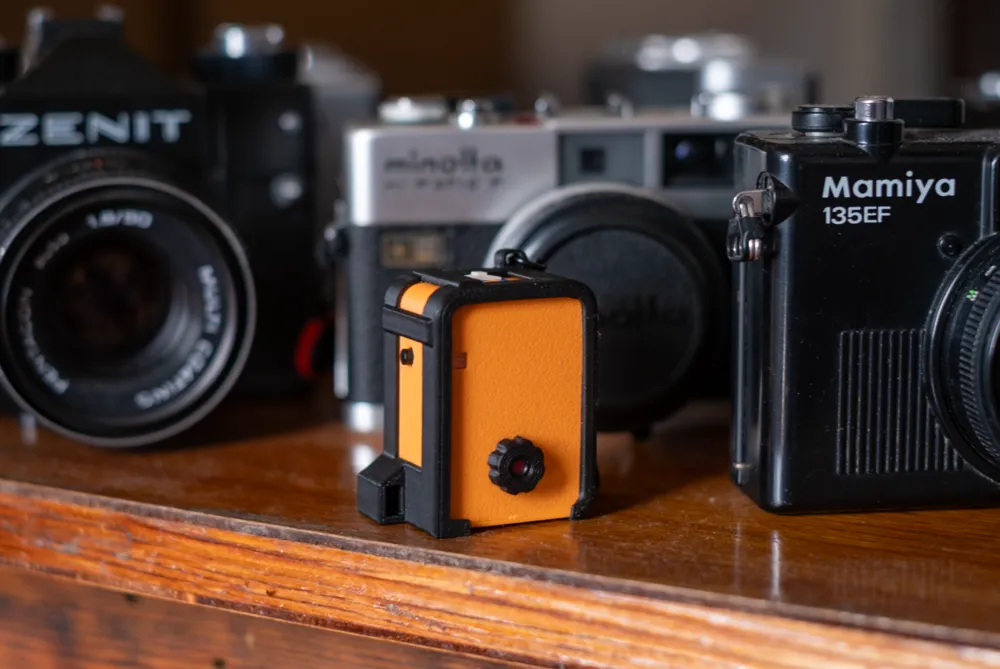
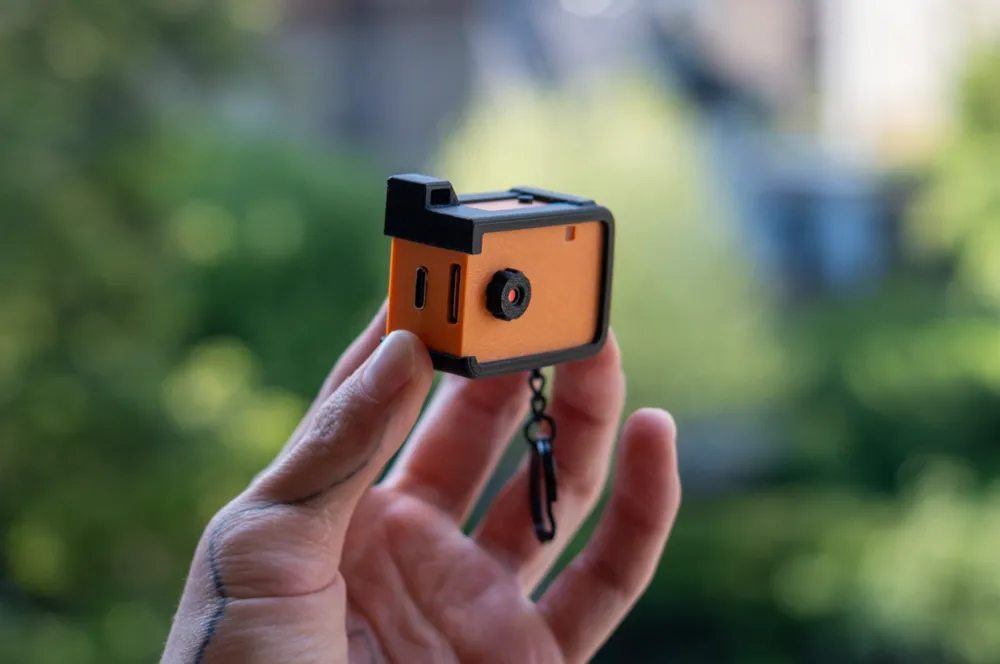
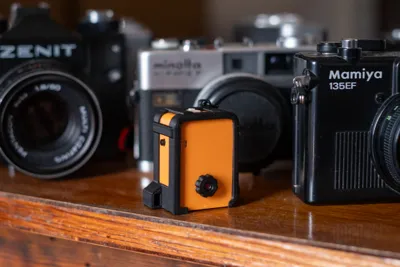
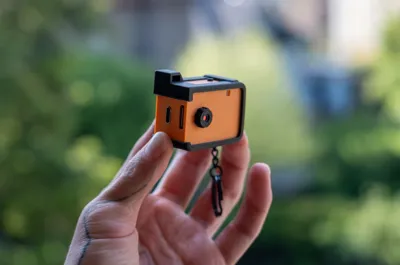
A Tiny Point-and-Shoot camera You Carry on Your Keychain
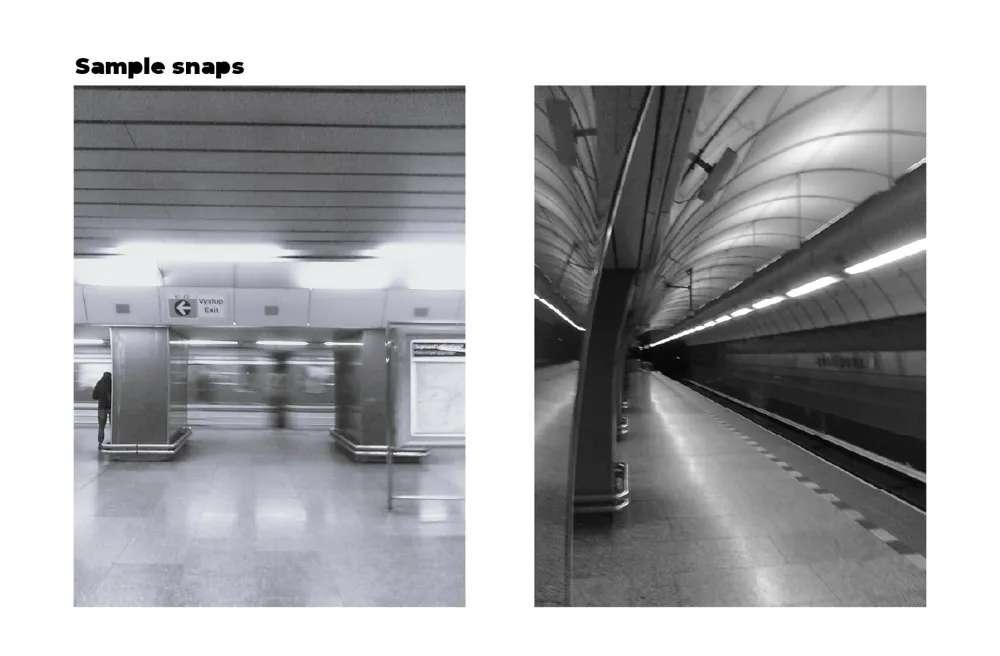
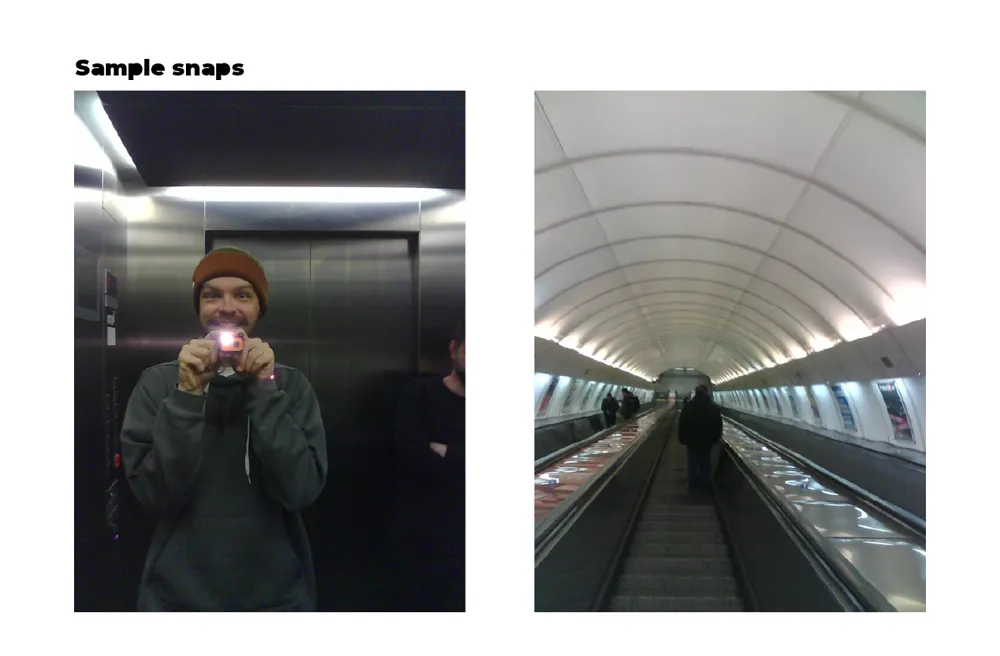
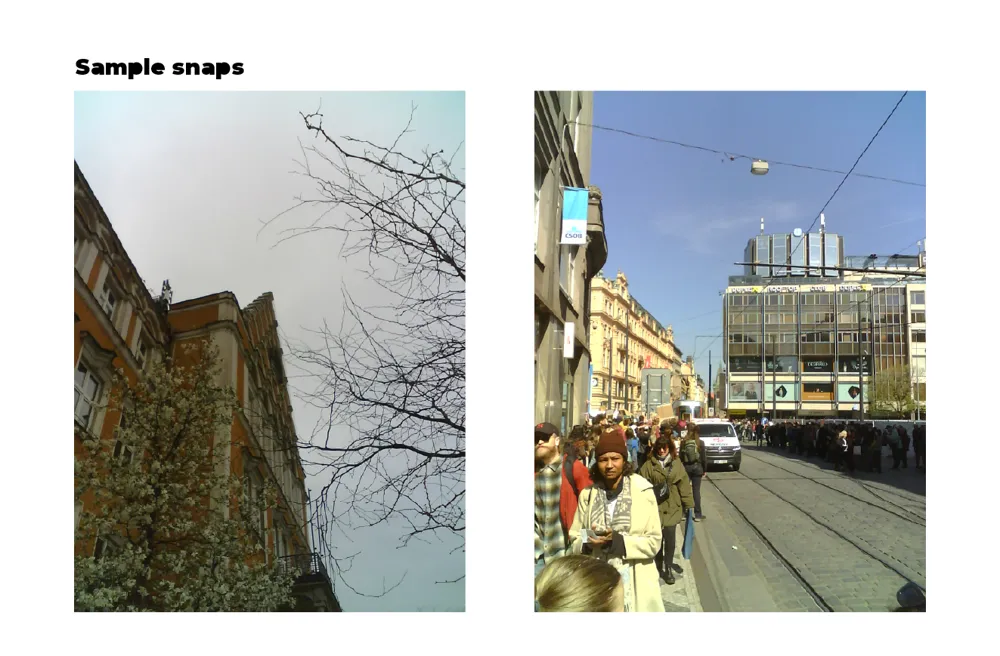
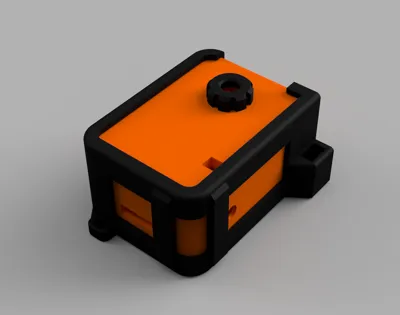
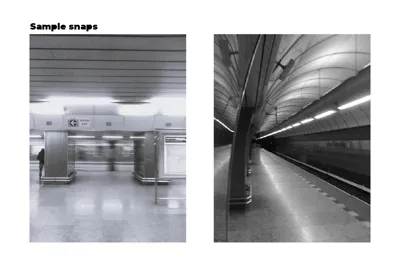
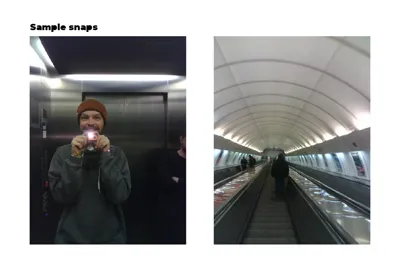
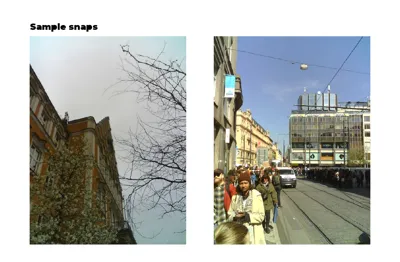
Charm-Cam is a thumbnail-sized 3D-printed camera built around the AI-Thinker ESP32-CAM. It looks like a keychain charm, shoots like an analog point-and-shoot, and runs entirely off its own Wi-Fi hotspot — no app, no cloud, no internet required.
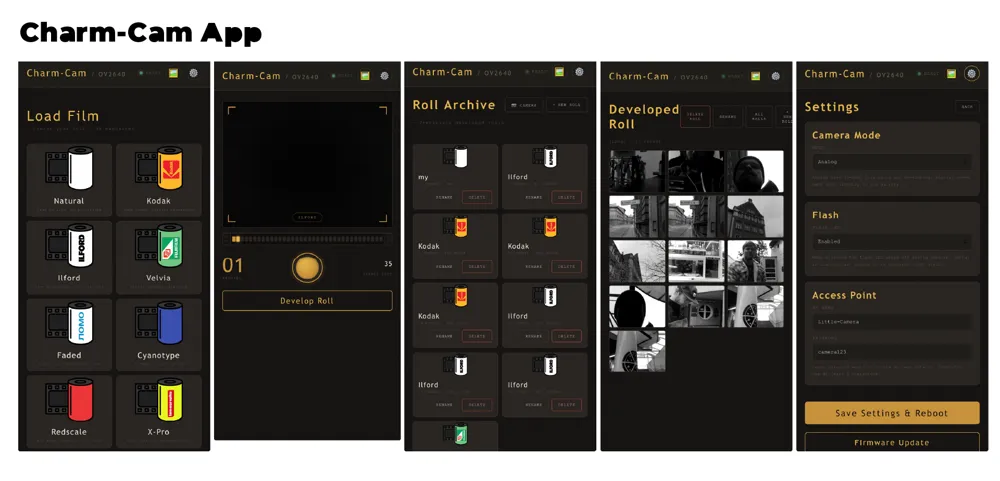
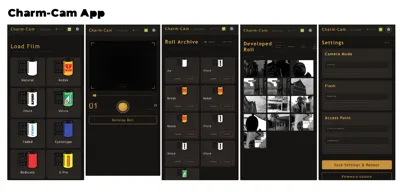
Load a film roll from the built-in web UI, snap up to 36 frames, then "develop" the roll into an archive folder on the SD card. Or flip to digital mode for unlimited shots. The whole interface is amber-on-black, styled after a classic film camera.
📦 GitHub repo (firmware, wiring, full build guide): https://github.com/FRSname/charm-cam
Features
- 📷 Wi-Fi hotspot + web UI (works on any phone/laptop browser at http://192.168.4.1)
- 🎞️ Analog mode — load film → shoot 36 frames → develop the roll
- 🔢 Digital mode — unlimited direct-to-gallery captures
- 🎬 8 film-stock presets (Natural, Kodak, Ilford, Velvia, Faded, Cyanotype, Redscale, X-Pro)
- 🔘 Physical shutter button (short press = shoot, long press = develop)
- 💾 microSD storage with per-roll archive folders
- ⚡ OTA firmware updates over Wi-Fi
- 🔦 Toggleable flash LED + status LED feedback
What's in this print

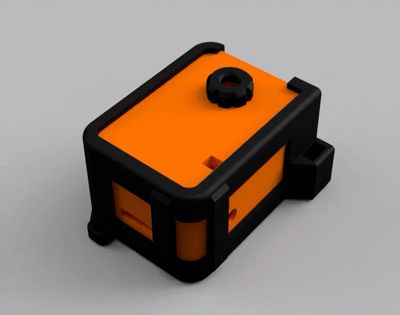
- Charm-Cam-Front-v1.stl / Charm-Cam-Back-v1.stl — body halves
- Charm-Cam-Cage-v1.stl — internal frame for ESP32-CAM + battery
- Charm-Cam-ESP-Cover-v1.stl — module cover
- Charm-Cam-Lens-v1.stl — lens bezel
- Charm-Cam-Parts-Holder-v1.stl — print-bed jig
- Pre-arranged 3MF plate included
- Editable Fusion 360 source in the repo if you want to remix
Recommended settings: PLA or PETG · 0.16 mm layers · 3 walls · 20% infill · supports only where the slicer suggests · ~3–5 hour print
Video assembly:
Bill of Materials (~$20 total from AliExpress)
- AI-Thinker ESP32-CAM (OV2640)
- 3.7 V Li-Po battery — fits 39 × 26 × 4.5 mm (e.g. 502040 350 mAh)
- USB-C charging board
- ESP1010 side-actuated slide switch
- 6×6×6 mm SMD tact button (shutter)
- microSD card
All part links + wiring diagram are in the GitHub repo.
Build time
Roughly 2–3 hours of assembly after the print. Full step-by-step build guide (Arduino IDE setup, flashing, wiring, first power-on) is in the README on GitHub:
👉 https://github.com/FRSname/charm-cam
Updates
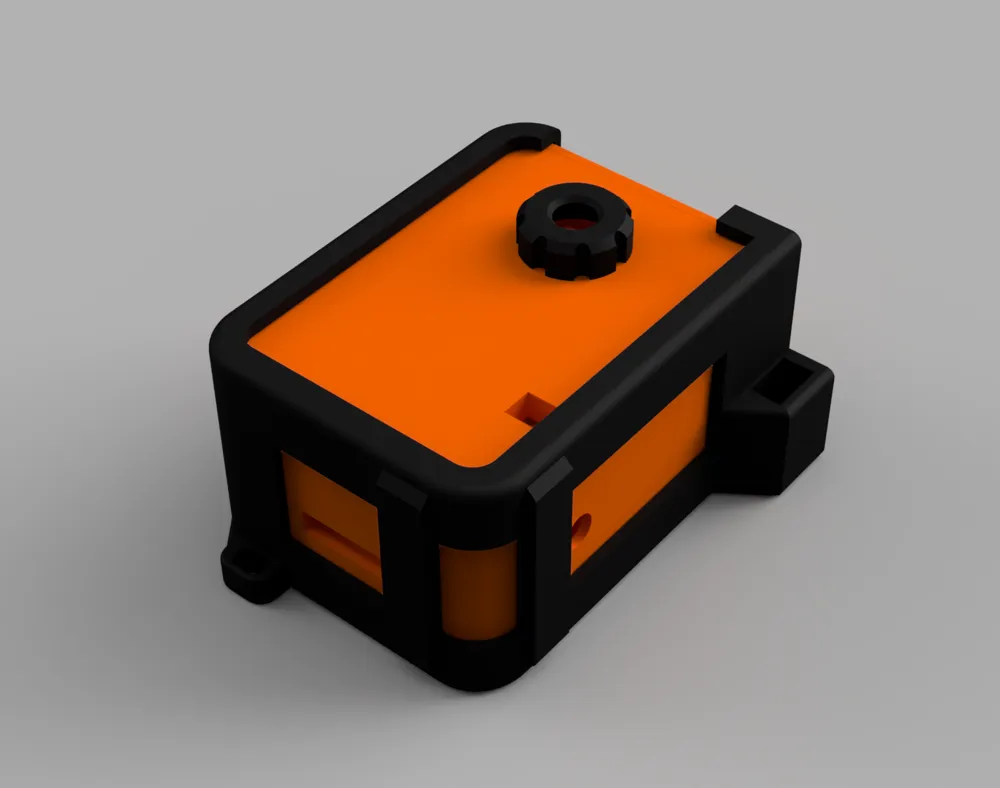
added modification of housing for tp4056 charging board and bigger switch. - by user @shrey_95 Thanks!
(side flaps of the slide switch ( the one with holes for screws) need to be trim to fit perfectly.)
Documentation (1)
License

You shall not share, sub-license, sell, rent, host, transfer, or distribute in any way the digital or 3D printed versions of this object, nor any other derivative work of this object in its digital or physical format (including - but not limited to - remixes of this object, and hosting on other digital platforms). The objects may not be used without permission in any way whatsoever in which you charge money, or collect fees.


Comment & Rating (19)