Ingrid Monoid - Street Fighter / SF6 | Monad body [SF6]


Print Profile(1)

Description
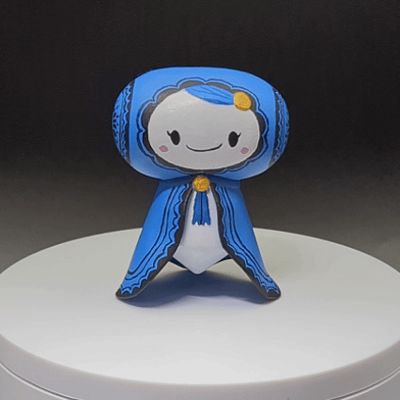
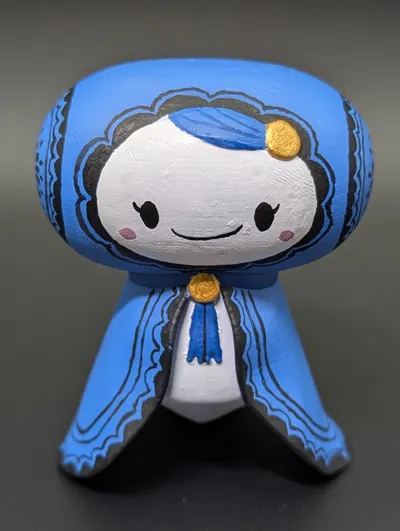
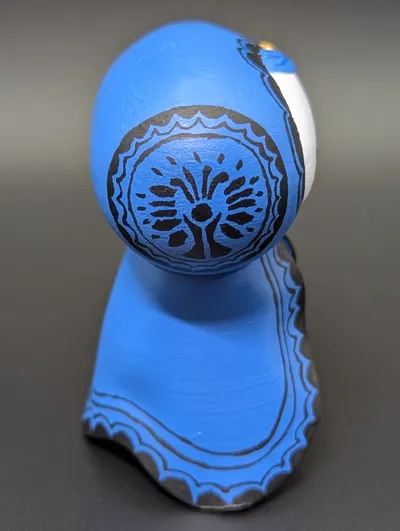
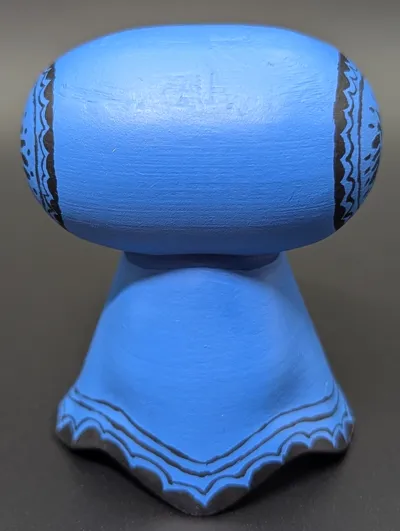
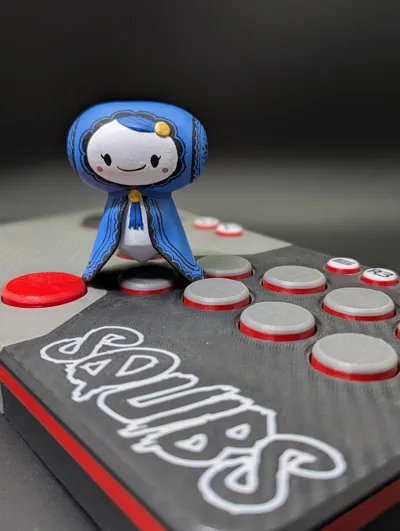
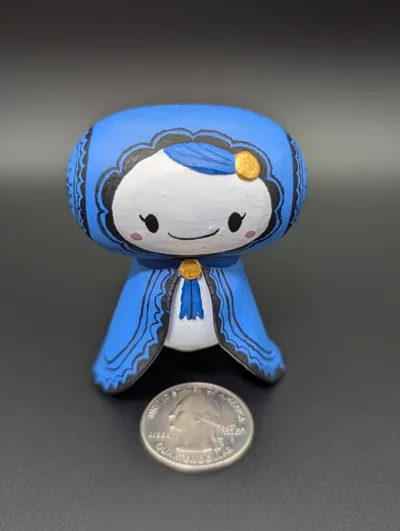
Ingrid's Monoid. I wanted to make this character after seeing the feature to fight as this character. Modeled in blender. Used vallejo paints.
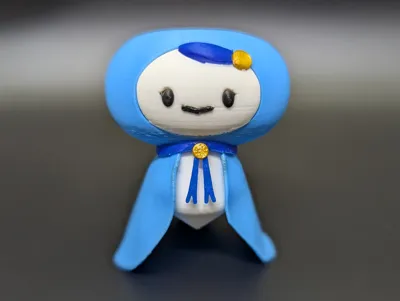
UPDATE: made a assemble-able version. I've never really made something like this before, and wasn't originally designing this to be assembled, so it's slightly jank. Sorry about that. Also a full-ams version is included, I have no real plans to print that version, so print at your own risk. There will end up being marks on the top of the head if you print it upside down like I have it, but would require a lot more supports if you flip it right-side up. Maybe a petg support interface would make things neat for this.
Assembly instructions:
- Torso/body glued into cape. You want the head to be able to eventually rest into the top groove, so make sure you don't see the “U” from the front opening of the cape. You want to glue the torso/cape together so that the tops are as flush as you can get, which is harder to do than I would have liked. Try a bit of heat to adjust the cape slightly if needed.
- Next you want to glue on the necklace loop. This goes over both the cape and body and should be flush with those as well. Again the head will rest in this flush groove for gluing so make sure it's turned the correct way. There isn't a front or back to this part, so either way you think looks best will do.
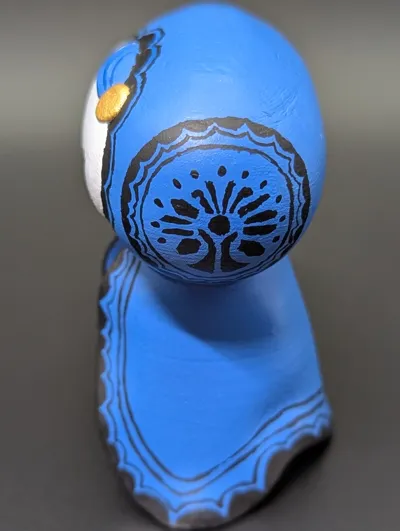
- Assemble the head. Glue the face into the head, or just press fit it. Glue the blue hair into the face. There should be a visible circle on the top right of the head/face assembly now. You can glue the gold coin piece, that has no holes in it, into that hole. If the intersecting parts of the hair and face are leaving a bump, you can try to trim that up, so the coin will fit easier. Glue the eyes and mouth into the face. I put the mouth in so that the part that was touching the build plate is outward. You may need to trim in the eye socket and mouth areas to make things fit with an xacto knife.
- Once the head is assembled, glue that onto the body assembly. The head can be tilted back a bit or sit looking straight, it is up to you.
- Glue the amulet coin, the one that has a few holes in it onto the necklace loop. This goes on the front of the model between the cape opening.
- Glue the ribbon pieces into the bottom of the amulet coin.
Recommended Print Settings:
- Lowest layer height possible. I used 0.08mm layer height.
- Print model upside down. Removes the need for most supports
- Lower infill density. Head might get too heavy with more infill, balance is slightly touchy.
- Arachne wall generator. Small parts might not print well otherwise.
Boost Me (for free)
If you like what I have created here, give me a boost. Helps with getting spare printer parts and filament every now and then. Thanks!
Comment & Rating (0)