Search models, users, collections, and posts


Print Profile(8)
All Parts
Designer
4.4 h
1 plate

Ant Nest Only
Designer
3.3 h
1 plate
All Plugs and Form
Designer
1.2 h
1 plate

Form
Designer
37 min
1 plate
Click to see more
Open in Bambu Studio
Boost
2
7
0
0
6
5
Released
Description
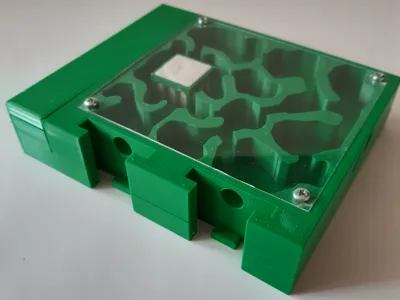
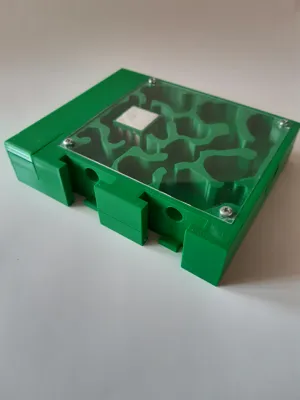
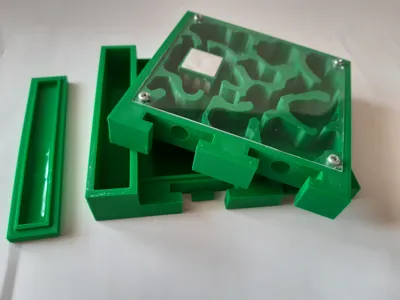
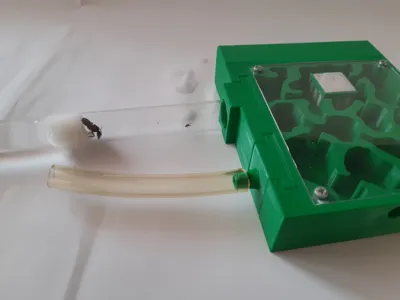
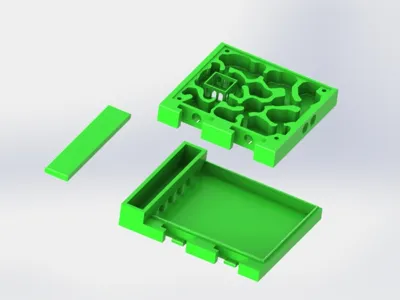
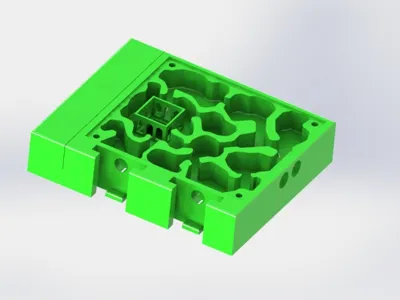
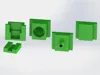
A fully functional, 3D-printable formicarium designed for convenient ant keeping. The multi-part design offers high modularity thanks to interchangeable slide-in plugs, allowing for easy expansion and adaptation to your colony's size.
🐜 Main Features:
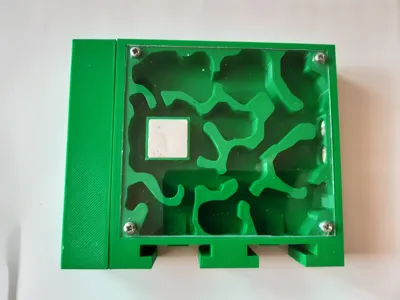
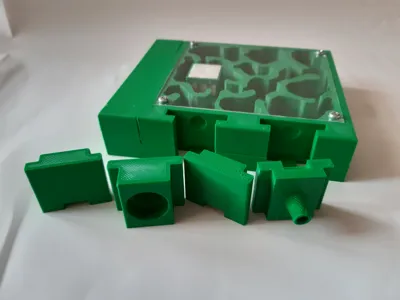
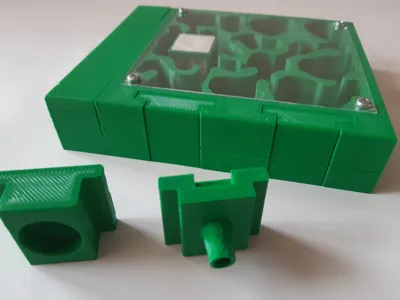
- Interchangeable Connectors (Plugs): The nest features universal ports for different slide-in modules: a solid plug (to close off the nest), a test tube plug (for introducing new colonies), and a tubing plug (for connecting outworlds/arenas or other nests).
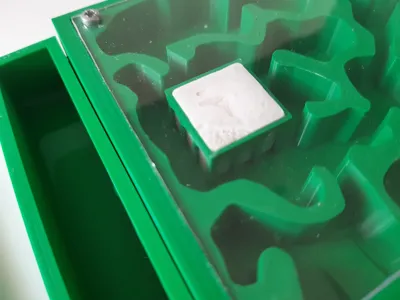
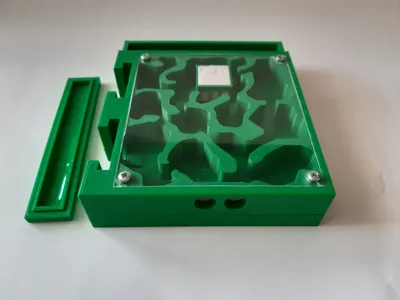
- Integrated Hydration System: A special base acts as a water reservoir and includes a separate lid for easy refilling. Water is transported inside the nest via absorption through a custom-cast gypsum block, ensuring optimal humidity for the ants.
- Secure Ventilation: The design includes two ventilation slots adapted for installing a fine safety mesh (inserted from the top), preventing even the smallest ant species from escaping.
- Excellent Visibility: Designed to be covered with a 1 mm thick plexiglass sheet (secured with screws), providing a crystal-clear view of the colony.
🛠️ Bill of Materials (Non-printed parts):
- Gypsum / Plaster (to cast the hydration block placed inside the nest).
- Plexiglass / Acrylic sheet (1 mm thick) cut to the dimensions of the nest's top.
- A small piece of fine ventilation mesh.
- 4x screws to attach the plexiglass (e.g., M3 screws).
- Optional: A test tube or PVC tubing that fits the printed connector plugs.
📝 Assembly Instructions:
- Gypsum Cast: Pour the gypsum into a mold to create a square block and place it in the designated slot inside the main nest.
- Ventilation: Slide your safety mesh into the two designated slots from the top of the main nest part.
- Base Assembly: Place the main nest on top of the hydration base. Close the water inlet with the small printed lid.
- Configuration: Choose the appropriate side plugs (solid, test tube, or tubing connector) and slide them into the side ports.
- Cover: Place the cut 1 mm plexiglass sheet on top and secure it using screws in the prepared corner holes.
- Hydration: Carefully pour water into the base reservoir and wait for the gypsum block to absorb the moisture. Your nest is now ready for the ants!
License
This user content is licensed under a Standard Digital File License.
You shall not share, sub-license, sell, rent, host, transfer, or distribute in any way the digital or 3D printed versions of this object, nor any other derivative work of this object in its digital or physical format (including - but not limited to - remixes of this object, and hosting on other digital platforms). The objects may not be used without permission in any way whatsoever in which you charge money, or collect fees.
Comment & Rating (0)