H2S / H2C / H2D LED Print Progress Indicator


Print Profile(1)

Description
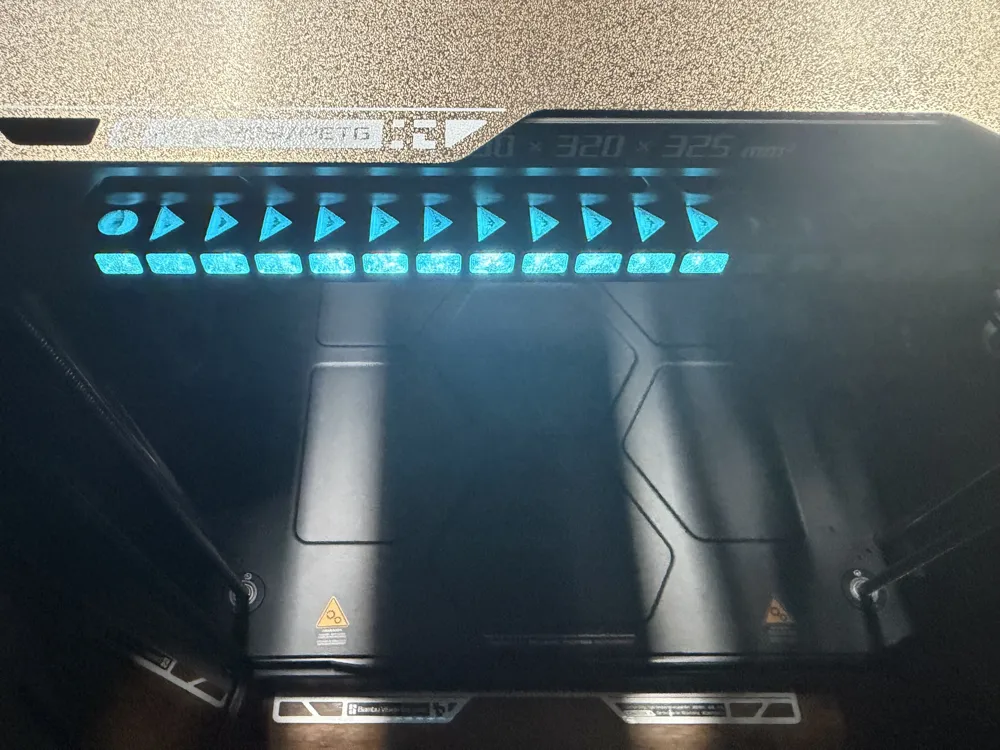
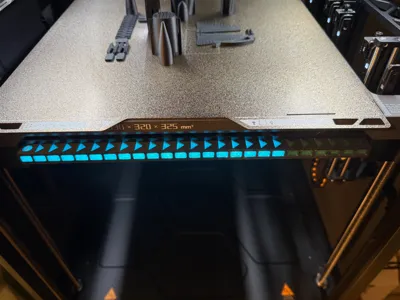
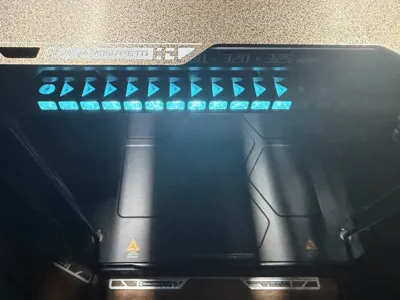
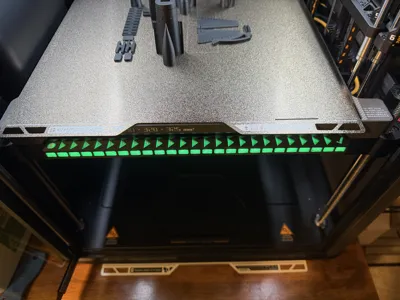
The stock H2 series LED indicator is a great thing, but it always felt like it was missing something. That smooth line is hard to see from a distance, so why not add some intuitive LED separators that indicate print progress? The LED strip is broken in 25 individual diodes, which light up in accordance to print progress.
I printed this out of PETG (PETG CF, and PETG translucent), which I would recommend, as the LEDs and bed are quite warm during operation. If you want to retain the default colors that the LED strip gives off, I would recommend a colorless filament.
Installation:
The first step is removing the LED bar from underneath the print bed. It is held in by some small plastic clips. Simply push the LED bar towards the back of the printer gently, then pull downwards. DO NOT pull too hard, as there is a small wire you must disconnect.
Disassembly step 1:
Utilize a pry tool, or something smooth and flat to separate the LED diffuser from the housing. It is held in by 7 small plastic clips on each side. You should hear a small pop when the clips are released. Do this on the side with the tabs on top, as there is more room.

Disassembly step 2:
Once the clips on top are released, wedge your pry tool into the short corner, gently pushing towards to gradually separate the diffuser from the housing. Repeat this on both sides until there is sufficient room along the top seam, in which you can gently pry along that seam to separate.

Disassembly step 3:
Keep working the edges of the diffuser until the diffuser pops off. It should not take a signifcant amount of force to remove. Do not force it. Go slow and try not to break the tabs, in case you want to revert this mod.
Once removed, you will see there is a thin diffuser sheet of plastic covering the LEDs. This can be removed and set to the side. It will not be used in this mod.

Assembly:
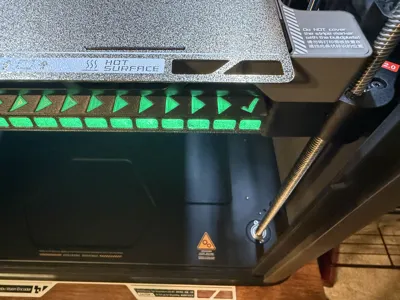
From here, assembly is pretty straight forward. With the tabs and indicator triangles facing you, slide the ends into the LED housing. Ensure the ends line up, before pushing flush.

From here, you are good to go and install the LED housing back into the printer, reversing the steps you took previously. Simply re-plug in the connector, insert the LED bar into the slots on the bottom of the heatbed, then pull the LED housing towards you. It should clip firmly back into place.
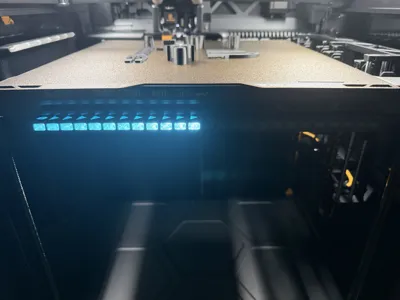
Enjoy the progress indication!
License
You shall not share, sub-license, sell, rent, host, transfer, or distribute in any way the digital or 3D printed versions of this object, nor any other derivative work of this object in its digital or physical format (including - but not limited to - remixes of this object, and hosting on other digital platforms). The objects may not be used without permission in any way whatsoever in which you charge money, or collect fees.
Comment & Rating (0)