


Print Profile(3)

Description
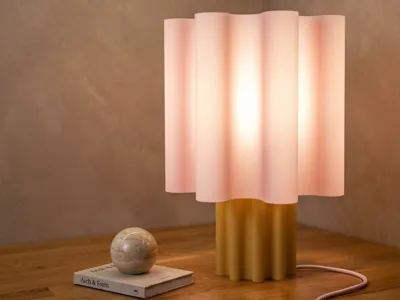
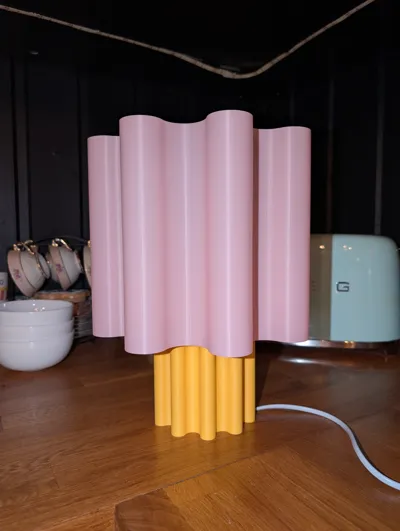
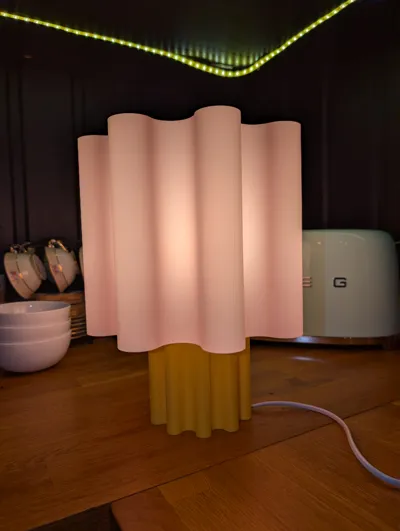
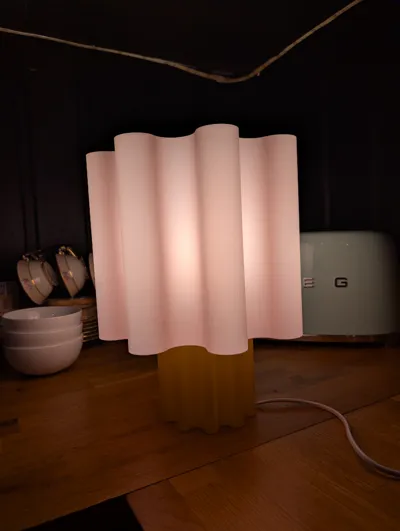
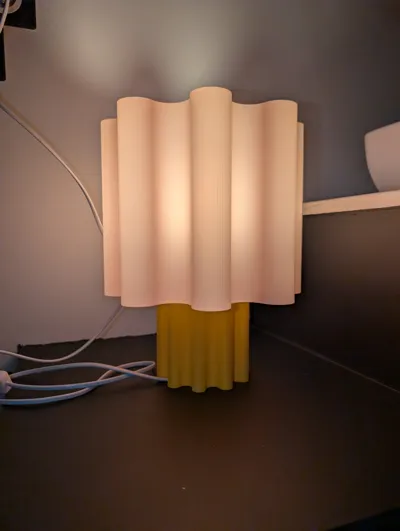
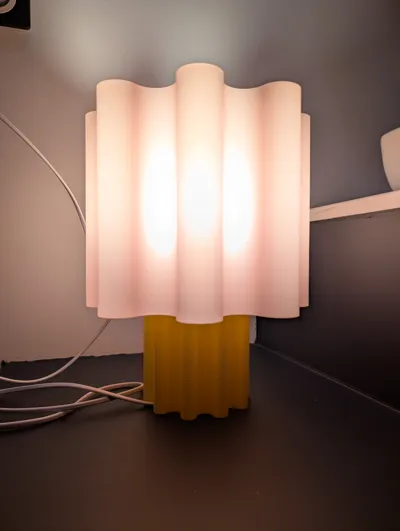
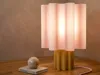
💡 Wavy Lamp — Modern Design & Cozy Ambiance
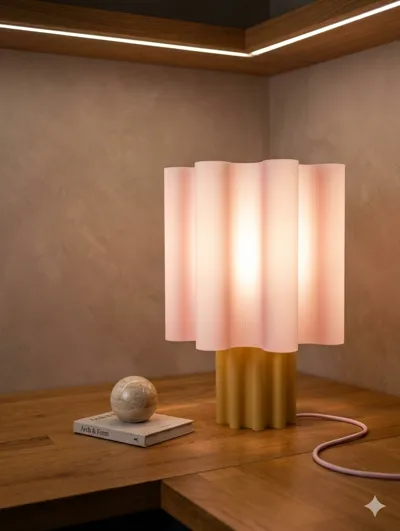
Add a touch of softness and elegance to your interior with this Wavy Lamp. Its organic, wavy design creates a beautiful play of light and uniquely textures the room. Perfect as a bedside lamp, night light, or ambient lighting in a living room!
The model has been fully optimized for clean, fast 3D printing and no supports.
📌 Model Features
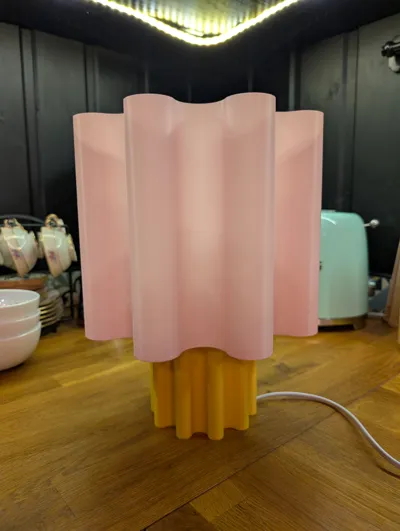
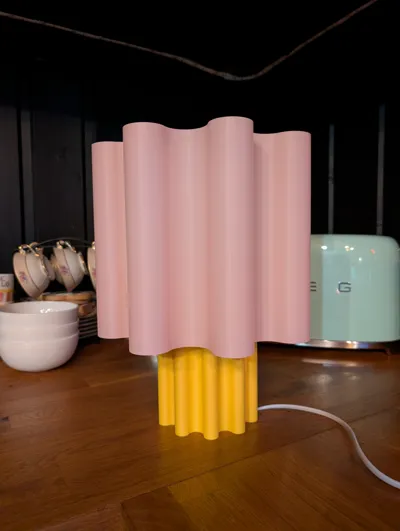
- 2-part Design: Separate base and lampshade allow you to mix colors (here printed in Mustard Yellow/Ochre for the base and Pastel Pink/White for the lampshade).
- Perfect Diffusion: The lampshade is designed to diffuse soft, warm light without glare.
- 100% Print-Friendly: No overhang issues or complex supports.
⚙️ Recommended Print Settings
1. The Lampshade (Shade)
- Recommended Mode: Vase Mode (Spiralize Outer Contour) for an ultra-professional and seamless finish.
- Alternative (if you want more rigidity): 1 to 2 walls, 0% infill, and no top layers (0 top layers).
- Filament: PLA Matte Pastel Pink, White or Translucent for optimal diffusion.
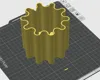
2. The Base
- Layer height: 0.2mm (or 0.16mm for even smoother curves).
- Walls: 3 for good structural strength.
- Infill: 15% (Gyroid or Grid).
- Supports: None. The wavy angles print easily.
🔌 Required Hardware
This model is designed to easily integrate the Bambu LED Component Kit (LED Component Kit-001) or a standard power cord for a small LED lamp.
⚠️ Safety: Use exclusively LED modules or bulbs. Halogen or incandescent bulbs heat up too much and risk deforming the plastic (PLA/PETG).
🛠️ Simple Assembly
- Slide the power cable into the notch at the bottom of the base.
- Attach your lamp/LED holder to the center of the base.
- Place the lampshade on the base (precise fit).
- Turn it on and enjoy the result!
If you like this design, feel free to leave a boost 🚀, a comment, and share your print photos (Make)! This helps me immensely to continue creating.
License
You shall not share, sub-license, sell, rent, host, transfer, or distribute in any way the digital or 3D printed versions of this object, nor any other derivative work of this object in its digital or physical format (including - but not limited to - remixes of this object, and hosting on other digital platforms). The objects may not be used without permission in any way whatsoever in which you charge money, or collect fees.
Comment & Rating (14)