
140 mm Fan Intake, Blade Tip Spacer & Exhaust Cone
Print Profile(4)
Description
👋 Support the "Eclectic Creator"
I'm relatively new to 3D printing and I'm learning how to use Fusion. Designing functional gear for the amateur radio community and other projects has been incredibly rewarding, and your feedback helps me improve. The more complicated prints have taken many days to draft and learn, so there's often been a lot of unseen effort into most of these free prints.
- Like the design? Please give me a Thumbs Up or throw a Boost Me my way as a “thank you”, and to help support future projects!
- Have ideas for improvement? Constructive feedback is very much appreciated. If you have any suggestions or run into issues, let me know and I'll do my best to help you out.
Boost Me (for free)
Thanks so much for showing your appreciation!
The Backstory
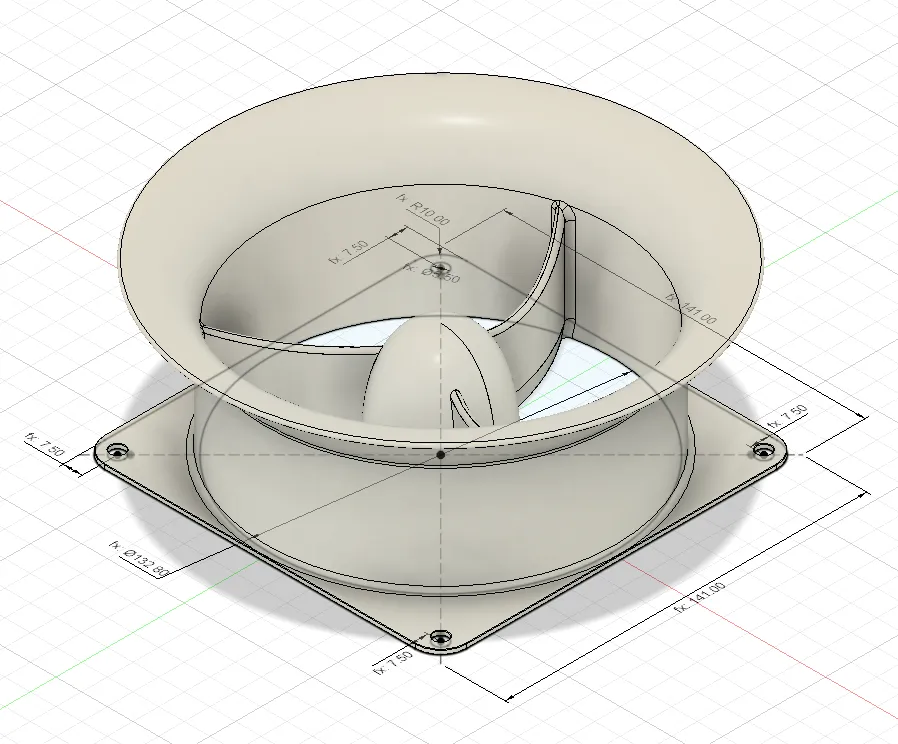
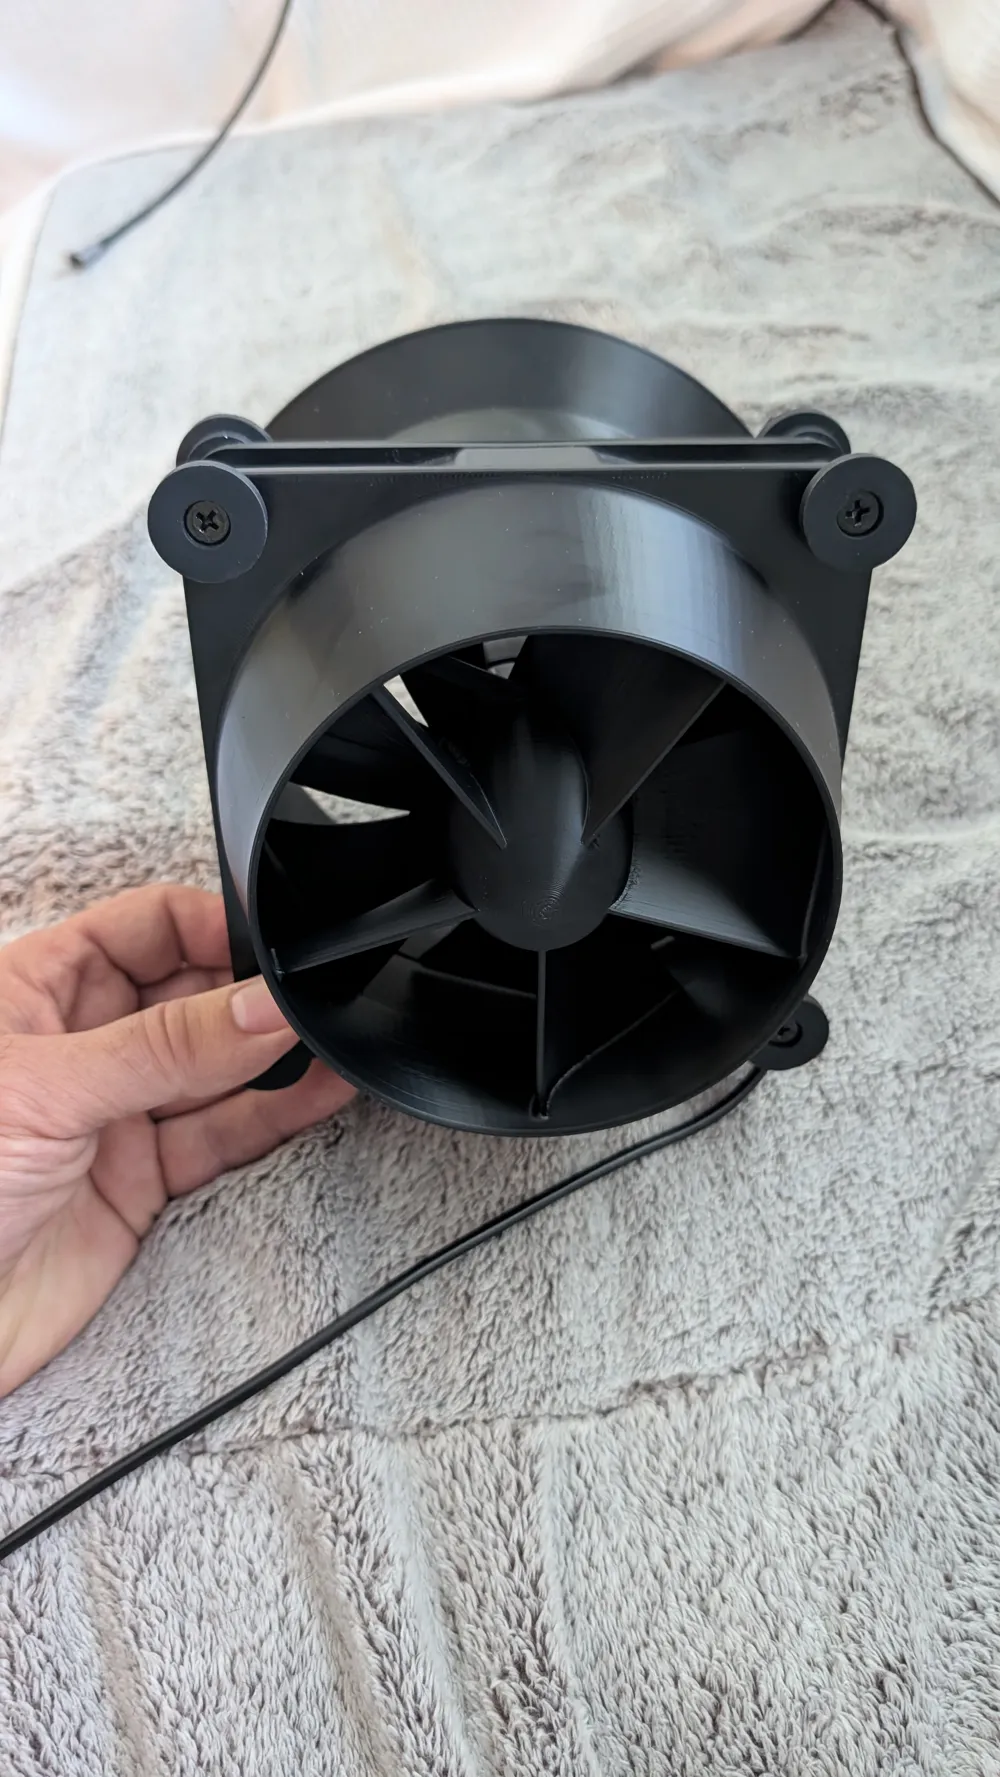
I needed to improve the volume of air moved by my two 5-volt USB-powered 140 mm x 140 mm muffin fans to exchange the air in the cargo area of my vehicle, where my dog rides. Knowing nothing about fluid dynamics, I turned to AI and learned a great deal about how ratios and shapes affect airflow.
(Spoiler: The resulting performance boost of this design was massive—see the real-world testing data at the bottom of this page!)
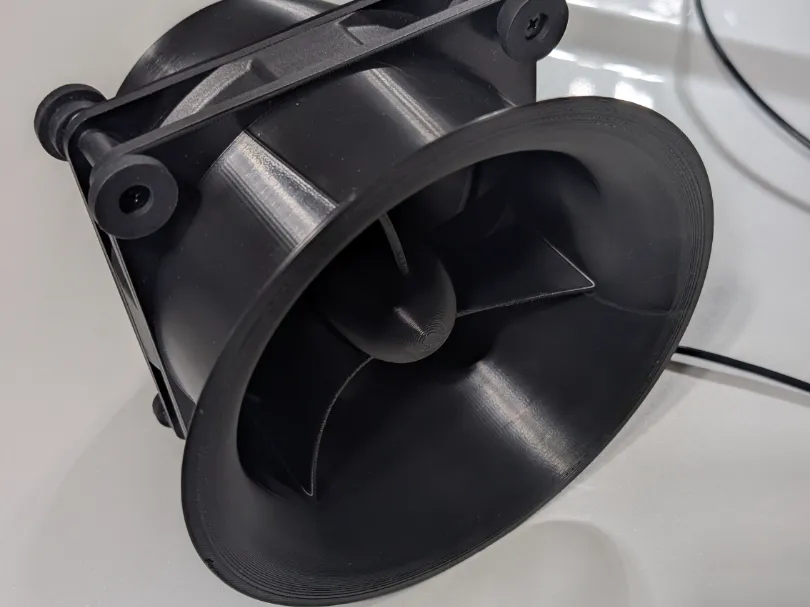
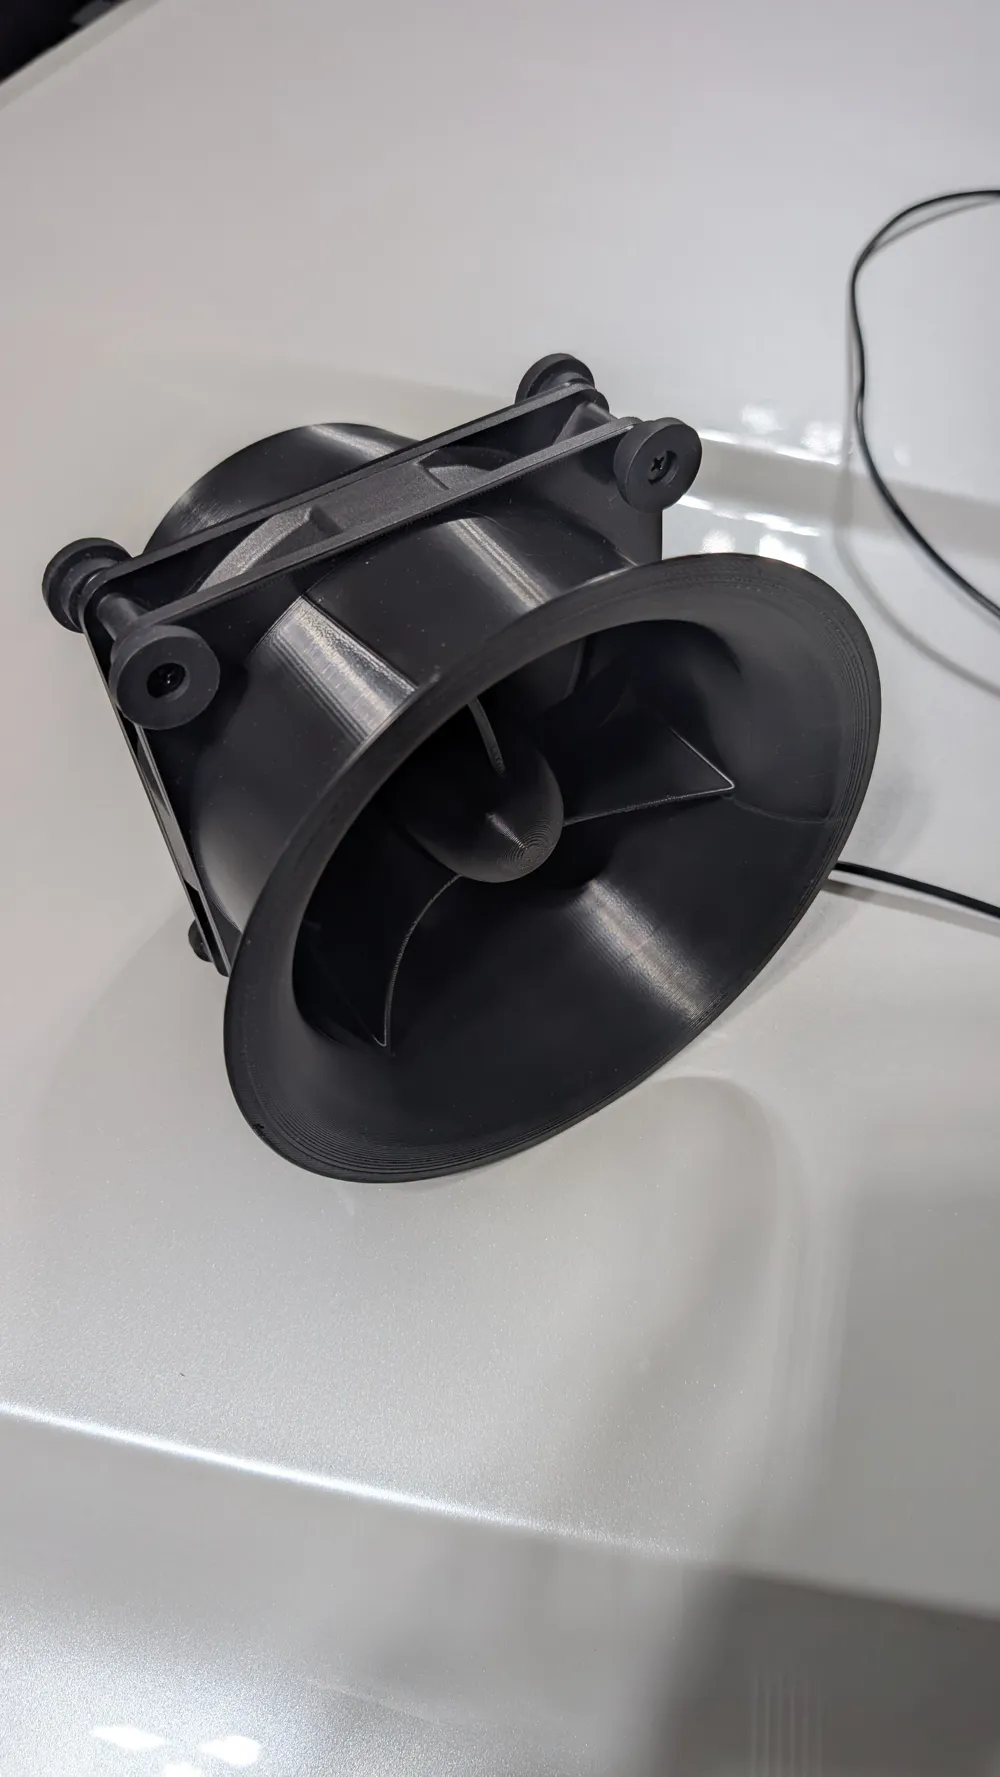
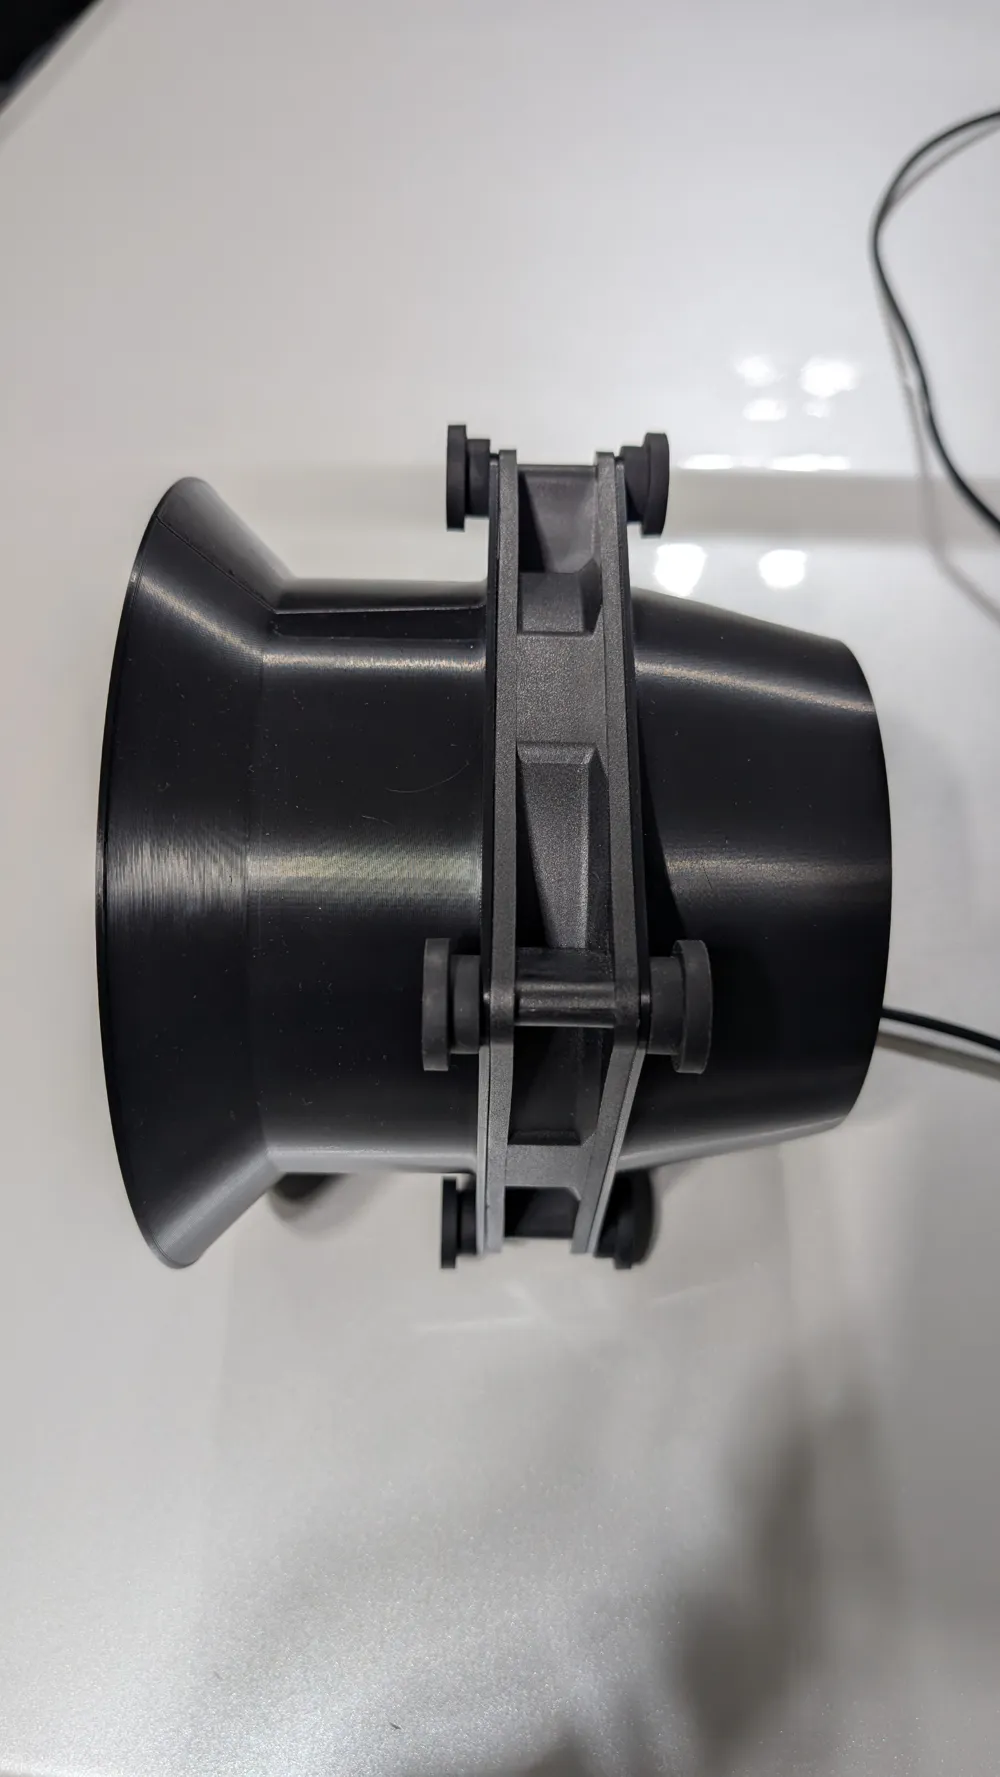
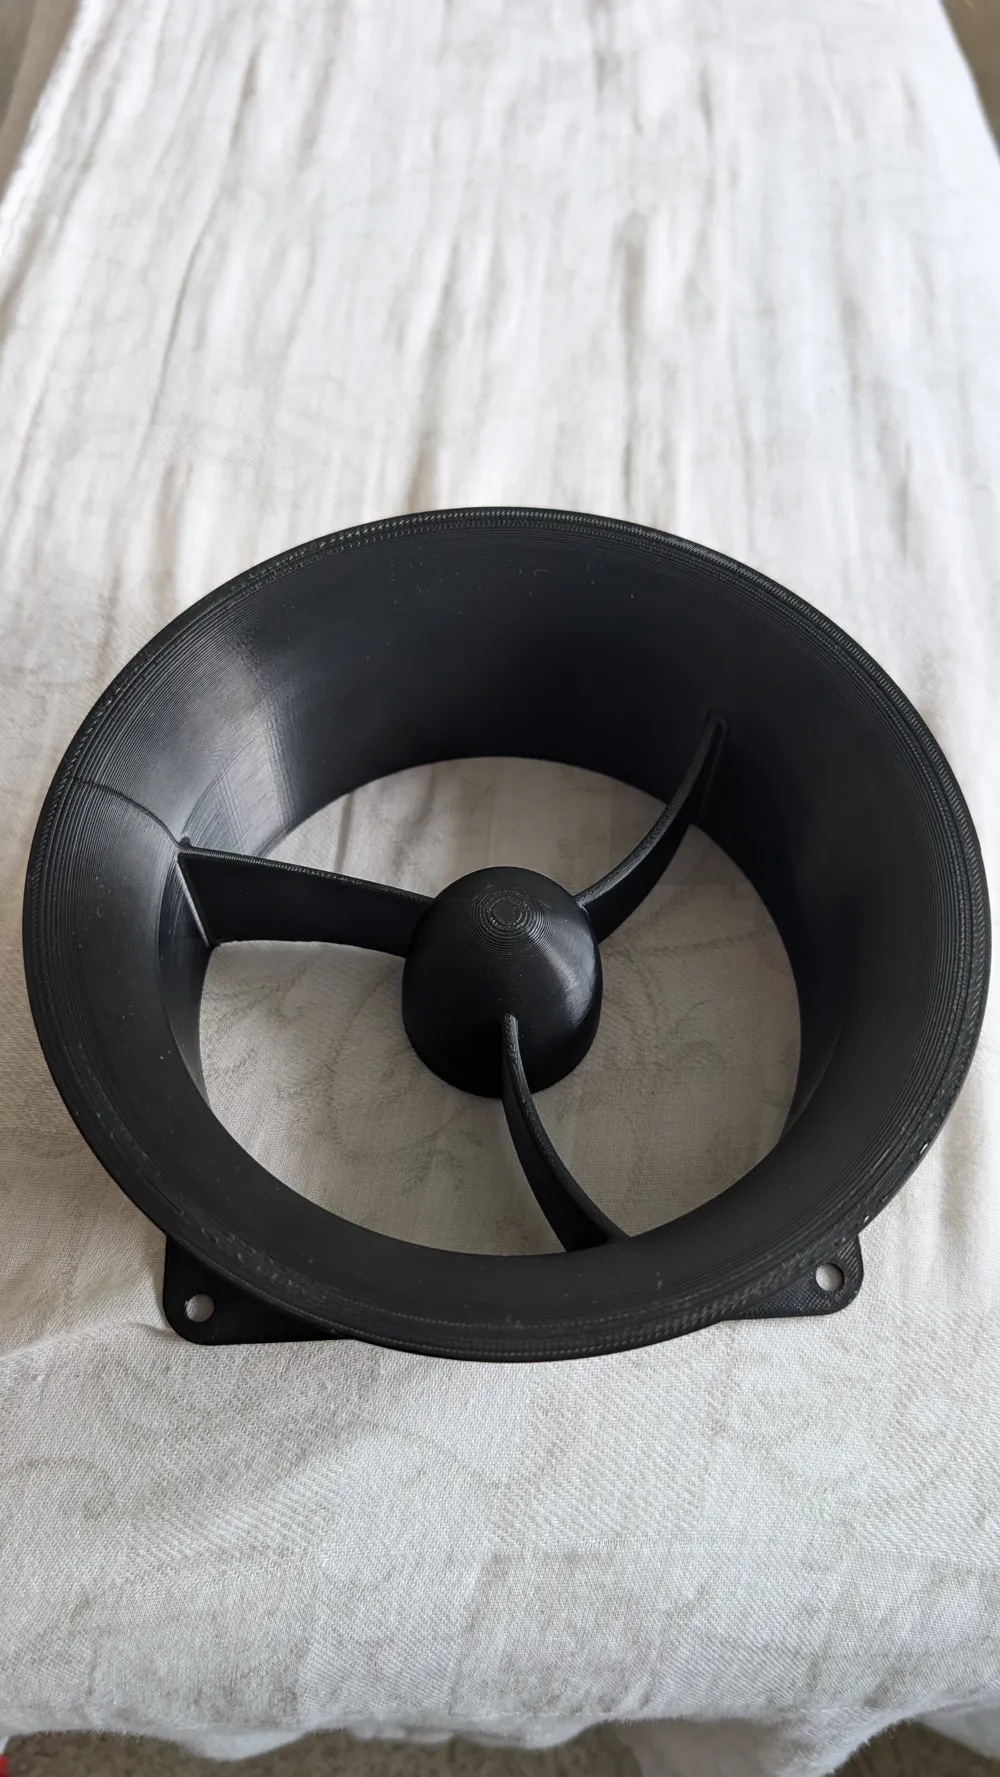
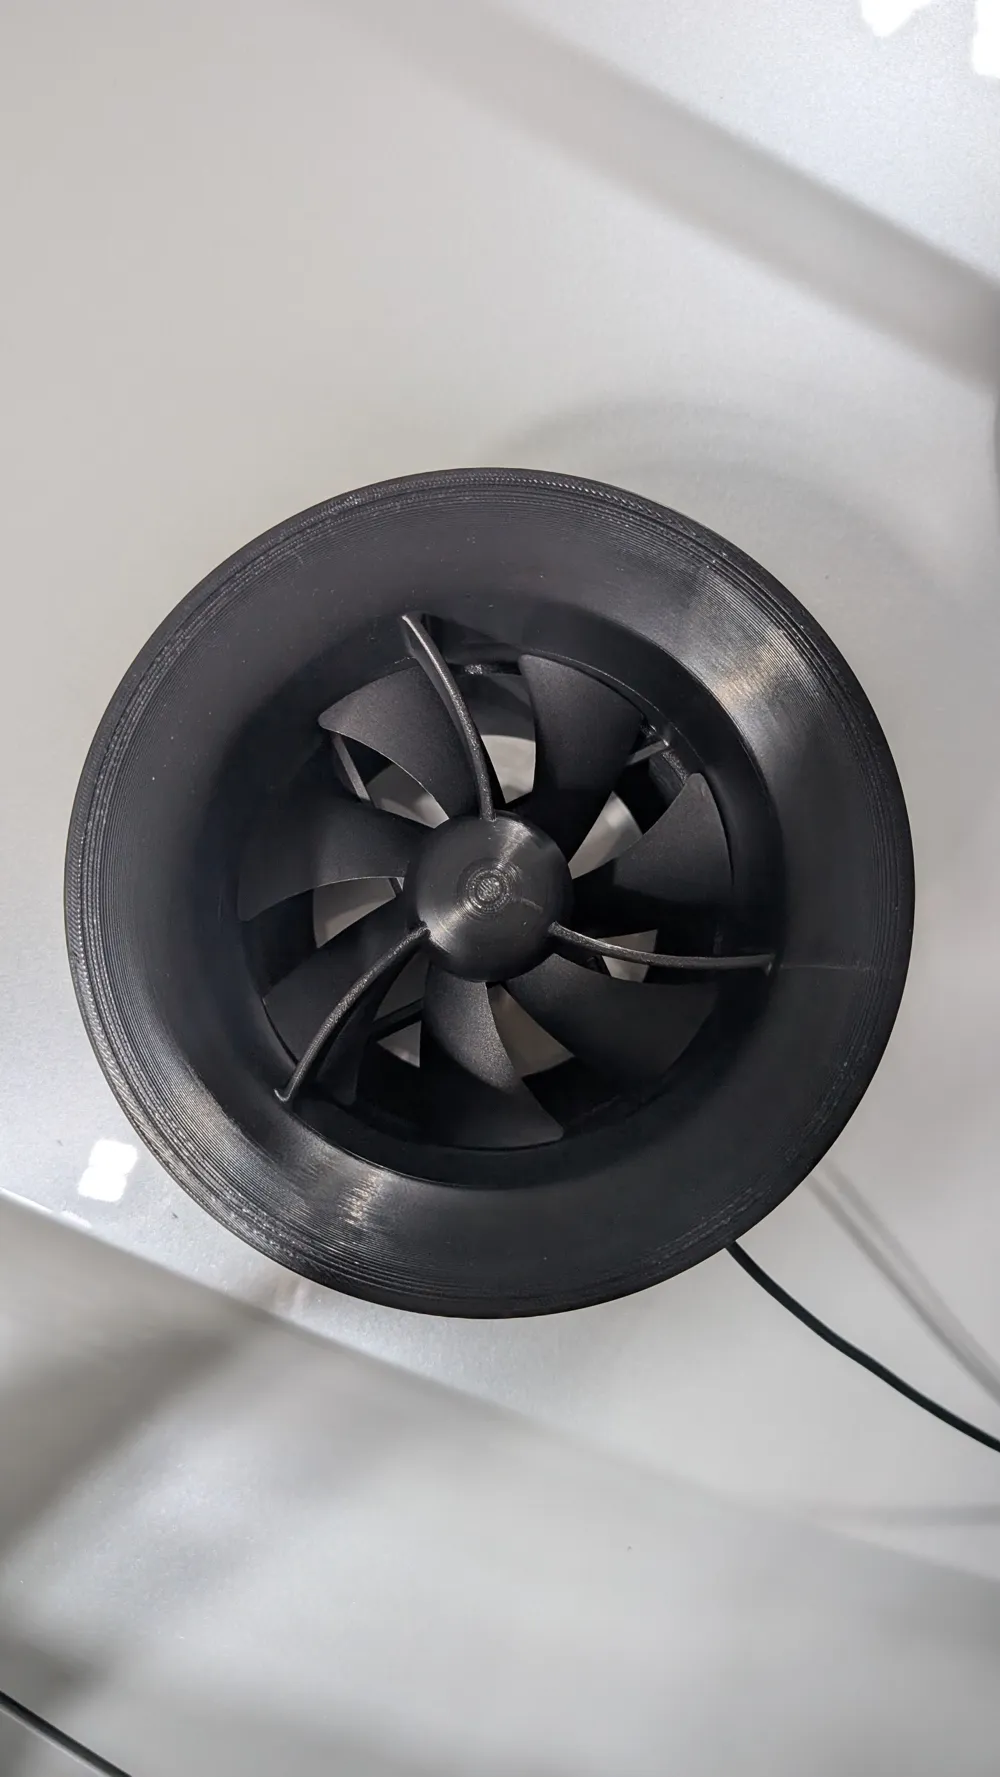
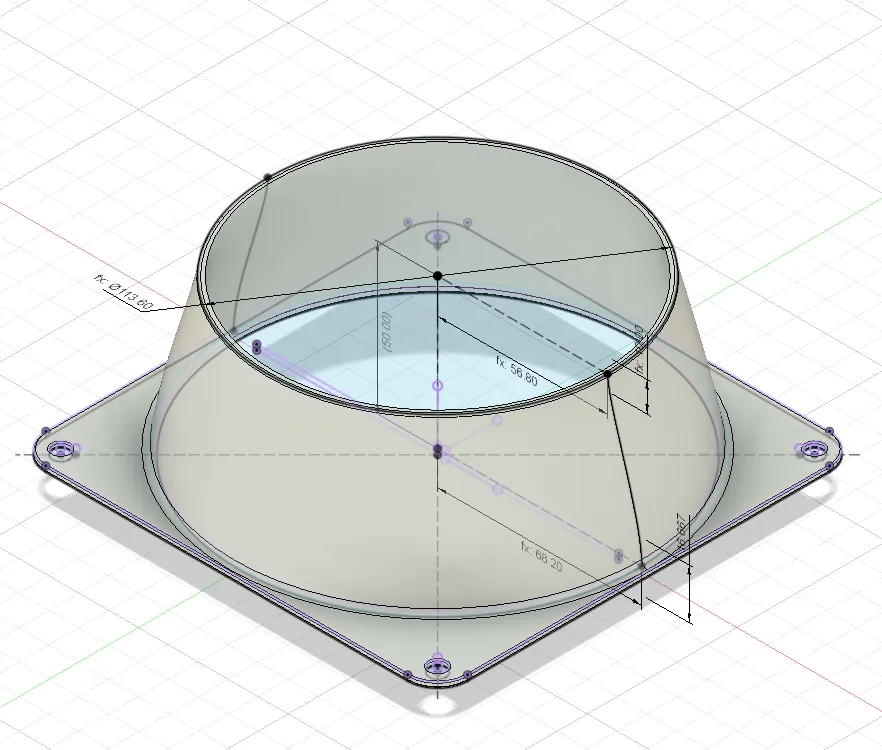
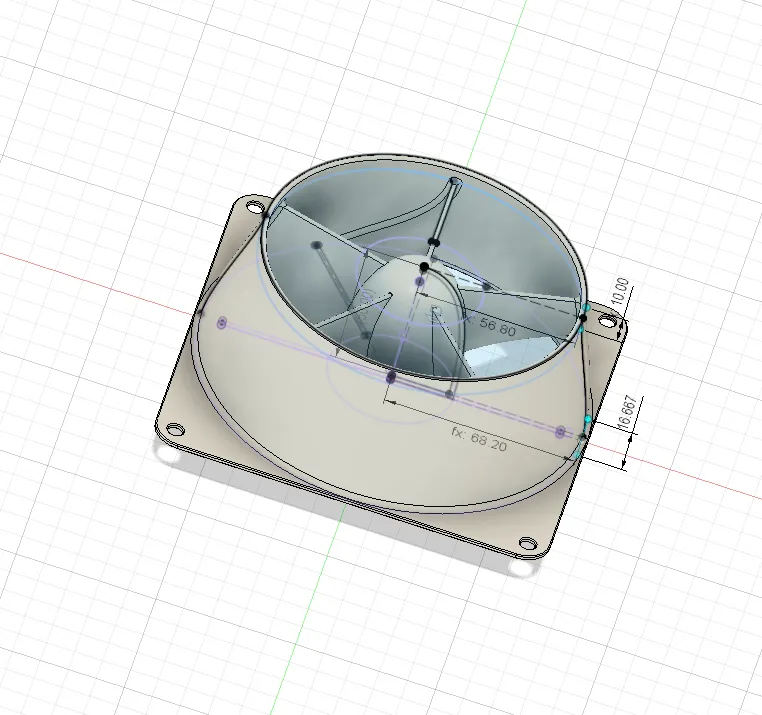
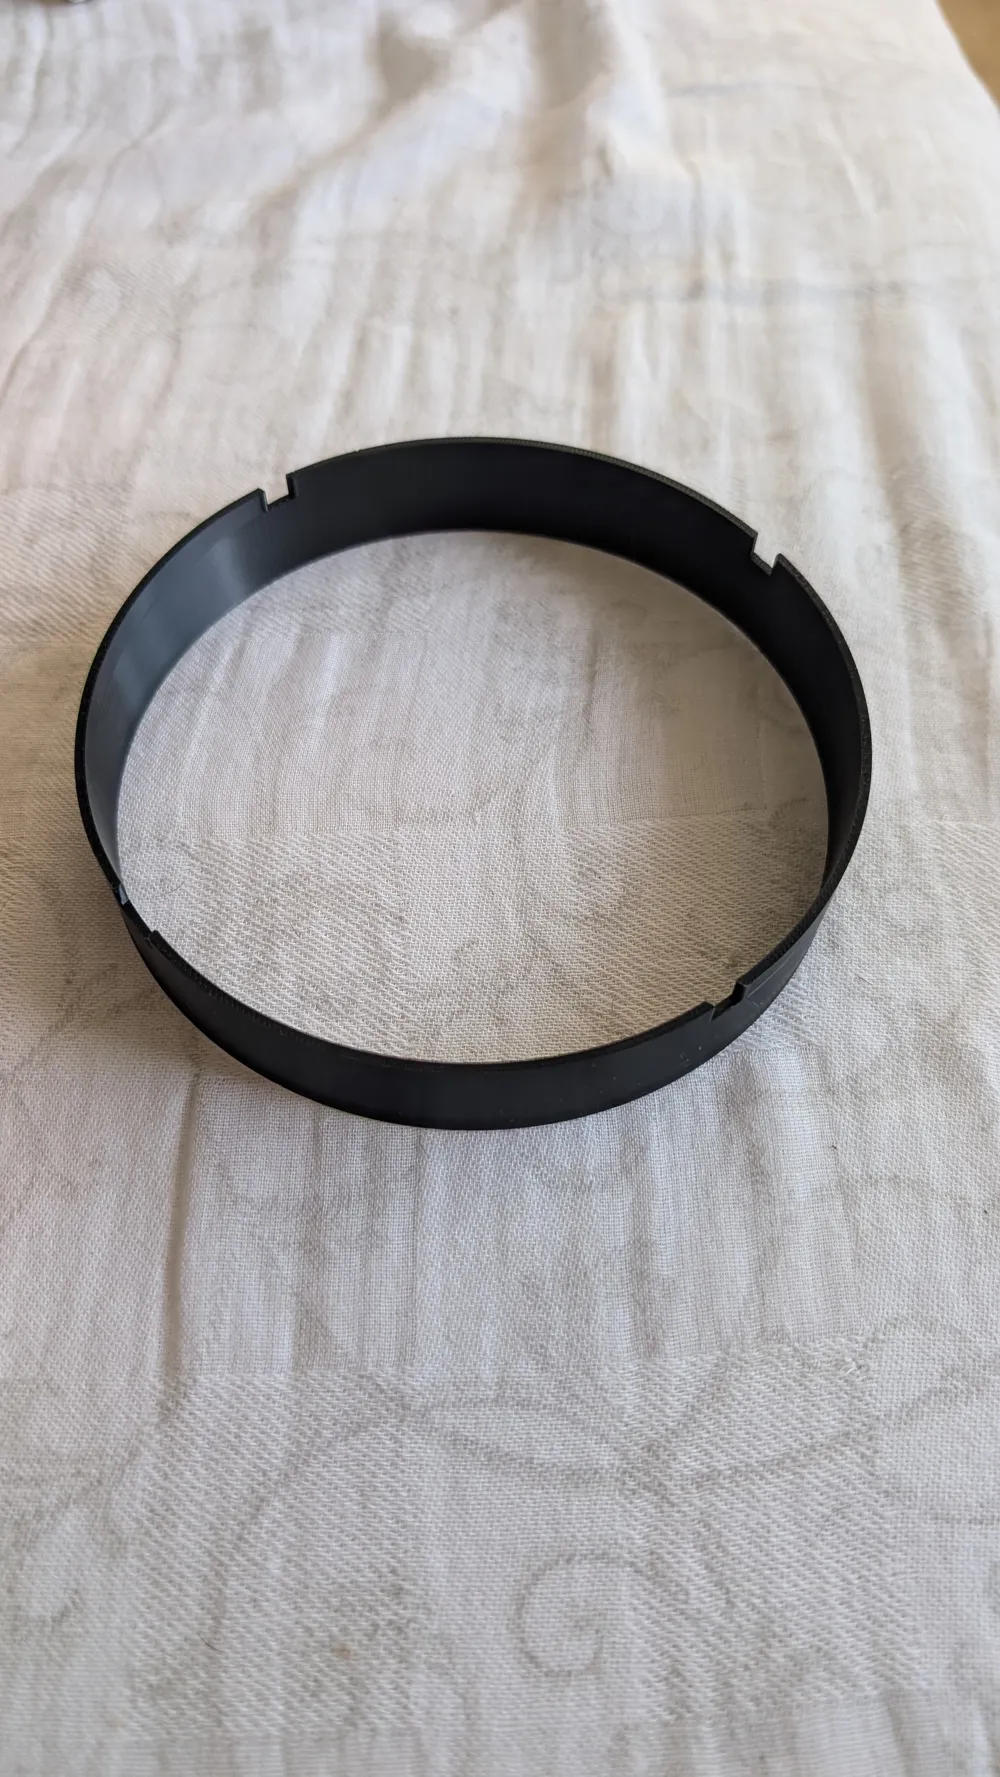
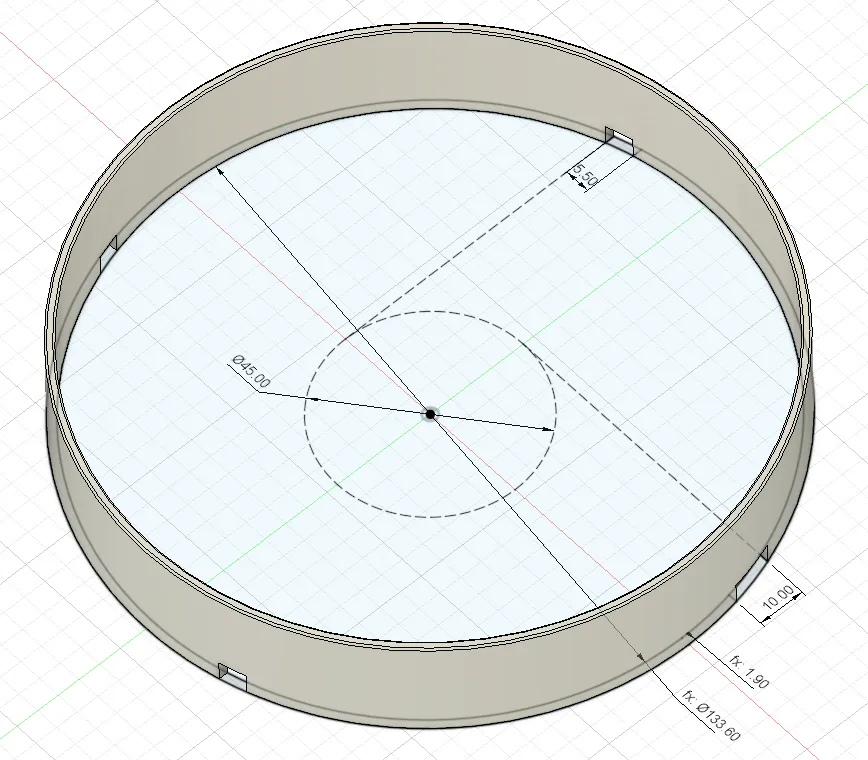
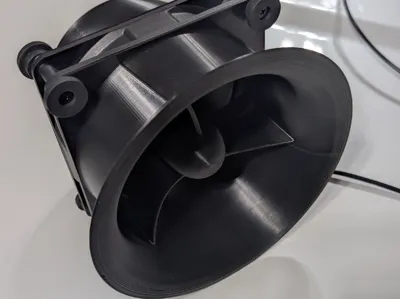
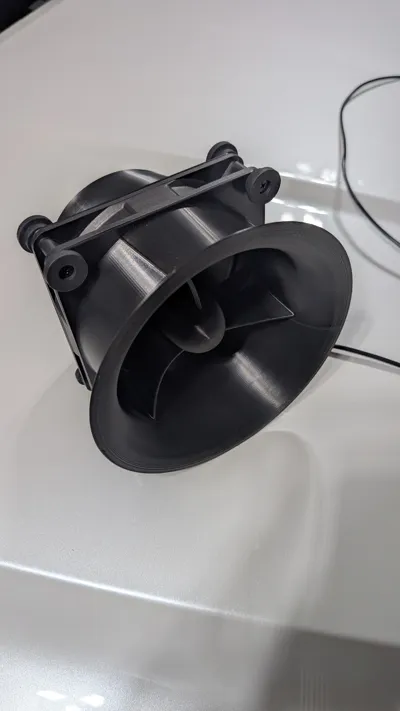
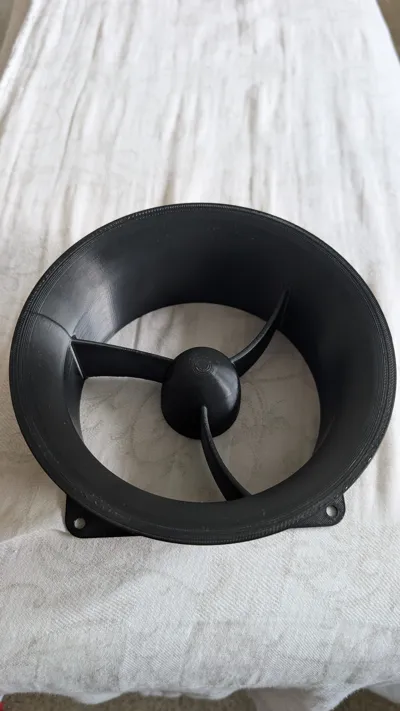
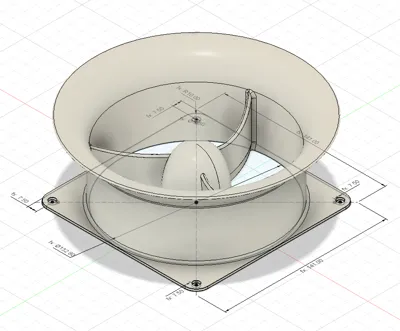
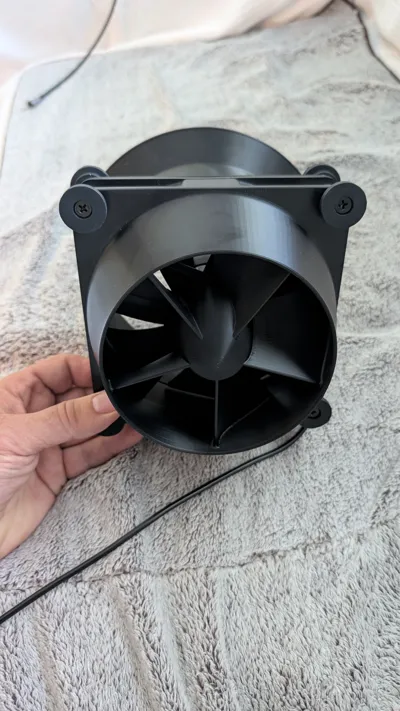
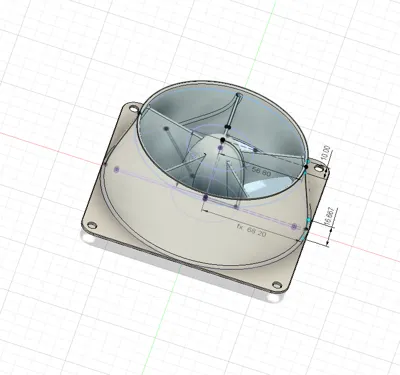
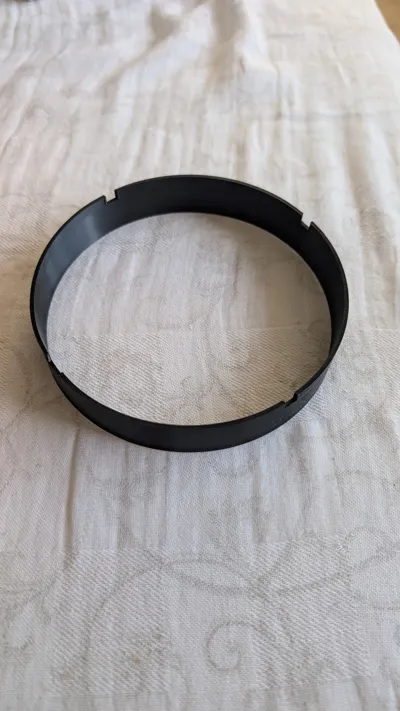
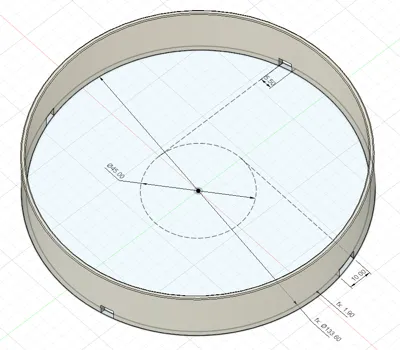
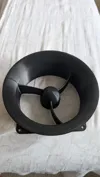
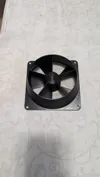
I designed parabolic struts to support the centre cone of the intake, a specific bell-mouth curve radius, and an optimised intake cone shape and height. I also added an exhaust cone with a subtle, but aerodynamic "S" curve on the sides, and a blade-tip gap spacer to reduce the gap to just 1 mm, forcing the air out much more efficiently.
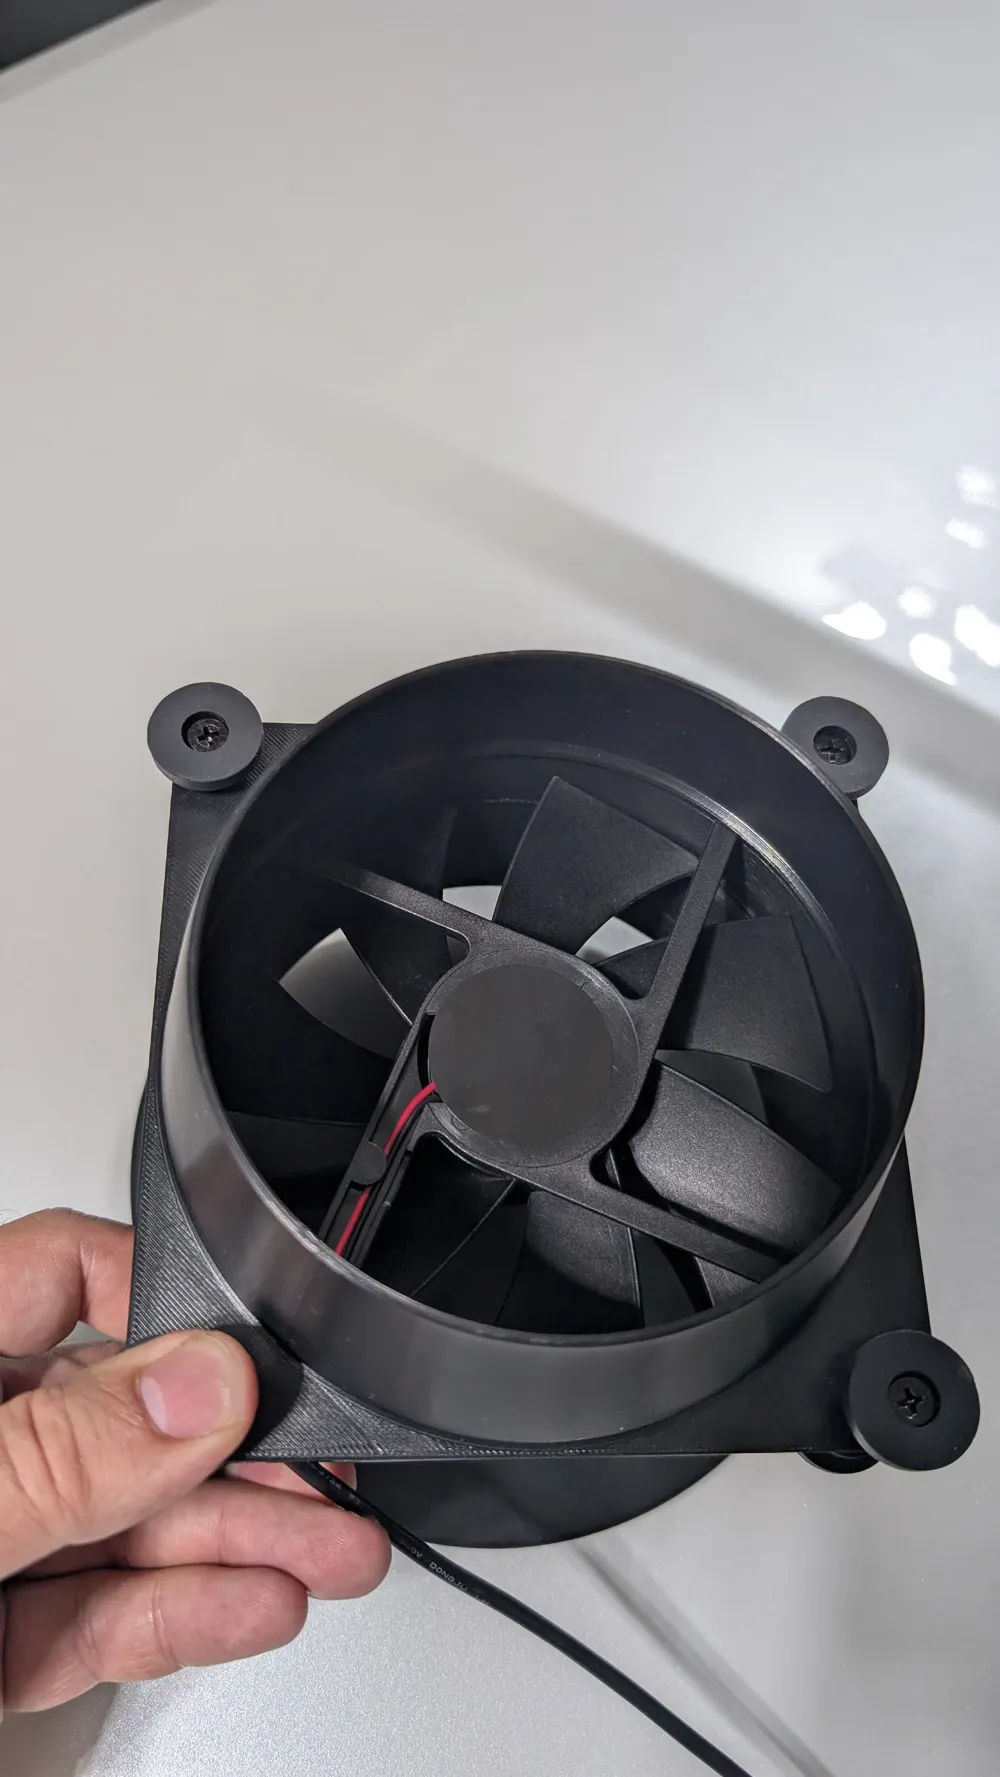
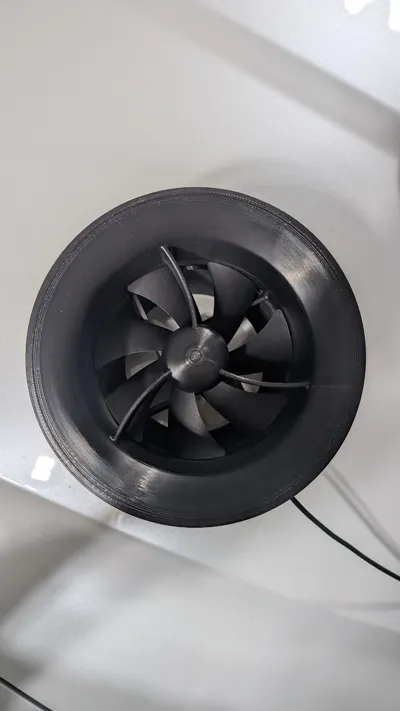
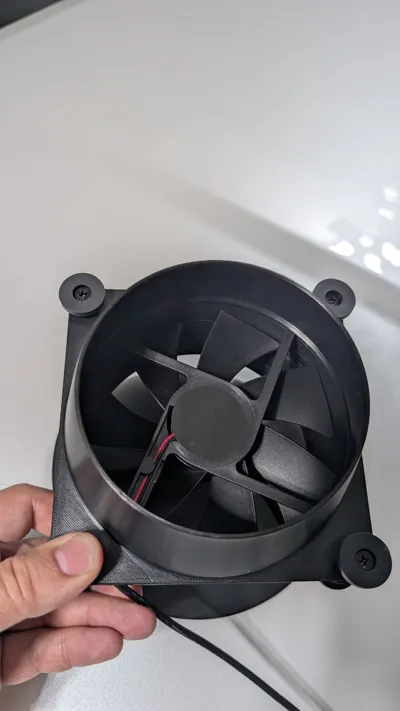
I initially went with a "clean" no-vanes exhaust cone (the print profile is still listed), but I was inspired by the support of @user_1751562960, so I spent about eight hours (I'm still learning Fusion) updating the design to include angled vanes in the exhaust to straighten the output airflow. This modification produced even more noticeably better air “throw” distance, while fully preserving the air volume—it was absolutely worth it!
The Design Journey & Results
My anemometer shows a near 70% increase in forward airflow velocity at 30 cm (12") away. The difference is incredibly noticeable, yet the system is still fairly quiet!
If you're using 12-volt PC fans, expect significant increases to your overall performance, as those unmodified fans produce about twice the airflow of my unmodified 1500 RPM, 61 CFM USB fans.
⚠️ One caveat: The tolerances on inexpensive muffin fans can be inconsistent, so the blade-tip spacer might present a tight fit. If it doesn't fit your specific fan and you are unable to scale it, just using the intake and the exhaust will still give you a significant improvement.
What to Print & Assembly
There are three separate parts to download and print if you want the entire package:
- Bell mouth (fan intake)
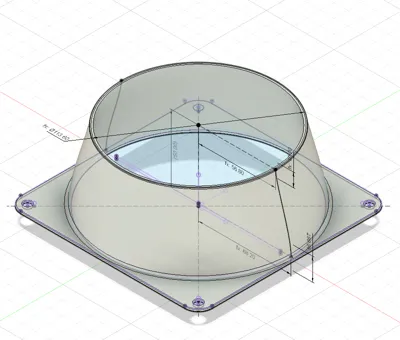
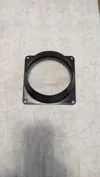
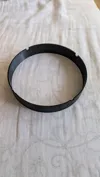
- Blade gap (reduces gap between fan blade tips and the housing, but is optional, as it has very tight tolerances)
- Exhaust cone (with or without vanes)
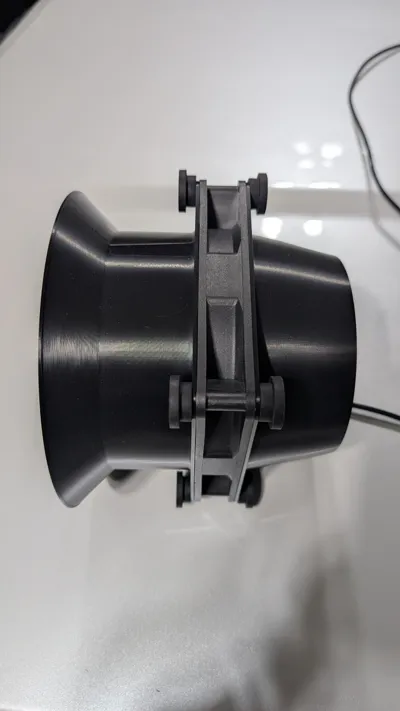
The fan blade gap spacer is securely held in place simply by being sandwiched between the intake and exhaust parts.
Print Settings & Material
I printed these parts in ASA because they live in my car, meaning they need high heat and UV tolerance. The print dimensions are slightly exaggerated to compensate for ASA shrinkage (1.011%), so keep that in mind if you go with a different filament. Given the varying tolerances of different muffin fans on the market, you may need to play with the scaling slightly to fit your specific setup. Additionally, I added a 45° ramp to the bell-mouth curve, so no supports are needed for any of the parts.
Any constructive feedback is always welcome as I'm still learning! Please give me a thumbs up if you like it—it really helps, and it's a fair trade for a free print! 😉
📊 Real-World Performance Testing
I wanted to see if all this CAD work actually paid off, so I grabbed my anemometer and did some real-world testing. I measured the airflow from approximately 30 cm (12") away from the fan to see how much of a difference the various components actually made.
For reference, these are the USB-powered, quiet fans I am using (I don't get any benefit if you click on the link—FYI only):
👉 NewHail 140mm Mini USB Fans (2-Pack) on Amazon.ca
The Data (Airspeed @ 30 cm)
| Setup | Velocity (m/s) | Improvement |
|---|---|---|
| Bare Fan (Baseline) | 1.6 m/s | -- |
| Plain Exhaust Cone Only | 1.6 m/s | 0% |
| Intake Only | 2.0 m/s | + 25% |
| Intake + Plain Exhaust | 2.4 m/s | + 50% |
| Vaned Exhaust Only | 2.4 m/s | + 50% |
| 🏆 Intake + Vaned Exhaust (Full System) | 2.7 m/s | + 69% |
🔍 What the numbers mean:
- A plain exhaust cone makes no improvement: The basic exhaust cone on a fan yielded zero improvement (still 1.6 m/s).
- The intake alone is substantial: Adding just the bell-mouth intake smoothed out the air entering the fan, letting the blades actually work. That simple change boosted the output by 25%.
- The exhaust vanes make the real difference: The twisted vanes catch the spinning air from the fan blades and force it straight. On its own, the vaned exhaust actually works better than just using the Intake!
- Putting it all together: Combining the intake with the vaned exhaust increases the output velocity by 69%!
If you need to push air deep into a cargo area, an enclosure, or across a room without trading off the volume of air significantly, this setup gets the job done beautifully!
License



Comment & Rating (5)