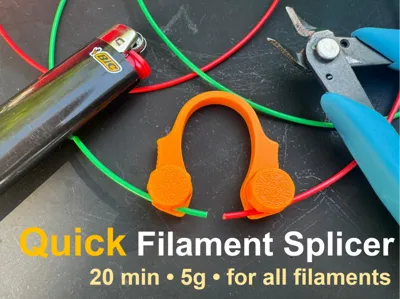
Quick Filament Welder | Splicer | Joiner


Print Profile(2)
Description
Boost Me (for free)
If you like it, please don't forget to like it. 😄
QUICK FILAMENT SPLICER / WELDING TOOL
Update: The layer height has been changed to adaptive to address the threading issues reported by several users.
Need a filament splicer quickly to join leftover filament pieces together?
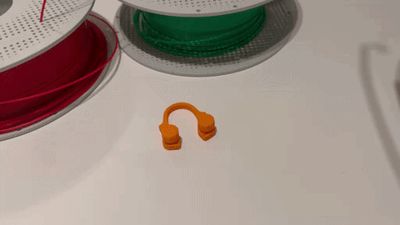
You can print one in about 18 minutes using only around 5g of filament.

It’s easy to print, simple to use, and helps you connect filament pieces securely and accurately.
With a little practice and skill, the entire process takes only about 1–1.5 minutes.
Perfect for reducing filament waste and making use of short leftover pieces.
Assembly
- Simply screw the two nuts onto the splicer.
It is recommended to tighten and loosen them a few times first to ensure they turn smoothly and easily. - Done!

Usage
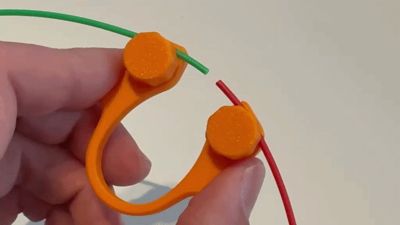
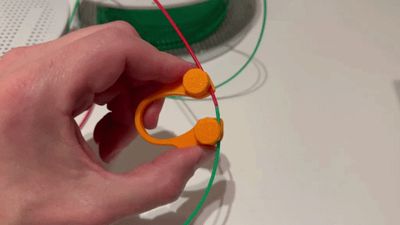
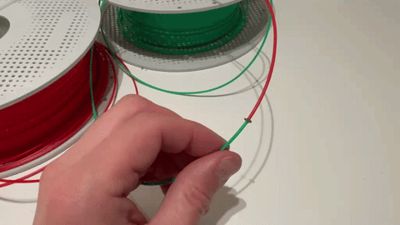
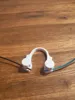
- Clamp the two filament ends into the slots and secure them using the knobs.
- Use the natural bend of the filament so it curves slightly around the sides of the splicer.
- Leave about 5 mm of space between the two filament ends.
Check if the two ends meet centrally when pressing the splicer together.

Warning: Heating filament may produce fumes that should not be inhaled. For this reason, the process should only be performed in a well-ventilated area and not in enclosed spaces. Be careful when working with open flames or hot tools. Use at your own risk.
- Use a lighter or a soldering iron to melt the filament ends. 1–2 seconds should be enough.
- Use the lower part of the flame for better control.
- Be careful not to heat the ends for too long, otherwise the filament will become too soft. Ideally, only the tips should melt.
- If needed, gently press the ends closer together into the flame while heating.
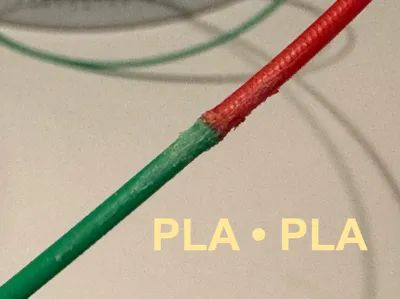
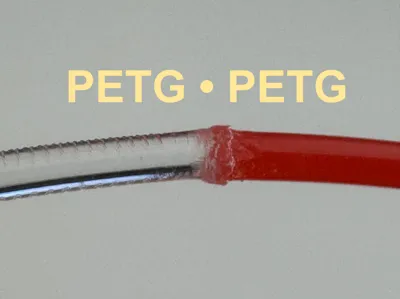
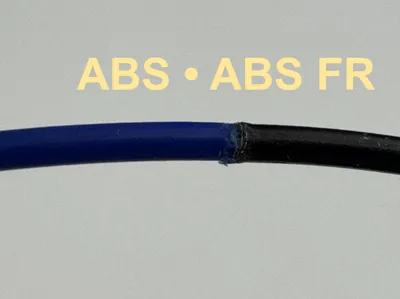
- While the ends are still melted, press the splicer together and make sure both ends meet centrally.
- Press the ends together until a small rounded edge forms, then wait about 10–15 seconds until it is fully cooled and no longer flexible.
- Loosen the knobs again so the filament can be removed from the splicer.

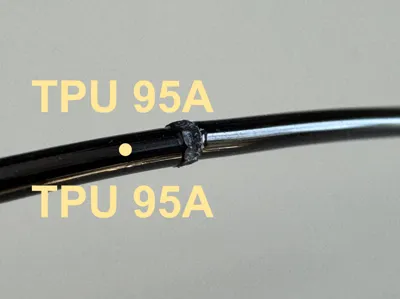
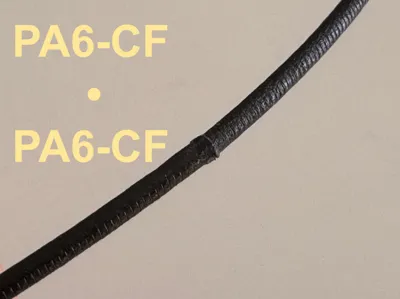
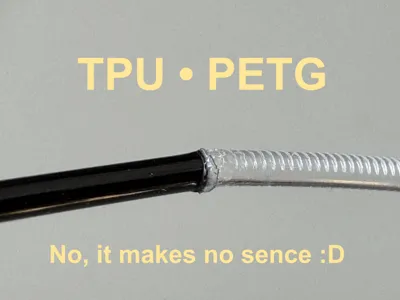
Heating process in close-up

- Finally, use a suitable tool such as side cutters to trim off the rounded edge.
- To make the joint smoother, you can use a file and some sandpaper.

- Gently bend the joined filament back and forth a few times to ensure a strong bond between the two pieces.
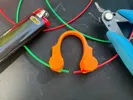
- When finished, it should look like this.

Print Instructions
Any filament of your choice can be used for printing, except TPU.
Since there is no direct contact with the heat source, the model can safely be printed in PLA.
Print orientation:
- Print the main body flat on the build plate.
- Print the nuts with the hole facing upward.
Recommended settings:
- Layer height: ≤ 0.20 mm
- 2 walls
- 15% grid infill
- No Support
With PLA, the print takes about 18 minutes and uses around 5 g of filament.
If you experience problems with the knobs, for example if the threads break, increase the number of walls for improved strength.
If you run into any other issues, feel free to contact me — I’ll try to help.
Have fun printing and using it!
License
You shall not share, sub-license, sell, rent, host, transfer, or distribute in any way the digital or 3D printed versions of this object, nor any other derivative work of this object in its digital or physical format (including - but not limited to - remixes of this object, and hosting on other digital platforms). The objects may not be used without permission in any way whatsoever in which you charge money, or collect fees.
Comment & Rating (300)